Pecan Oatmeal Apple Crisp (and Apple Abundance)

Pecan Apple Crisp
Apple Cider Doughnuts
Pecan Oatmeal Apple Crisp

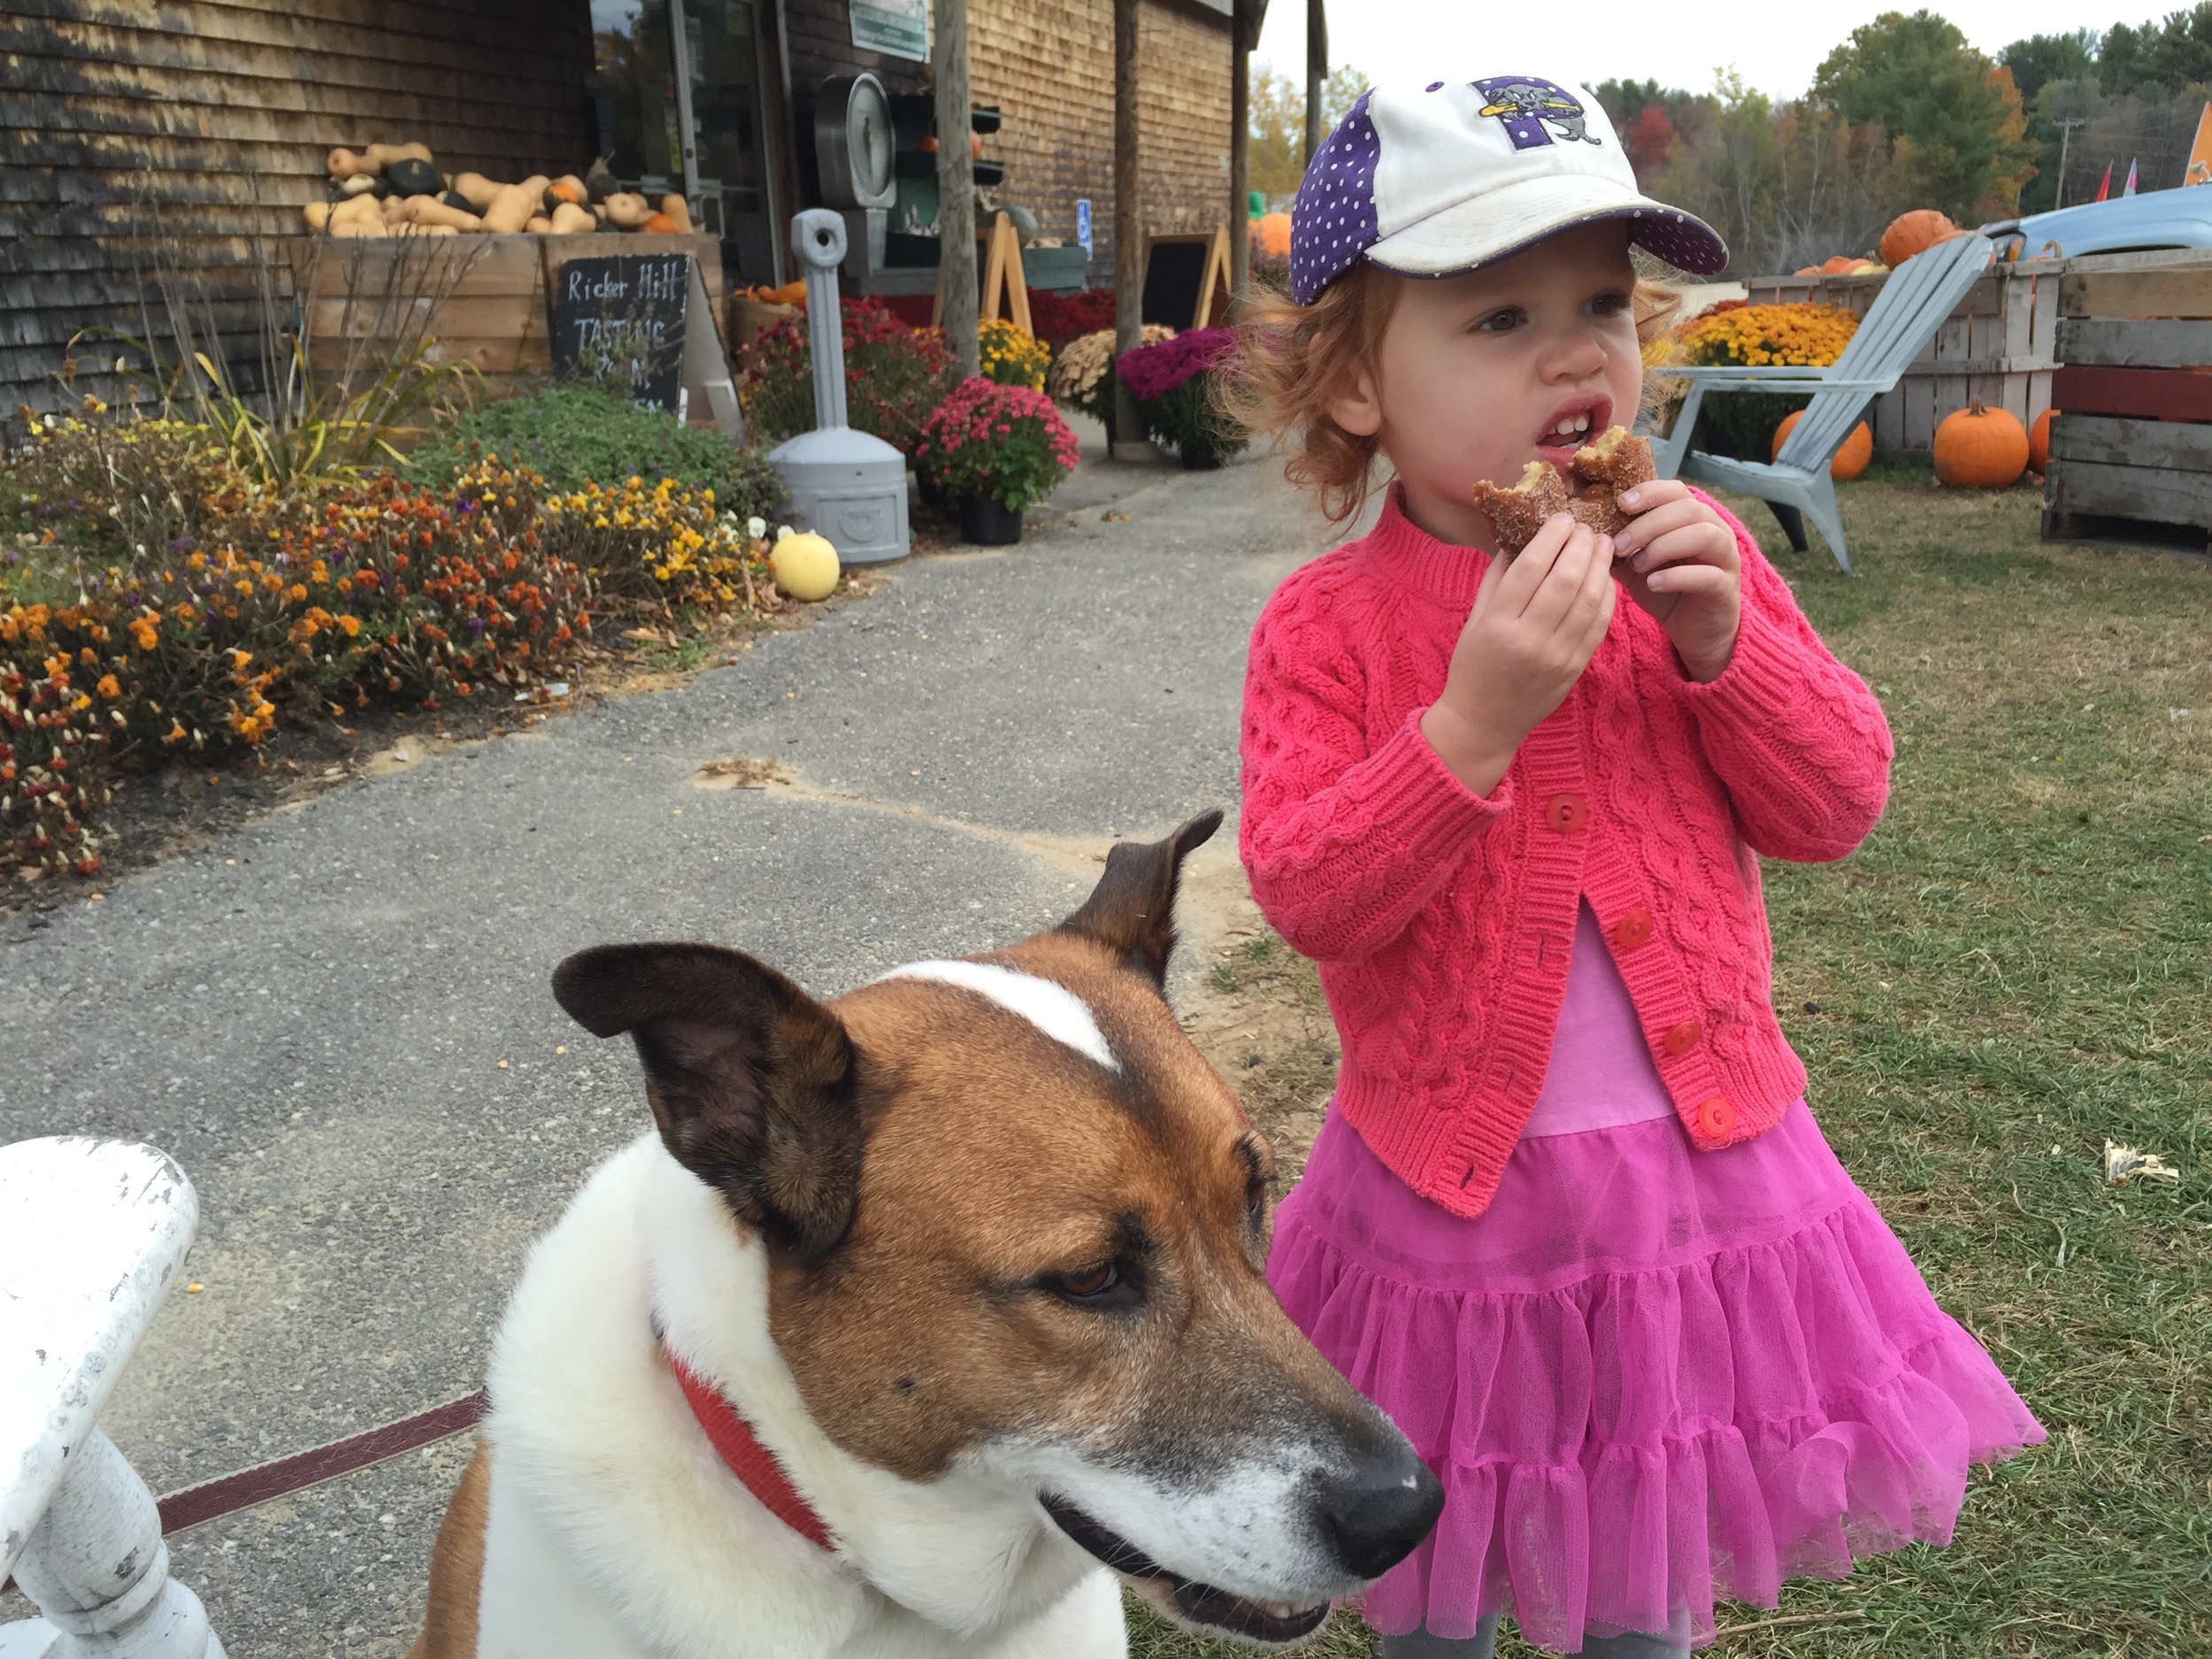
So we went a little overboard on the apple picking this year and picked a ton on our annual trip to Ricker Hill a few weeks back. (also we went on a weekday, so we had the full run of the bounce houses to ourselves and had to take advantage of that!) So even after two sizable pies, I still had about a bushel left and no gumption to make more pie, and so, enter crisp! This recipe is a mashup of three different ones, so it has a little bit of everything in it, which makes it totally delicious.And it's a big batch recipe (3 Qt baking pan), so it means that I'm down to only 2 dozen apples now!!

Filling

  • ~10 apples, peeled and chopped
  • 3 Tbl sugar
  • 1.5 Tbl cornstarch
  • 1/2 tsp salt
  • 3 Tbl orange juice

Topping

  • 1 to 1 1/2 cups flour (Up to 1/2 cup can be whole wheat)
  • 1/2 cup rolled oats
  • 1/2 cup packed brown sugar
  • 2 Tbl white sugar
  • 1/4 tsp salt
  • 1/4 tsp nutmeg
  • zest of 1 lemon
  • 1.5 sticks salted butter, softened
  • 1 cup chopped pecans 

Preheat oven to 350 Degrees F

Place all filling ingredients into a 9x13 (3 QT) baking pan and mix together. Adding more apples as needed to fill pan.

In a separate bowl, mix all topping ingredients, except nuts, together until they make a consistency like wet sand. Mix in nuts as desired. Sprinkle topping loosely over apple mixture.

Bake for ~ 50 minutes until topping is browned and apples are soft.

Serve warm with ice cream 


Print Friendly and PDF Follow
follow us in feedly

Gingham Archer

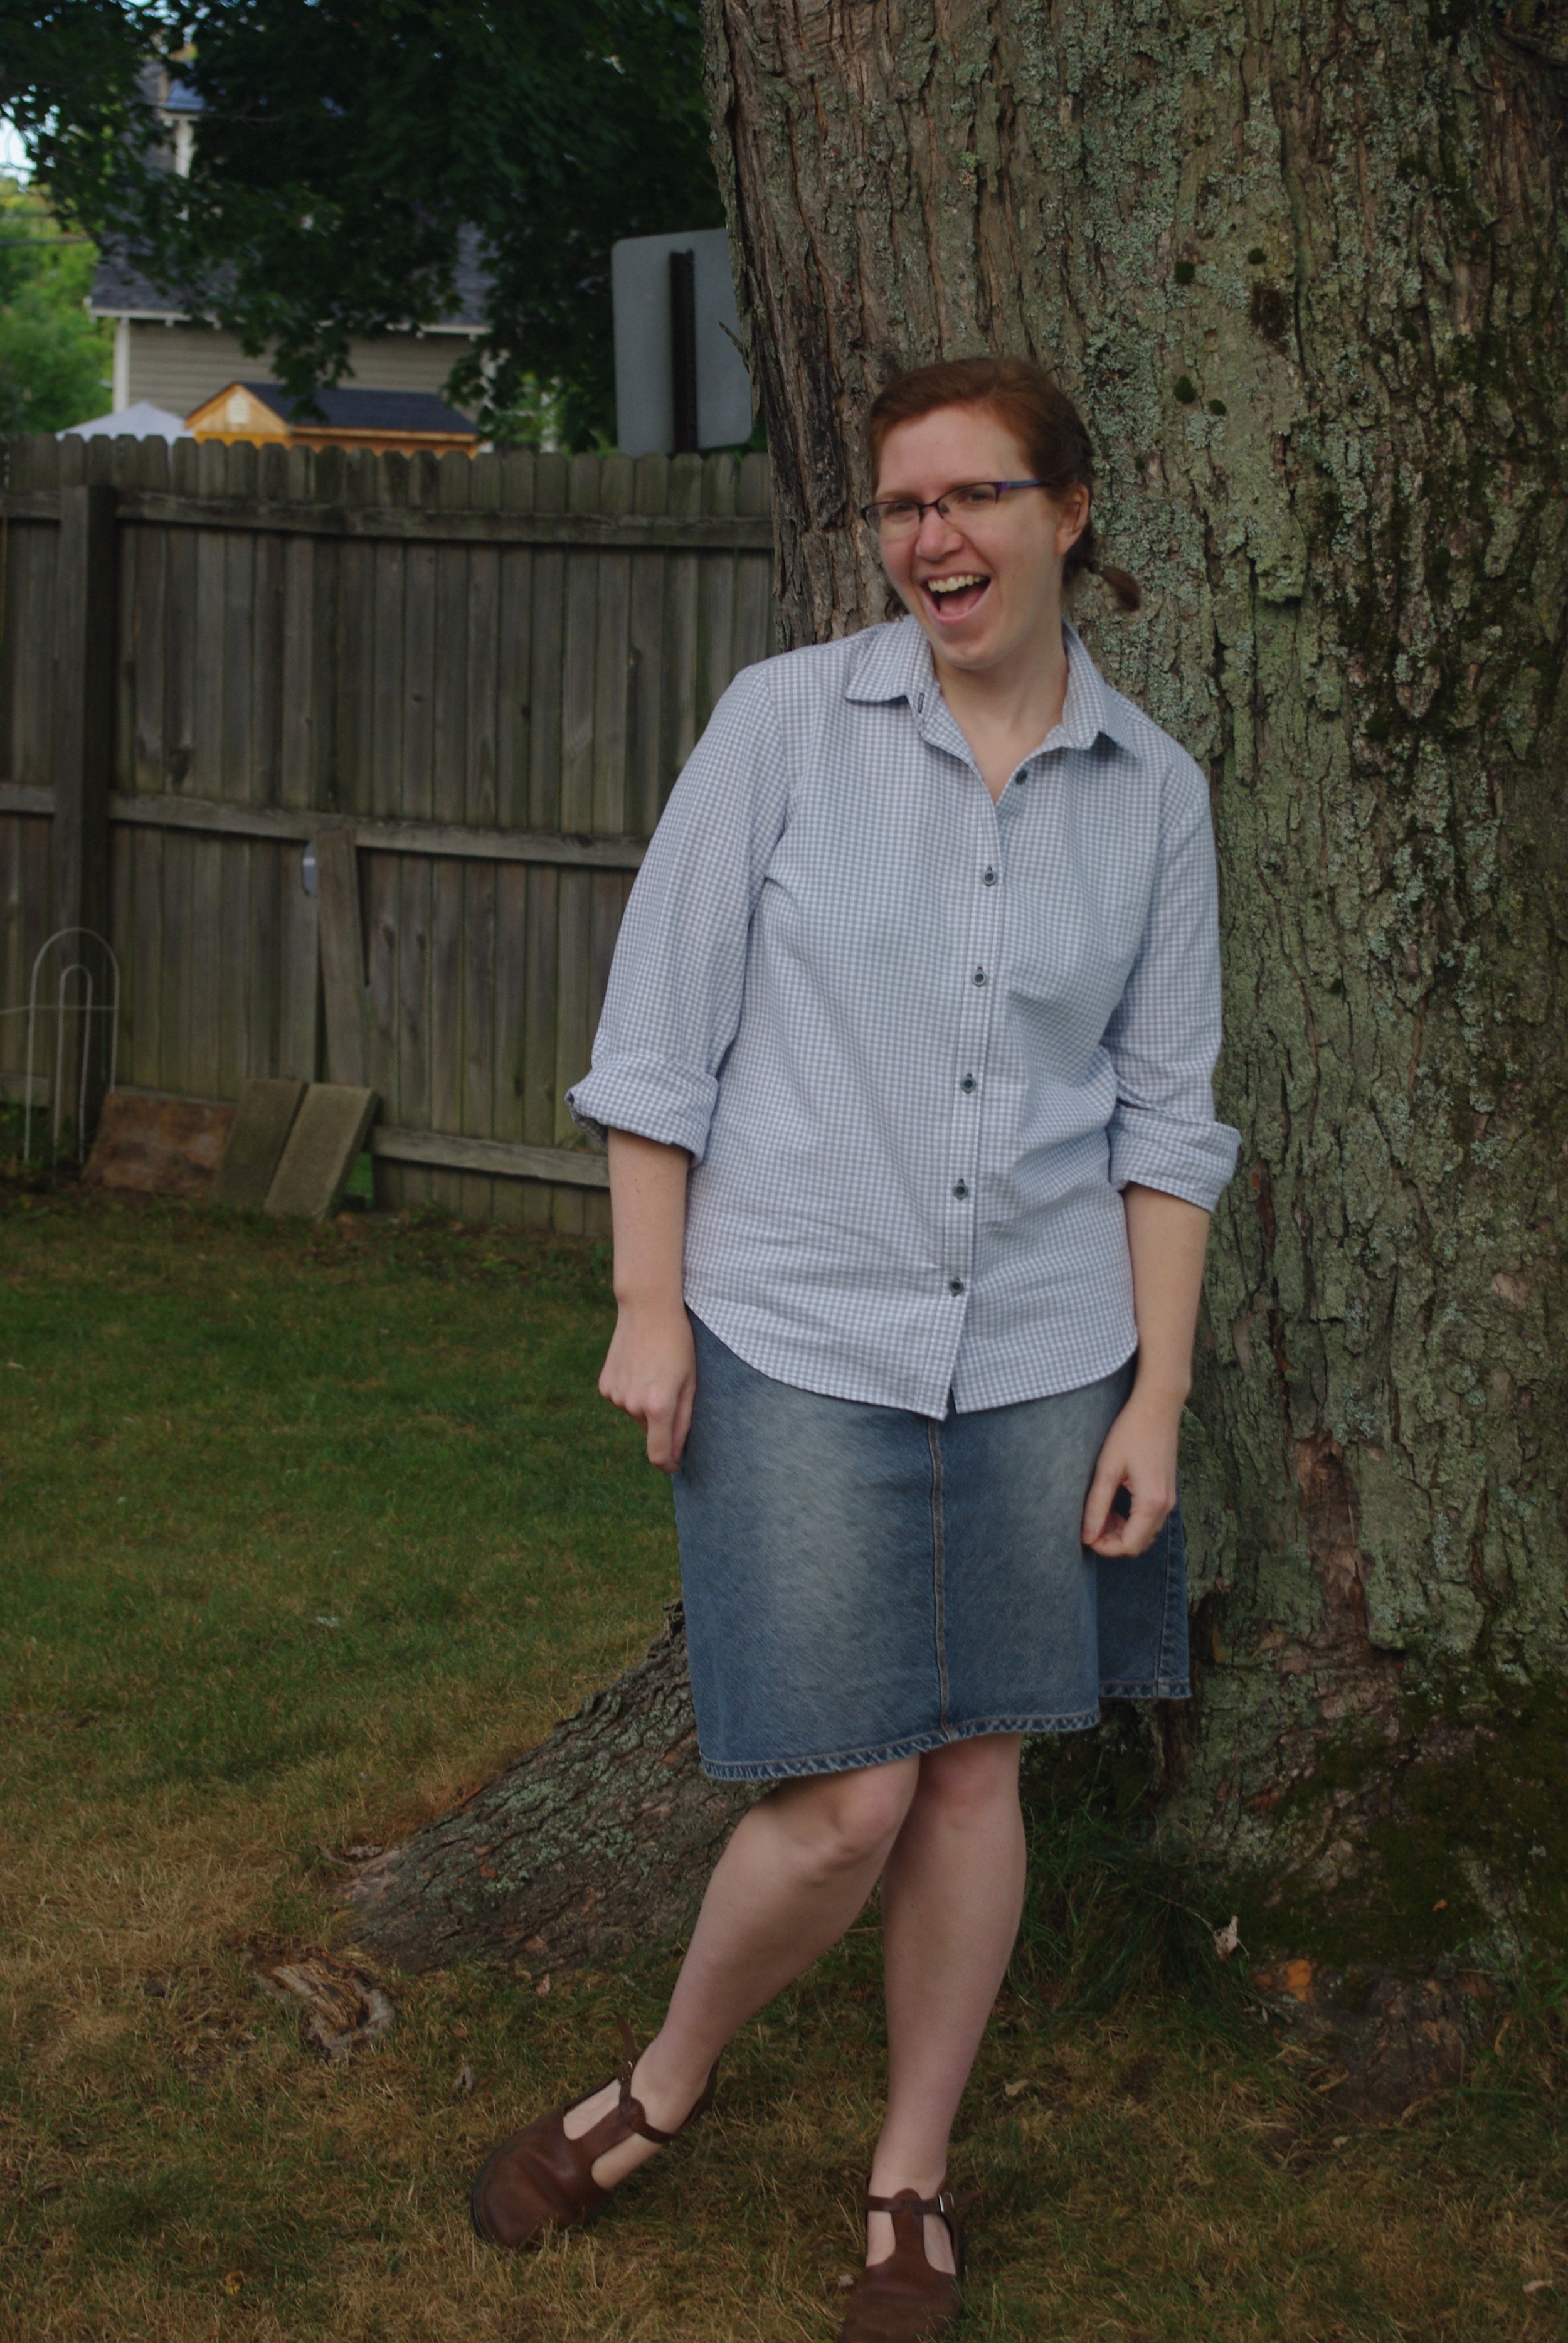
Gingham Archer, sewn by Ms. Cleaver

So before I got sucked into the depth of Halloween sewing and prep, I actually finished a pretty major sewing project for me. I love a good button-up, especially a gingham button-up, but I don't often sew them because of all the pieces/time required.

But I've been seeing all of the beautiful Archer shirts popping up over the sewing blogosphere since it's release, and I had some beautiful grey gingham in stash so I put sewing an Archer for me on my list of goals for the year, and there you go.

This was my first experience with a Grainline pattern, and while I wish I had sprung for the printed pattern (not a big fan of the printing and taping), I found the drafting and instructions solid. I've only made a few button-ups, but this was my best go at a collar stand yet, which was a good thing, because I had zero fabric to spare. As I said, I was using fabric from my stash and I had 3/4 yard less than recommended. By scrapping the pocket, I managed to fit everything, just barely, onto my yardage. Leaving me only with teeny tiny scraps left over. Even so, I still did some pretty decent pattern matching. Thank goodness the gingham was small scale!

Most the interior seams are covered nicely by the yoke, but open ones I just kept simple and zig-zagged. I'd probably go for flat-felting on another version. 

Would I make another? I think yes. I like this version, but I don't love it. But I think most of my issues could be easily rectified in version two.

 I didn't make a muslin and the fit isn't quite right. I cut a straight size 12, but ended up grading out my seams for more room in the hips. The finished fit is good in the hips and bust, but I find that there is way too much fabric in the waist. I'm not sure if it's just a boxy cut, or the heaviness of the fabric, but especially in the back, it's too much.  Fortunately, because I didn't flat fell my seams, I can take it in pretty easily, which I haven't gotten around to yet.

But even as is, it's super comfy and looks good under a sweater, so it'll get a lot of wear.


Print Friendly and PDF Follow
follow us in feedly

Happy Halloween (Hold Onto Your Hat) !

Alice in Wonderland Costumes
Happy Halloween

I'm a former theatre kid and I sew, so suffice it to say, I love Halloween. Socially acceptable excuse to spend way too much time on costumes? I'm in! (In another life, I'd totally be a cosplayer). 

This year, I wrangled the whole family into it (except Steinbeck, who holds no truck with costumes). One of LMC's favorite characters is Alice In Wonderland, thanks to some pop-up books and the Royal Ballet version. It doesn't hurt that I have a deep abiding love for all things Alice myself, and am happy to encourage it. So the theme was an easy choice. (Second option was superheroes - which might still happen for Free Comic Book Day). LMC got to be Alice (obviously), I had a red dress in my closet that made the Queen of Hearts a simple choice, and Mr. Cleaver decided he wanted to be the Mad Hatter. 

LMC's costume was the most detailed. It's McCalls 6187,  and there's not a piece on this thing that isn't gathered, lined or trimmed. But it is adorable. The apron is, somewhat oddly, part of the bodice and attached, and the apron strings are a bit long, but otherwise it was time-consuming, but a relatively simple sew.

The whole dress is Kona Cotton, so it can be thrown into the wash easily should she decide she wants to add it to regular wardrobe, which is what happened to last year's Olivia dress. The sizing is 3T/4T, so it was a wide on her, put the apron ties kept everything in place. I hemmed the skirt as narrow as possible so she can wear it for a while. Since it's Maine, we threw a long-sleeve tee under the whole thing and then added my Belacqua cardigan when it got chilly. 

Mom and Dad's costumes were much simpler. I bought a pair of striped tights, made a crown out of glittery craft foam and punched some holes in a old deck of cards for the collar. The collar was a bit tricky to wear, I had to pin it to my hair to keep it up, but it really pulled the whole thing together. 

For Mr. Cleaver, I sewed him a quick bow tie (and learned how to tie one!). The pants he had in his closet, the velvet blazer is mine, the hat was from Amazon and the shirt and socks we picked up for cheap at Goodwill. I also took the opportunity to purchase a pair of pink flamingos, which I have always always wanted, so we could reenact the croquet scene, which I think was LMC's favorite part (that and getting to use the fancy teacups). The hedgehog was the first thing I ever needle-felted

We took LMC to about 8 or so houses to trick-or-treat then spent the evening handing out candy. We got 105 trick-or-treaters before we shut it down, ate a Halloween cupcake and collapsed into bed early. 

As for holding onto your hats? If you've seen Curious George: A Halloween Boofest as many times as we have, you'll know what I mean. ;)


Print Friendly and PDF Follow
follow us in feedly

Pumpkins at Smiling Hill Farm

IMGP3882.JPG

We got a late start on our fall activities thanks to some serious colds, but we're getting there! We made it to the pumpkin patch on Sunday, and the apple orchard on Wednesday, so we're all set on Autumnal produce. 

We Cleavers are creatures of habit and tend to go to the same places every year - so this is LMC's third year at the Smiling Hill Farm pumpkin patch. It's always interesting to see what's different with each round - what is she most interested in? (Answer: rainbow ice cream), what isn't she digging? (Answer: that incident with the turkey has made her nervous about all barnyard fowl).

It's also fun to get the random recaps that she'll spout out days or even weeks later, when she sees something that reminds her of her little adventure. 

I'm hesitant about pulling out the carving knives just yet, so we painted our pumpkins again this year. I didn't put on any sealant first, so they're already peeling, but I think they're beautiful anyway.

We've hung our bat lights and have been watching Curious George A Boo Fest on repeat, which means she goes around wishing everyone "Happy Halloween, hold on to your hat!" We're thinking about making a No-Noggin scarecrow this weekend. I have to admit of all the children's programming, I like Curious George the best (which is good, because LMC loves him).

 I've also been prepping LMC for costume wearing in the hopes that she'll actually wear her costume I'm making (since the wear rate of things I make for her is dismally low). What are you going to be for Halloween? Alice! What's mommy going to be? The queen. What's daddy going to be? The hatter dance! (Close enough).

I love prepping for Halloween.


Print Friendly and PDF Follow
follow us in feedly

Tried and True Review: Slow Fashion October Edition

School House Tunic and Pas de Valse
School House Tunic #1
Pas de Valse

A Tried & True Review, where I look back at old project and discuss how it's held up since I made it, both successes and closet rejects, in an attempt to show how my projects have stood the test of time and/or to learn from the mistakes of my yesterdays.

The Original:  Waltz in Grey and School House Tunic

Made: June 2011 (4.25 years old) and September 2011 (4 years old) (you'd also think my hair doesn't change much either...)

Update: If you follow along in the sewing or knitting social media worlds, you've probably heard of Slow Fashion October by now. If not, the short version is that it's taking the month of October to think consciously about our wardrobes, how do we add to them?, what is enough?, how does making your own clothes influence that? etc.

I've been thinking about a lot of these topics for a while both in these Tried & True Reviews and in my post on Ethical Fashion and why I started making my own underthings.

It's week three of Slow Fashion October now, with the theme of LOVED: proudest accomplishment / most loved item / most frequently worn item / thing you saved up for / investment pieces / thing you worked a long time on / oldest thing that’s still in rotation. And I thought it would be as good a time as any to feature my two most frequently worn makes in a Tried and True Review.

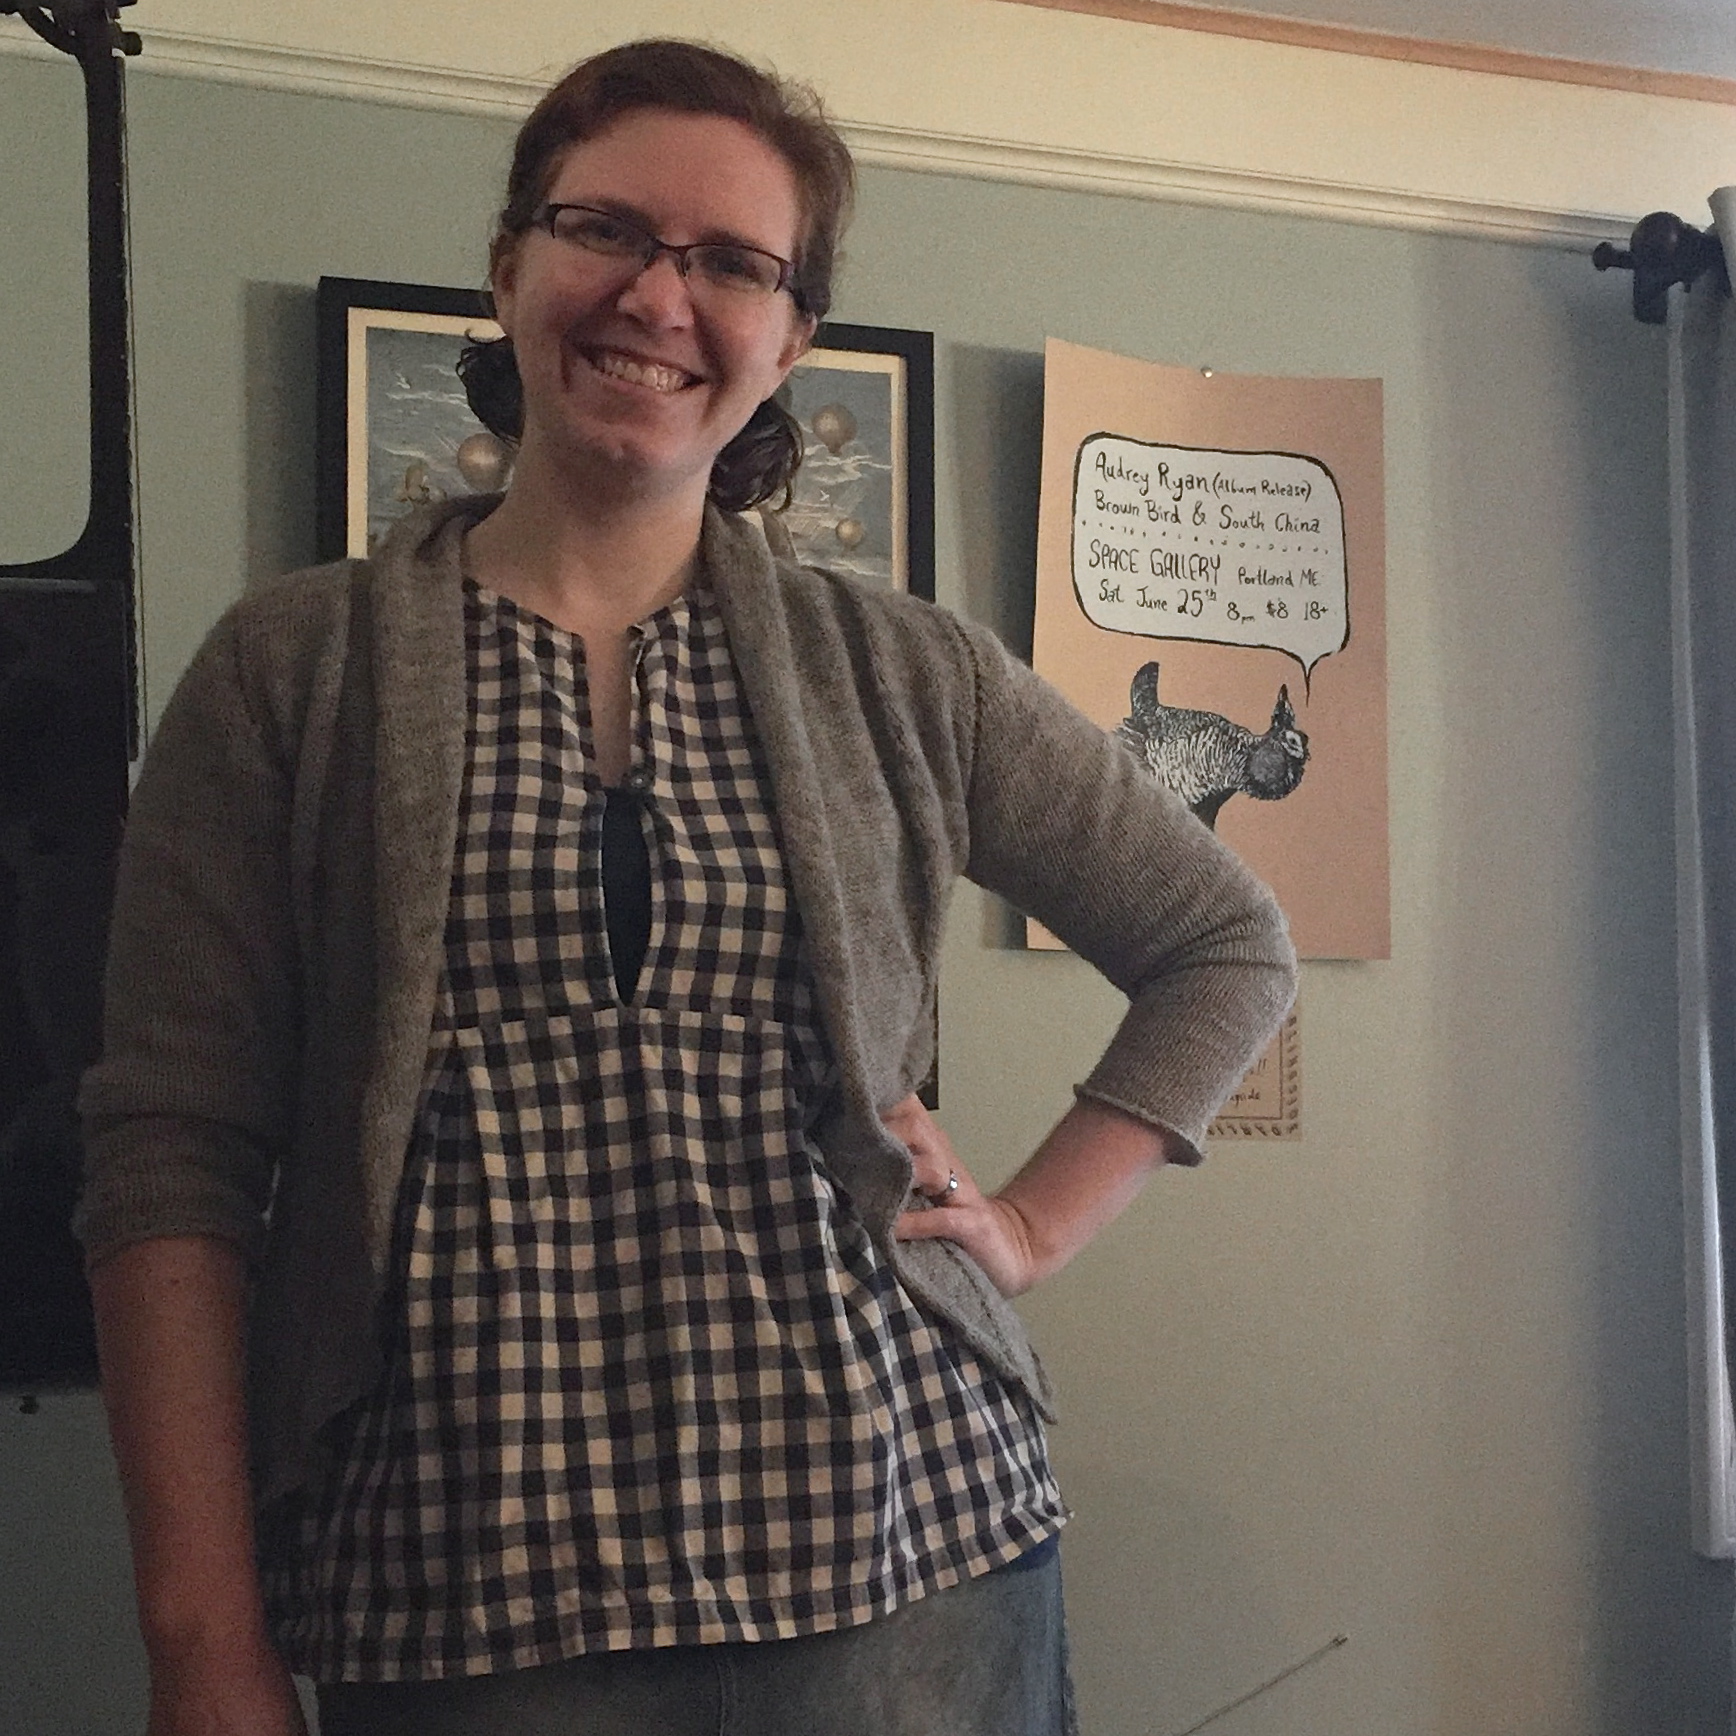
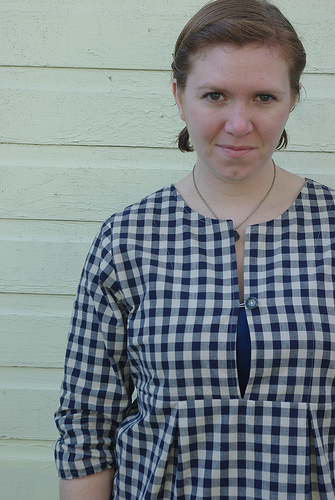
If it's fall or winter and that top is clean, there's a good chance I'm wearing it and even if it's not clean, I'm probably still wearing the cardigan anyway.

Fit: In truth, I really should have knit the next size of the cardigan up, so the collar doesn't really fold back as far as it should, but I just give it a firm blocking whenever I wash it and it's an open cardigan anyway, so it doesn't matter too much. The tunic fits well, though sometimes the armband elastic feels a bit snug.

Style/Materials: The cardigan was knit out of an undyed alpaca/nylon sock yarn. It takes a licking and keep on ticking (as they say). It's a bit itchy on bare arms, but the beautiful natural grey color goes with pretty much anything, which is why is gets worn so very much. The fabric for the tunic is in gingham (my favorite) and is a thick cotton that feel almost like a dish towel, it's just ridiculously cozy. As for style, I still feel like the tunic looks vaguely like maternity wear (and I made a bunch during my pregnancy), but if I throw a more fitted cardigan over it, it doesn't matter as much.

Construction: The tunic was a simple sew, but the cardigan took forever to knit. I've had to replace the thread button loop on the tunic once and the yarn is starting to pill a bit, but both these pieces have survived four years of hard wear and will last for many more. Well worth the effort.

Lesson(s) Learned: Positive ease is a good thing in a cardigan.

Final Verdict: Something doesn't have to be perfect to be your favorite.


Print Friendly and PDF Follow
follow us in feedly

Adding A Ribbon Backing to Your Knit Button Band

Adding Ribbon to a Knit Buttonband.png

Why Reinforce A Button Band?

Both of my recent pattern releases, Lady Heartrose and Prairie Wife, suggest that you use ribbon to reinforce the button bands. If you're one of those knitters who hates finishing, you may think why bother?  You certainly don't have to, most of my sweaters to date don't have any kind of reinforcement, but there are several reasons to consider it. 

  1. It will keep your fabric from curling (though ribbing may already take care of that).
  2. It will help prevent gaping at the bust if you intend to button up.
  3. It will help prevent the button band and button holes from getting stretched out over time.
  4. If it's a steeked piece, it can cover up the cut ends of yarn. 
  5. It's a nice little surprise inside the cardigan and looks really pretty!

What Supplies Do I Need?

  1. Your blocked cardigan.
  2. Approximately 2 yards of a sturdy ribbon, such as Petersham, Grosgrain, or other firmly woven ribbon, that just as wide or slightly less wide than your knit button band. If you're doing something like a long sweater coat, measure the length first. (The ribbon used in this post is from Vintage Ribbons on Etsy). 
  3. A sewing machine with buttonhole capabilities. (You could always sew the buttonholes by hand, but this tutorial won't cover that).
  4. The buttons you are planing to use. 
  5. Needle and thread to match your yarn.
  6. Pins or clips.
  7. Seam ripper or button hole cutter.
  8. Fray Check (optional).
Adding A Ribbon Backing to Your Knit Button Band

Measuring and Marking your Ribbon

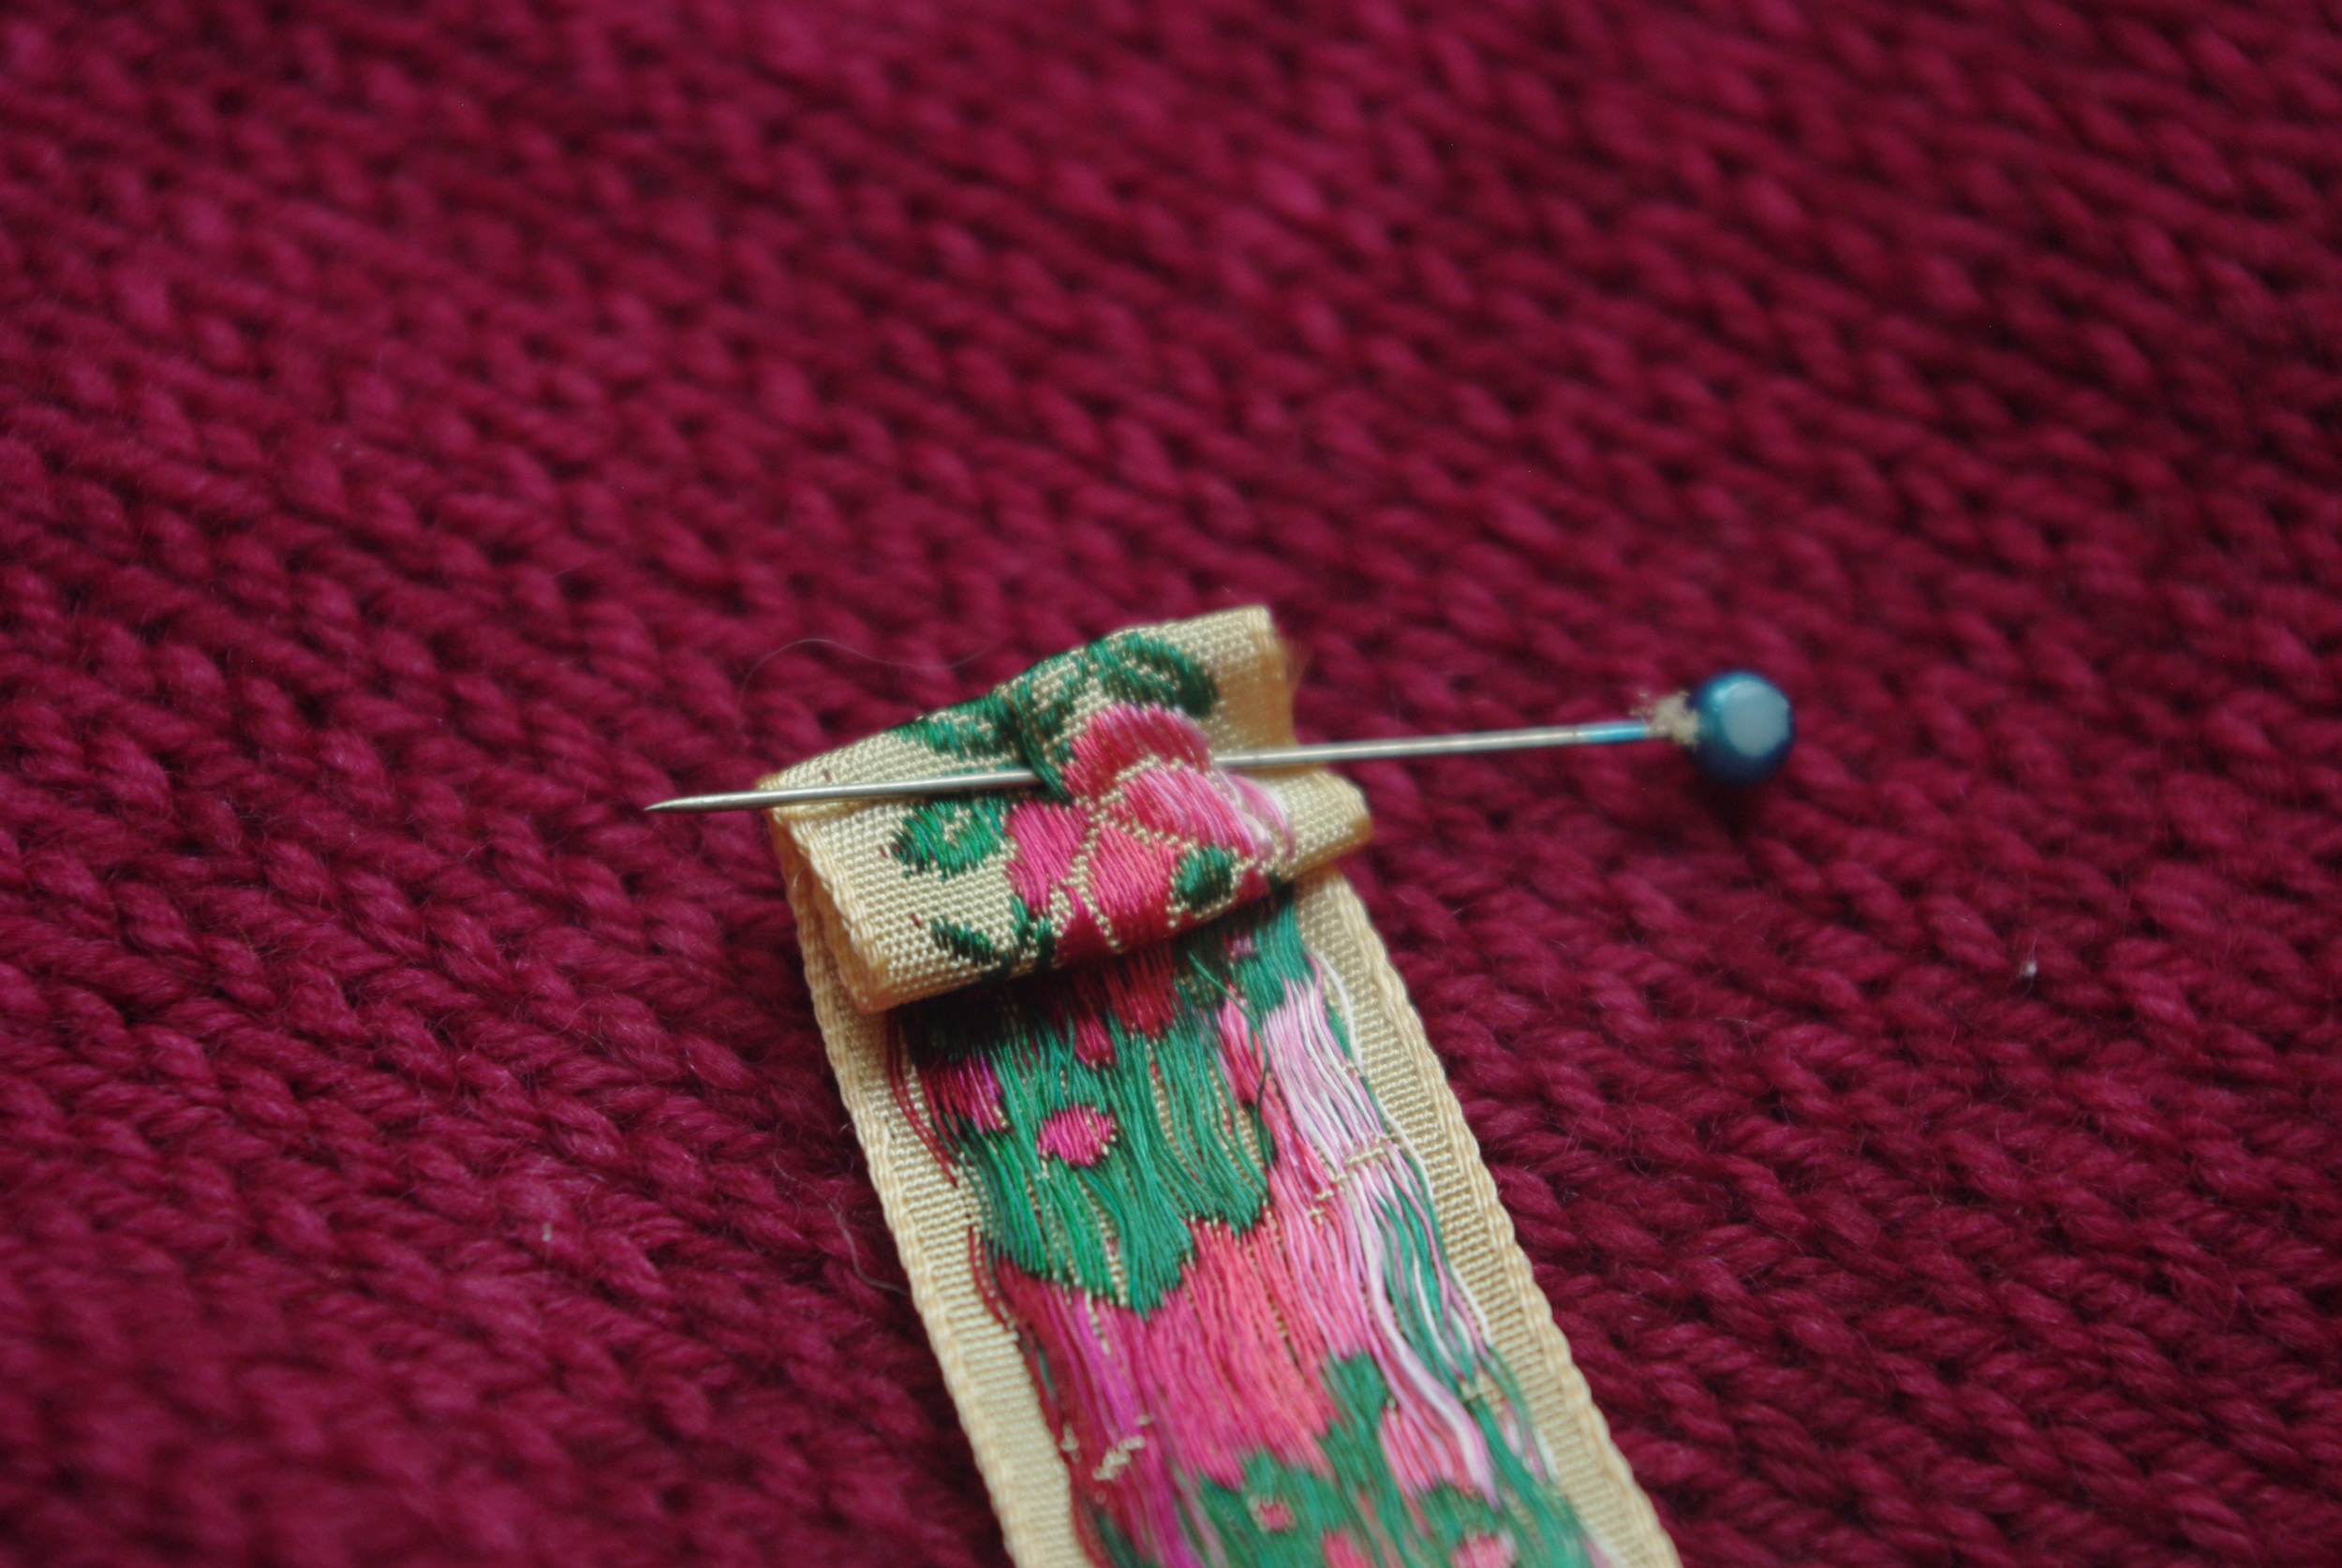
The first thing to do is measure, cut and mark your ribbon. To measure, lay your finished and blocked cardigan on a flat surface. It's very important that the piece is blocked, otherwise the band may be too short. Match the length of your ribbon to the length of the knit band and add an extra inch or so to each side, enough that you can fold it under to make a neat edge (as seen above). Cut a second piece of ribbon to the same length and set aside. The unmarked ribbon will be used to back the button side of the cardigan. Now we'll mark the buttonhole side.

With the ribbon flat against the buttonhole side. Place a pin at the top of each knit buttonhole. If you have a patterned ribbon, you may be able to use the pattern to make your placement more exact/even, but it's more important that the pins line up with the actual knit buttonholes.

Adding A Ribbon Backing to Your Knit Button Band

Testing the Buttonhole Size

Using a scrap piece of ribbon and the buttonhole feature on your machine, test out your buttonhole size to make sure the button can fit through easily. The ribbon button hole is likely to be a lot longer than the knit one. 

Once you have confirmed the proper size, mark the ends of the buttonhole on your ribbon (the top being the pin you already put in). 

Use your machine and sew the buttonholes on the ribbon.

Adding A Ribbon Backing to Your Knit Button Band

Finishing the Buttonholes

Before you slice into them, double check that your buttonholes still line up. If they do use a seam ripper or buttonhole cutter to open up your buttonholes. Adding a drop of fray check to the buttonhole as desired. Set aside to dry if using fray check for the recommended amount of time. 

Adding A Ribbon Backing to Your Knit Button Band

Attaching the Ribbon to the Sweater

Fold over the top and bottom of the ribbon, whip-stitching closed as desired, then making sure that the buttonholes line up and both the ribbon and the button band are flat, pin or clip the ribbon to the inside of the button band. Starting on the outside edge, whip-stitch ribbon to knit fabric. To help keep the stitches even, use the knit fabric as your guide, here I did one stitch per knit row. Work your way down the outside edge and up the inside edge, making sure the ribbon lays flat. Unless your button band is very wide, there's no need to tack down the ribbon buttonhole around the knit buttonhole beyond securing the ribbons at the edges.

For more detailed instruction on how to whip-stitch see DMC's embroidery guide).

Repeat process for button side. 

Sew on buttons on across from buttonhole and you're done! Enjoy wearing your snazzy-looking and sturdy button bands!

Adding A Ribbon Backing to Your Knit Button Band


Print Friendly and PDF Follow
follow us in feedly

Fair Times, Fun Times

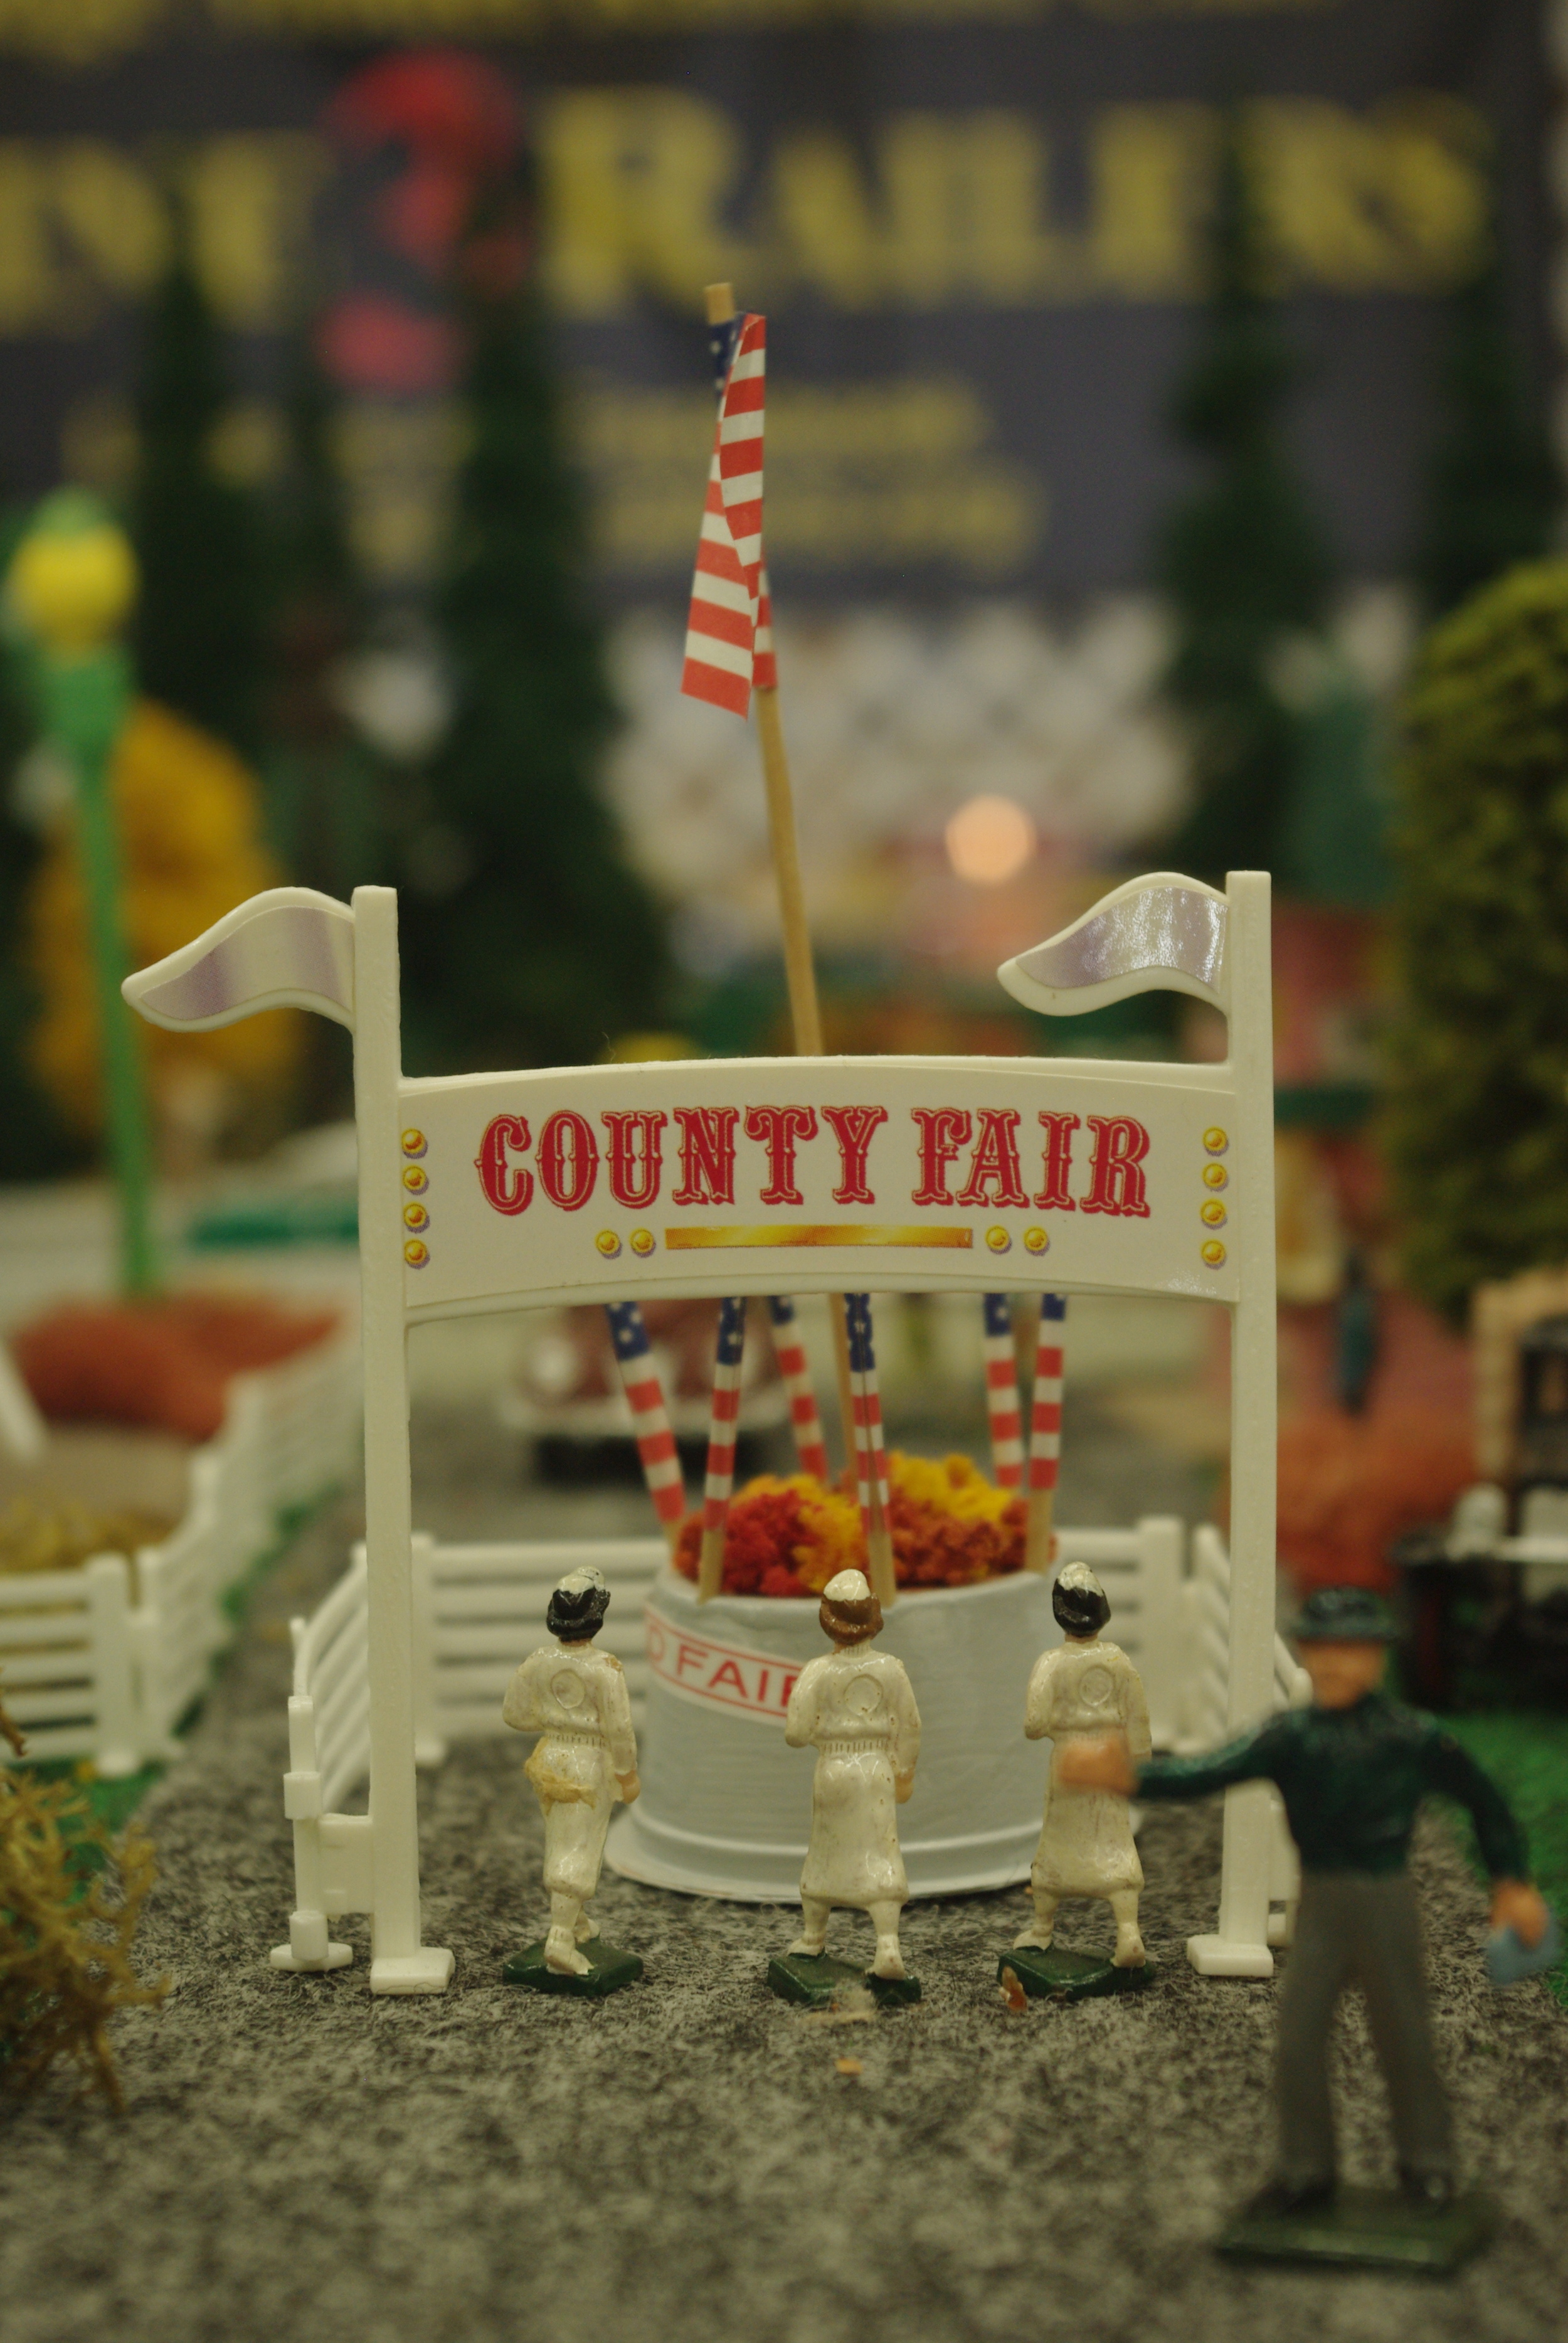
Cumberland County Fair
IMGP3700.JPG
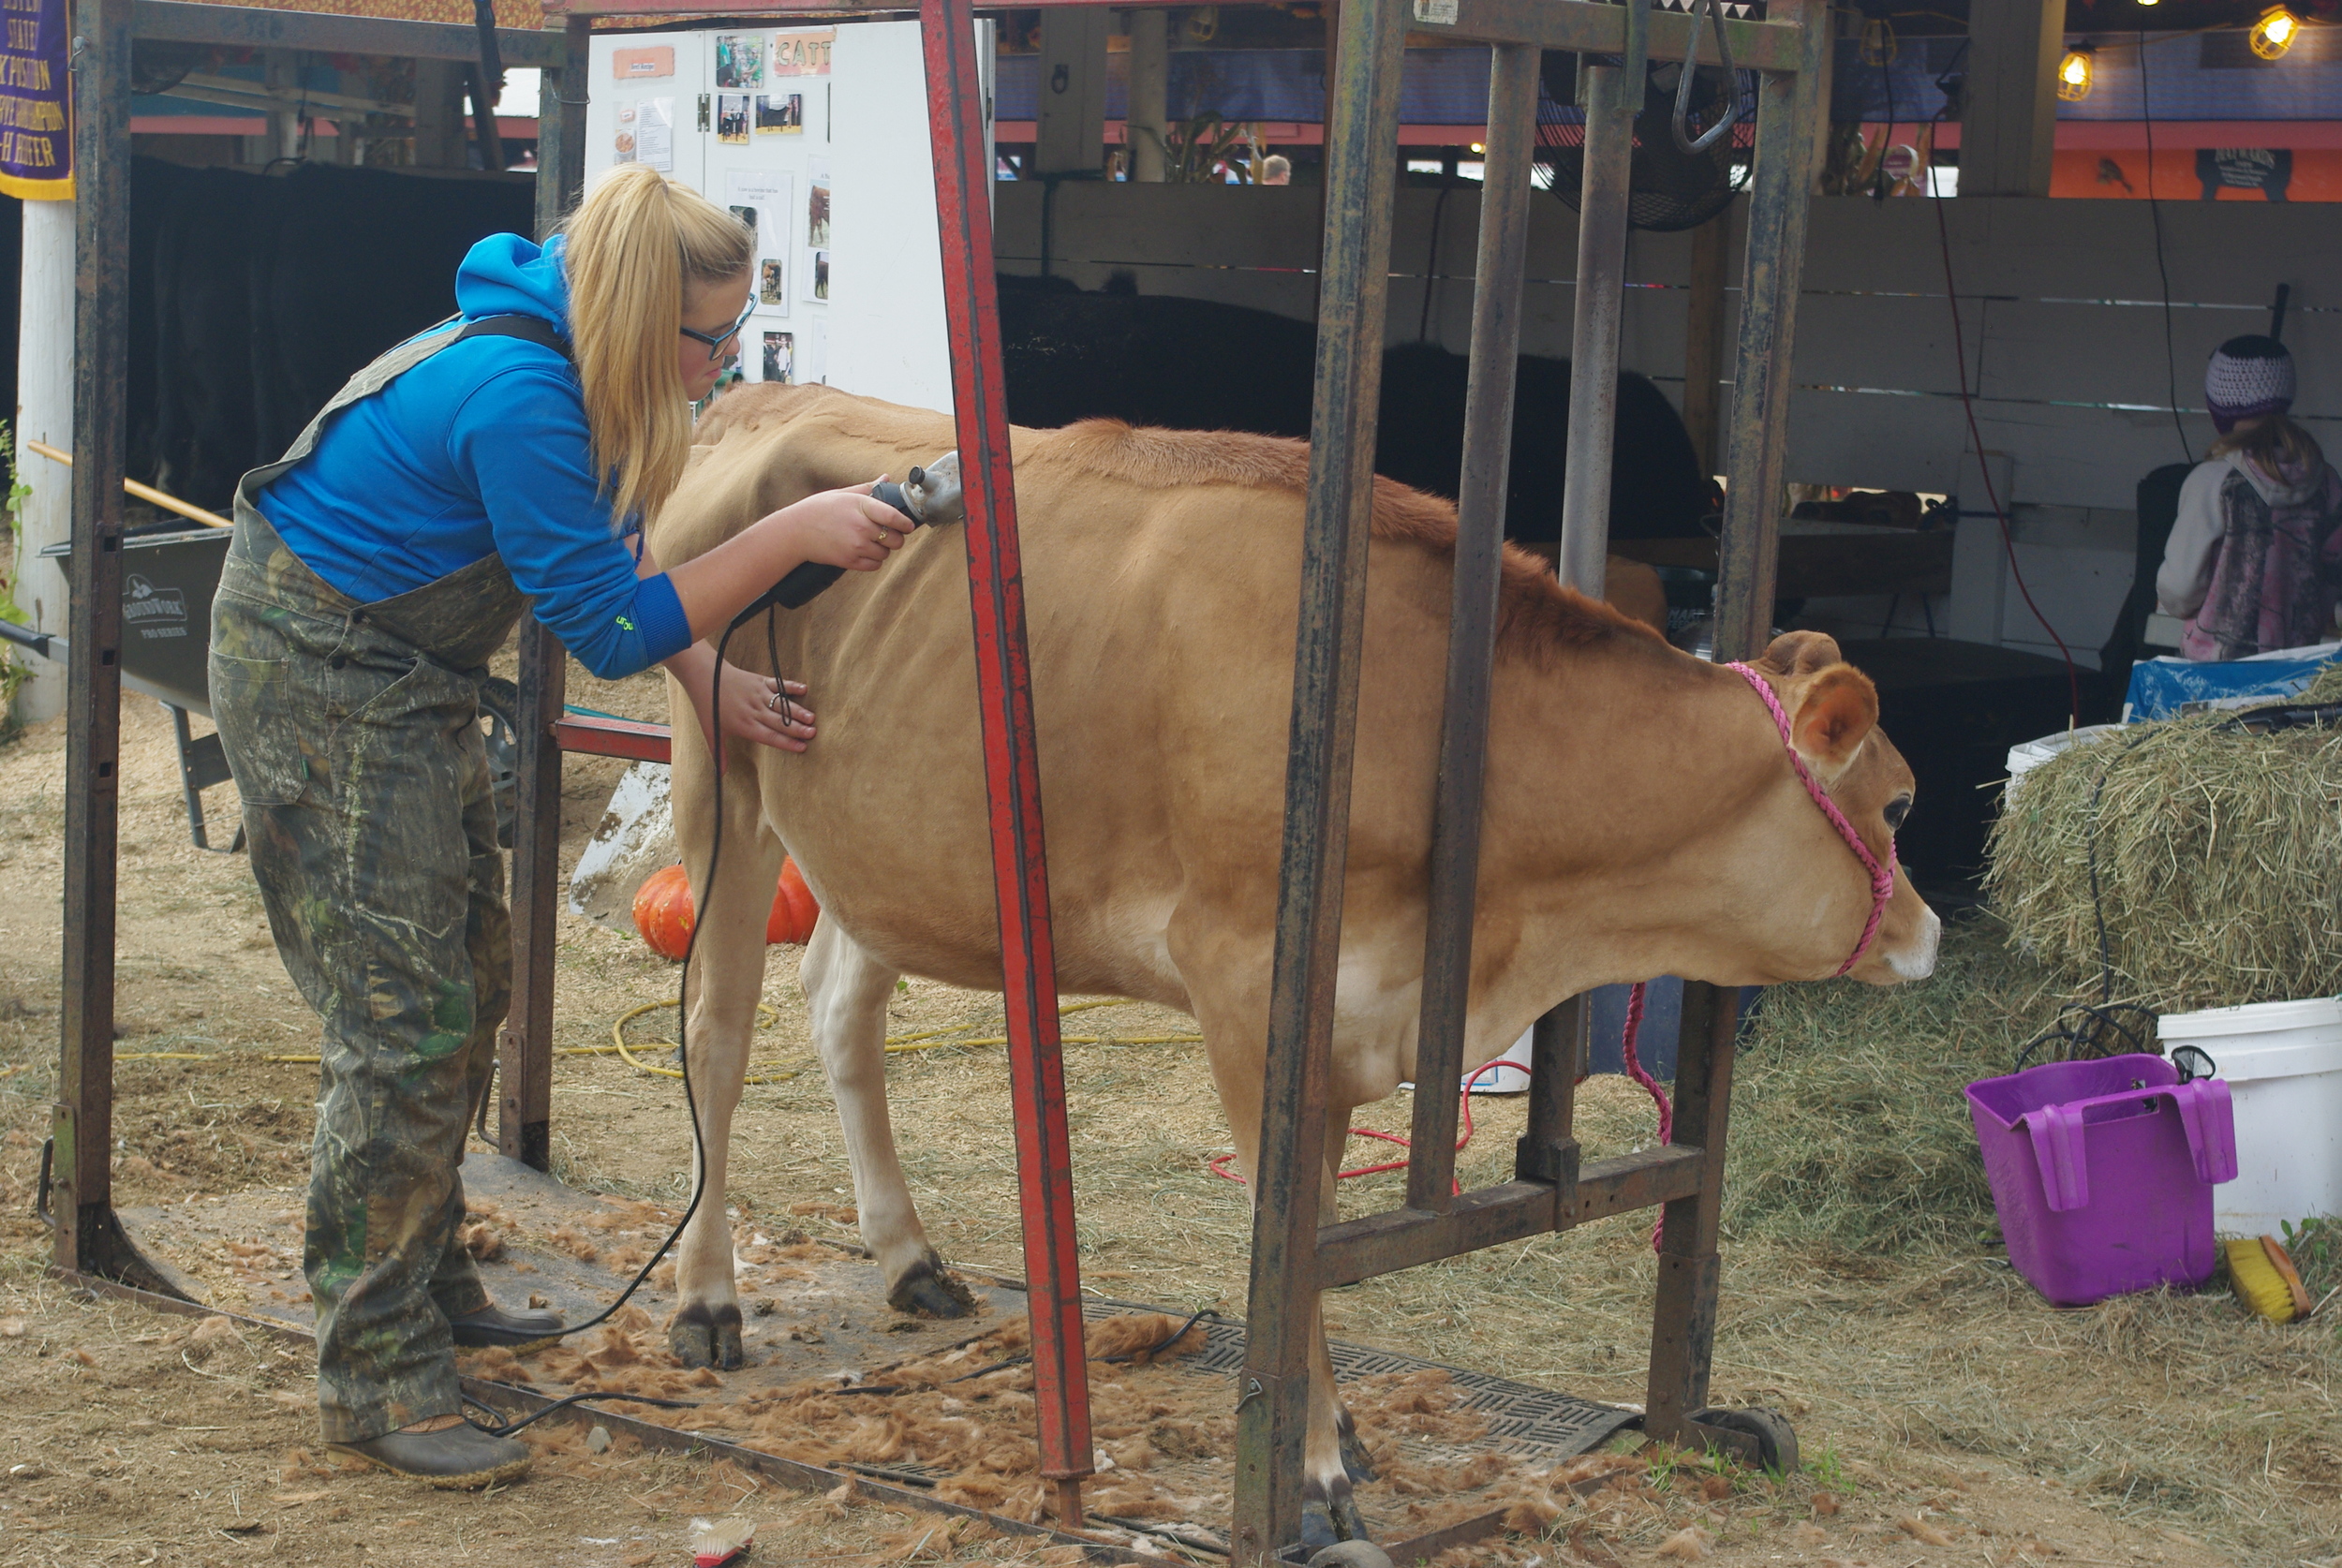
Cumberland County Fair
2015-10-02 10.06.50-1.jpg

I think I say this every year, but I love fair season so much.

This is a big turn around from my feelings on the county fair when I was a kid, and never got to go on any rides and had to represent my dance studio on hot awful concrete stages, or at it's least appealing, that one time in high school I volunteered to do an anti-drug puppet show from beneath a folding table. Then, the fair was always an obligation, but as a grown-up - it's way more fun, and as a parent? A blast!

A grand time was had by Cleavers young and old, but Little Miss Cleaver, who is tall enough now to ride the rides, had the best time of all I think. She particularly wanted to ride the Ferris Wheel, and had a blast going up and down and up down. The Carousel took second place in her affections, I think. 

Speaking of placing things, I knocked another item off my bucket list by winning a blue ribbon at the county fair. I entered in two categories - pie (other) and coffee cake (quick). My Blackberry Pie with Lemon Streusel got me the coveted blue ribbon and my Prize Coffee Cake netted my a third prize (knocked down by "Way too much cinnamon" and my inclusion of some wheat flour which made it "heavy"). My efforts also netted me a check for a cool $8. Not too bad for my first try. It appears that if you want the really  big ribbons you have to go in for the sponsored contests, so I may try my hand at one of those next year. 

 We petted all sorts of animals and marveled at giant pumpkins, ate junk food, got poop on our shoes, and braved ourselves against the chill. Another fantastic day at the fair. 


Print Friendly and PDF Follow
follow us in feedly

Introducing: Prairie Wife

Prairie Wife design by Leah B. Thibault for Ms. Cleaver Creations

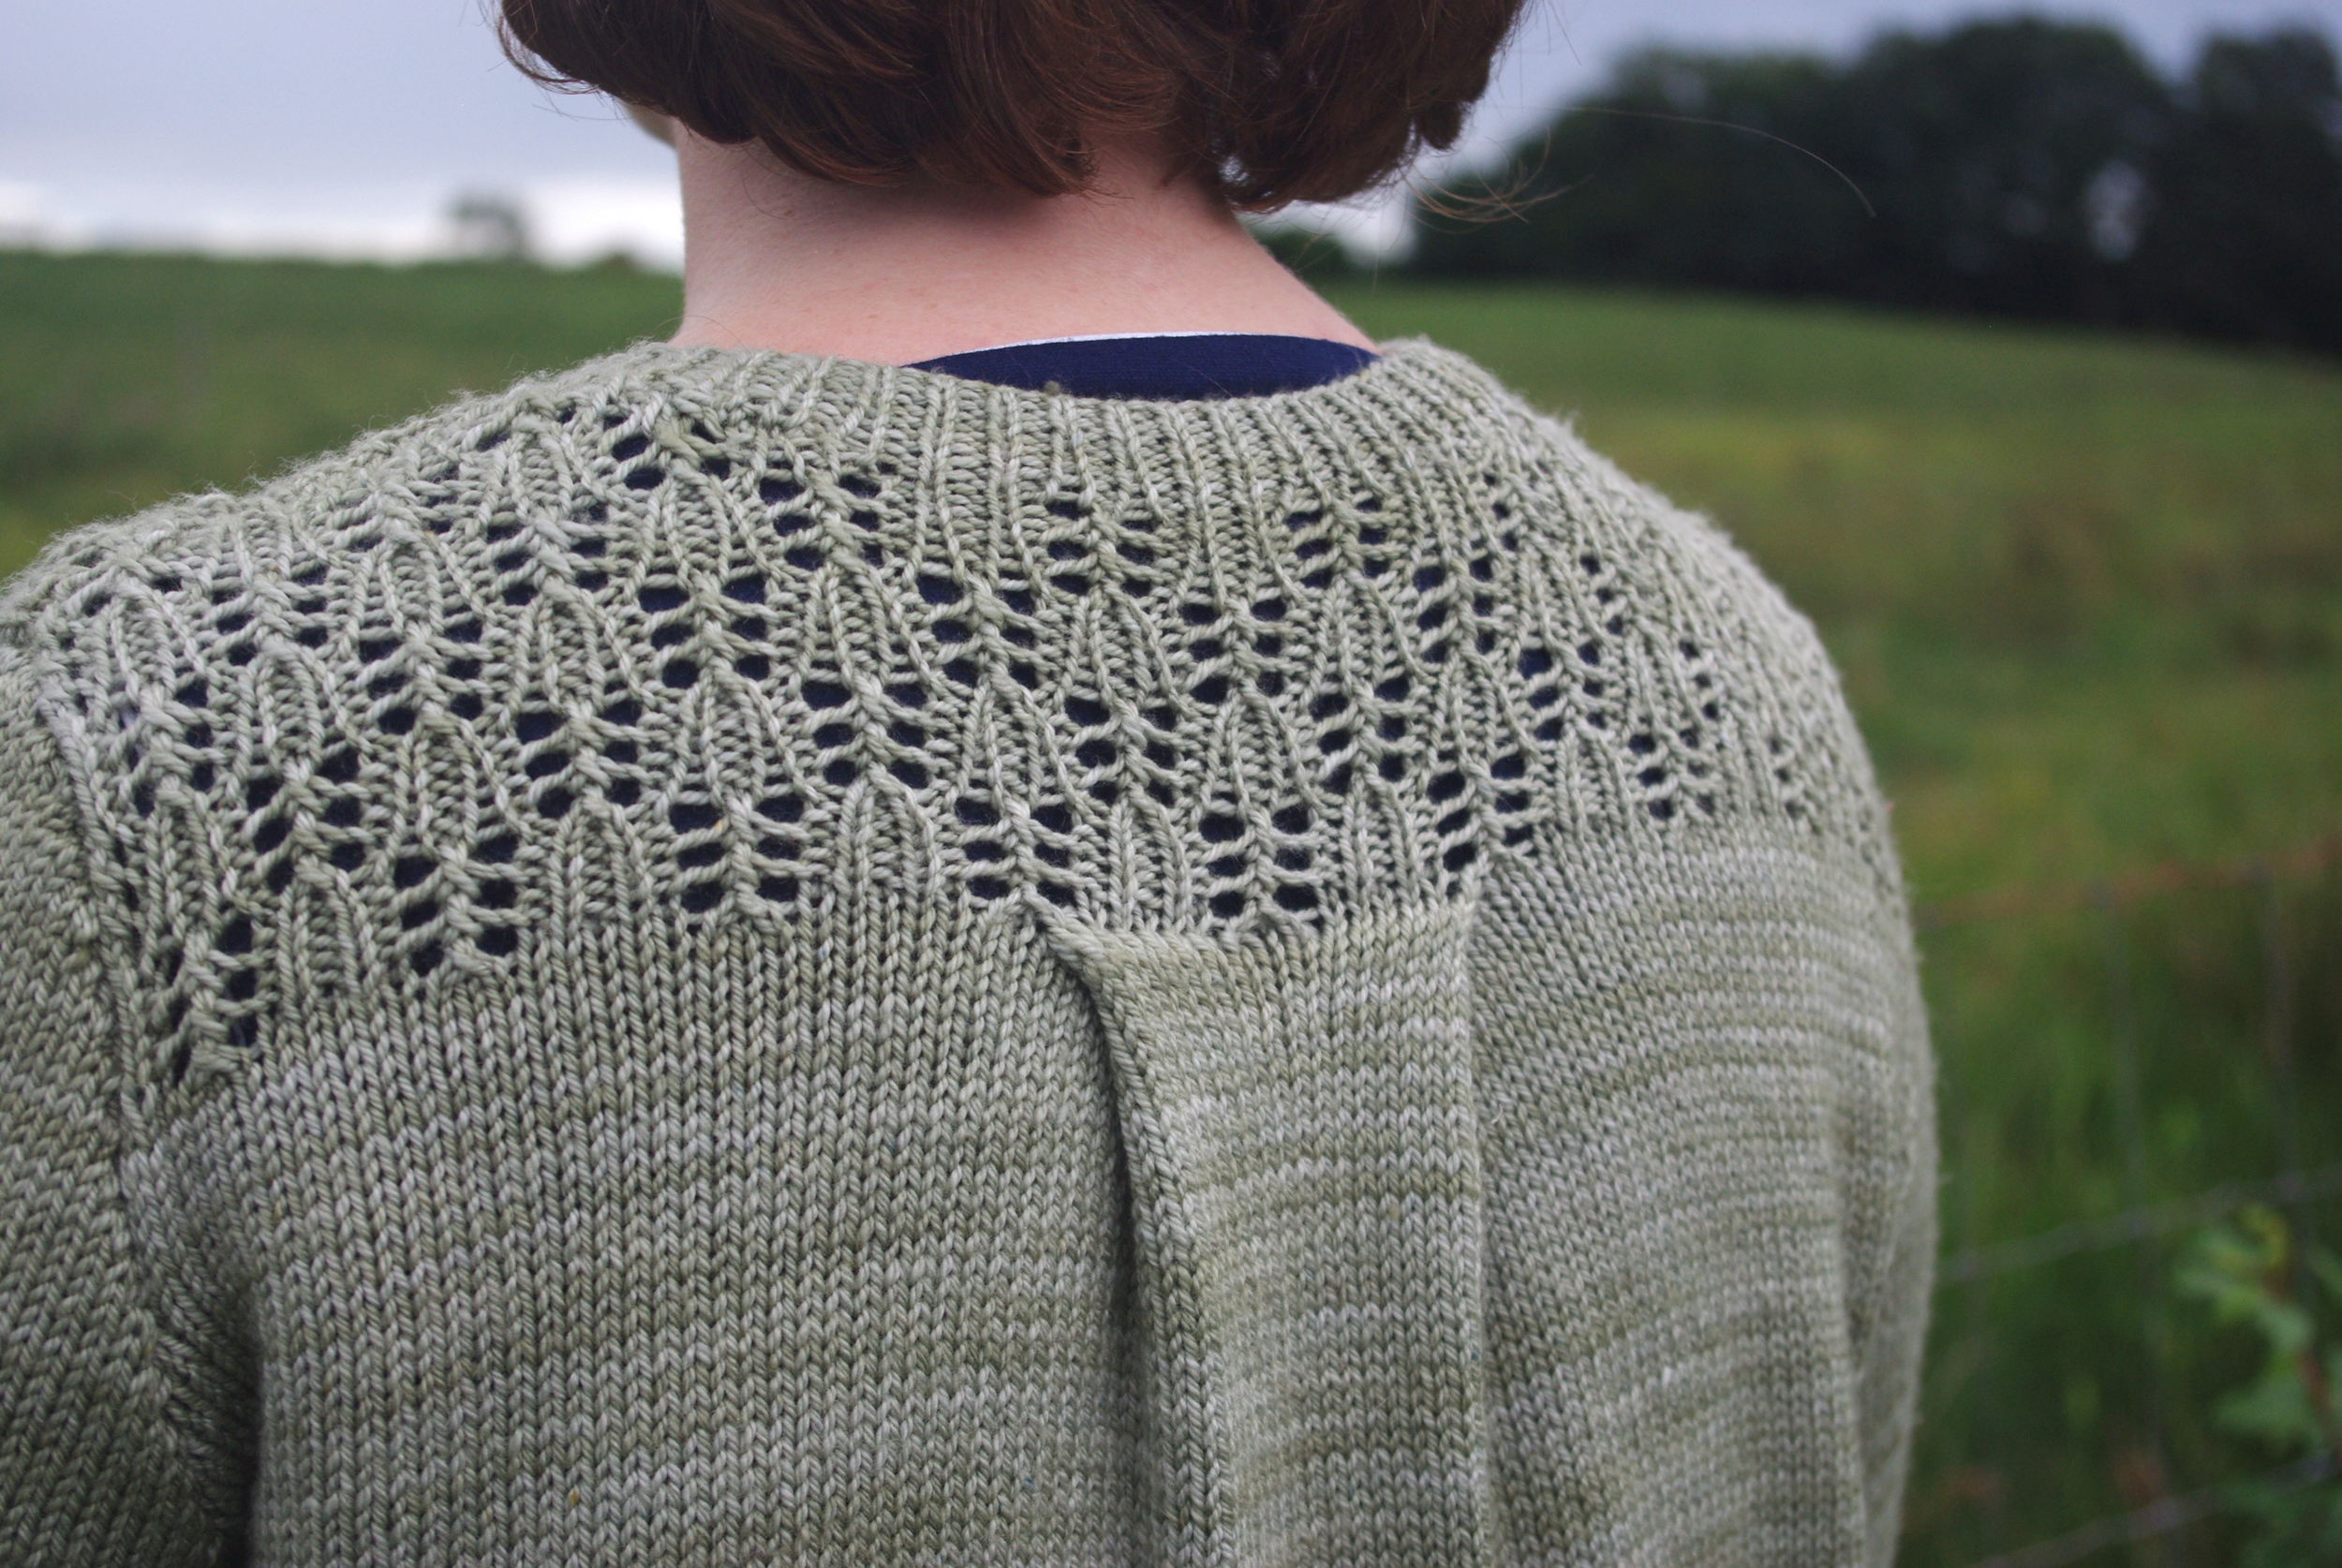
Sometimes, a yarn and a design just come together like toast and jam. This, for me, is one of those designs. Earlier this year I was contacted by Shalimar Yarns to see if I'd like to do some work with their yarn. A week or so later, I had a sweater's worth of Breathless DK in Silver Sage to work with. This is a ridiculously beautiful yarn, and an utter joy to work with, so I wanted to do it justice with the design. I ended doing way more swatching than usual to get the drape just right. 

I've long been collecting images of pioneer women with the intent of doing some designs around it, and that came to the fore here. I've been especailly entranced by the work of South Dakota painter Harvey Dunn, and the western painting of N.C. Wyeth. Prairie Wife was specifically influenced by Wyeth's The Homesteaders (left) and Dunn's The Prairie is My Garden (right). 

The Homesteaders
The Prairie is My Garden

I wanted to capture the feel of these images, do homage to the grace and strength of these pioneer women,  as well as make some nods to western fashion. So I started off the design with the yoke and back box pleat, which is borrowed from Western/cowboy shirts, but made it knitterly and feminine by the inclusion of a floral-inspired lace motif. The pleats and loose-knit fabric keeps its breezy and swingy, while 3/4 sleeve keep your hands free for work. 

I don't know if I'm allowed to say this about my own patterns, but I adore the way this one turned out, which was even better than it originally was in my head. 

Prairie Wife is worked in pieces from the bottom up, with the collar and button bands picked up and worked after seaming. The shaping is all done with the pleats, so the body is simple back and forth Stockinette stitch, until you get to the armsceye/yoke. 

Again, a big thanks to Bristol Ivy for the lovely photos (complete with cows!) and Martha Wissing for the technical editing. 

Pattern Details 

Sizes

Bust Circumference: 33¼ (34 ¾, 36 ¼, 39 ¼, 44 ½, 46 ¼, 50, 53 ¾)”/ 84.5 (88.5, 92, 99.5, 113, 117.5, 127, 136.5)cm. To be worn with 2-3”/5-8 cm of positive ease.

Sample knit in size 39 ¼, with approximately 2”/5 cm of positive ease. (Wondering about ease?- Check this post out!)

Yarn

4 (4, 4, 5, 5, 5, 5, 6) skeins Shalimar Yarns Breathless DK in Silver Sage [75% Merino, 15% Cashmere, 10% Silk]; 270 yds (247 m) per 141g or approximately 1042 (1088, 1145, 1217, 1307, 1336, 1422, 1489) yards of DK weight yarn.

Purchase

Prairie Wife is available for purchase for $7.00 USD via the following methods:

Ravelry  //  Ms. Cleaver Creations  //  Love Knitting (coming soon)

Really love swingy A-line sweaters? FOR ONE WEEK ONLY - get both Prairie Wife and Lady Heartrose for $10.50 (Discount automatically applied to Ravelry purchases. Already have Lady Heartrose? The discount will still apply! Offer good until 10/8/15)

Ravelry  //  Ms. Cleaver Creations


Print Friendly and PDF Follow
follow us in feedly

Introducing: Lady Heartrose

Lady Heartrose designed by Leah B. Thibault for Ms. Cleaver Creations

I've already written a fair amount about Lady Heartrose, which has been way too long delayed by other deadline knitting, but I'm pleased to finally release it out into the world!

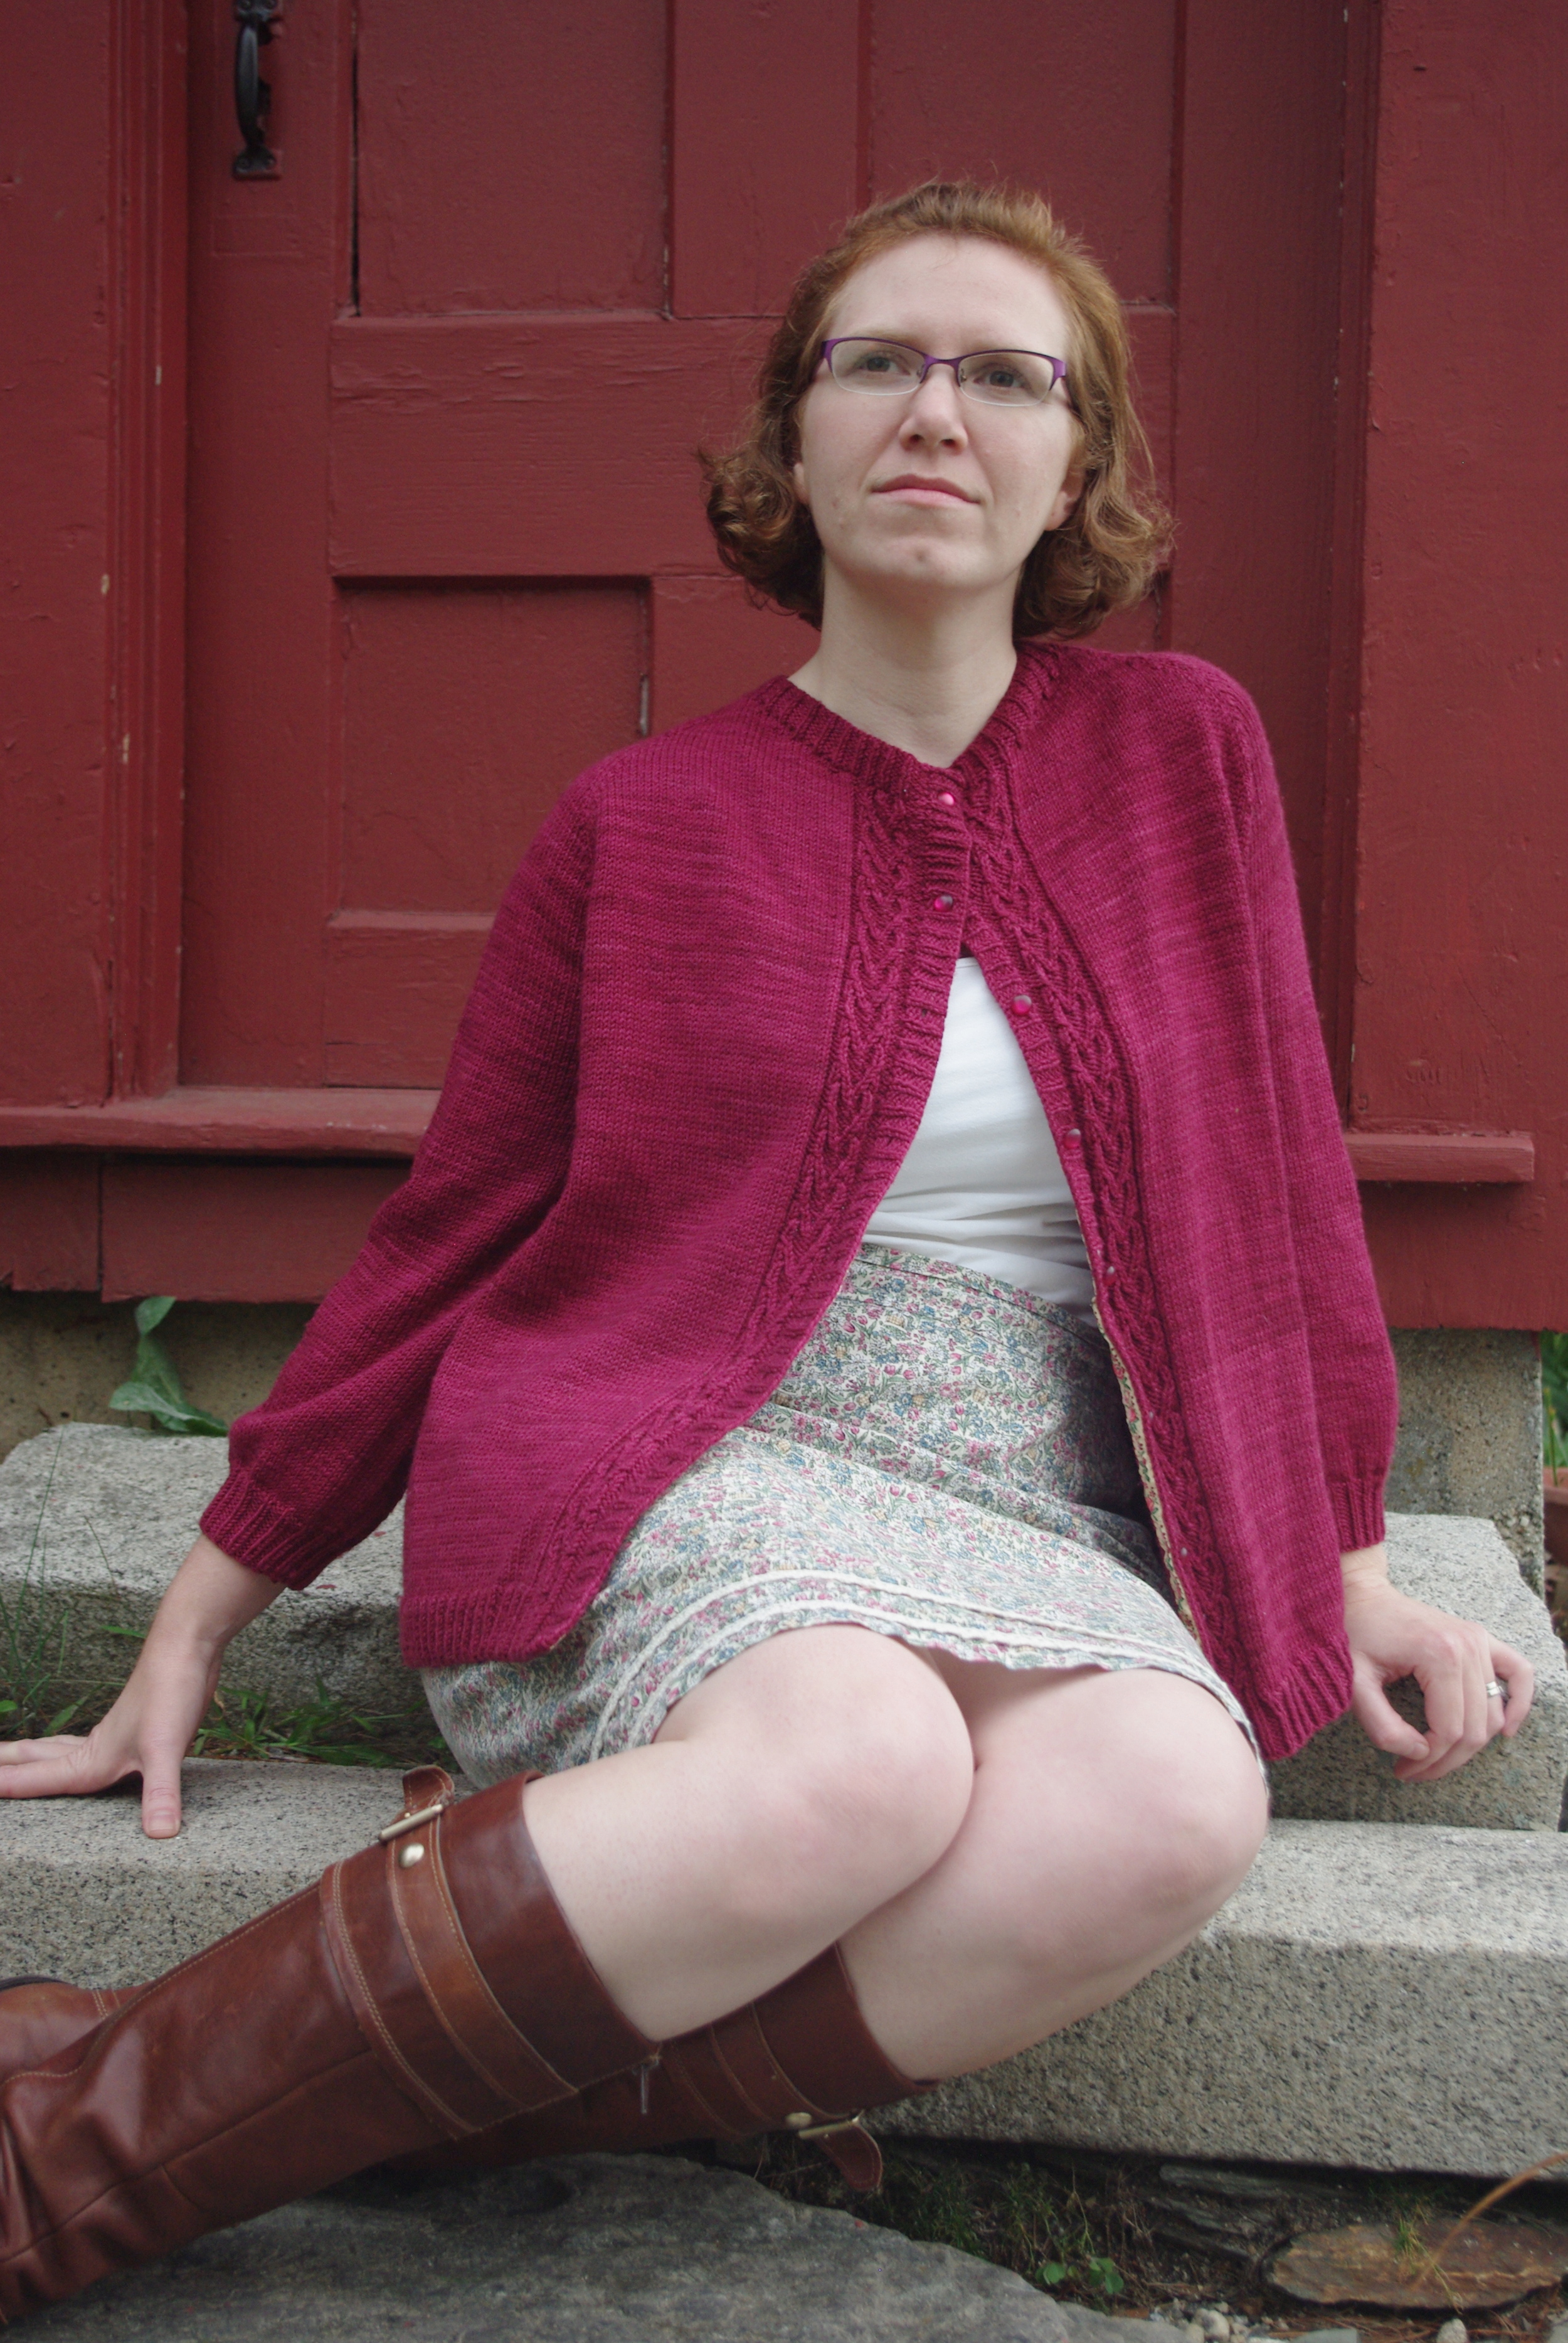
A companion to the pint-sized Heartrose, the grown up version is a ladylike A-line cardigan with slighty puffed 3/4 to bracelet length sleeves and the same sweet heart cable down the front. It buttons all the way down if you wish, but can also be worn buttoned at the top-only for maximum swing, as shown here. 

The pattern is knit from the bottom-up seamlessly, with raglan-style sleeve. The button band is then picked up and worked last. The cable elements are confined to the starts and rends of rows, which,  when combined with the simple, seamless construction, would make this a great beginner/car/ tv-knitting sweater. 

The sample is knit up in the soft and drapey Swans Island Washable Wool DK in Malbec, a rich wine-like color, that suits this more grown-up version. 

A big thanks to Bristol Ivy for the photos and Martha Wissing for the technical editing. 

If you really love A-Line sweaters, wait for a second pattern announcement and special discount coming later this week! (Don't want to miss a pattern? Sign up for the newsletter!)

Pattern Details 

Sizes

Bust Circumference: 34 (36, 37 ¾, 39 ¼, 40 ½, 42 ½, 46 ½, 50)”/ 86.5 (91.5, 96, 99.5, 103, 108, 118, 127) cm. To be worn with 1-2 inches of positive ease.

Sample knit in size 39 ¼, with approximately 2”/5 cm of positive ease. (Wondering about ease?- Check this post out!)

Yarn

9 (10, 10, 11, 11, 12, 13, 14) skeins Swans Island Washable Wool DK in Malbec/EWS205 [100% Washable Organic Merino Wool]; 140 yds [128 m] per 50g or approximately 1210 (1310, 1390, 1450, 1515, 1600, 1775, 1940) yards of DK weight yarn.

Purchase

Lady Heartrose is available for purchase for $7.00 USD via the following methods:

Ravelry  //  Ms. Cleaver Creations  //  Love Knitting (coming soon)

Want to knit a matching adult/kid set? Get the pair for $3.oo off the individual prices! (Discount automatically applied to Ravelry purchases. Already have Heartrose? The discount will still apply!)

Ravelry  //  Ms. Cleaver Creations


Print Friendly and PDF Follow
follow us in feedly

Coming Soon....

Lady Heartrose
Prairie Wife Cardigan

Two new sweater patterns coming soon.  Want to find out when they do? Sign up for the mailing list below!


Print Friendly and PDF Follow
follow us in feedly