The Cakes My Mother Made

I’ve been thinking about my mom a lot recently.

It’s only natural. Back in February, I took a trip out to California, where (among other things) I took the time to say goodbye to her. My mother has dementia, and while she may have many months left to go, she is far along in the progression of that disease. Her memory has failed her, but I’m finding comfort in my own memories.

It was not surprising then, that a few weeks before I left for that trip, I thought of my mother’s birthday cakes.

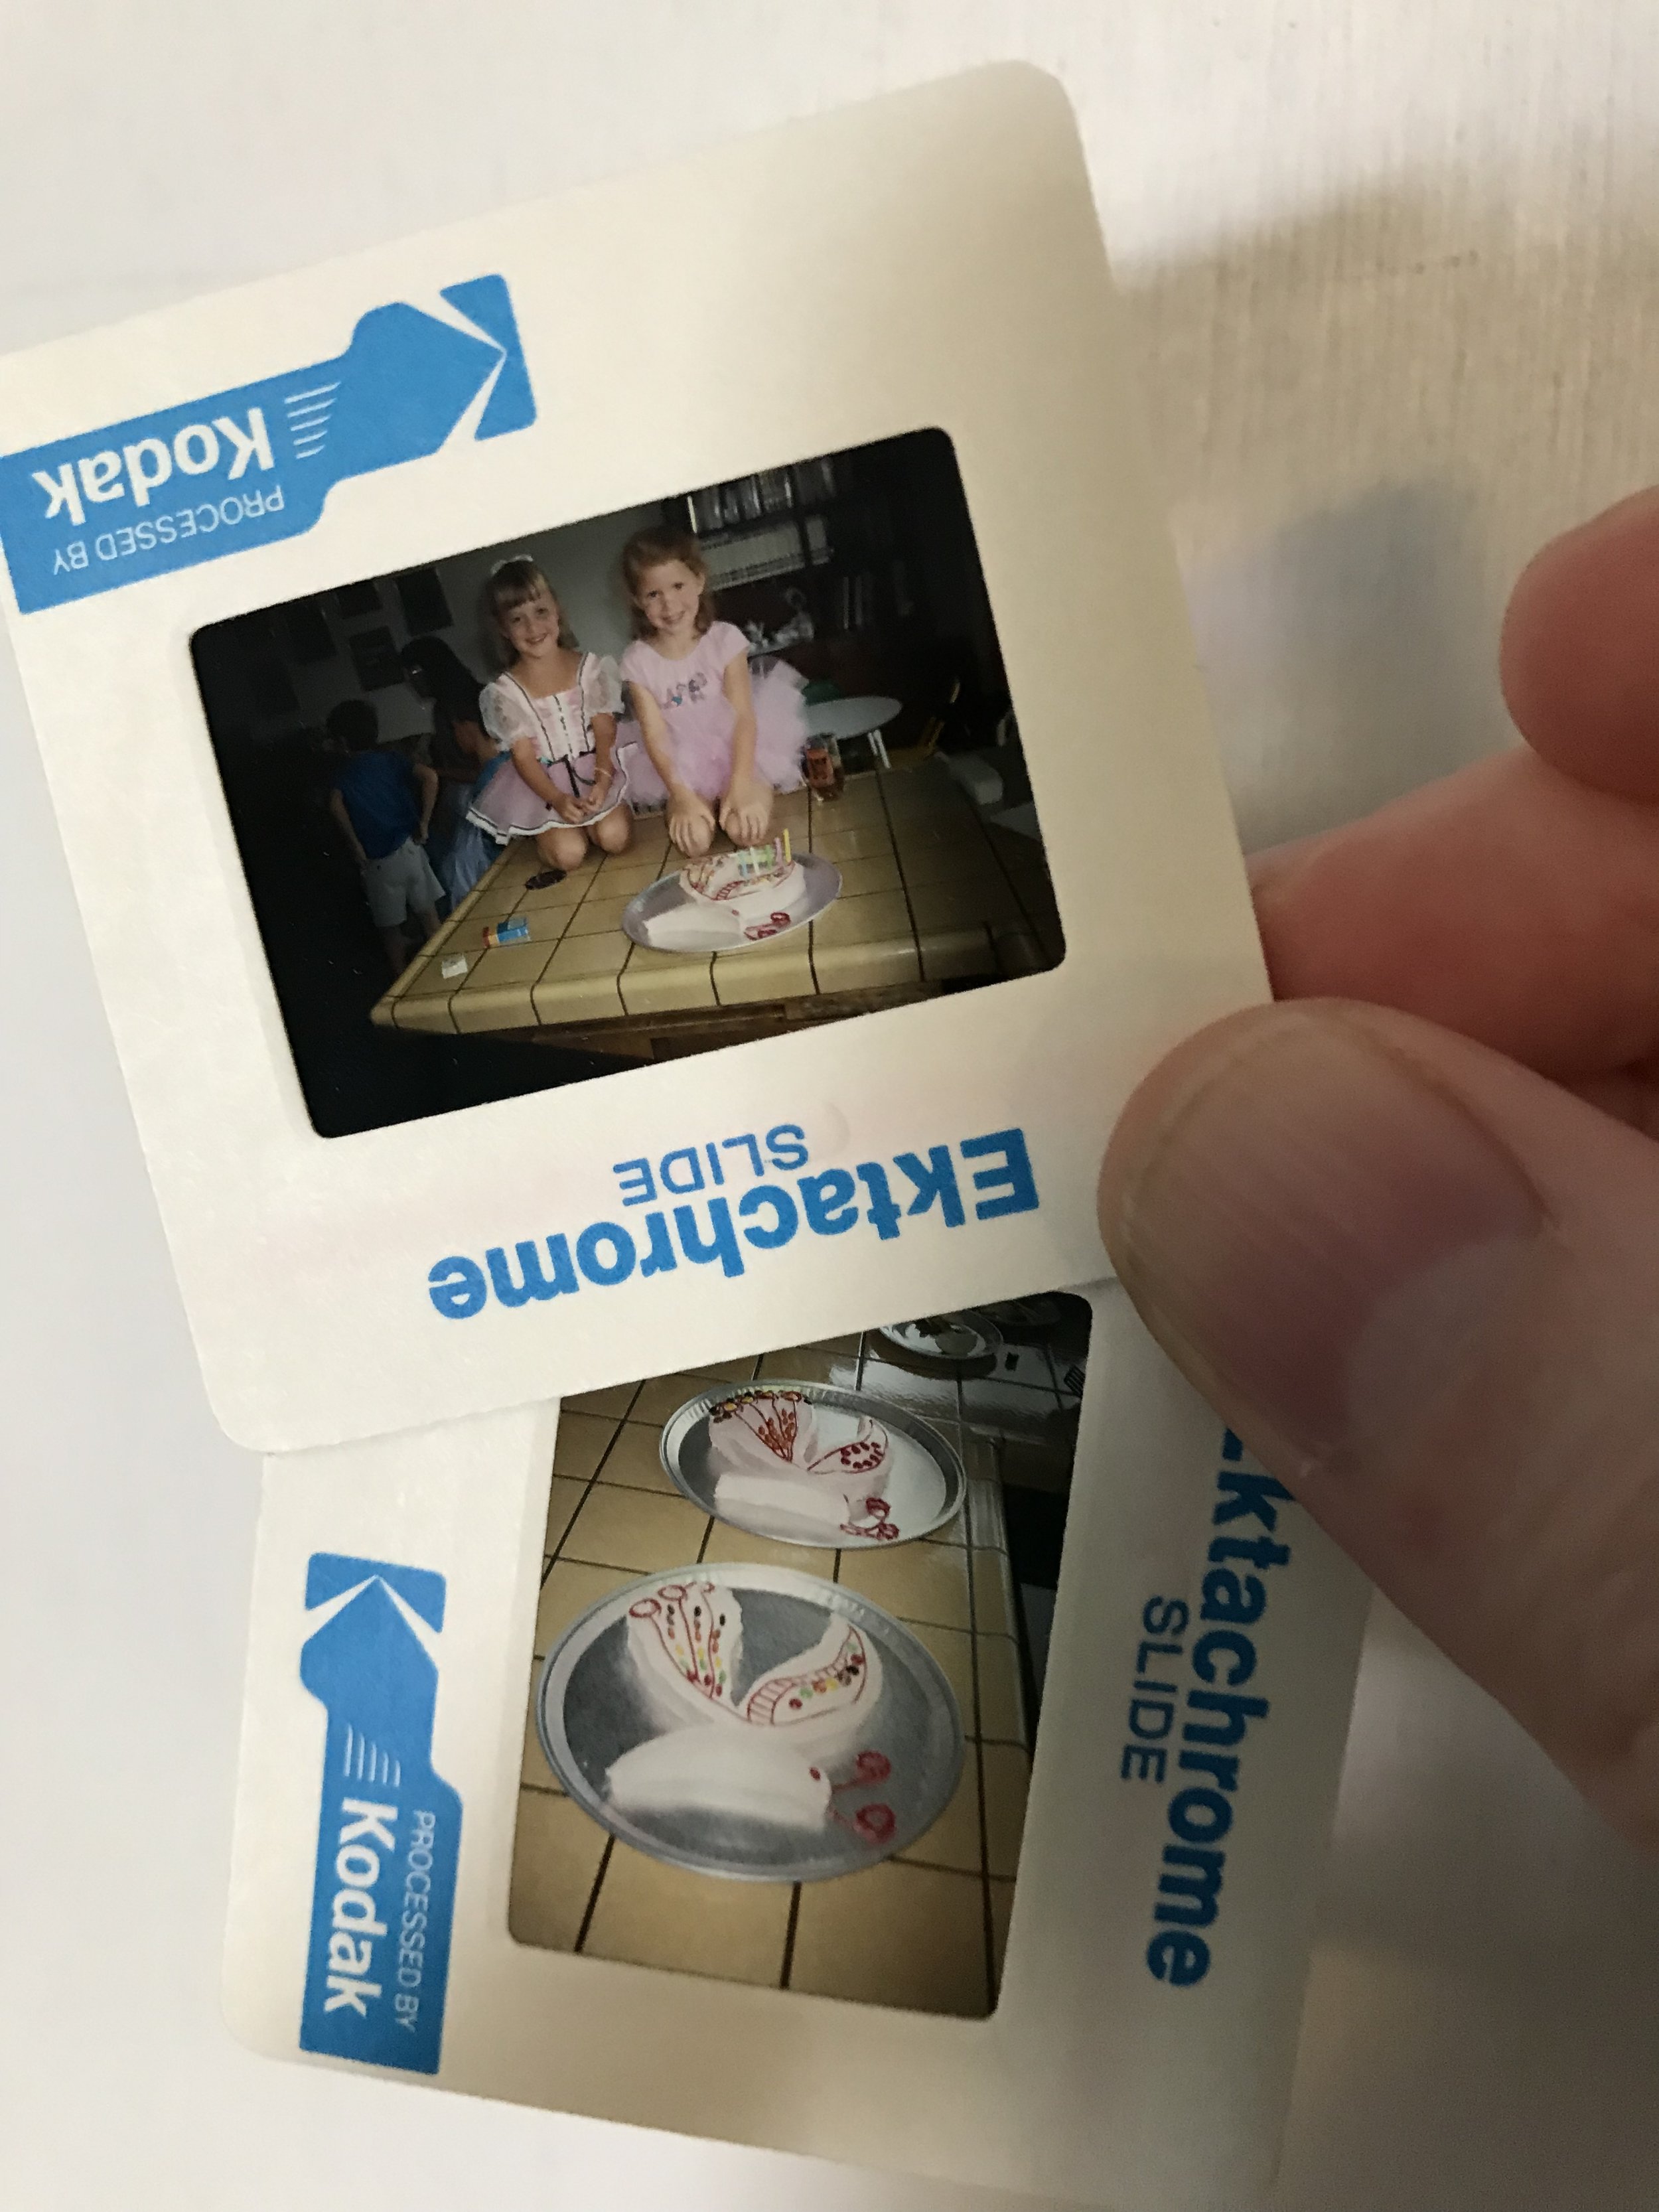
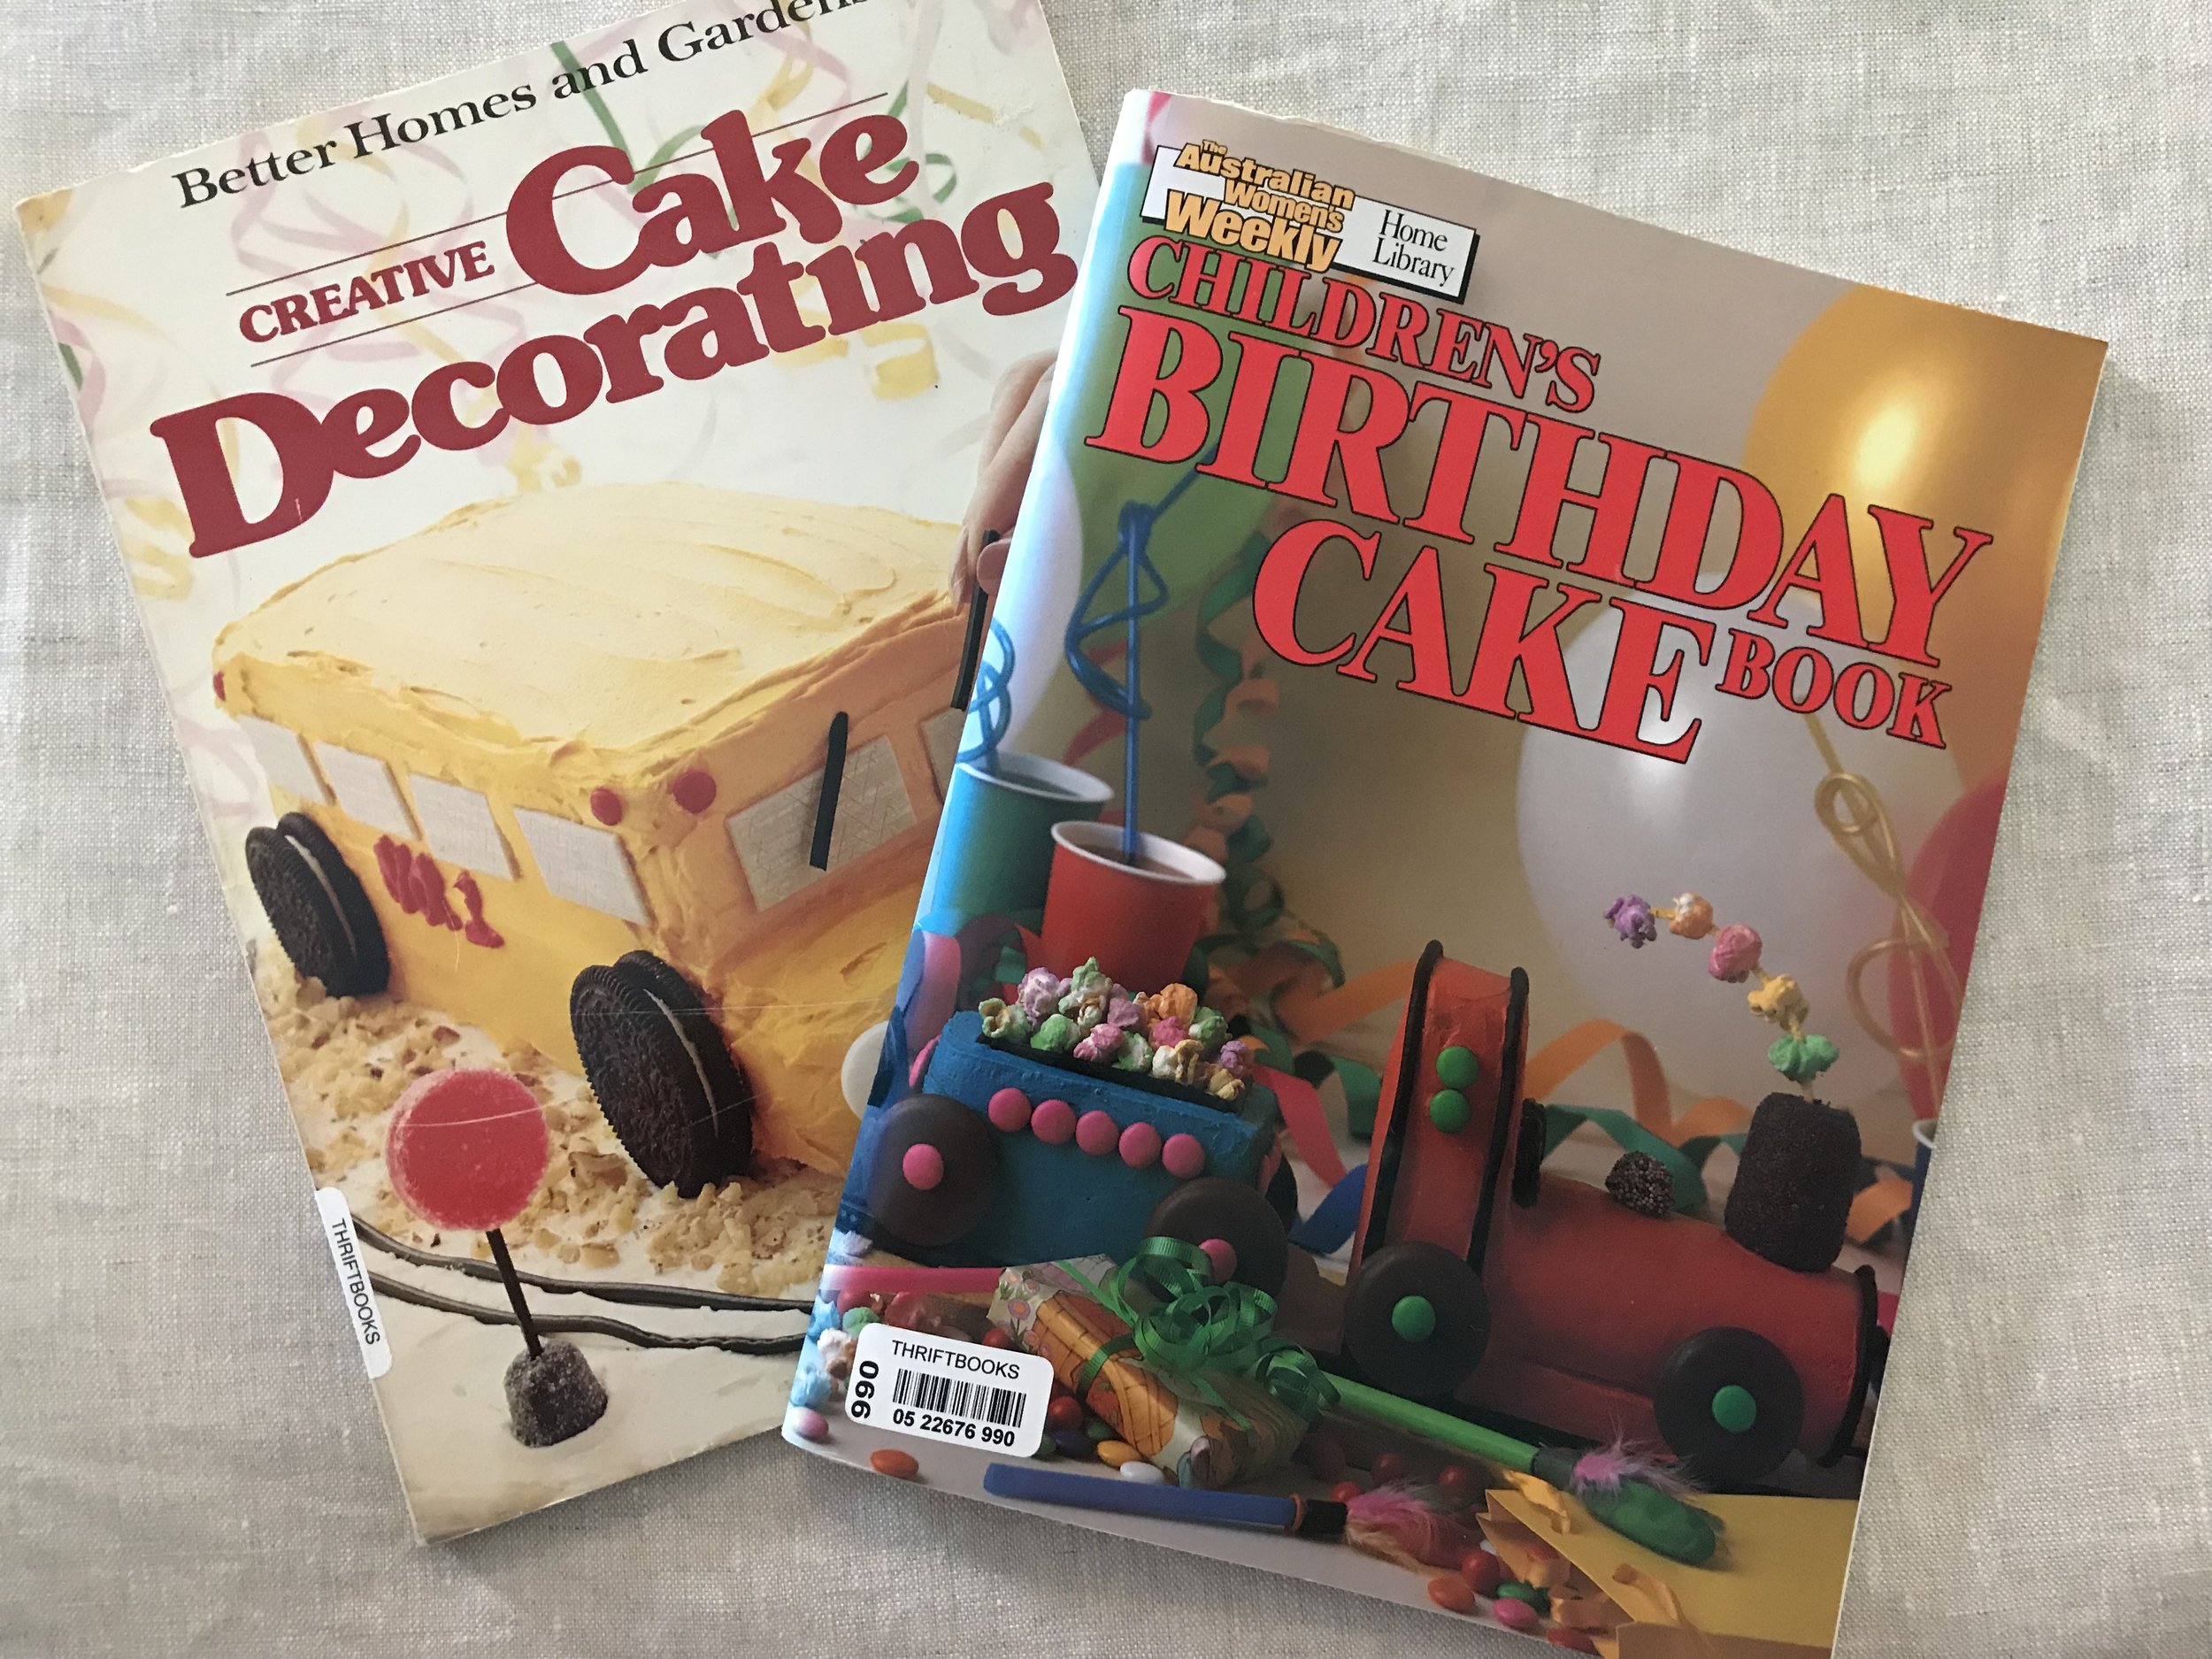
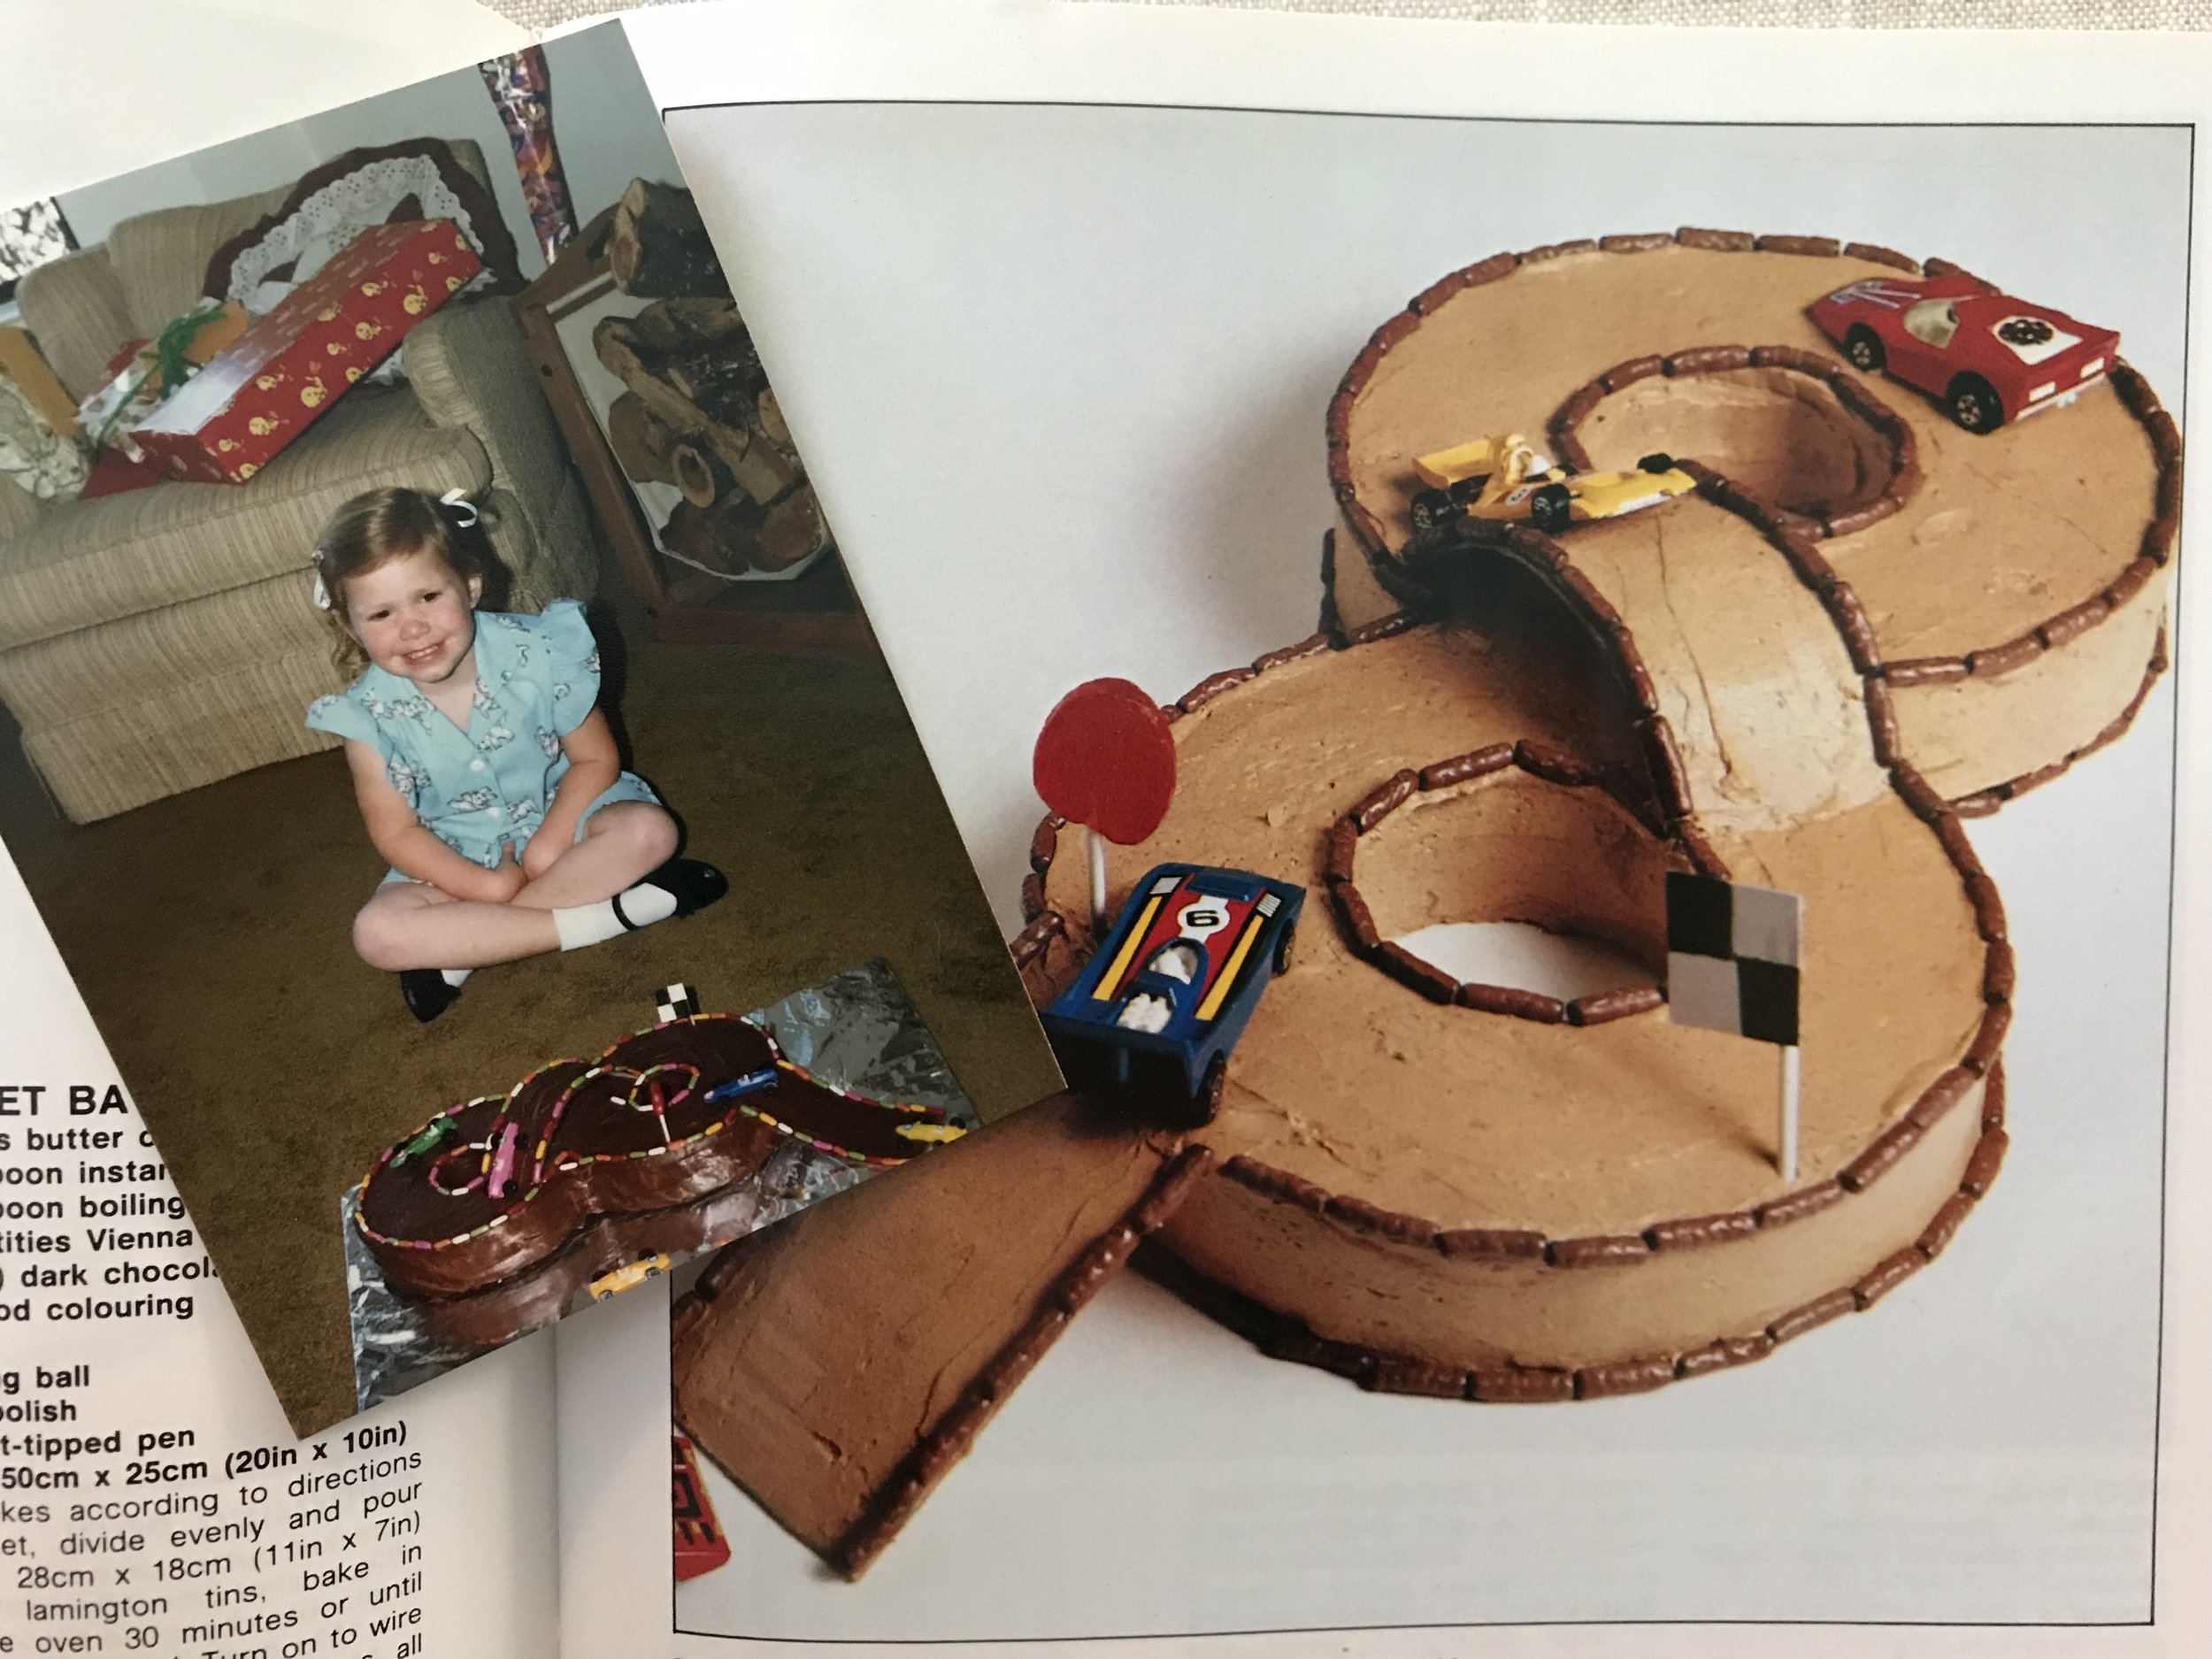
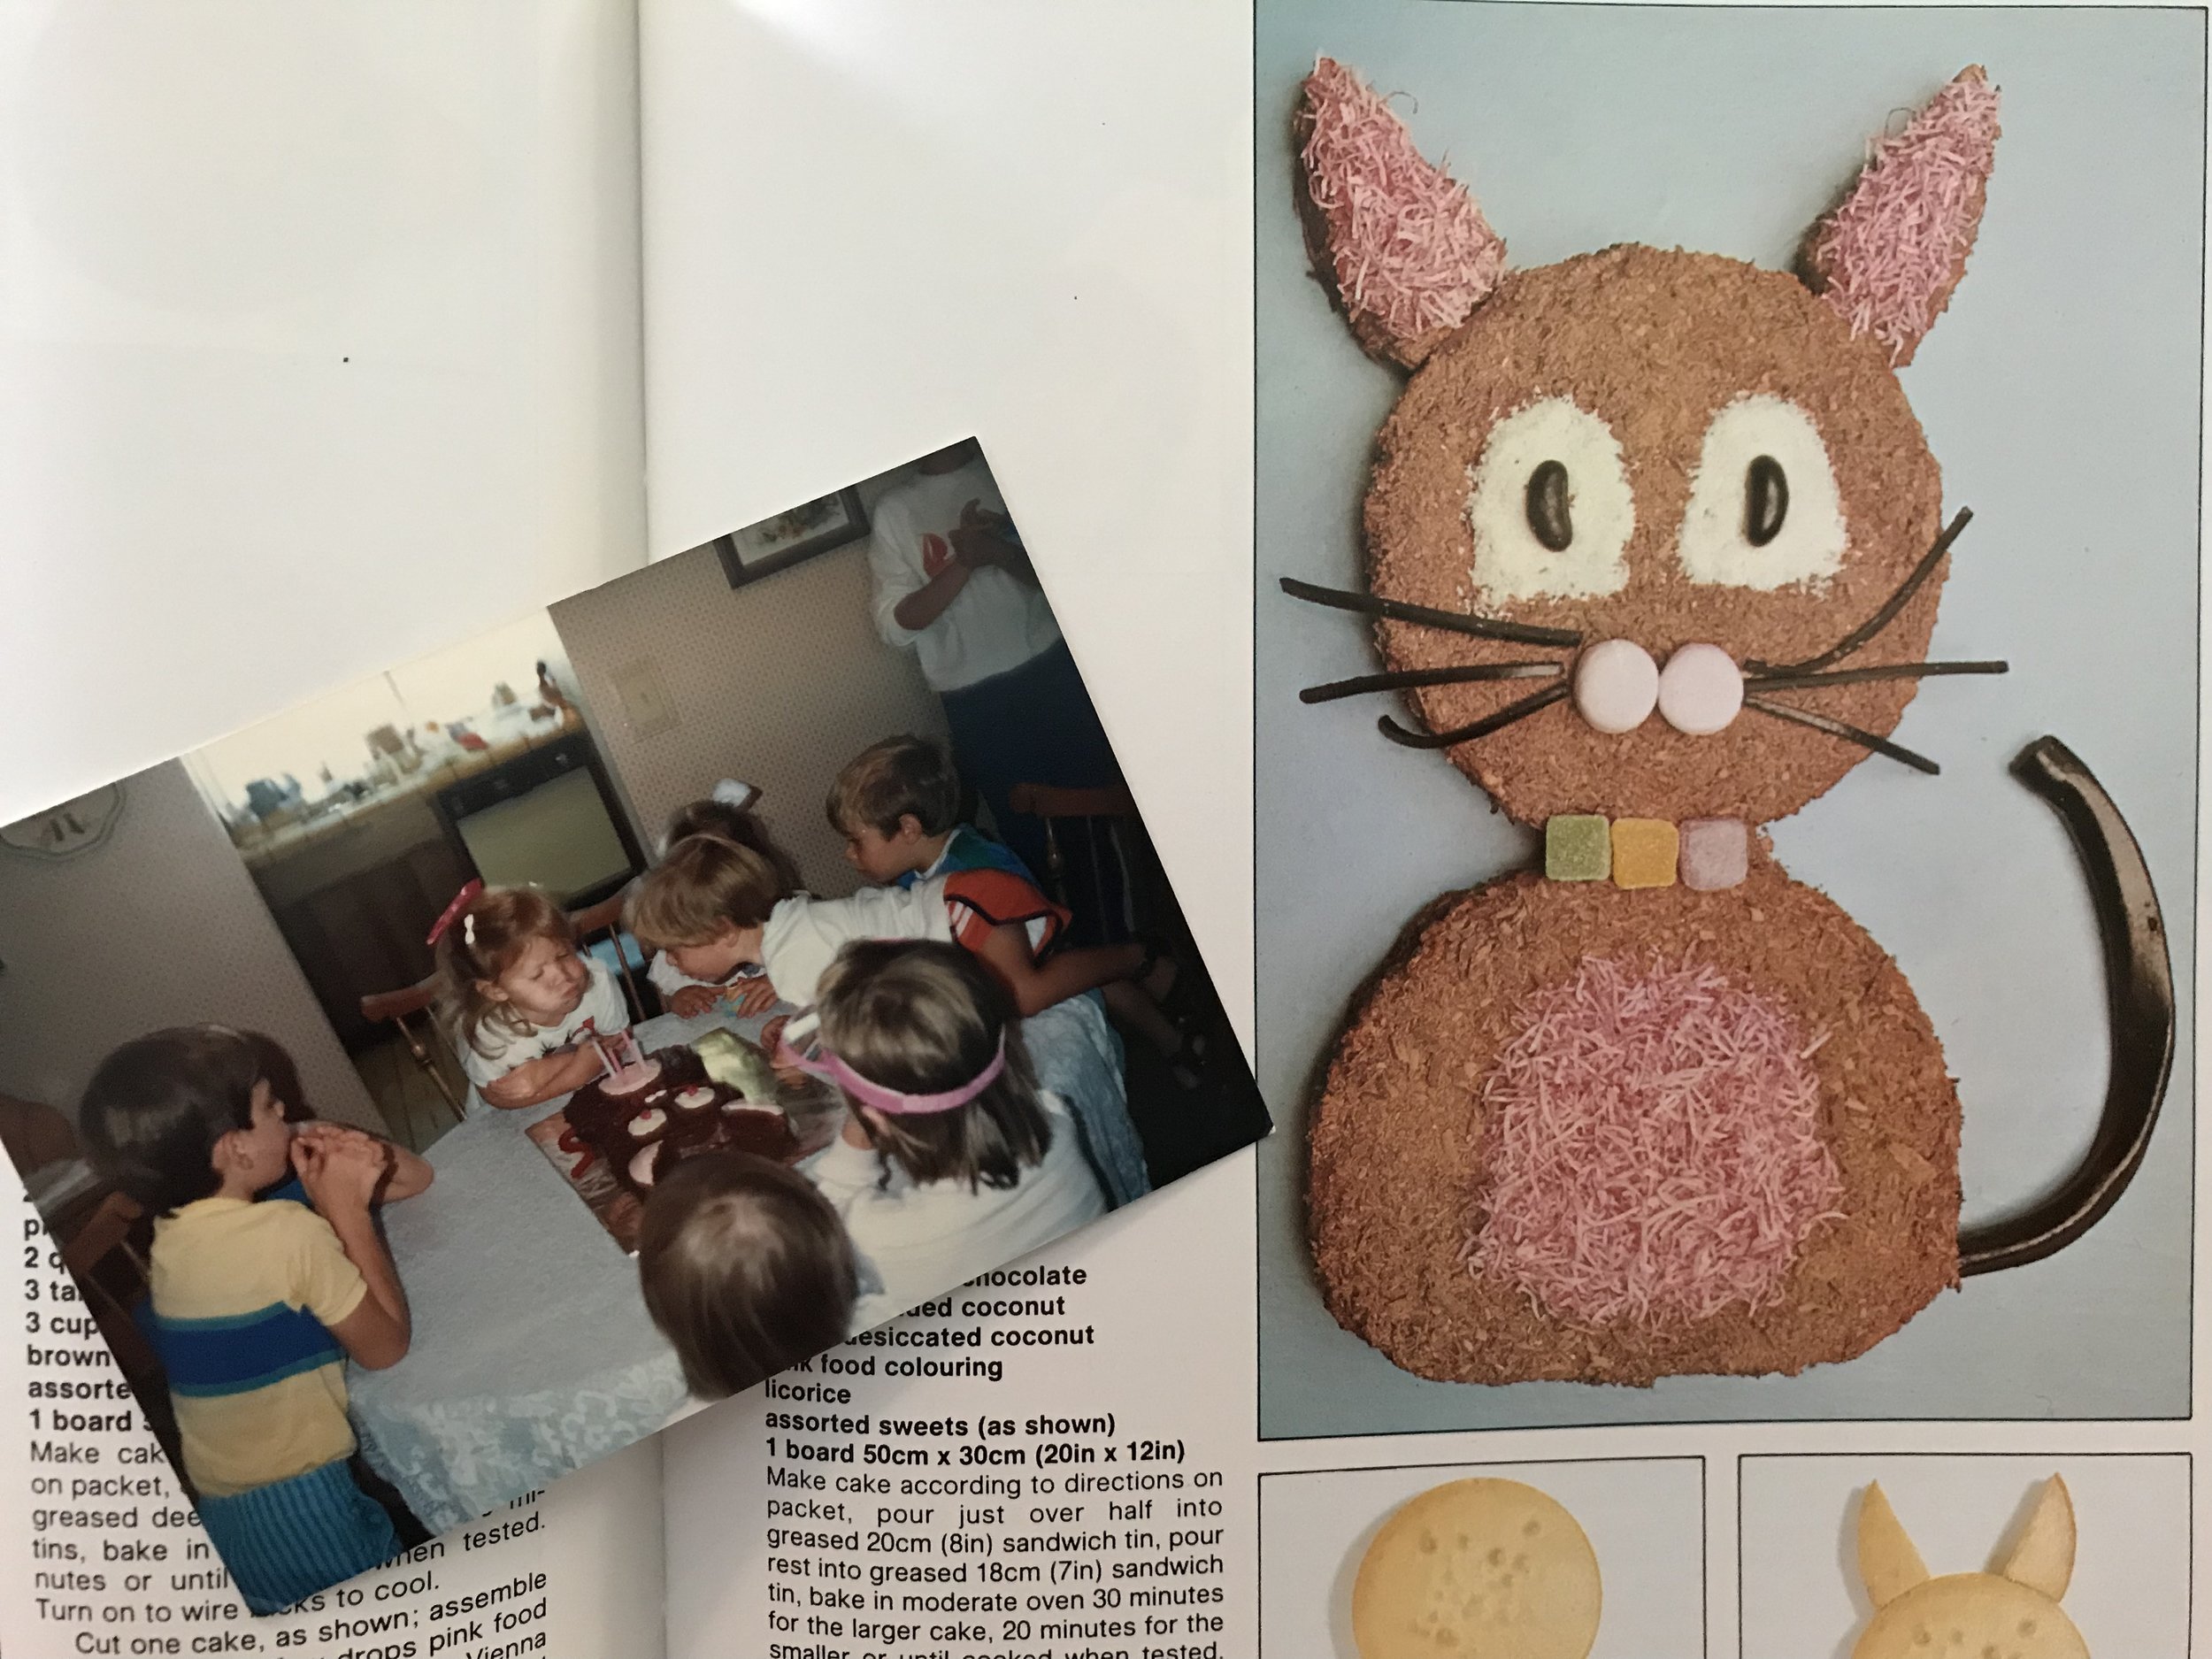
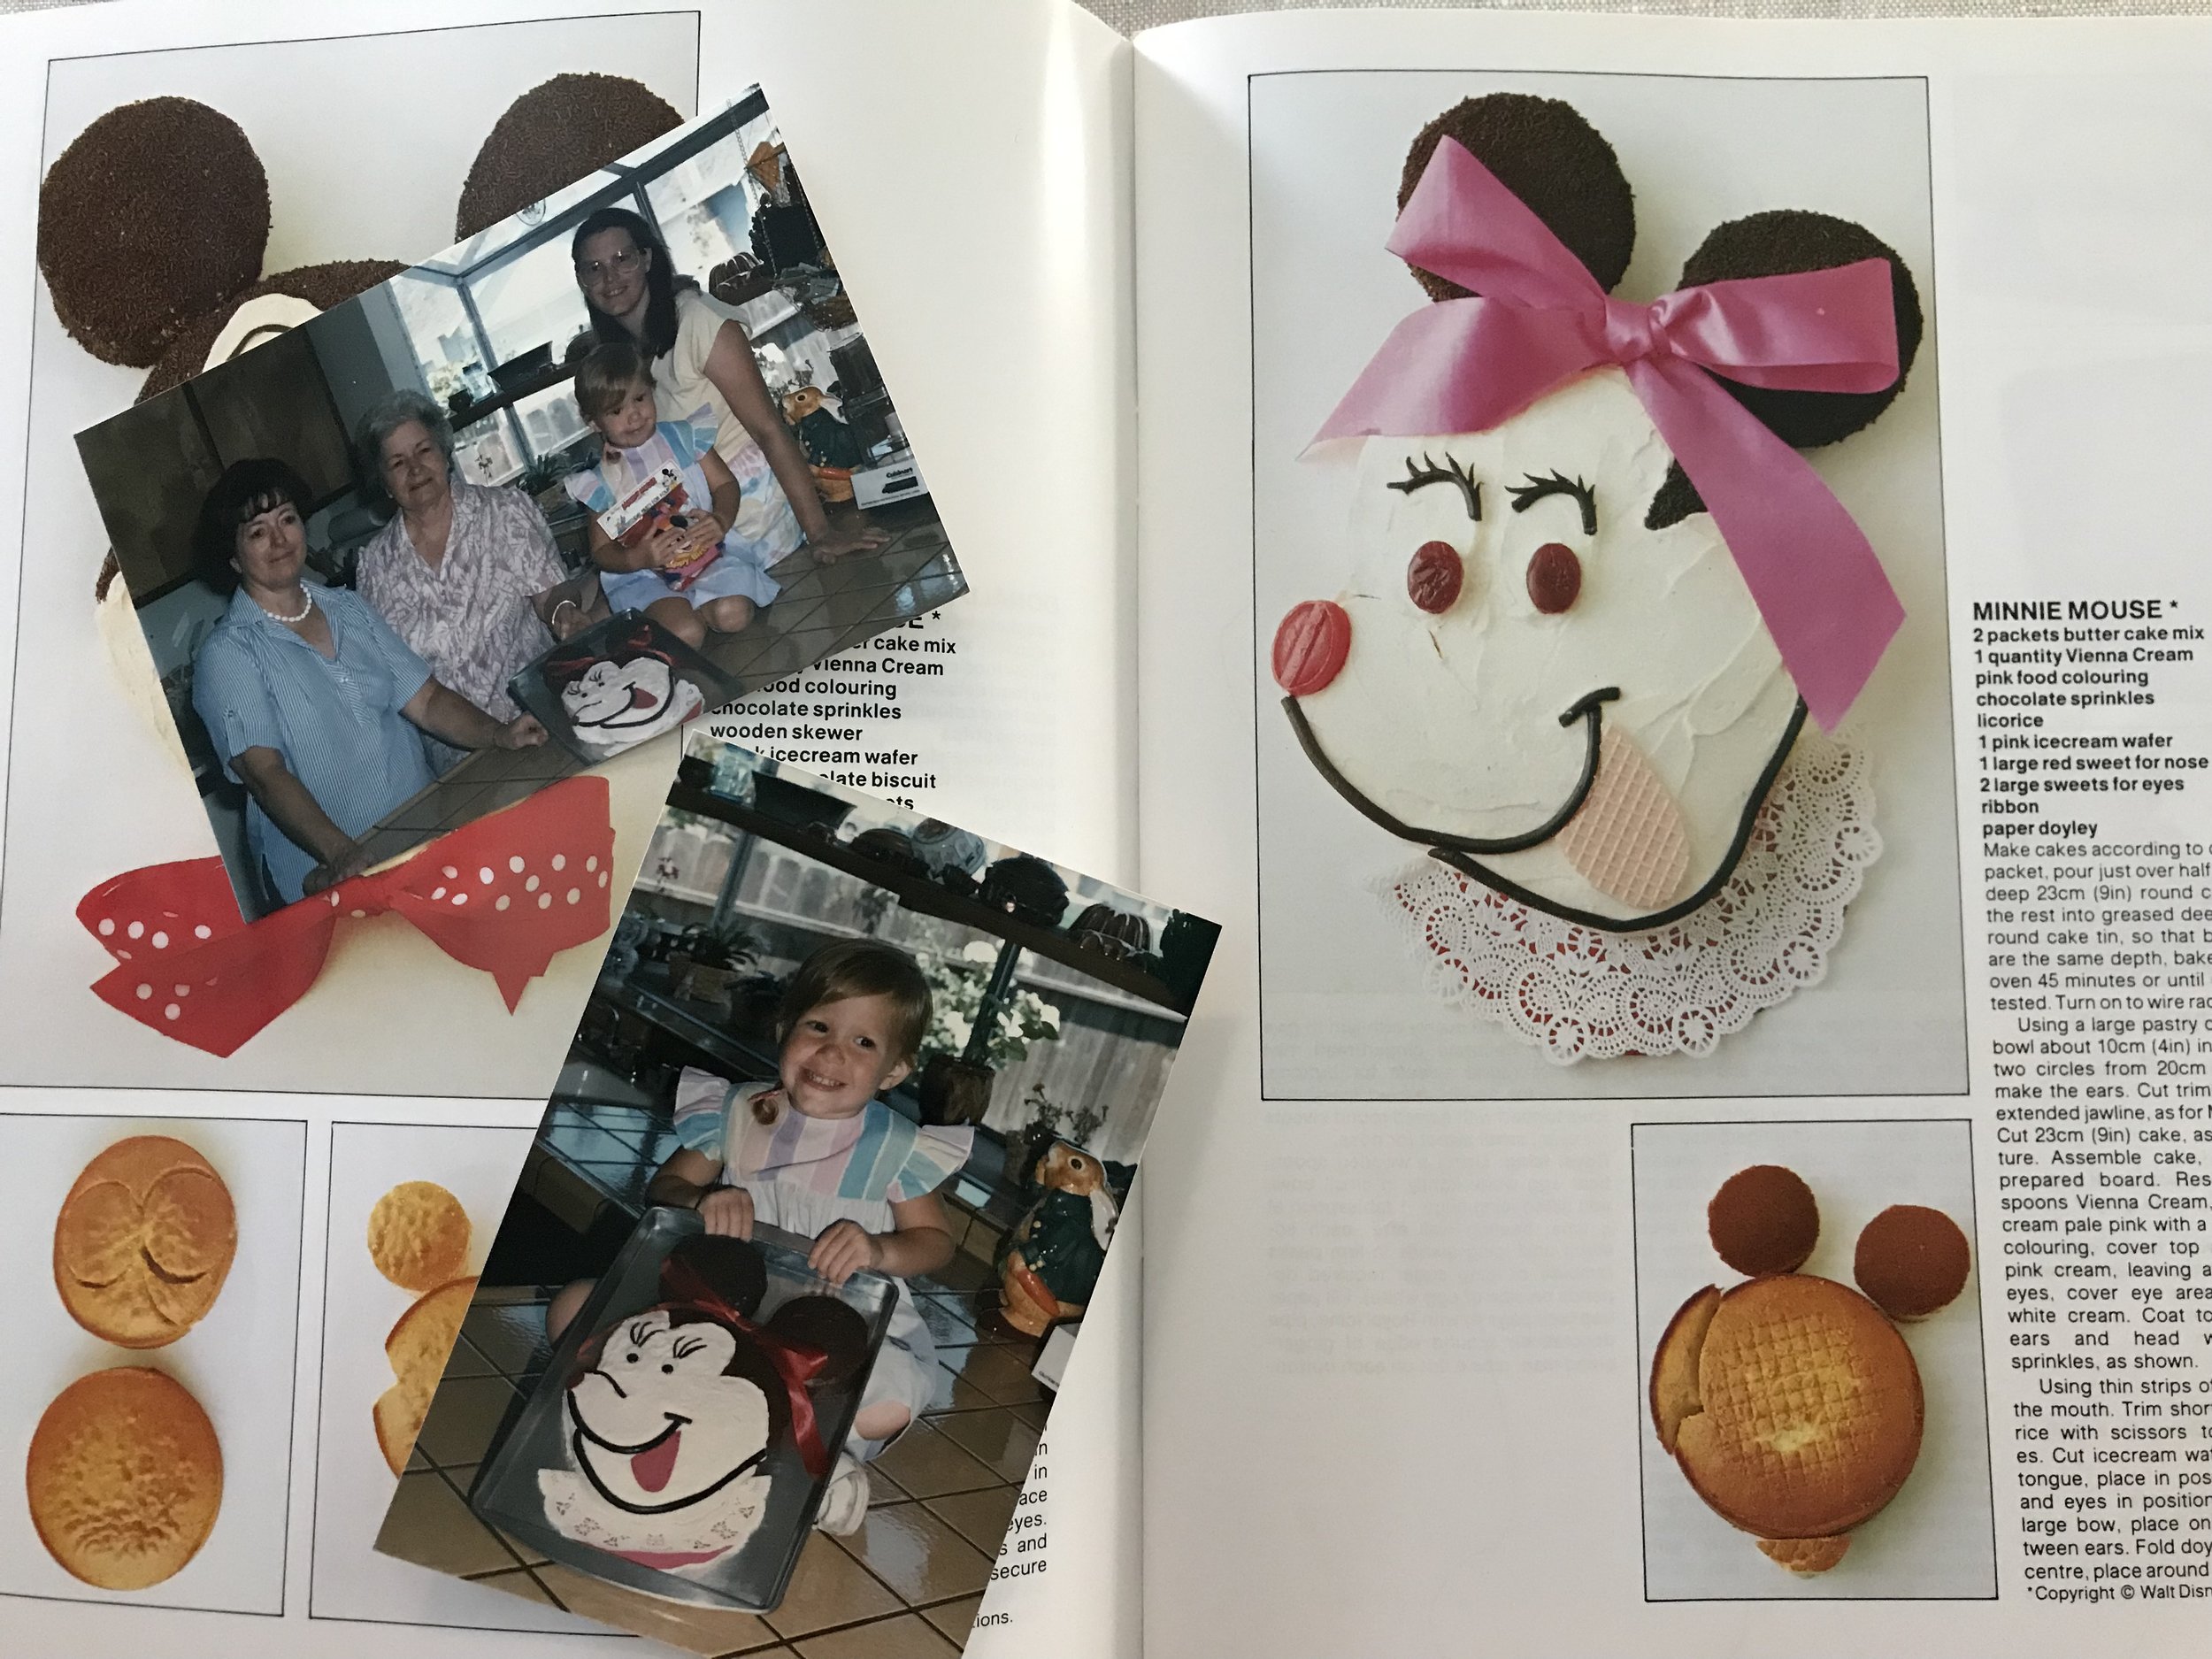
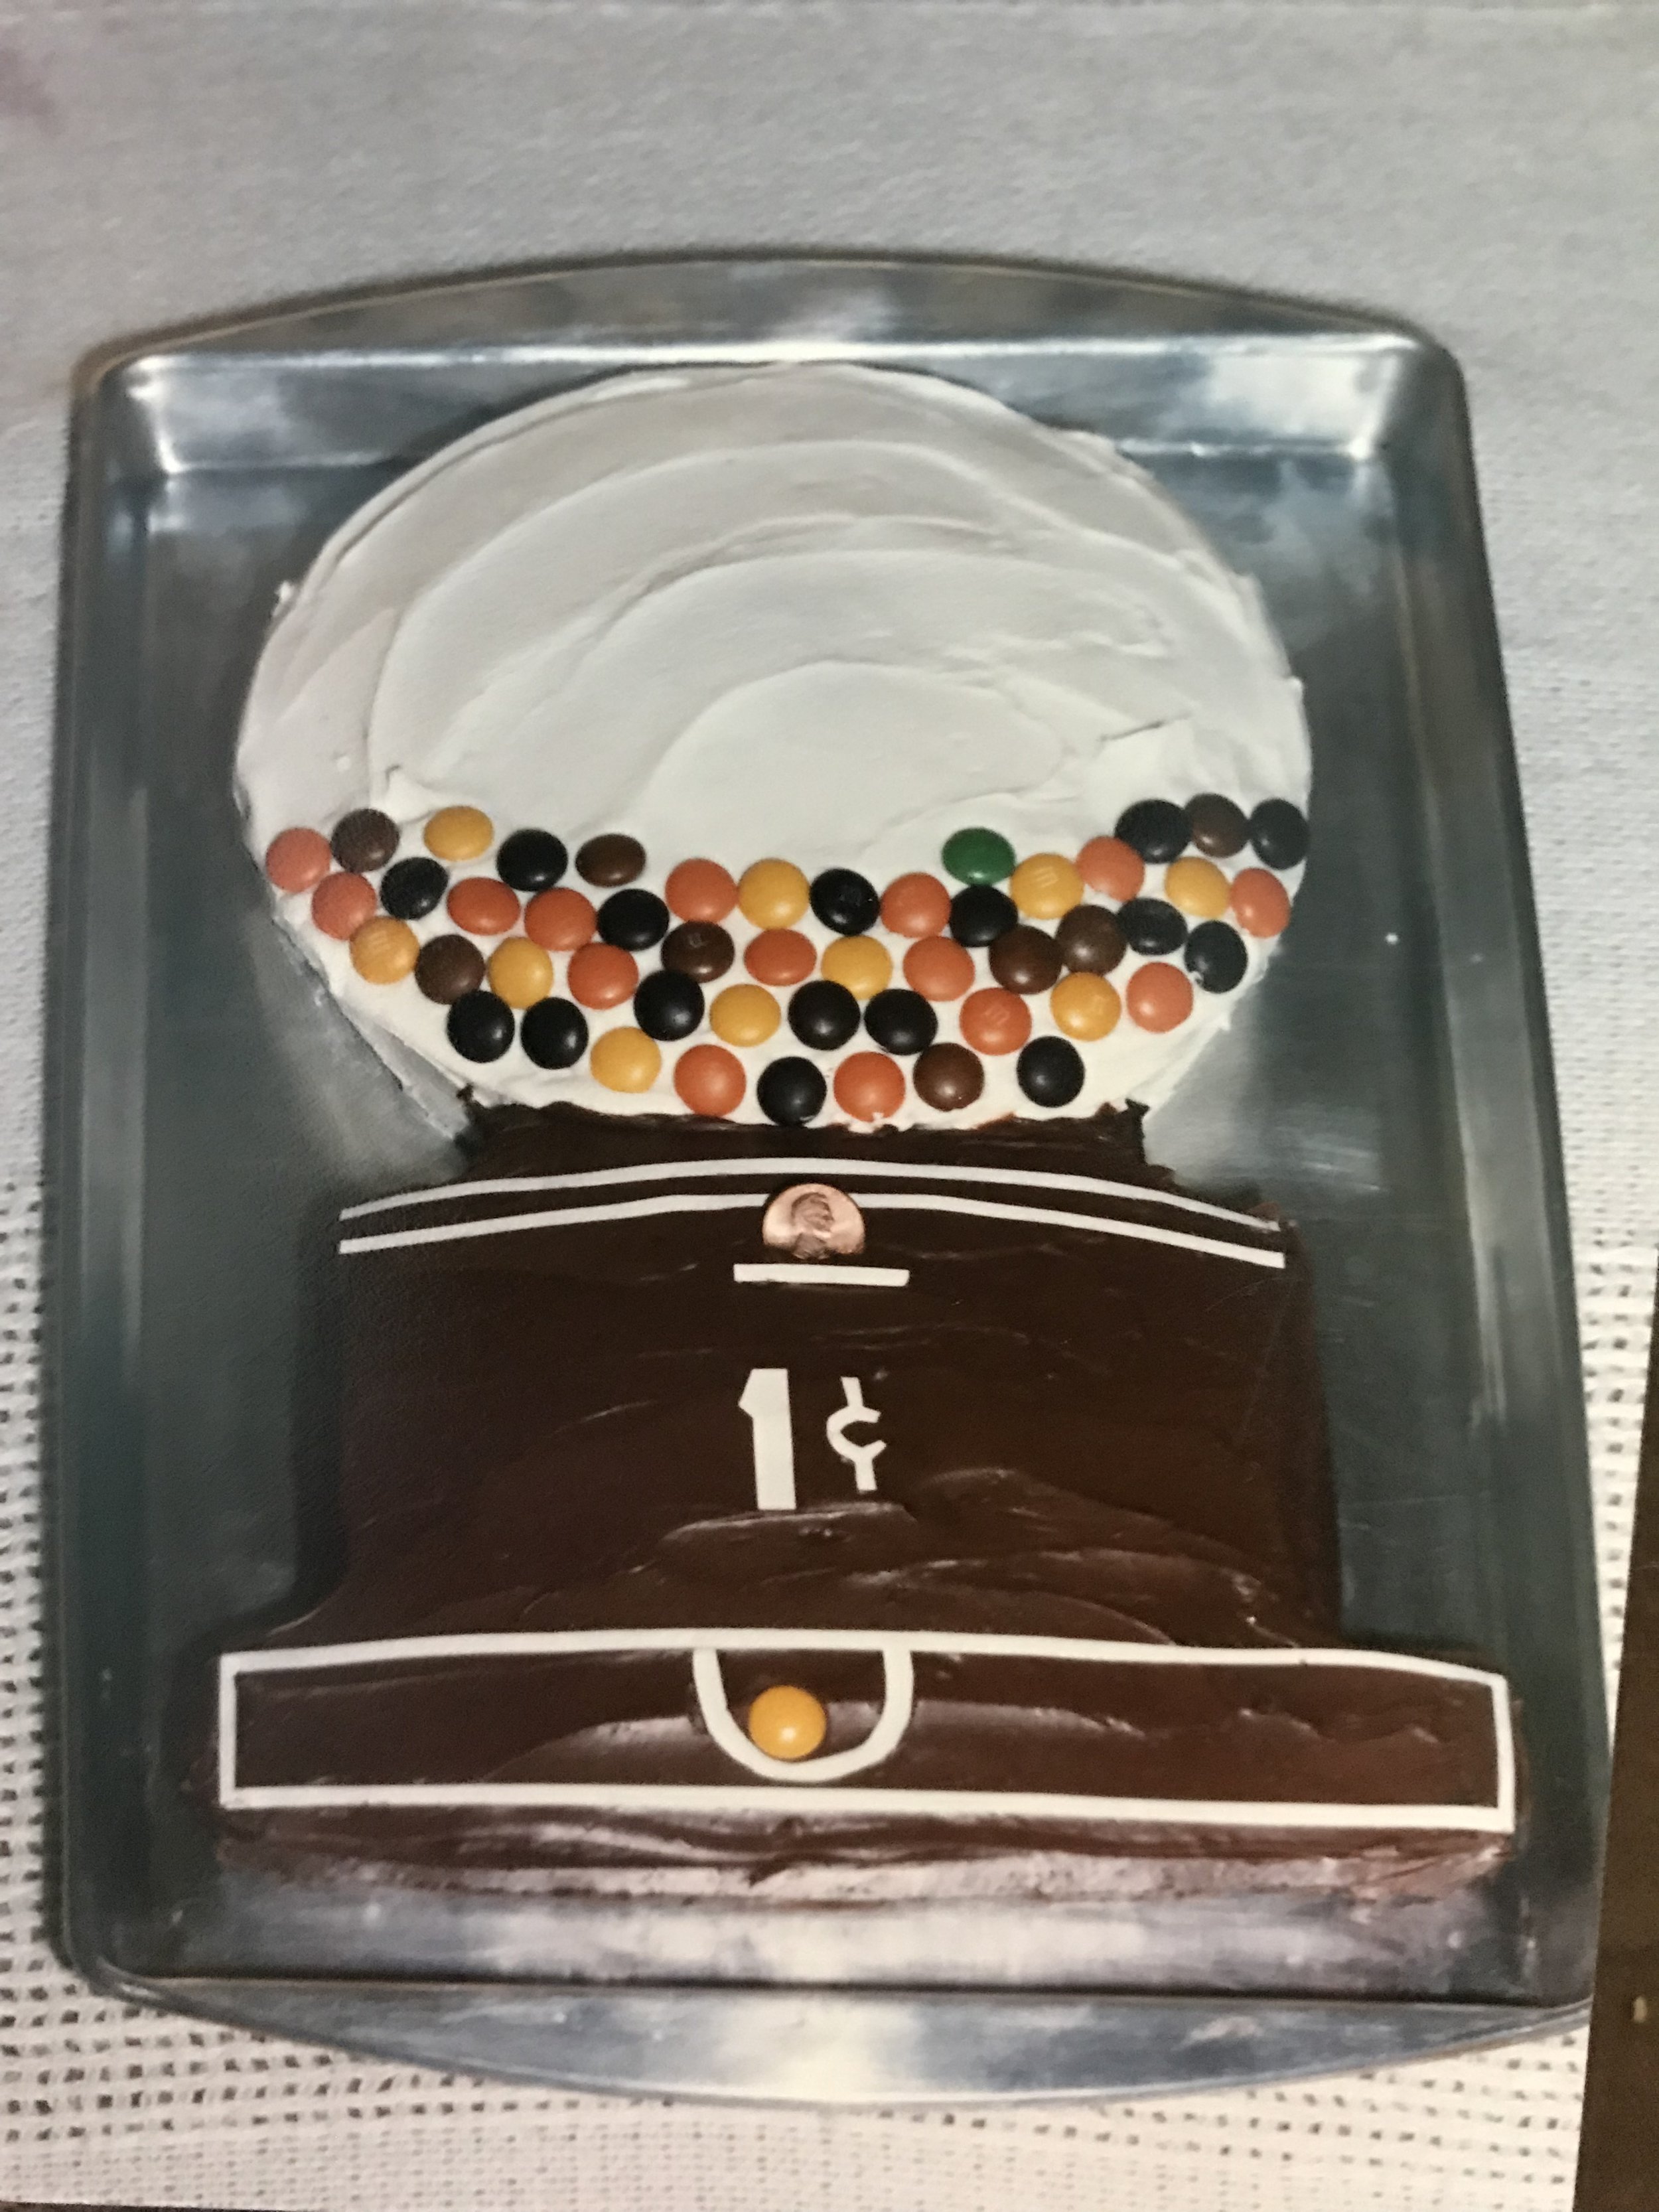
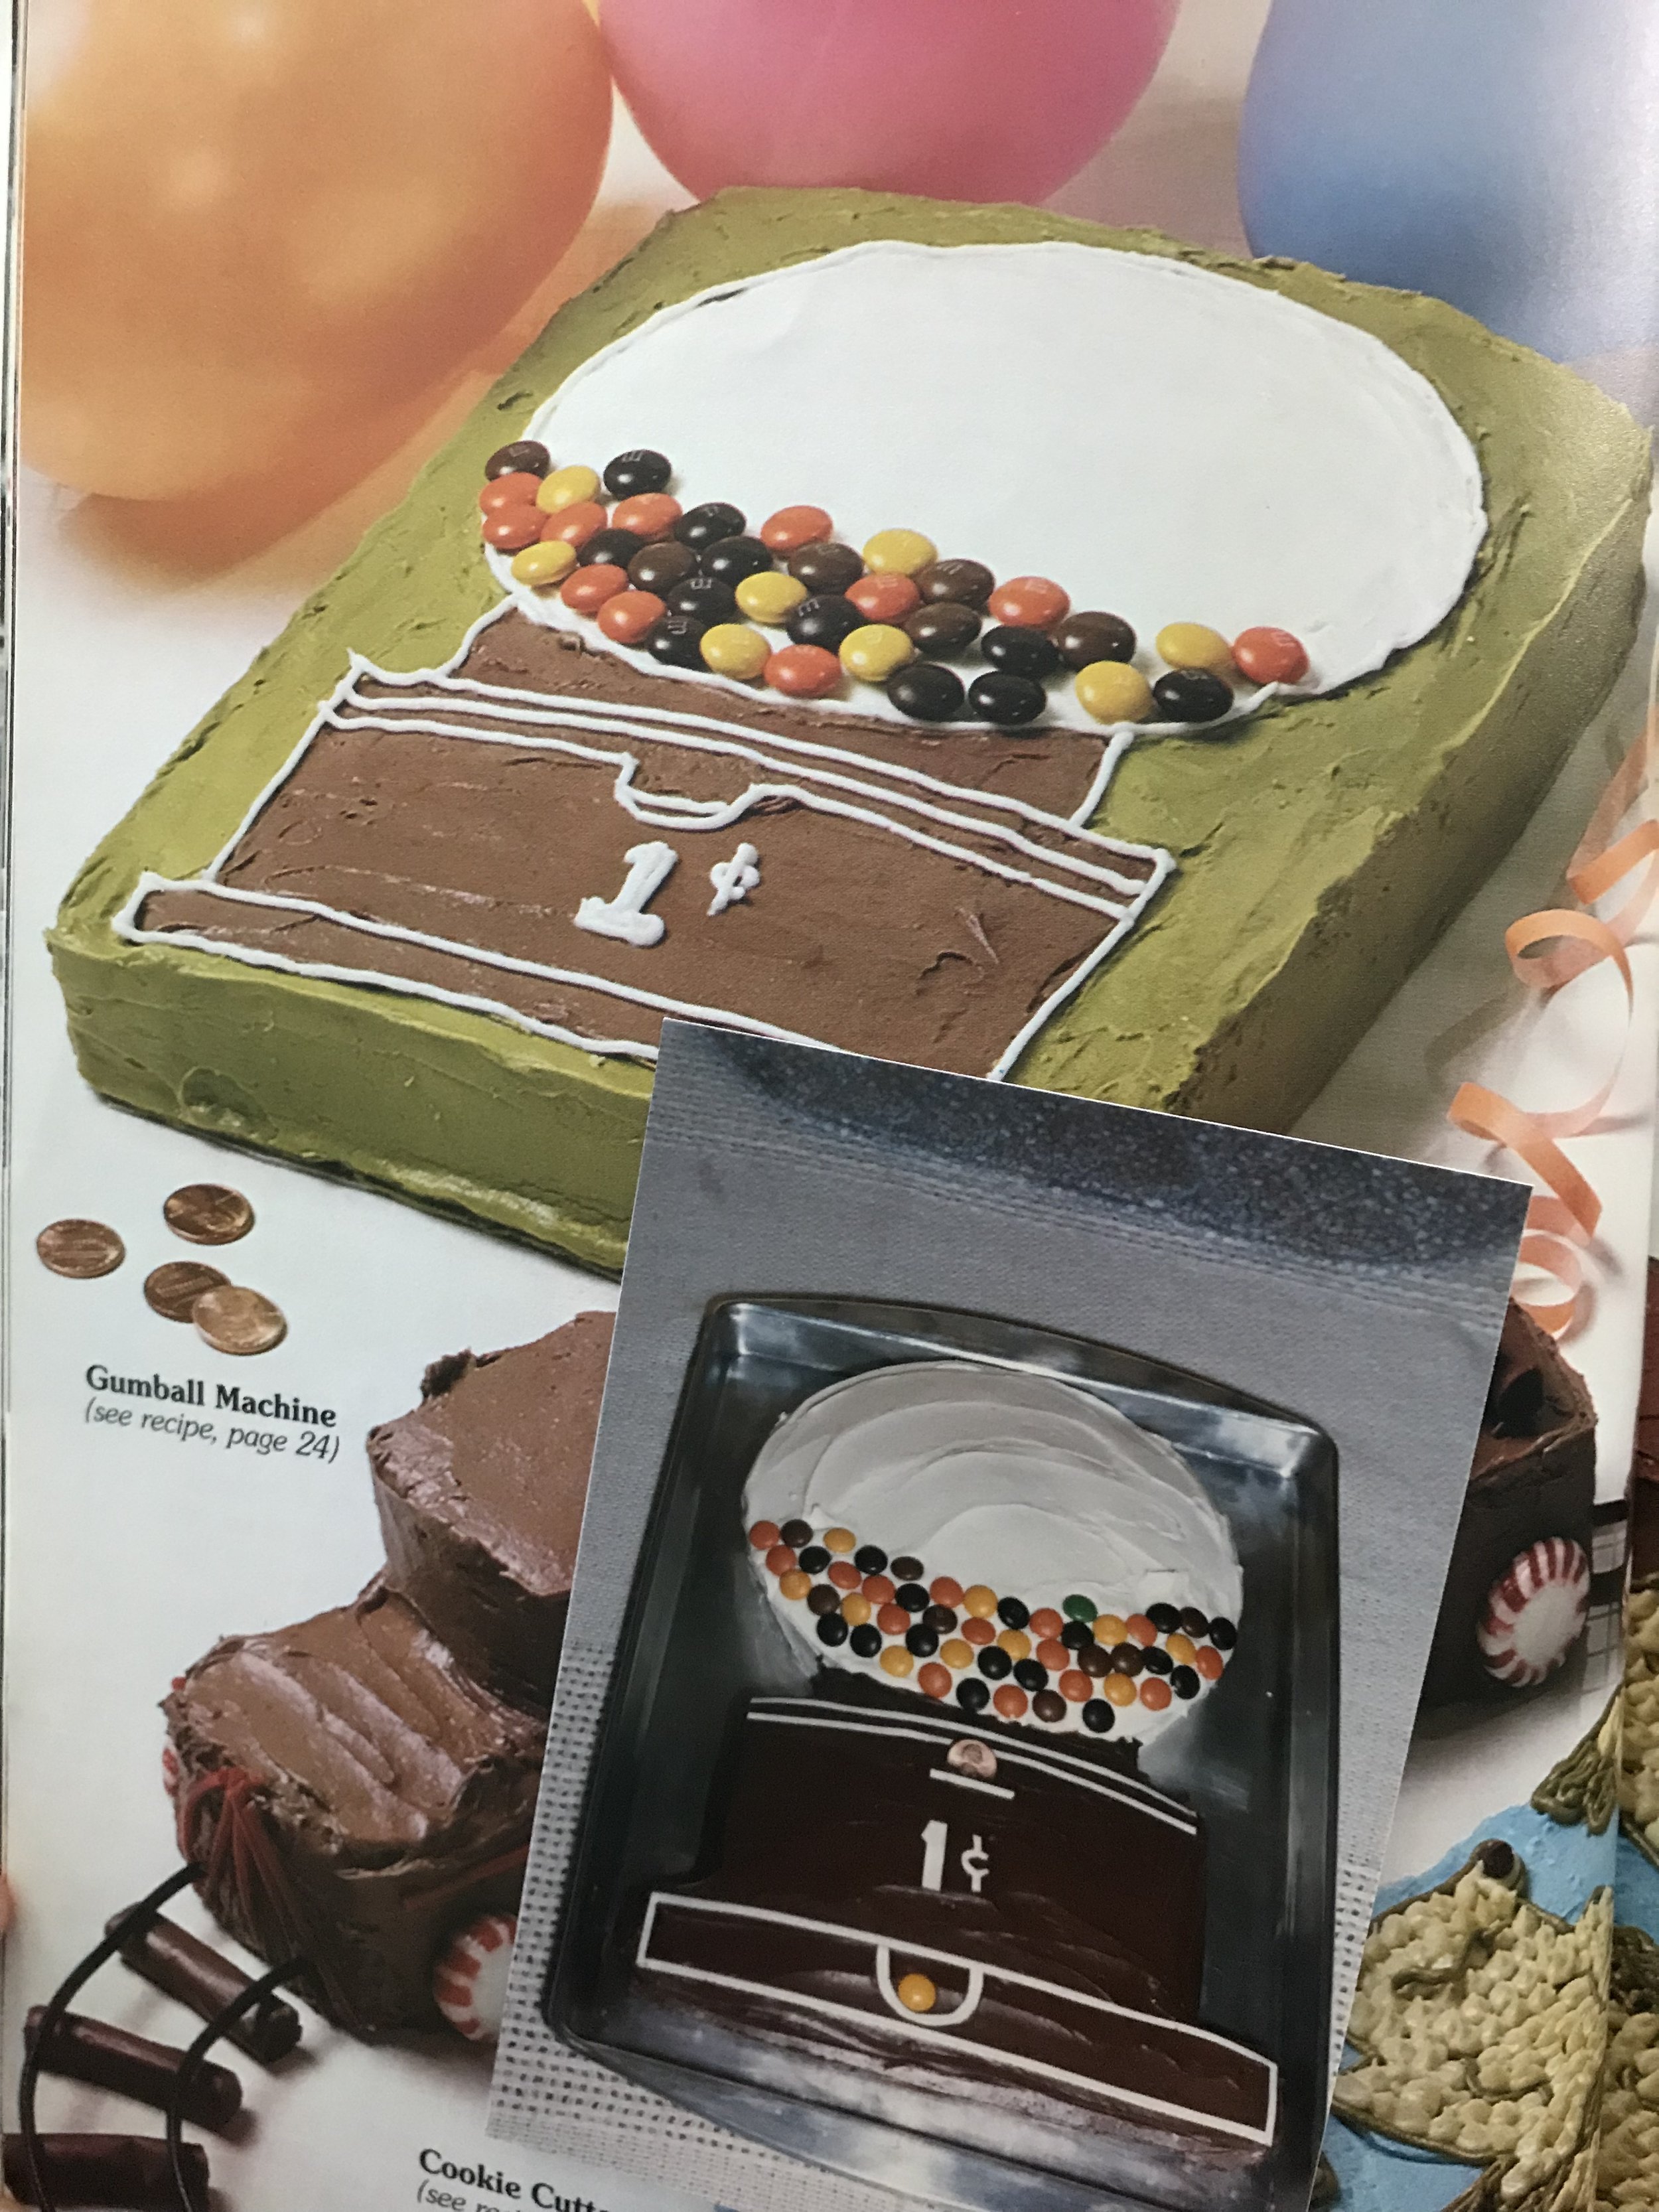
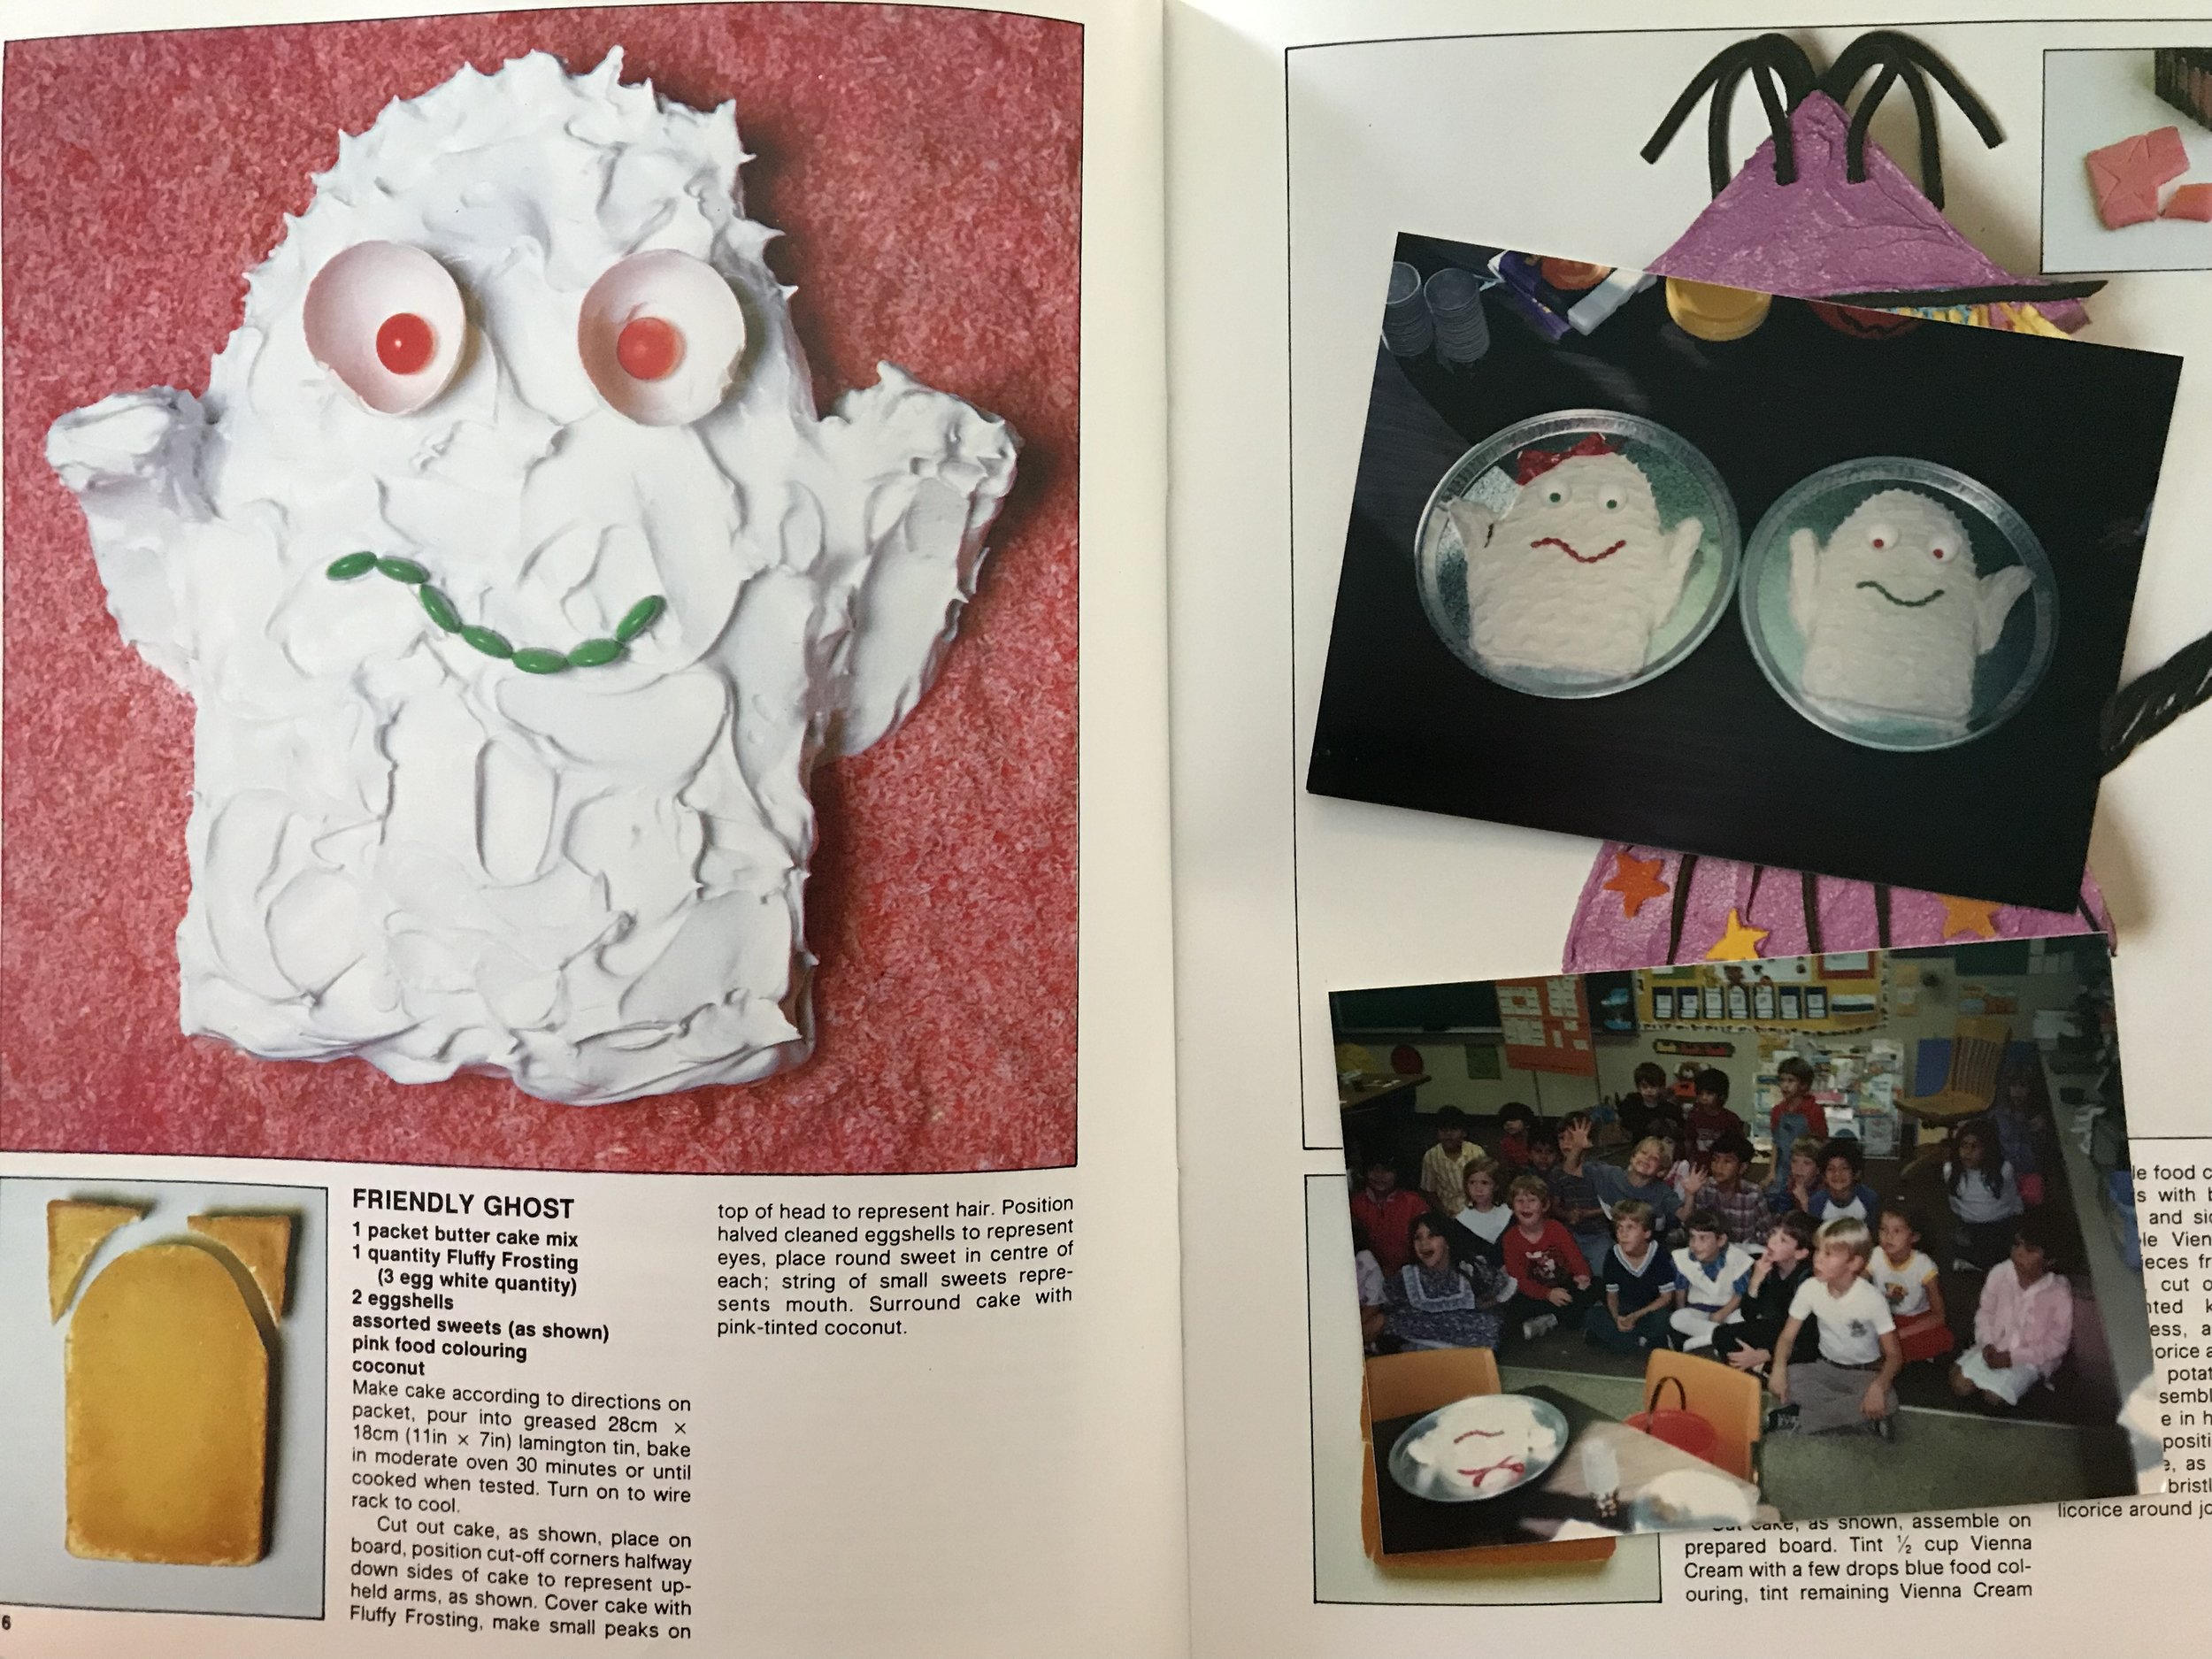
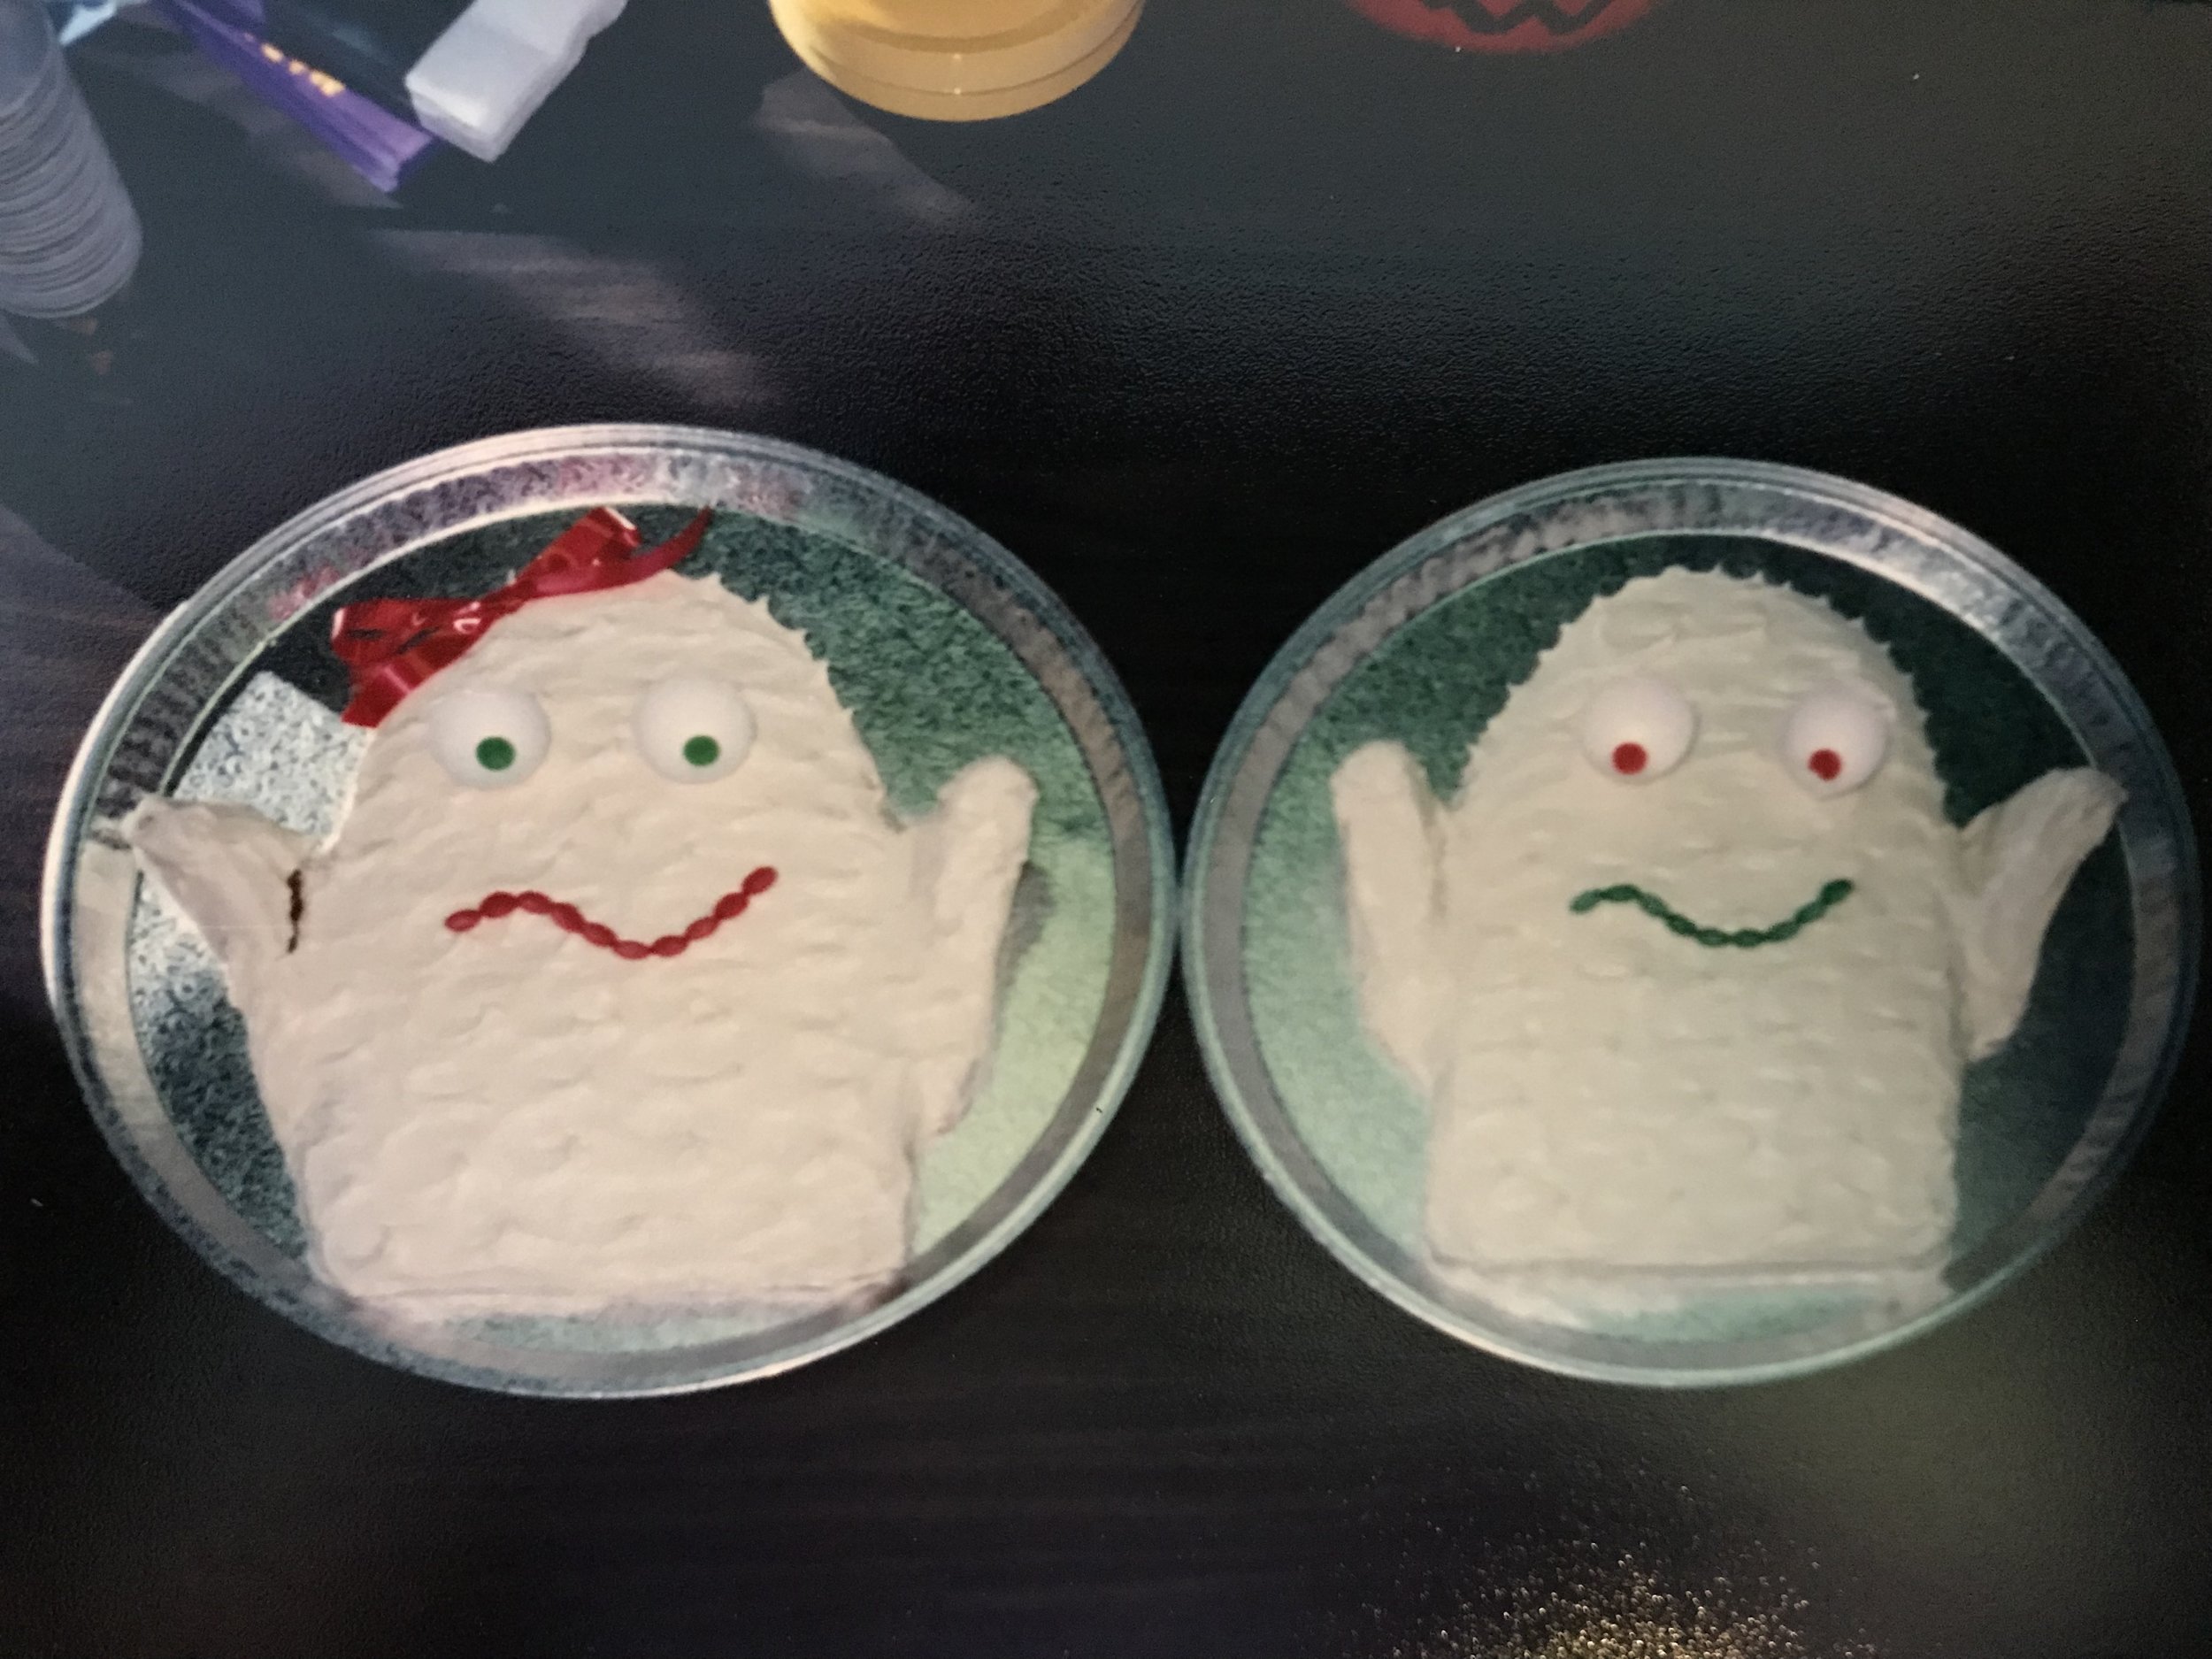
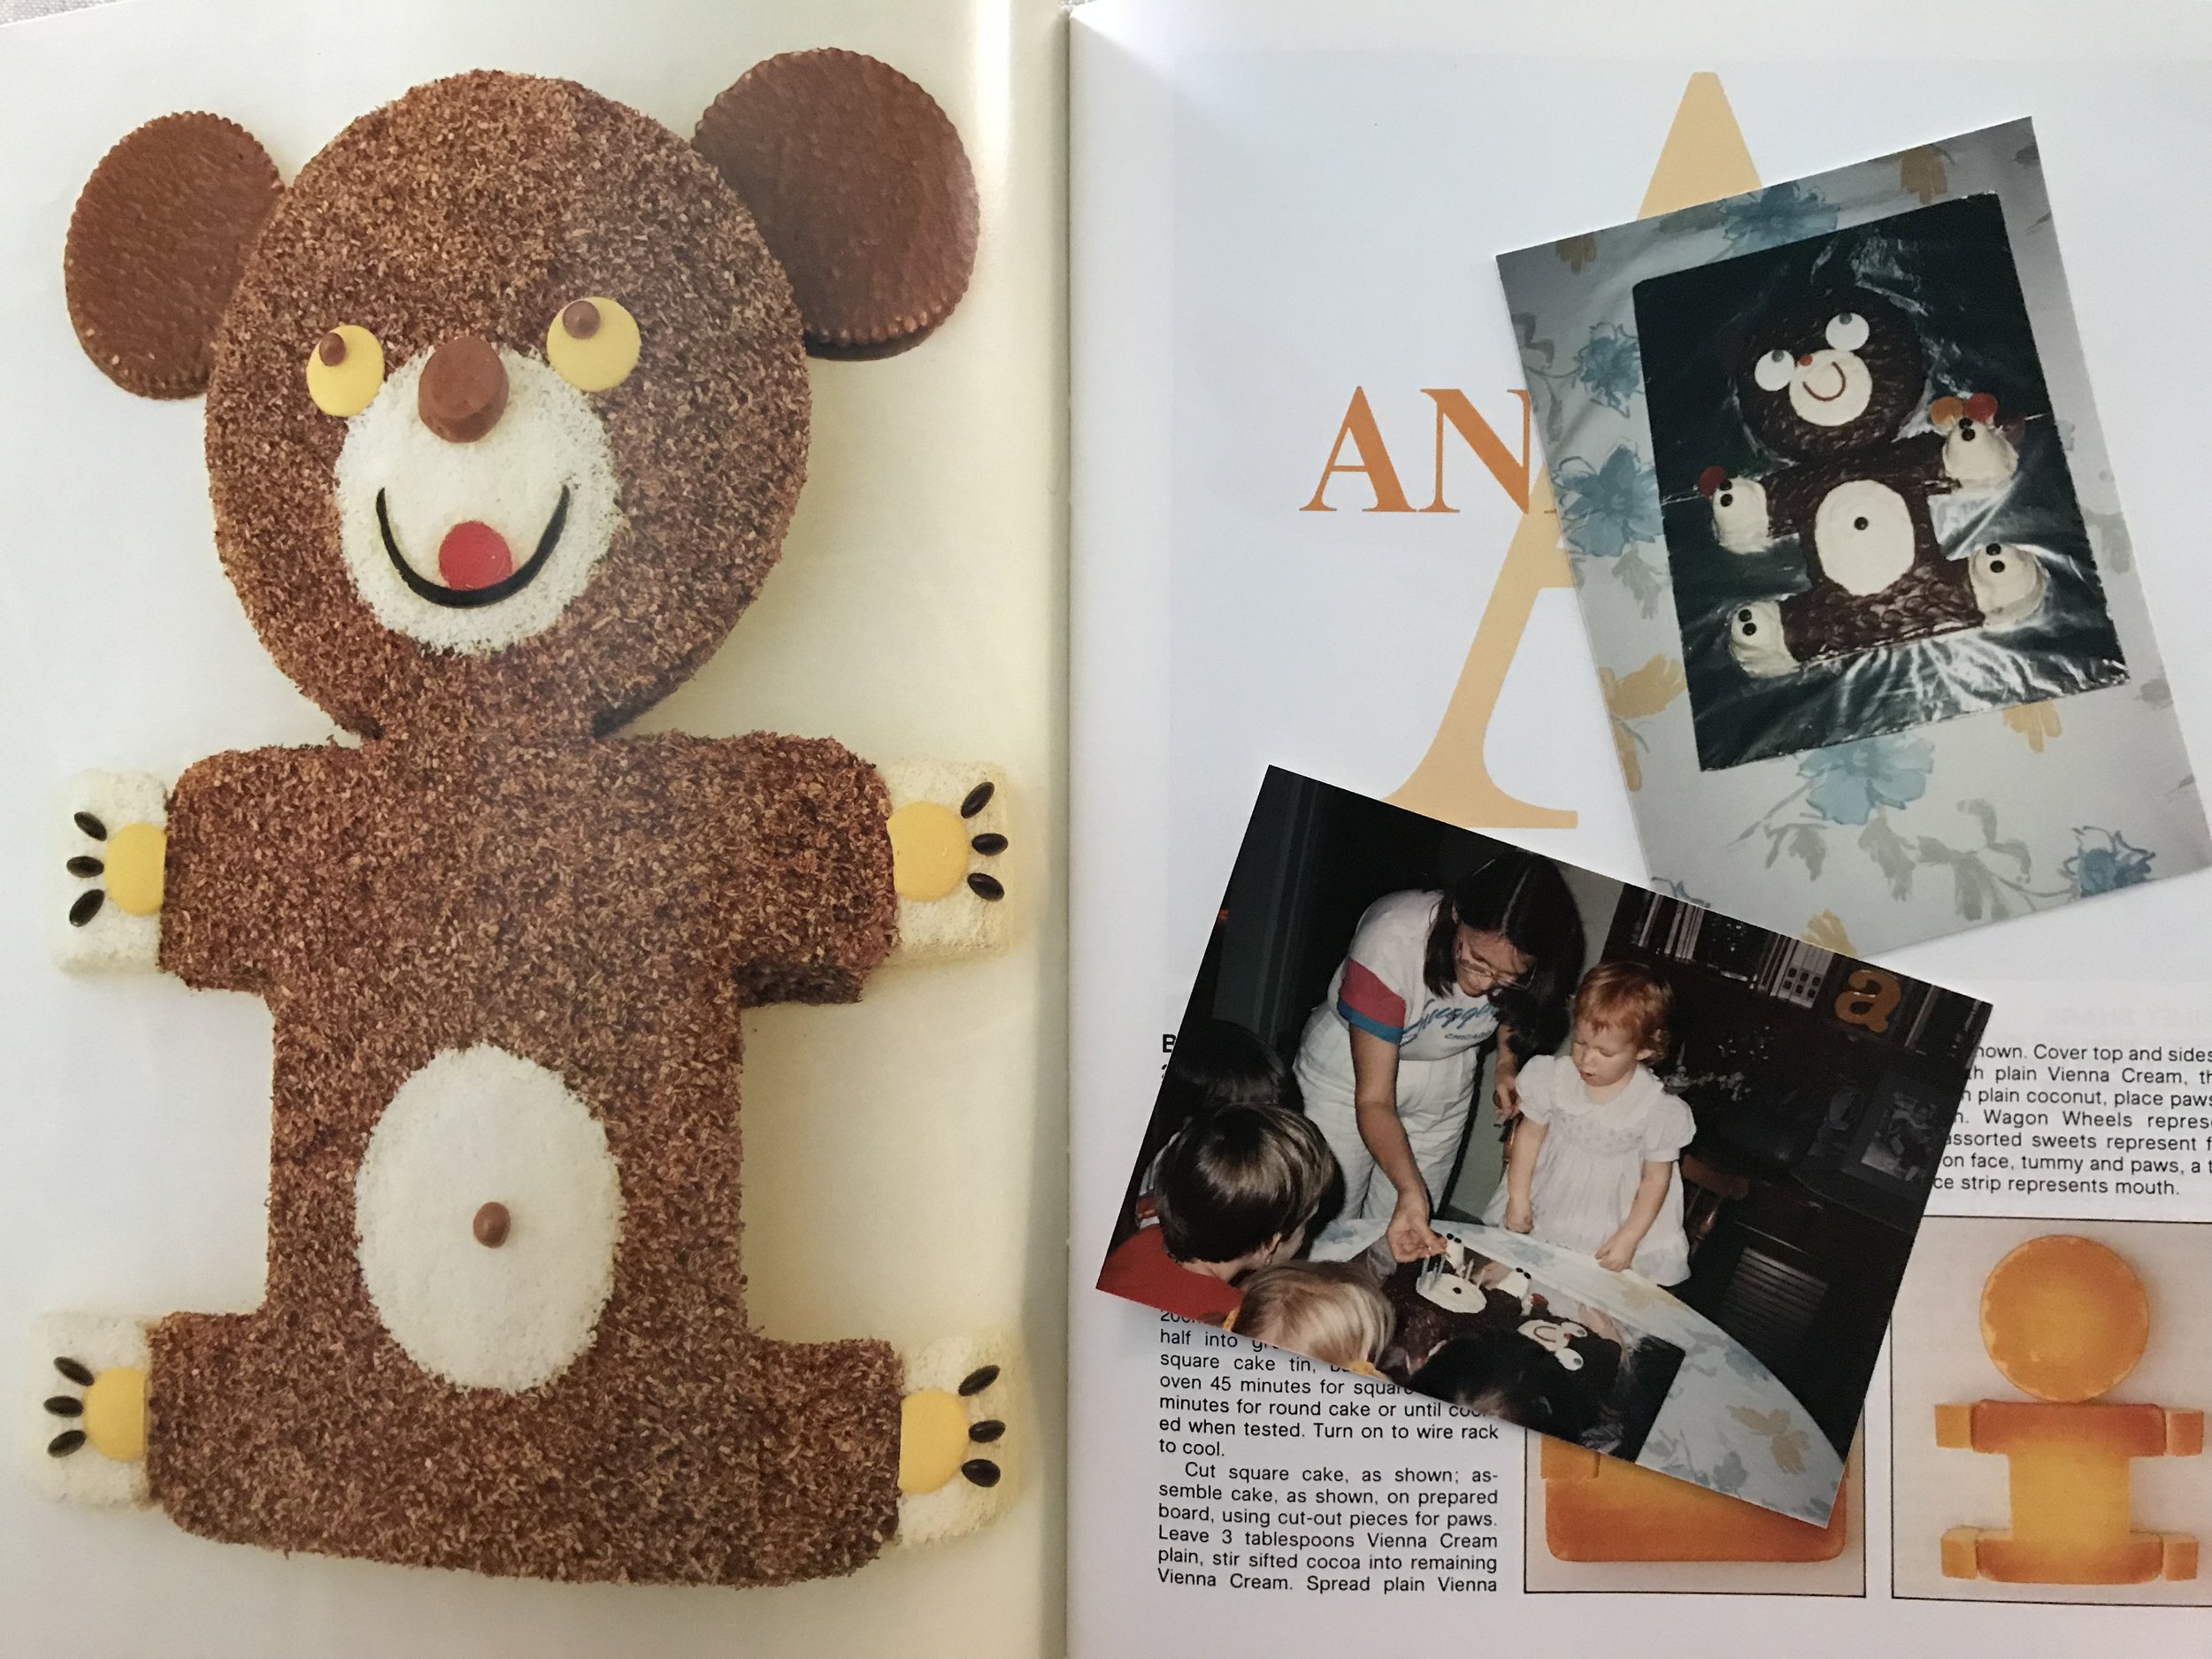
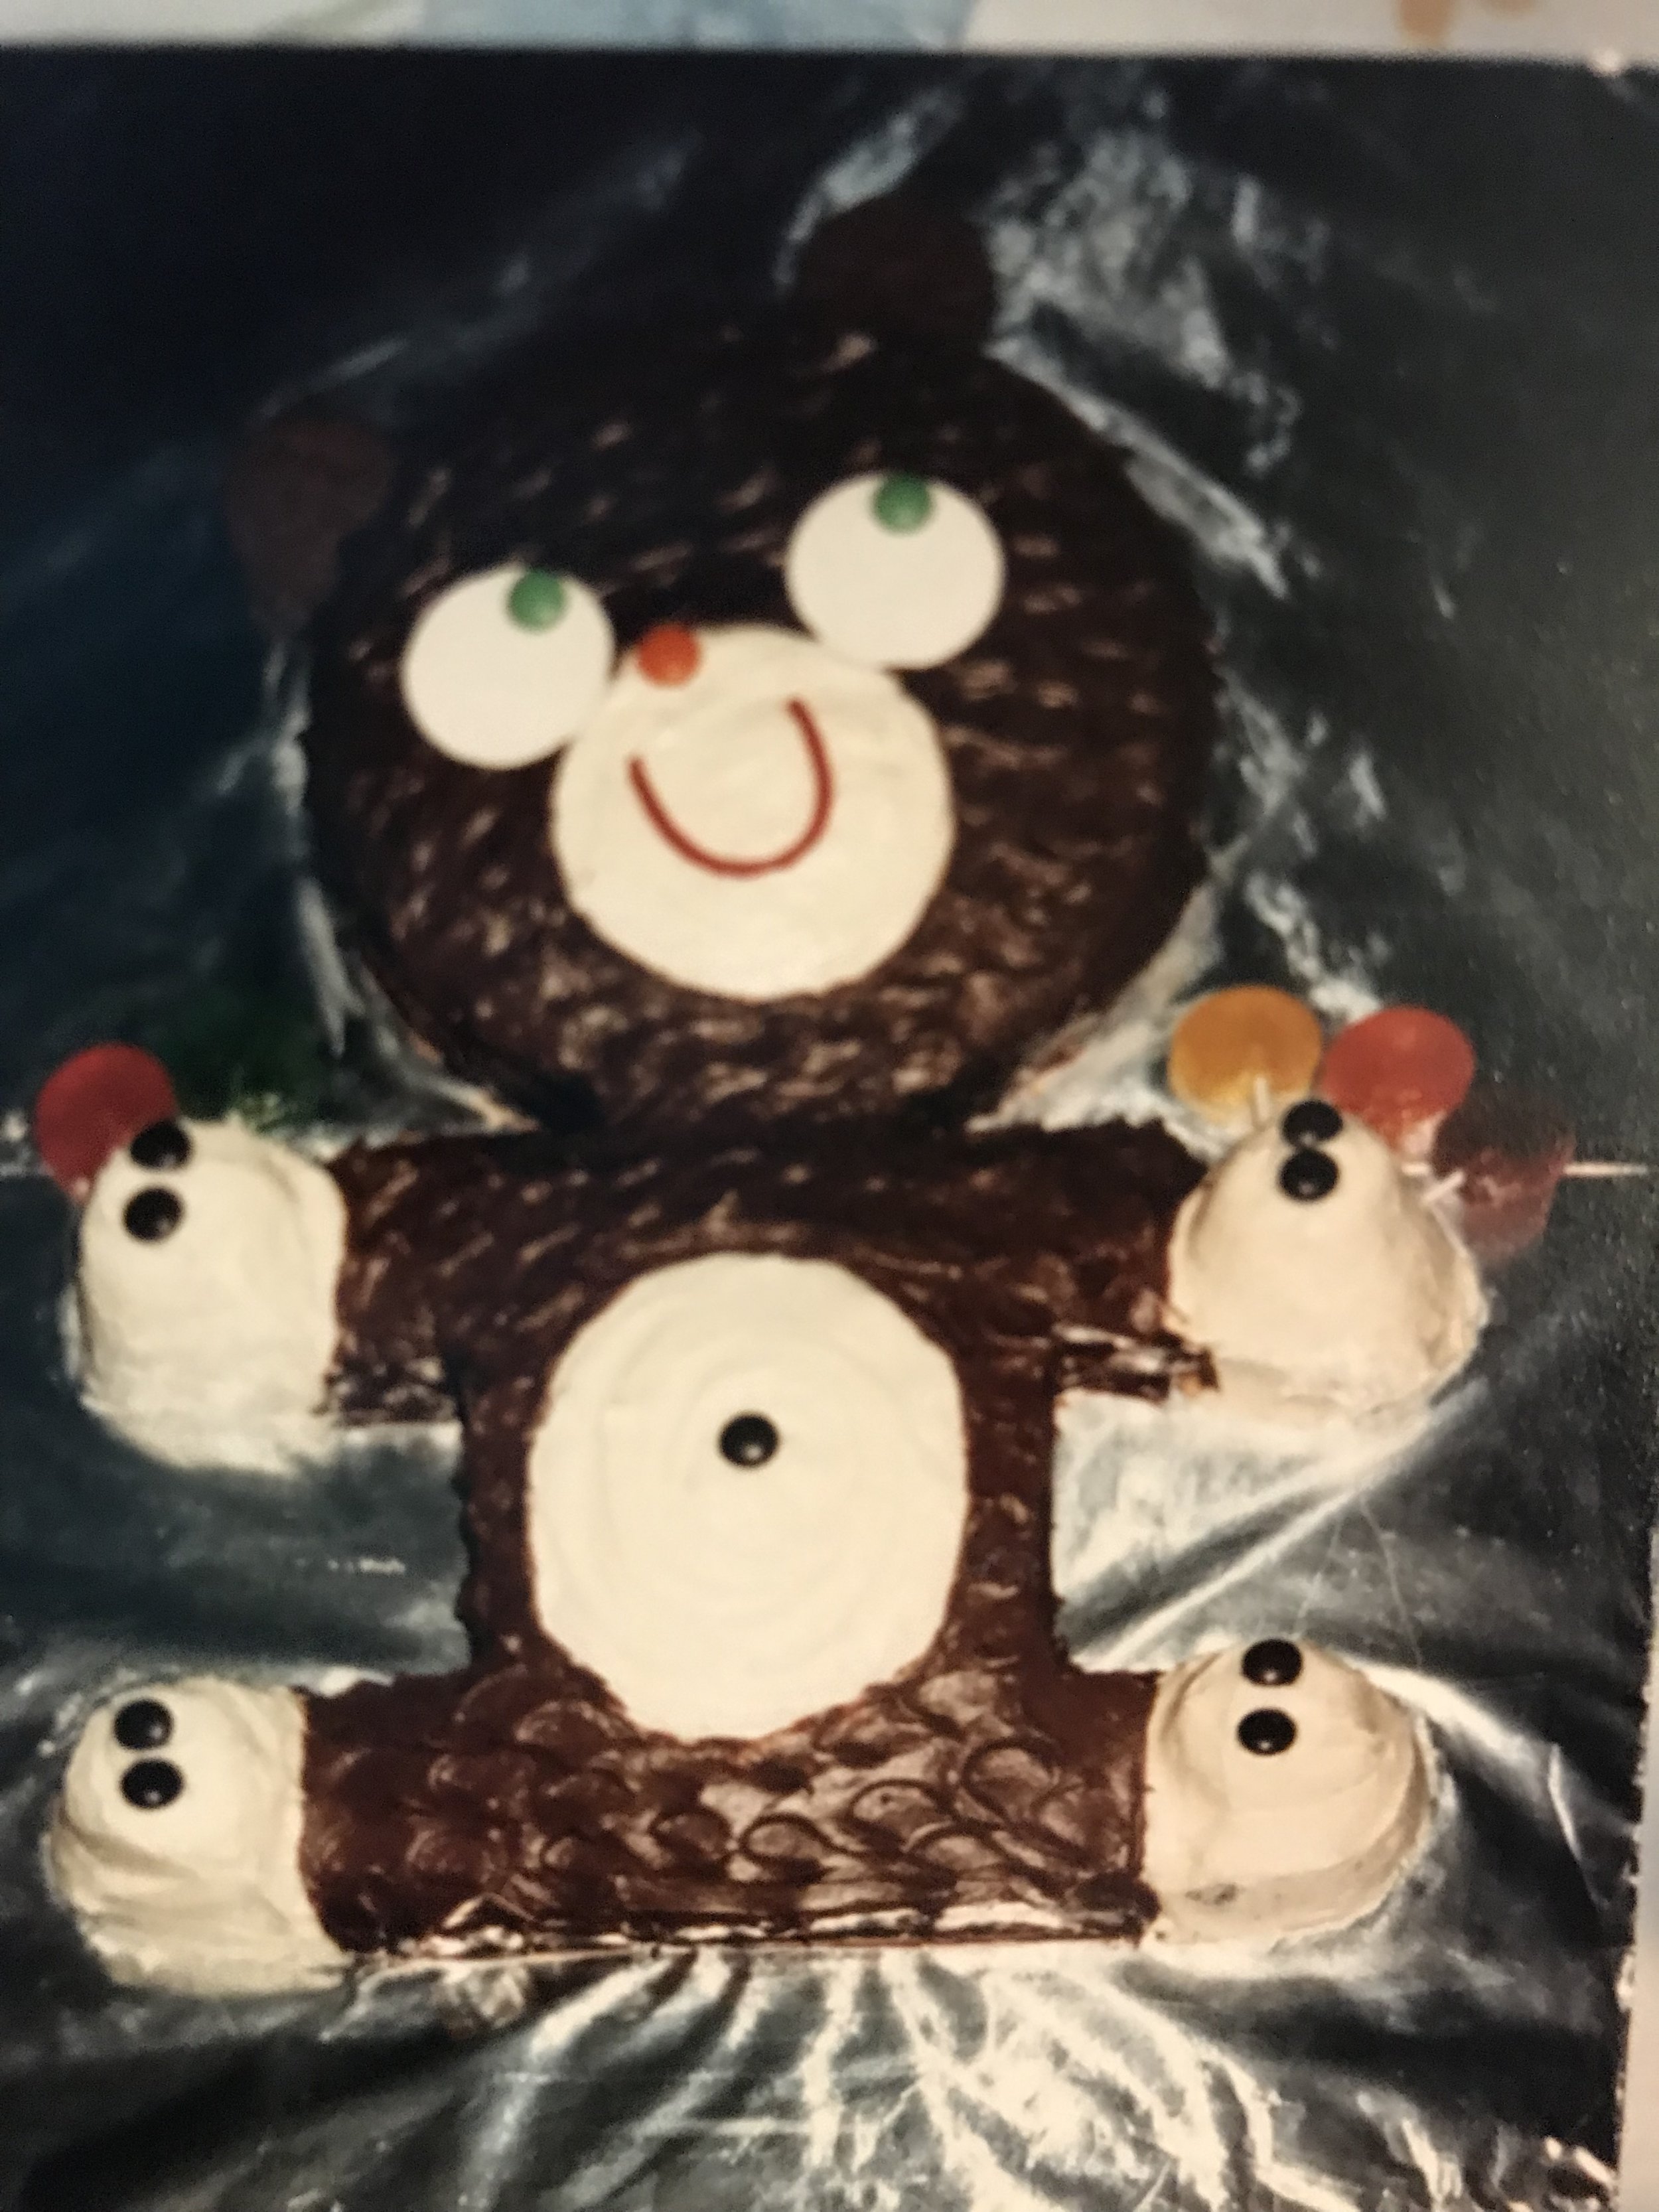
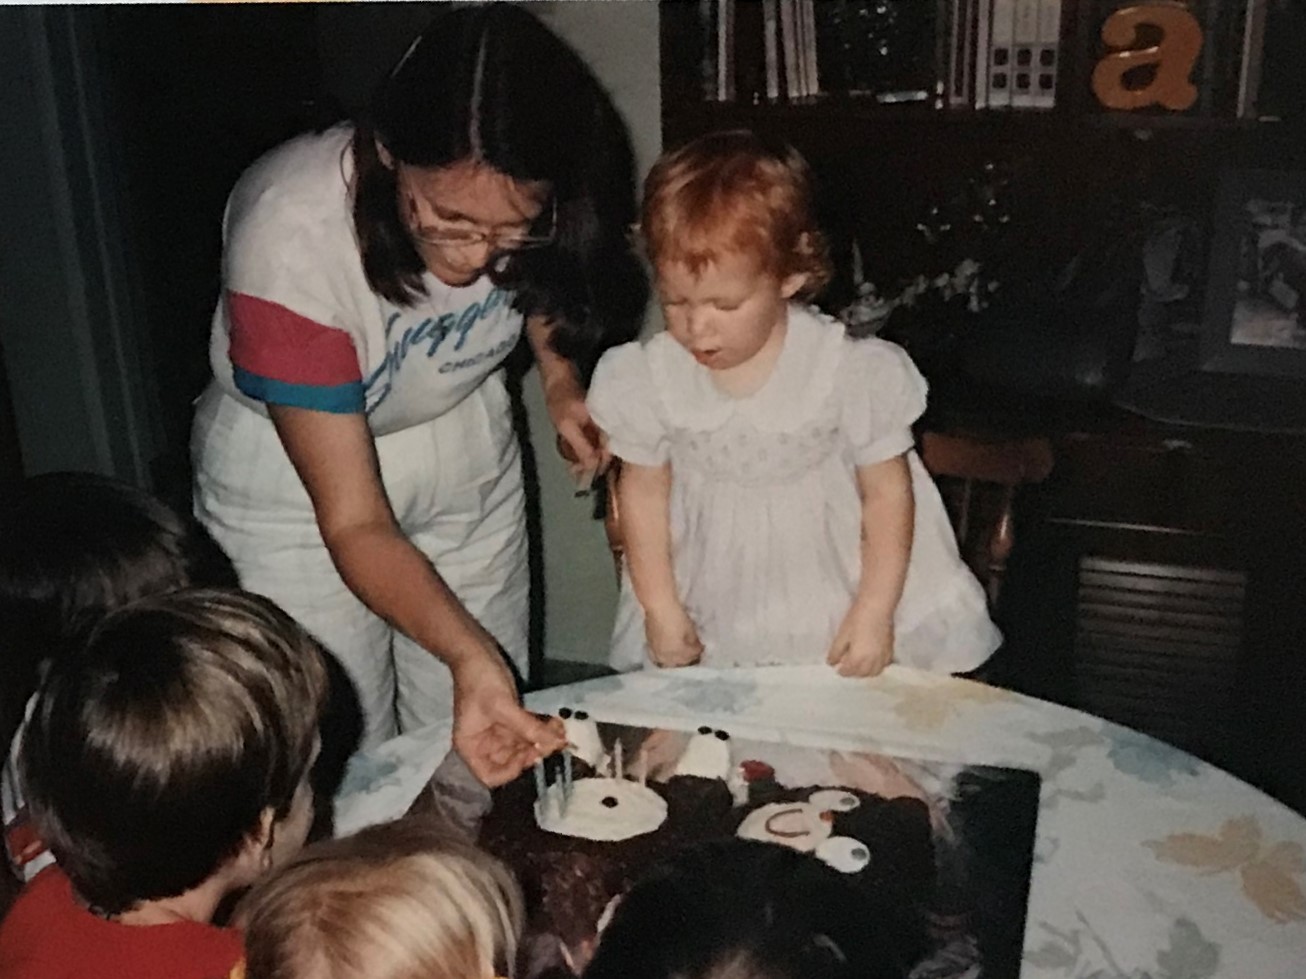
Growing up, we had two cake-decorating books that I absolutely adored. The pages, I recall, had become a little loose with wear. In the weeks leading up to our birthdays, my brother and I would flip through the pages to pick out the perfect birthday cake. Then my mom would make it and even in the pre-Instagram age, it would be photographed for posterity.

The books fell out of favor as we grew older. The books were used for the last time sometime when I was pre-teen - my father and brother were out on a Boy Scout trip and it’d just be me and mom for my birthday, so in a fit of early nostalgia I requested a large tiger cake as a nod to my love of Winnie-the-Pooh’s Tigger. The cake was huge, and my mother was by then diabetic, which meant I largely ate the cake alone. I made it through the tail and hindquarters before throwing the rest away. Still, she made it, all I had to do was ask.

I didn’t think of the cake books much after that and it didn’t come to mind when I made a list of items I wanted from my mother’s house when my brother moved her from our childhood home. So I caught myself a bit off guard when they sprung to mind a few weeks before my trip.

I was struck by one of those late-evening obsessions. The original copies of the cake books were gone or buried deeply in my brother’s garage, perhaps I could find them online. A Google search for “1980s birthday cake book” gave me the titles I needed (as results one and two at that), then a few minutes of searching used book stores online and a $10 charge to my credit card later, both books would soon be mine.

They were waiting for me upon my return from California, about a month in advance of Little Miss Cleaver’s own birthday. I shared the books with LMC, who was a bit less enthused than I had hoped, (though in her defense photography and styling from 1980 doesn’t age particularly well), but in the end she did select a cake.

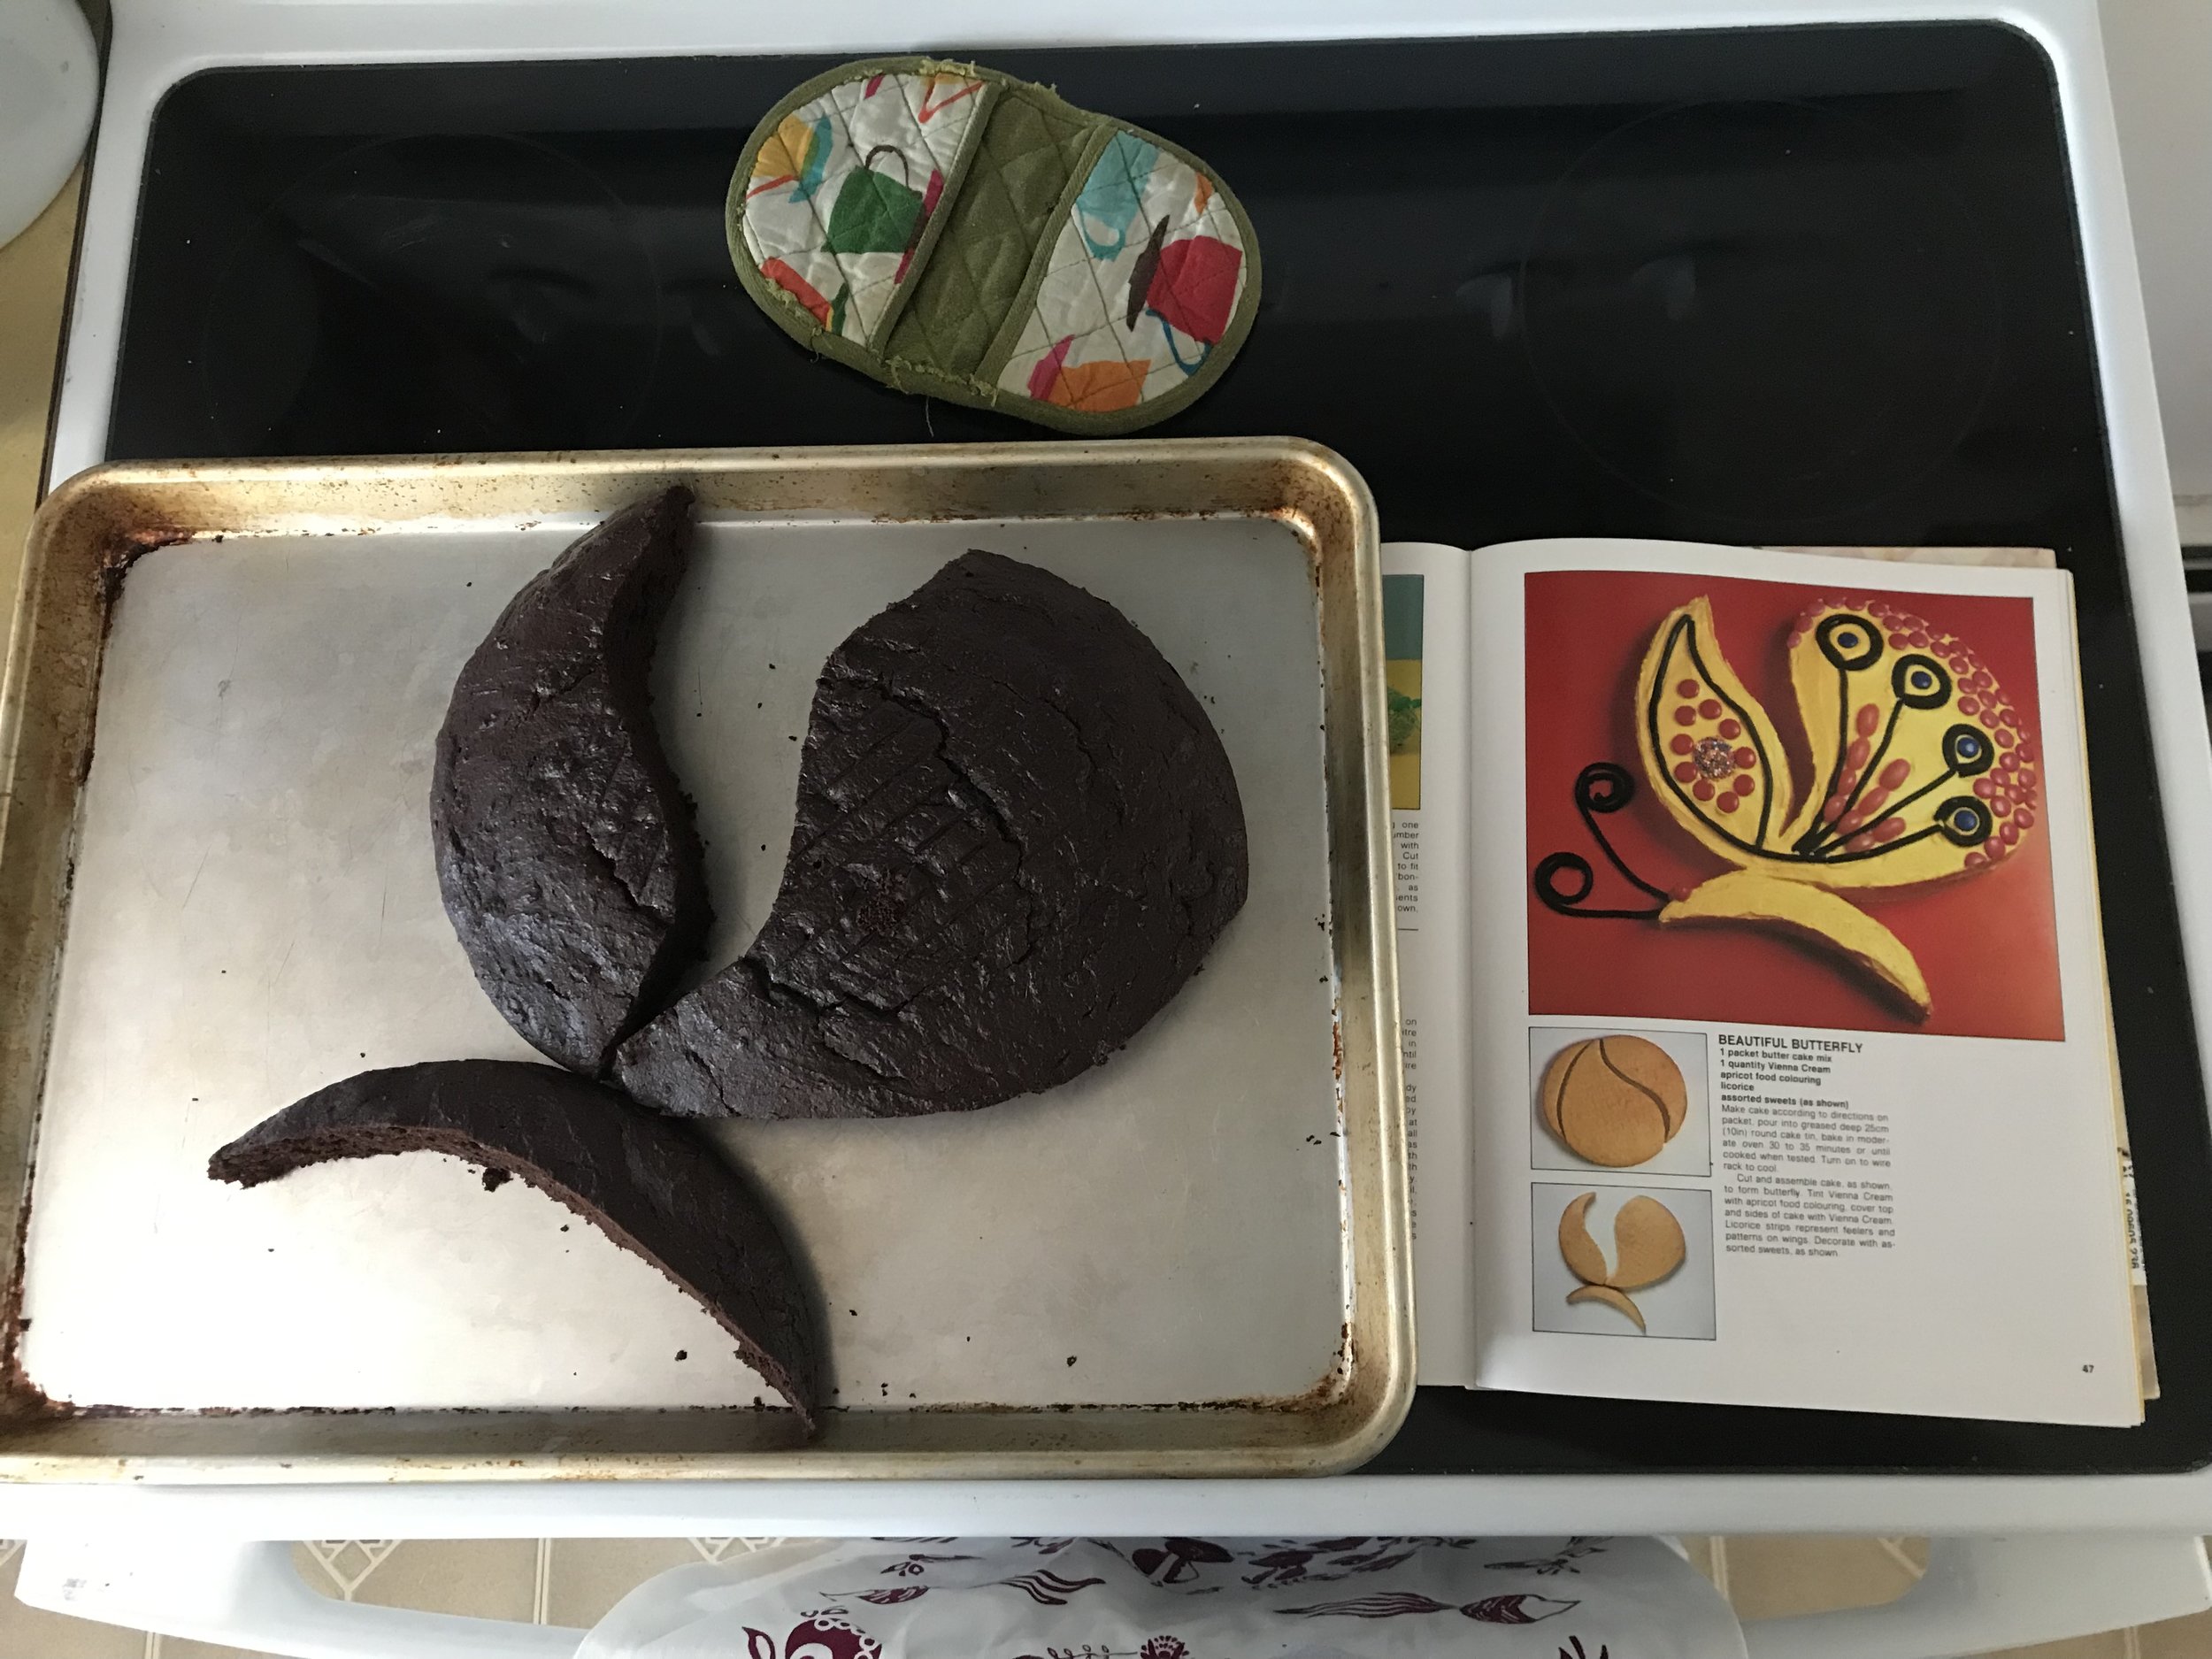
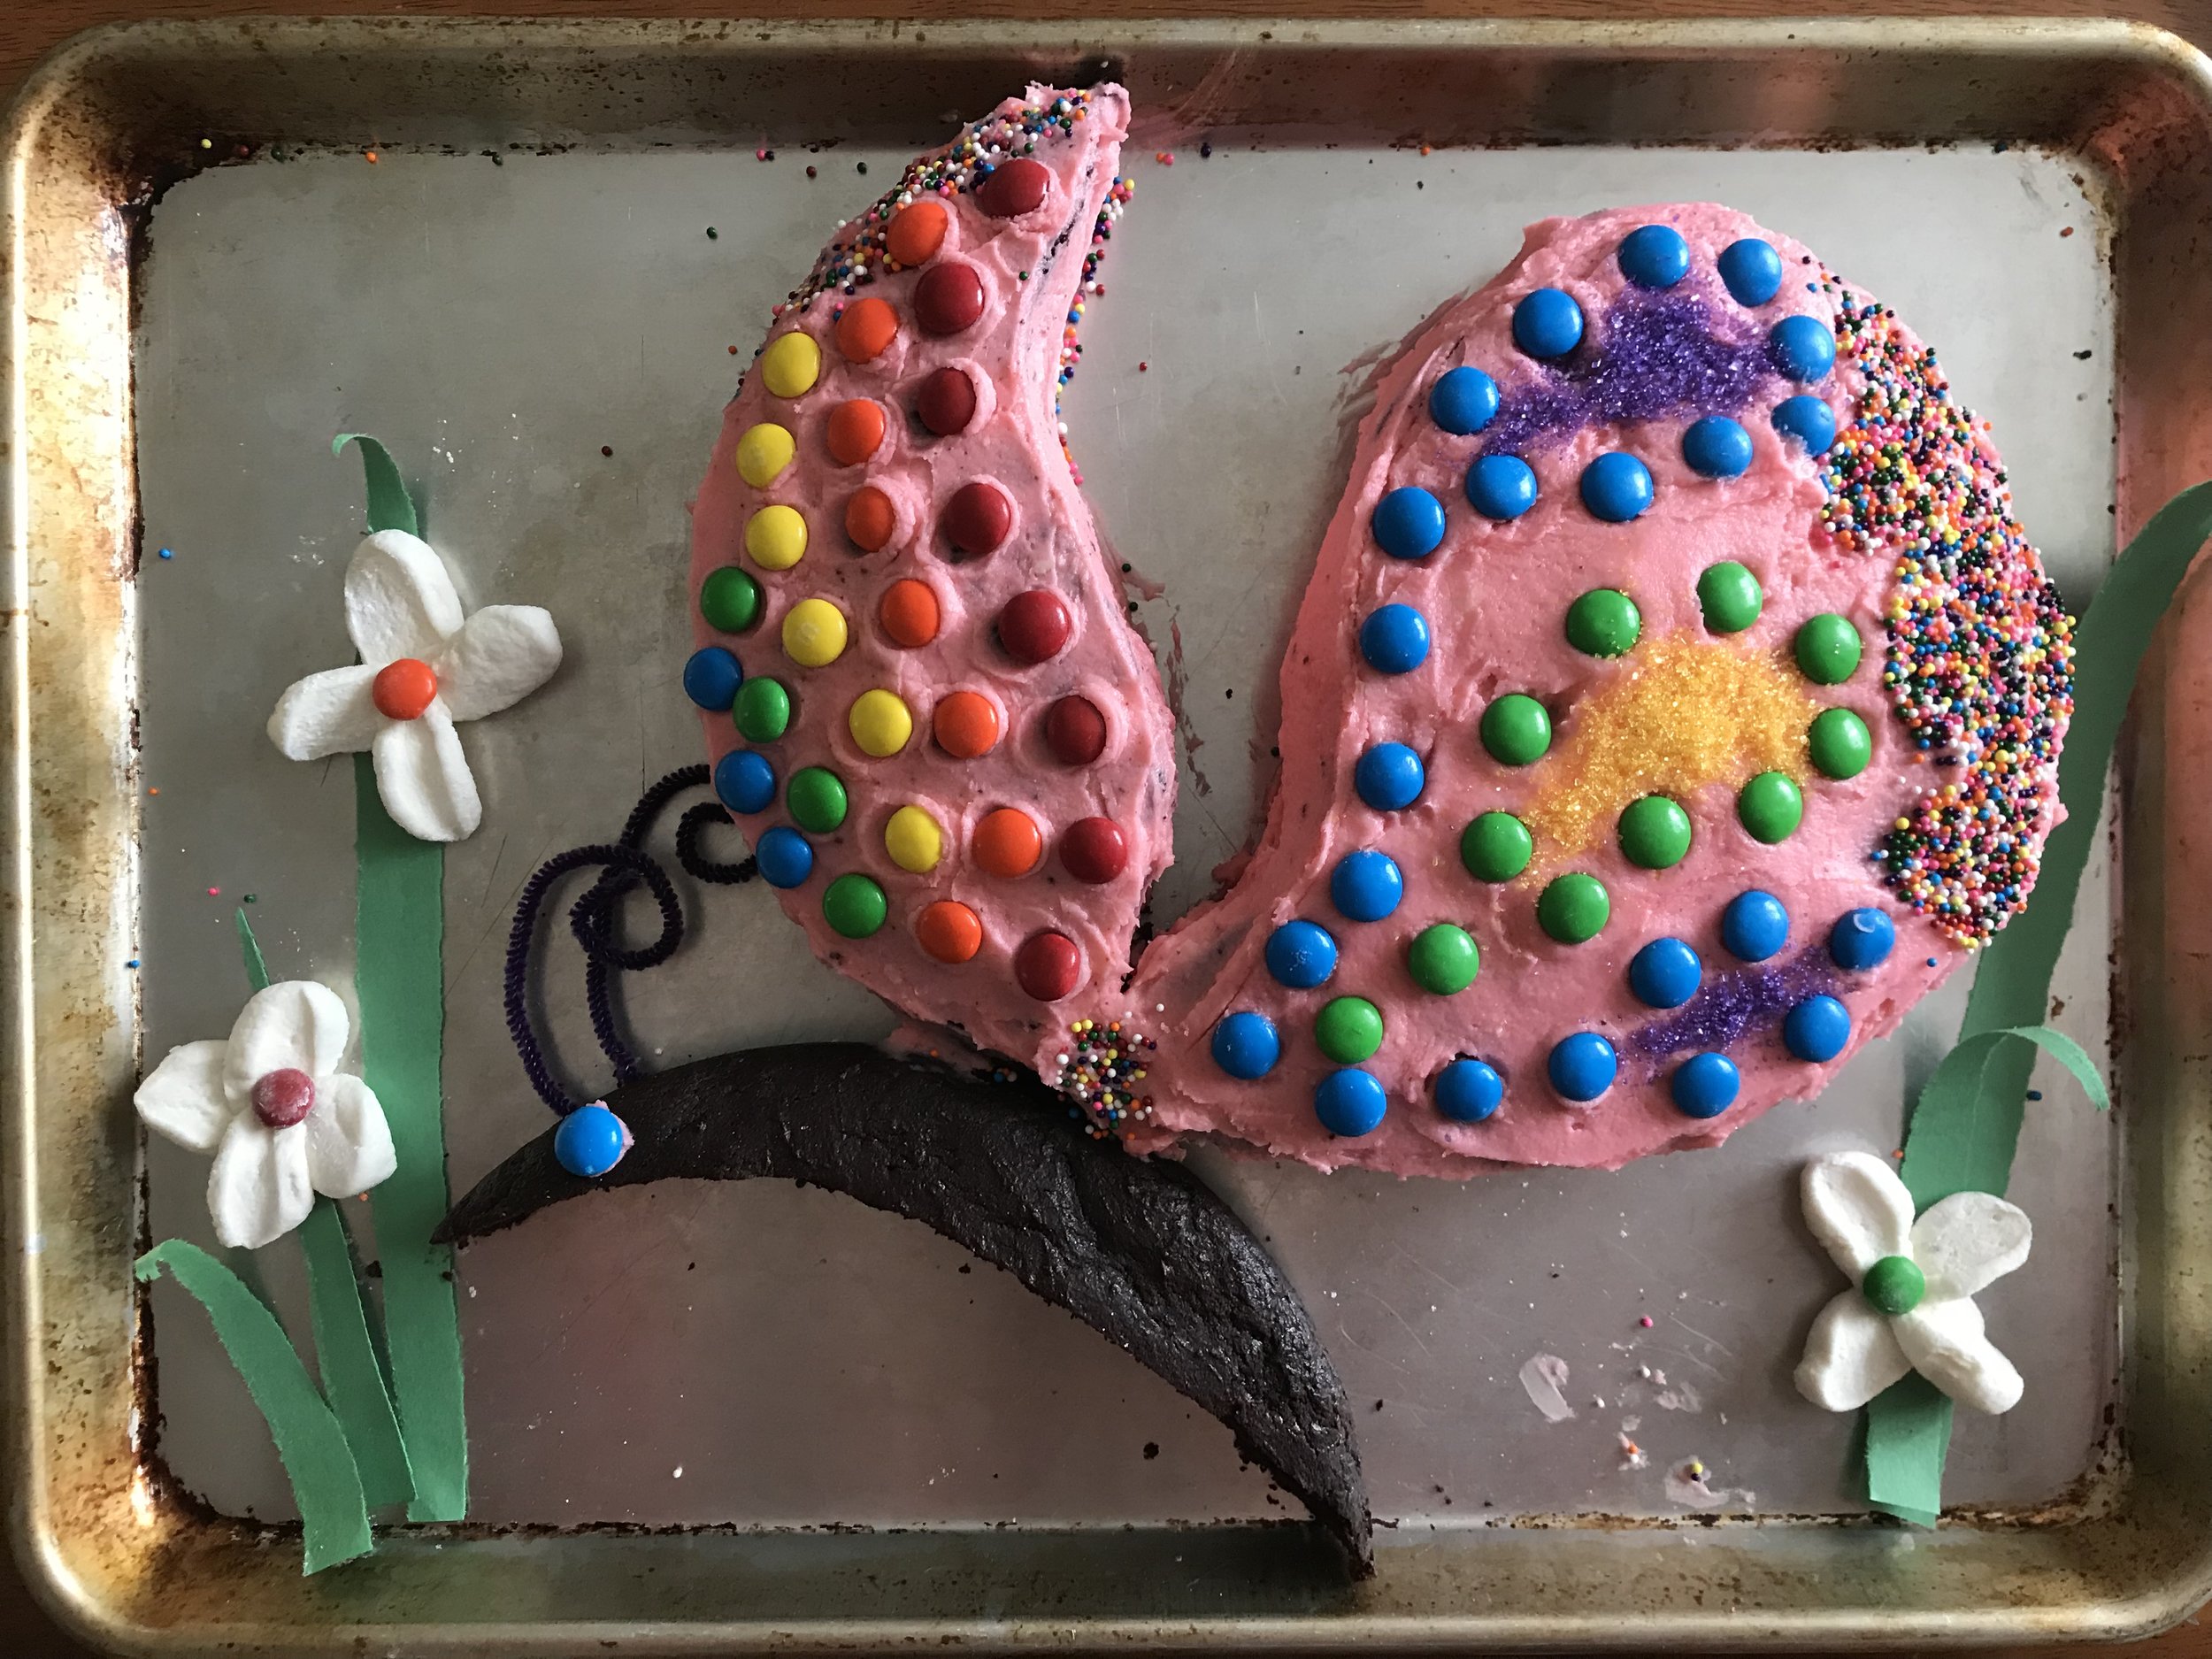
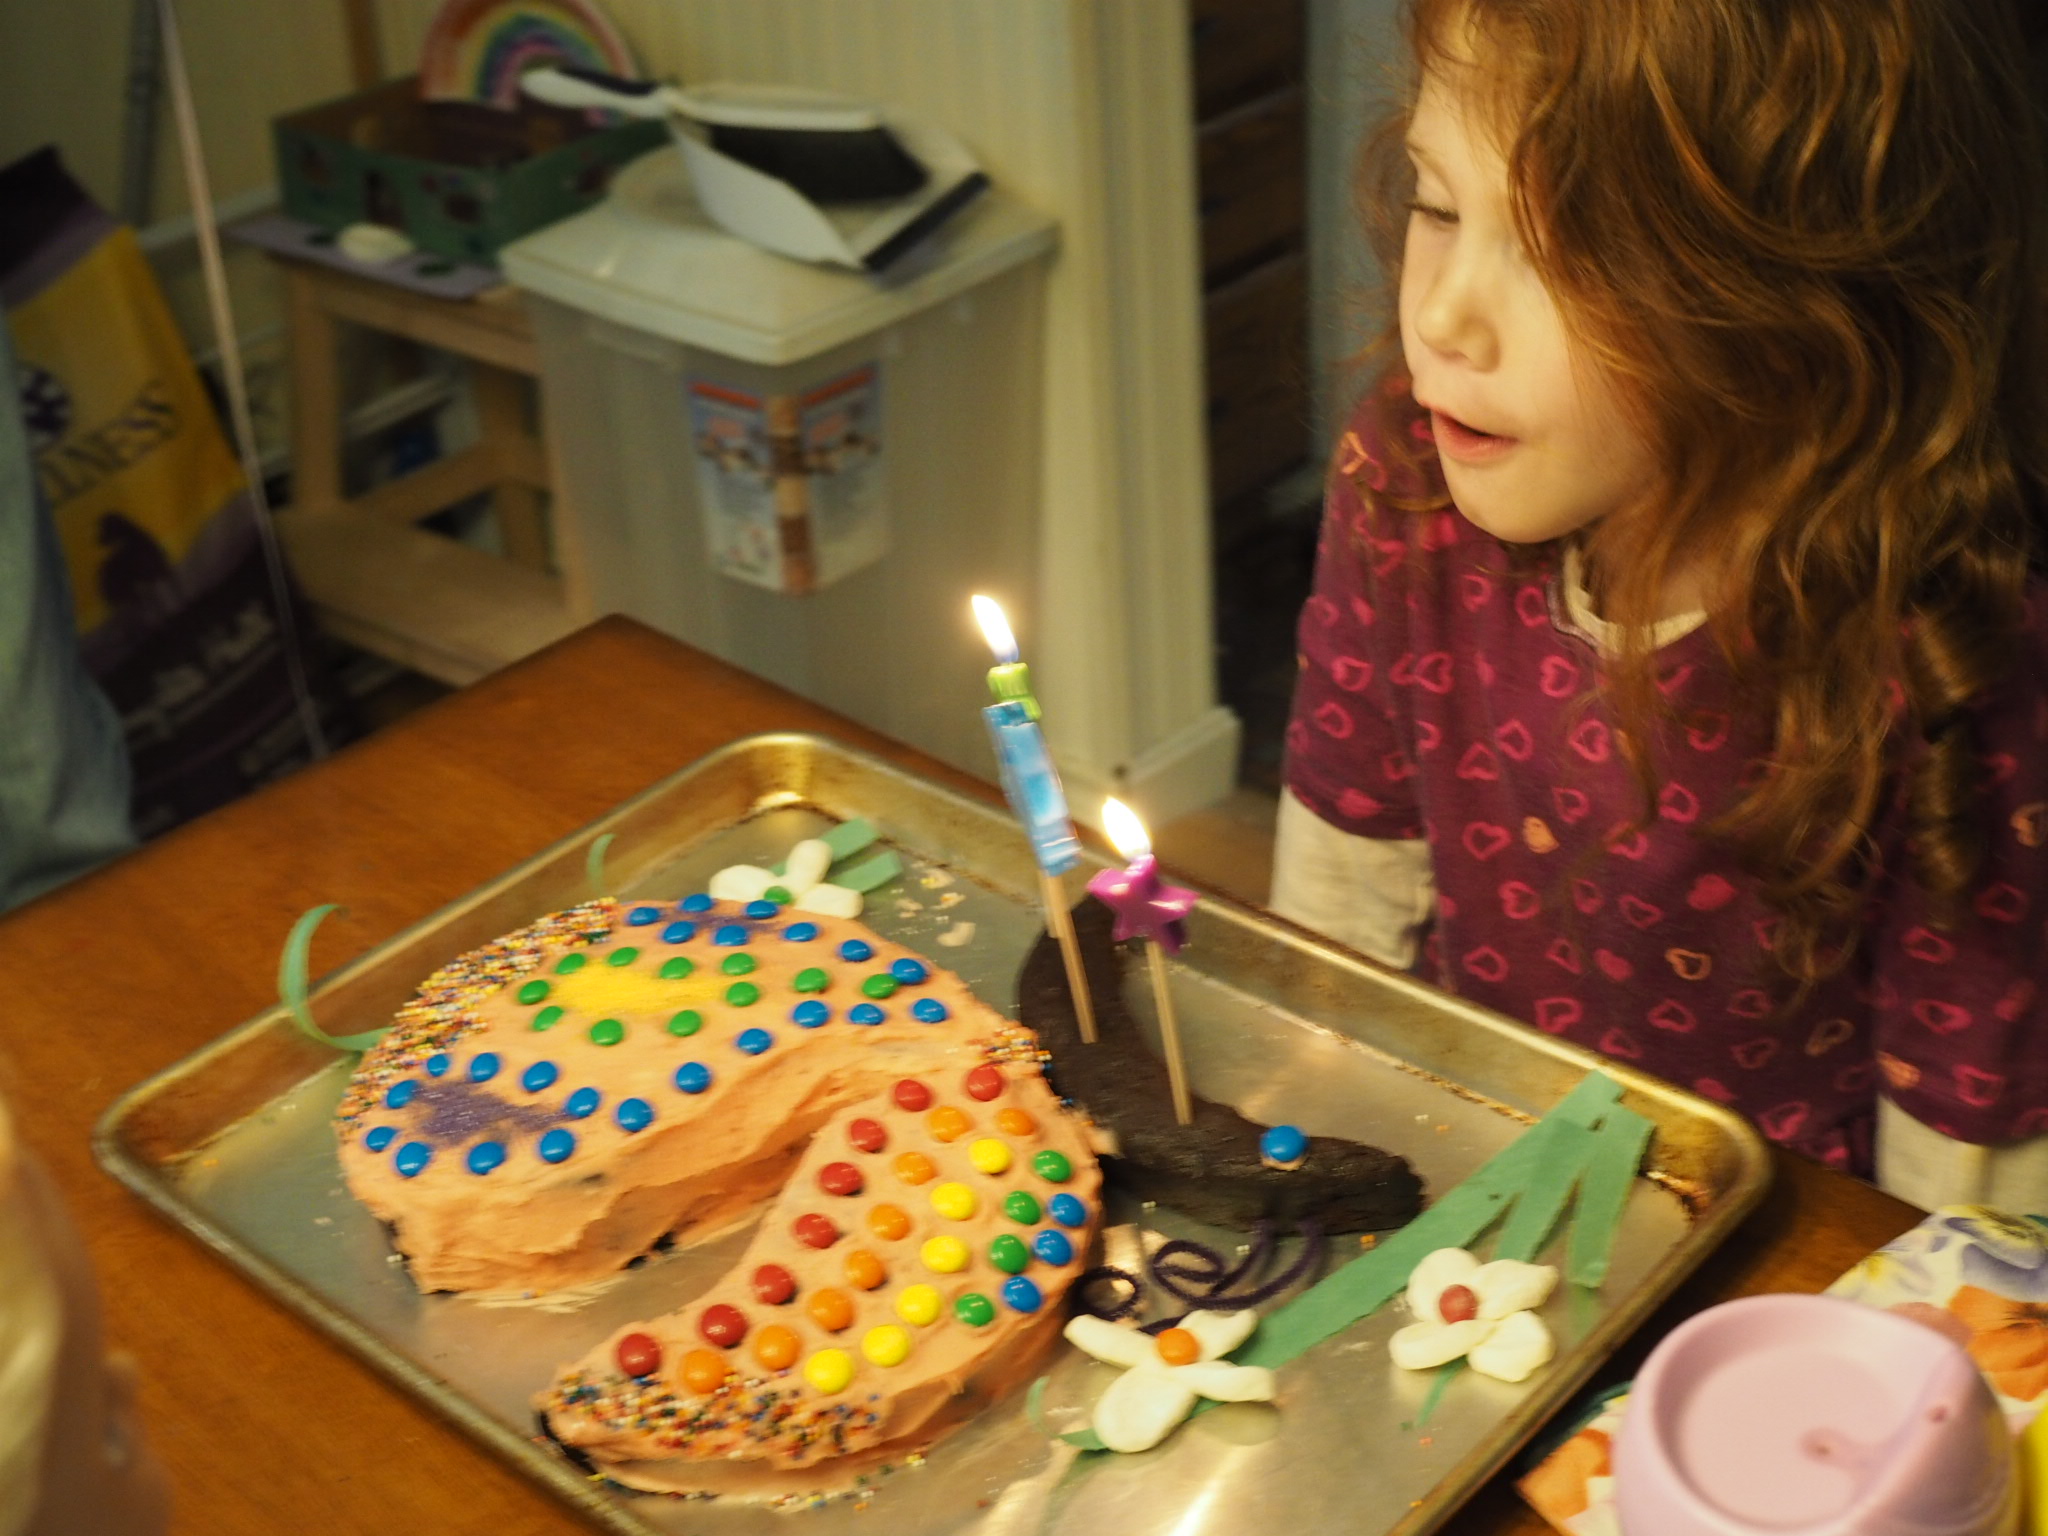
I did my best attempt at the Butterfly Cake from The Australian Women’s Weekly Children’s Birthday Cake Book for LMC’s 6th birthday, which just passed. A cake design that my mother had made for my own 4th birthday back in 1987. I think her version was a bit more elegant, but mine passed kid muster all the same.

LMC, as with most cakes, ate the frosting off her slice and hasn’t touched it since, so like that Tigger cake all those years before, this cake was mostly for me. And you know what? I’m okay with that and also I’m pretty sure it won’t be the last…

Print Friendly and PDF Follow
follow us in feedly

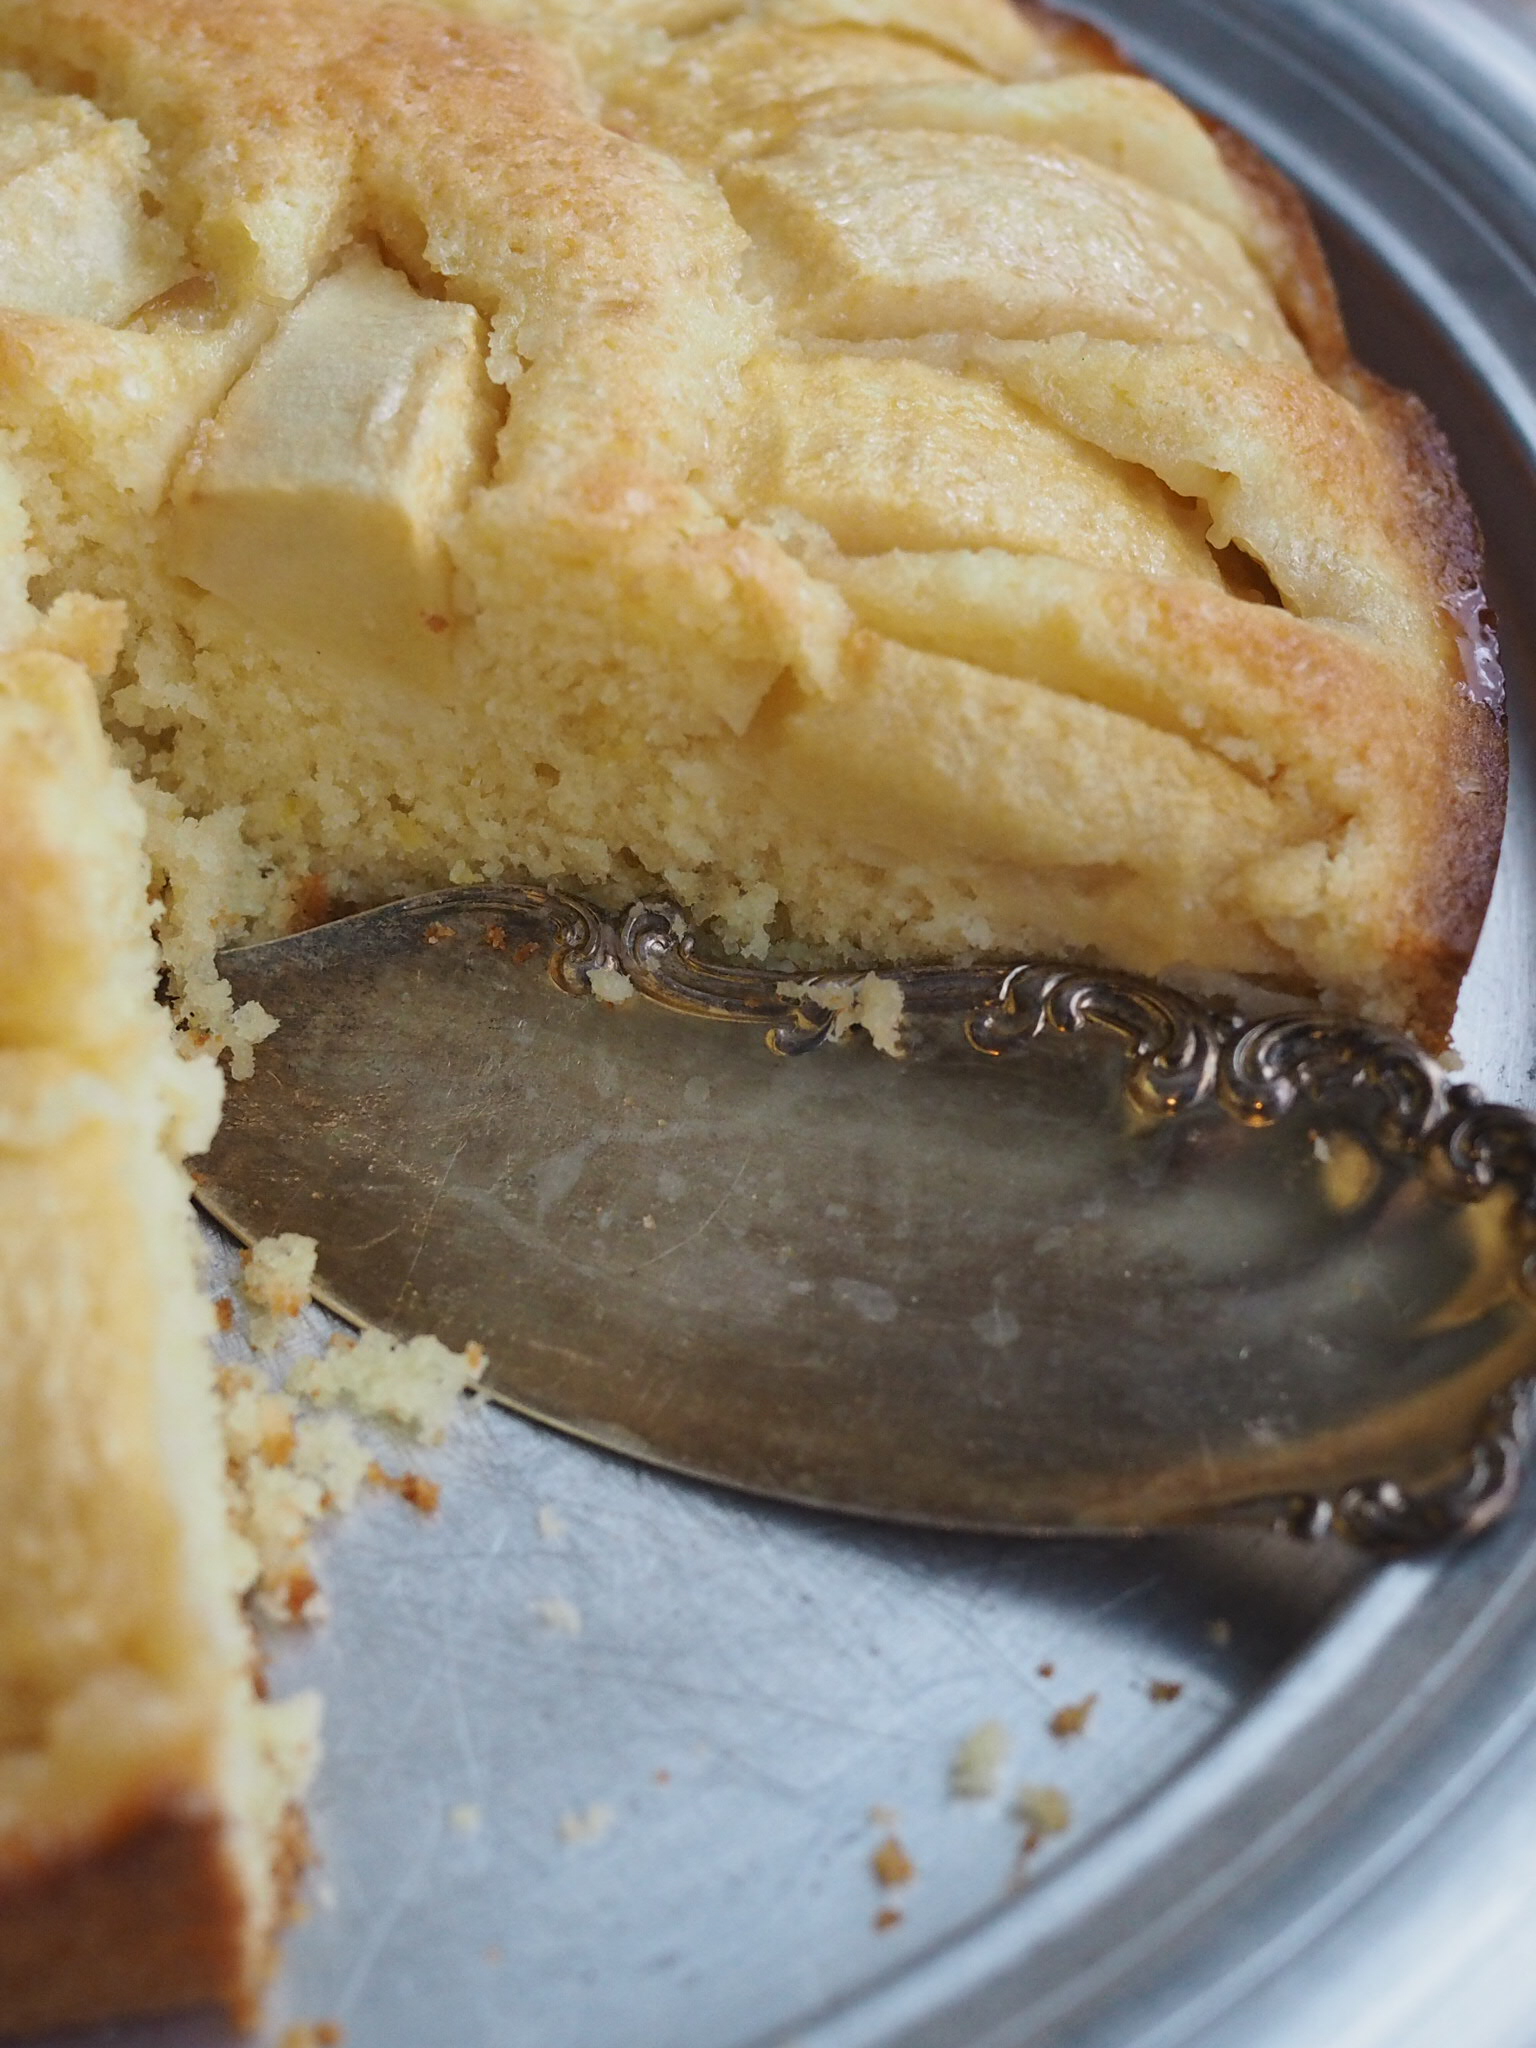
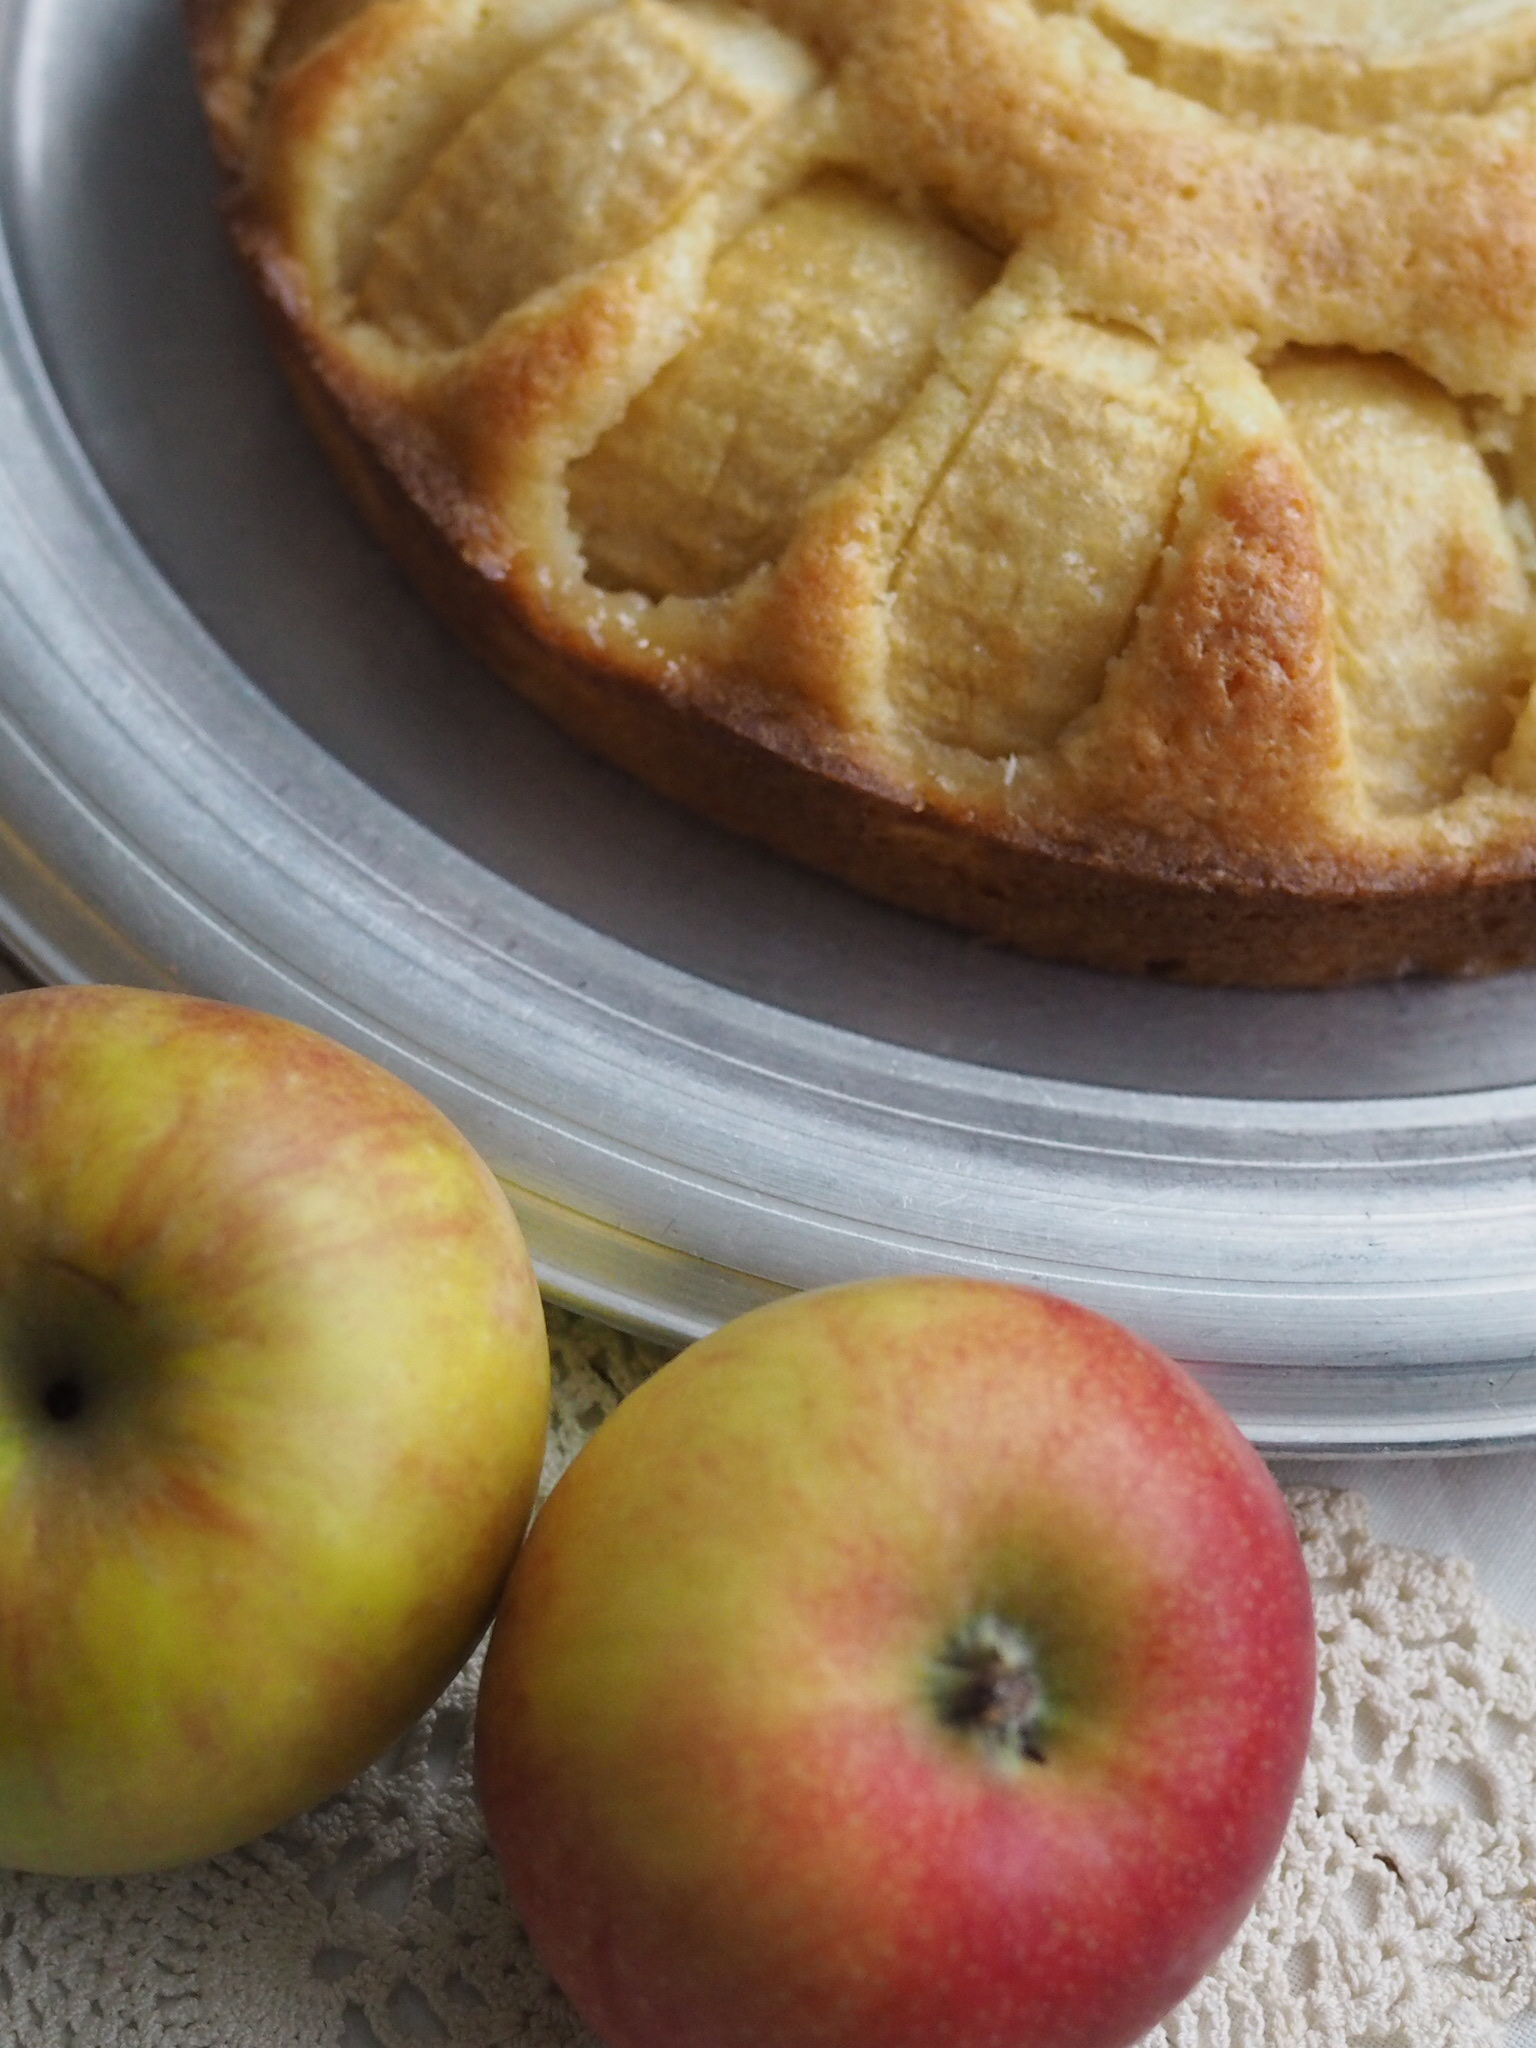
German Sunken Apple Cake (Versunkener Apfelkuchen)

GermanSunkenAppleCakev2.png

A friend (who really knows the the way to this girl’s heart) gifted me with Luisa Weiss’s Classic German Baking for my birthday back in July. The summer was so full (and hot) that I rarely turned on the oven, but now that Fall is in full swing (and I’ve been watching The Great British Bake Off on Netflix), I was itching to get back to baking and trying some new recipes!

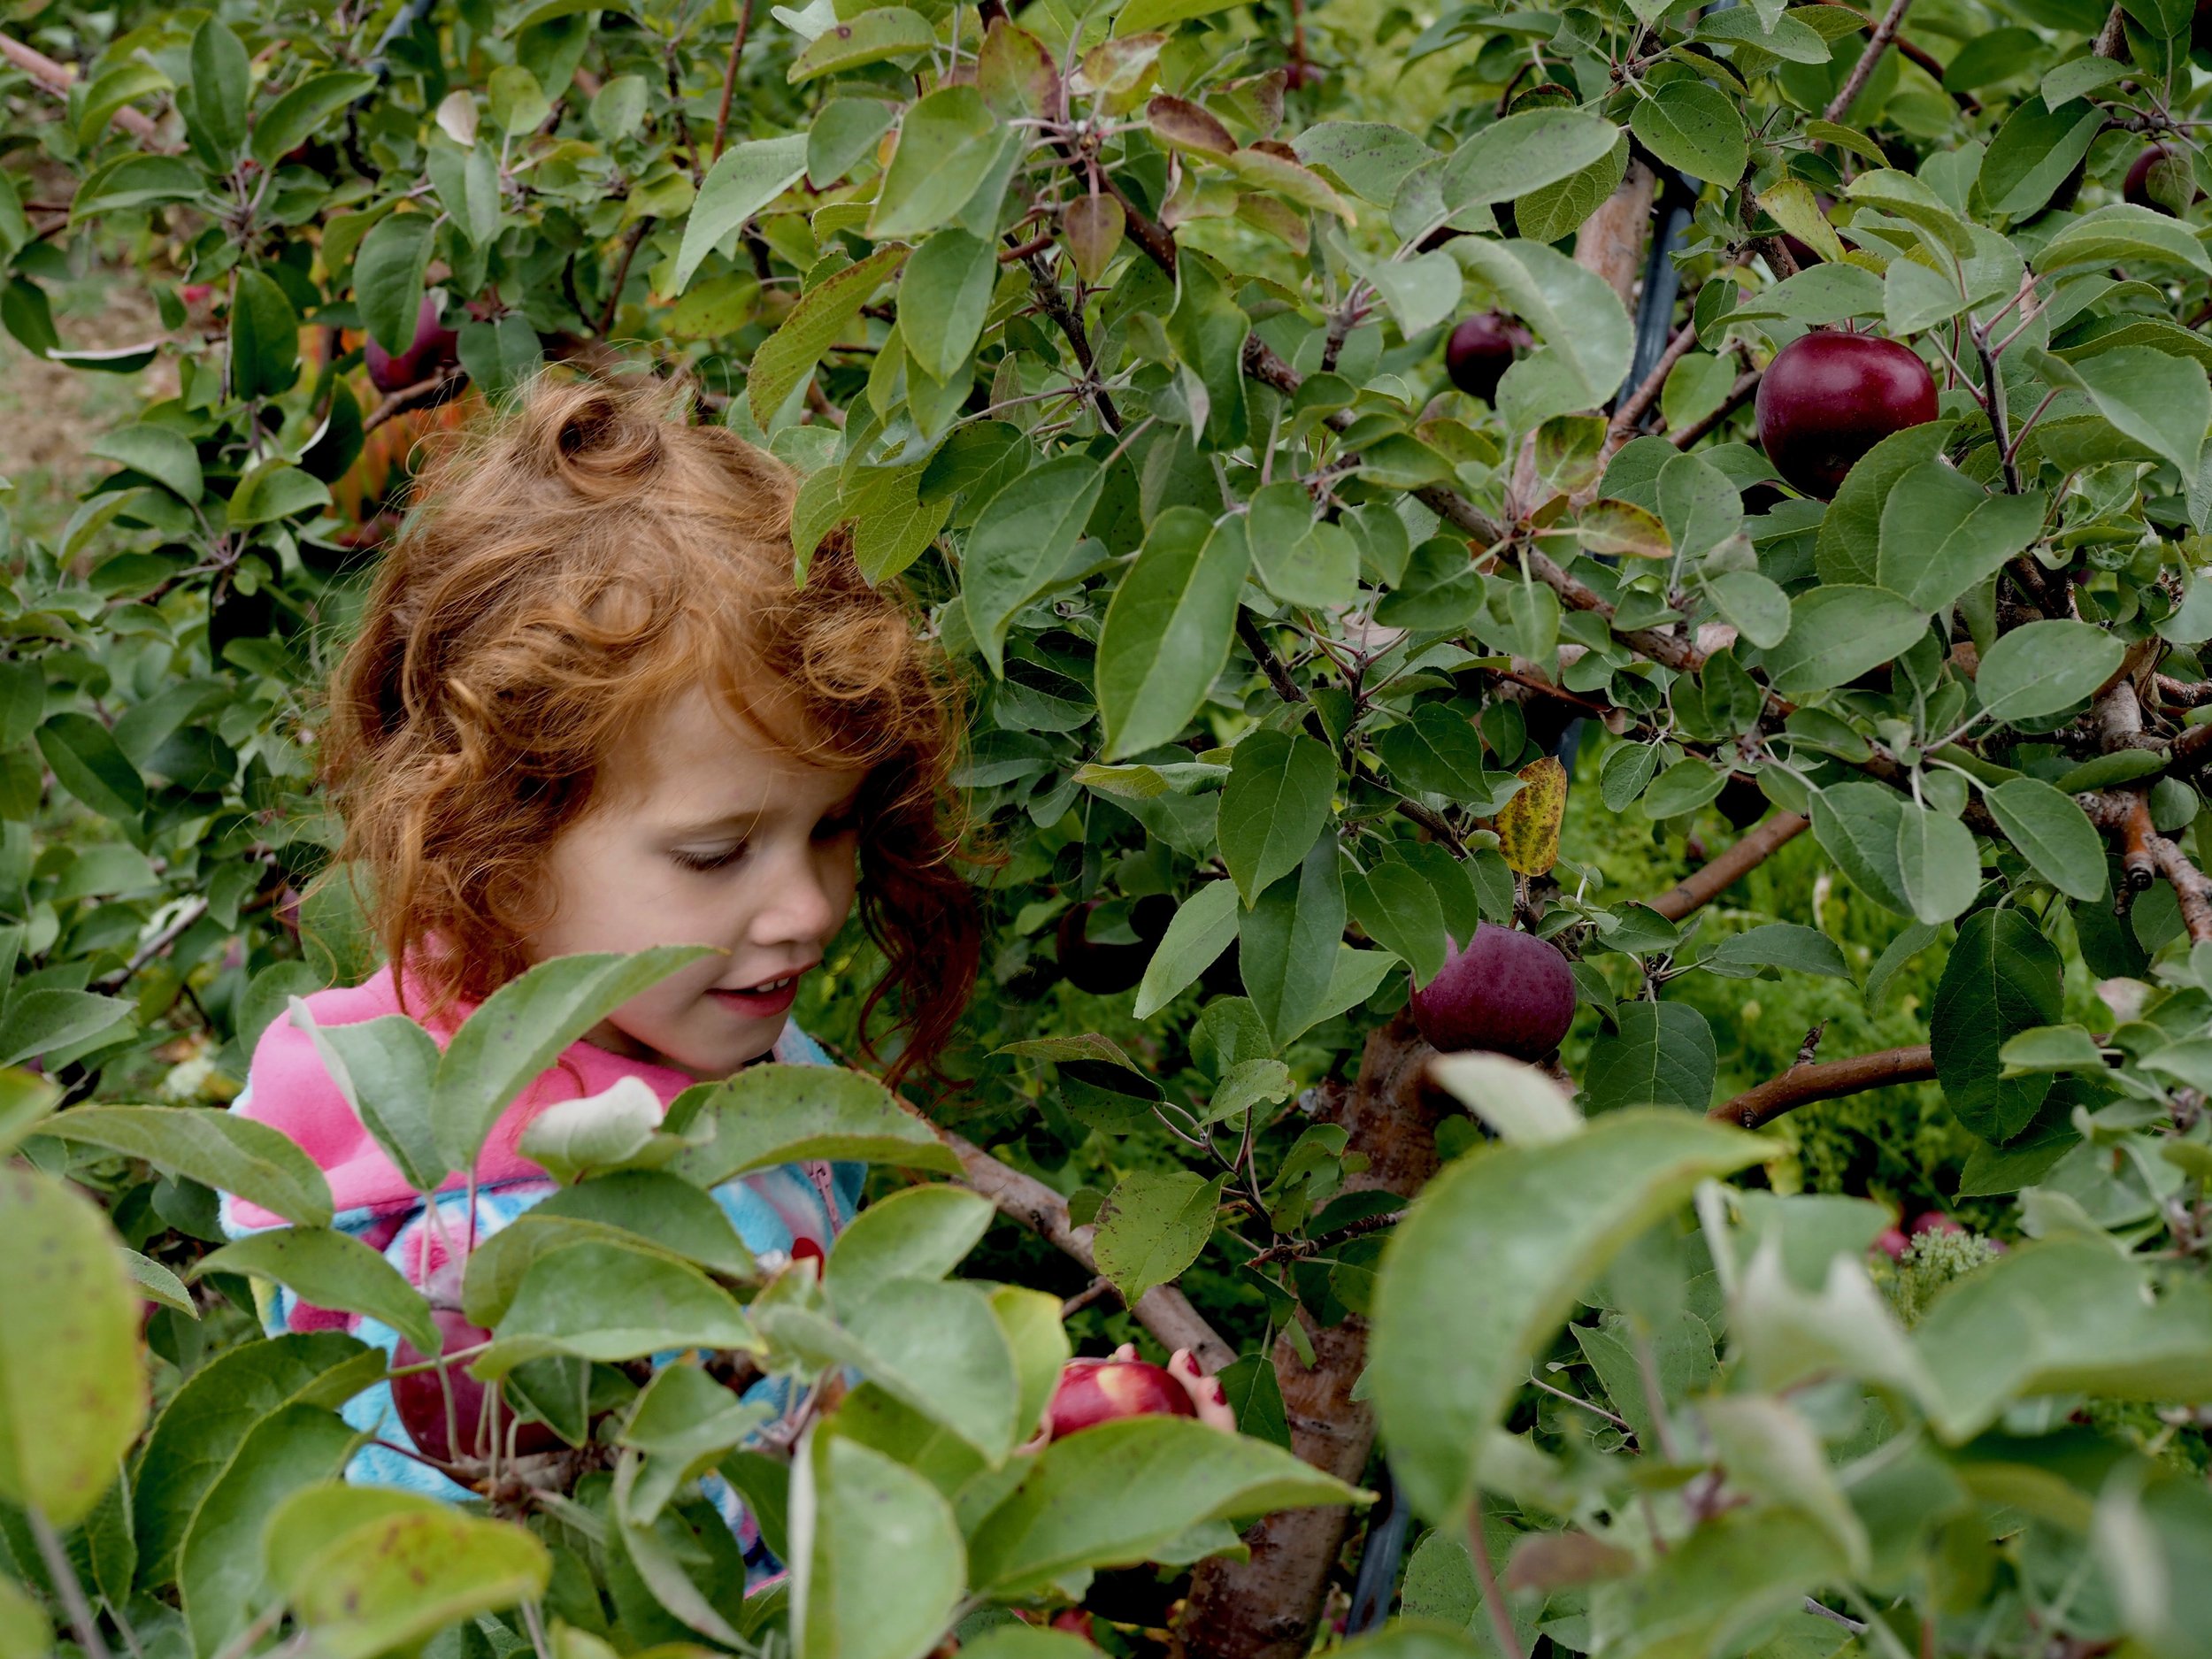
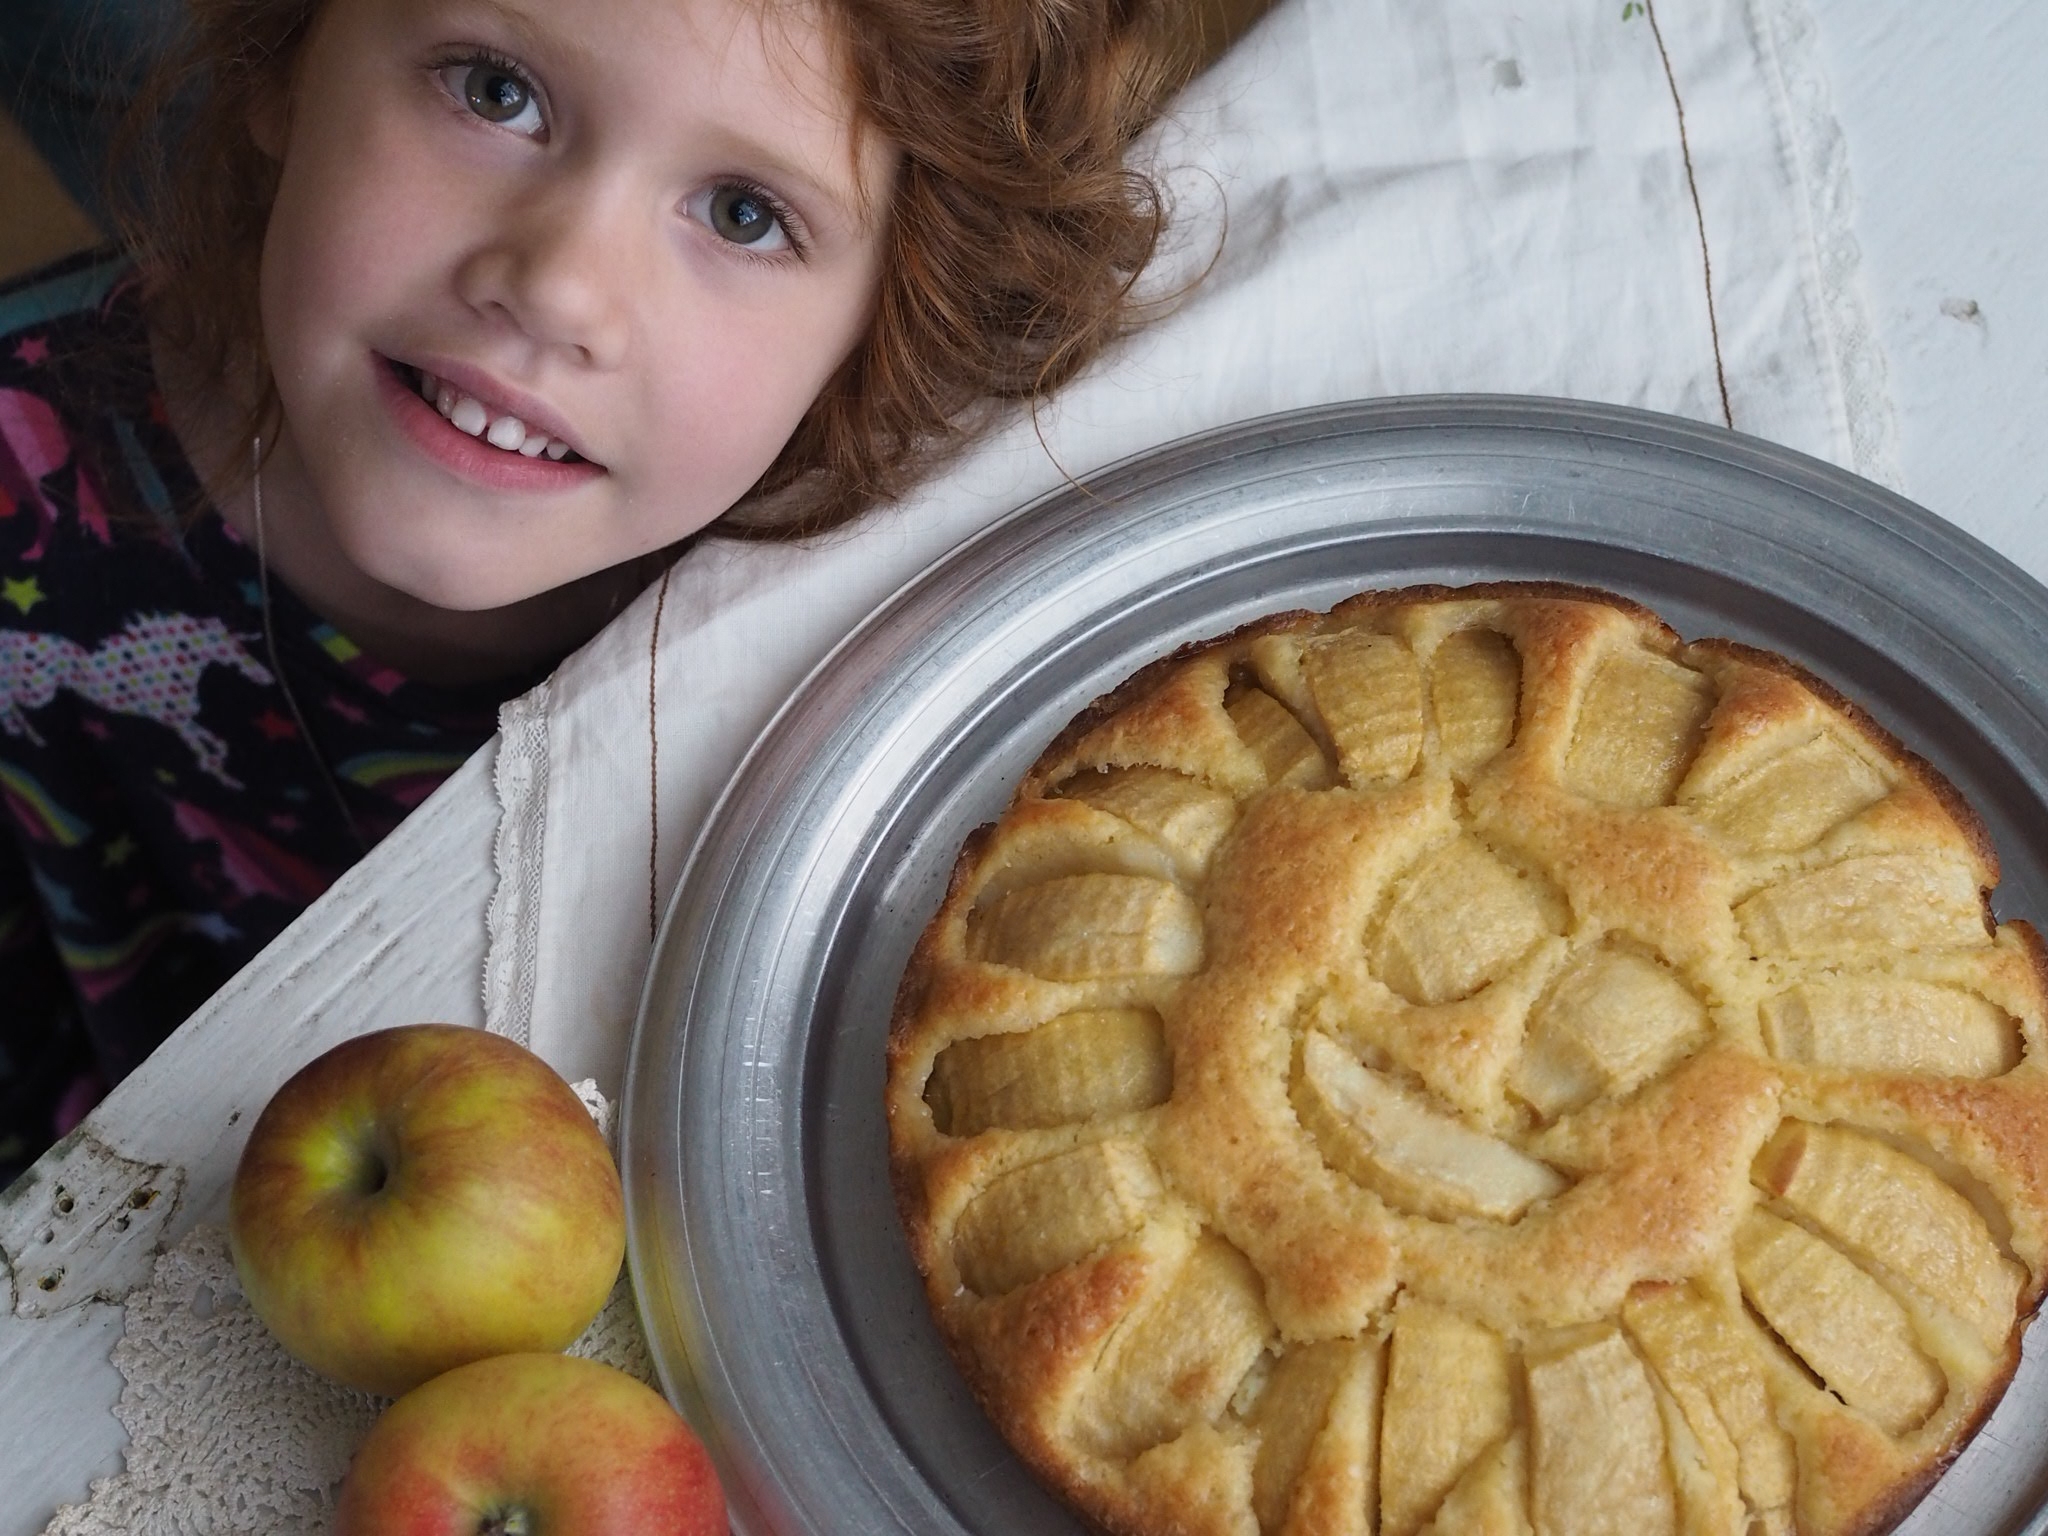
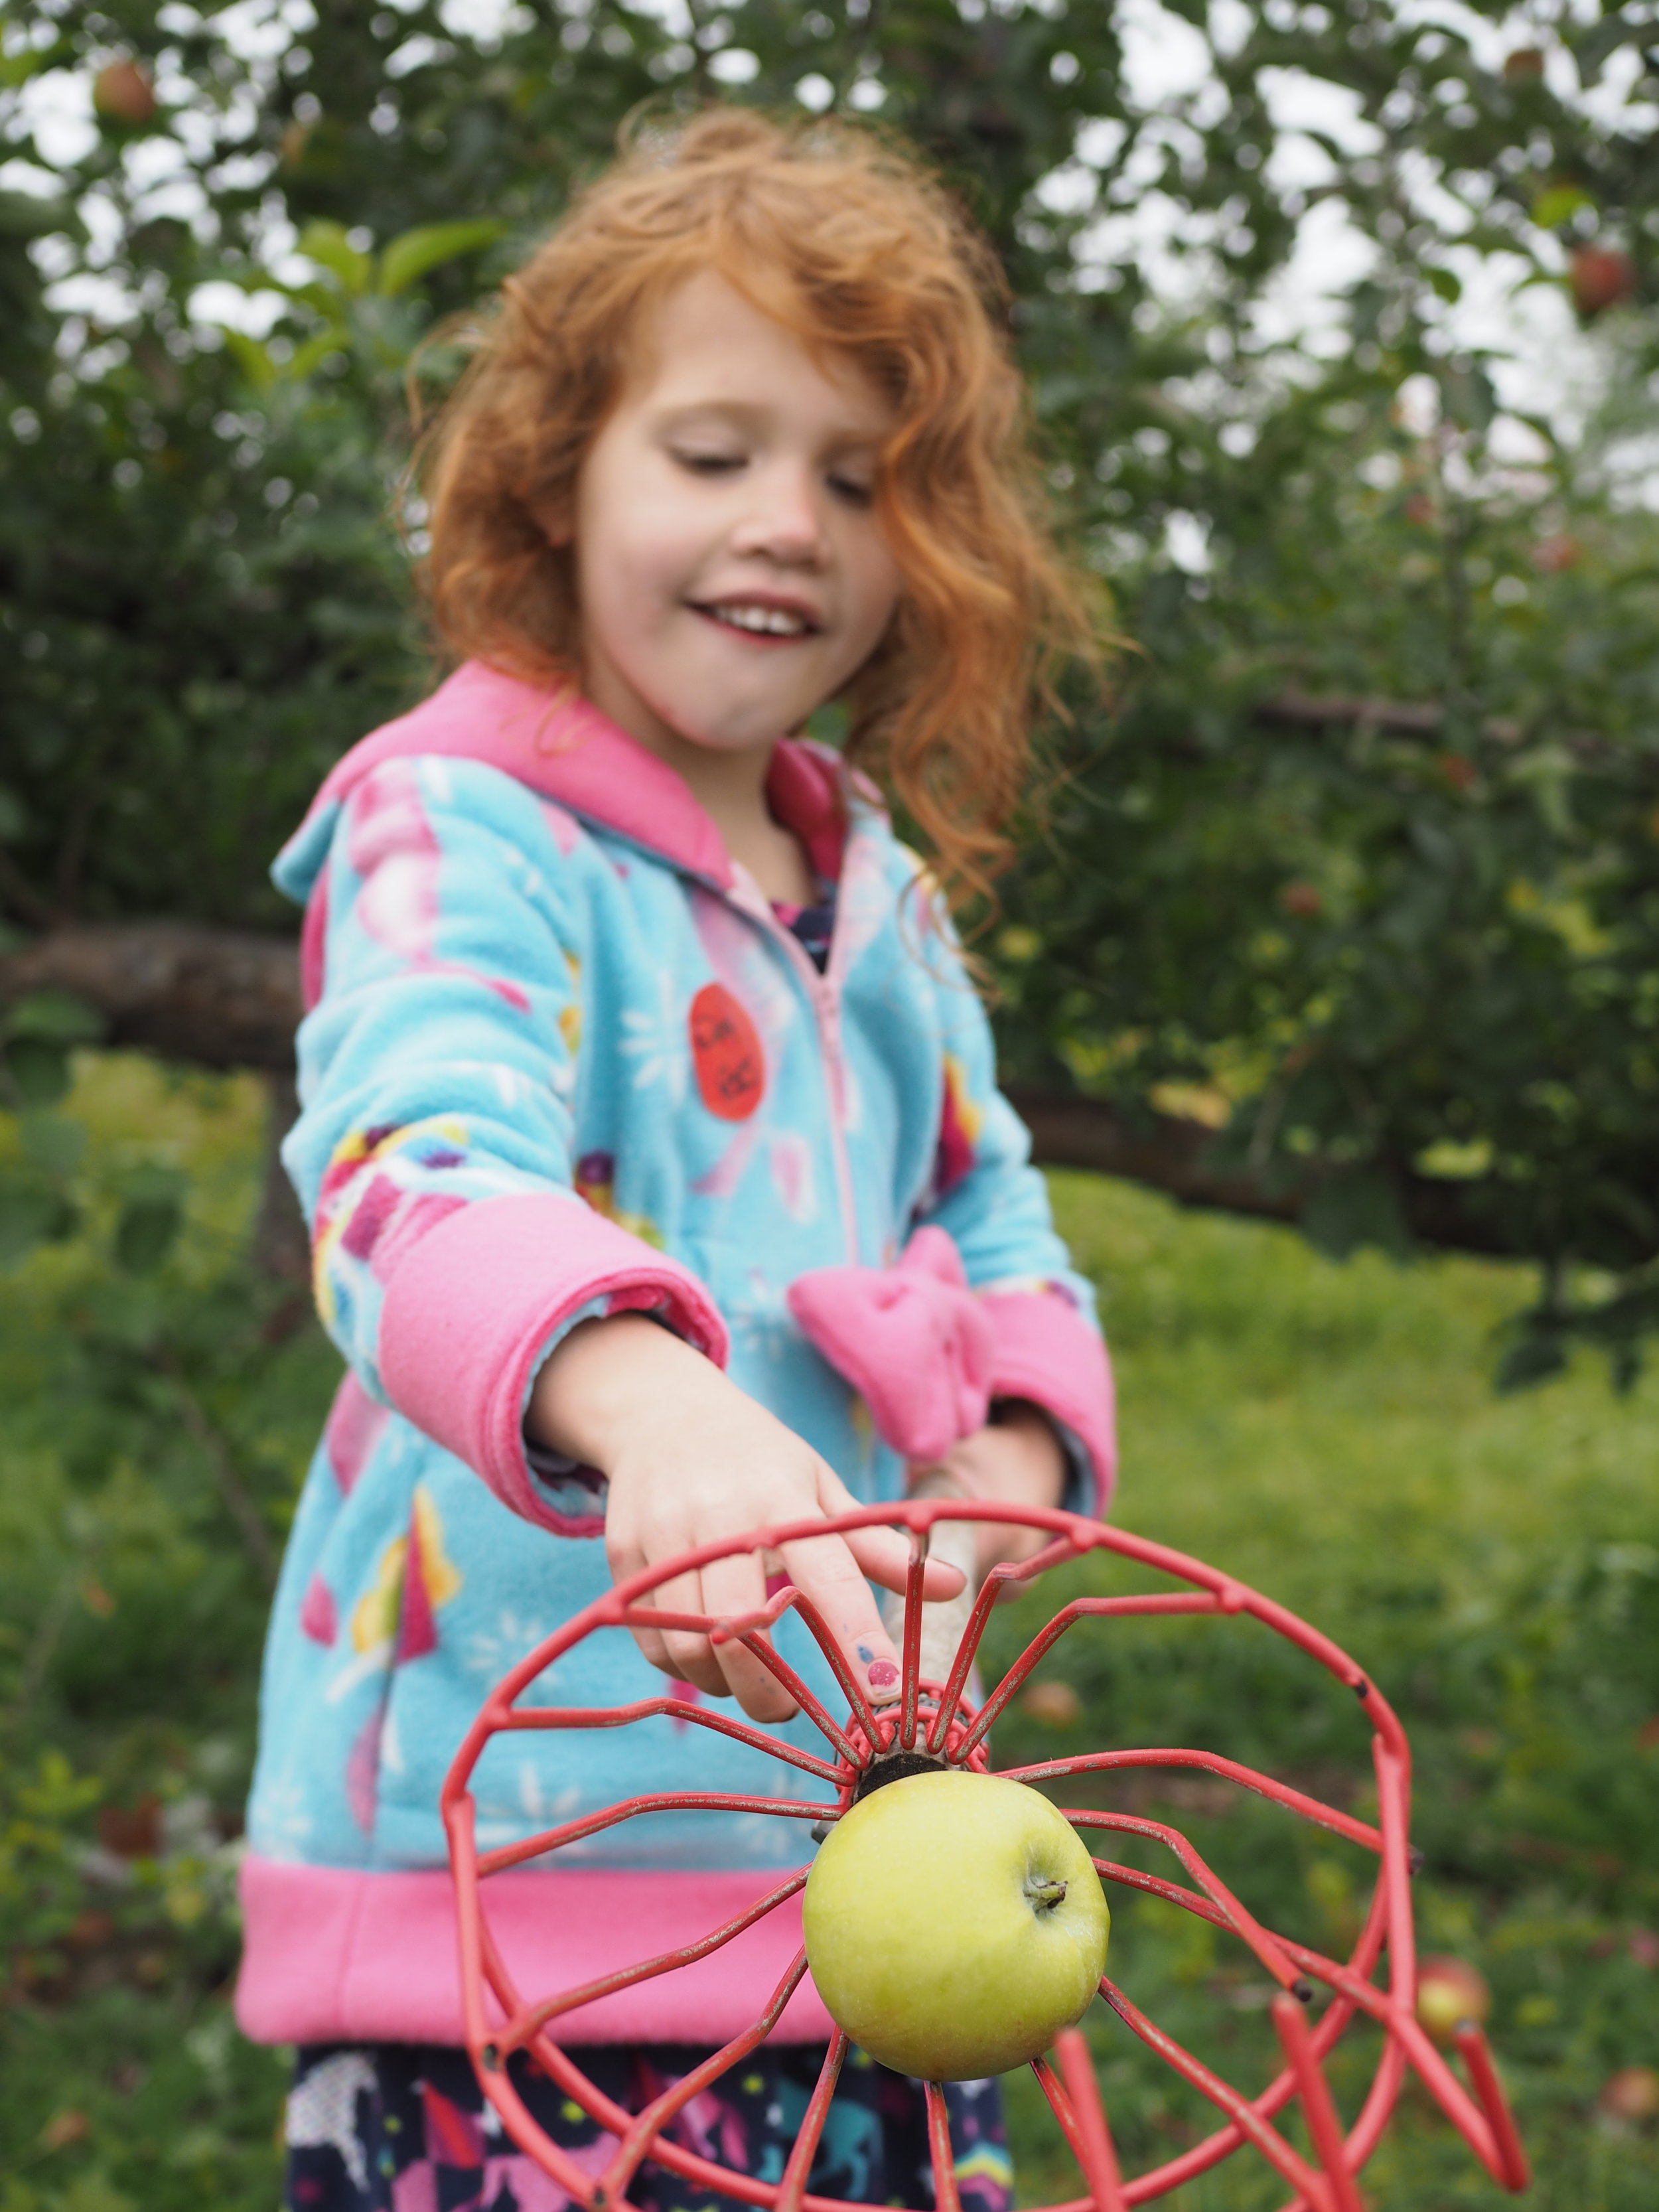
Having done our traditional apple picking trip a few weeks back, I’m up to my eyeballs in apples, even after having made two pies, but Classic German Baking was ready for me with three different Apfelkuchen recipes. I fully intend to try all three in the coming weeks, but based on what was in my pantry/fridge, I went with the Versunkener Apfelkuchen first, which also happens to be the simplest of the three. And since the recipe declared it “great for people baking with small children” I asked Little Miss Cleaver to help out. (The smiley face was all LMC’s idea and execution).

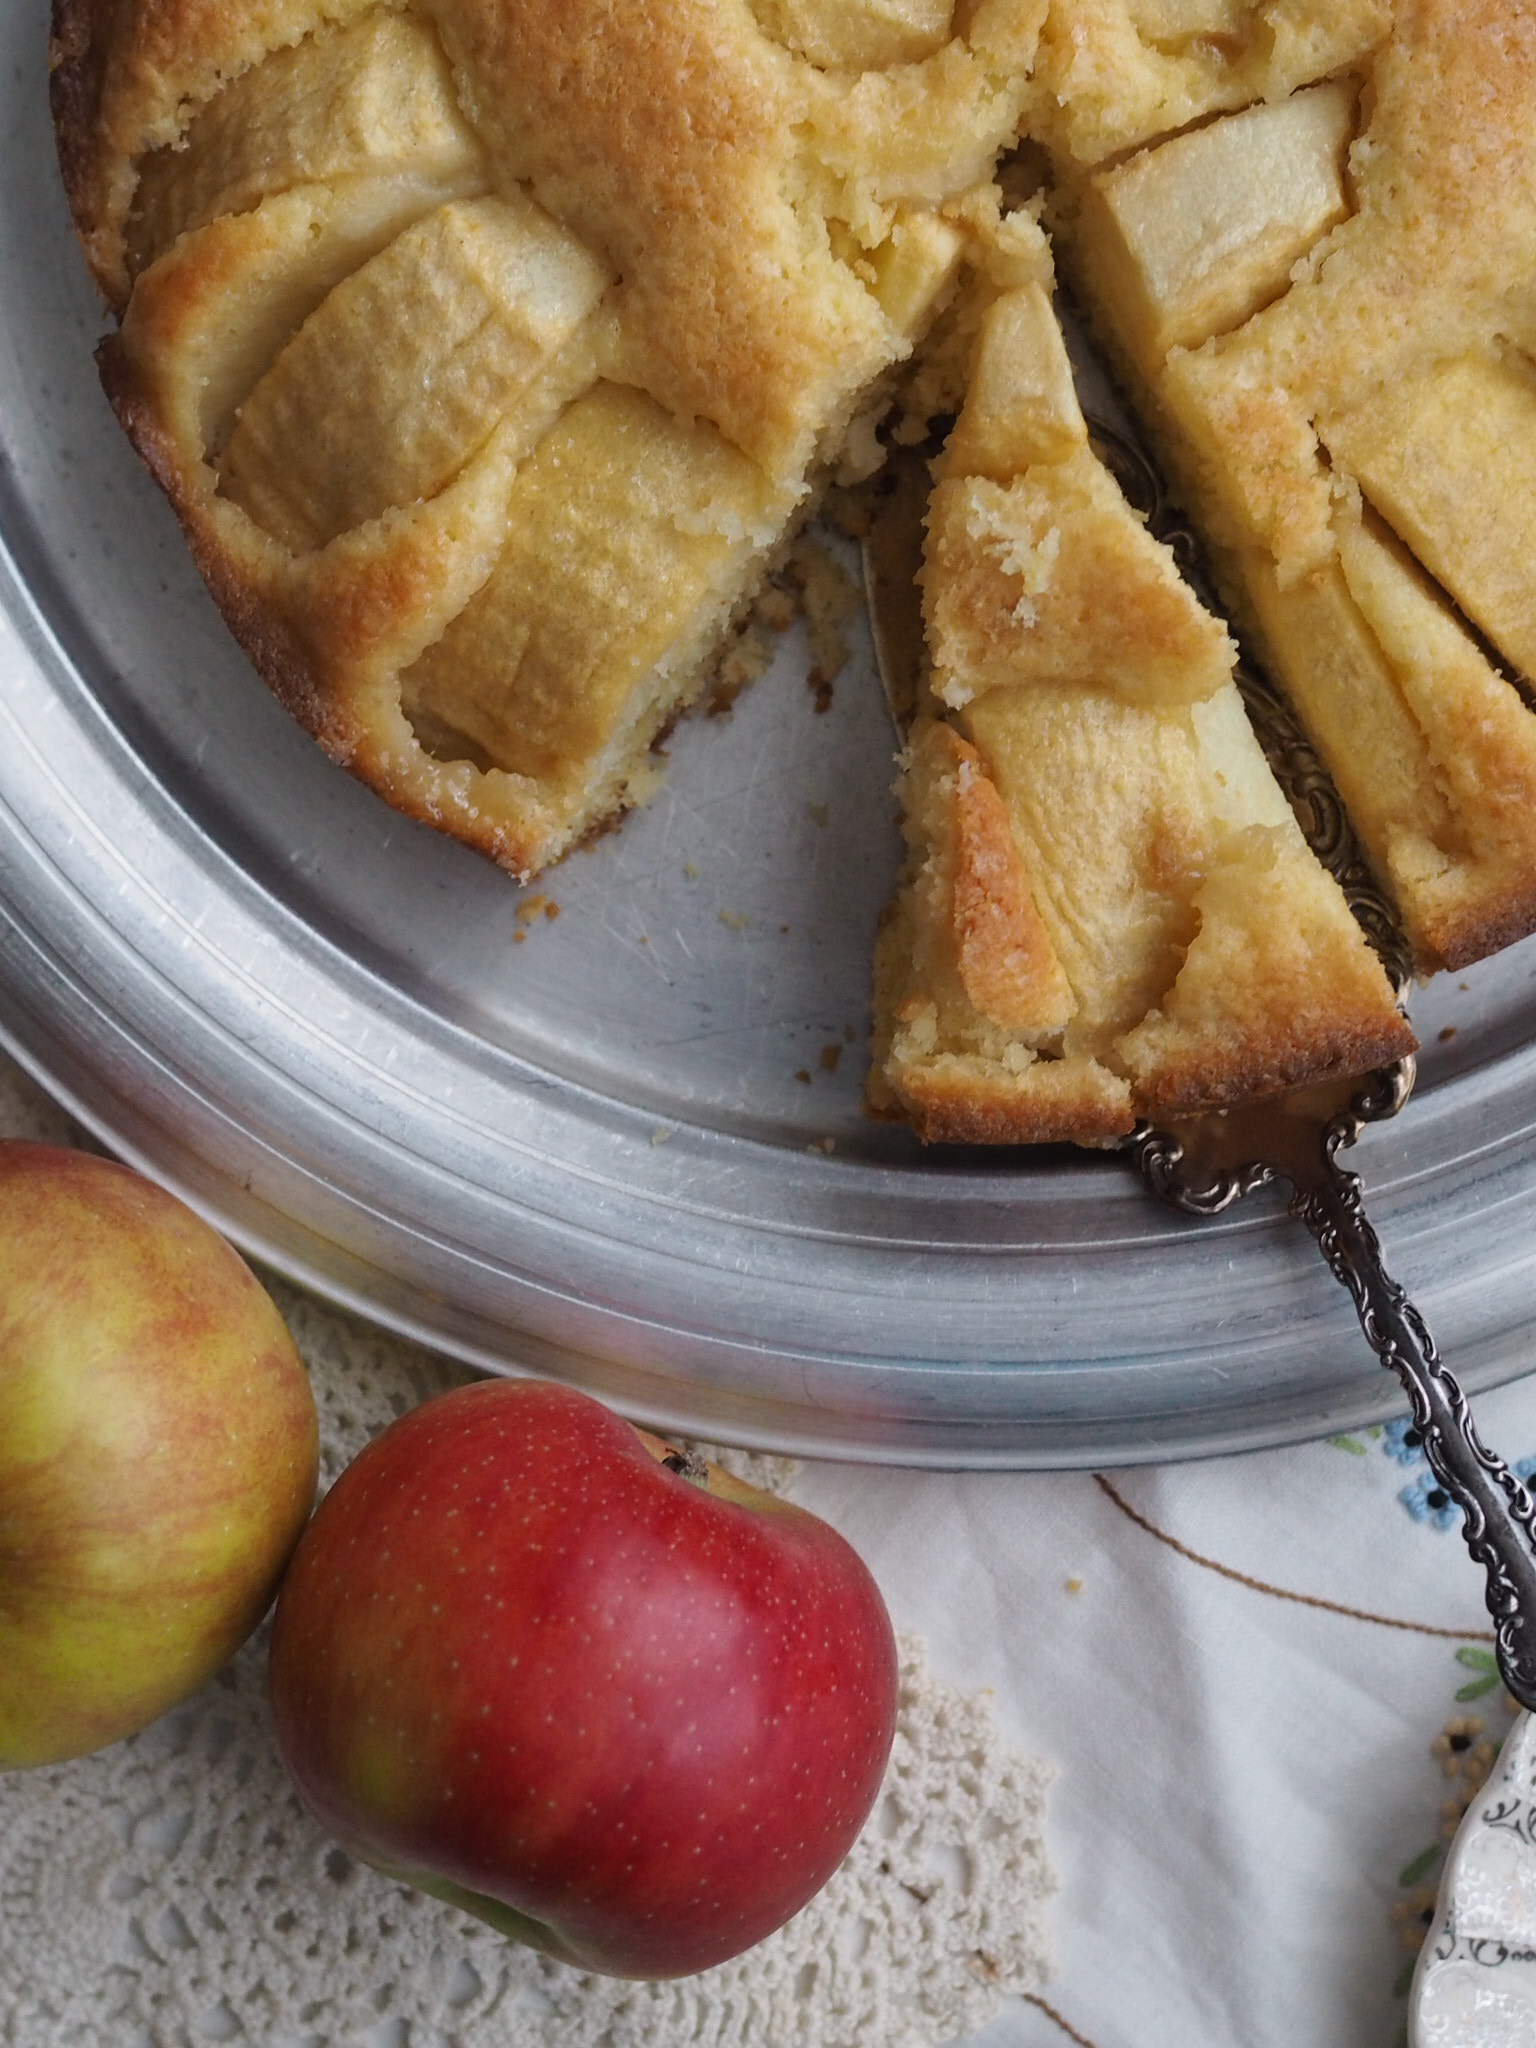
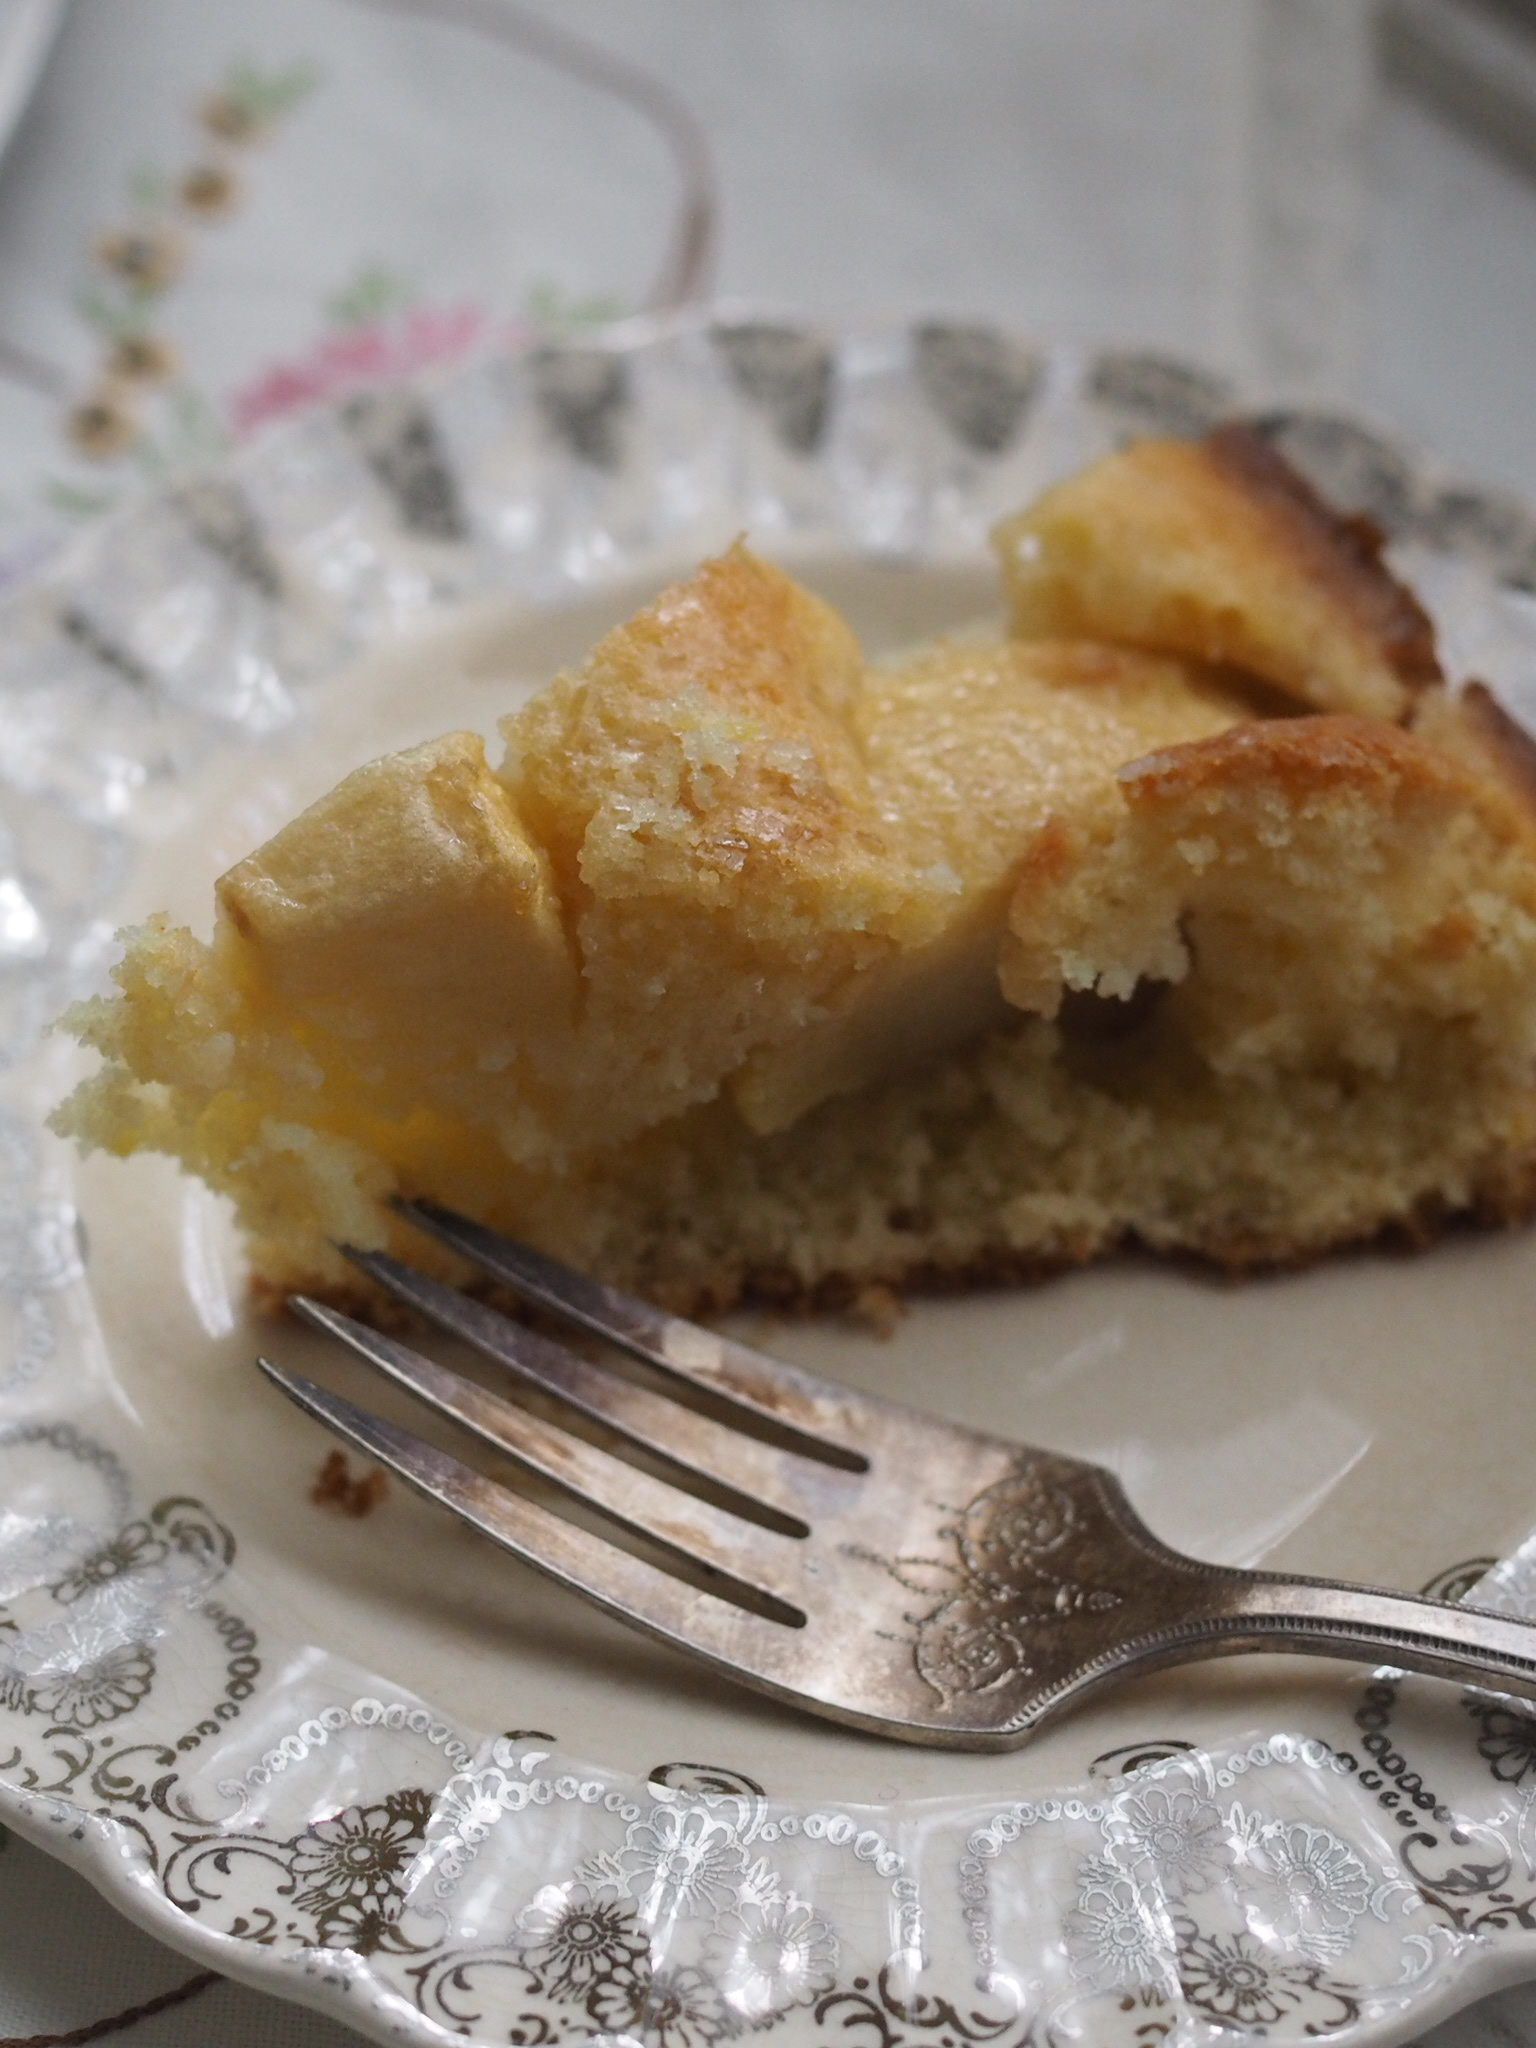
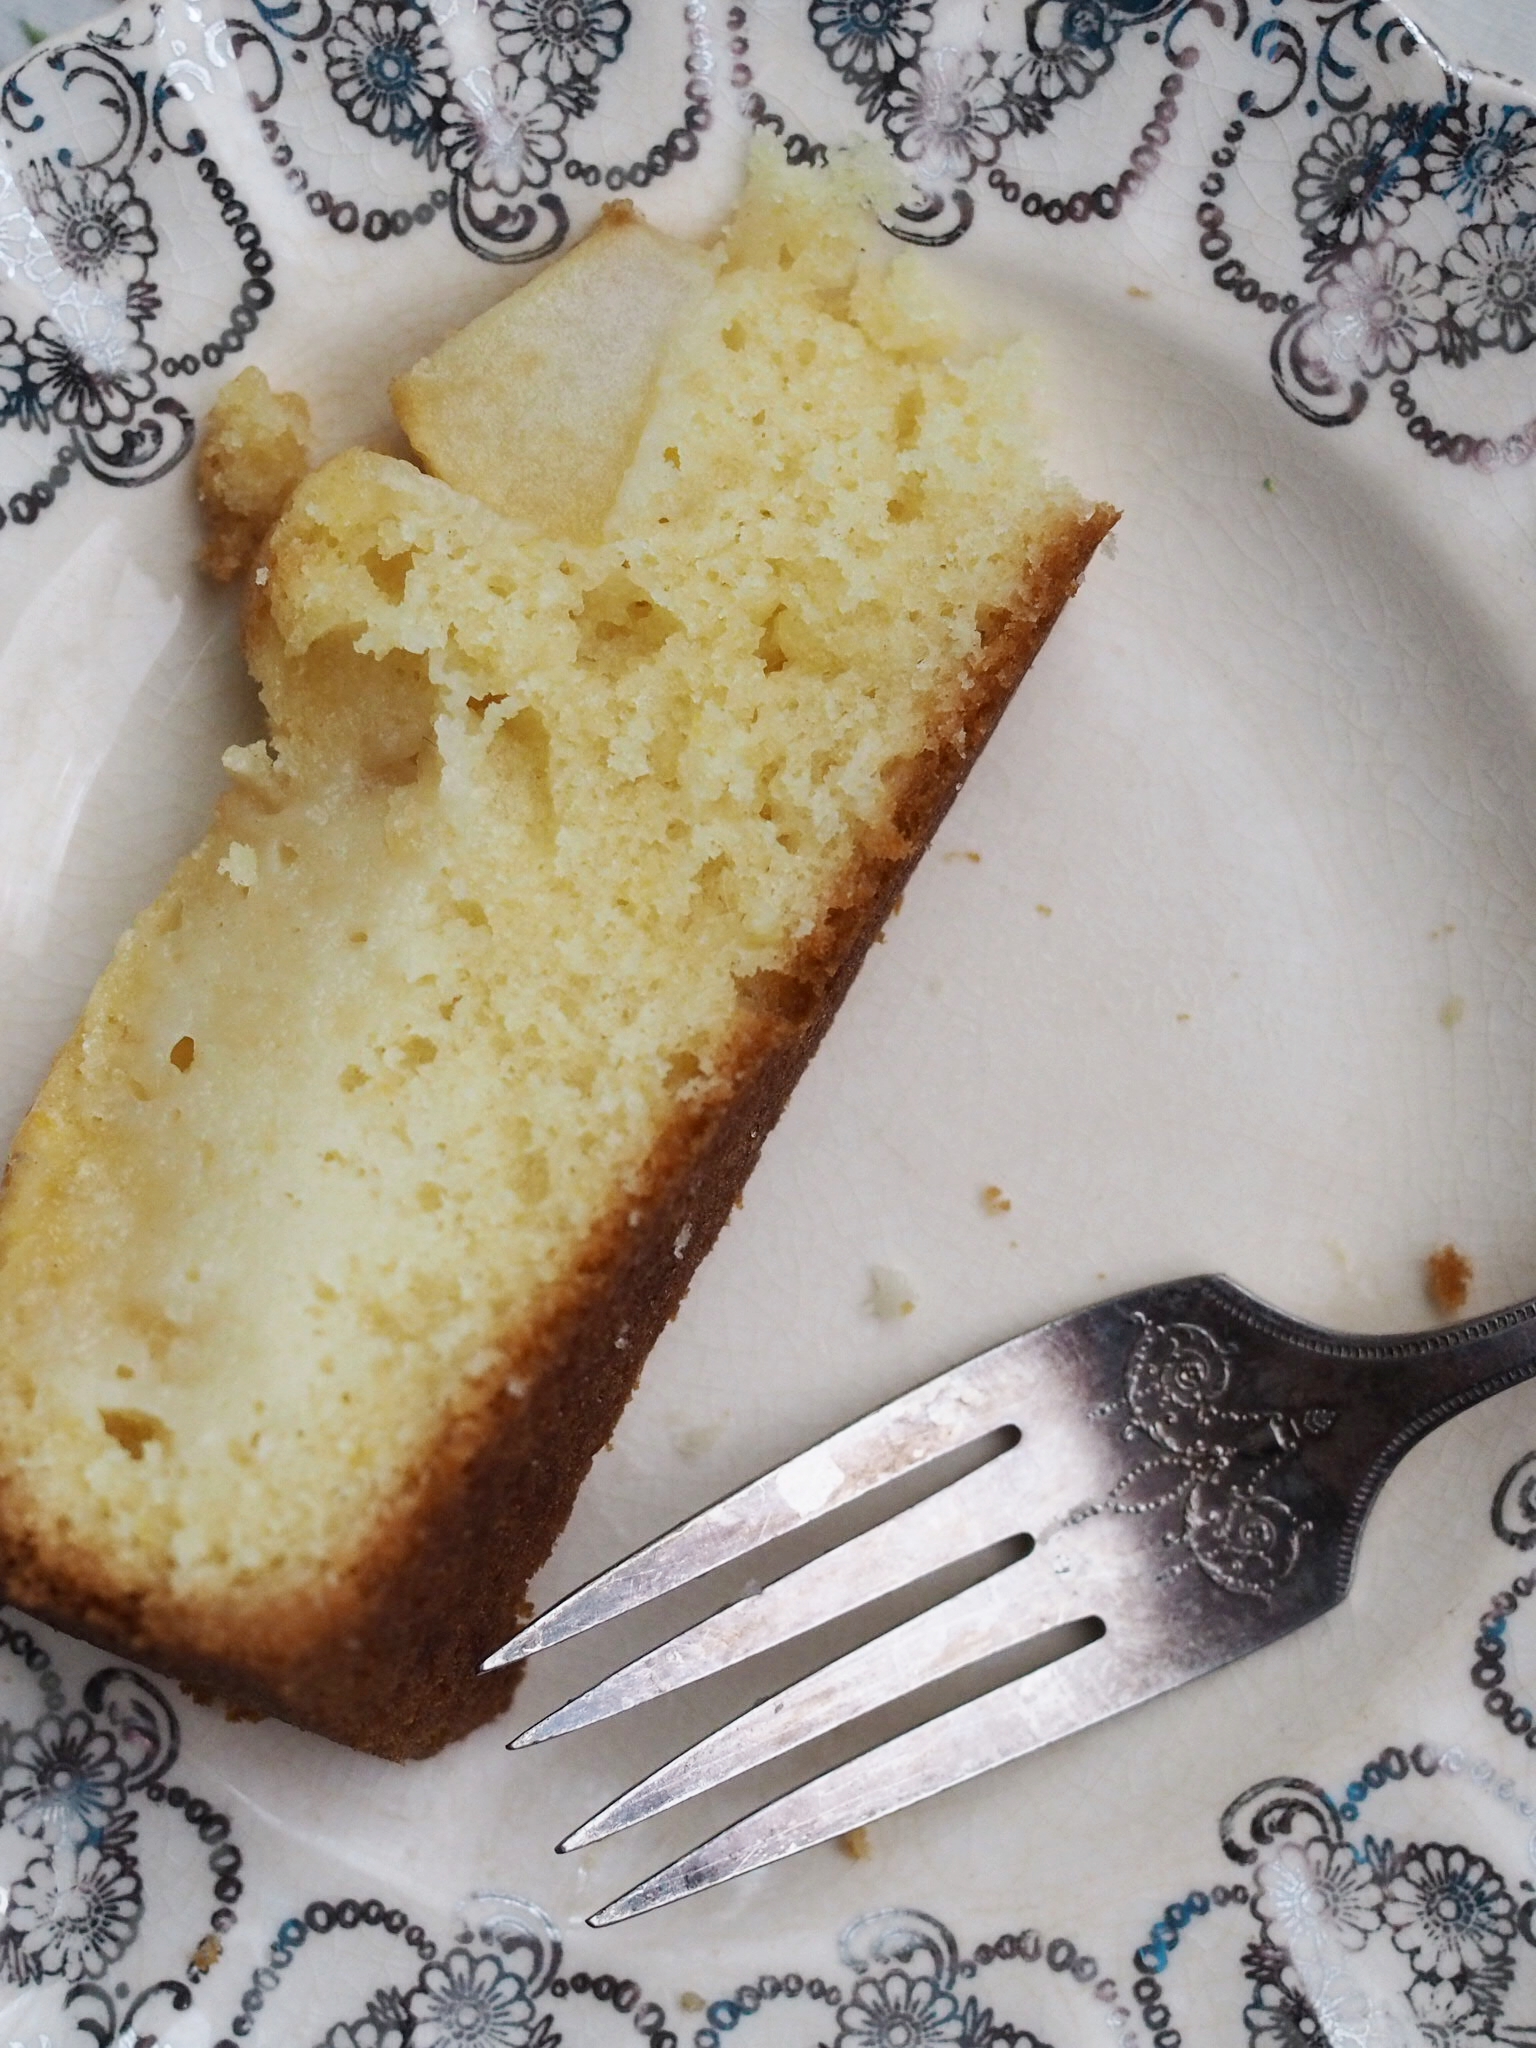
The high egg and butter content makes the cake-crumb similar to that of a pound cake and the batter is lightly flavored with lemon-zest, making it a bright alternative to the cinnamon and nutmeg-heavy desserts typical of fall and making it suitable as a spring and summer dessert too. The raw sugar sprinkled on the top before baking gives the top a pleasing crunch. I didn’t have any cream on hand to make whipped cream, but it would be nice finish to this simple, but pleasing dessert.

To print, see button at bottom of post.

German Sunken Apple Cake (Versunkener Apfelkuchen)

Easy enough to whip together on a weekday and fun to make with kids, this classic German cake combines apples and lemon zest under a raw sugar crust for a bright and delicious dessert.

  • 3 medium apples

  • 1 medium lemon, scrubbed

  • 1/2 cup, plus 2 tablespoons (125g) granulated sugar

  • 9 Tablespoons plus 1 teaspoon (130g) unsalted butter, cut into chunks and at room temperature

  • 1/2 teaspoon vanilla extract

  • 3 eggs, room temperature

  • 11/2 cups (190g) all-purpose flour

  • 2 teaspoons baking powder

  • 1/4 teaspoon salt

  • 2 Tablespoons demerara (raw) sugar

Preheat the oven to 350 degrees Fahrenheit. Grease a 9” round cake pan (or springform pan) with an oil-based spread (like Crisco or baking spray) and line the bottom of the pan with parchment.

Peel the apples, then core and slice into 8ths (I use a corer/slicer to make quick work of this).

Zest the lemon into a bowl with the butter and sugar. Cut the lemon in half and juice one half. Strain any seeds and set the juice aside.

Using a sturdy wooden spoon or mixer, cream the butter and sugar together until light and fluffy.

Add vanilla extract and one egg, mixing until fully combined. Add remaining eggs one at a time, fully combining each egg before adding the next.

In a separate bowl, sift together flour, baking powder, and salt. Add the lemon juice and flour mixture to the wet ingredients, mixing until just combined.

Using a rubber spatula, scrape the batter into the prepared pan and smooth the top. Arrange the apple slices with the core side down in a circle around the edge of the pan, pressing down slightly, so each slice is secured in place. Take the remaining apples and place in the center. Sprinkle the top of the cake generously with demerara sugar.

Place pan in the center of the oven and bake for approximately 40 minutes, until the cake is golden brown and a tester comes out clean.

Let the cake cool for 5 minutes before carefully removing pan. The cake should be firm enough that it should be easy to move without disturbing the apples.

Enjoy at room temperature with some lightly sweetened whipped cream.


Adapted from Classic German Baking by Luisa Weiss


German Sunken Apple Cake Versunkener Apfelkuchen

Serves 8 Ingredients: 3 medium apples 1 medium lemon 1/2 cup, plus 2 tablespoons (125g) granulated sugar 9 Tablespoons plus 1 teaspoon (130g) unsalted butter, cut into chunks and at room temperature 1/2 teaspoon vanilla extract 3 eggs, room temperature 1 1/2 cups (190g) all-purpose flour 2 teaspoons baking powder 1/4 teaspoon salt 2 Tablespoons demerara (raw) sugar


Print Friendly and PDF Follow
follow us in feedly

Homemade Soft Pretzel Recipe

Homemade Pretzel Recipe 1.png

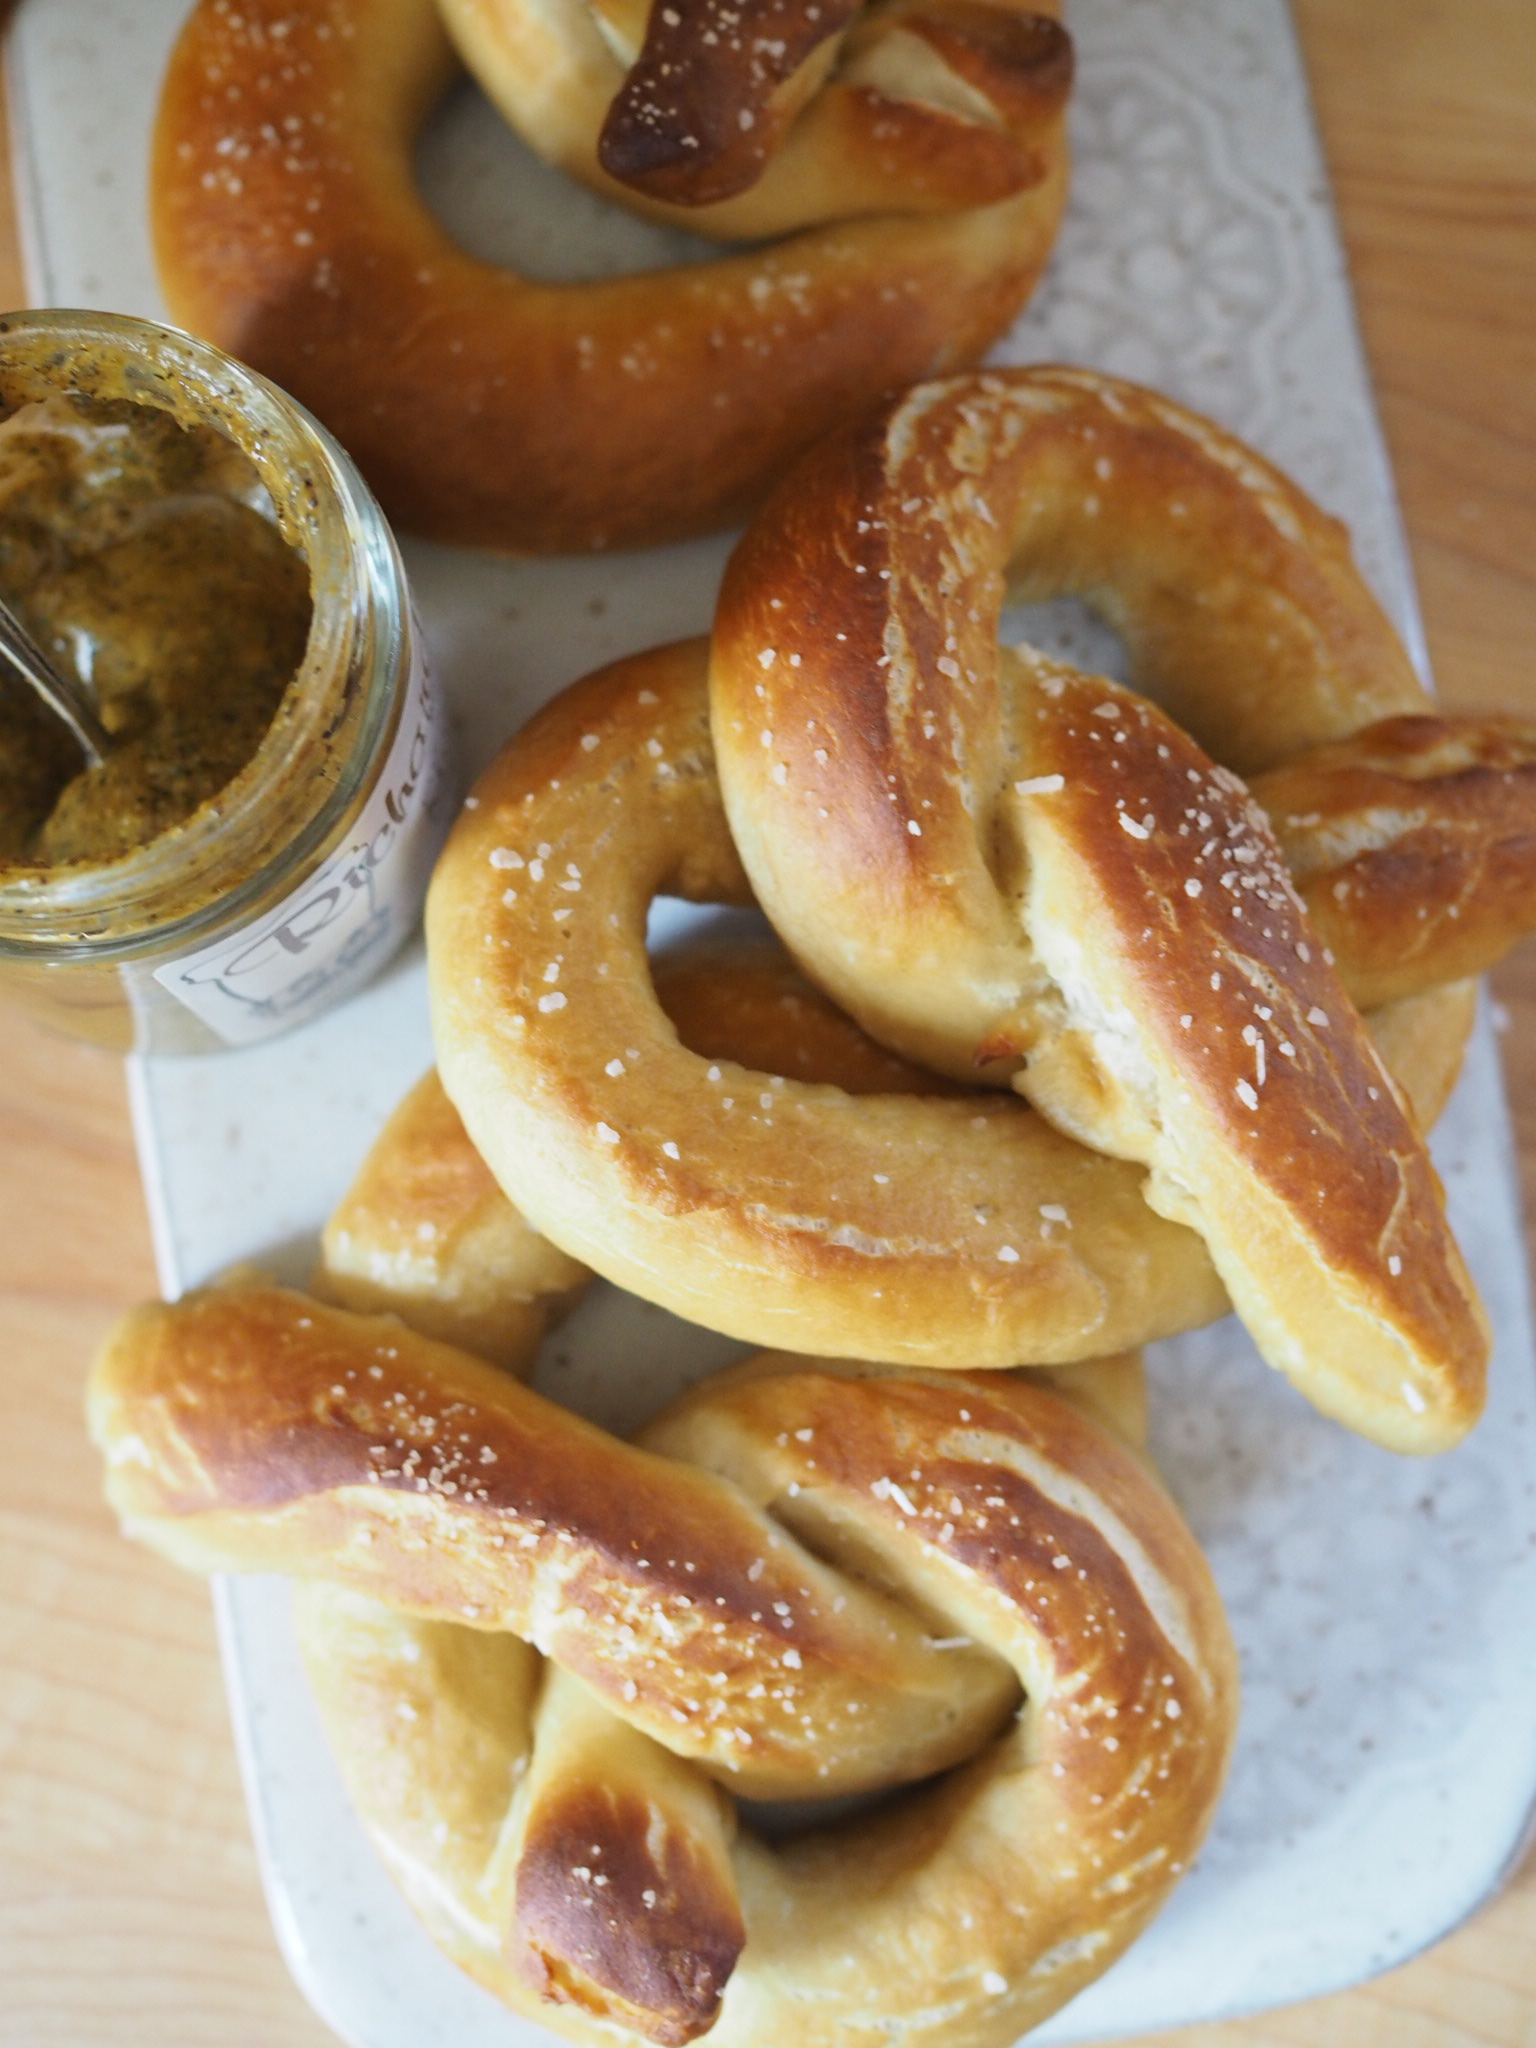
In the past few years, I've had the good fortune to becoming friends with a handful of lovely German women (yay for the Internet!), and, as a result, have become increasingly interested German culture, politics and cuisine. I'm sure my family could do less with me talking about proportional representation in the Bundestag, but they put up with it if I make them Schnitzel, Spätzle, or the all-around favorite, Pretzels (or Brezeln).

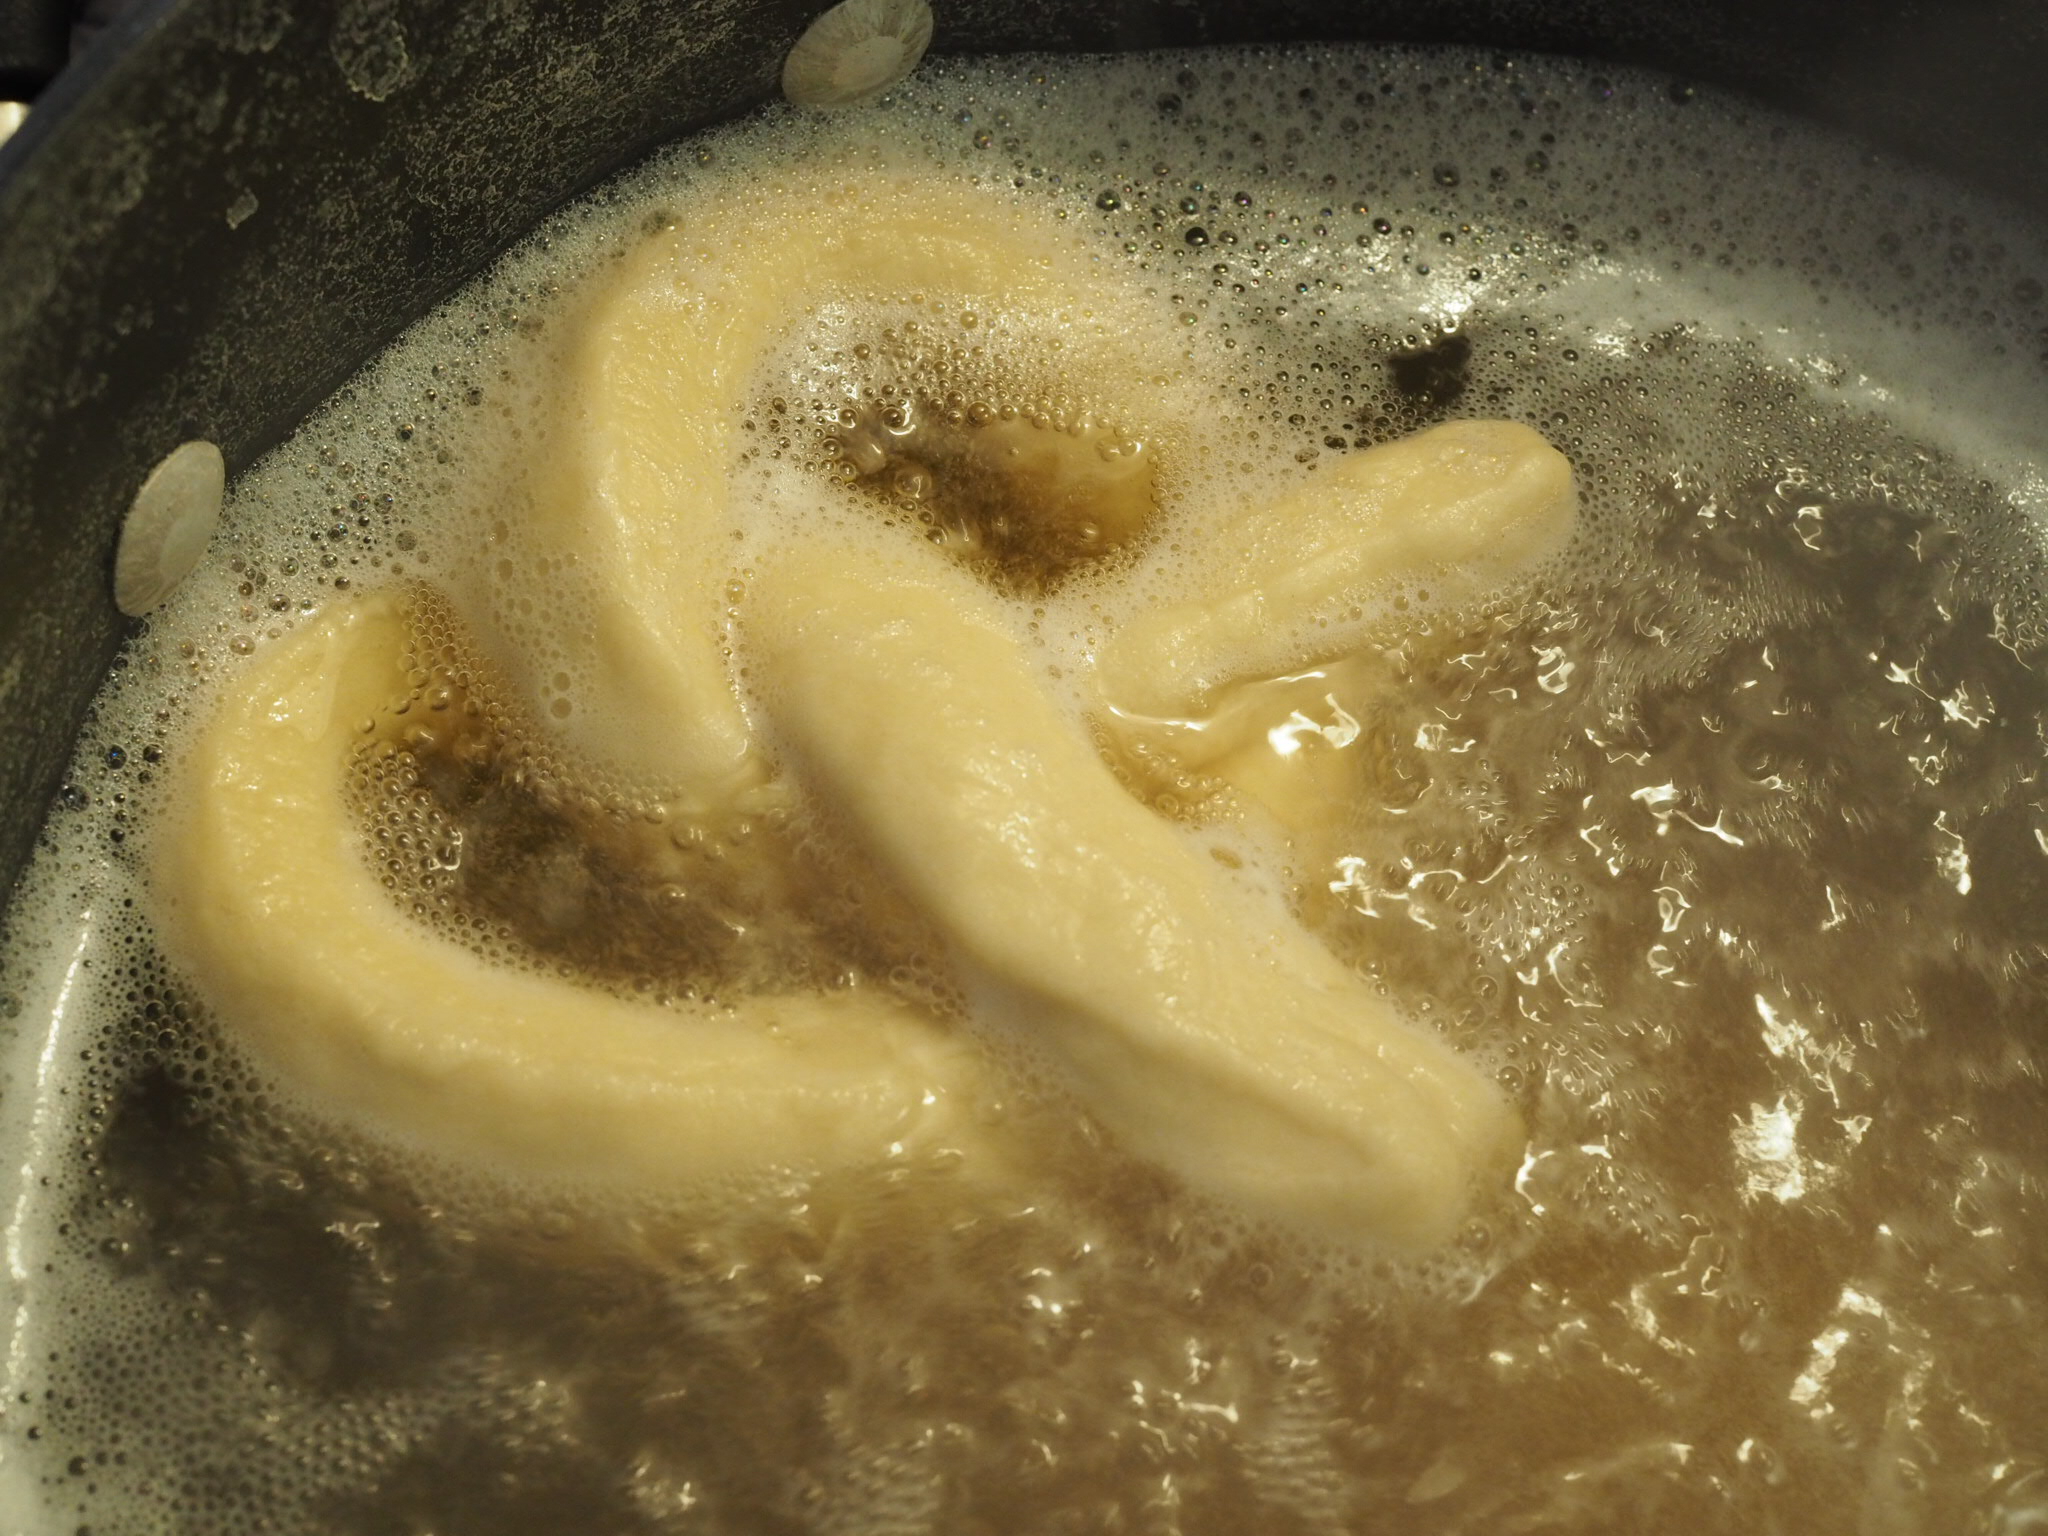
Like most yeasted bread products, these need to be kneaded and have time to rise, but if you have the time (and aren't near a German bakery where you can just get them easy-peasy) they're totally worth it. Also, the boiling + bake method that gives pretzels their unique texture it quick and fun to do!

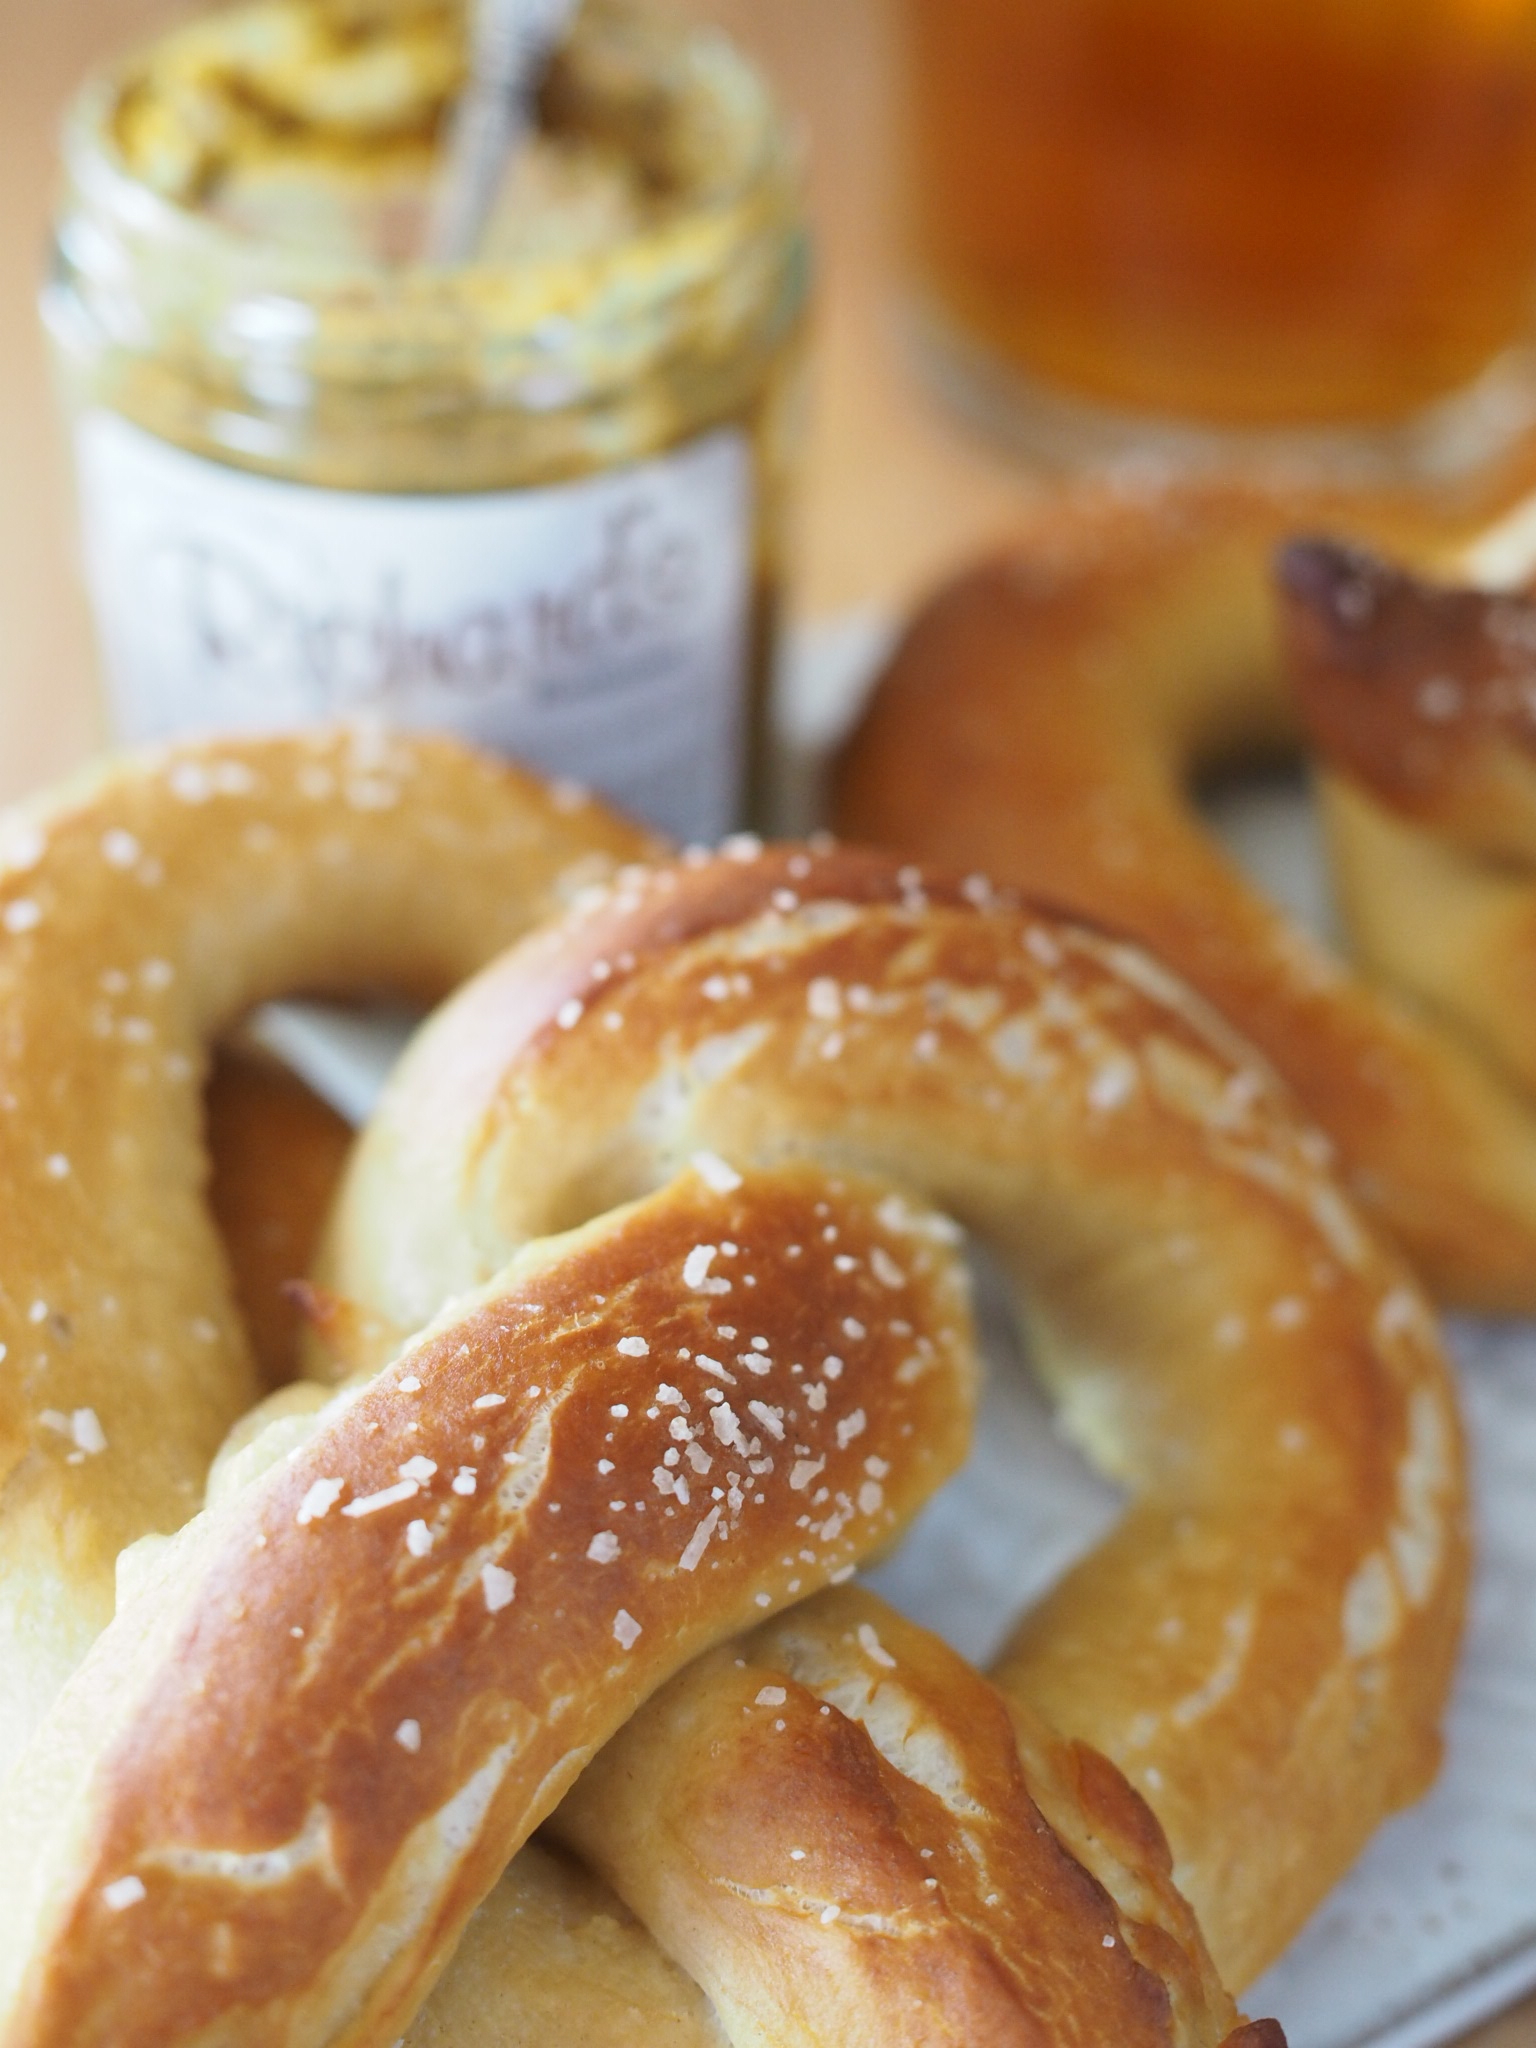
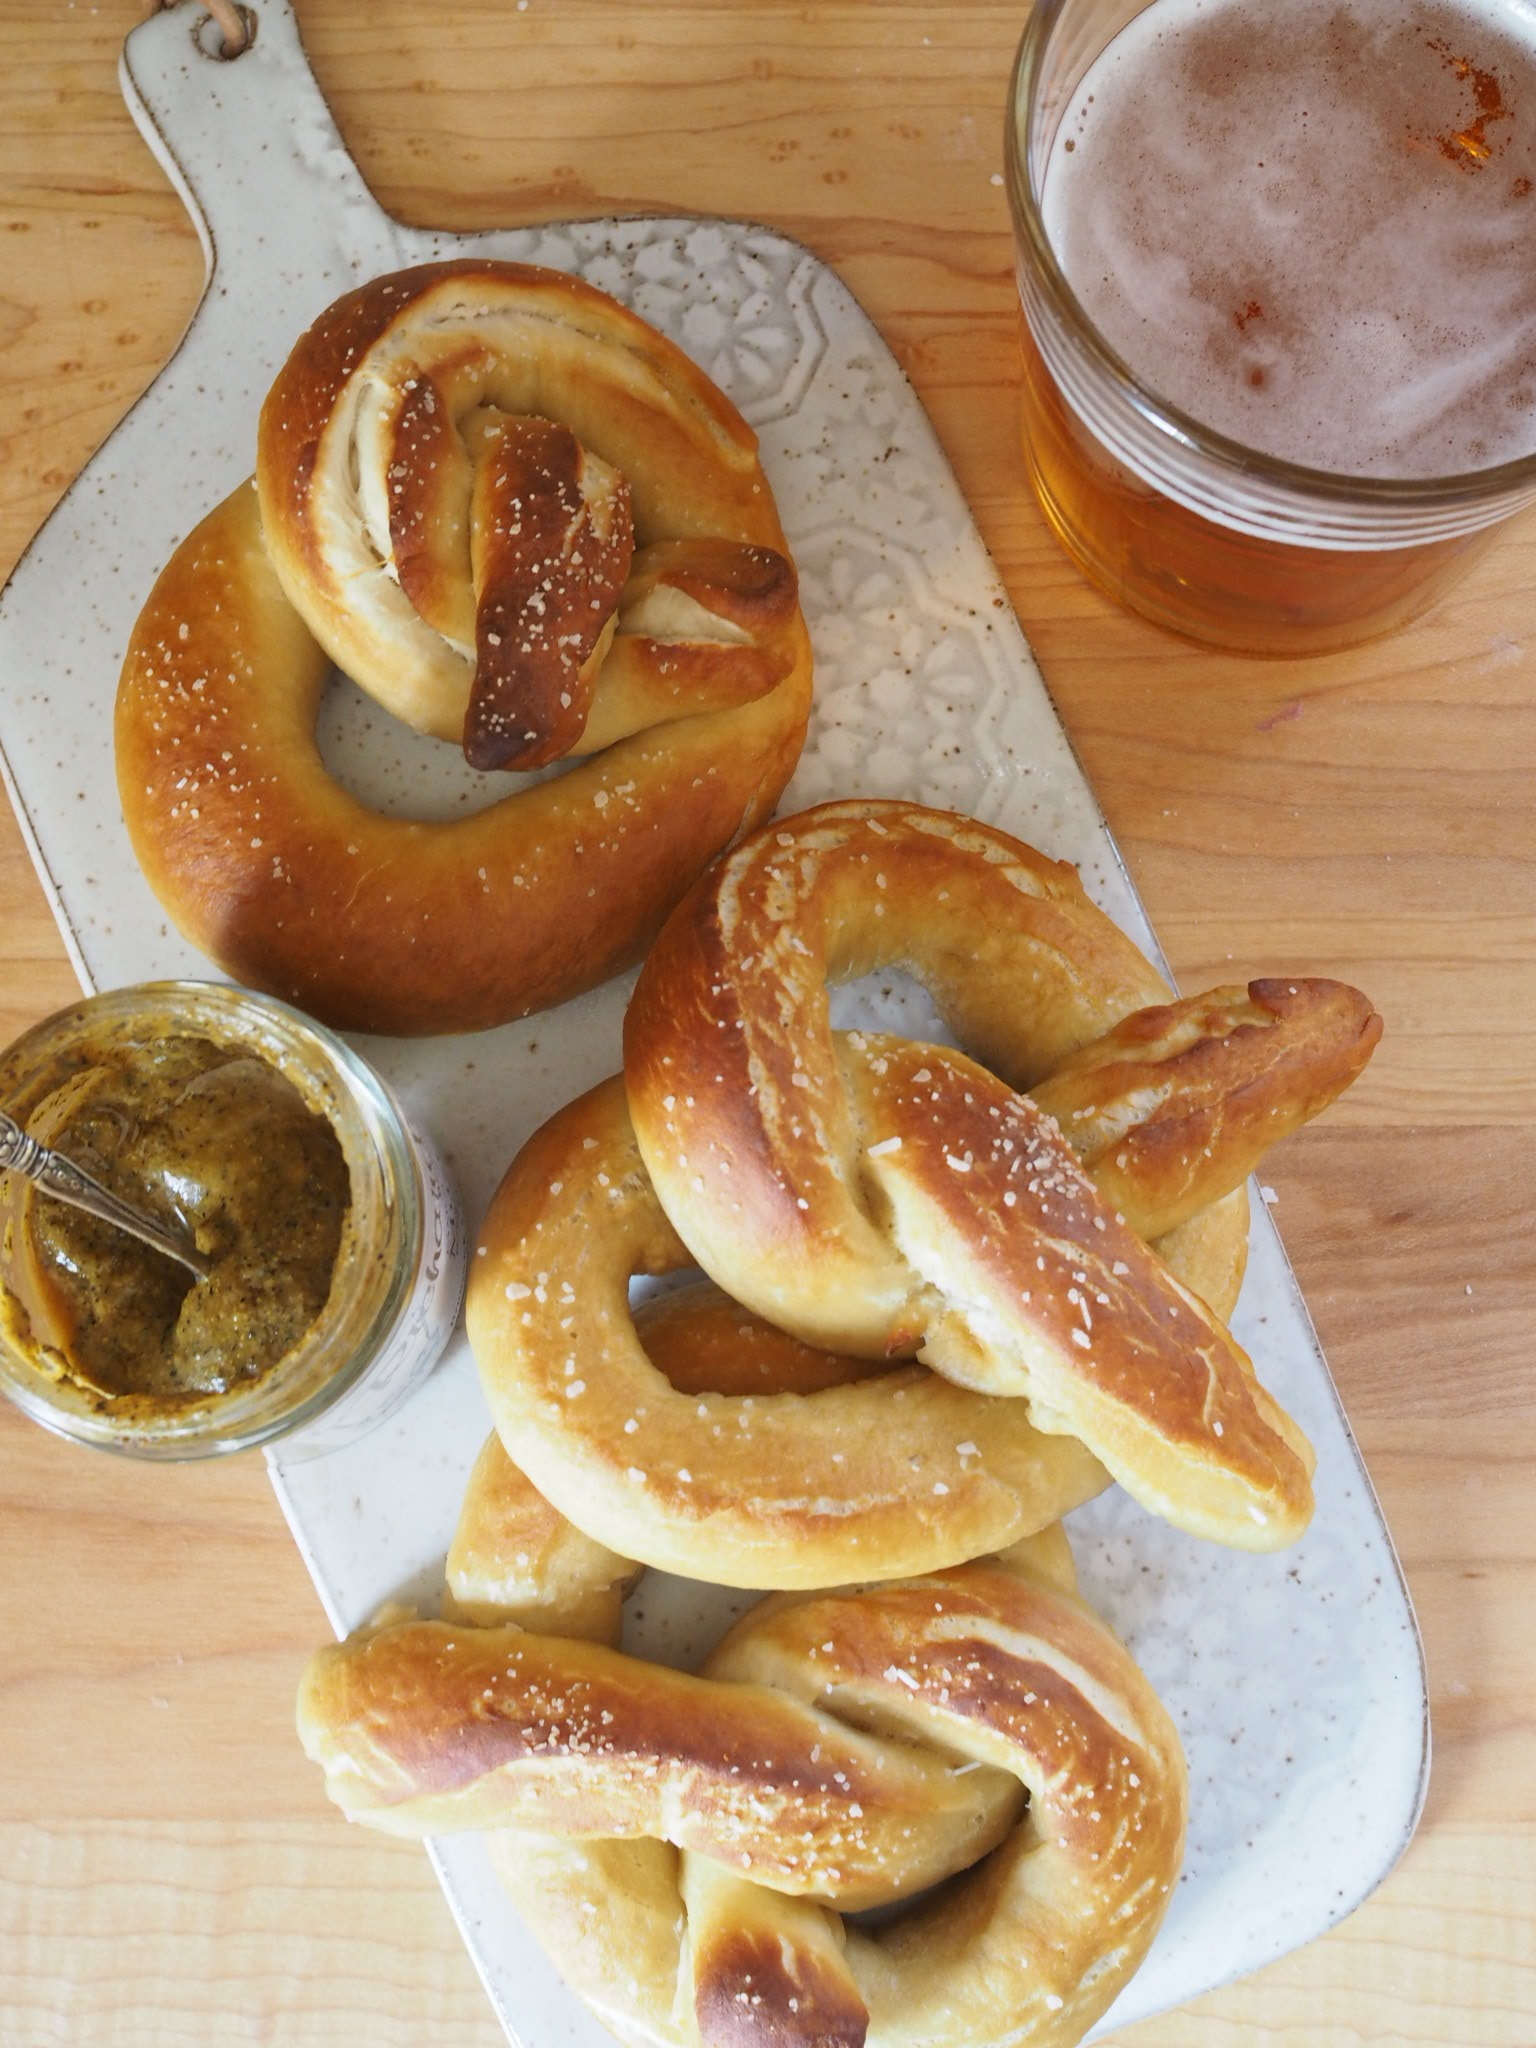
[NB: These are a little underdone in the photos. Proper pretzels should be a more uniform golden brown like the top one in the trio above, but I was in a hurry to get these on the table for supper.  Don't try to blog your dinner before you eat it folks. ] 

Homemade Soft Pretzel Recipe

Dough

Makes 6 Pretzels (can be doubled) 

  • 1 cup warm (not hot) water
  • 1 Tablespoon dark brown sugar
  • 1 packet quick-rise yeast (1/4 oz)
  • 3 1/4 cups bread flour
  • 1 Tablespoon kosher or sea salt, plus more for sprinkling
  • 1/2 stick (1/4 cup) cold butter, diced into small pieces.

Cooking Water

  • 8 cups water
  • 1/2 cup baking soda
  • 1/4 cup dark brown sugar
  • 1/2 cup lager or pale ale 

Directions

In a large mixing bowl, combine warm water, yeast and sugar. Let still until mixture becomes foamy. Using a dough whisk or sturdy wooden spoon, add the flour, salt and butter, stirring until the mixture becomes shaggy. It's okay if not all the butter is worked in yet, the kneading will take care of that.

Roll up your sleeves and turn out your dough onto a floured work surface. Vigorously knead your dough until it becomes smooth and elastic. Return the dough to a clean bowl and cover with a damp towel, letting it rise until doubled in size. (You can do this overnight in the fridge, or on a warm spot on your counter). 

Preheat your oven to 450 degrees Fahrenheit. Combine all cooking water ingredients in a large pot and set to boil. 

Roll out the dough into a long rectangle and cut it into 6 long strips, about an 1" wide each. 

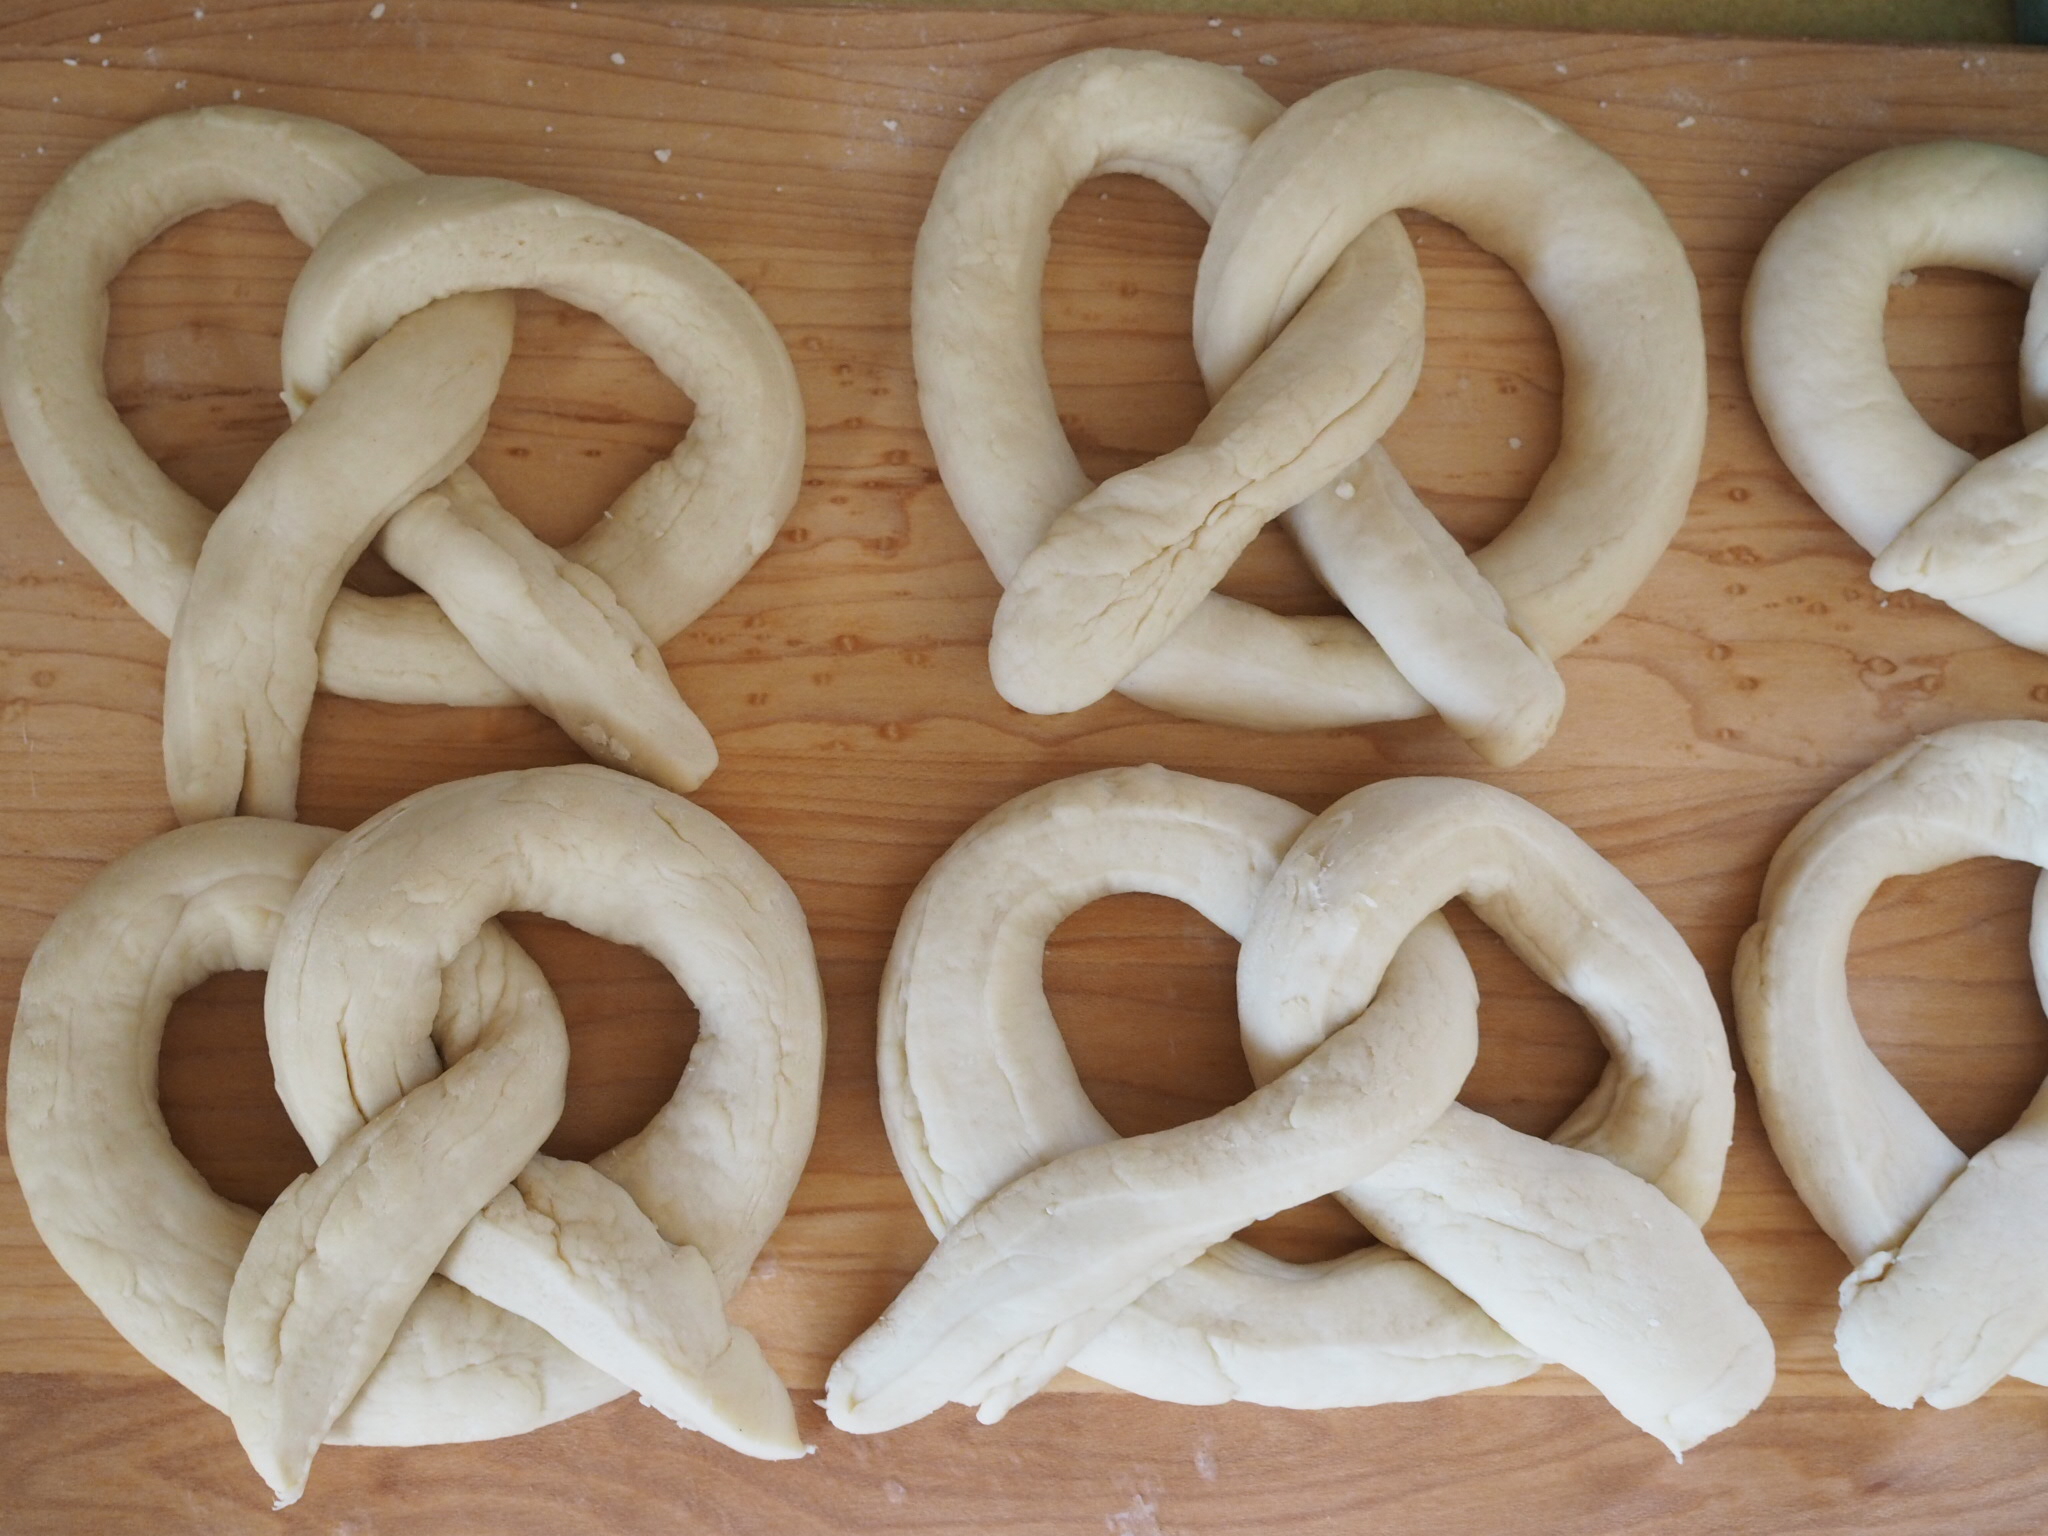
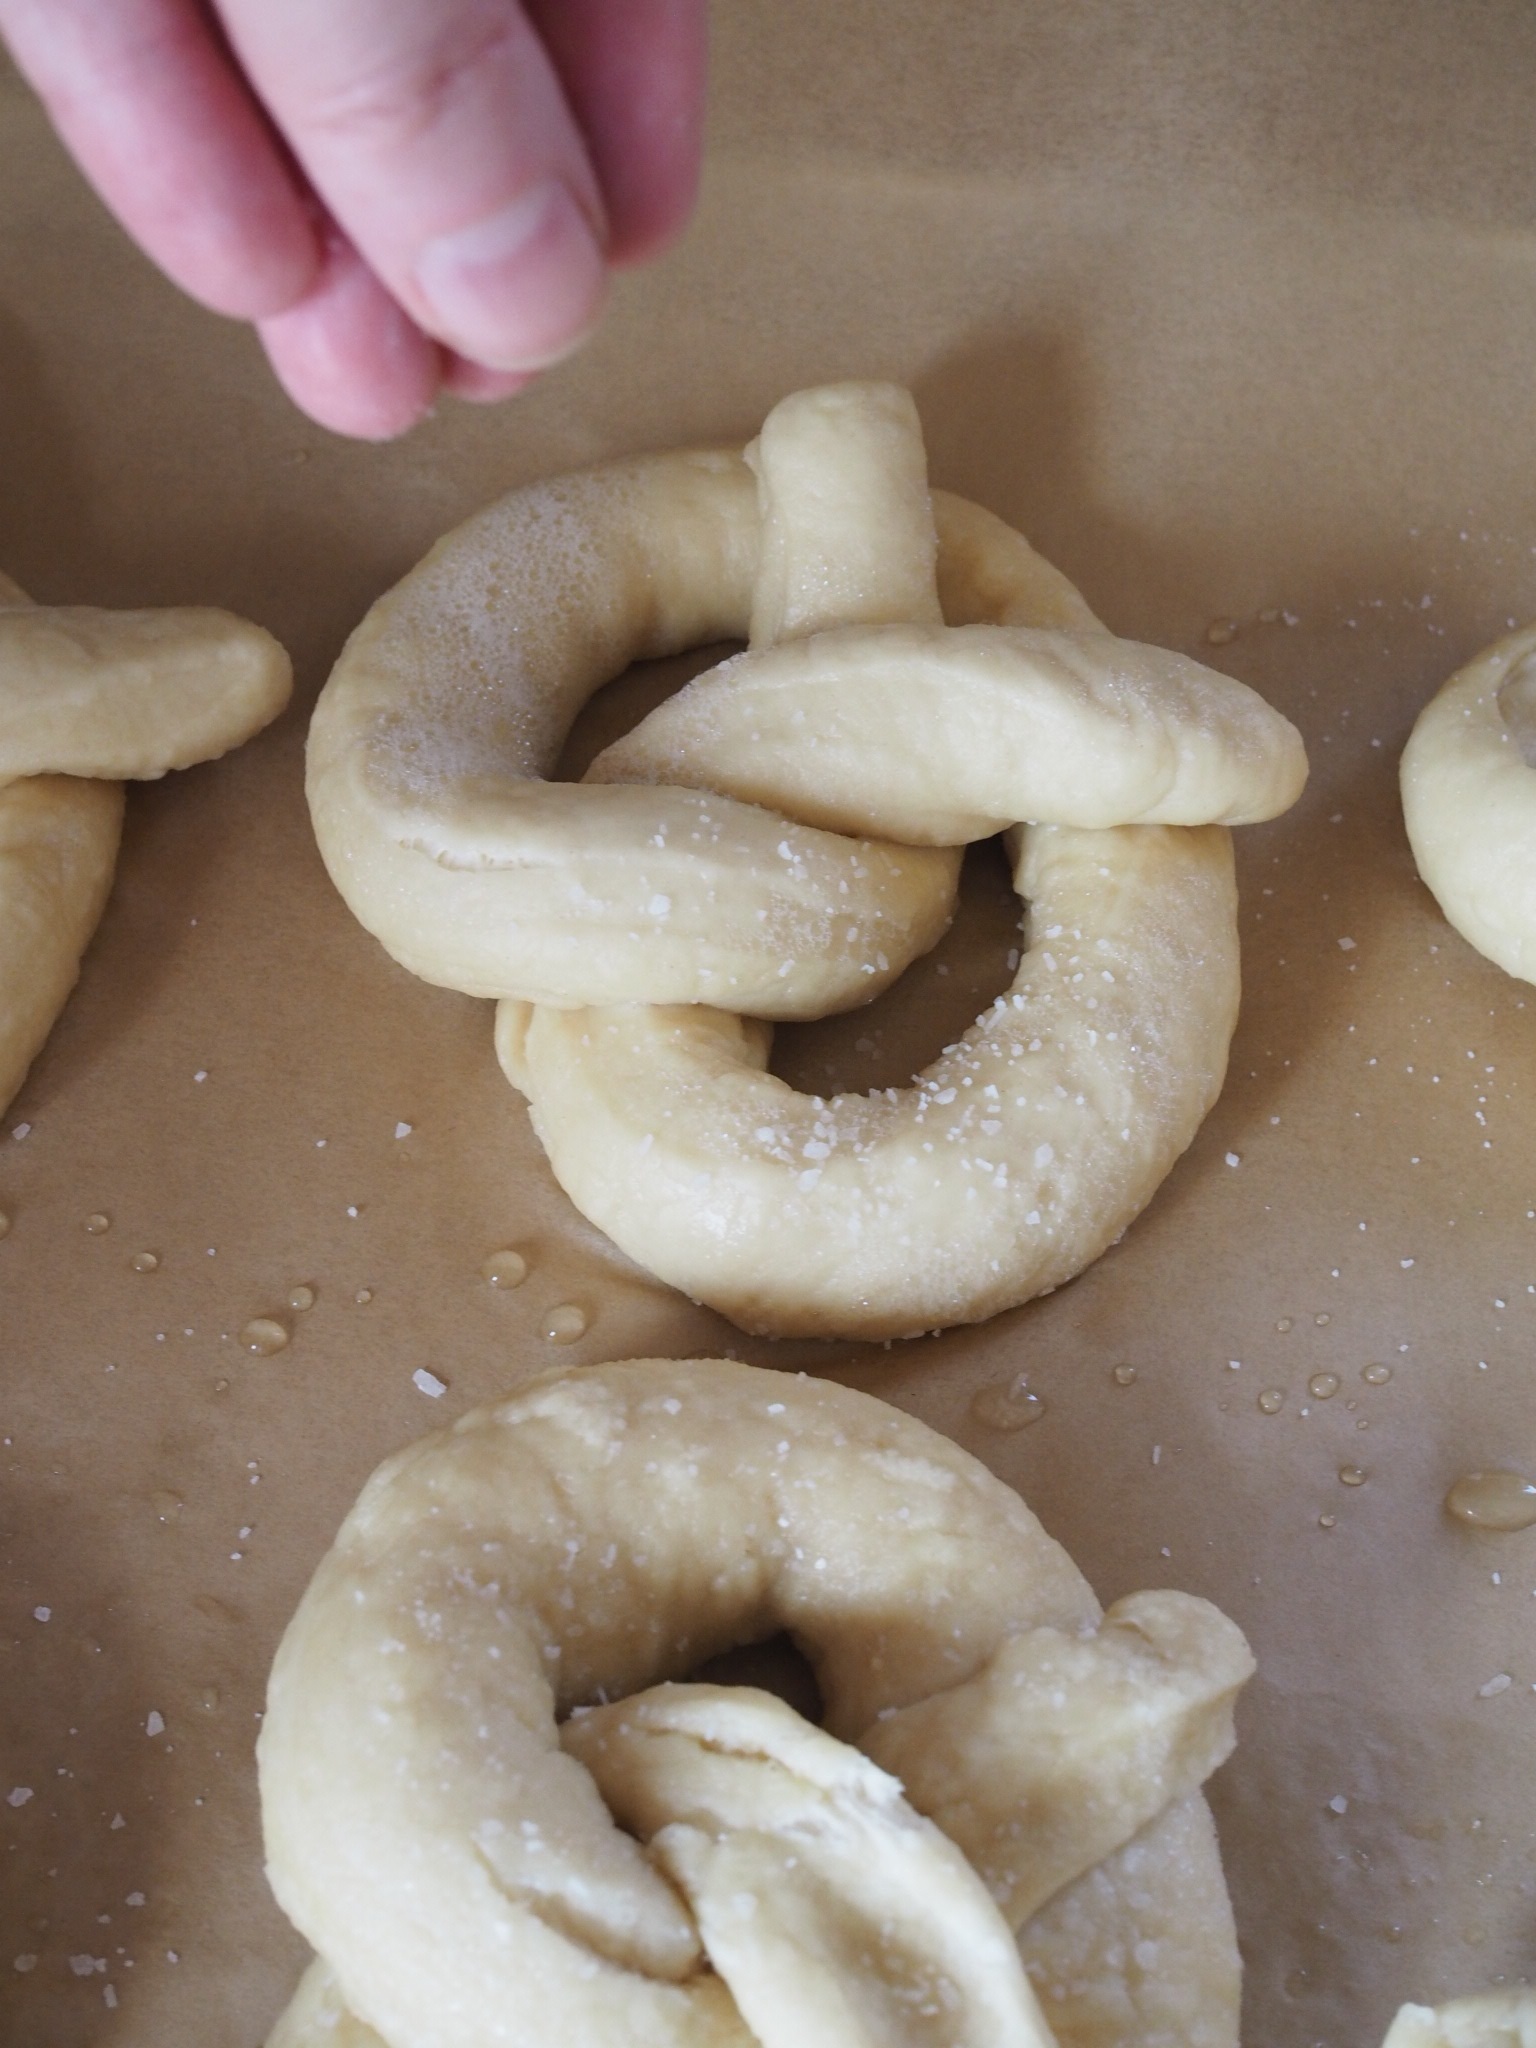
Roll/stretch each strip until it forms a coil about 34" long (I measure them by the length between my fingertips and shoulder joint). Form each coil into a "U", twist the tops, and the press the ends down onto the bottom of the U. 

Line a large baking sheet with parchment and reduce cooking water to a simmer. Boil pretzels one at a time by lowering it gently into the water with a slotted spoon. Remove the spoon and let pretzel cook for about 30 seconds. The pretzel will float to the top as it cooks.  remove pretzel with spoon and place on prepared baking sheet. [NB: The cooking water will form a foam as you cook the pretzels, just scoop it off as needed.]

Sprinkle the pretzels with your salt of choice. 

Bake the pretzels for about 15 minutes, rotating the baking sheet halfway through. Let them get nice and golden brown (see note in post).

Remove from oven and transfer to wire rack to cool. Serve warm with mustard and enjoy with the rest of that beer!

Adapted from Olivia's Cuisine

To print, see button at bottom of post.


Homemade Pretzel Recipe 2.png


Homemade Soft Pretzels

Serves 6 Ingredients: 1 cup warm (not hot) water 1 Tablespoon dark brown sugar 1 packet quick-rise yeast (1/4 oz) 3 1/4 cups bread flour 1 Tablespoon kosher or sea salt, plus more for sprinkling 1/2 stick (1/4 cup) cold butter, diced into small pieces. 8 cups water 1/2 cup baking soda 1/4 cup dark brown sugar 1/2 cup lager or pale ale 
Print Friendly and PDF Follow
follow us in feedly

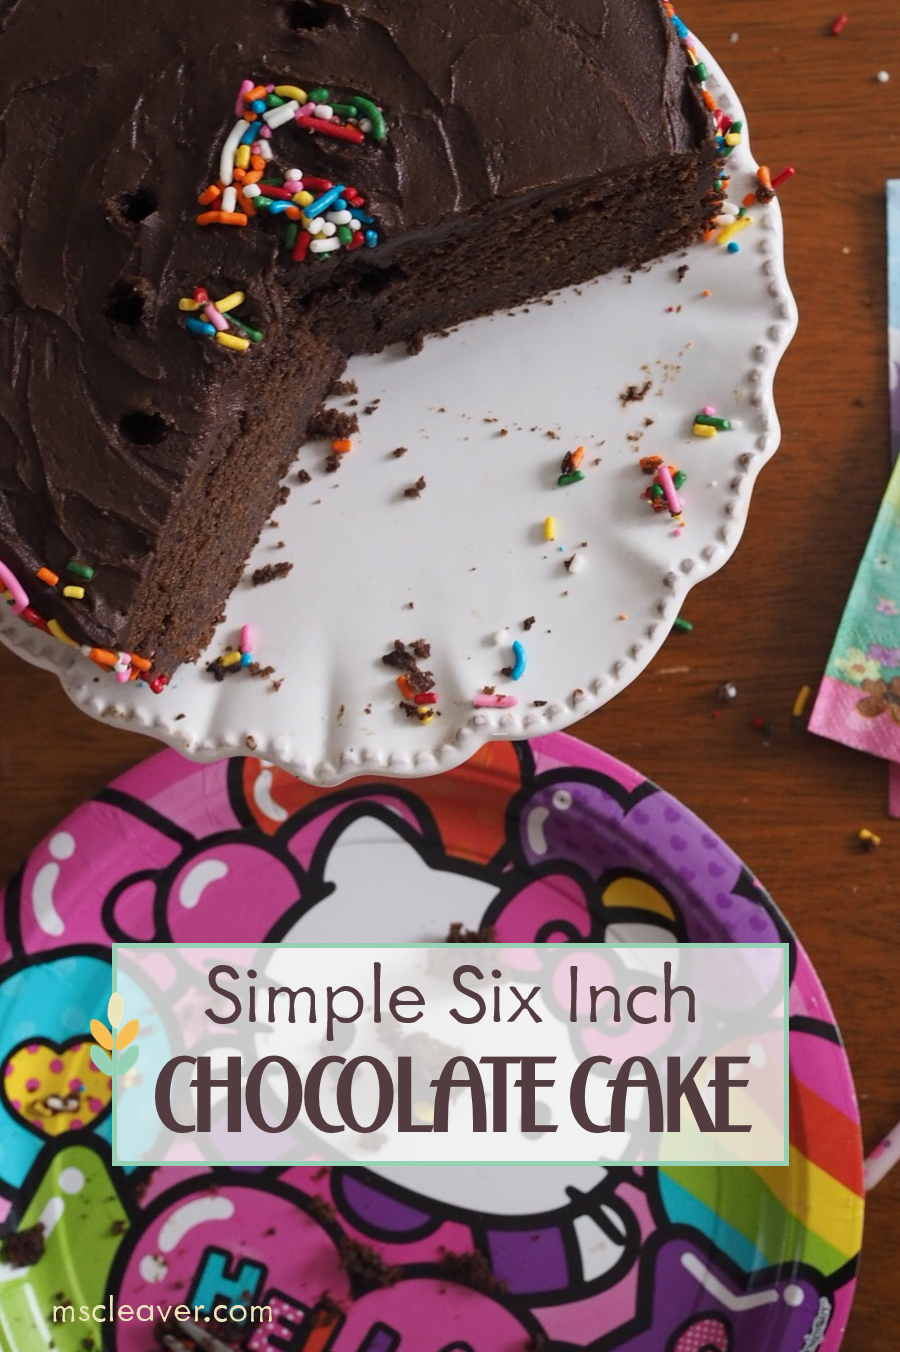
Small and Simple (-ly Delicious) Chocolate Cake

Six Inch Chocolate Cake.png

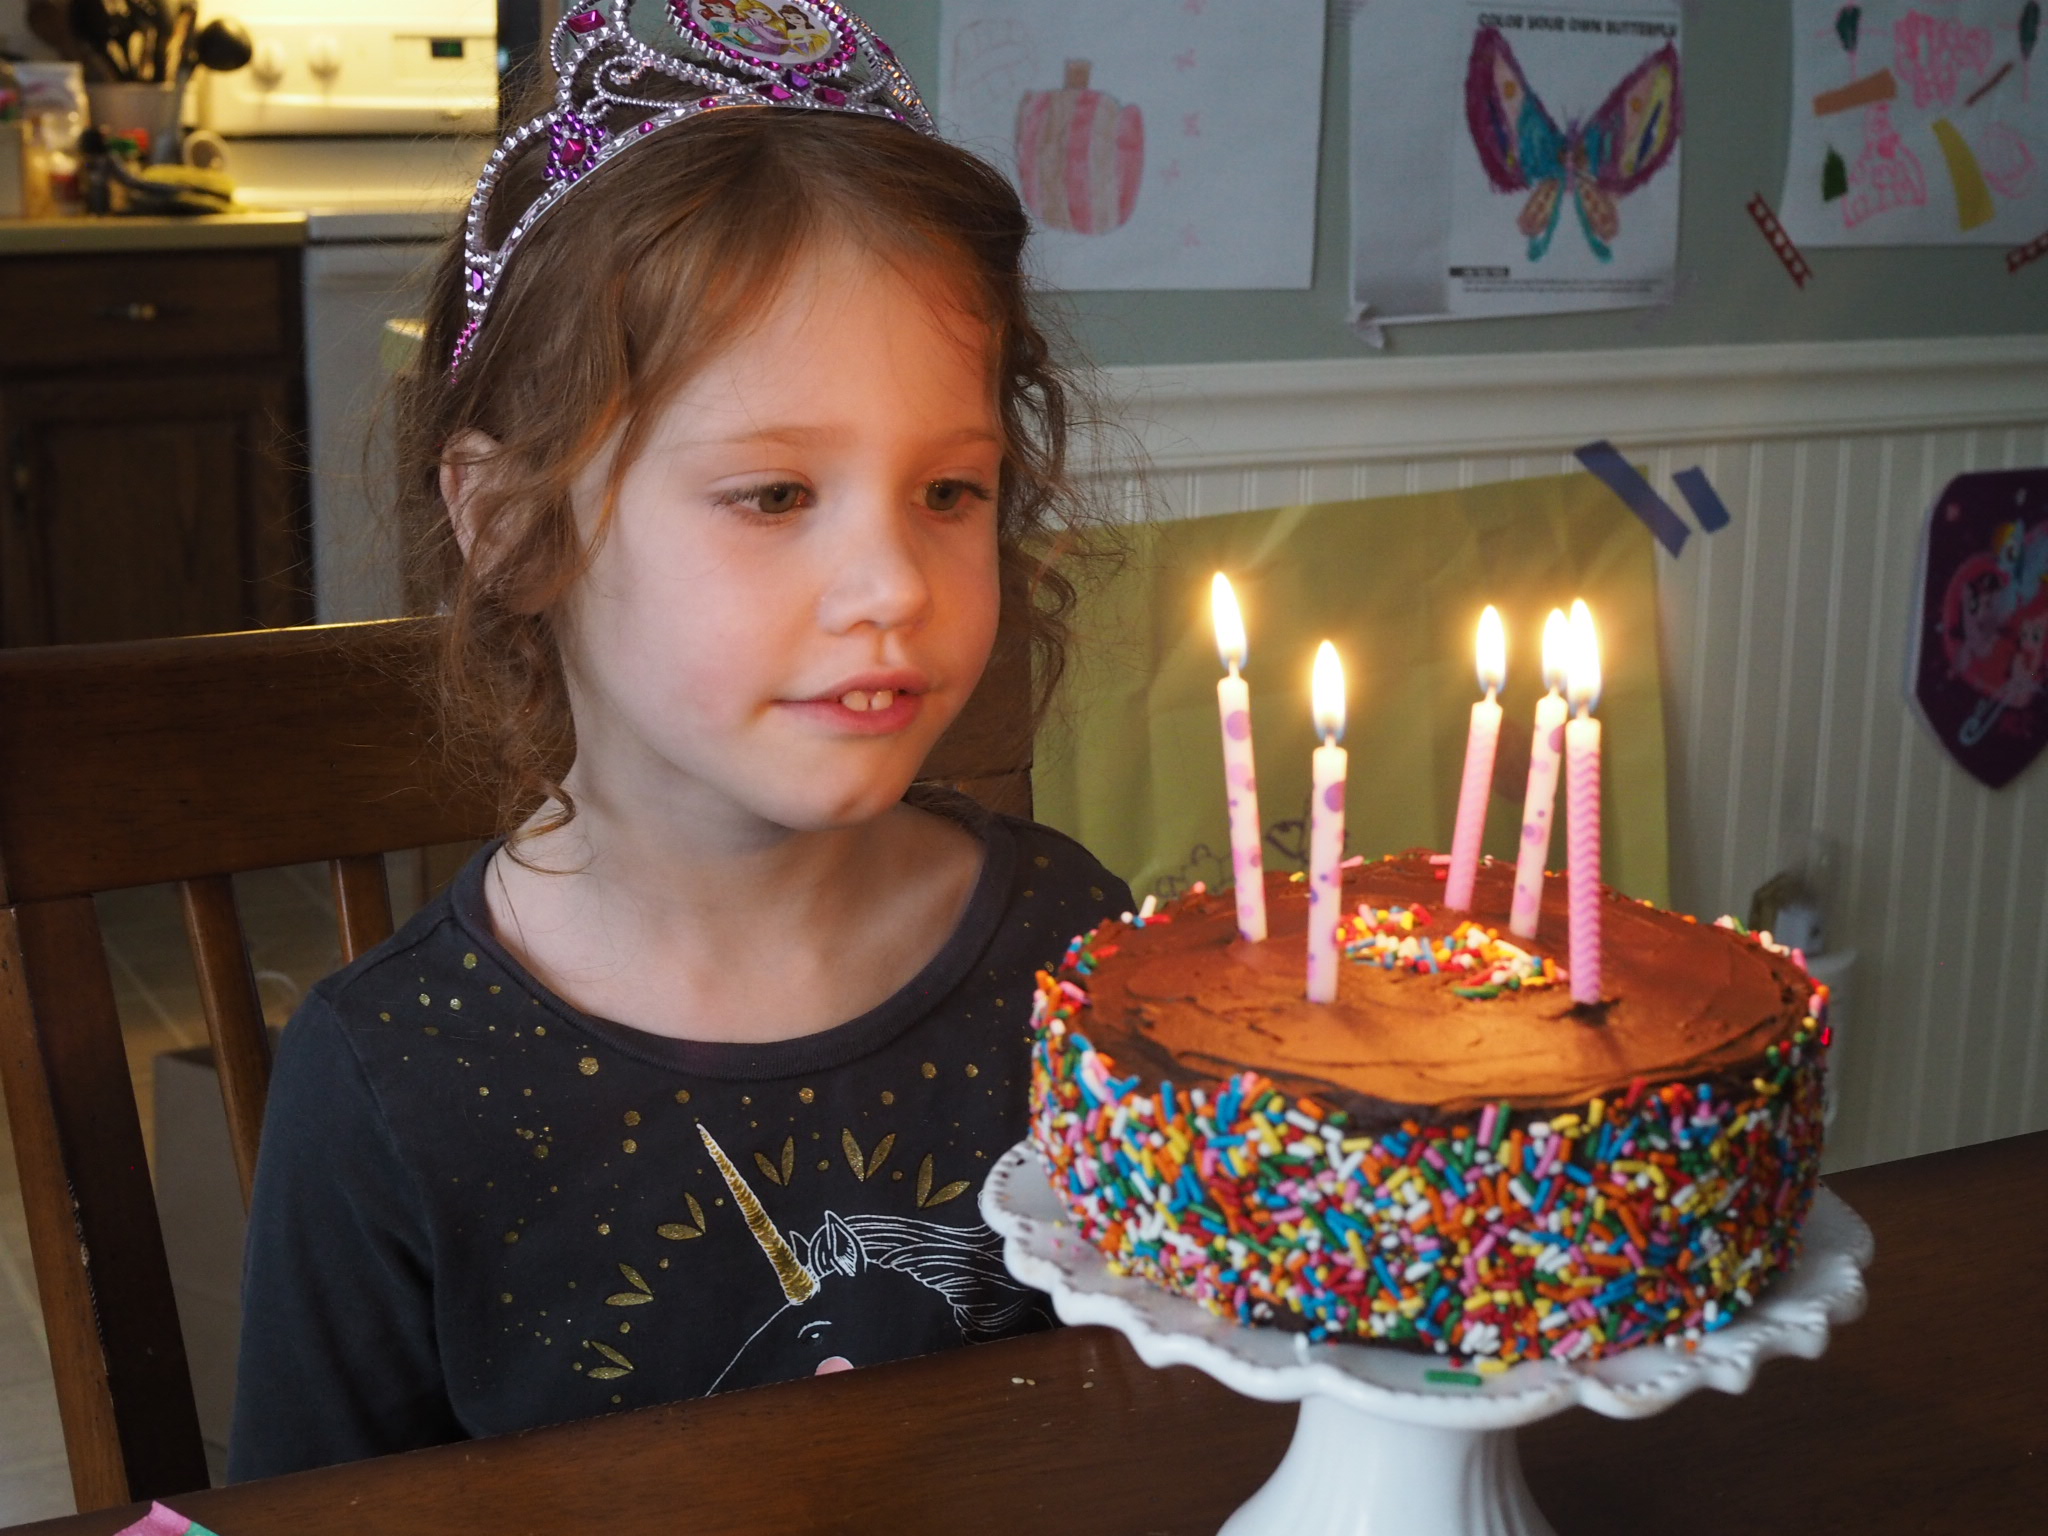
Little Miss Cleaver just turned five in March. (I know, I have no idea how that happened so fast either).

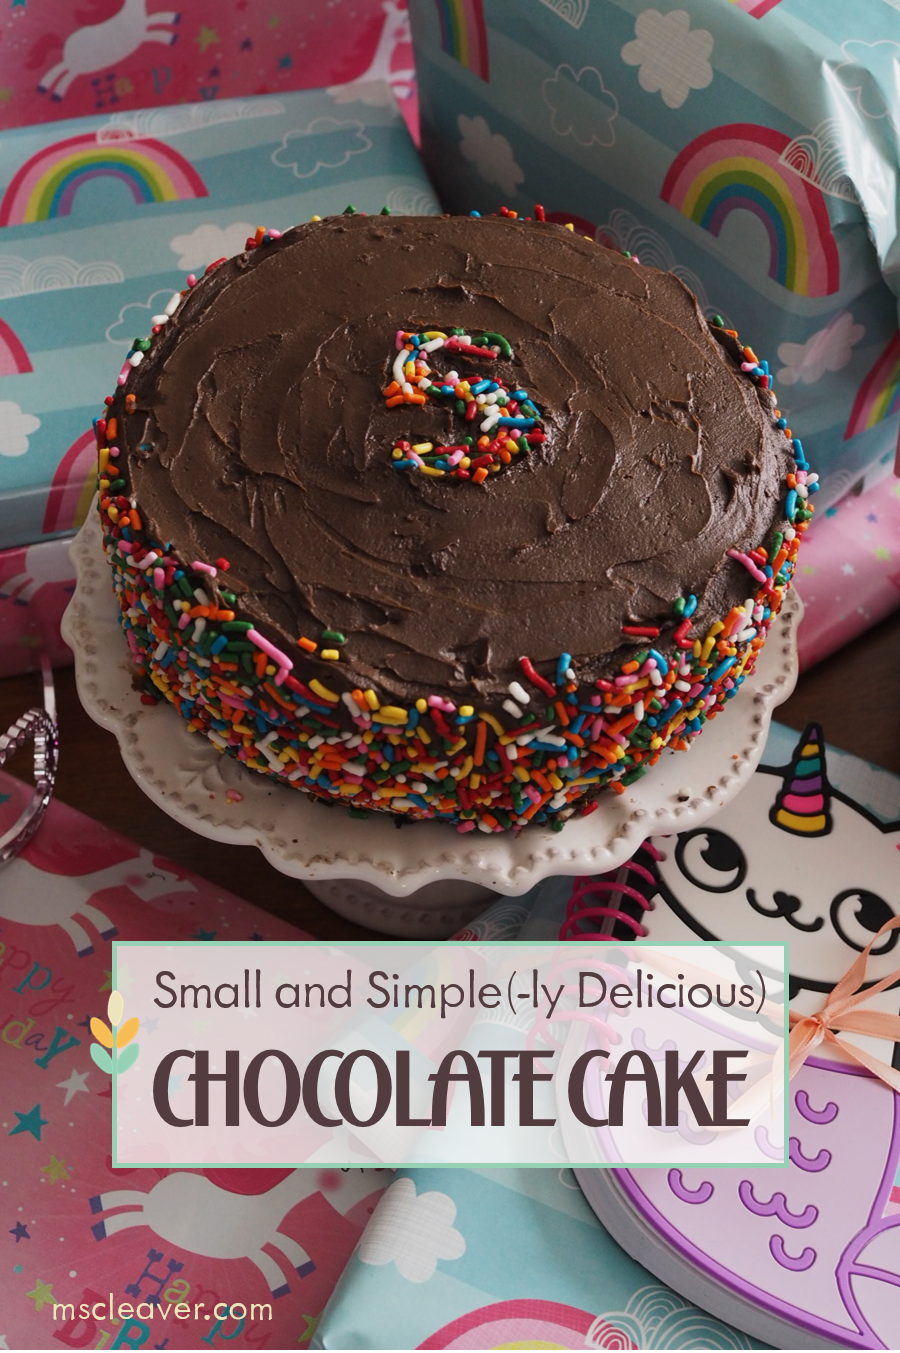
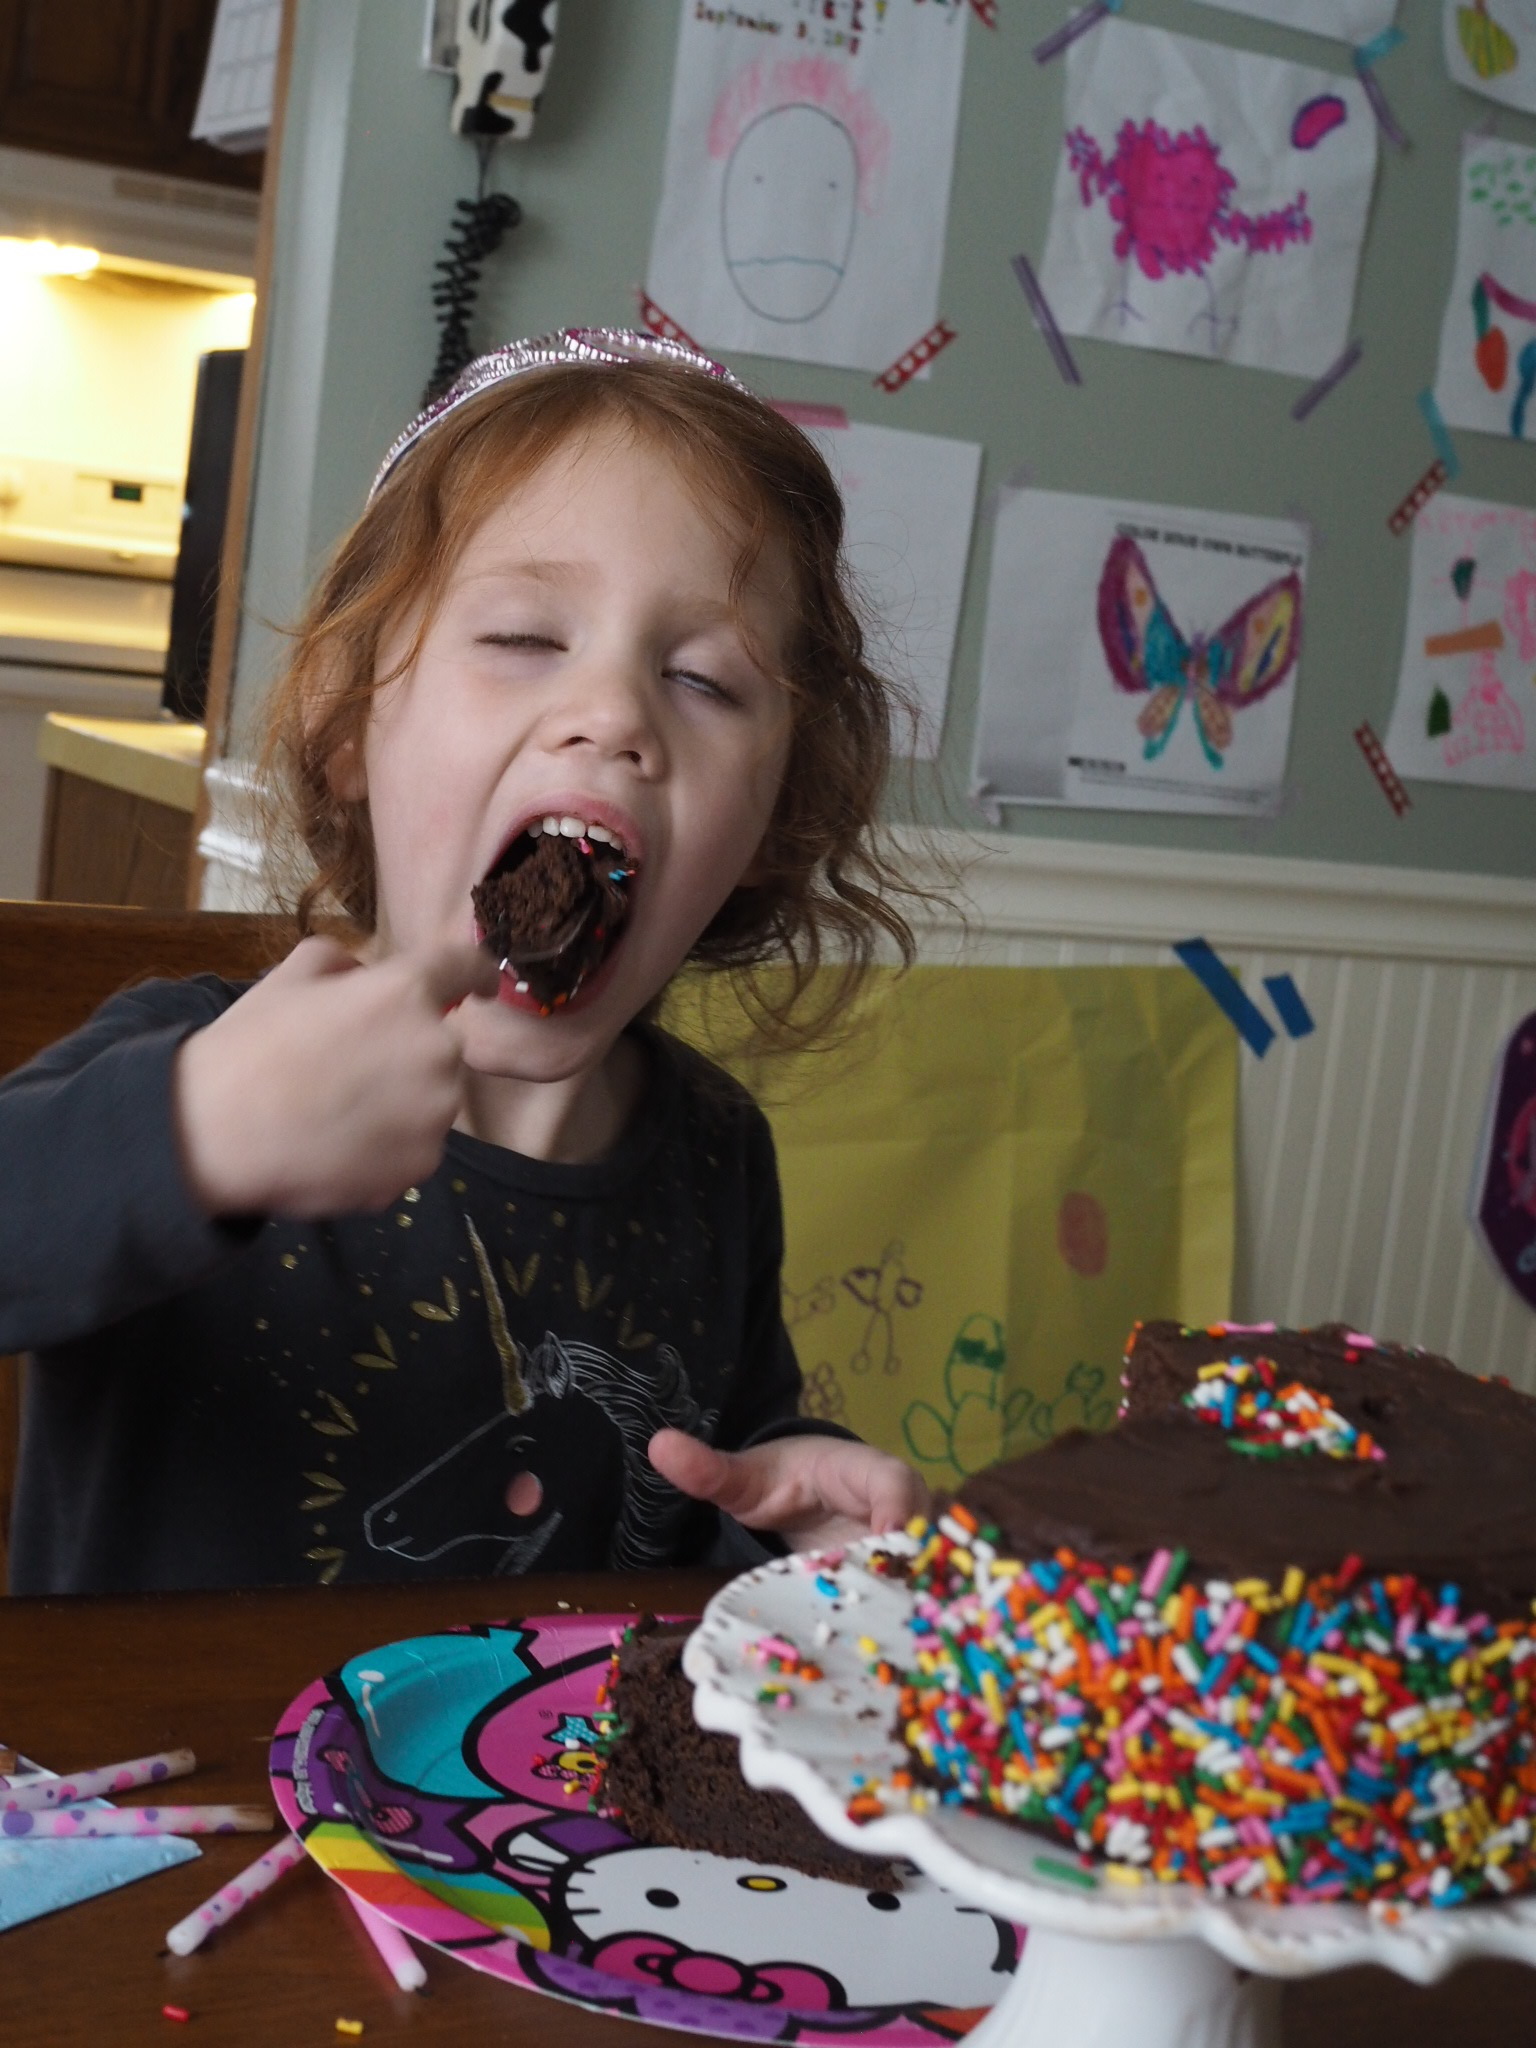
To celebrate such a momentous occasion, we had a big friend birthday party about a week before the actual day.  But, in LMC's words, the "real party" was the one with family on her actual birthday. So even though we were solidly cupcaked-out by that point, a cake was still in order. Enter this deeply chocolaty, but petite cake - just enough for the three of us to handle and cute to boot.

There are hundreds of chocolate cake recipes out there, so I'll just say that this one was still really moist after three days at room temperature and I use my blog as my own personal recipe box and I wanted to put this out there so I can remember it for the next birthday. 

This recipe will fill any of the following:

  • One 9" cake pan
  • Two 6" cake pans
  • About 10-12 cupcakes
  • Or a really thick 6" cake, plus a small ramekin. (which is what I did).


Small and Simple (-ly Delicious) Chocolate Cake

Cake

  • 1 cup all-purpose flour
  • 1/2 cup plus 3 Tbl unsweetened cocoa powder
  • 1/2 tsp baking powder
  • 1/2 tsp baking soda
  • 1/4 tsp salt
  • 1/2 cup salted butter, softened
  • 1/2 cup plus 2 Tbl sugar
  • 1 tsp vanilla
  • 1 large egg
  • 1/2 cup plain Greek yogurt
  • 3 Tbl cold coffee
  • 3 Tbl milk

Frosting

  • 4 Tbl salted butter, softened
  • 1 1/3 cups powdered sugar
  • 1/4 cup unsweetened cocoa powder
  • up to 3 tbl milk
  • 1/2 tsp vanilla extract

Optional (lots of sprinkles to decorate)

Directions

Preheat oven to 350 Degrees F. Grease pan(s) and coat with cocoa powder or use liner if making cupcakes.

In a medium bowl, sift together flour, cocoa powder, baking powder, baking soda, salt,  In a small bowl or  large measuring cup, combine coffee, milk, and yogurt. 

In a  large bowl, cream together the butter and sugar until light and fluffy. Add egg and vanilla to sugar and mix until well combined.

Starting and ending with the flour mix, alternate adding flour mix and yogurt mix to sugar/egg mix, making sure batter is thoroughly combined before each addition. 

Scrape batter into prepared pan(s), keeping the distribution as even as possible if using multiple pans. 

Bake cake until a tester inserted in the center of the cake comes out clean. Start your timer at 20 minutes and check every 3-5 minutes thereafter, cooking times will vary based on which pan you choose. 

Cool cake in pan for 10 minutes then invert unton rack to cool completely before frosting.

To make frosting: Beat butter until light and fluffy. Add cocoa and powdered sugar to butter. Add milk a tablespoon at a time, until desired consistency is achieve and then beat in vanilla. 

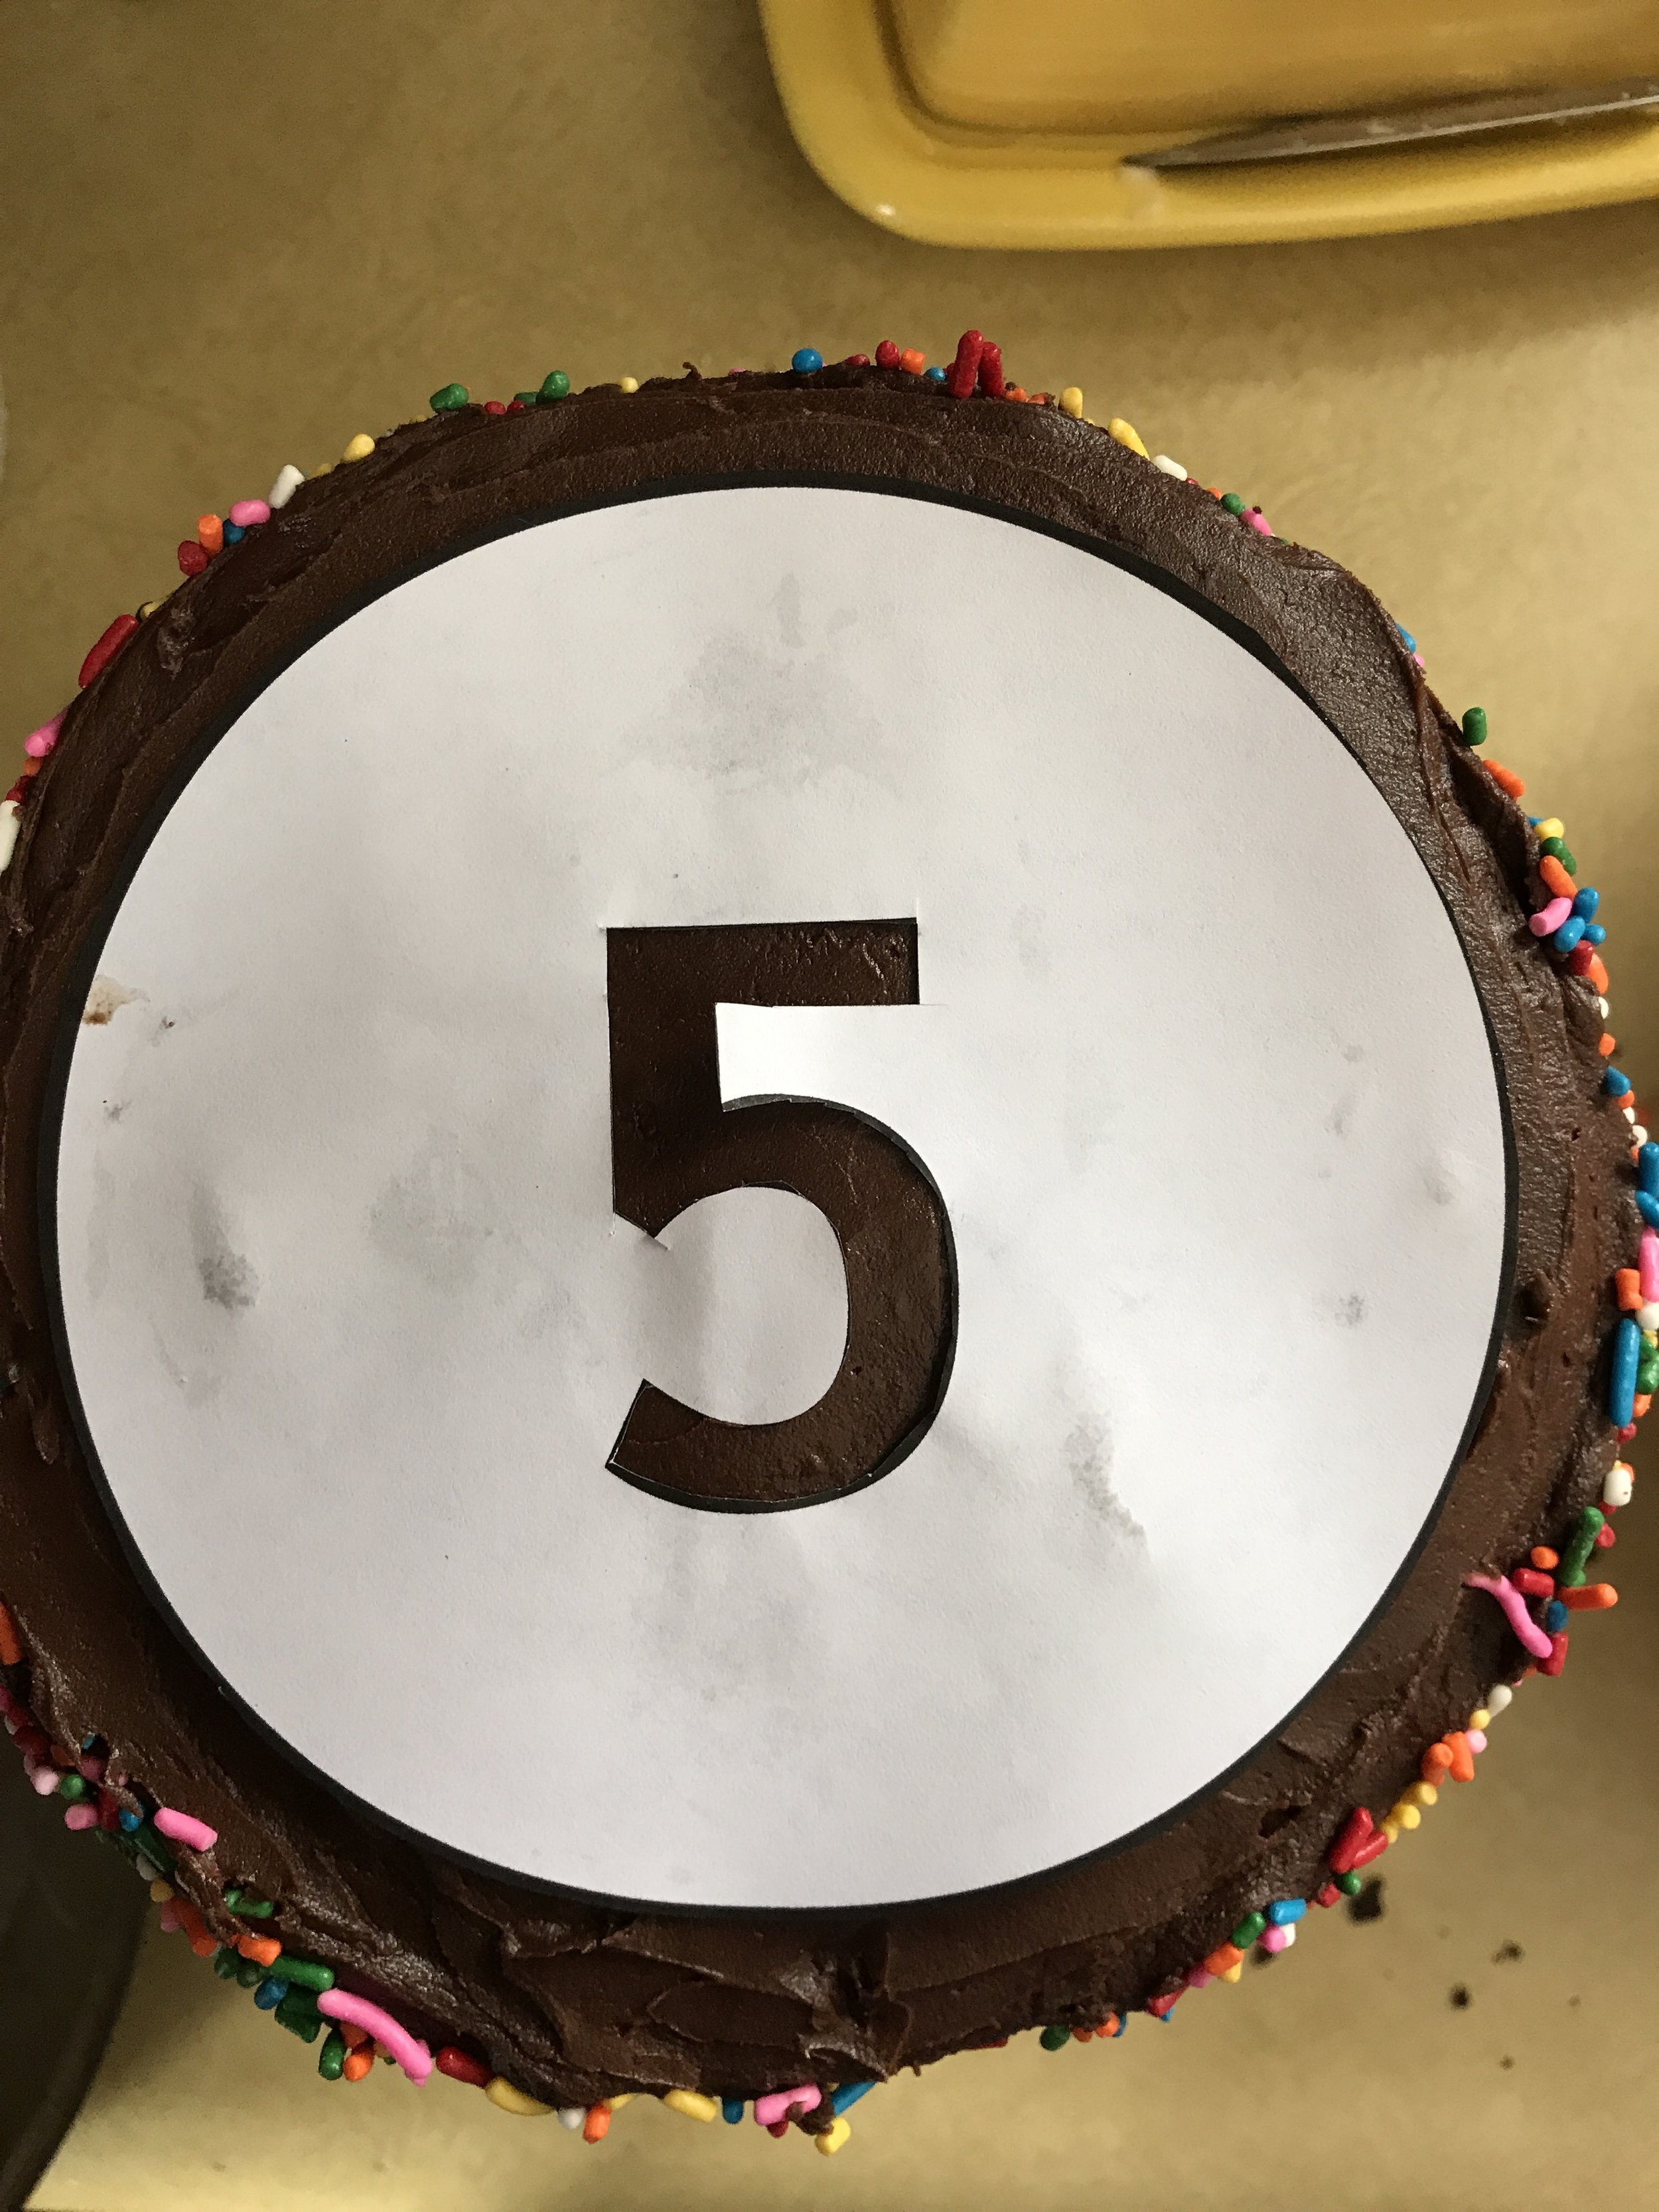
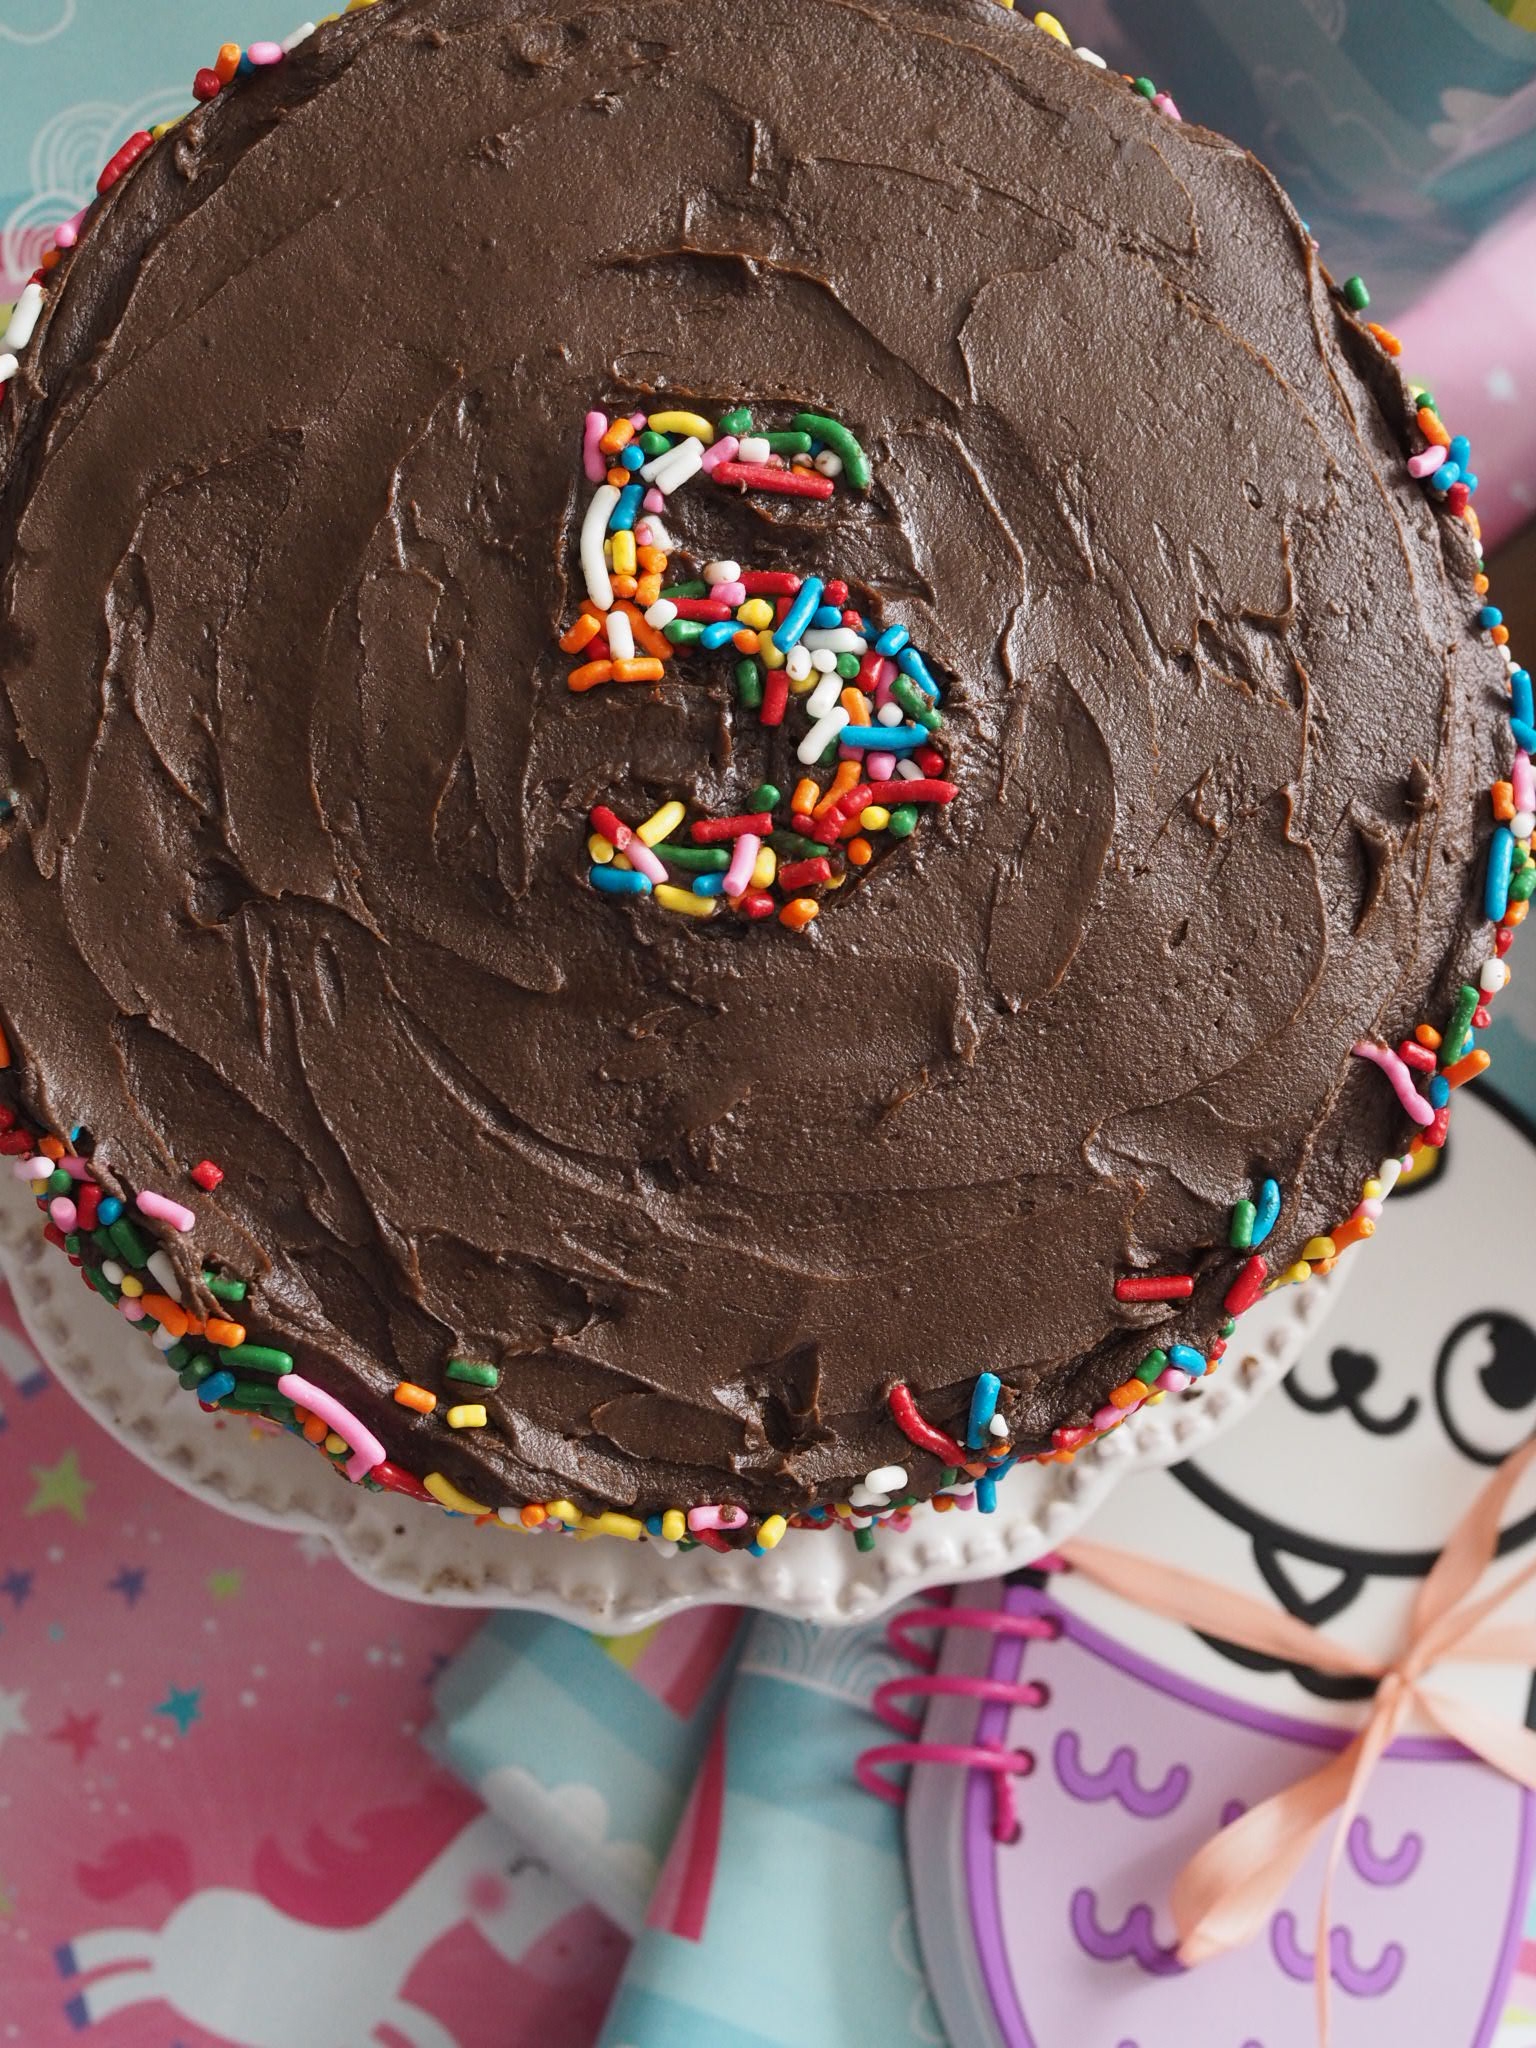
To decorate as shown: Place a large amount pf sprinkles into a pie pan or rimmed baking dish. Frost sides, but not top of cake. Being very careful, tilt the frosted cake into the pie pan and roll until sides are coated with sprinkles. Gently place cake unto serving dish or stand and press sprinkles into the side as needed. Frost top of cake. To make number, print out number of choice in a very large font (I think I used Impact here) in the center of a 5" circle. Cut out number with sharp scissors or an craft knife. Place template gently on top of cake, trying not to stick it to the frosting. Pour sprinkles into your template, mushing them into the frosting gently with you fingers and carefully remove template. 

Goes excellently with a glass of milk.

Adapted from Ghirardelli's Grand Fudge Cake (aka the one on the back of the cocoa powder bag).

To print, see button at bottom of post.

Six Inch Chocolate Cake 2.png

Small and Simple (-ly Delicious) Chocolate Cake

Serves 9 Ingredients: 1 cup all-purpose flour 1/2 cup plus 3 Tbl unsweetened cocoa powder 1/2 tsp baking powder 1/2 tsp baking soda 1/4 tsp salt 1/2 cup salted butter, softened 1/2 cup plus 2 Tbl sugar 1 tsp vanilla 1 large egg 1/2 cup plain Greek yogurt 3 Tbl cold coffee 3 Tbl milk Frosting 4 Tbl salted butter, softened 1 1/3 cups powdered sugar 1/4 cup unsweetened cocoa powder up to 3 tbl milk 1/2 tsp vanilla extract 1 1/2 teaspoons salt,

Print Friendly and PDF Follow
follow us in feedly

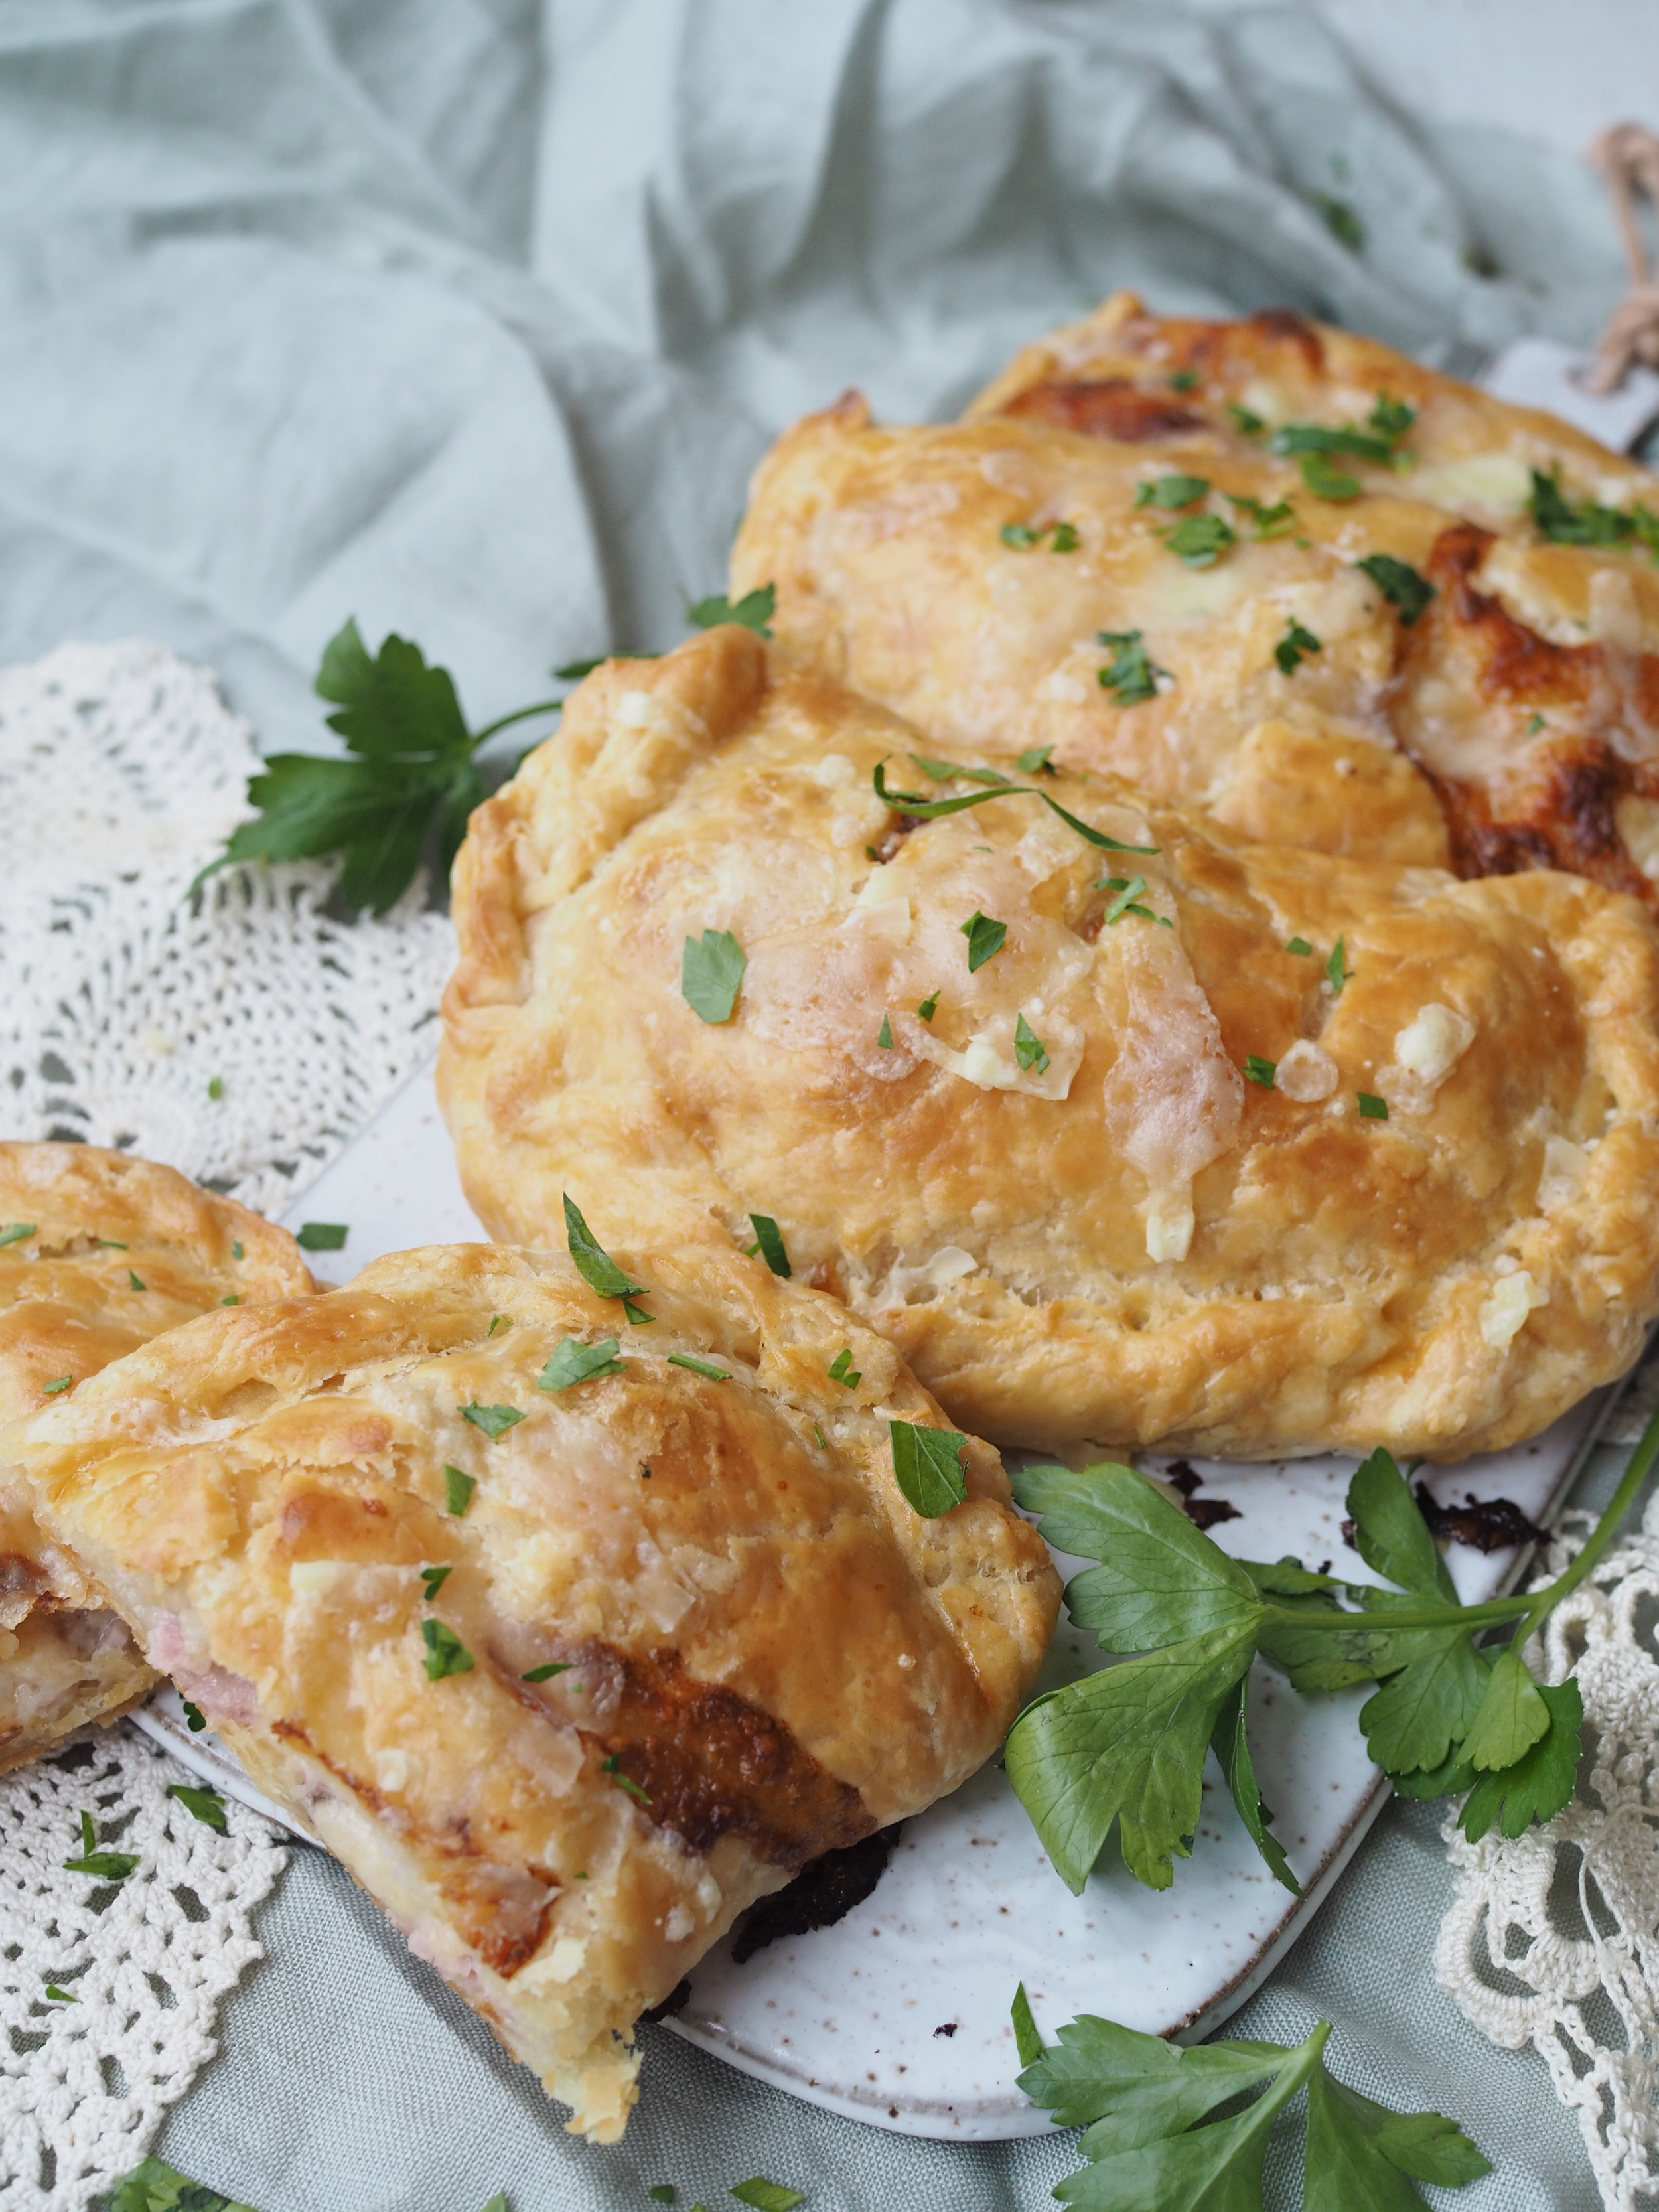
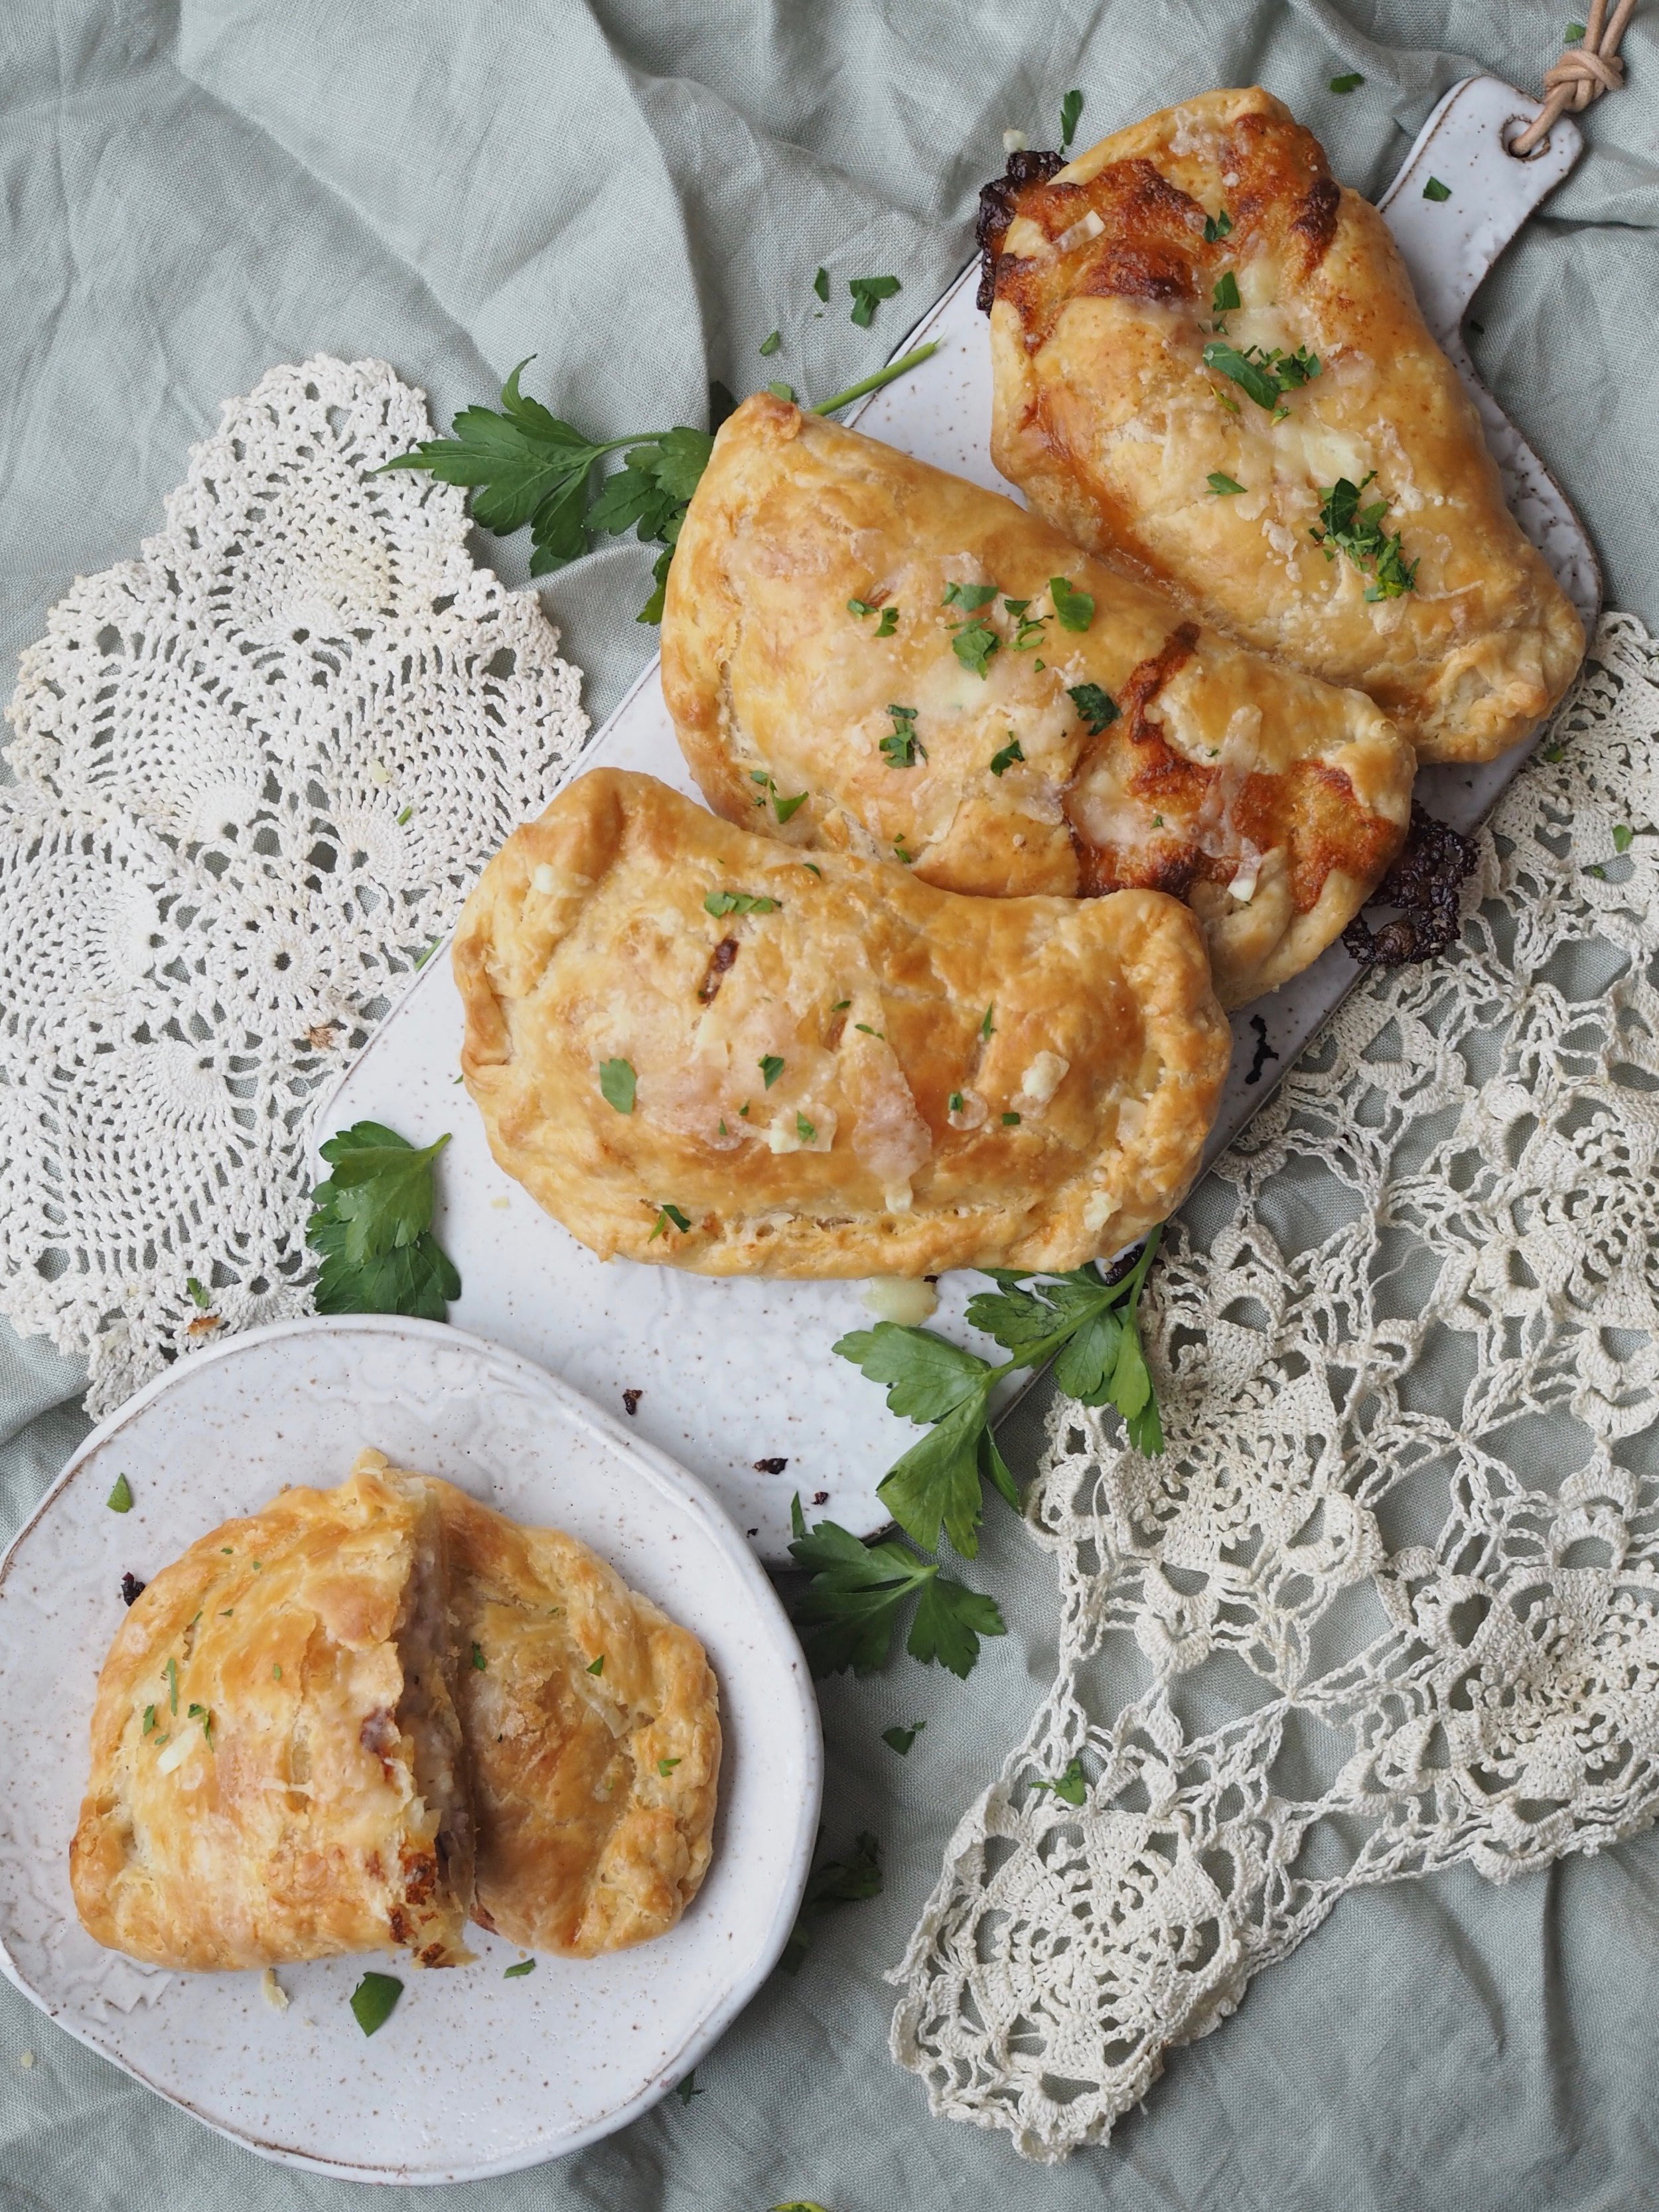
Croque Monsieur Handpies

Croque Monsieur Handpies v1.png

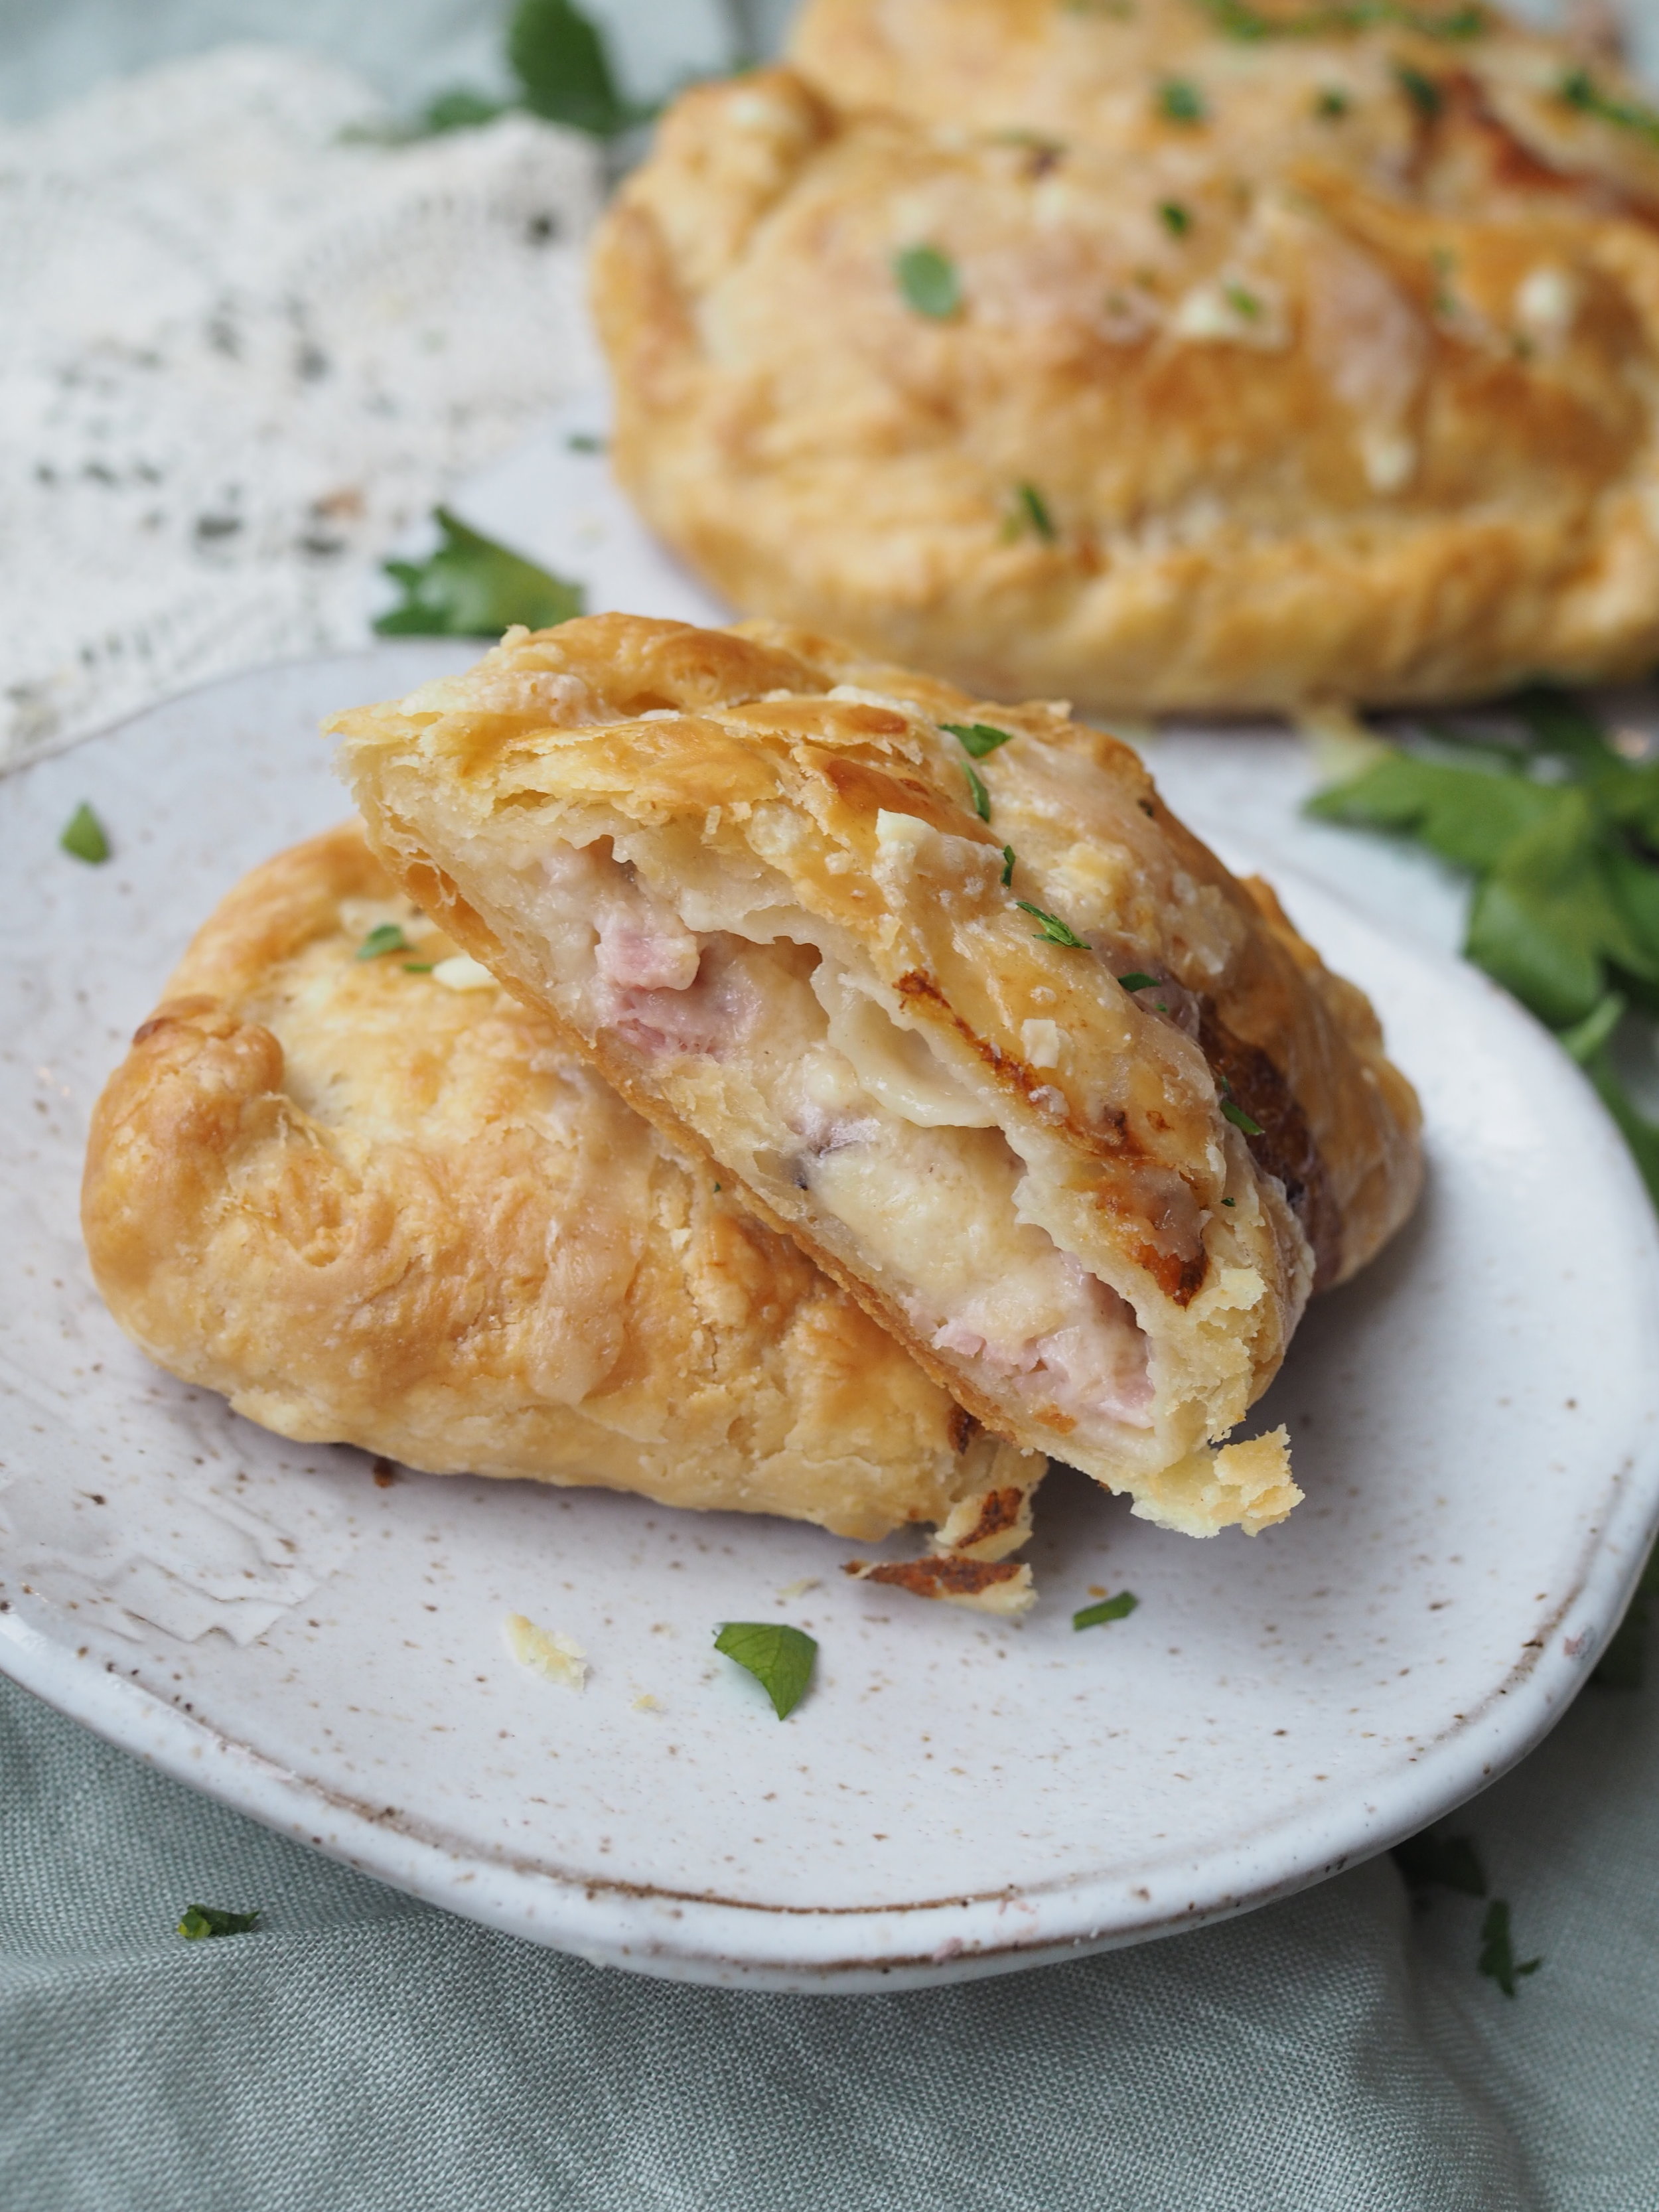
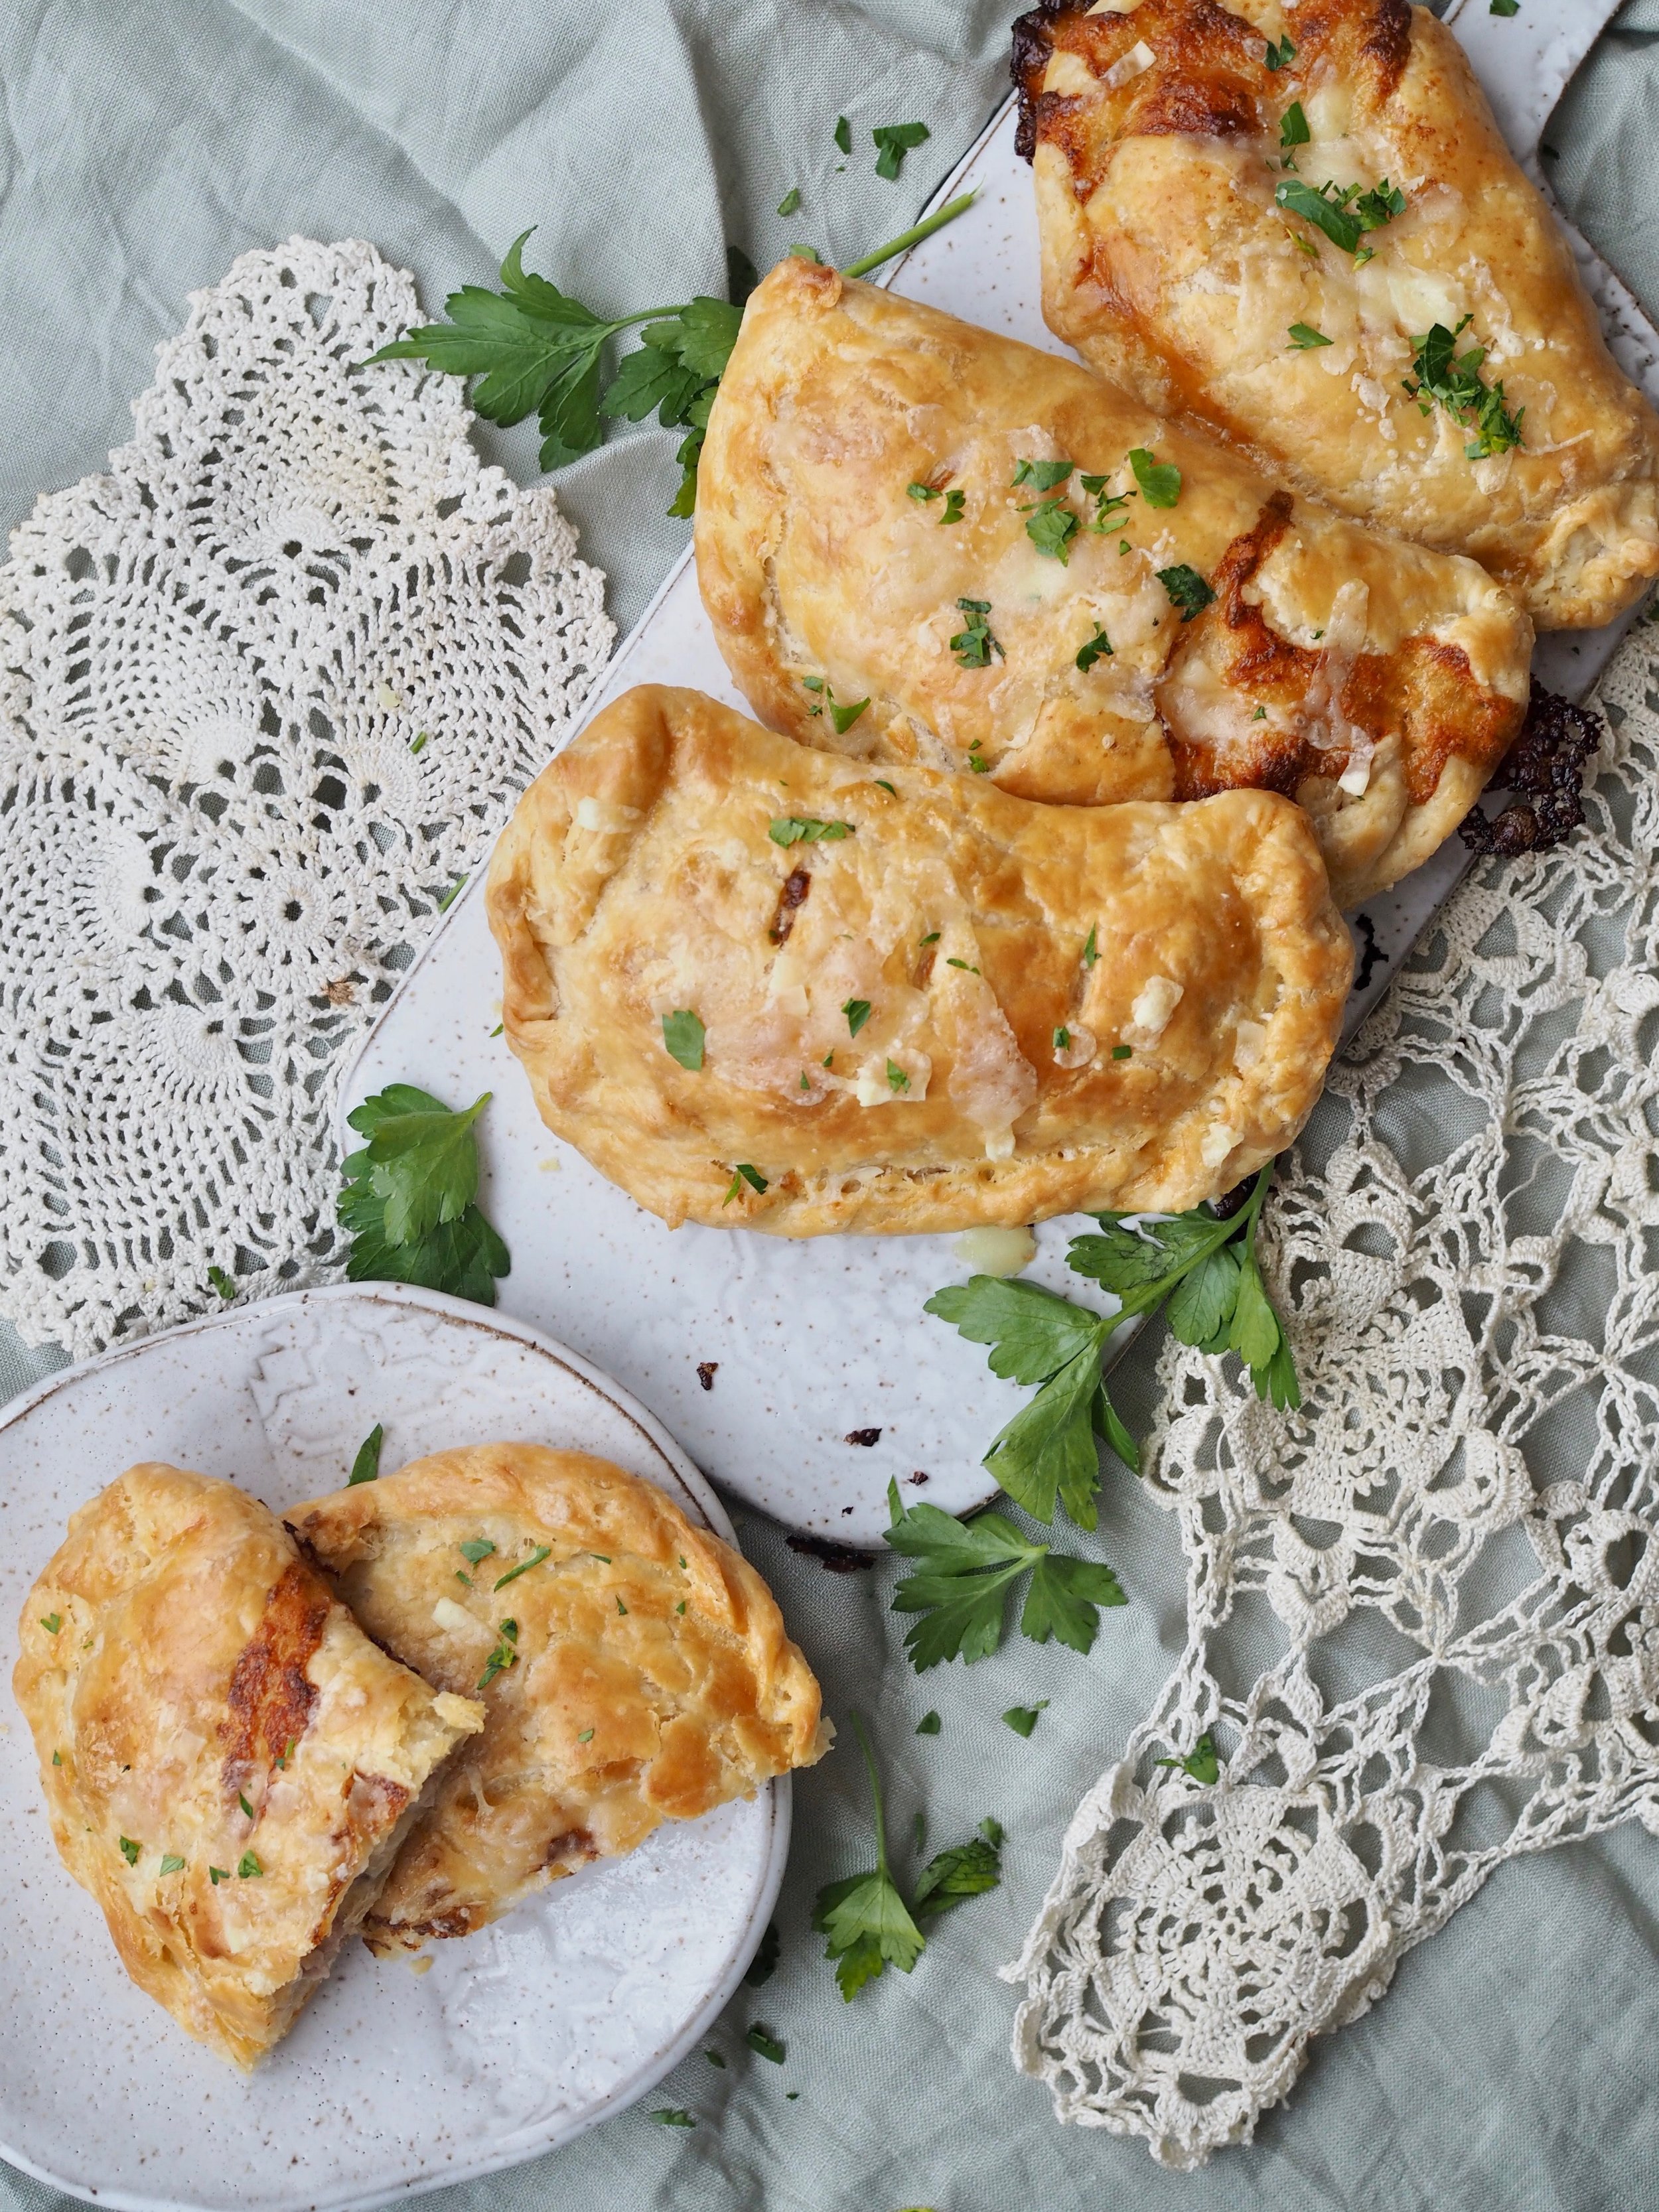
We've fallen in love with the croque monsieur in our household. The croque monsieur, a grilled sandwich featuring ham, Gruyere cheese and béchamel sauce originated in the brasseries of France as a hearty snack or light meal. You can turn the sandwich into a croque madame with the addition of a fired egg on top (health food, this is not). For the Cleaver family, the addition of ham and sauce take the grilled cheese to a dinner-worthy level, so when it came time to come up with a savory pie for my annual pie-luck, rec-creating this sandwich in pie form seemed like a no-brainer.

Typically, I use shortening in my pie crusts for it's ease of use, but for a French inspired recipe, I had to use butter. Instead of fully incorporating the butter into the dough ("the damp sand" look), I suggest leaving a few beads of butter intact, which, when rolled flat into the rounds, leaves pockets of butter to create an almost puff-pastry like crust. Make sure to chill the dough before rolling for maximum flakiness.

Since I originated this recipe for an event were there was 11 pies for 7 people, I went light on the filling. To use as a main dish, simply double the ham and cheese. The béchamel sauce should be sufficient to cover both amounts. 

Croque Monsieur Handpies

Crust

  • 3 cups all-purpose flour
  •  1 1/2 teaspoons salt
  •  2 sticks unsalted butter (cold)
  •  2/3 to 3/4 cup cold water

Filling*

  • 6 oz sliced ham, diced into small pieces*
  • 6 oz Gruyere cheese, shredded*
  • Fresh parsley (optional)

*filling sized for appetizer portions, for a meal-sized pie, double the filling

Béchamel Sauce

  •  1 1/4 cup milk
  • 3 Tablespoons all-purpose flour
  • 2 Tablespoons butter
  • 1 pinch nutmeg
  • 1 pinch pepper
  • salt to taste

Directions

Preheat oven to 350 Degrees F.

Make crust. In a large mixing bowl, combine flour and salt. Using a pastry cutter or food processor, cut in shortening until mixture mostly resembles damp sand, leaving a few small pea-sized chunks of butter. Add water, a little bit at a time, until dough sticks together. You will want it slightly more elastic than crust for a pan pie. Break dough into two evenly sized pieces, wrap in plastic wrap, and place in refrigerator up to a day in advance.

Make béchamel sauce. Melt butter in a saucepan over medium heat. When butter starts to bubble, add flour and whisk until combined, mixture will be clumpy. Cook flour mixture (roux) for 2 minutes. Slowly add milk, whisking constantly to break up any clumps and prevent scalding for approximately 8 minutes, or until sauce is a thick consistency. Pour into a bowl and set aside to cool.

Make filling. IN a bowl, combine 3/4 of the shredded cheese, the diced ham, and enough béchamel sauce to thoroughly coat the filling. 

Line two rimmed cookie sheets with parchment paper.

Remove crust from refrigerator. Cut each ball of dough into four equal pieces. On a well-floured surface, roll each piece of dough into a 7 to 8 inch square. Place dough on cookie sheet. Scoop filling into the center of the square making sure to avoid the edges.

Fold dough over filling, so top portion of crust is about 1/4 inch shy of the edge of the bottom. Fold up bottom crust to meet top crust and pinch/crimp to seal. Slice a few holes in the top to let steam escape. Repeat for remaining pies.

Whisk together 1 egg with 1 Tablespoon water. Brush egg wash generously over pies.

Place cookie sheets in oven and bake for 45-50 minutes, until filling bubbles and crust is golden brown, rotating pans halfway through cooking time.

To serve, sprinkle on remaining shredded cheese. Broil briefly to melt cheese. Sprinkle finely chopped parsley on top (optional) and eat warm.

To store, cool completely on a wire rack, wrap in tin foil and place in refrigerator for up to one week. To reheat for 10-15 minutes in a 350 degree F oven.

To print, see button at bottom of post.

Croque Monsieur Handpies v2.png

Croque Monsieur Handpies

Serves 8 Ingredients: 3 cups all-purpose flour, melted 1 1/2 teaspoons salt, 2 sticks unsalted butter, 6 oz sliced ham, 6 ox gruyere cheese, 1 1/4 cup milk, 2 tablespoons flour 2 tablespoons butter nutmeg pepper parsley
Print Friendly and PDF Follow
follow us in feedly

Gluten Free White Chocolate Raspberry Tart with Coconut and Lime

White Chocolate Raspberry Pie v3.png

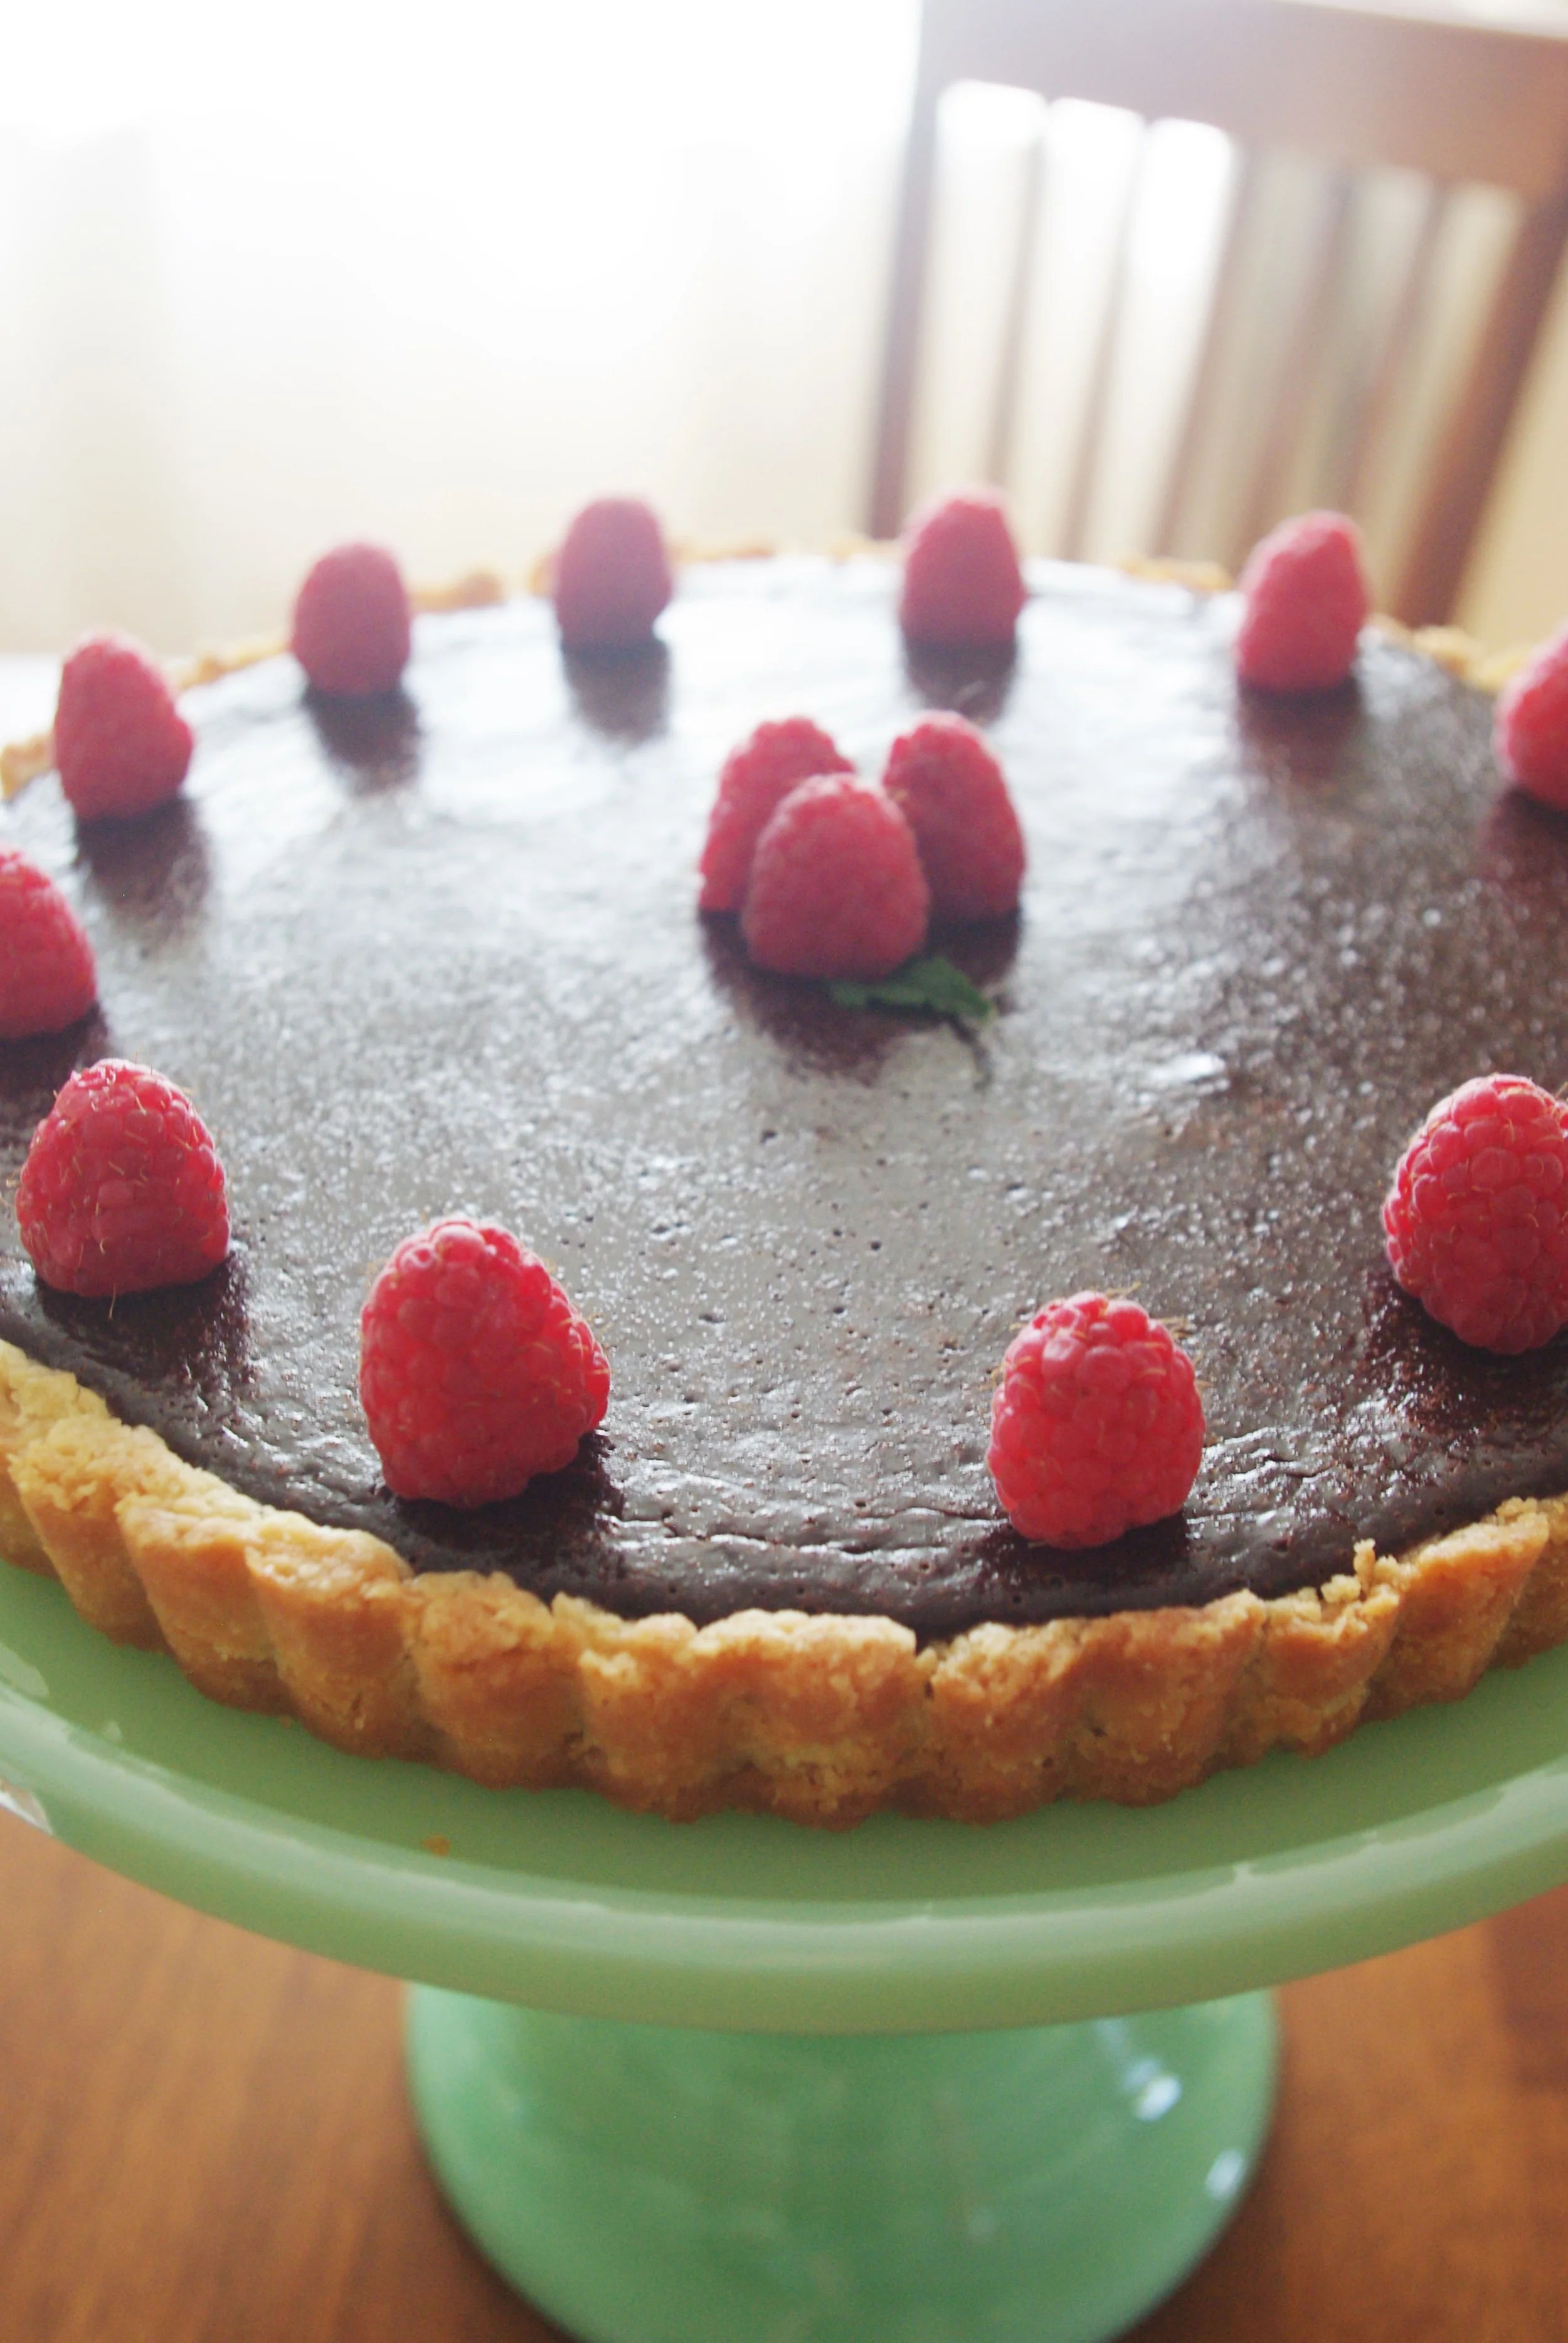
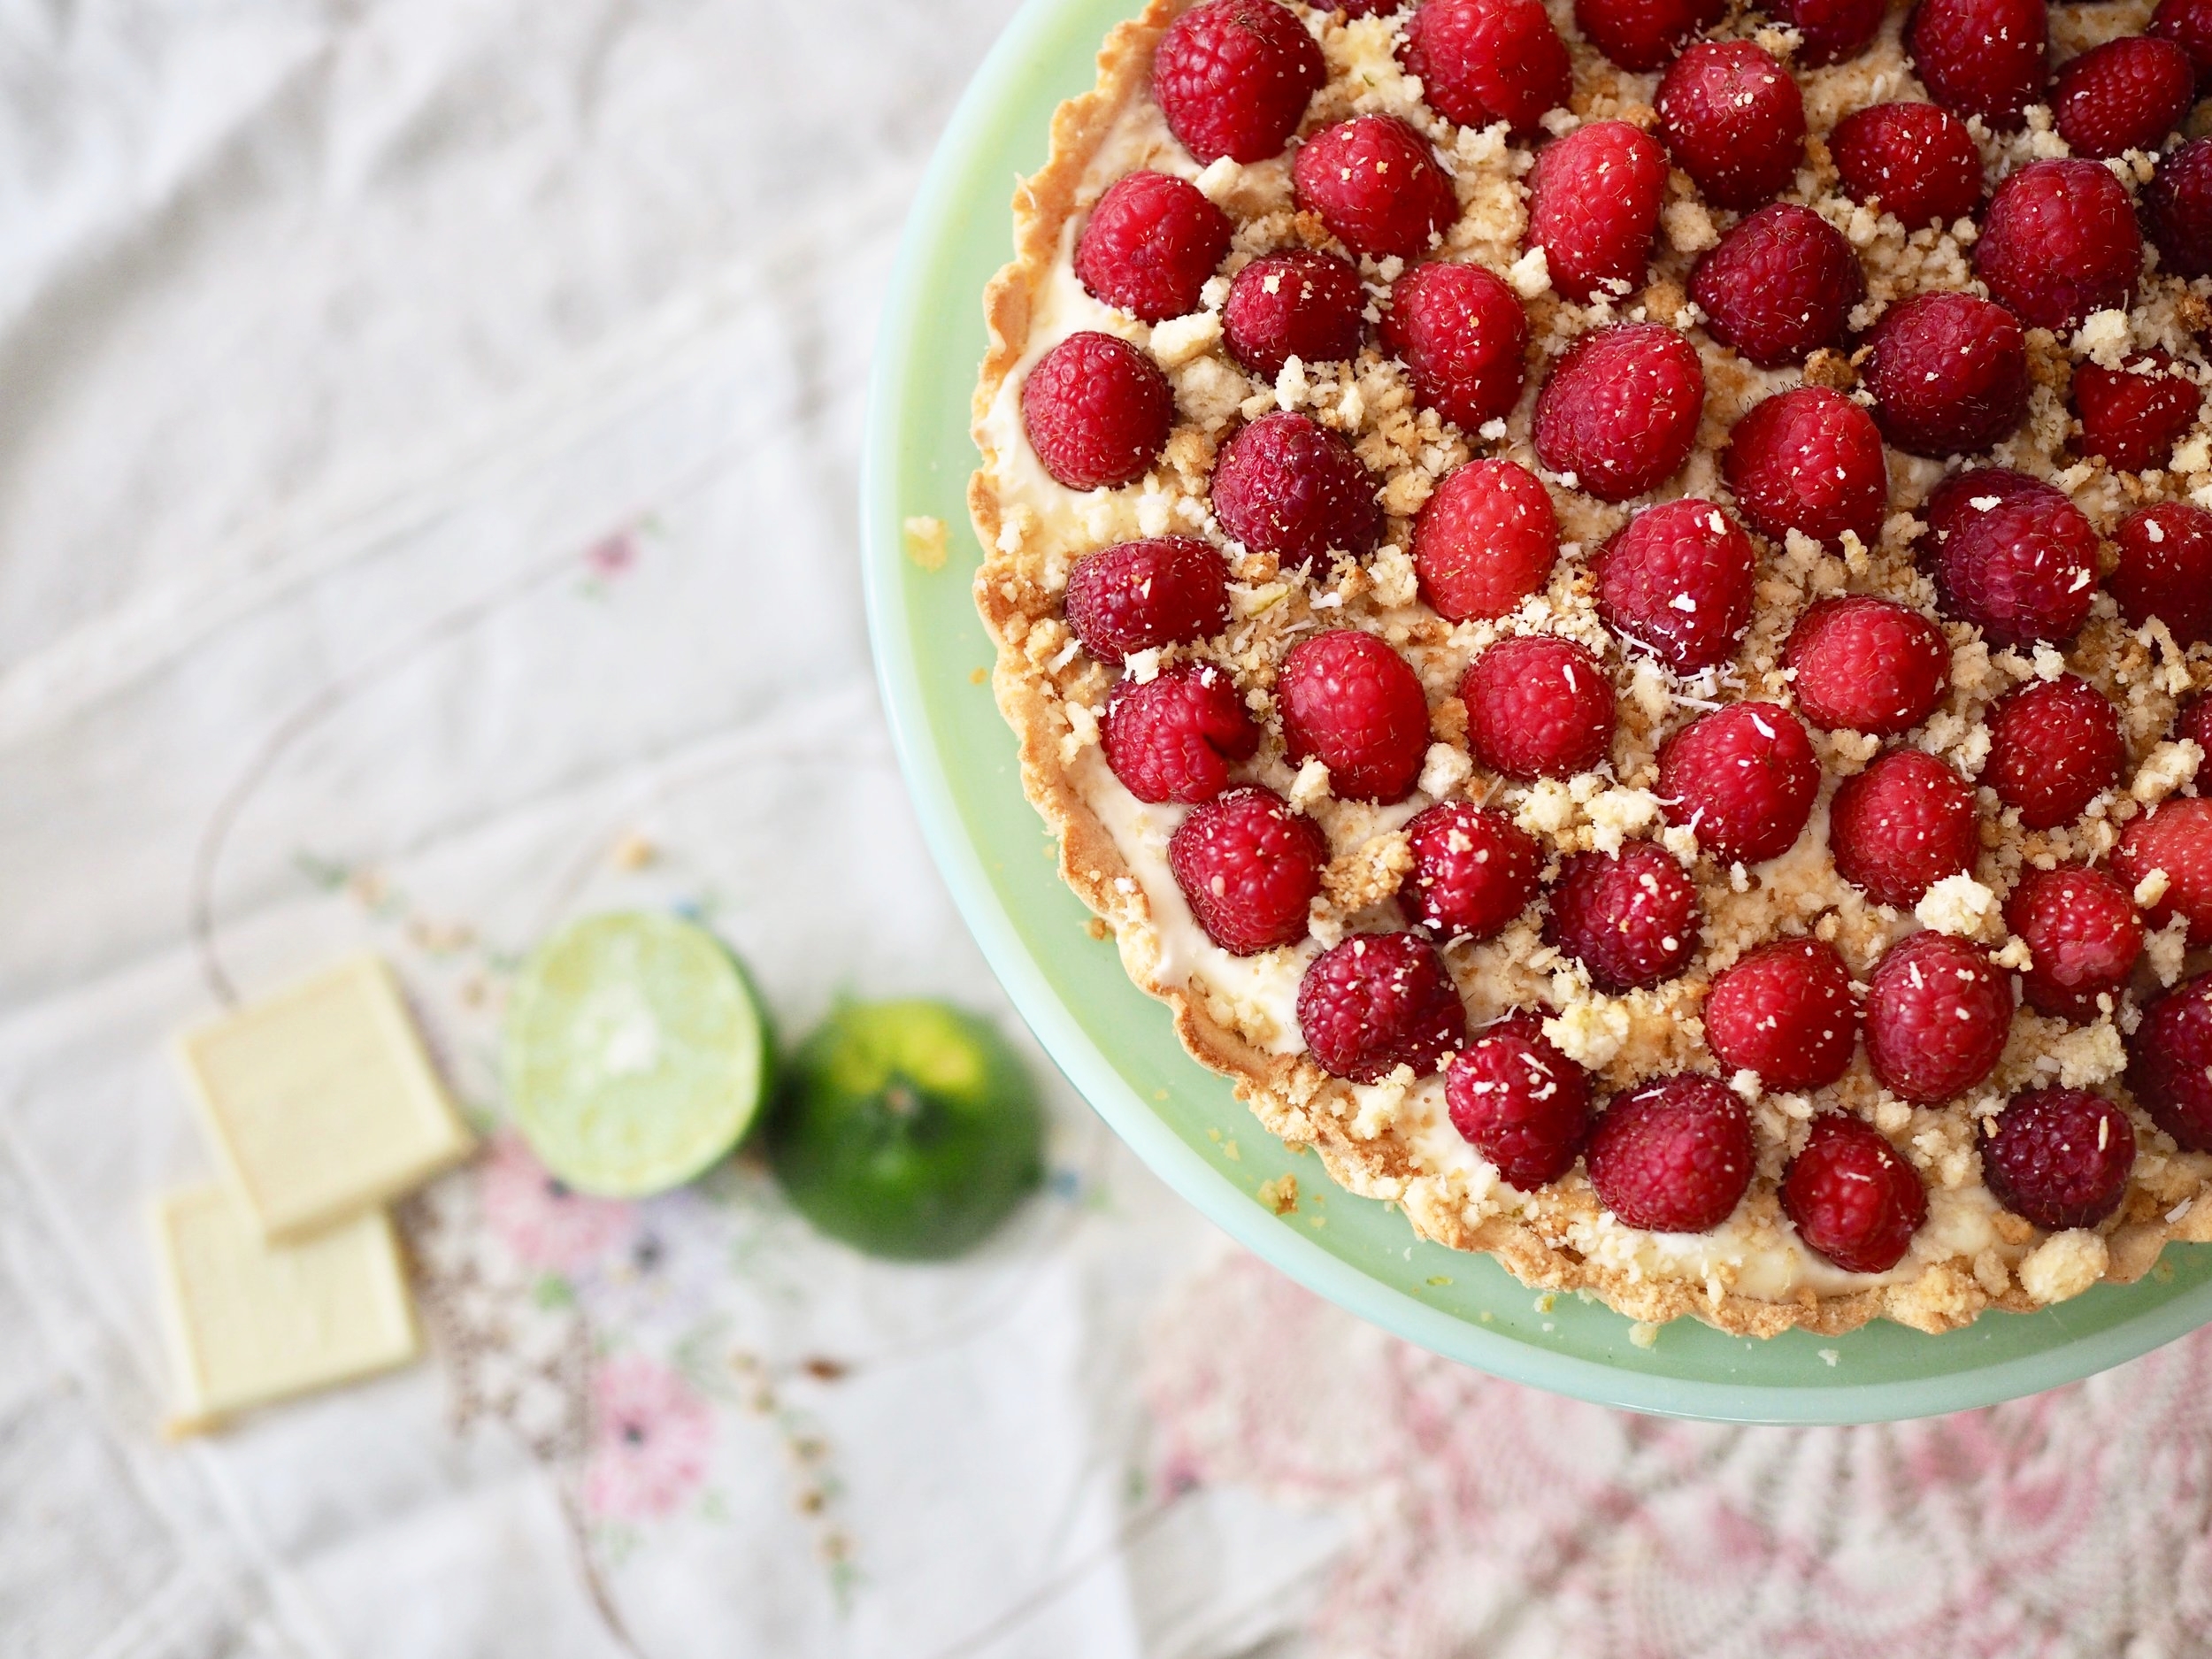
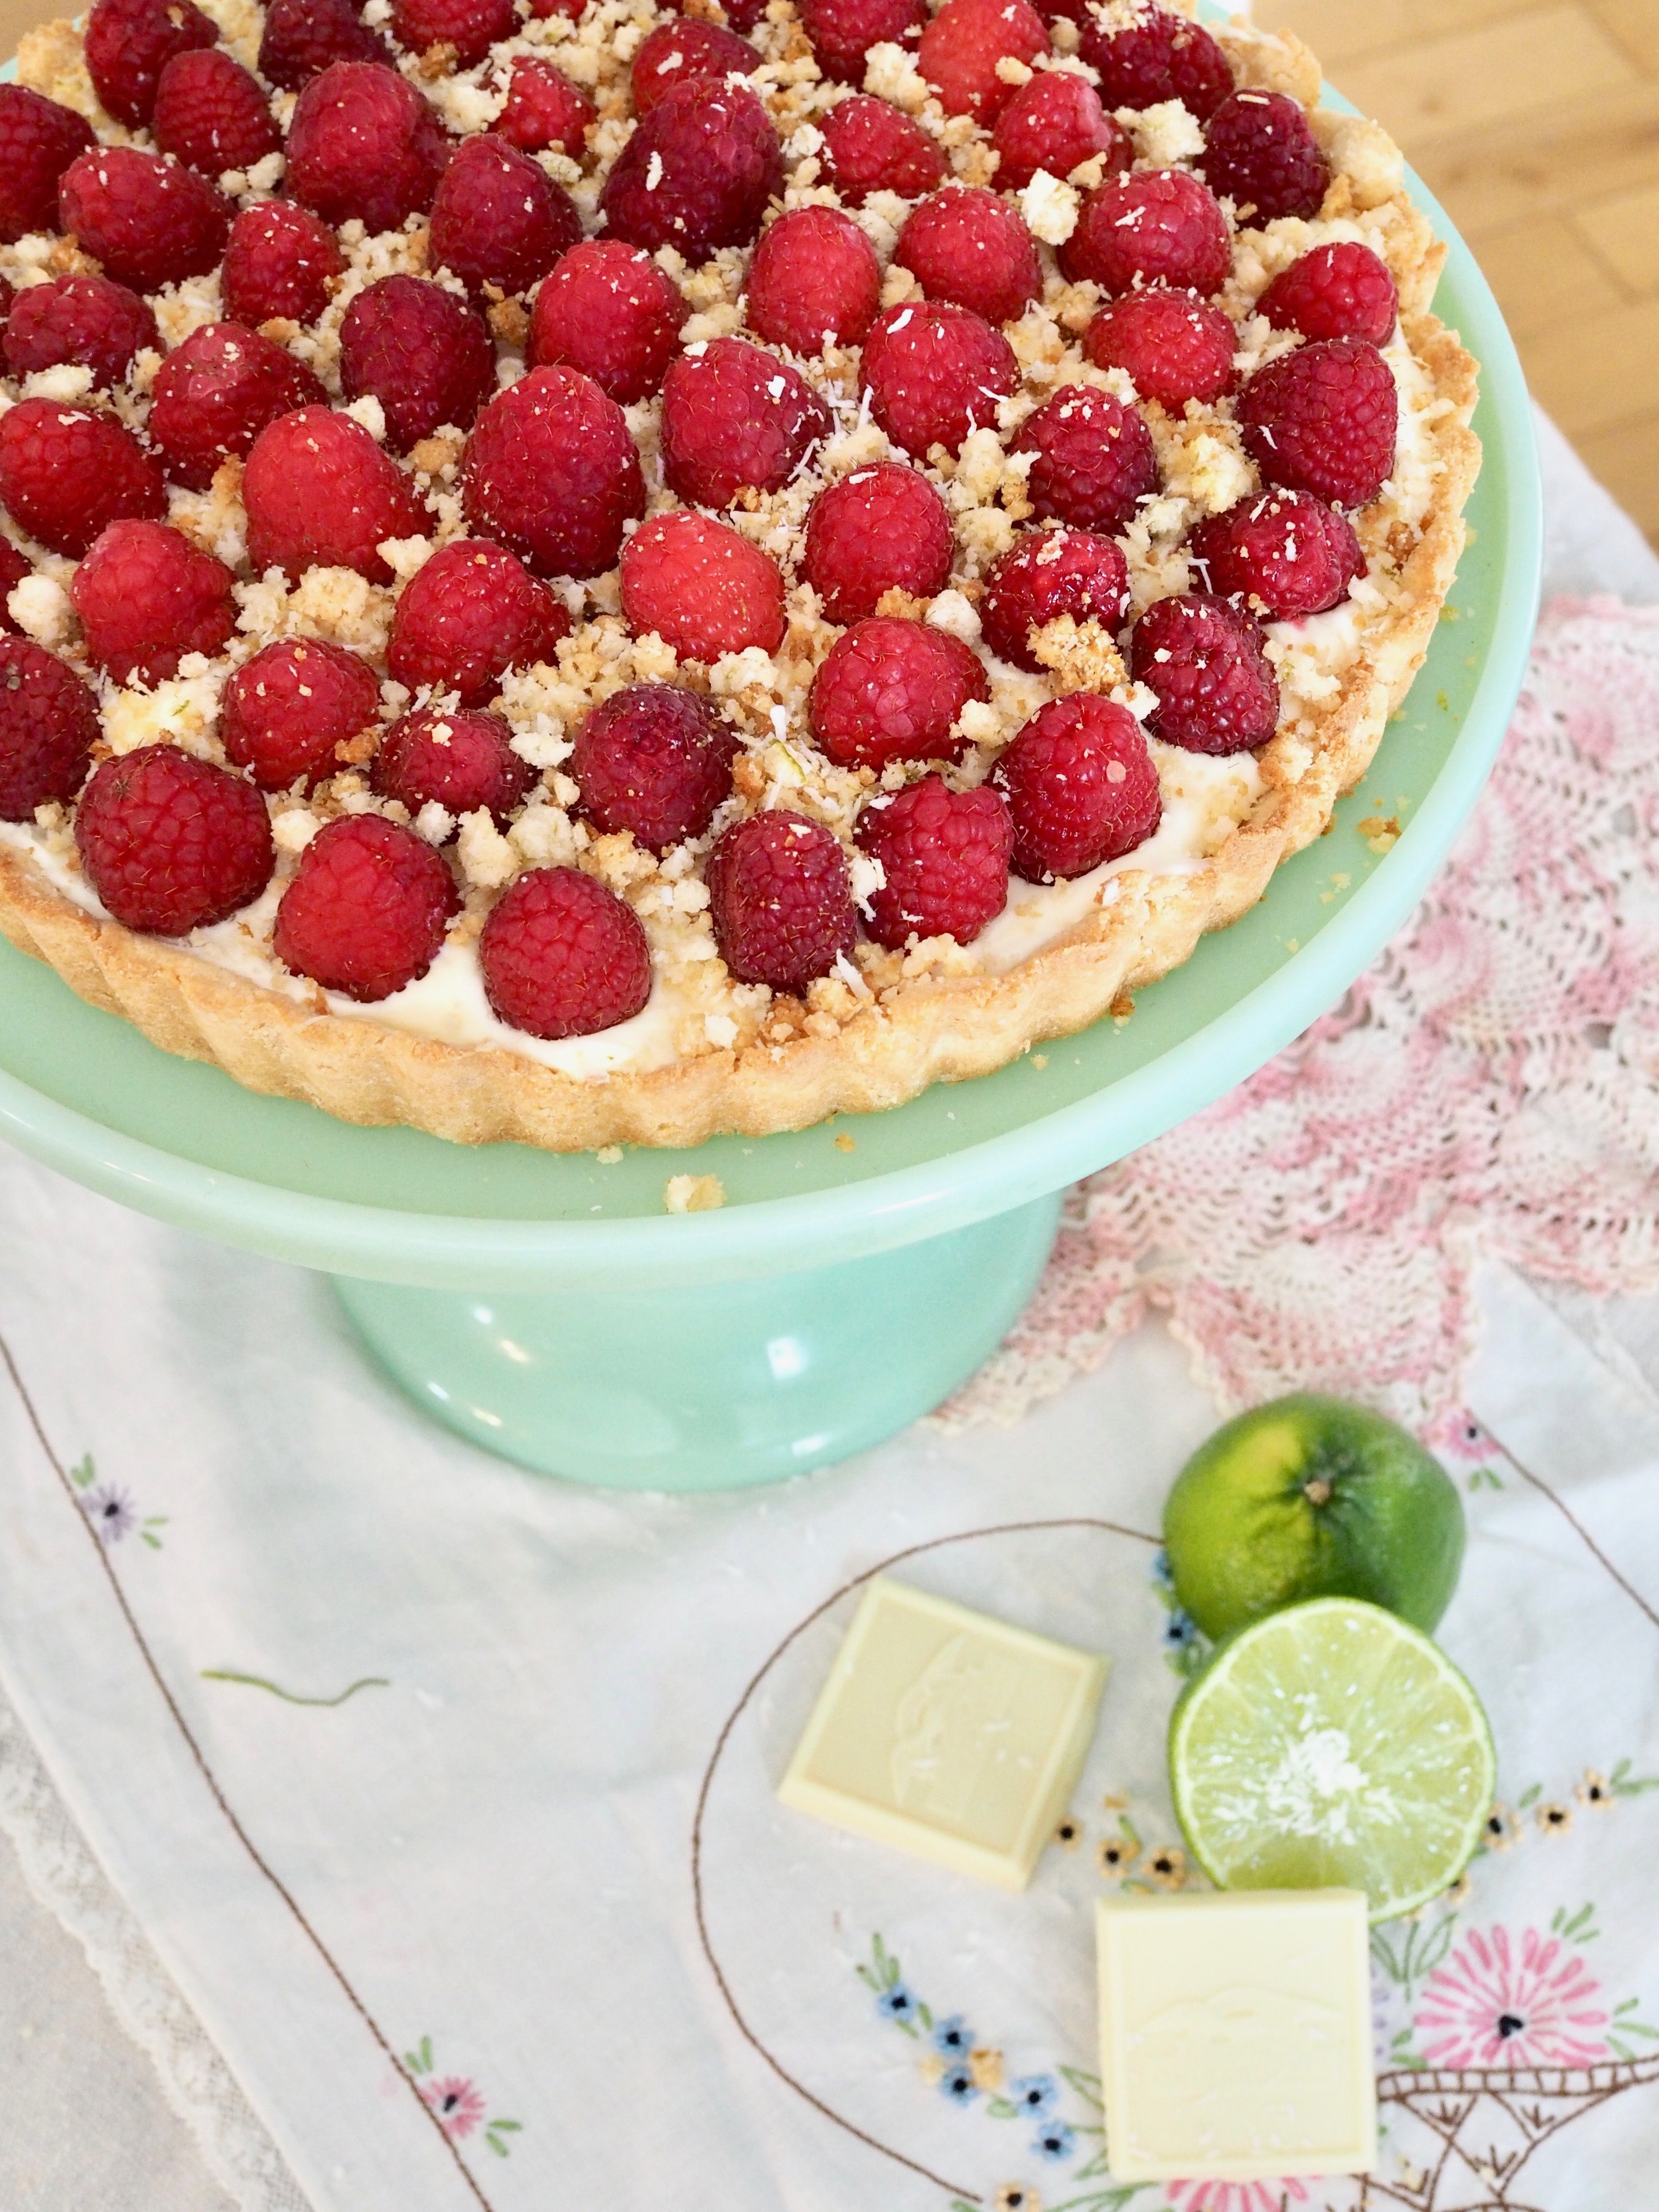
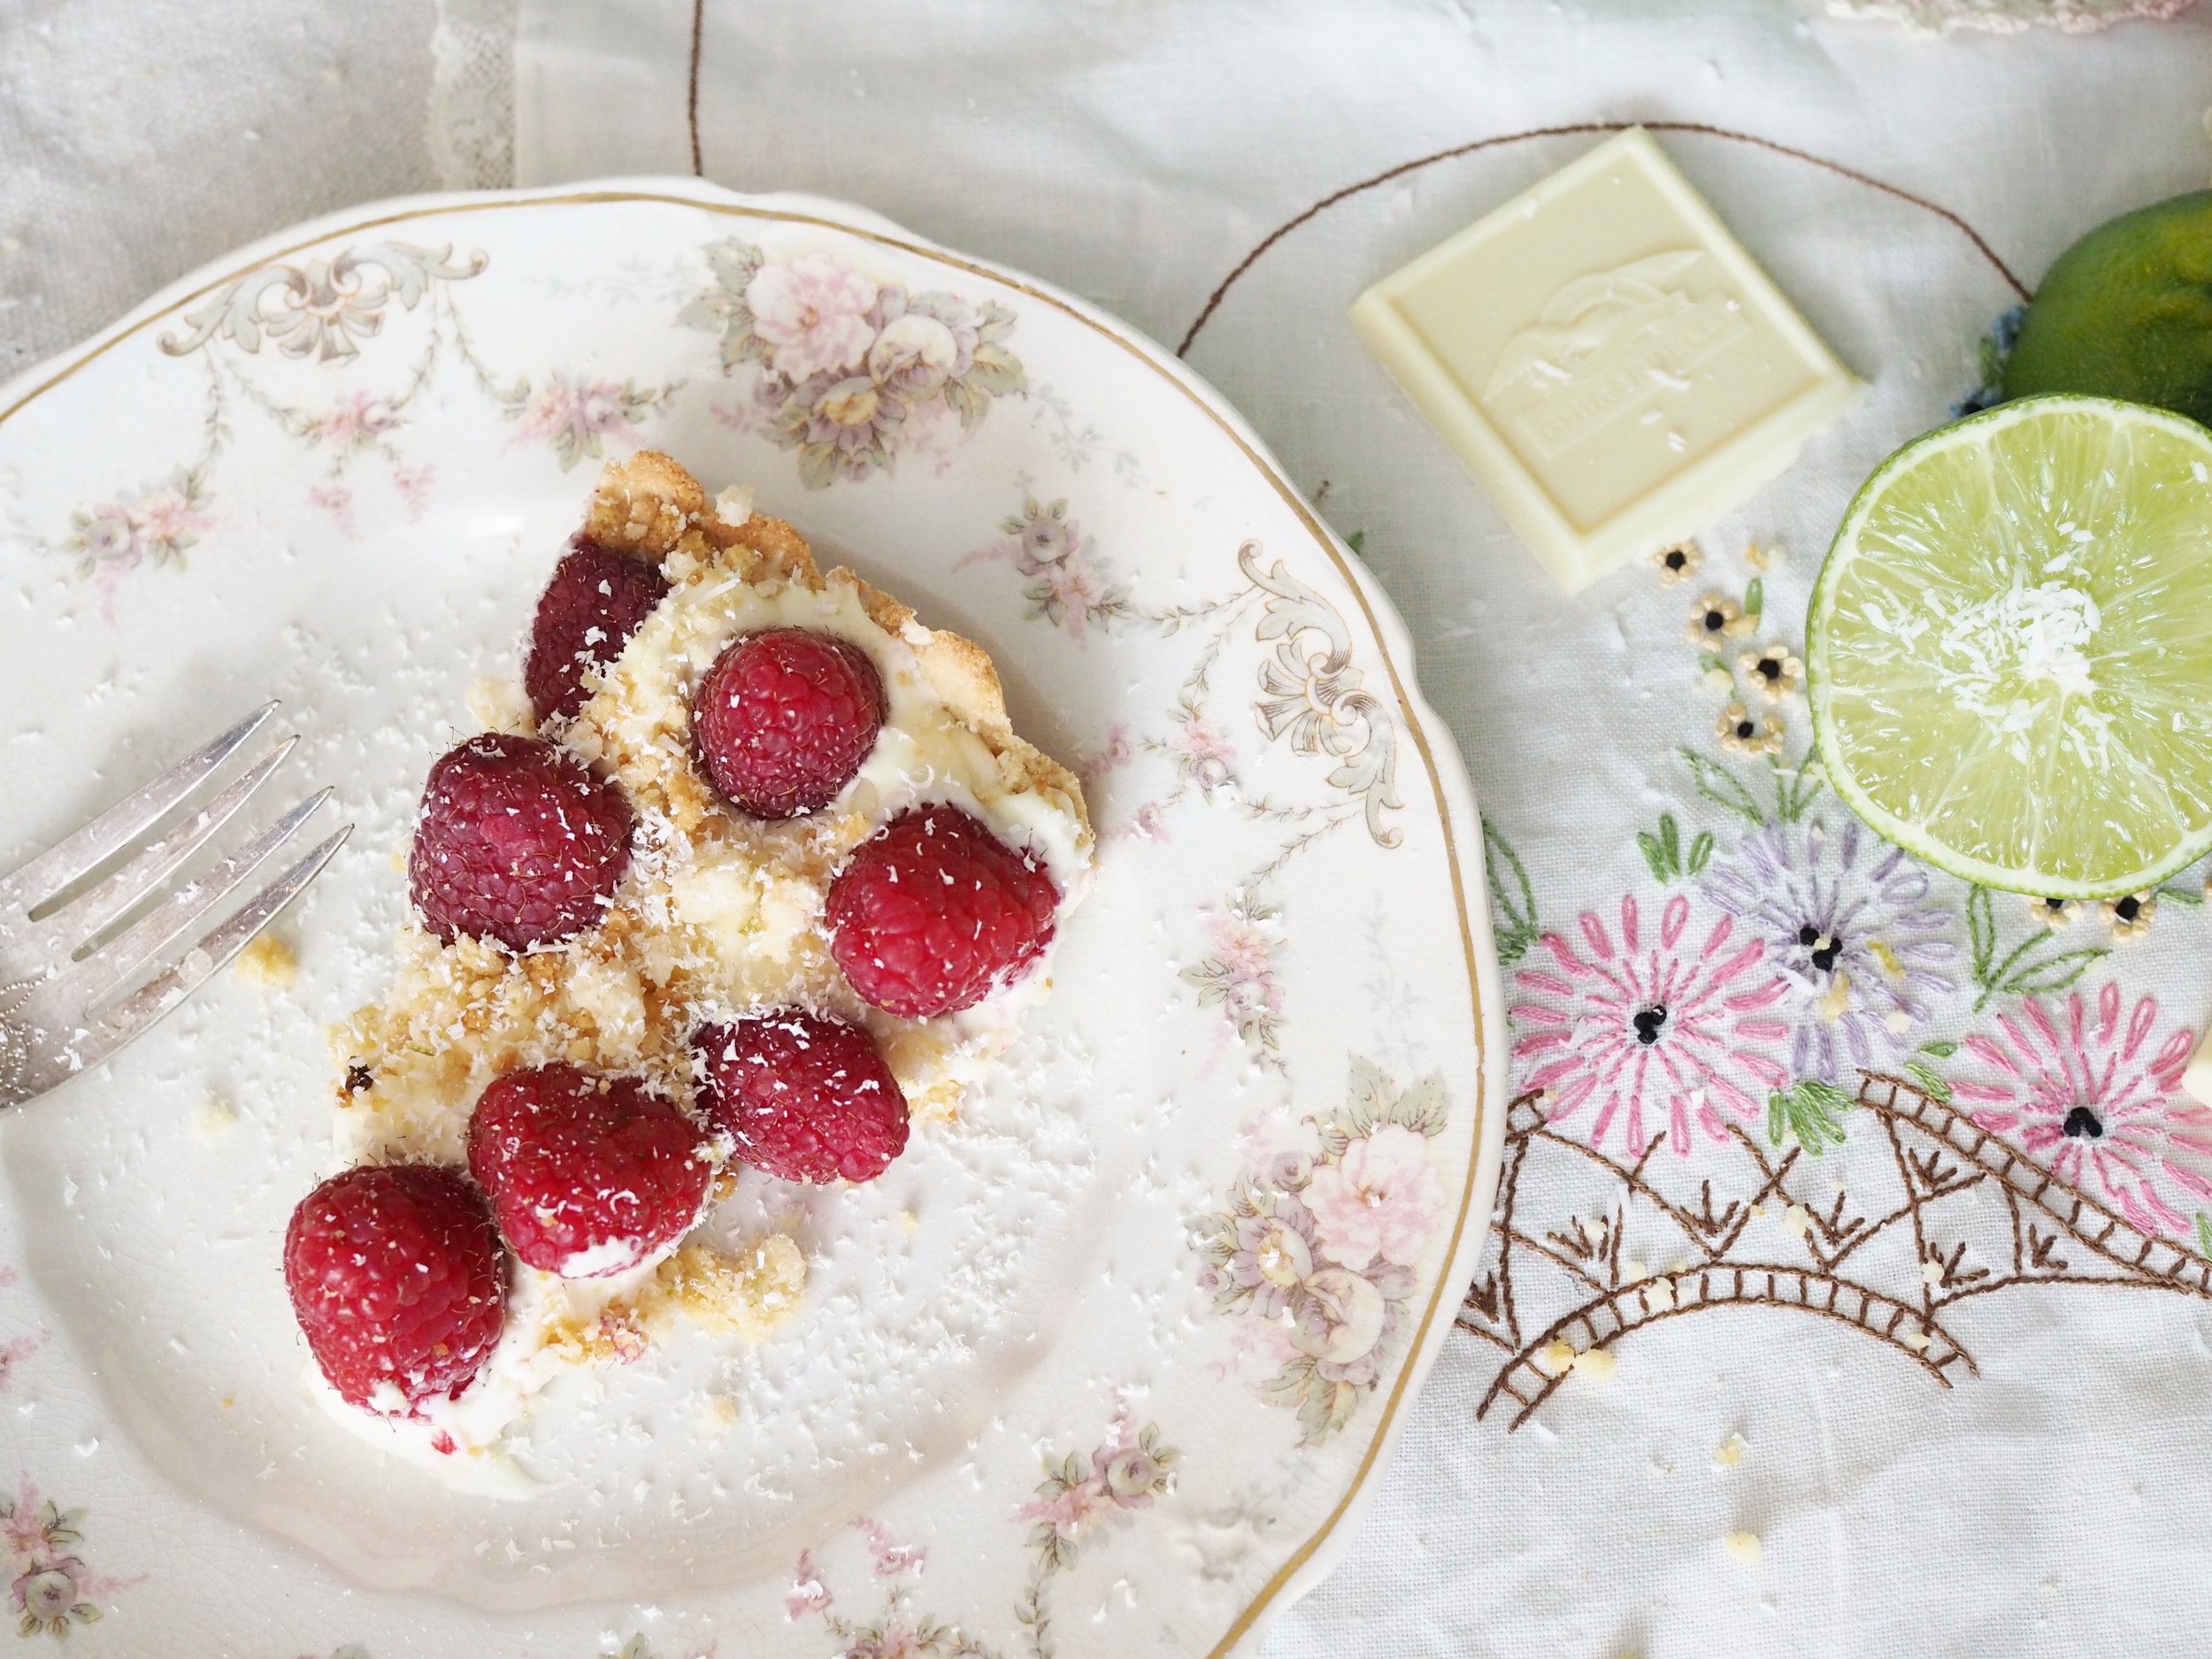
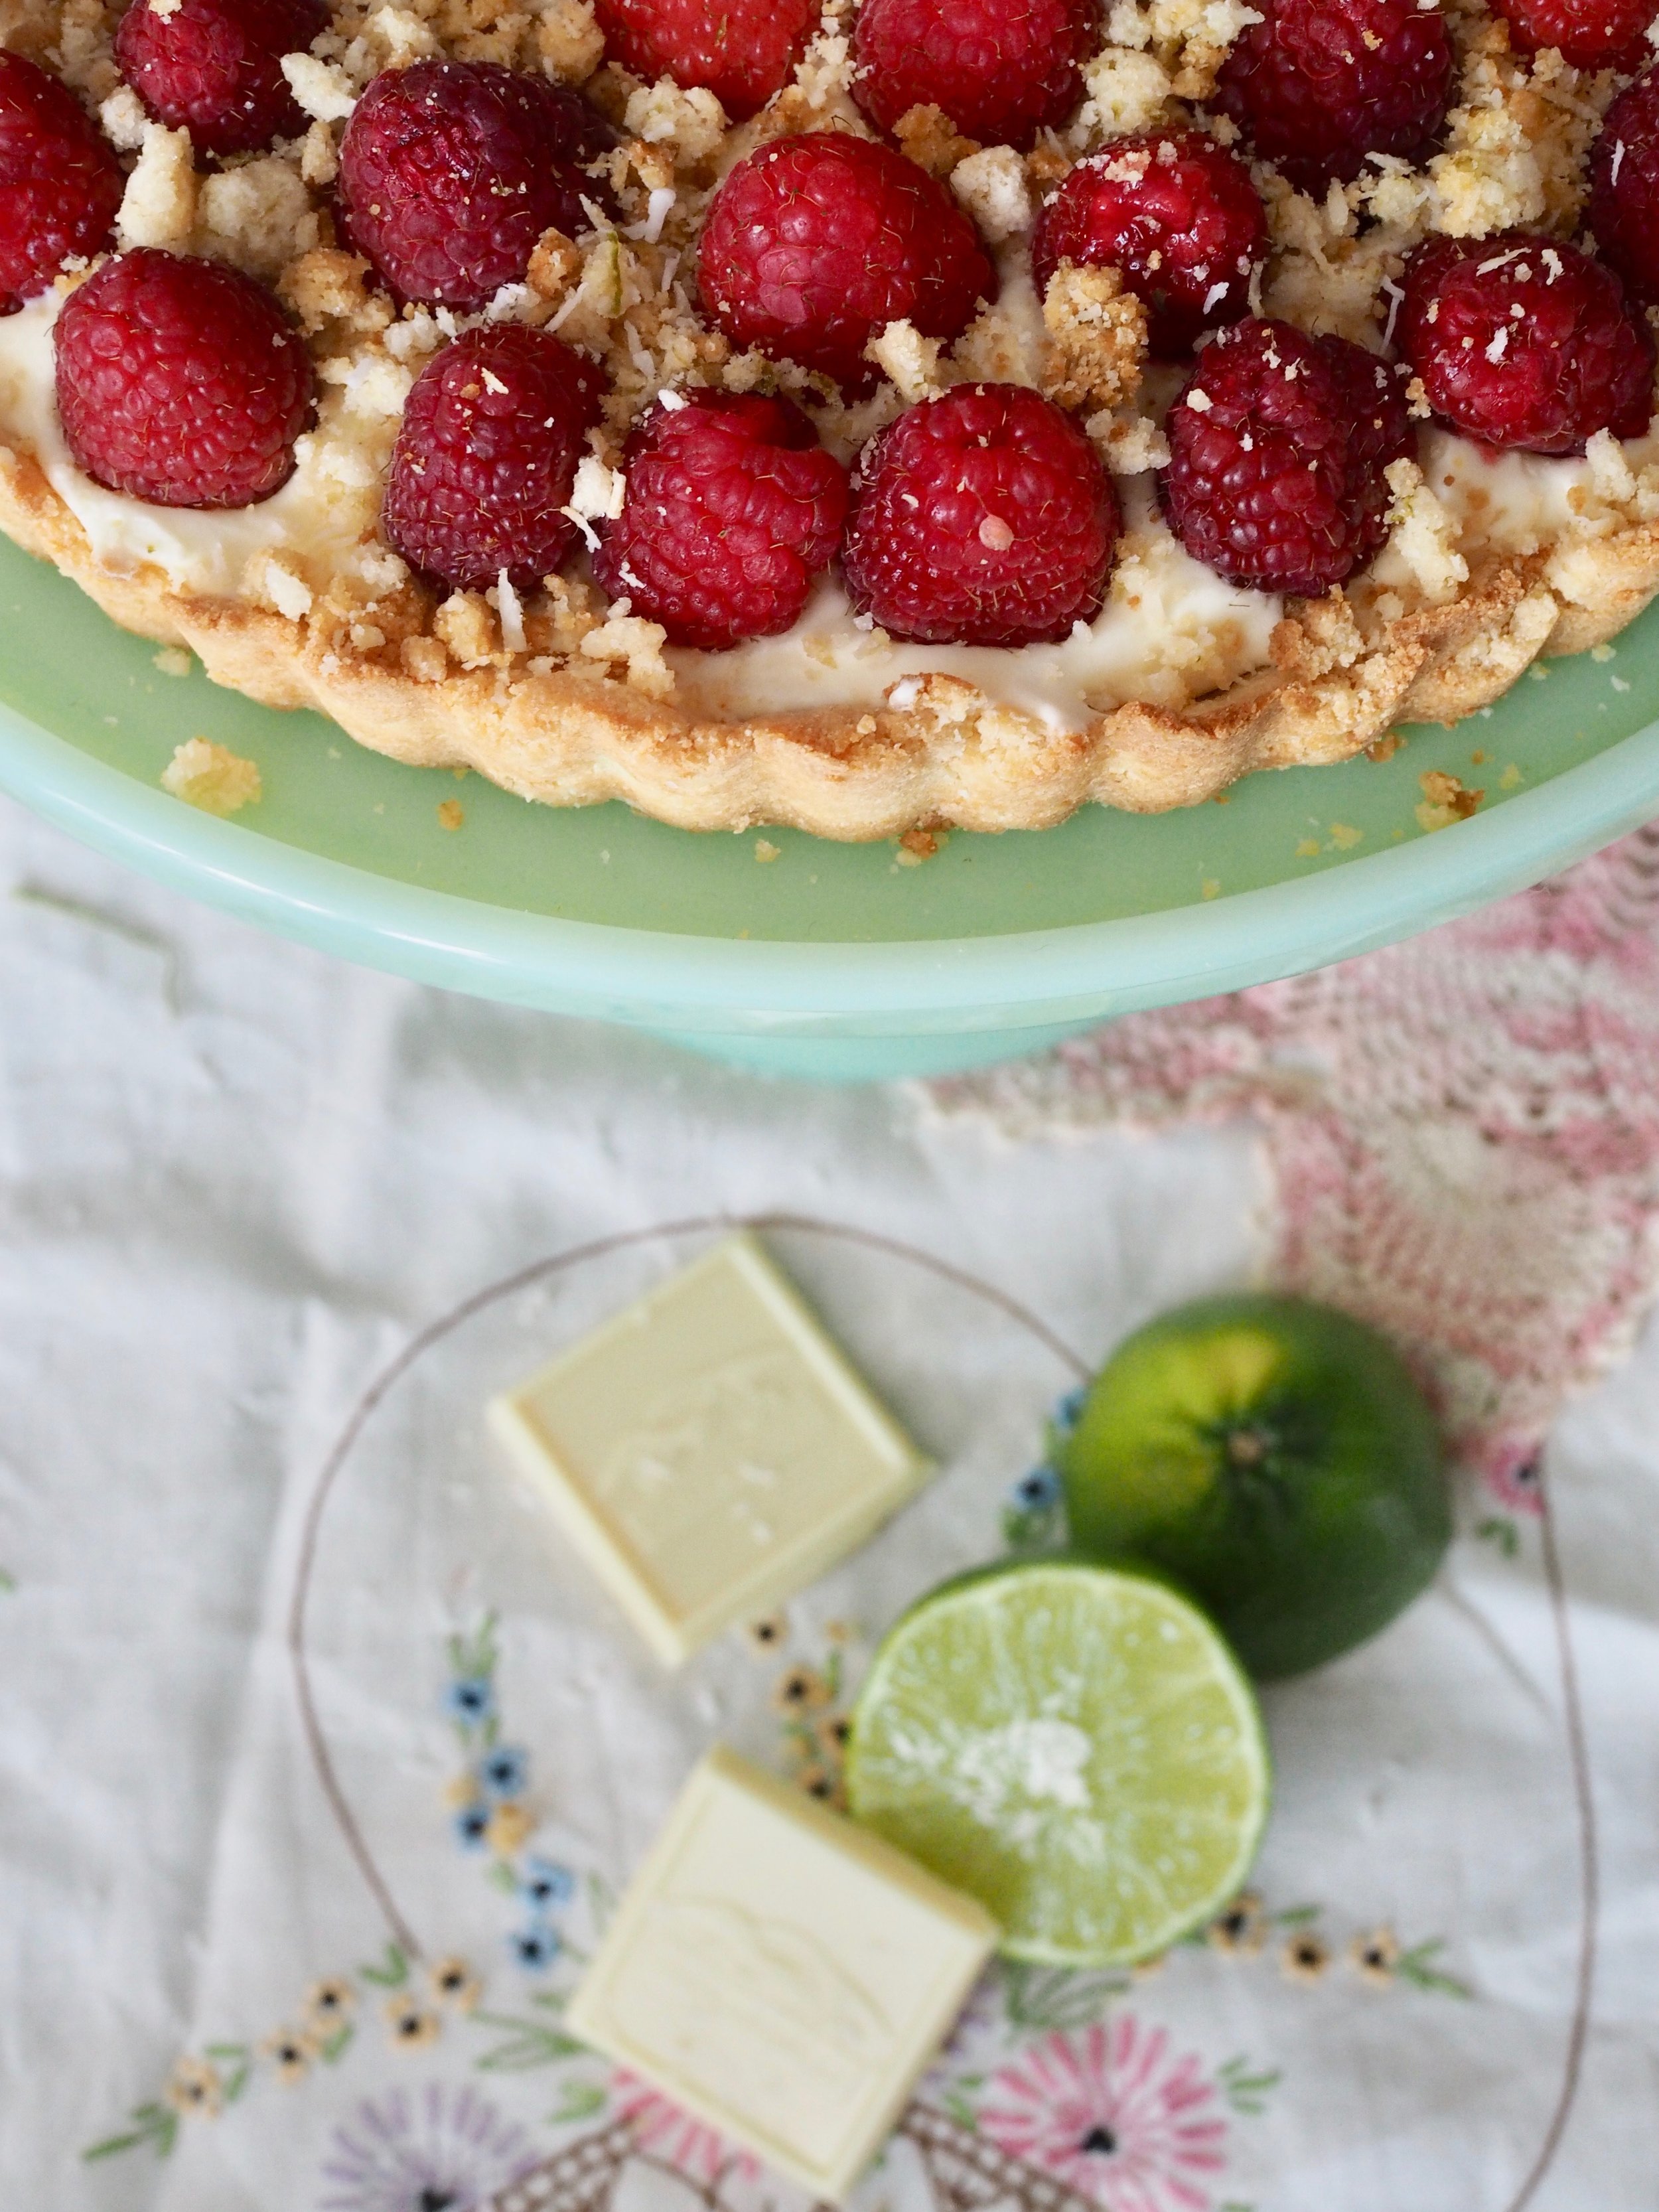
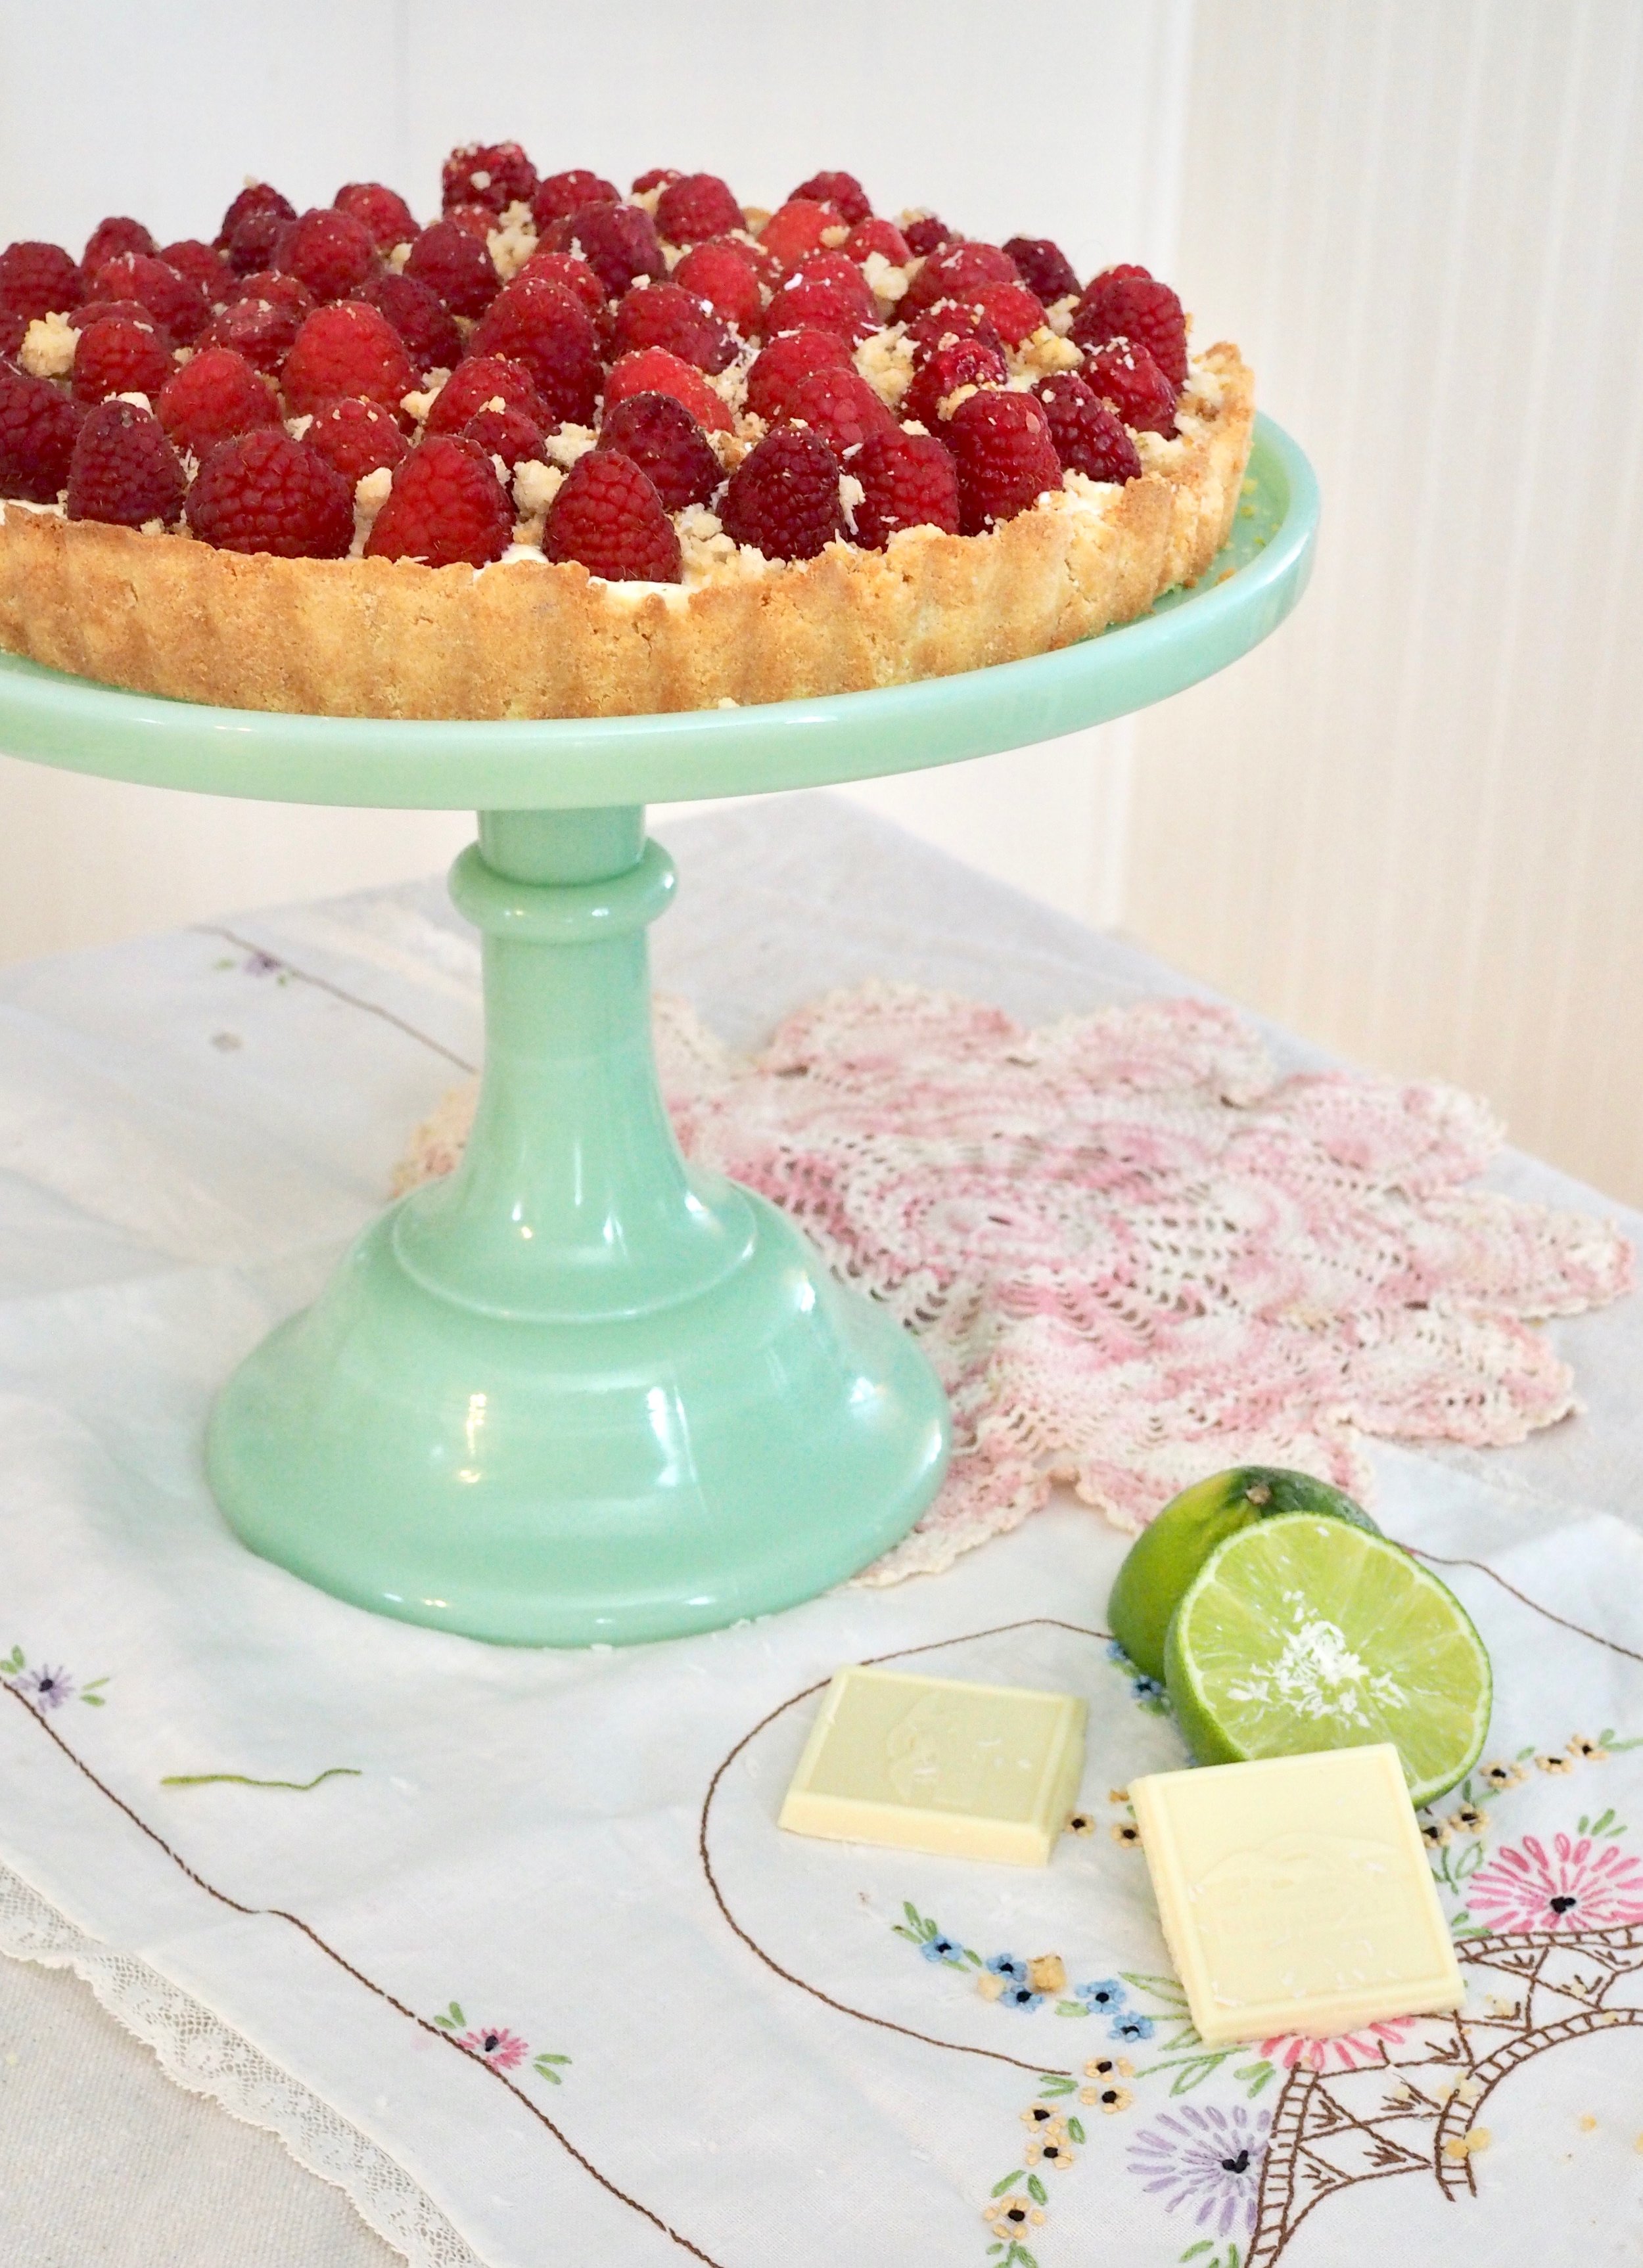
I use my annual National Pie Day potluck to expand my pie-making skills. Fueled by a desire to work with white chocolate, I came up with this show-stopping tart with a coconut flour crust, white chocolate mousse filling, and topped with fresh raspberries and a coconut lime streusel, which just happens to be gluten-free.

I'm not gluten-free myself, but I have many friends who are, and the pressed-into-the-pan crust used here is easy for a gluten-free beginner.  The coconut flour, with its subtle coconut flavor compliments the bright flavors of the lime and raspberries, even if you aren't gluten -free. 


White Chocolate Raspberry Tart with Coconut and Lime (Gluten Free)

Crust

  •  1/3 cup unsalted butter, melted
  • 2 eggs
  • 1/4 teaspoon sea salt
  • 3/4 cup coconut flour

Lime/Coconut Streusel

  •  1/2 cup coconut flour
  • 1/4 cup shredded, unsweetened coconut
  •  1/3 cup granulated sugar
  • 4 Tablespoons (1/2 stick) melted butter
  •  Zest and juice of one lime

White Chocolate Mousse

  • 7 ounces white chocolate, chopped into very small pieces
  • 2 egg yolks 
  • 2 tablespoons sugar 
  • 1 1/4 cup heavy cream 

Topping

·         12 oz Fresh Raspberries

Directions

Preheat oven to 320 Degree F.

Make crust. In a large mixing bowl, combine flour and salt. In a separate bowl, beat together eggs and melted butter. Combine wet and dry ingredients until a dough forms. Pat dough into a 9” greased pie or tart pan. Prick crust all over with a fork. 

Bake crust for 10 minutes, cover edges with foil and bake for another 10-15 minutes until golden brown. Remove crust from oven and cool completely before filling.

Make Streusel. Combine streusel ingredients, adding lime juice until mixture clumps nicely. Spread streusel on a lined cookie sheet and bake for 12-15 minutes, stirring occasionally, until evenly browned. Set aside.

Make Mousse. In a saucepan, whisk together 1/4 cup of the cream, eggs yolks and sugar. Cook over medium-low heat for 3-4 minutes, stirring constantly, until mixture is thick enough to coat the back of a spoon. Remove from heat and whisk in chopped chocolate. Strain through a sieve into a bowl and chill until cool.

Beat remaining cream until stiff peaks form. (If doing this by hand, chill your bowl, cream and whisk in the freezer before you start).  Stir half the cream into the chocolate mixture, then gently fold the remaining whipped cream in.

Scoop mousse into completely cooled pie crust, cover, and chill at least thirty minutes and up to overnight.

Bring pie out approximately 30 minutes prior to serving. Line top of pie with fresh raspberries and sprinkle  streusel on generously (you will use about half the streusel – use the rest to top yogurt, pancakes, etc.) Top pie with grated white chocolate (optional). Serve at room temperature.

To print, see button at bottom of post.

White Chocolate Raspberry Pie v2.png

White Chocolate Raspberry Tart with Coconut and Lime (Gluten Free)

Serves 8 Ingredients: 1/3 cup unsalted butter, melted 2 eggs 1/4 tsp sea salt 1 1/4 cup coconut flour 1/4 cup shredded unsweetened coconut 1/3 cup granulated sugar 4 tablespoons salted butter, melted lime 7 oz white chocolate 2 egg yolks 1 1/4 cup heavy creams 12 oz fresh raspberries
Print Friendly and PDF Follow
follow us in feedly

No Chill, No Spread, Cut Out Cookies

No chill no spread cut out cookies

A confession. I've never liked sugar cookies.

I don't know what recipe my mom used, I seem to recall it had lemon extract in it, but while I found the decorating fun, I never actually wanted to eat the cookies we made around holiday time. It was all too sweet, too artificial tasting. 

Now, as a mom myself, I wanted to share the fun of Christmas Cookie decorating with Little Miss Cleaver, but I wanted a cookie base that actually tasted good. 

This is third year these cookies have been in holiday rotation and in my book, this recipe is a winner. It's almost halfway between a sugar cookie and shortbread in taste, no weird lemon falvor and I'm happy to eat them plain if the kid poops out on decorating (not likely this year).

The biggest hassle of them is that it makes a TON of cookies - 4-5 dozen depending on your cutter (we fill five 13"x 18" half-sheets), so I've included a half batch recipe below as well.

As for frosting, I whisk up a batch of the world's easiest frosting, which once you've made it once, you'll never have to look at the recipe again. 

To print, select button at bottom of post.

Cut Out Cookies - Full Batch (makes 48-60 cookies)

  • 1 cup (2 sticks) unsalted butter, chilled and cut into small cubes

  • 1 cup granulated sugar

  • 3/4 tsp kosher salt

  • 2 large eggs

  • 1 teaspoon vanilla

  • 4 cups all-purpose flour

  • 3/4 cup cornstarch

Cut Out Cookies - Half Batch (makes 24-30 cookies)

  • 1/2 cup (1 stick) unsalted butter, chilled and cut into small cubes

  • 1/2 cup granulated sugar

  • slightly less than 1/2 tsp kosher salt

  • 1 large egg

  • 1/2 teaspoon vanilla

  • 2 cups all-purpose flour

  • 6 Tablespoons cornstarch

Preheat oven to 375 Degrees Fahrenheit.

Using a stand mixer or wooden spoon, cream together cold butter and sugar until it reaches an even consistency (Tip: if using a spoon, use the spoon end to pound the butter into the sugar until it starts to look like coarse sand before attempting to stir). 

Add eggs one by one, until mixed in completely. Stir in vanilla. 

Add flour, salt and cornstarch and mix until dough starts to form a ball. (Tip: If working by hand, it may help to kind of knead the dough together with your hands).  

Working with about 1/4 to 1/2 of the dough at a time, roll out the dough to an even thickness of 1/4 inch. Cut out shapes and place on a parchment-lined cookie sheet, placing shapes with narrow parts in the center of the sheet .

Bake for approximately 11 minutes or until edges turn slightly brown. 

Cool on a wire rack completely before frosting. 

Easy Frosting

  • 2-3 Cups powdered sugar

  • About 5 tablespoons water

  • Food coloring

In a large bowl, add water to sugar a little bit at a time and whisk together until frosting reaches desired consistency. For ease of frosting, you'll want it to start to pull off the whisk in a slow thick line, rather than sticking completely or dripping off.

If desired, section out some of the frosting into a separate bowls and add food coloring drop by drop until desired color is achieved. 

Using a spatula, transfer frosting to a pastry bag fitted with a decorating tip. Twist pastry bag shut or tie with a twisty-tie to seal and decorate away! 

(And before anyone asks, the sweater cookie cutter came from this kit that I got at Christmas Tree Shops, the other cutters are from Le Roux Kitchen)

Cookie recipe adapted from https://bakingamoment.com/how-to-bake-easy-and-delicious-cutout-cookies-with-neat-edges/ 

2017-12-10 09.26.24.jpg

Print Friendly and PDF Follow
follow us in feedly

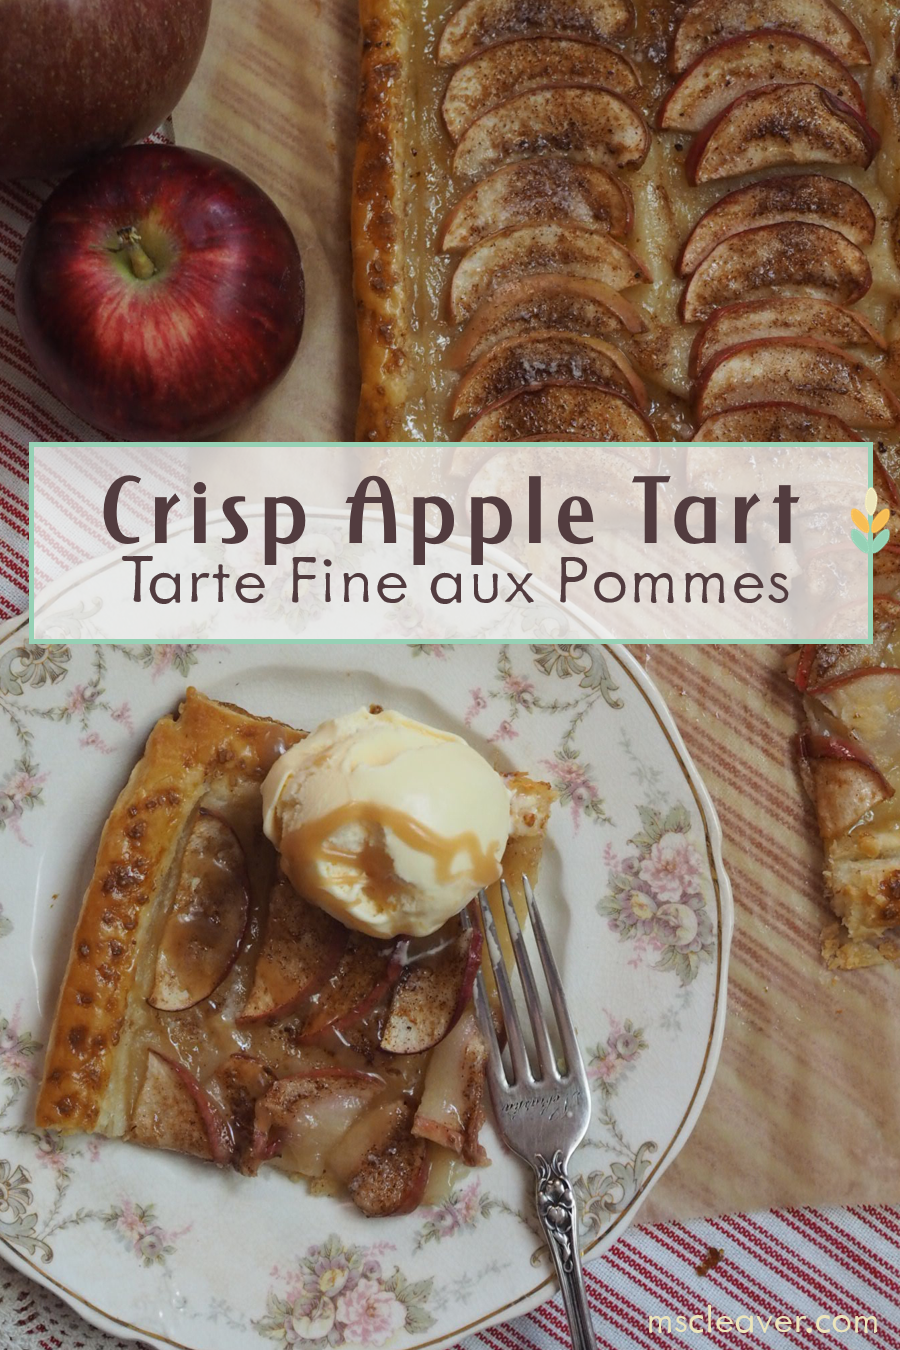
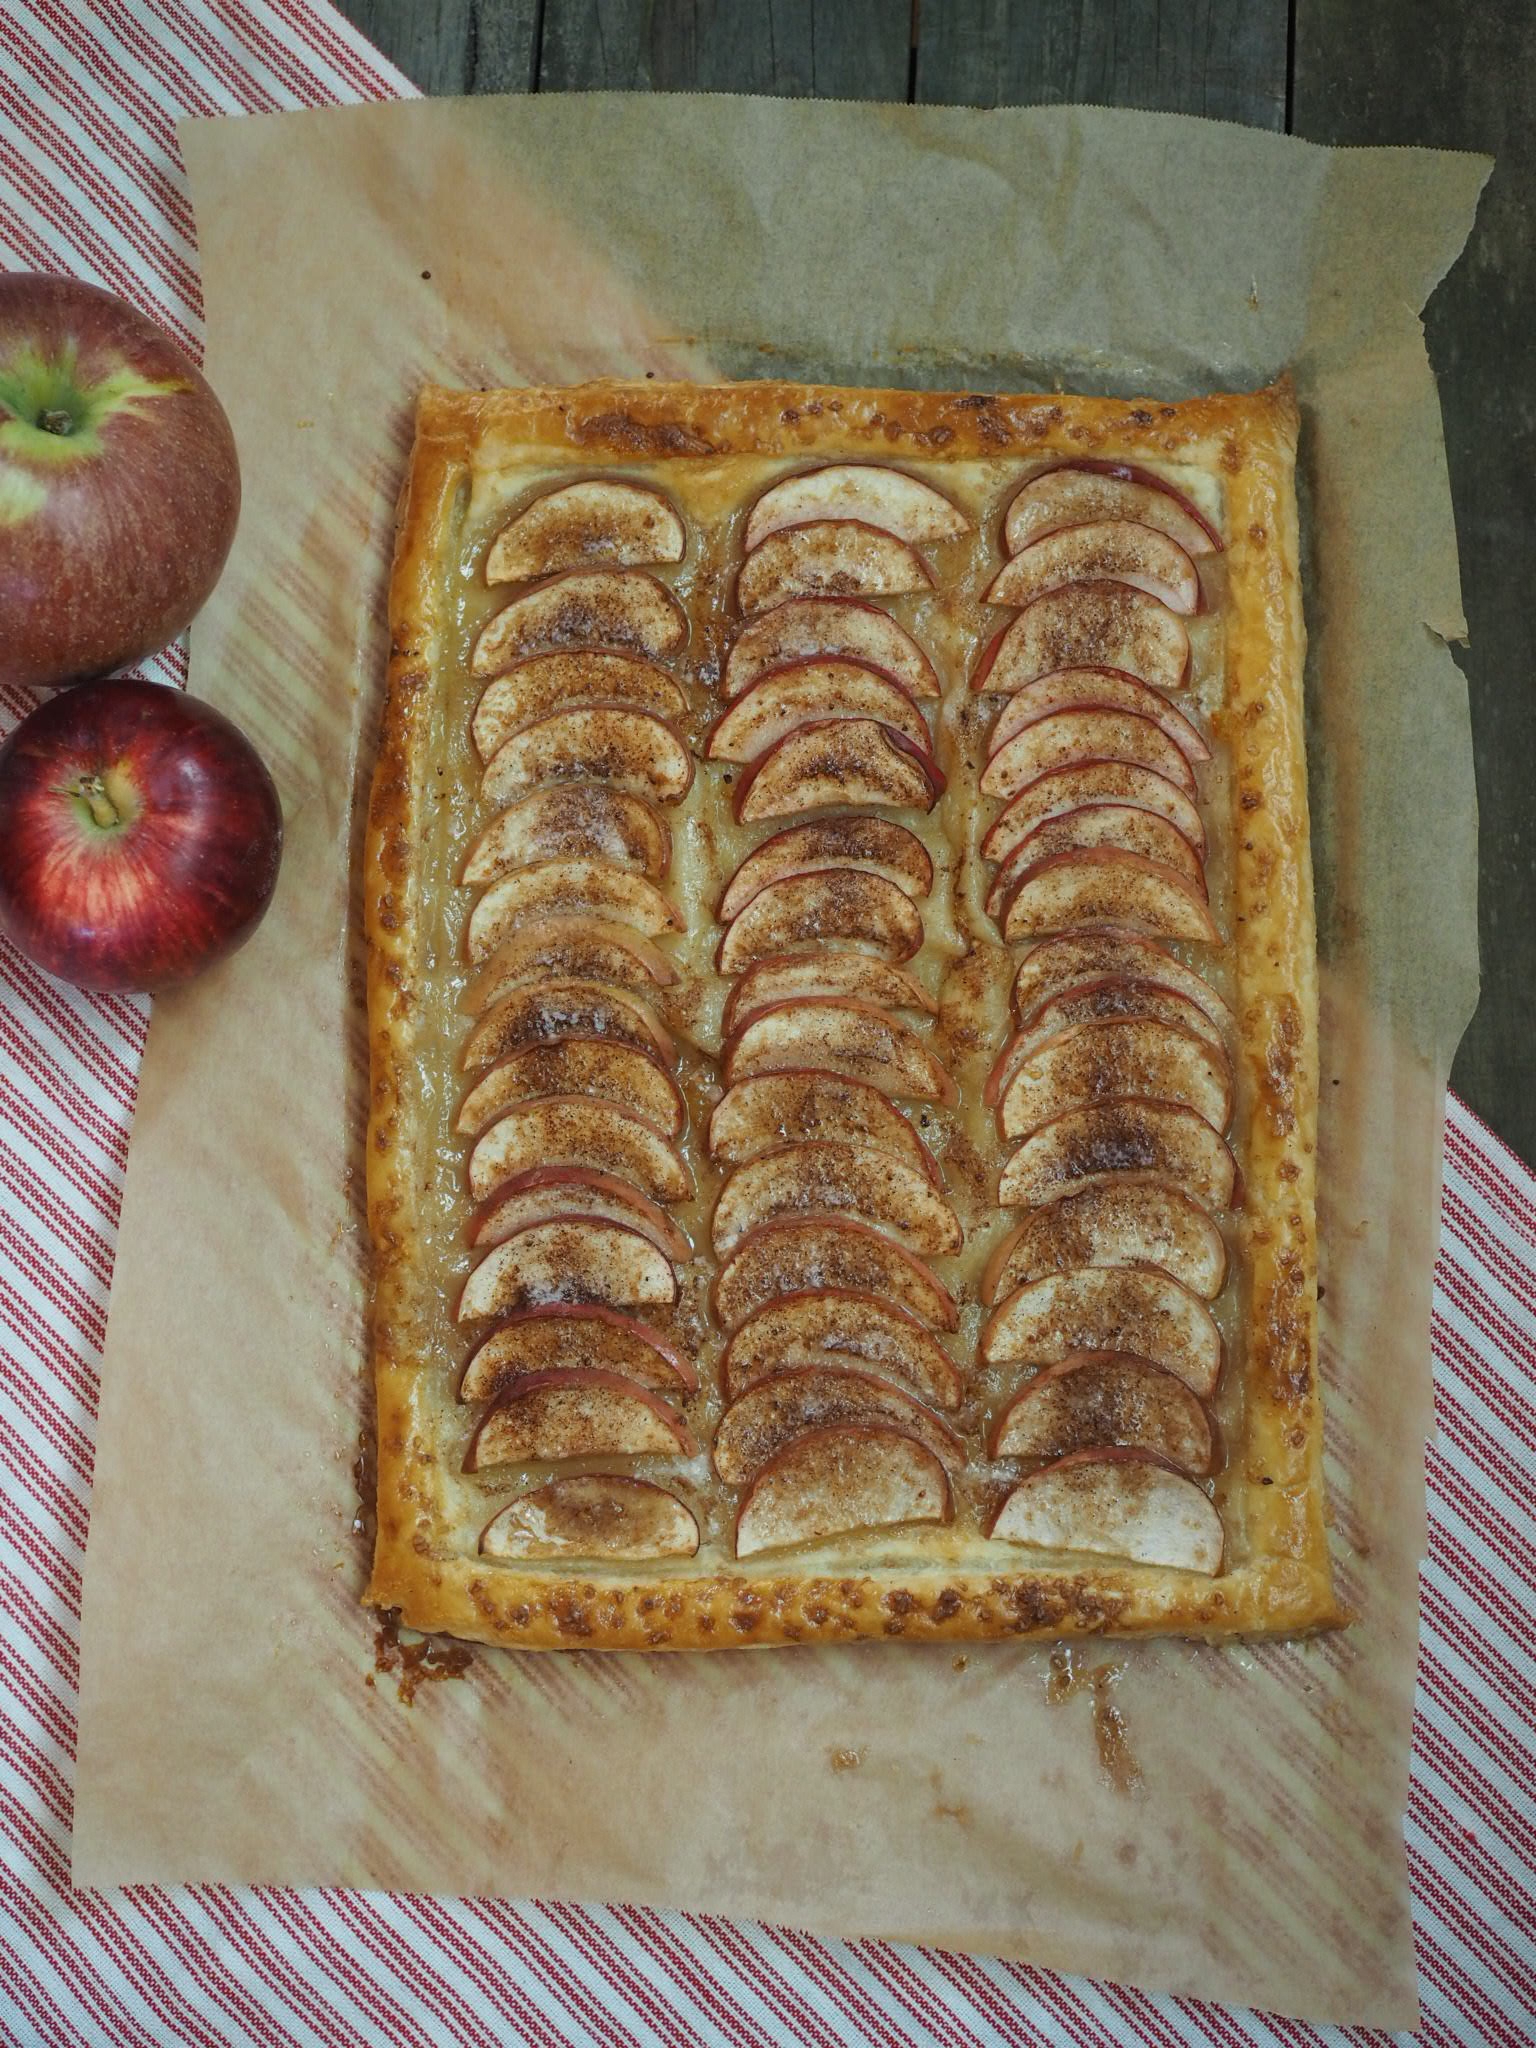
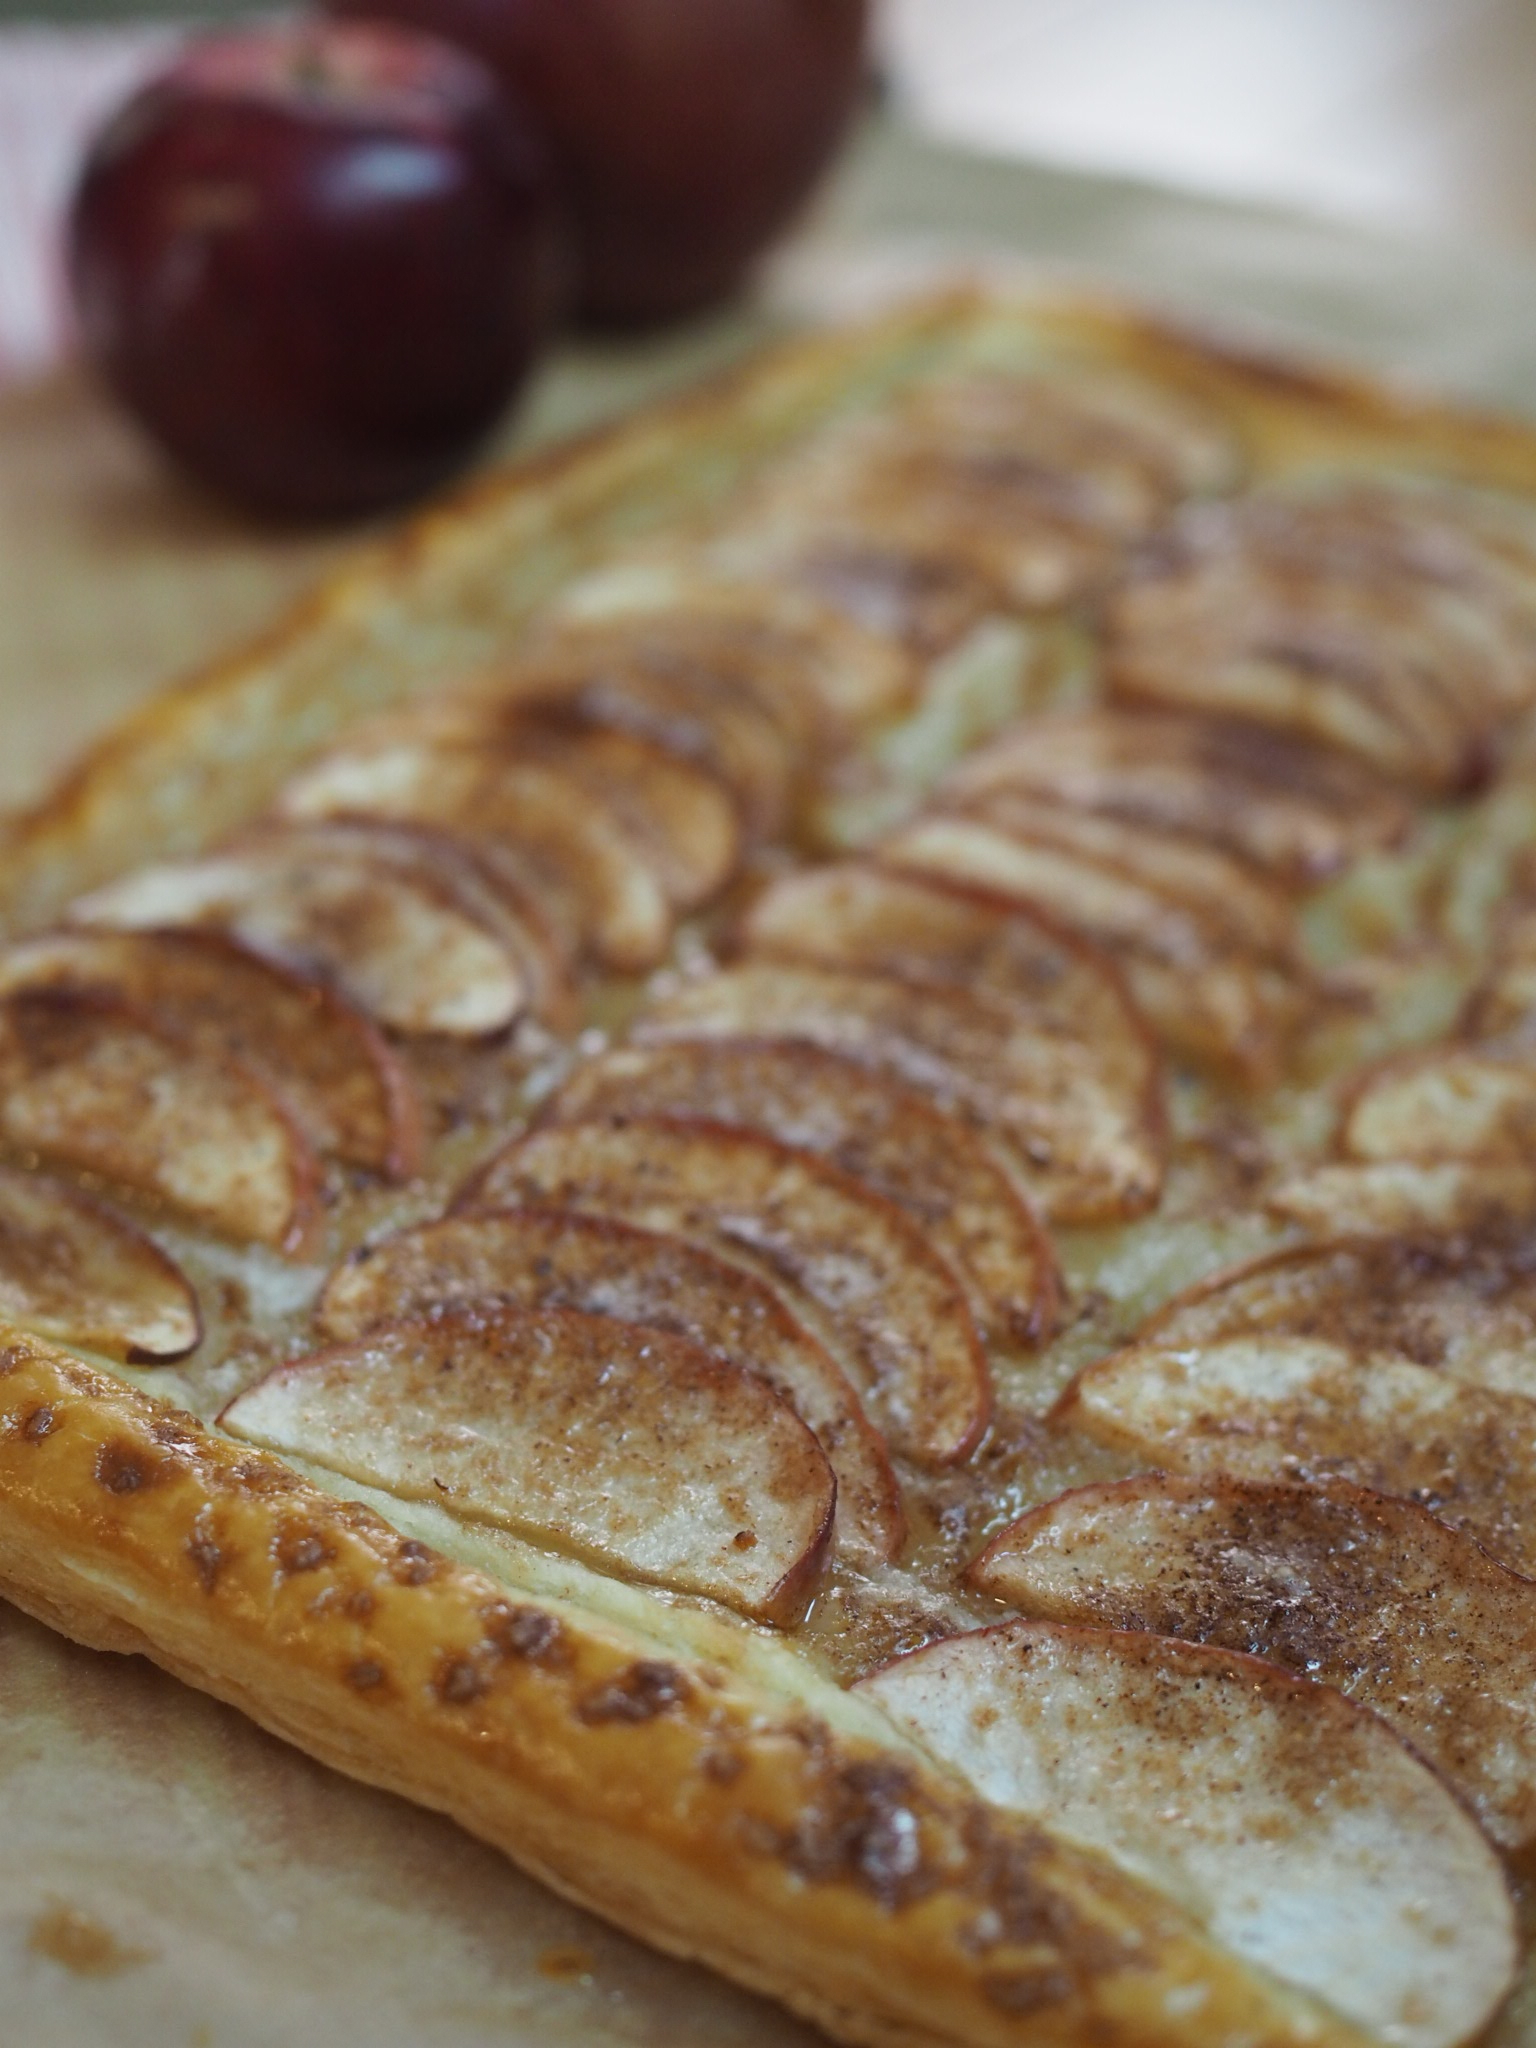
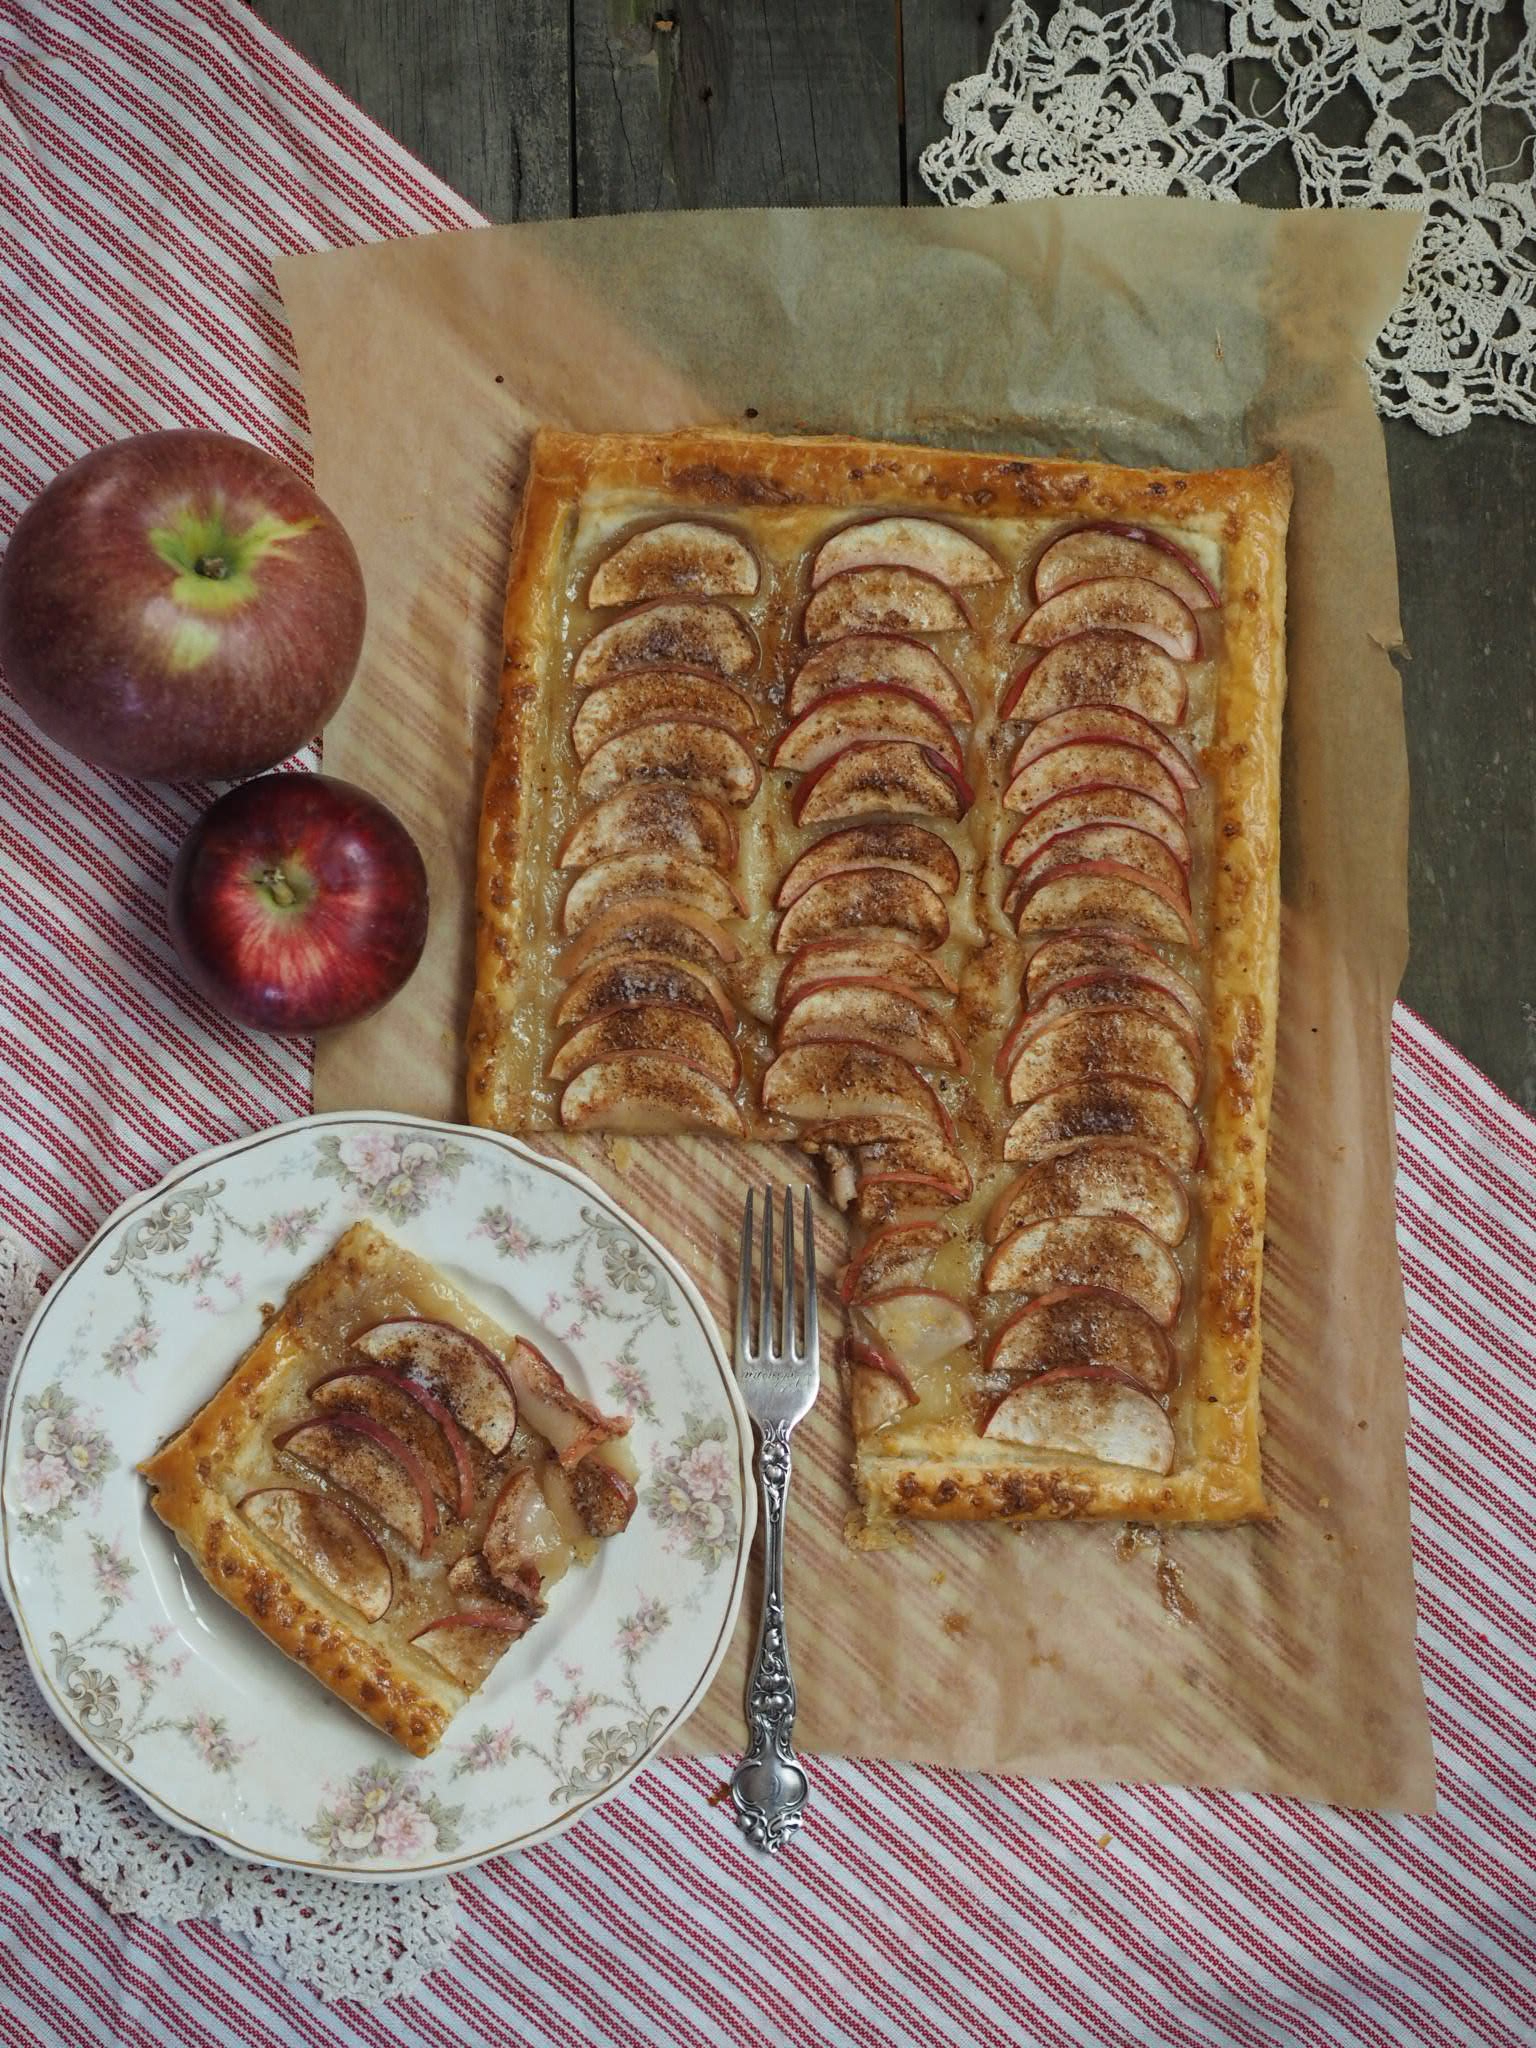
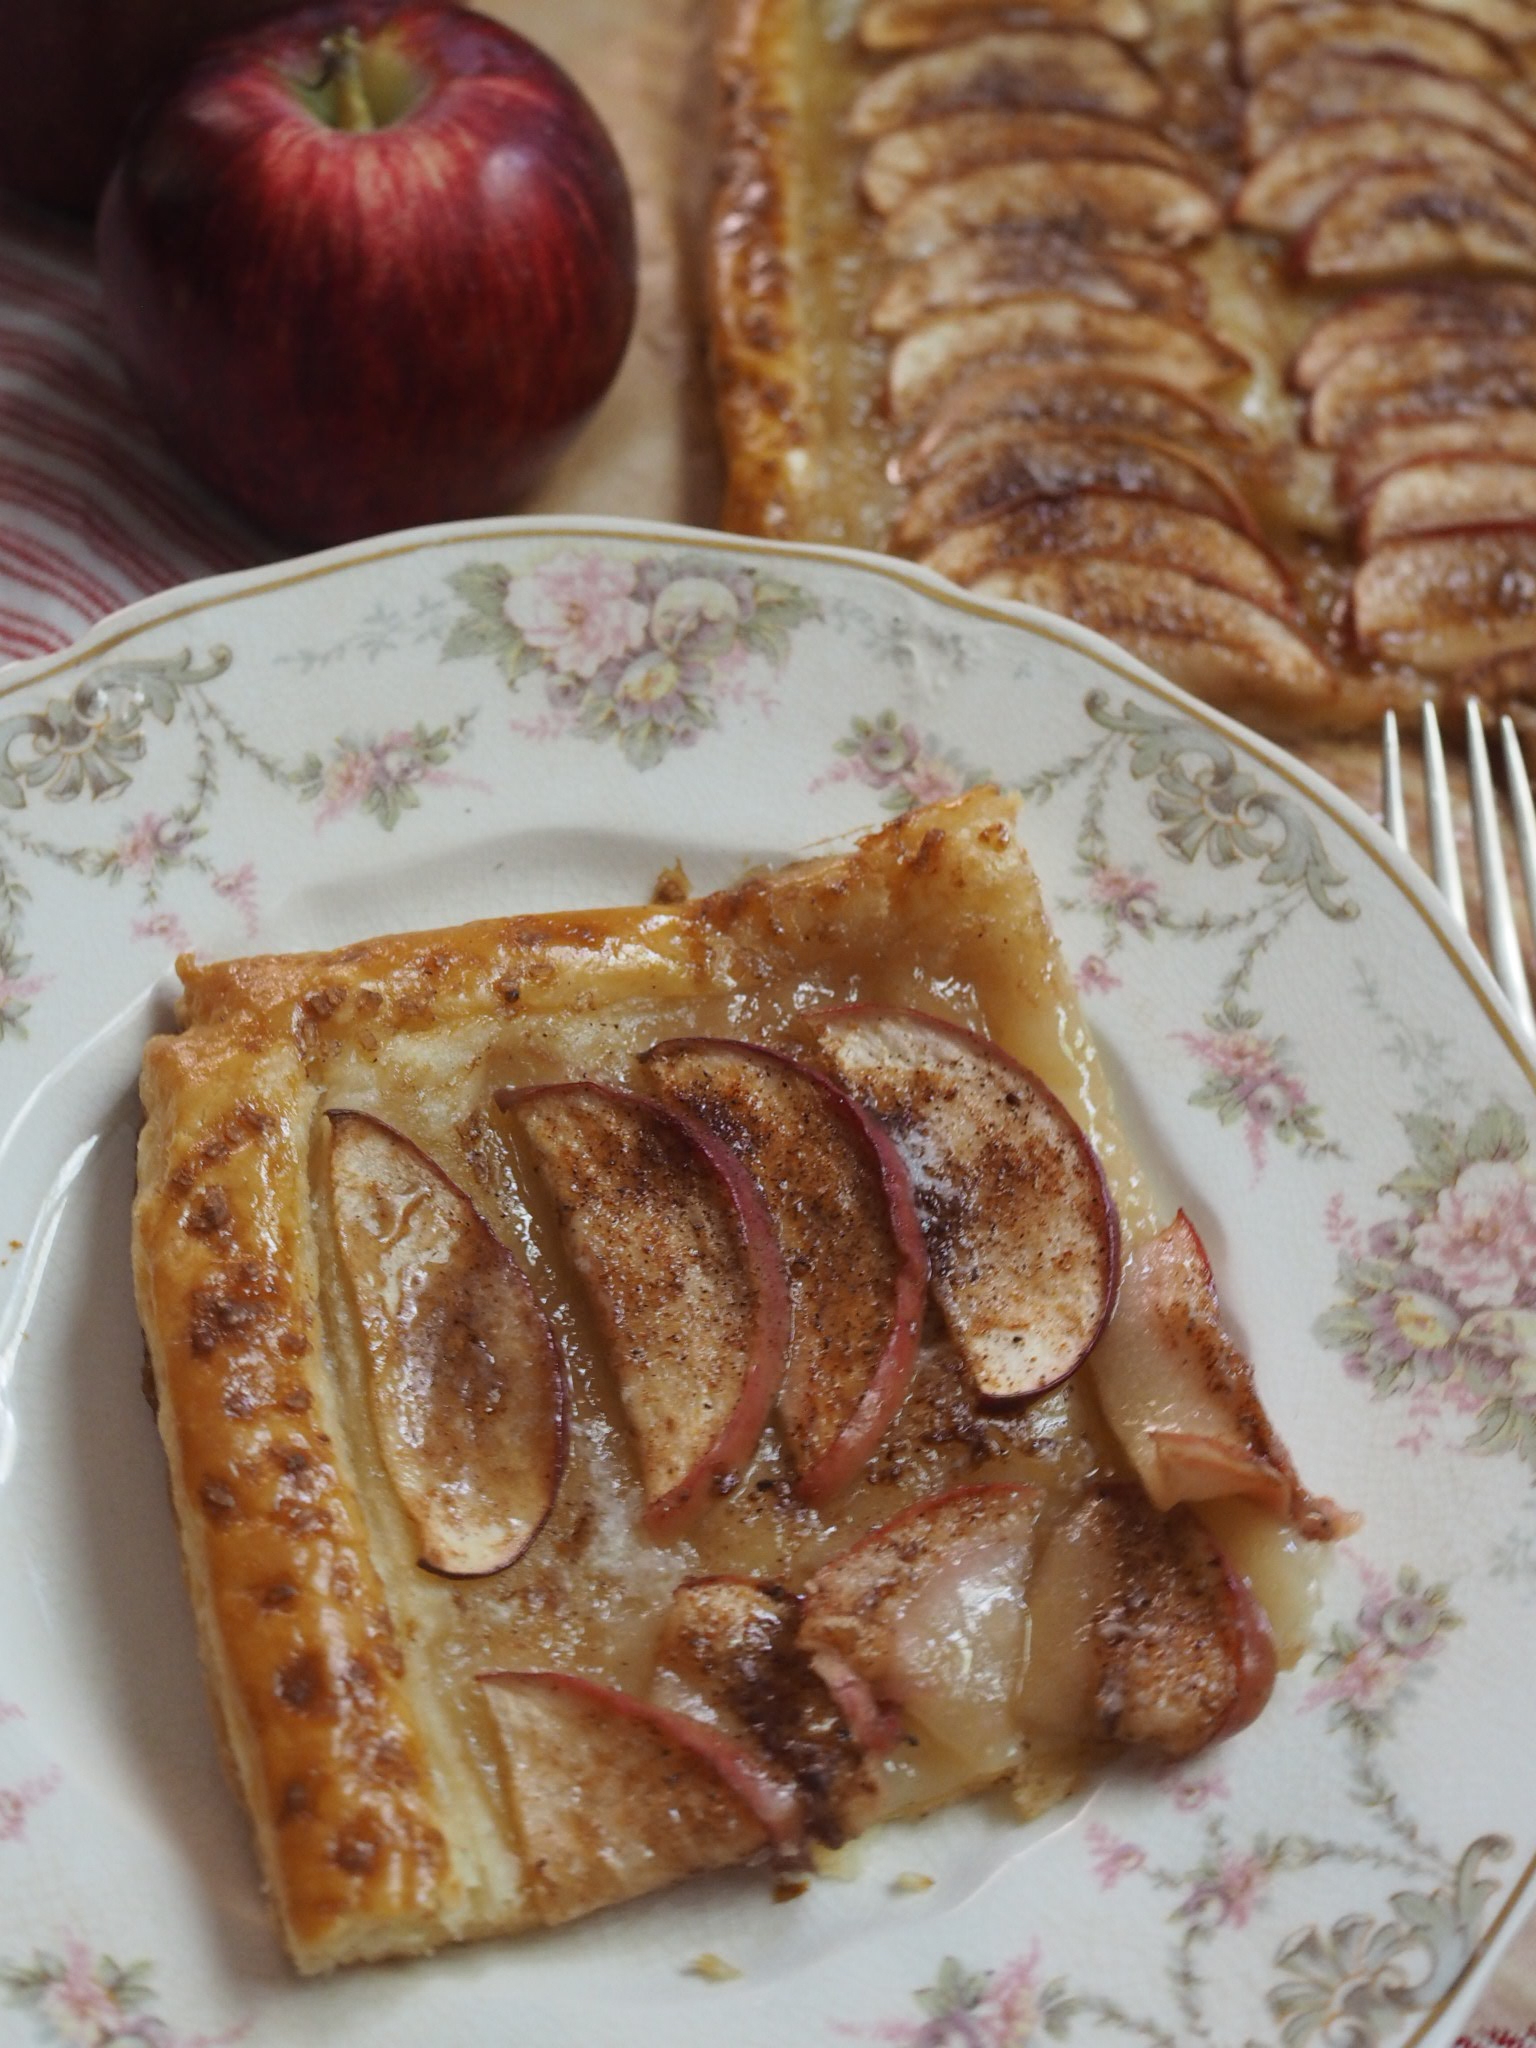
Crisp Apple Tart (Tarte Fine aux Pommes) Recipe

Tarte Fine aux Pommes.png

Ever since my trip to Quebec, I have been obsessed with puff pastry. That, and all the seasons of the Great British Bake Off, I've been watching. 

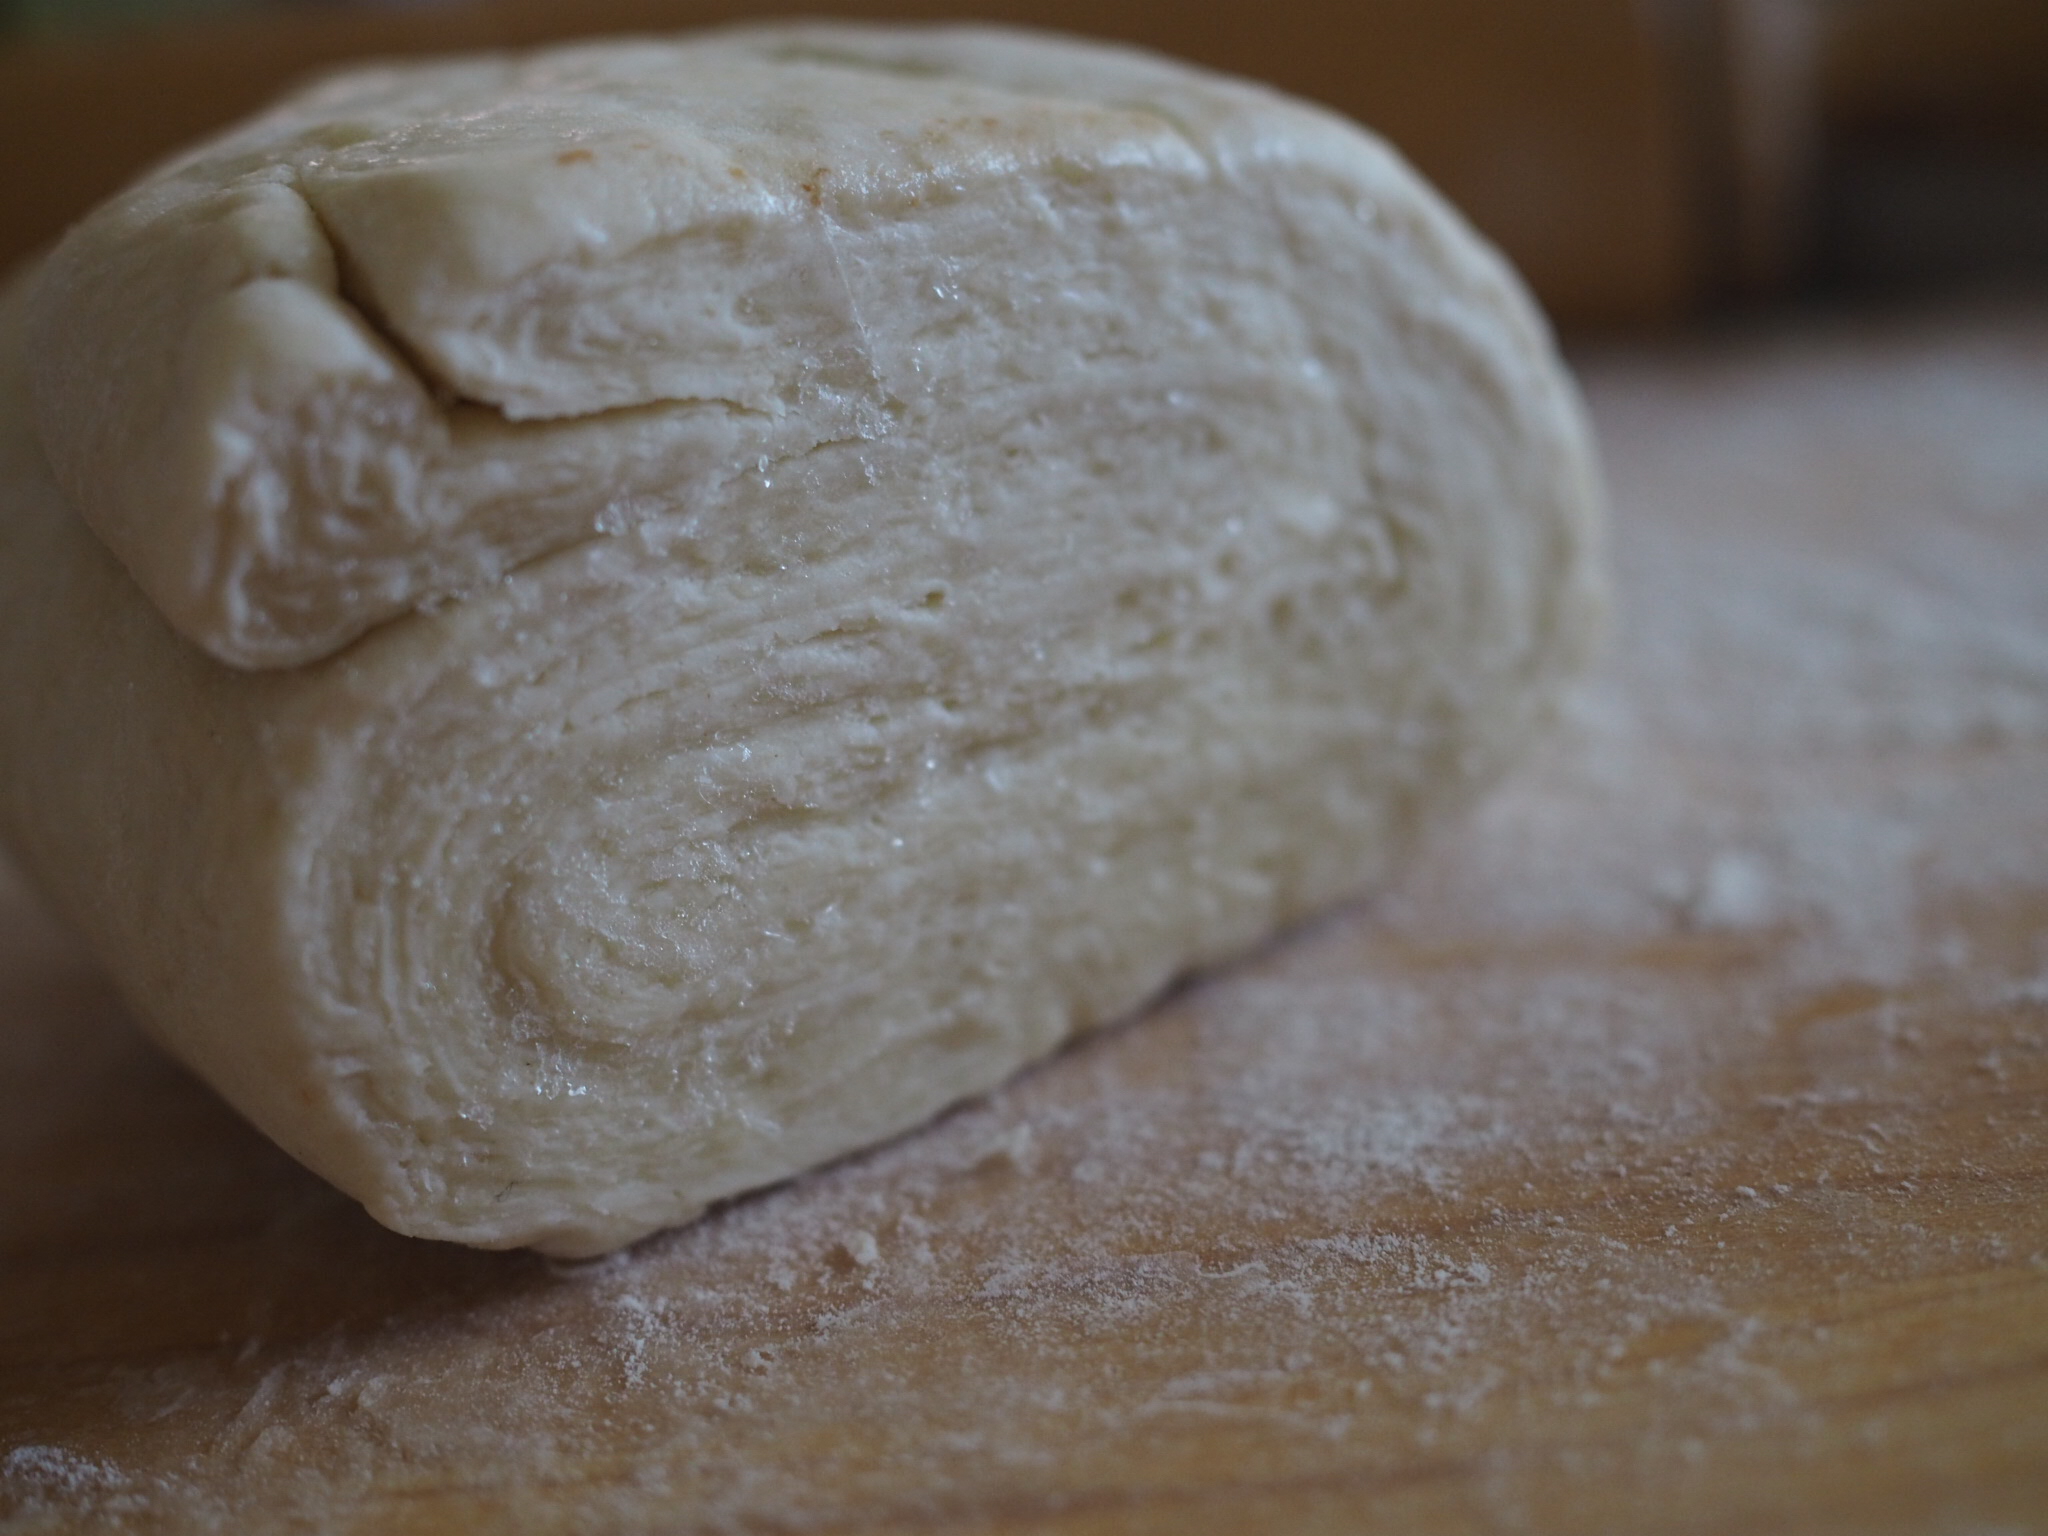
Well, rough puff pastry. I'd like to give full-on puff pastry a try but a) time and b) the pounding sounds to flatten the butter would drive my dog nuts. So to avoid extended periods of dog barking, I've turned to an easier version that uses grated frozen butter to avoid all the pounding. 

But full, rough, or store bought, puff pastry (or pâte feuilletée if you're feeling French) makes an excellent bae for this deceptively elegant, yet simple traditional crisp tart (or tarte fine). I'd suggest making the puff pastry the day before, then assembling the tart takes only 15 minutes or so. I daresay, it's easier than pie.

"Rough" Puff Pastry

  • 260 grams salted butter (about 2 1/2 sticks), grated
  • 350 grams all-purpose flour (about 2 1/4 cups)
  • 1 tsp salt
  • 1/2-2/3 cup of cold water

Freeze butter and grate. This is easiest if you have a food processor or a rotary grater, but can be done by hand. Place grated butter and measured flour in freezer for at least an hour.

When butter and flour are sufficiently cold,  mix together flour, salt, and 60g of the butter together with your fingers. Add water until dough just holds together, but is not sticky or wet.  The dough will be firm. Turn out onto a lightly floured surface and knead until dough feels like it's holding together well, about 1 minute. Rest dough in fridge for about 5 minutes while you prepare for next step. If you work quickly, you can do the following in one go. If the dough and particularly the butter, starts to get too warm and easy to work stop and chill in the freezer for a few minutes before continuing. 

  1. On a lightly floured surface, roll dough into a long rectangle. Sprinkle half the remaining butter on 2/3rd of the dough. Fold the rectangle in thirds, starting with the un-buttered third. 
  2. Turn the dough 90 degrees ( so the open ends are facing the side) and repeat step 1. 
  3.  Turn the dough 90 degrees and repeat folds (without the butter) as in step 1. Repeat turn/roll/fold 2 more times.
  4. Cut dough in half, wrap each half secruly in plastic wrap and store in fridge overnight. If you're making tart in less than an hour, or are planning to not use the dough for more than a day, store in the freezer and thaw in the fridge prior to use. 

Crisp Apple Tart/Tarte Fine aux Pommes

Serves 6

  • 1/2 of rough puff pastry recipe (above), or 1 sheet frozen pre-made pastry, thawed.
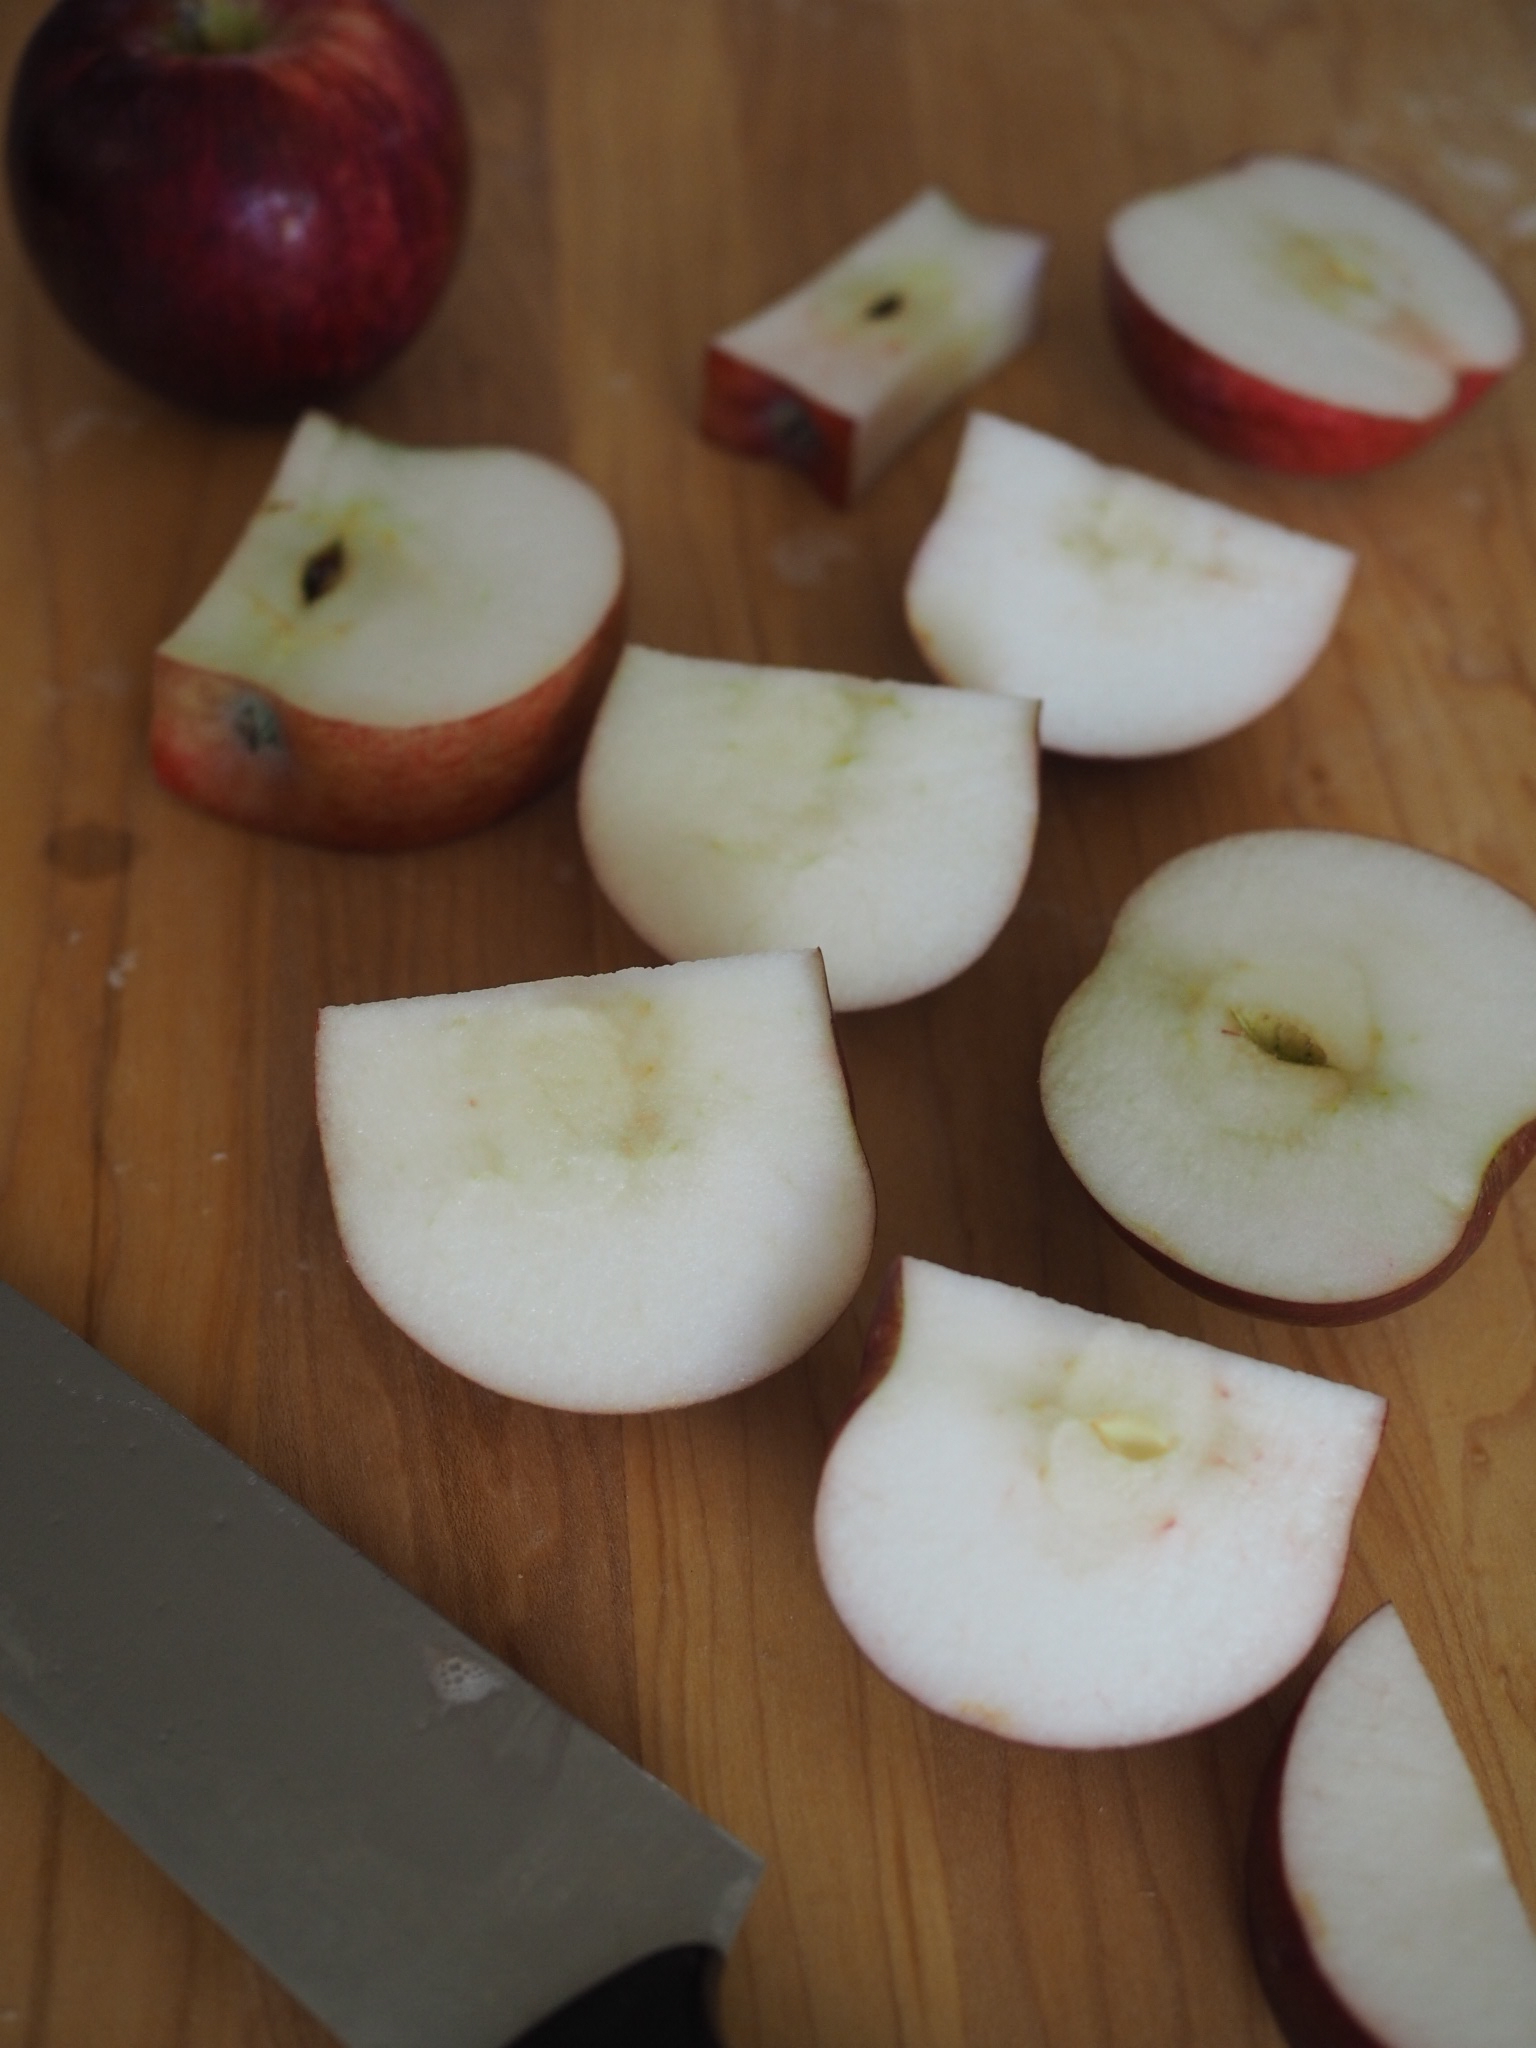
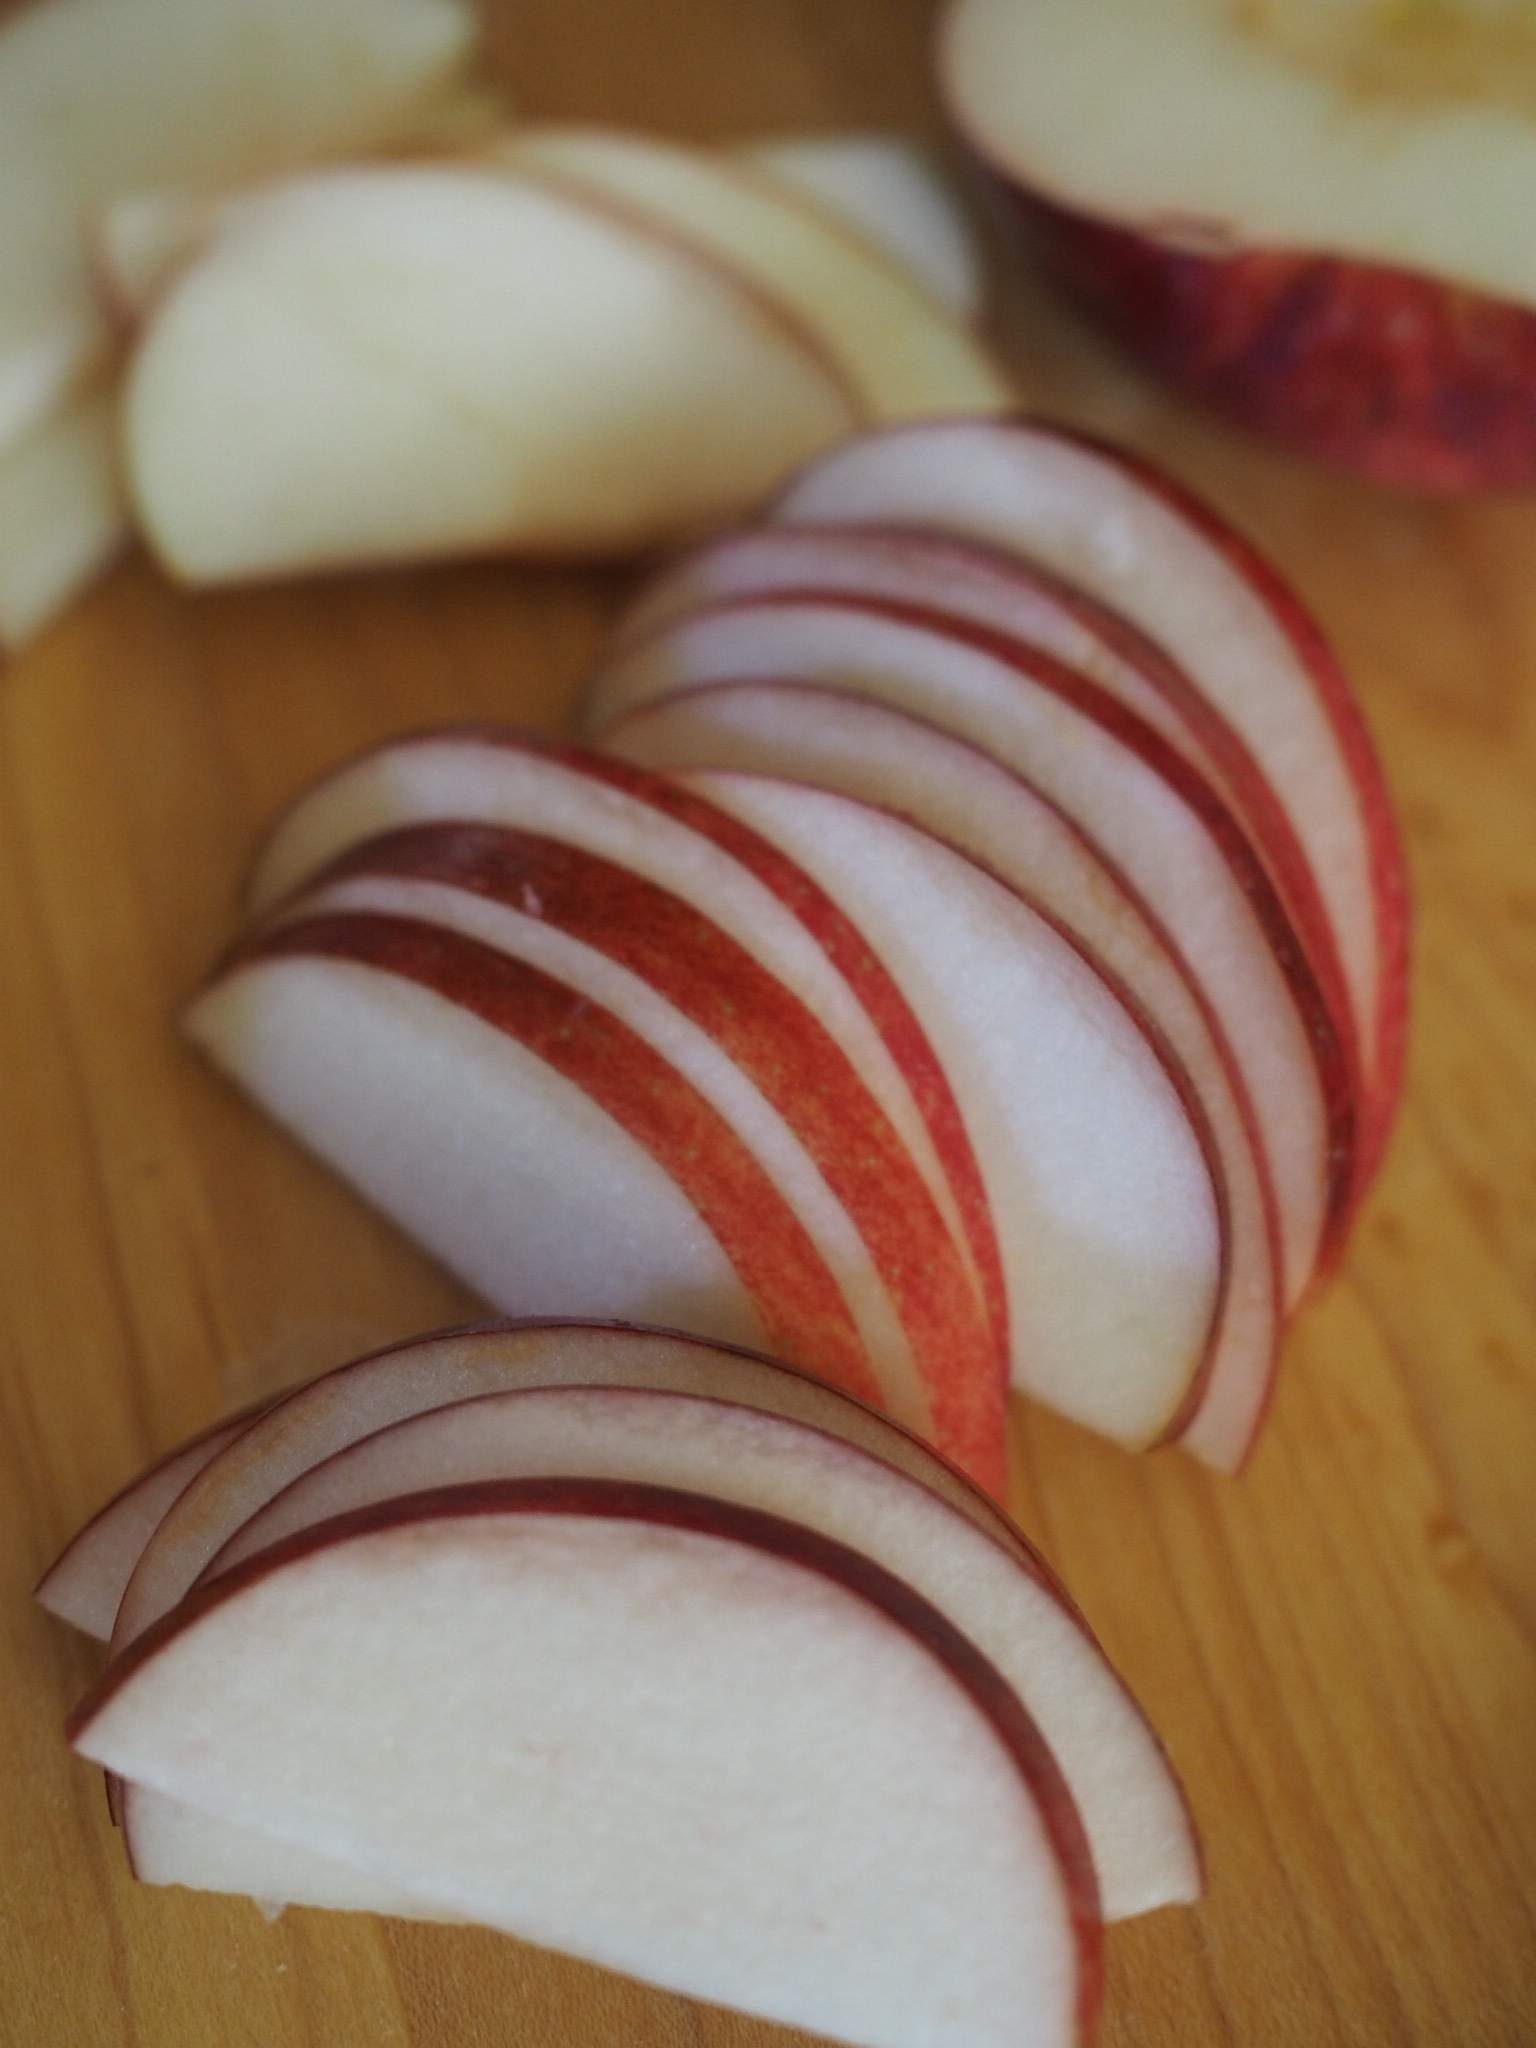
  • 2 medium apples, with peels, sliced thin
  • 1 egg
  • 2 Tablespoons orange marmalade, apricot jelly, or apple jelly
  • 2 Tablespoons Demera (raw) sugar (can subsititute granulated sugar, if desired)
  • 1/4 teaspoon cinnamon
  • Freshly grated nutmeg
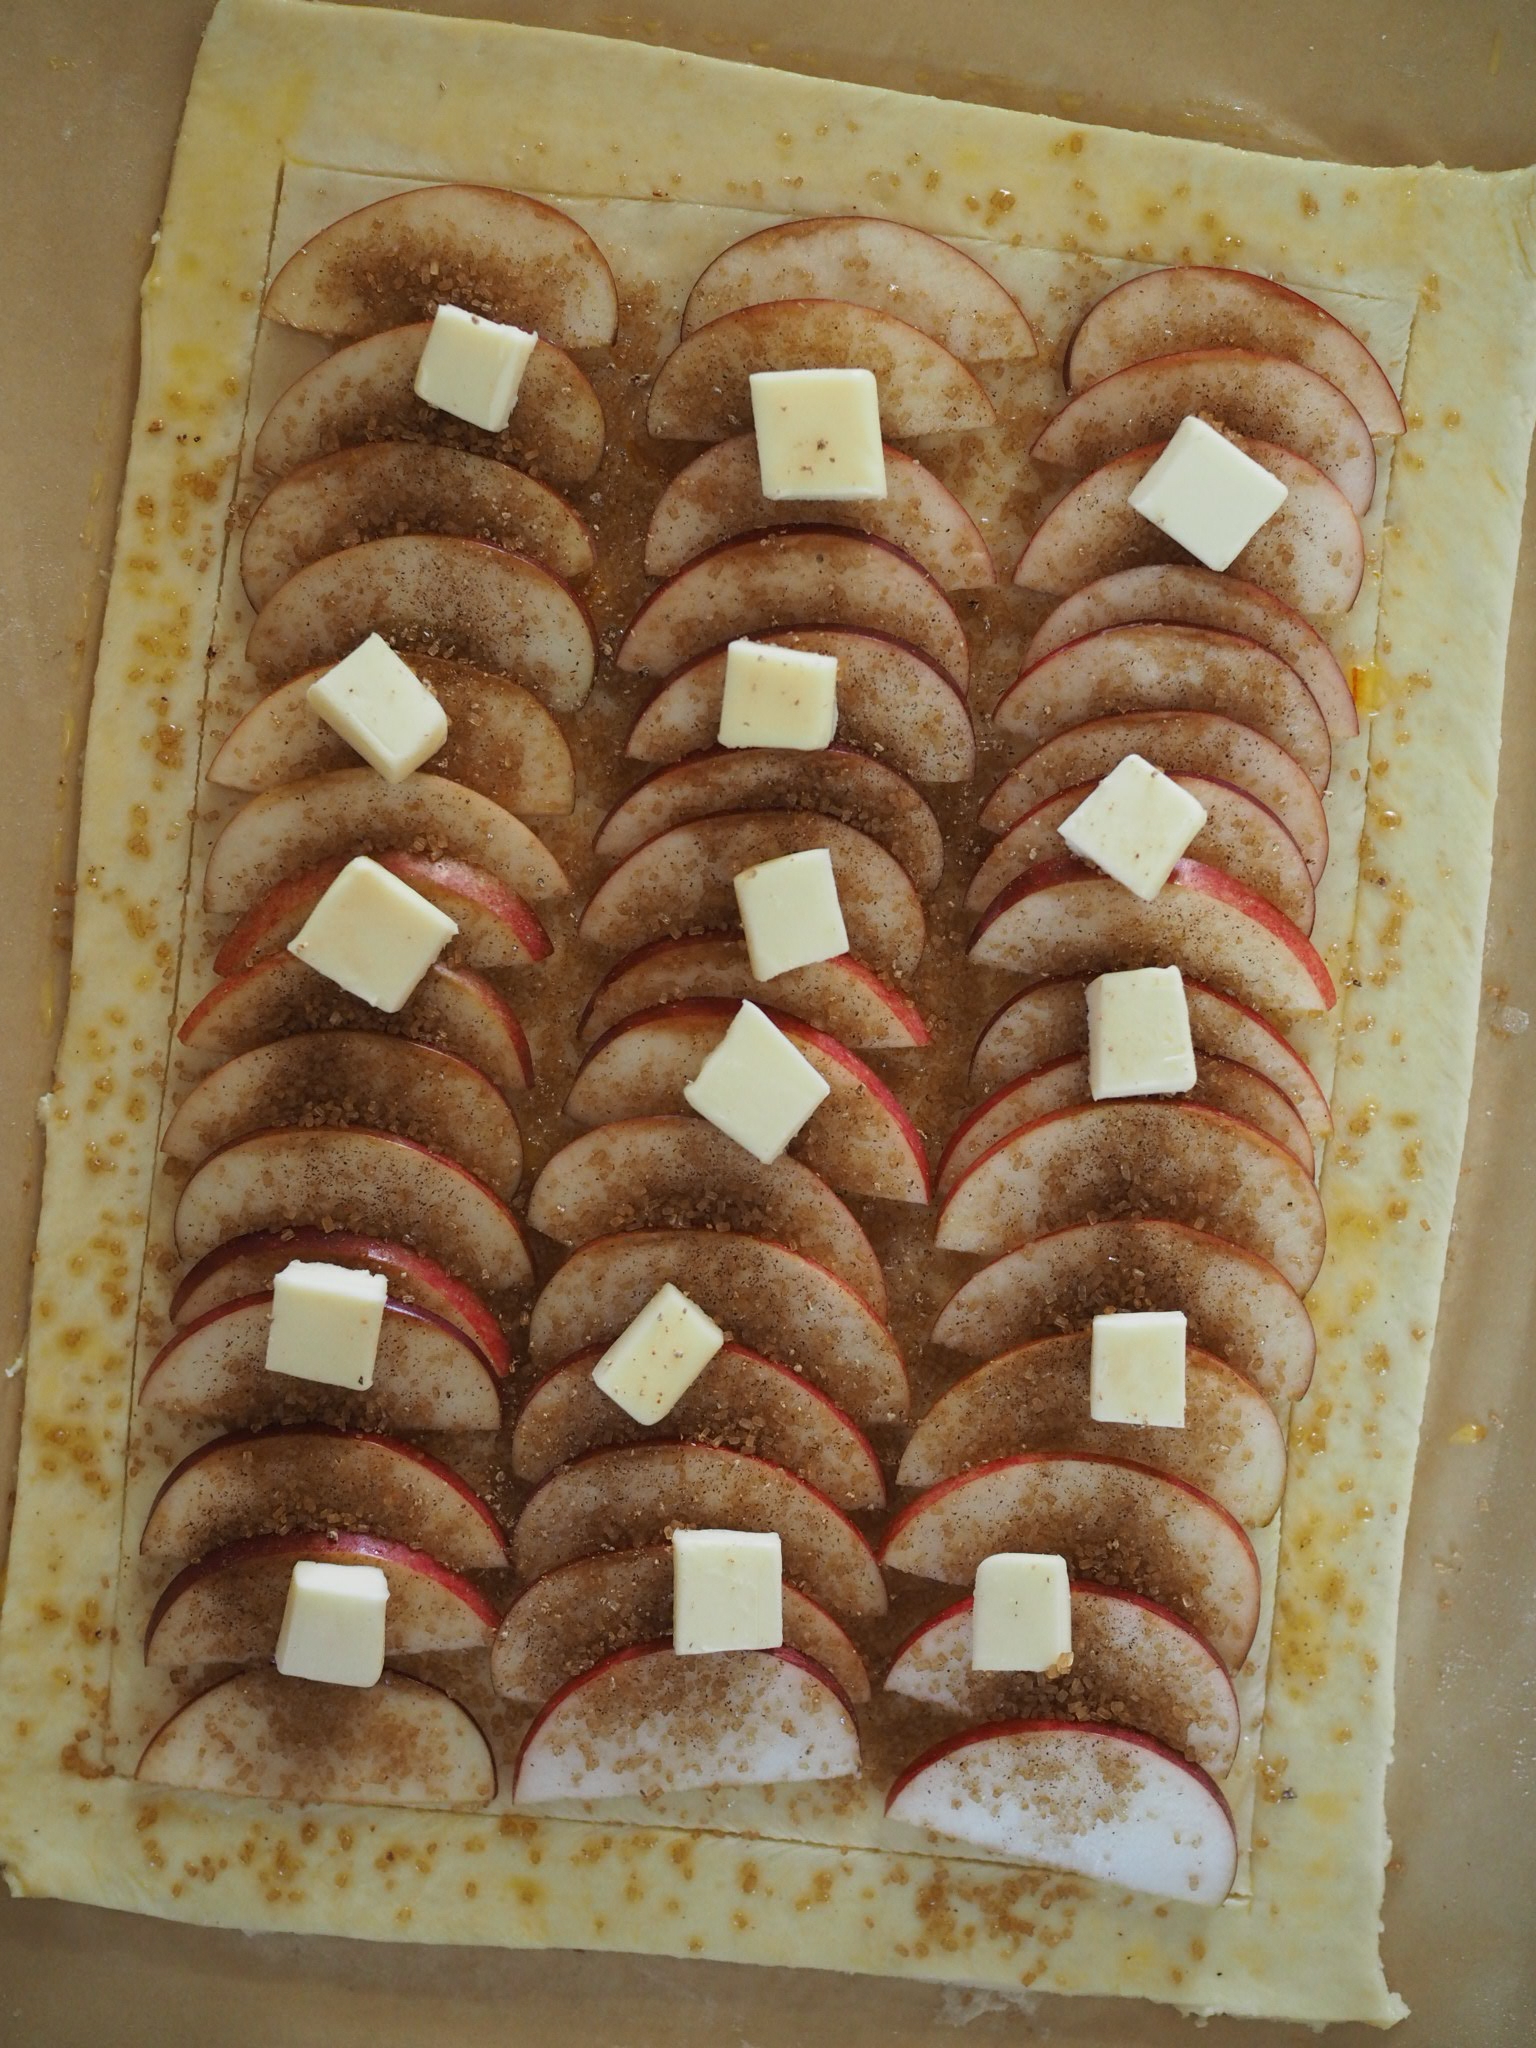
  • 2 Tablespoons salted butter, diced into cubes.

Preheat oven to 425 degrees Fahrenheit. Line a large baking sheet with parchment paper.

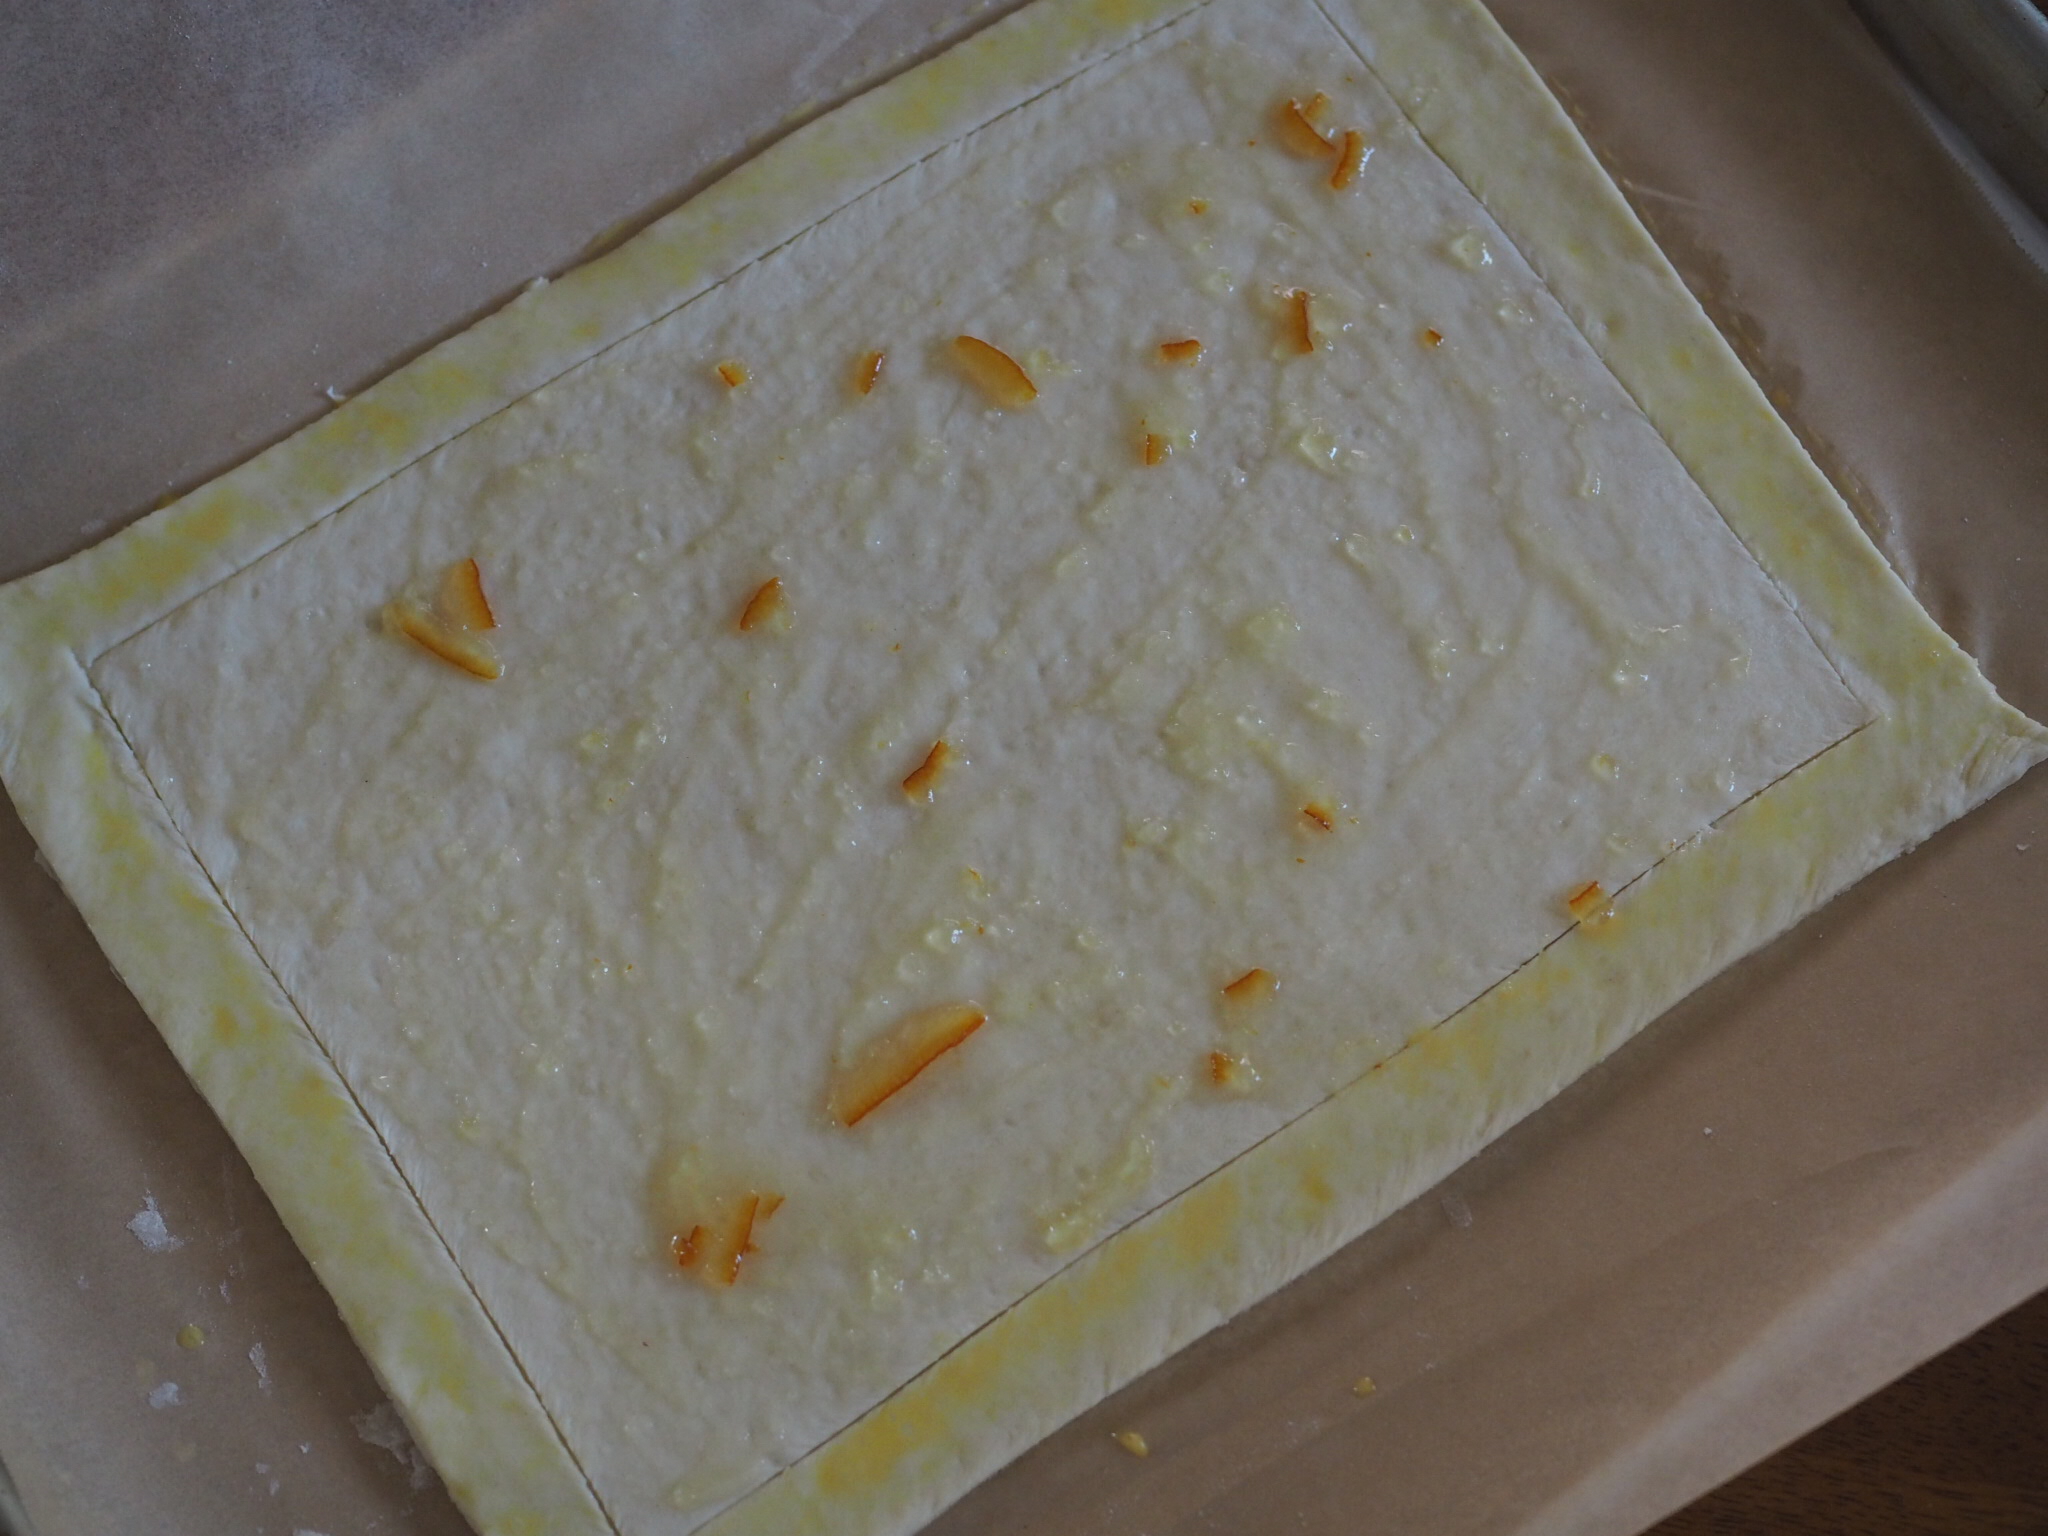
On a lightly floured surface, roll out dough into a large rectangle, about 9 x 12 inches, cut edges to be neat, if needed.  Transfer to baking tray.

Using a sharp knife, score  a 1 inch border around the dough. Beat egg in a bowl, adding a splash of water to make an egg wash. Brush egg wash along the outside border of the tart only.  Mix jelly of your choice with a splash of water. Brush jelly mixture on center of tart.

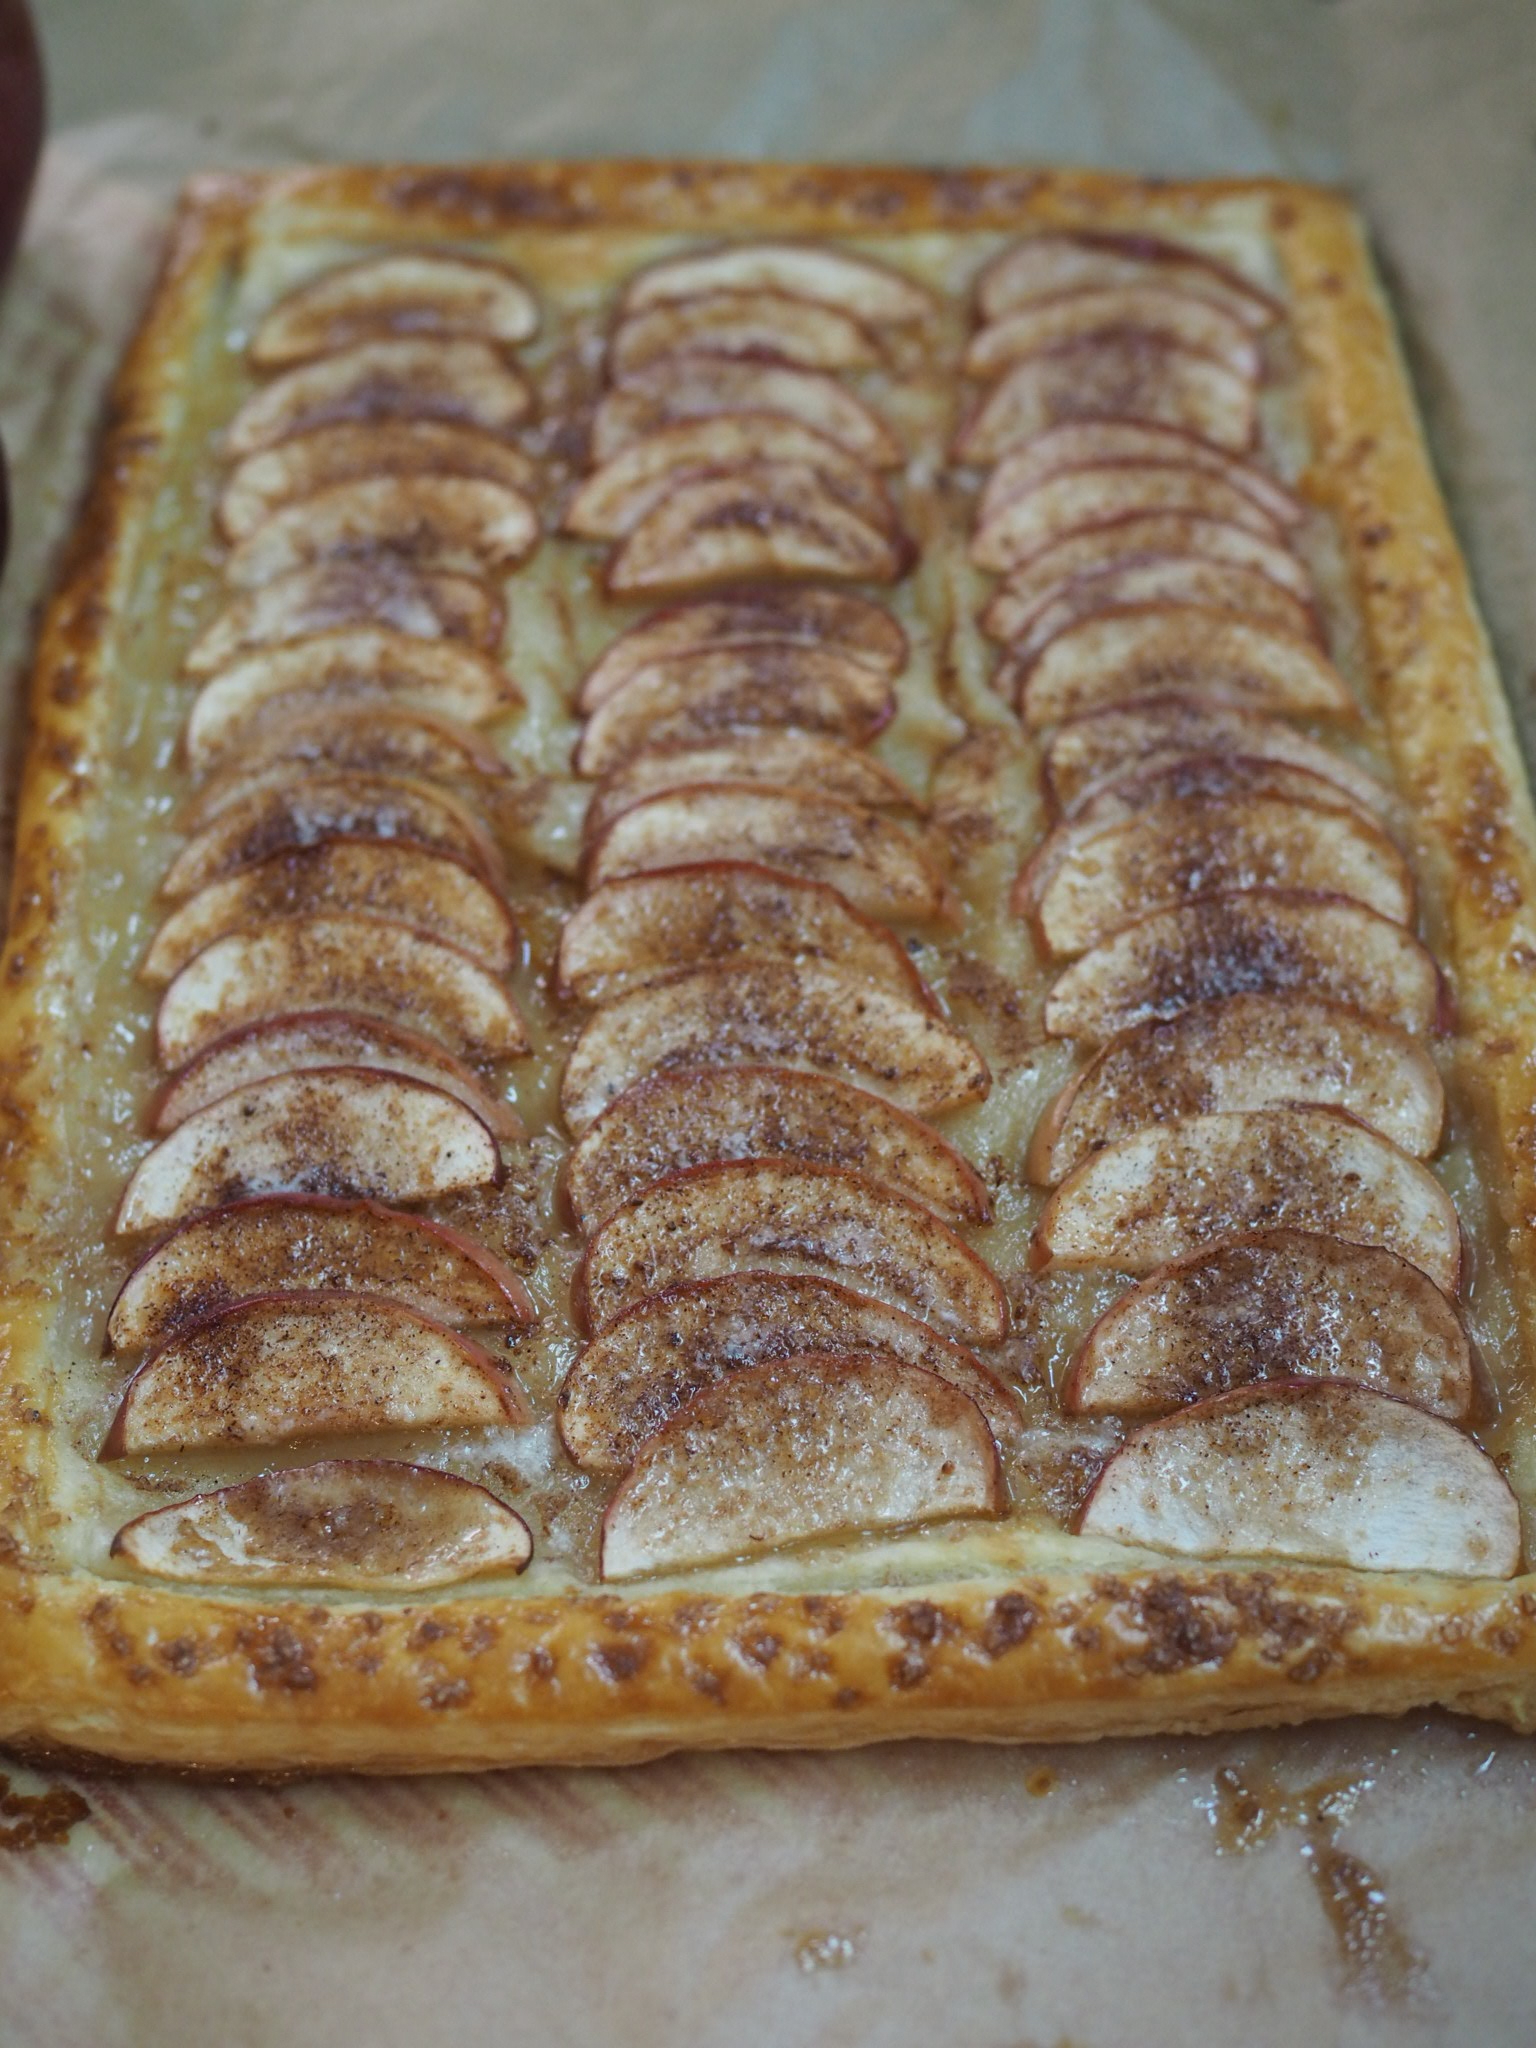
Arrange apples in three rows on center of tart, overlapping slightly. Mix together sugar, cinnamon and nutmeg in a small bowl. Sprinkle sugar and spice mixture over entire tart. 

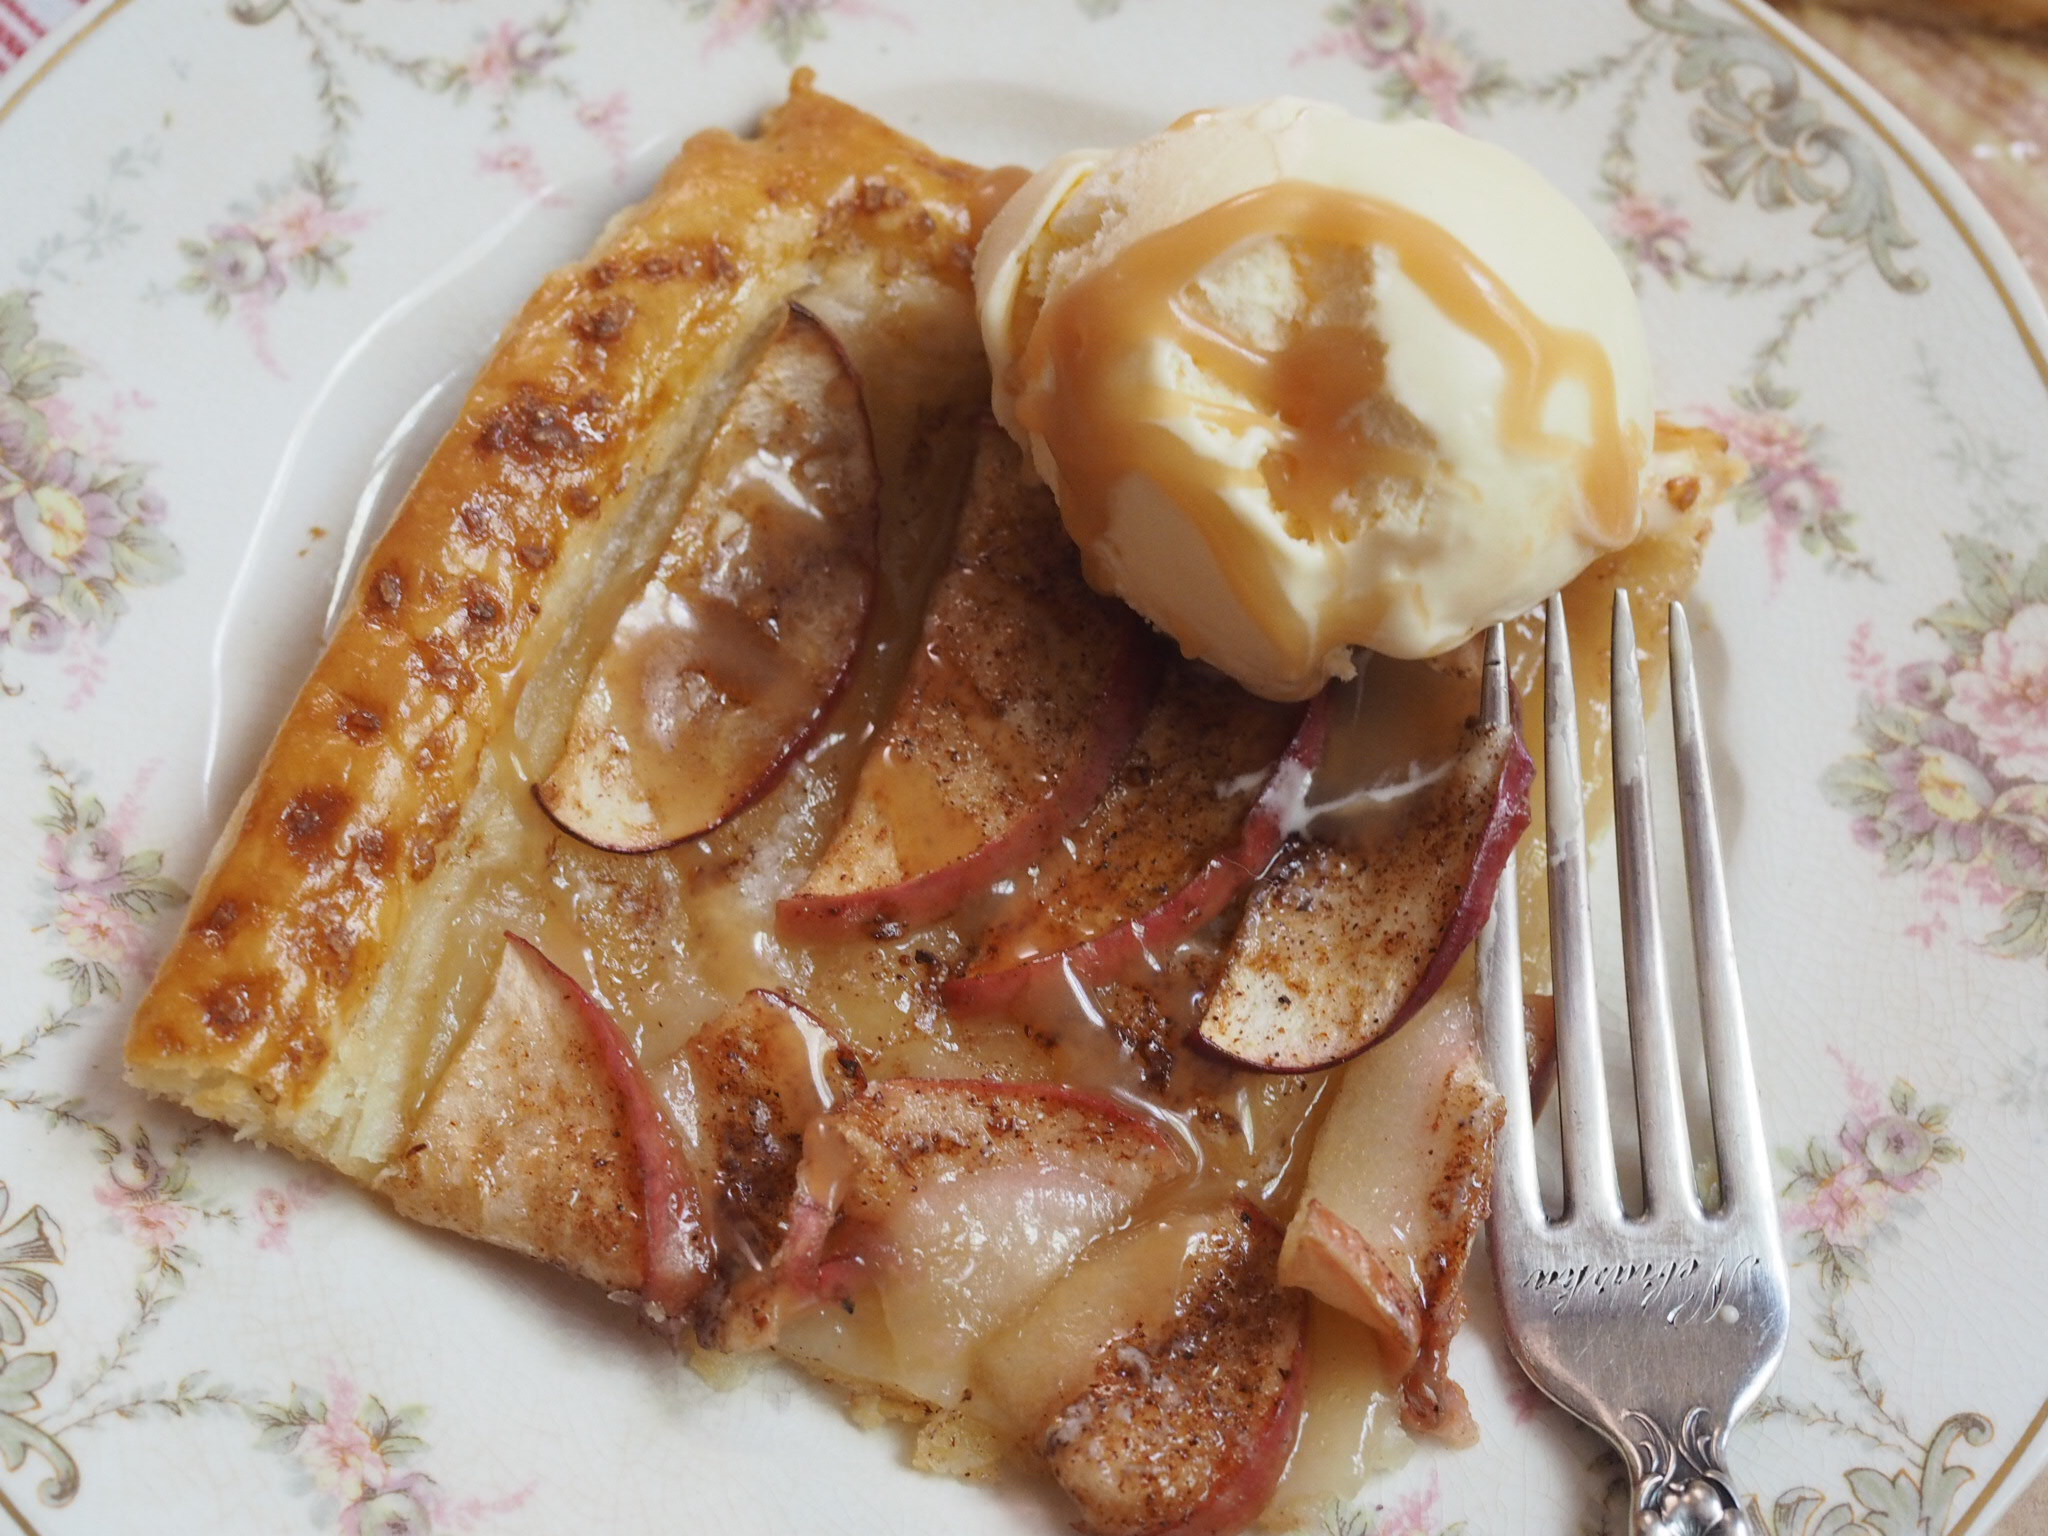
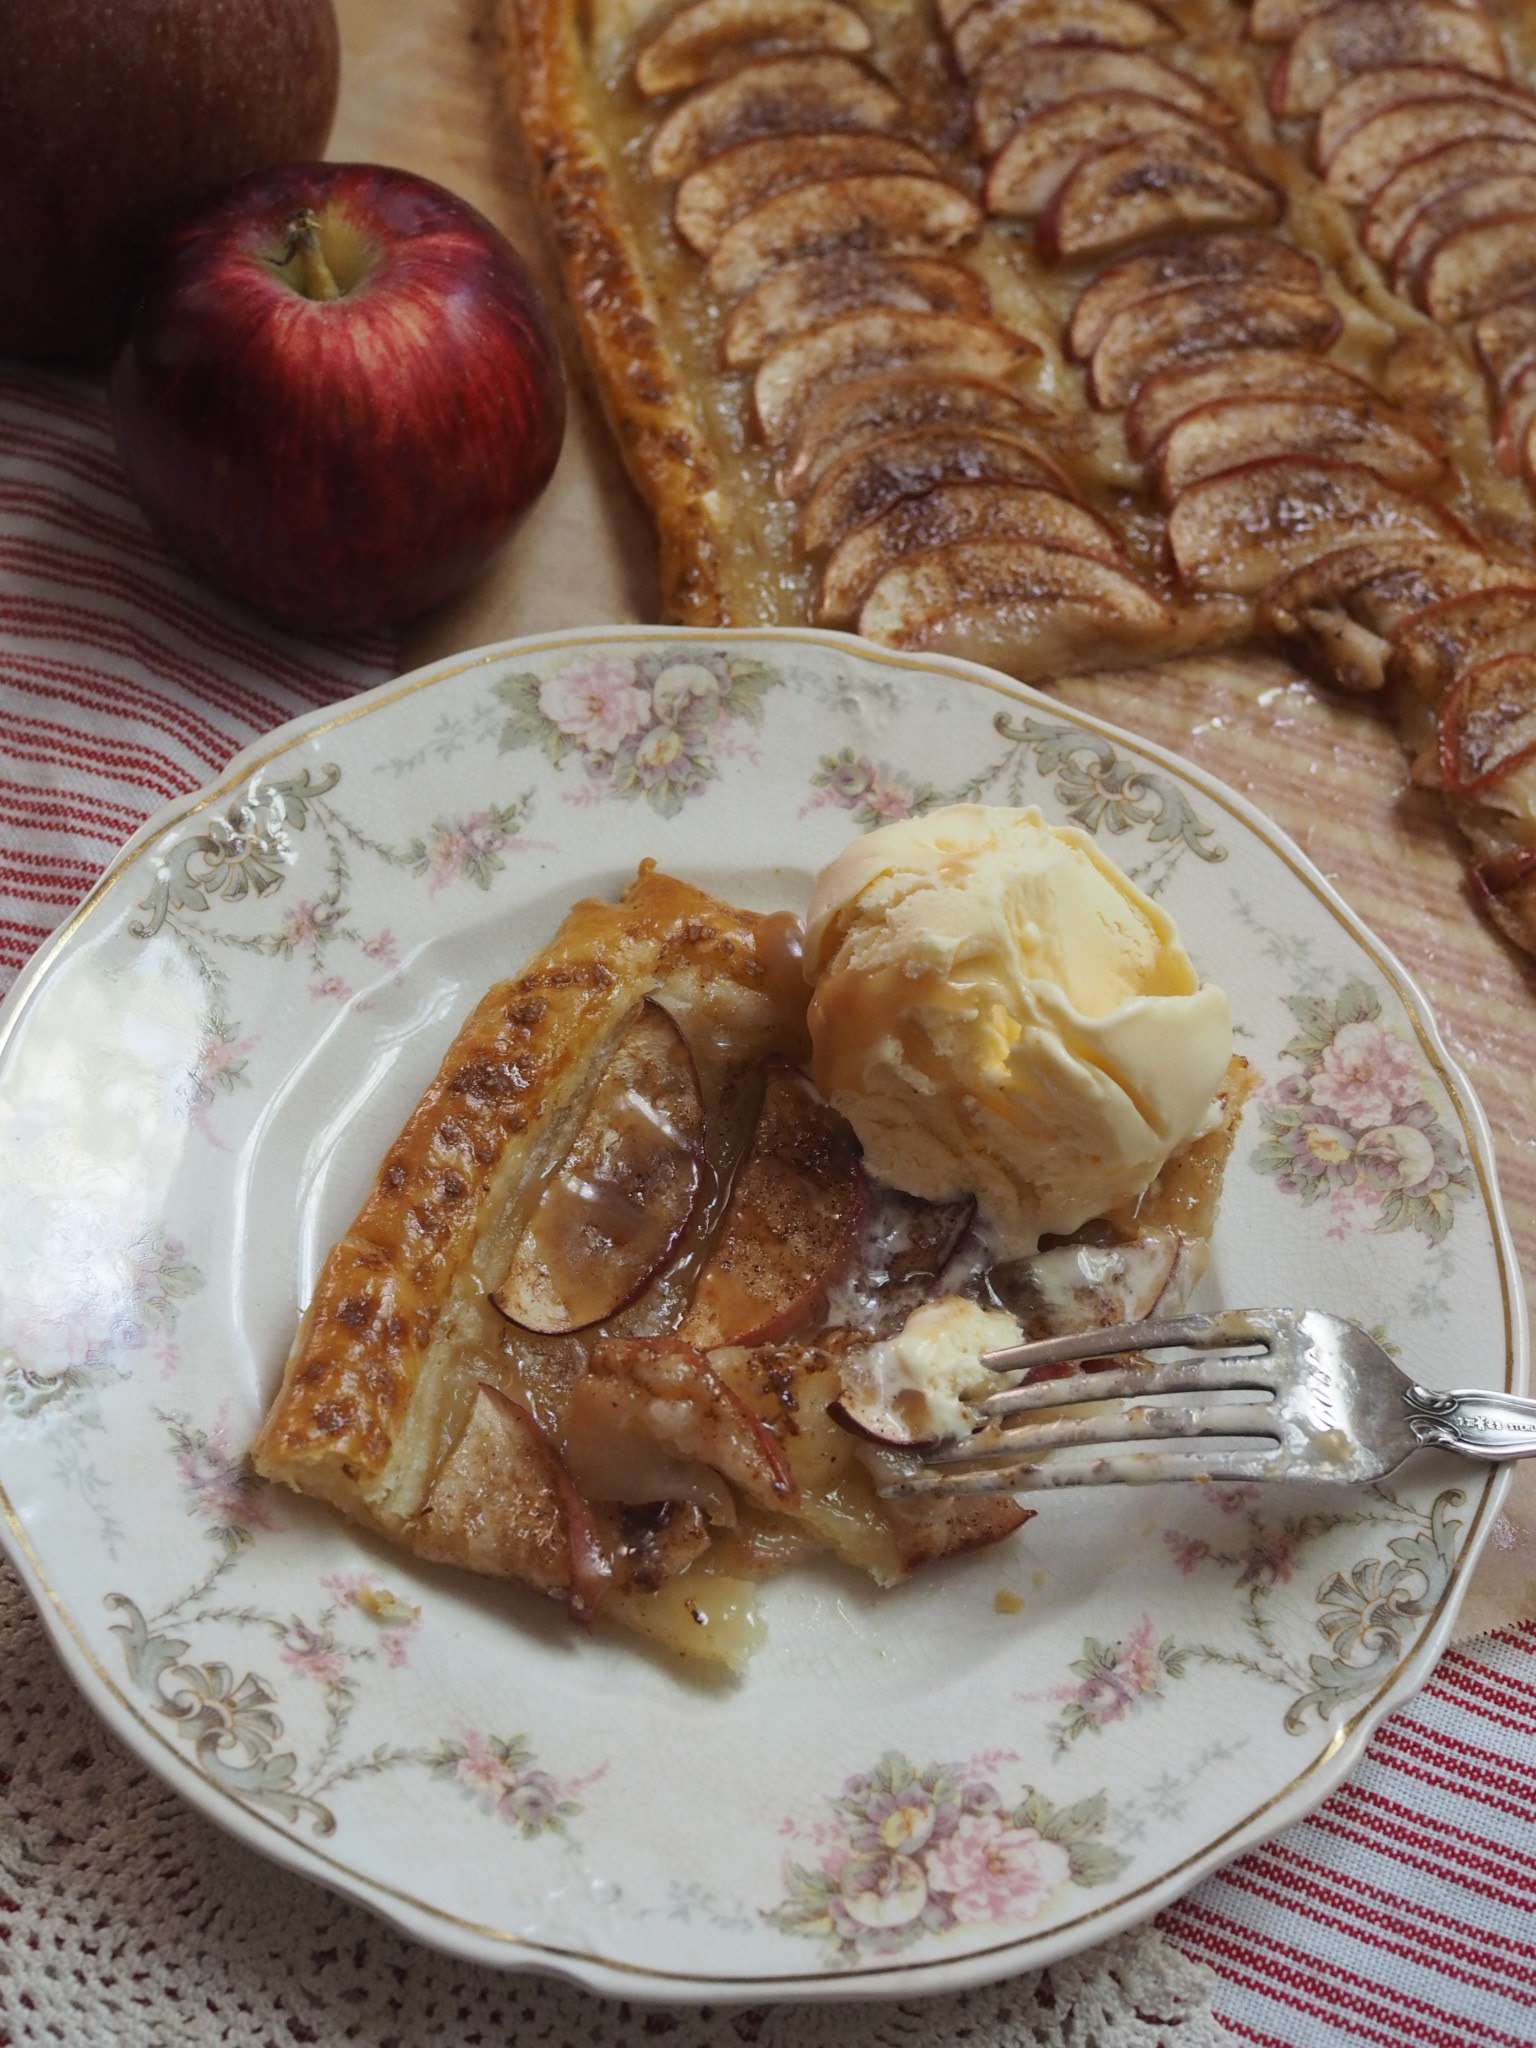
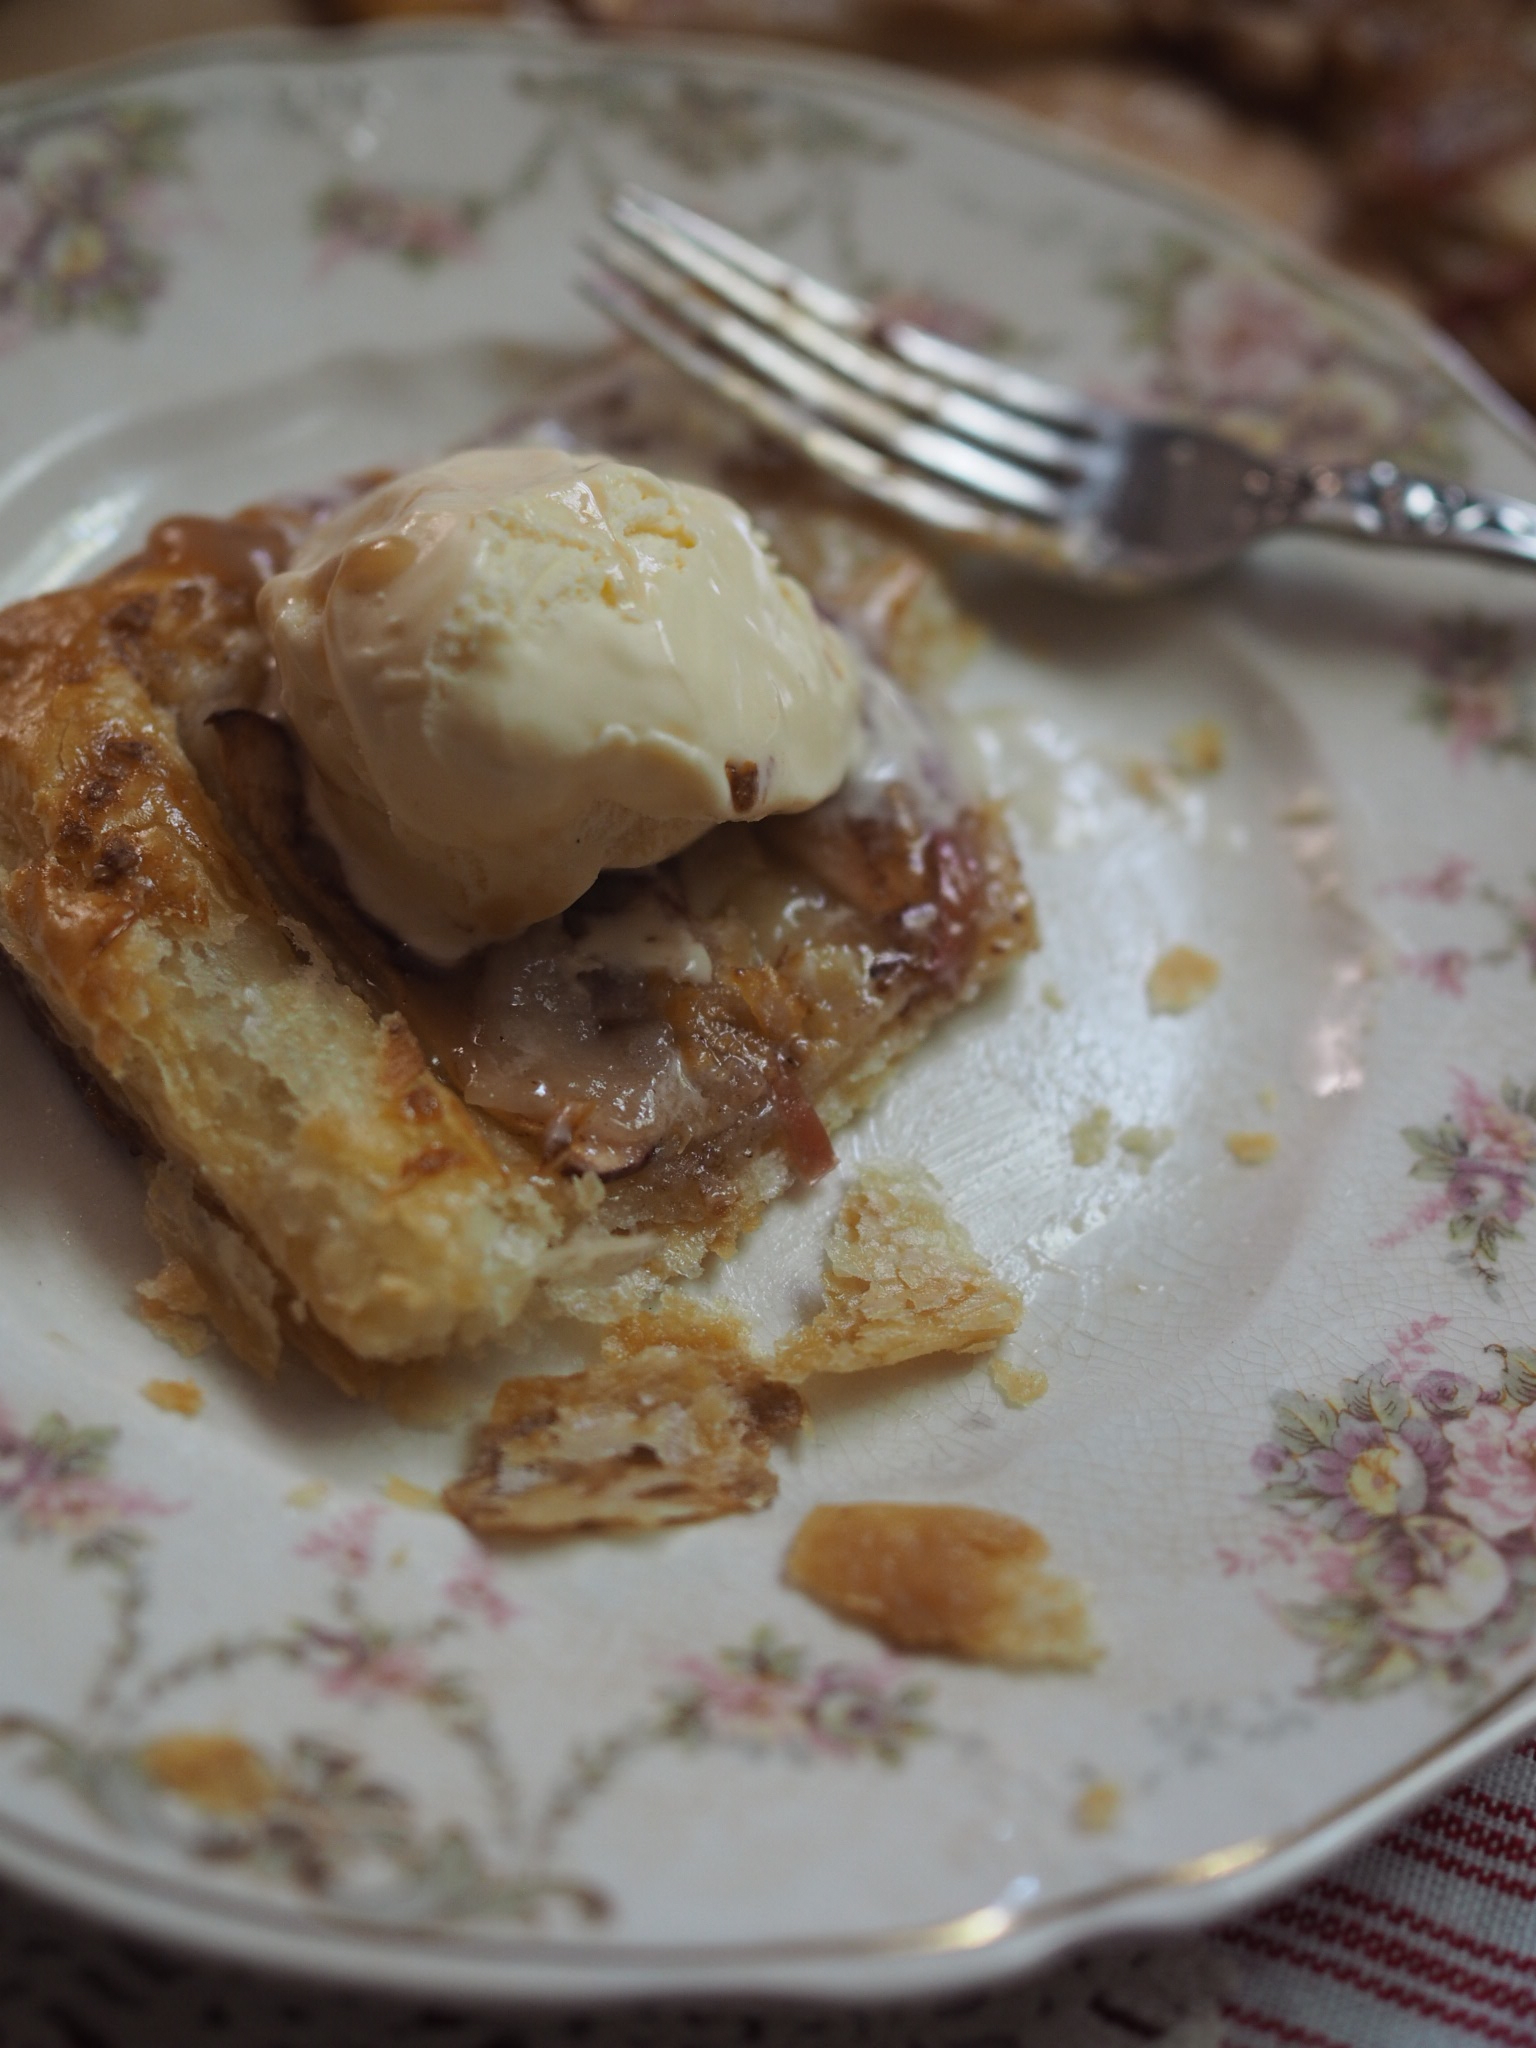
Bake for 30 minutes in the center of oven, until pastry is nicely browned.  Cut into 6 slices. Serve warm with vanilla ice cream and caramel sauce.

To Print, see button at bottom of post.


Crisp Apple Tart (Tarte Fine Aux Pommes)

            Serves 6     Ingredients:         1/2 puff pastry recipe or store bought frozen puff pastry, thawed 2 medium apples 1 egg 2 tablespoons orange marmalade 2 tablespoons demera sugar 1/4 tsp cinnamon Nutmeg 2 Tablespoons salted butter           
Print Friendly and PDF Follow
follow us in feedly

Lemon Lavender Poundcake Recipe

Lemon Lavender Poundcake Recipe

To say I have a love affair with putting citrus in my baked goods, would be putting it mildly. I generally feel that there are few things that aren't improved by bit a fresh zest, and this poundcake definitely falls into the better zesty category. With some added flavor from honey and aromatics from the inclusion of lavender buds, this is the perfect spring dessert. Not too sweet, with an excellent crumb, and easy to transport to your next picnic.  

To print, see button at bottom of post. 

Lemon Lavender Poundcake

(serves 8)

  • 3 large eggs -room temperature
  • 3 Tbl milk
  • 1 1/2 tsp vanilla
  • 1 1/2 cups cake flour (or 1 cup + 5 Tbl all purpose flour + 3 Tbl cornstarch)
  • 3/4 cup granulated sugar
  • Zest of one lemon
  • 3/4 tsp baking powder
  • 1/4 tsp salt
  • 13 Tbl (1 stick + 5 Tbl) unsalted butter - room temperature
  • Confectioner's sugar (less than a cup)

Lavender Lemon Syrup

  • 1/4 cup fresh lemon juice
  • 4 Tbl honey
  • 2 Tbl granulated sugar
  • 1 tsp dried lavender buds

Make lavender lemon syrup by combining sugar, lemon juice,  and honey in a small pan over medium heat and stirring until sugars are dissolved. Pour syrup over lavender buds in a heat proof container and cover. Set aside.

Preheat oven to 350 Degrees Fahrenheit. Grease and flour a 6-cup loaf pan or line with parchment paper (preferred). 

In a medium bowl, combine eggs, milk and vanilla. In a separate bowl, shift together cake flour, sugar, baking powder and salt. Add lemon zest to flour mixture and combine. 

Add half of the egg mixture and all of the butter to the flour mixture. Beat with a wooden spoon until ingredients are moist and well combined. Butter should be mixed well, throughout with no visible chunks. Gradually add the egg mixture in two parts, combining each fully before adding the next. Batter will be very thick. 

Scrape batter into prepared pan and spread evenly in container, smoothing the top. 

Bake until a tester inserted in the center comes out clean and top is a golden brown, about 55 minutes. 

After baking, remove cake from oven. Keeping the cake in the pan, place on a rack and poke all over with a wooden skewer or long toothpick. Strain lavender buds from syrup and brush strained syrup generously over the top of the cake.

Let cake sit in pan for 10 minutes, then remove and place on rack. Brush sides generously with syrup. reserving about 1/8 cup of syrup. Add confectioner's sugar Tablespoon by Tablespoon to reserved syrup until it forms a thick, opaque glaze.  

When cake has cooled, place on serving platter and pour glaze on top. Decorate with lemon slices and lavender as desired. To store, wrap tightly in plastic wrap and keep at room temperature.

Lemon Lavender Poundcake Recipe

Lemon Lavender Poundcake Recipe

Serves 8 Ingredients: 3 large eggs -room temperature 3 Tbl milk 1 1/2 tsp vanilla 1 1/2 cups cake flour (or 1 cup + 5 Tbl all purpose flour + 3 Tbl cornstarch) 3/4 cup granulated sugar Zest of one lemon 3/4 tsp baking powder 1/4 tsp salt 13 Tbl (1 stick + 5 Tbl) unsalted butter - room temperature Confectioner's sugar (less than a cup) 1/4 cup fresh lemon juice 4 Tbl honey 2 Tbl granulated sugar 1 tsp dried lavender buds
Print Friendly and PDF Follow
follow us in feedly

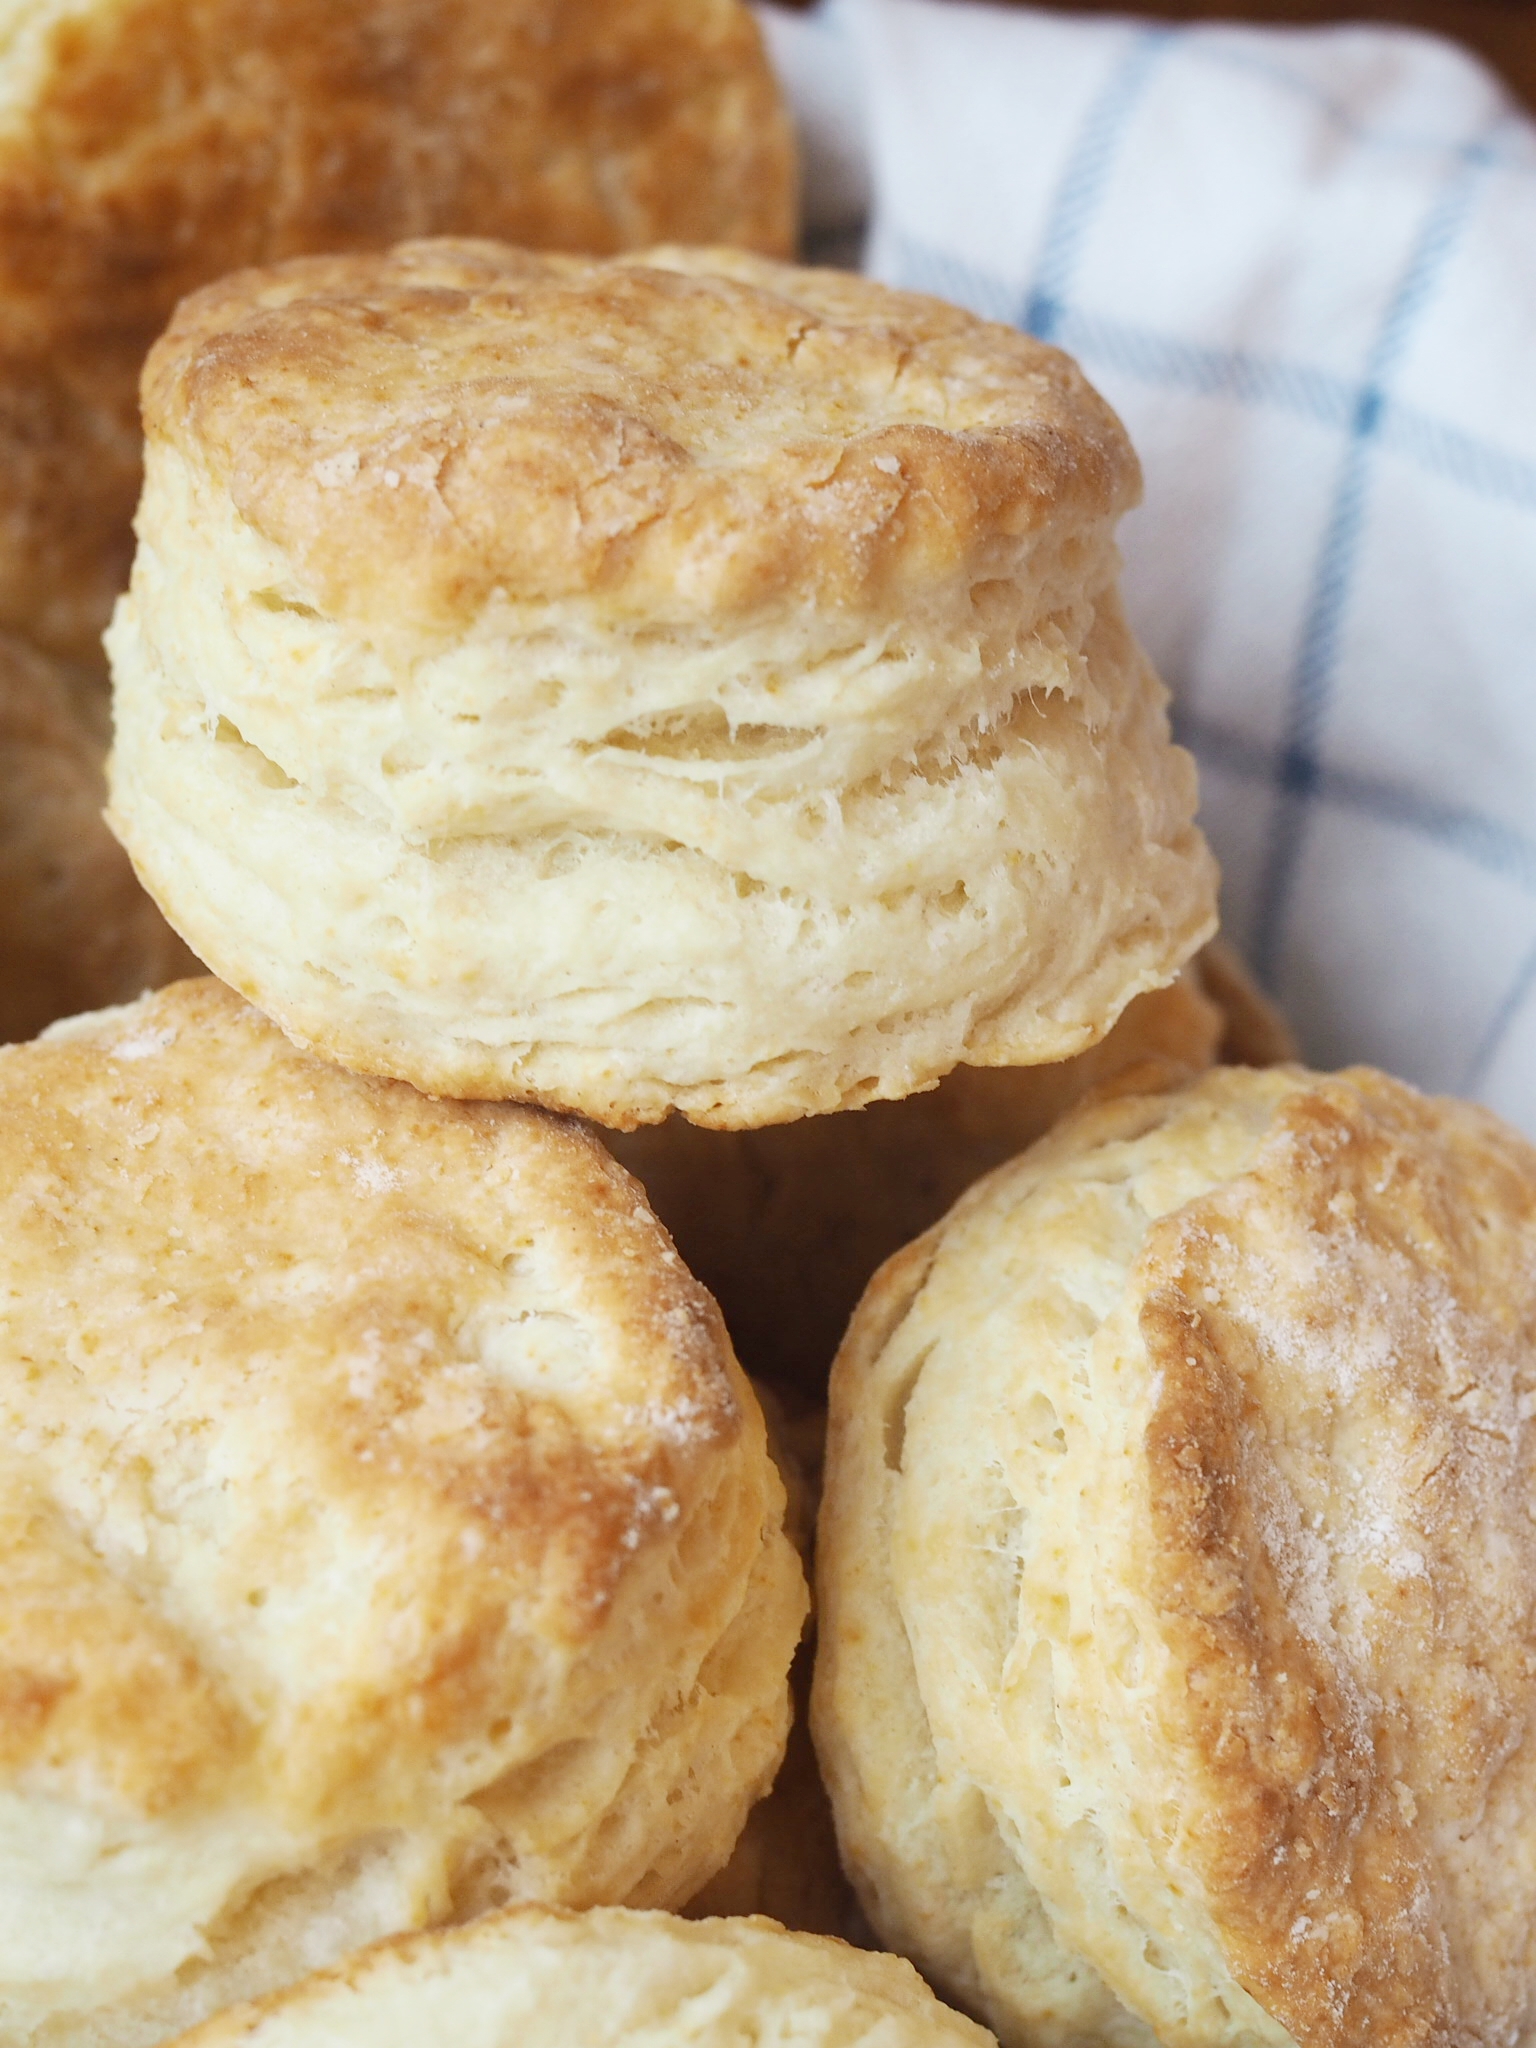
Flakey Buttermilk Biscuits

Flakey Buttermilk Biscuits

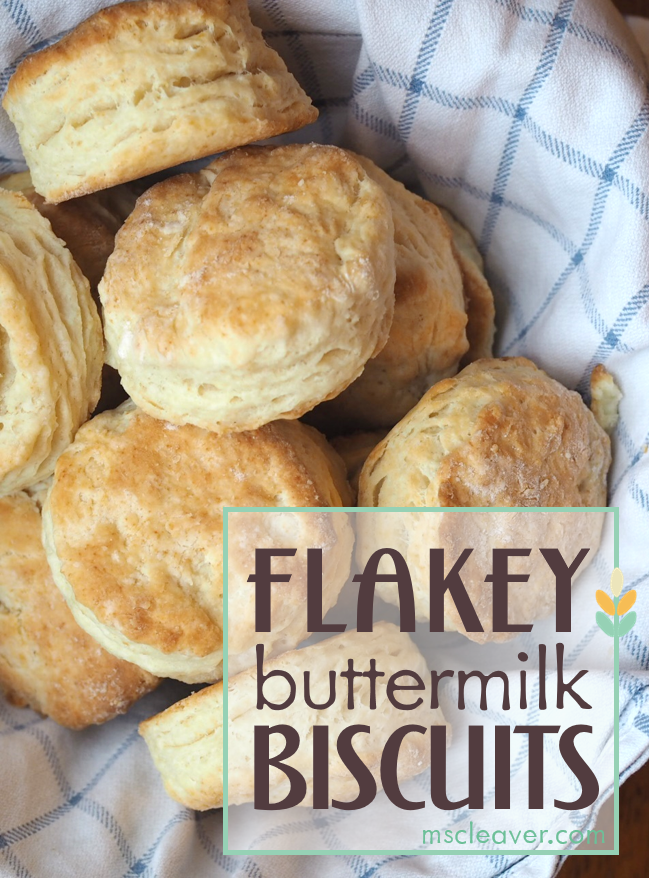
A good biscuit should be flakey, buttery, and easy to get on the table. These biscuits use a fun folding technique to build-up those important layers and is, in my opinion, easier than rolling them out. If you're quick (i.e. you don't have a four-year-old helping with every step) you can get these in the oven quicker than you can pre-heat it. 

Flakey Buttermilk Biscuits

Makes approximately 12 biscuits

  • 2 Cups All Purpose Flour (plus more for shaping)
  • 1 Tablespoon baking powder
  • 1/4 teaspoon baking soda
  • 6 Tablespoons cold butter, cut in small pieces
  • 1 cup buttermilk, cold (if you don't have buttermilk, add 2 Tbl lemon juice or vinegar to regular milk)

Preheat oven to 425 degrees Fahrenheit. 

Mix together flour, baking soda, and baking powder. With a pastry cutter, cut butter into flour mixture, until it resembles slightly damp sand. Add milk and mix about 15 times, until mixture is combined, but dough is still loose.

Turn out dough onto a floured surface and pat into a 8 inch by 8 inch square about a 1/2 inch thick. Fold dough in half once, and then in half again, then pat back out to square. Repeat folding and patting another three times.

With a floured biscuit cutter, cut out biscuits, making sure not to twist as you push the cutter down or pull it up. Reshape remaining dough and cut out remaining biscuits.

Place biscuits on a cookie sheet lined with parchment paper and bake for 15 minutes or until golden brown on top. 

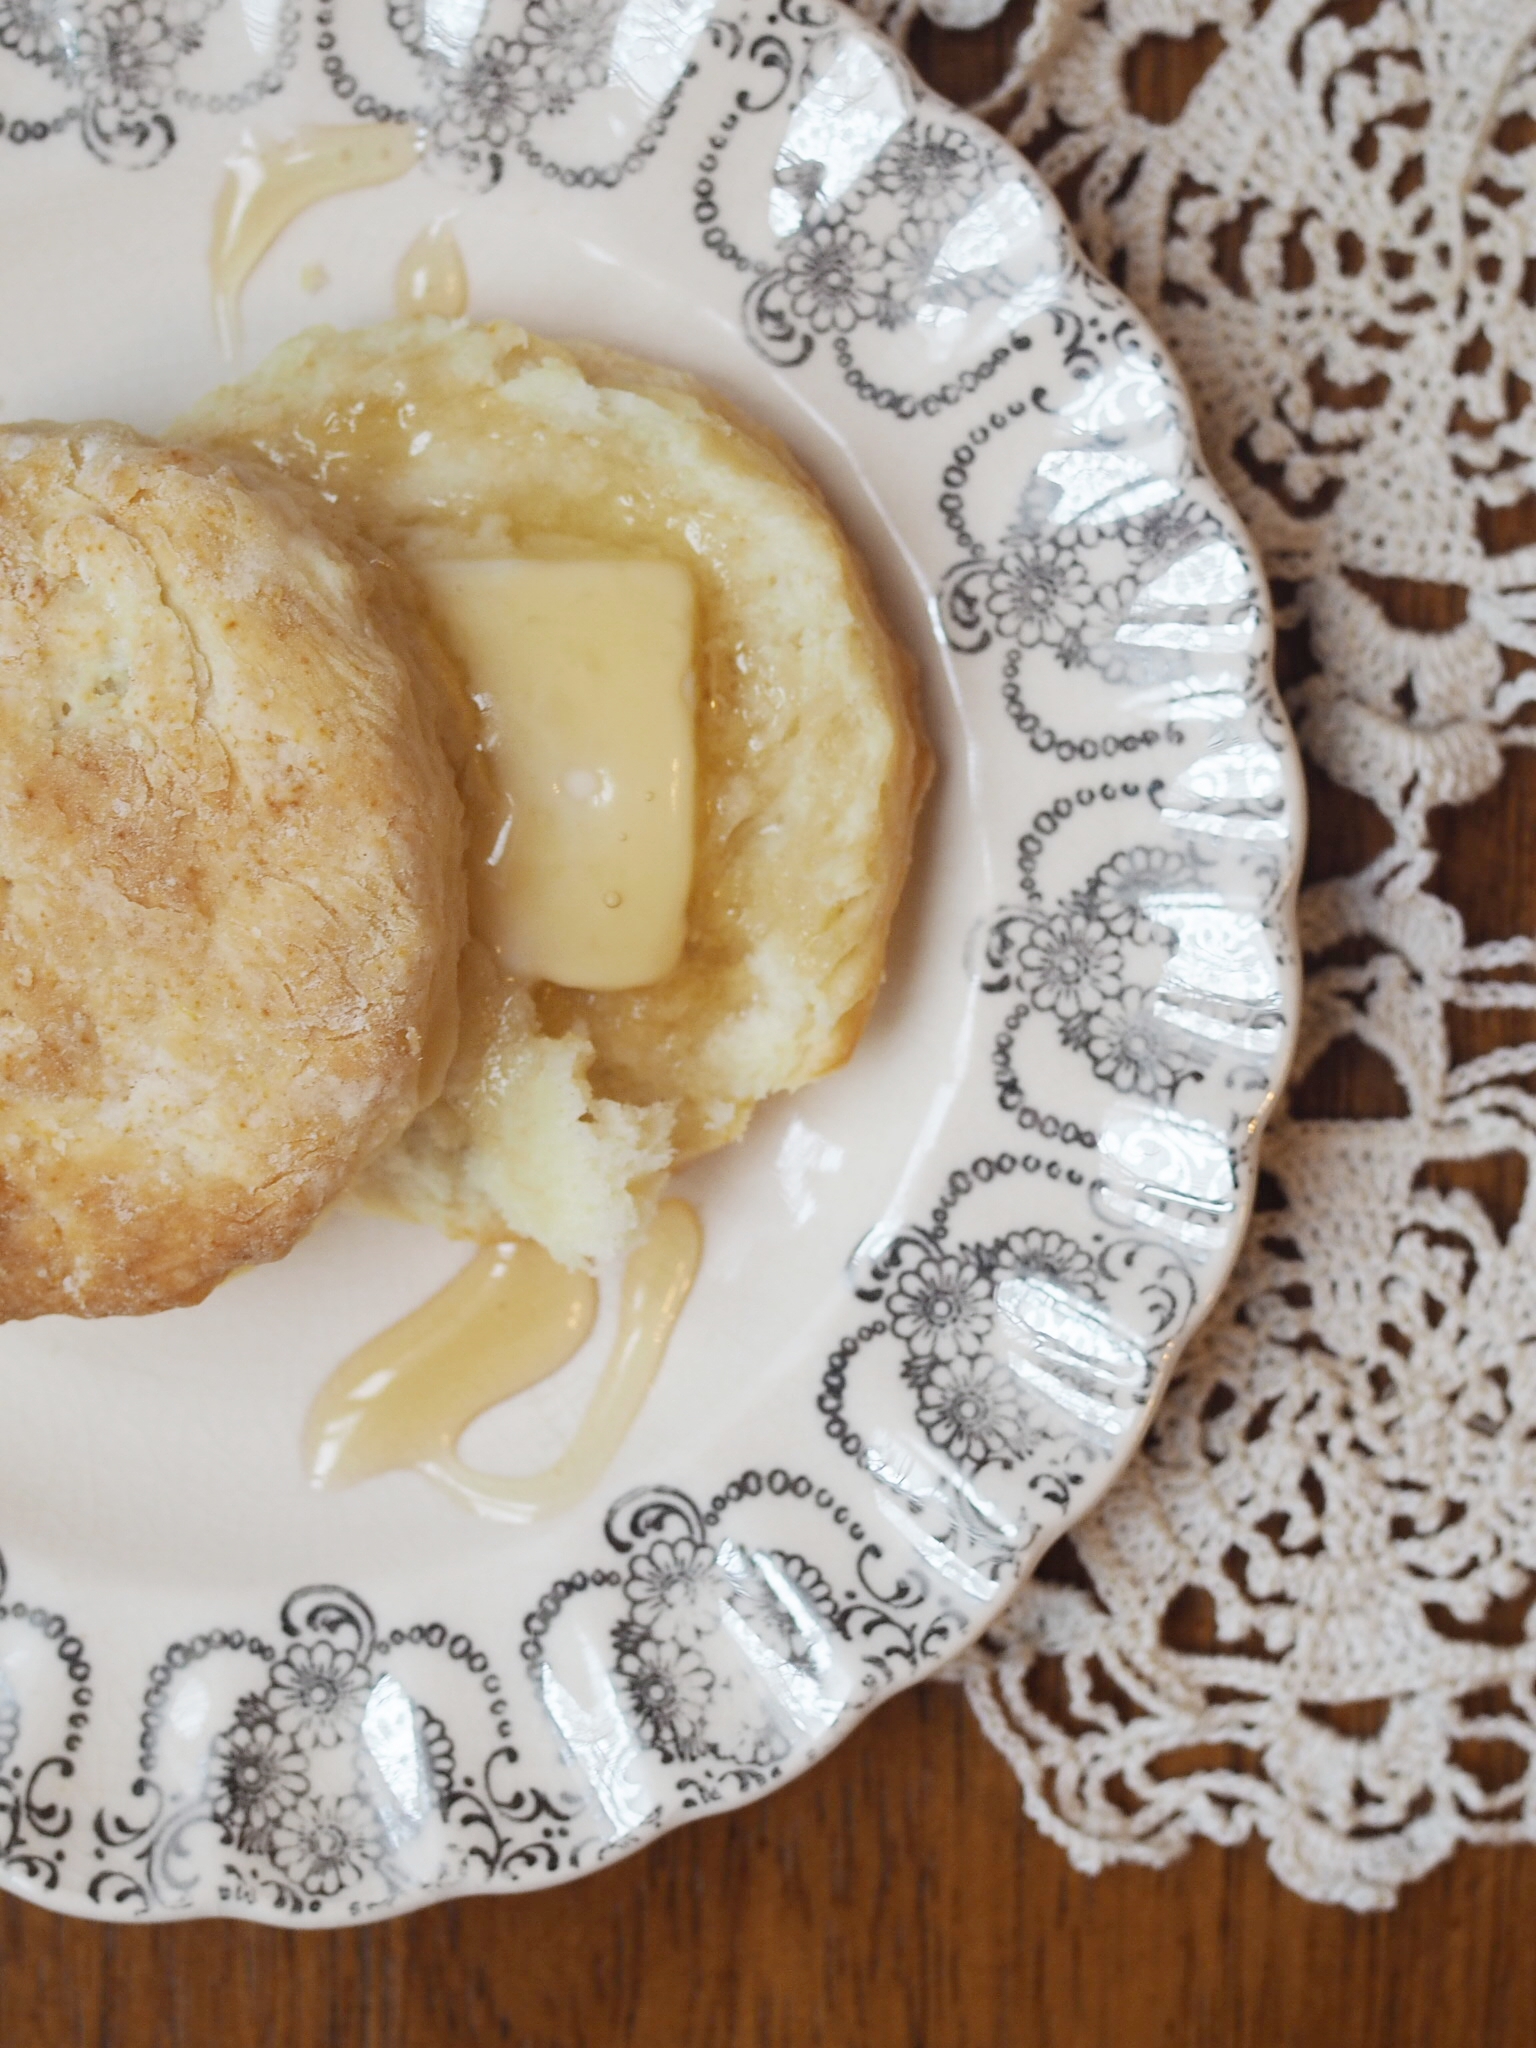
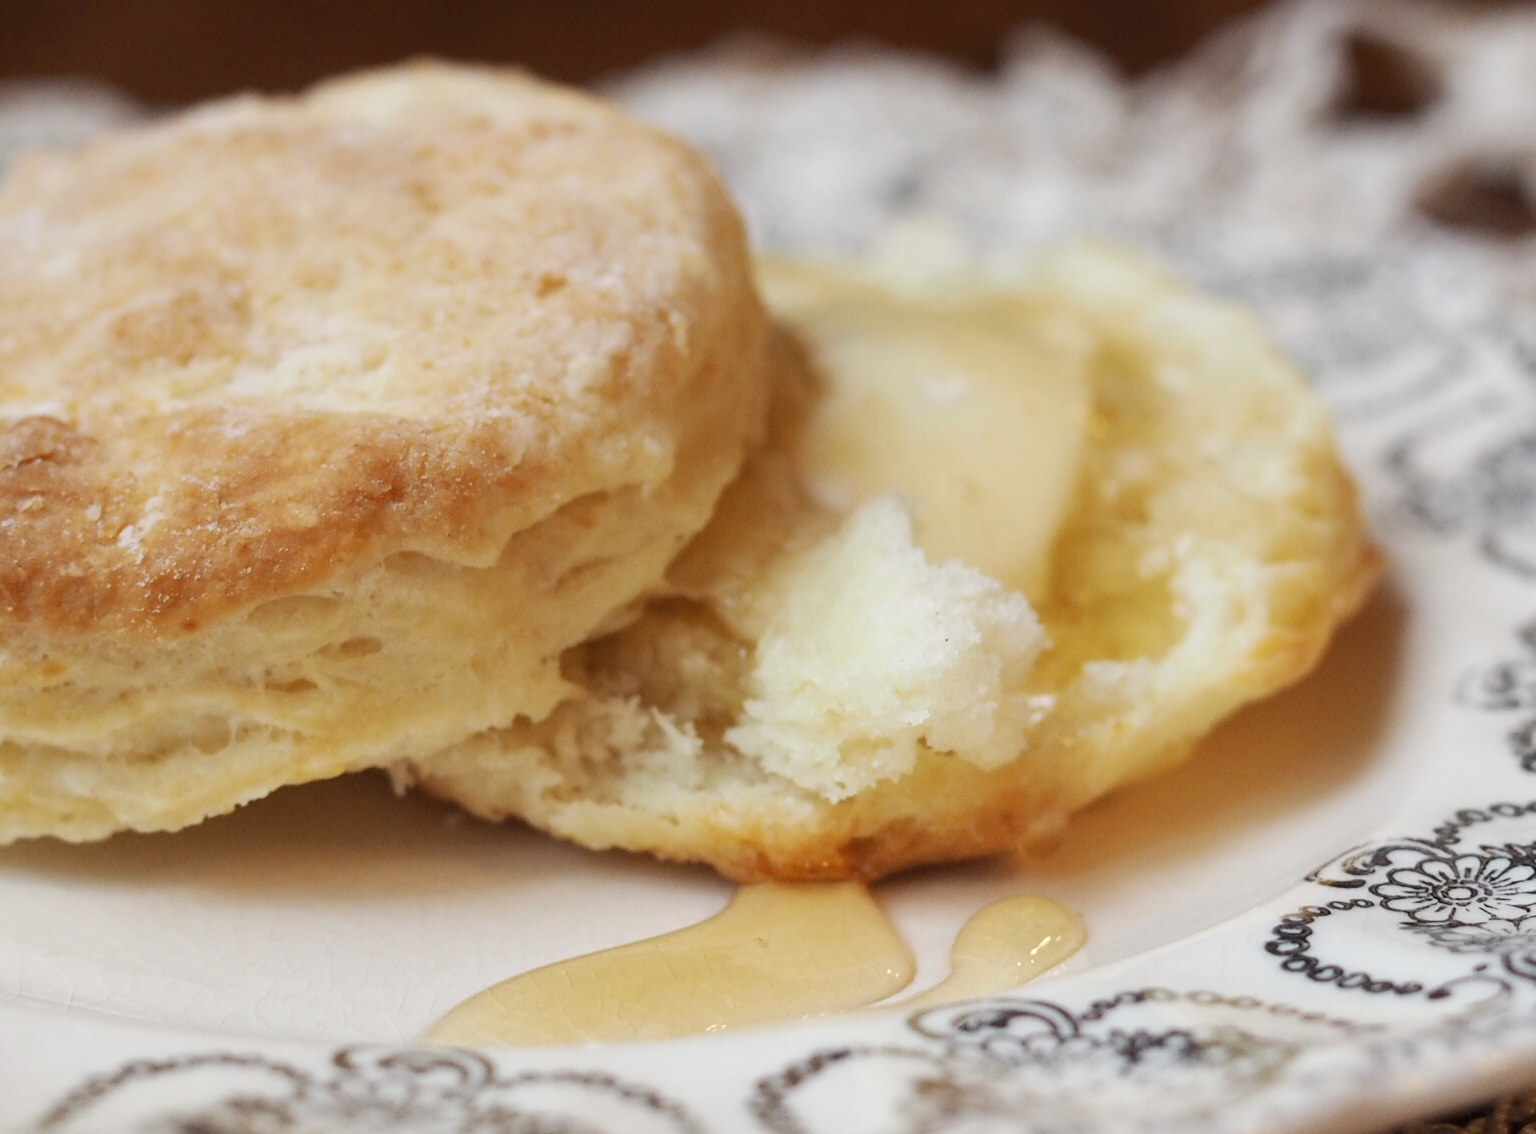
Serve warm with gravy, butter, jam, or, my personal favorite, honey. 


Flakey Buttermilk Biscuits

Makes Approx 12 Biscuits Ingredients: 2 cups all-purpose flour 1 Tbl baking powder 1/4 tsp baking soda 1 cup buttermilk 6 Tbl salted butter
Print Friendly and PDF Follow
follow us in feedly