Knitting Vertical Pleats and Pintucks

KnittingVerticalPleatsandTucks.jpg

It’s no secret that I learned to sew long before I learned to knit, and I still love them both, but while sewing is essentially the art of taking a flat piece of fabric and manipulating it into a 3-D structure, the magic of knitting is that you can work that structure into the very fabric itself.

The simplest example of this is knitting in the round - rather than knitting a flat piece and seaming it into a tube, you just make the tube to begin with. Similarly, increases, decreases, and short rows can be used to form curves and undulations. I love designing my stuffed animals in the round, because it forces me to think in three dimensions from stitch one. But when it comes to garments, I’ll admit to finding a bit of a thrill in translating traditional sewing techniques, like pleats and pintucks into knitted forms.

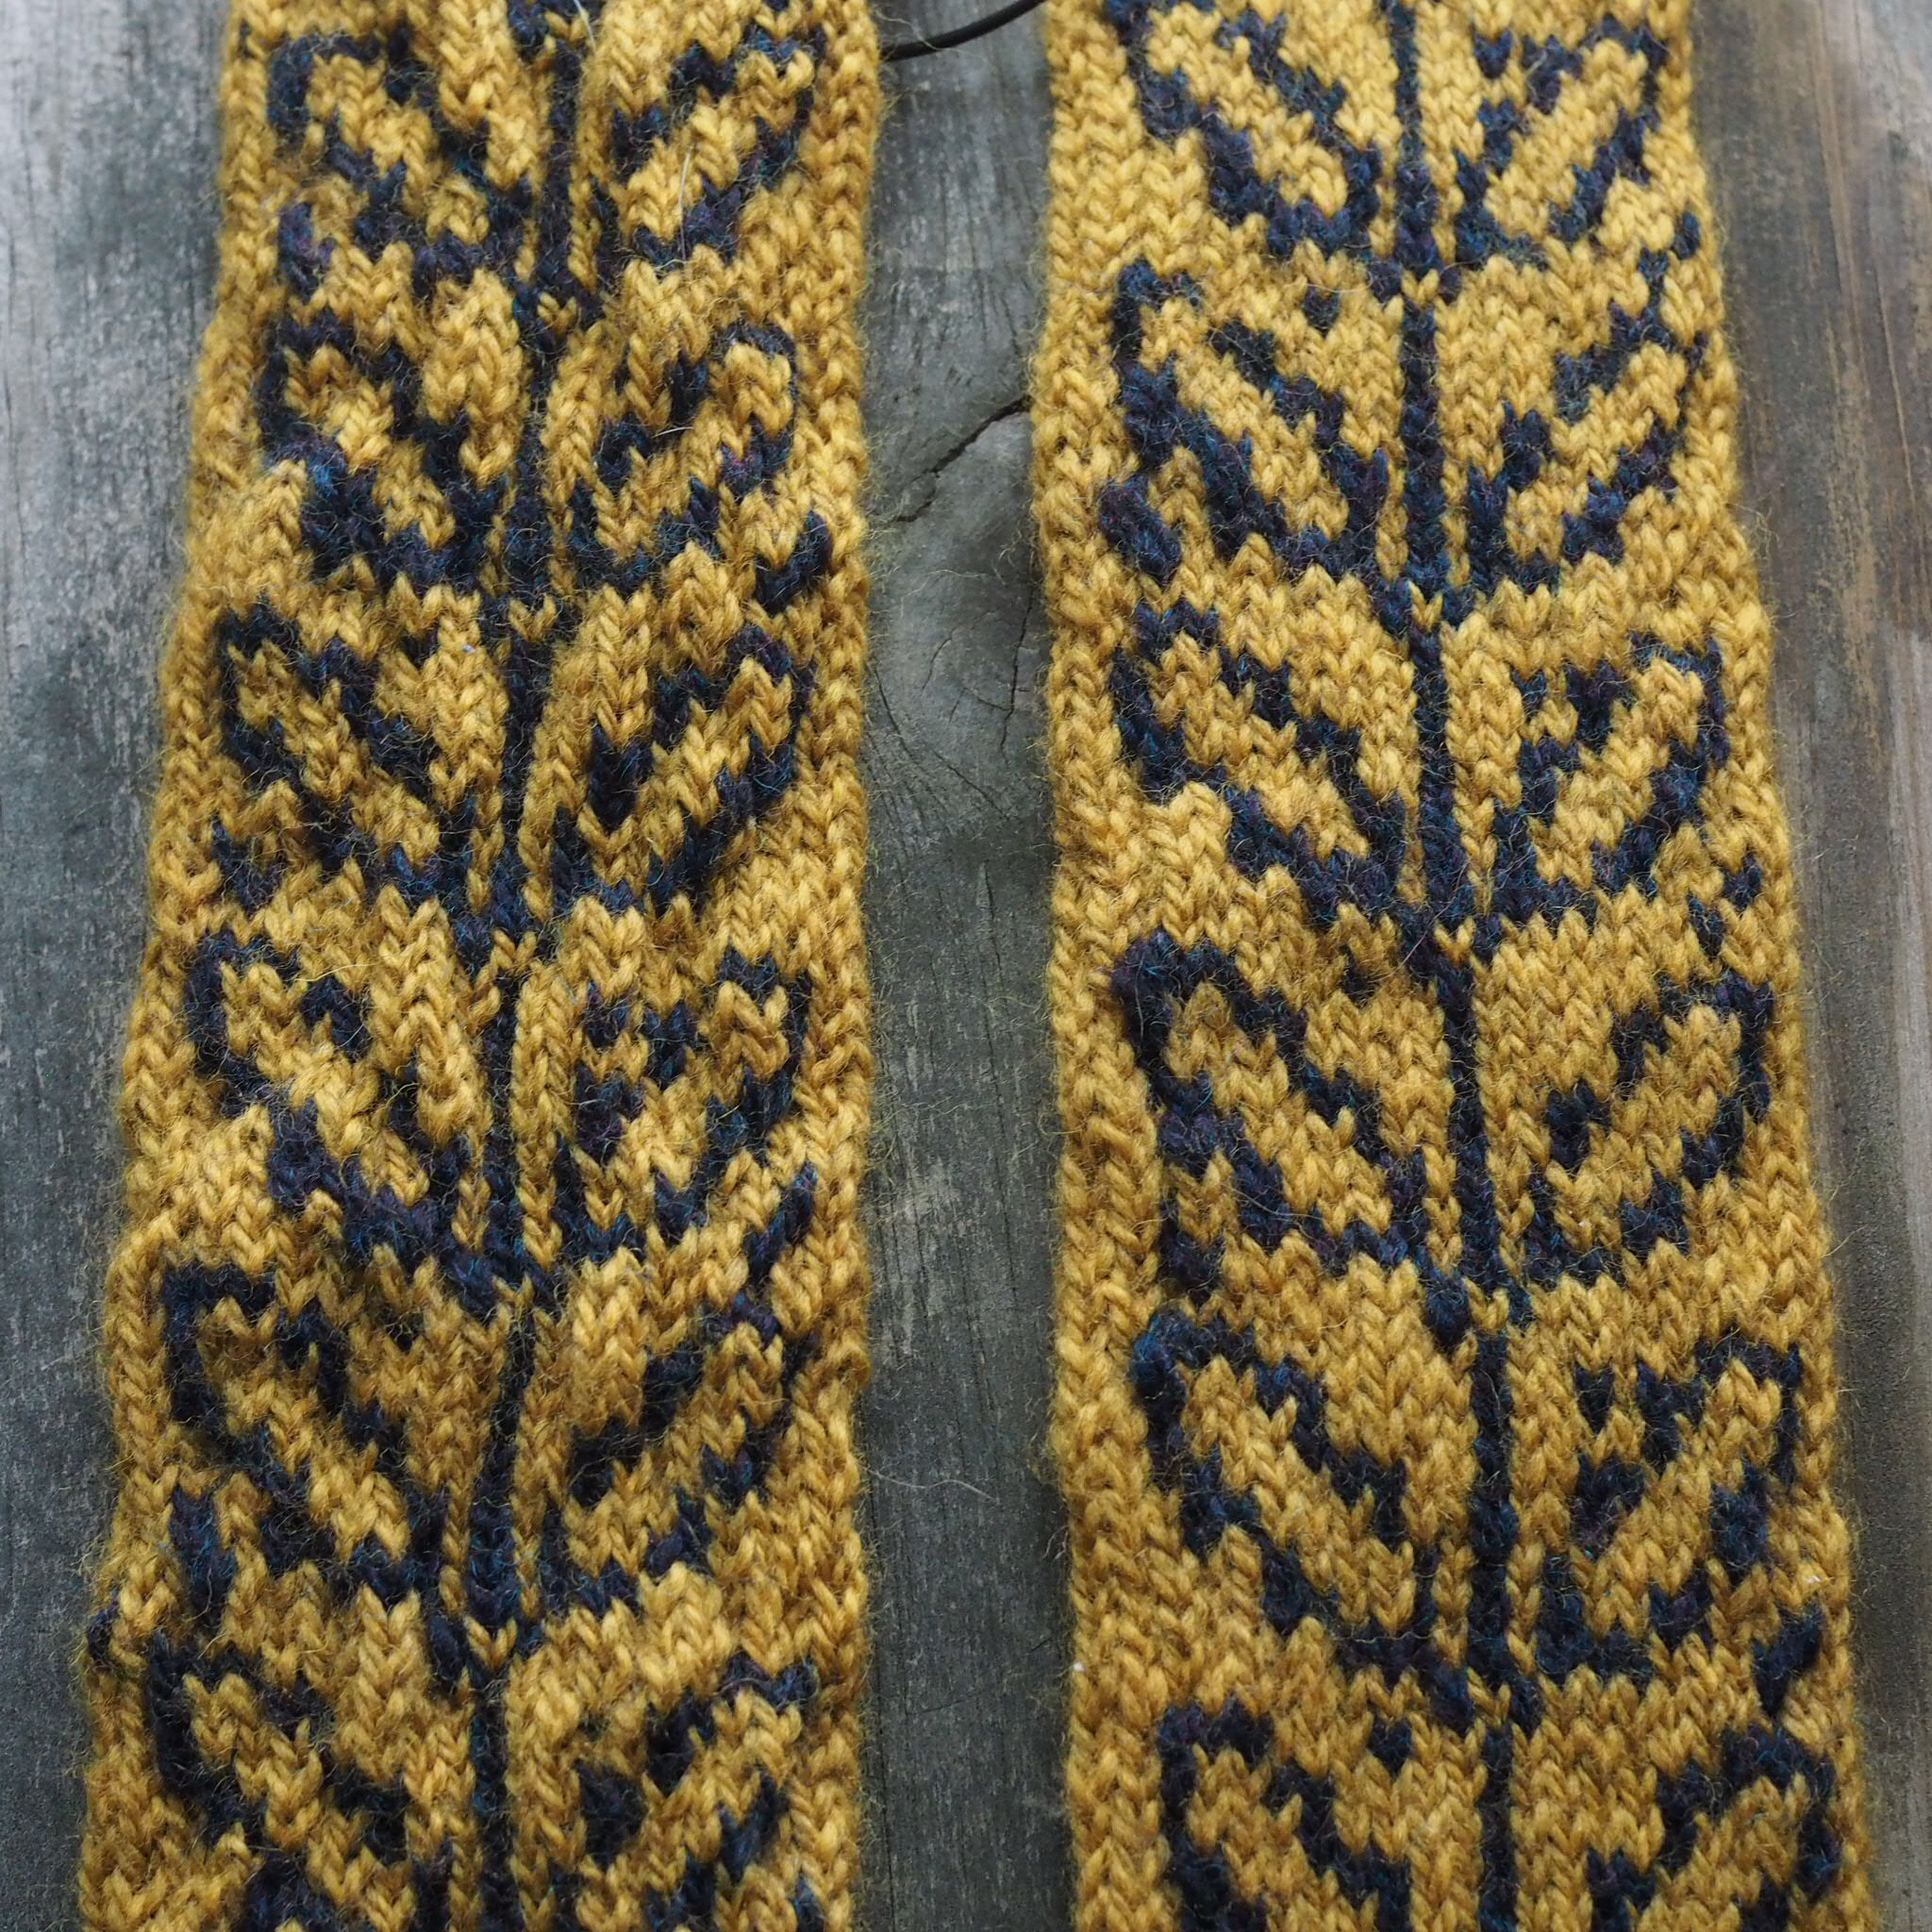
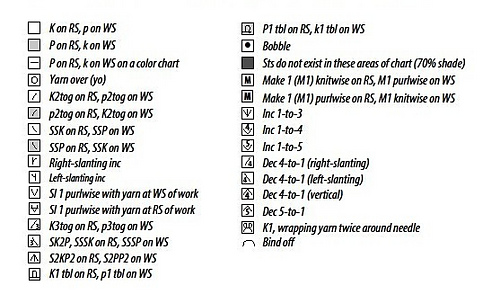
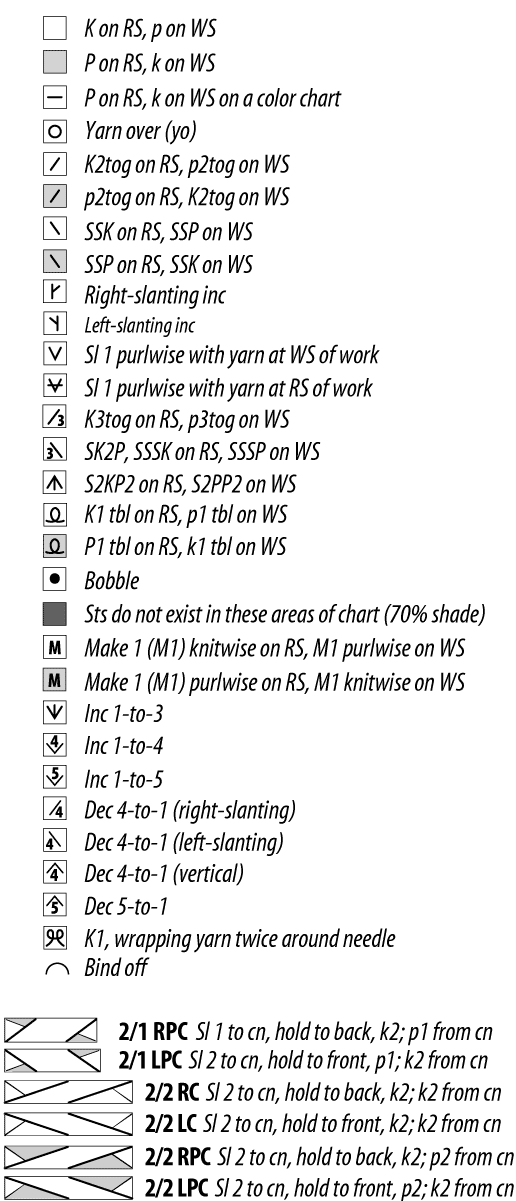
Just like with sewing, working a knitted pleat involves securing folds in the fabric. To work a horizontal pleat, like in my Bob & Wave Cowl (see bottom of post), you pick up and knit a stitch from several rows down together with every active stitch. The vertical pleat, as used to shape the hands of the Turning Leaf gloves, is worked across two rows and is a tad more involved, so I’ll walk you through the process step by step.

PA110613.jpg

Here I use the the term “tuck” to cover pintucks (which are very narrow tucks) and any other vertical pleat.

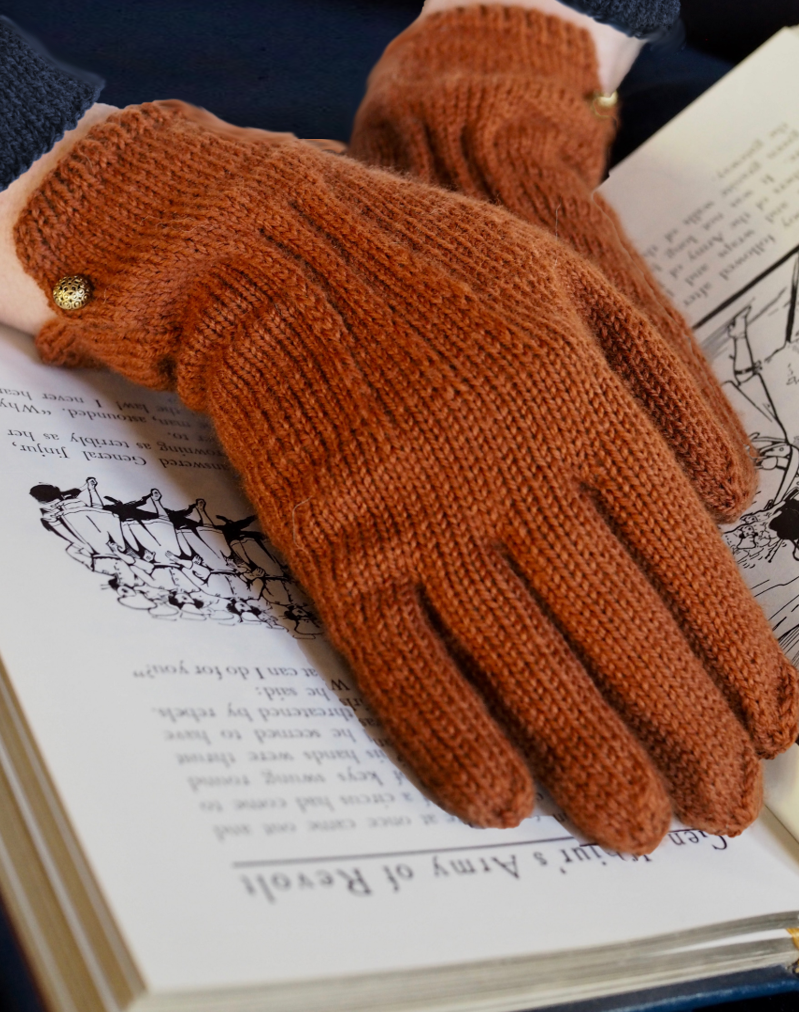
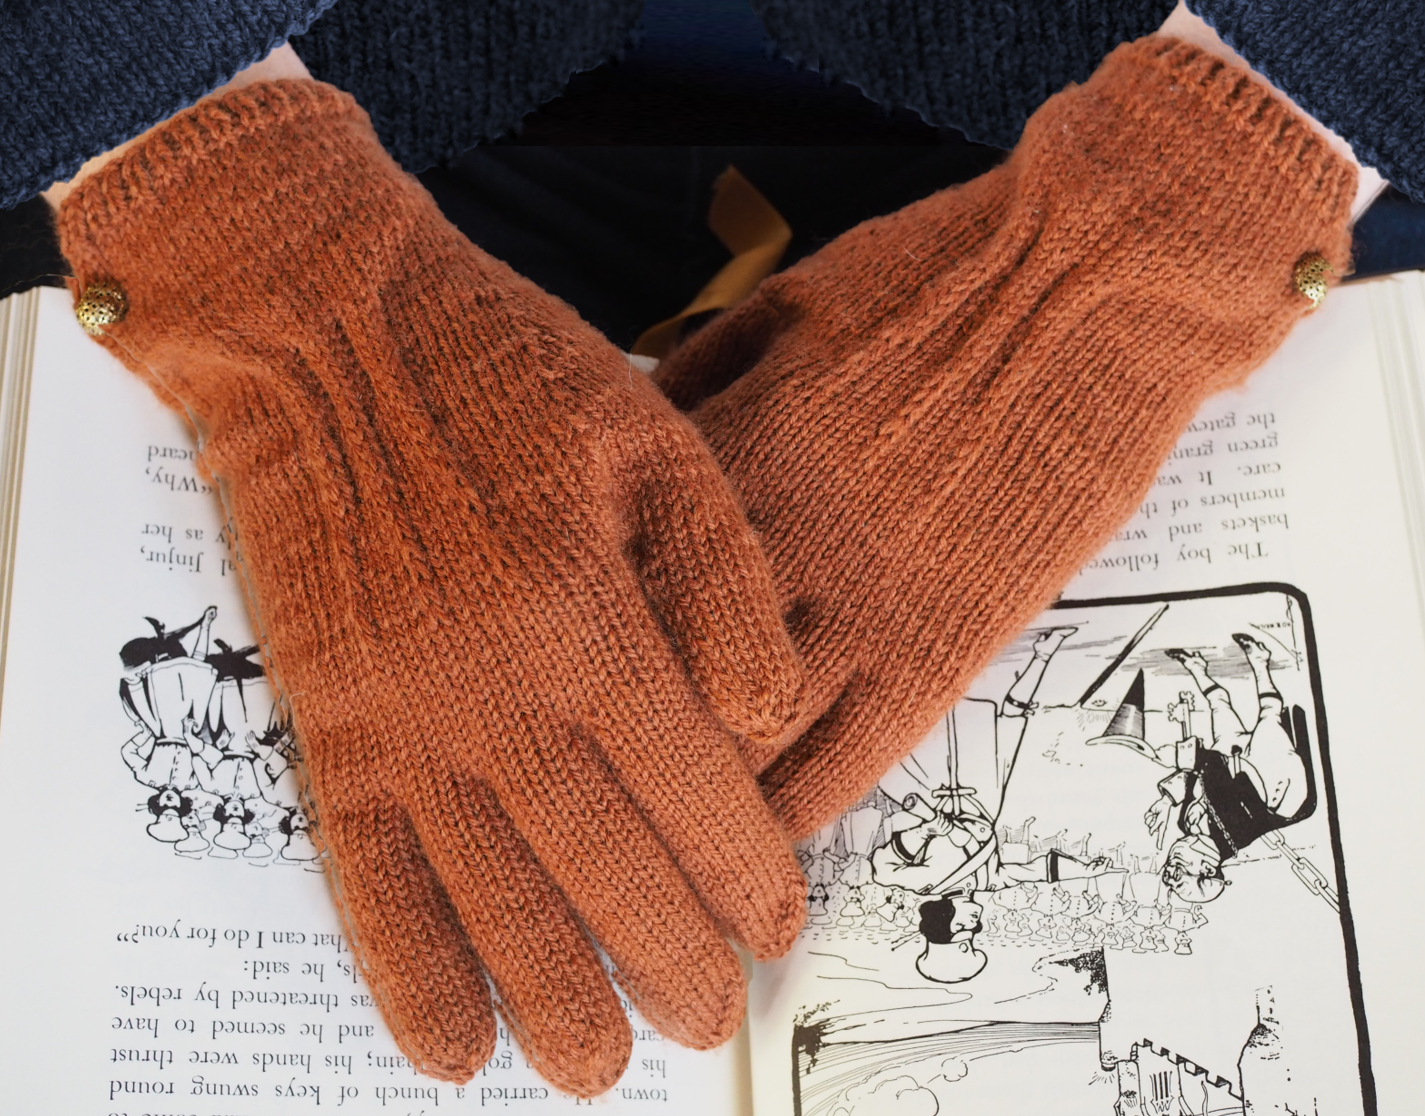
The Turning Leaf Gloves (used as an example here) have a series of three tucks across the back of the hand. The tucks start at three stitches wide near the wrist, and then decrease to a two-stitch tuck, and then one-stitch tuck just below the fingers.

I’ll be showing the three-stitch tuck throughout, but the same technique can be applied to a tuck of any width. A tuck with more stitches being folded will be more visible and decrease more fabric.

PA110620.jpg

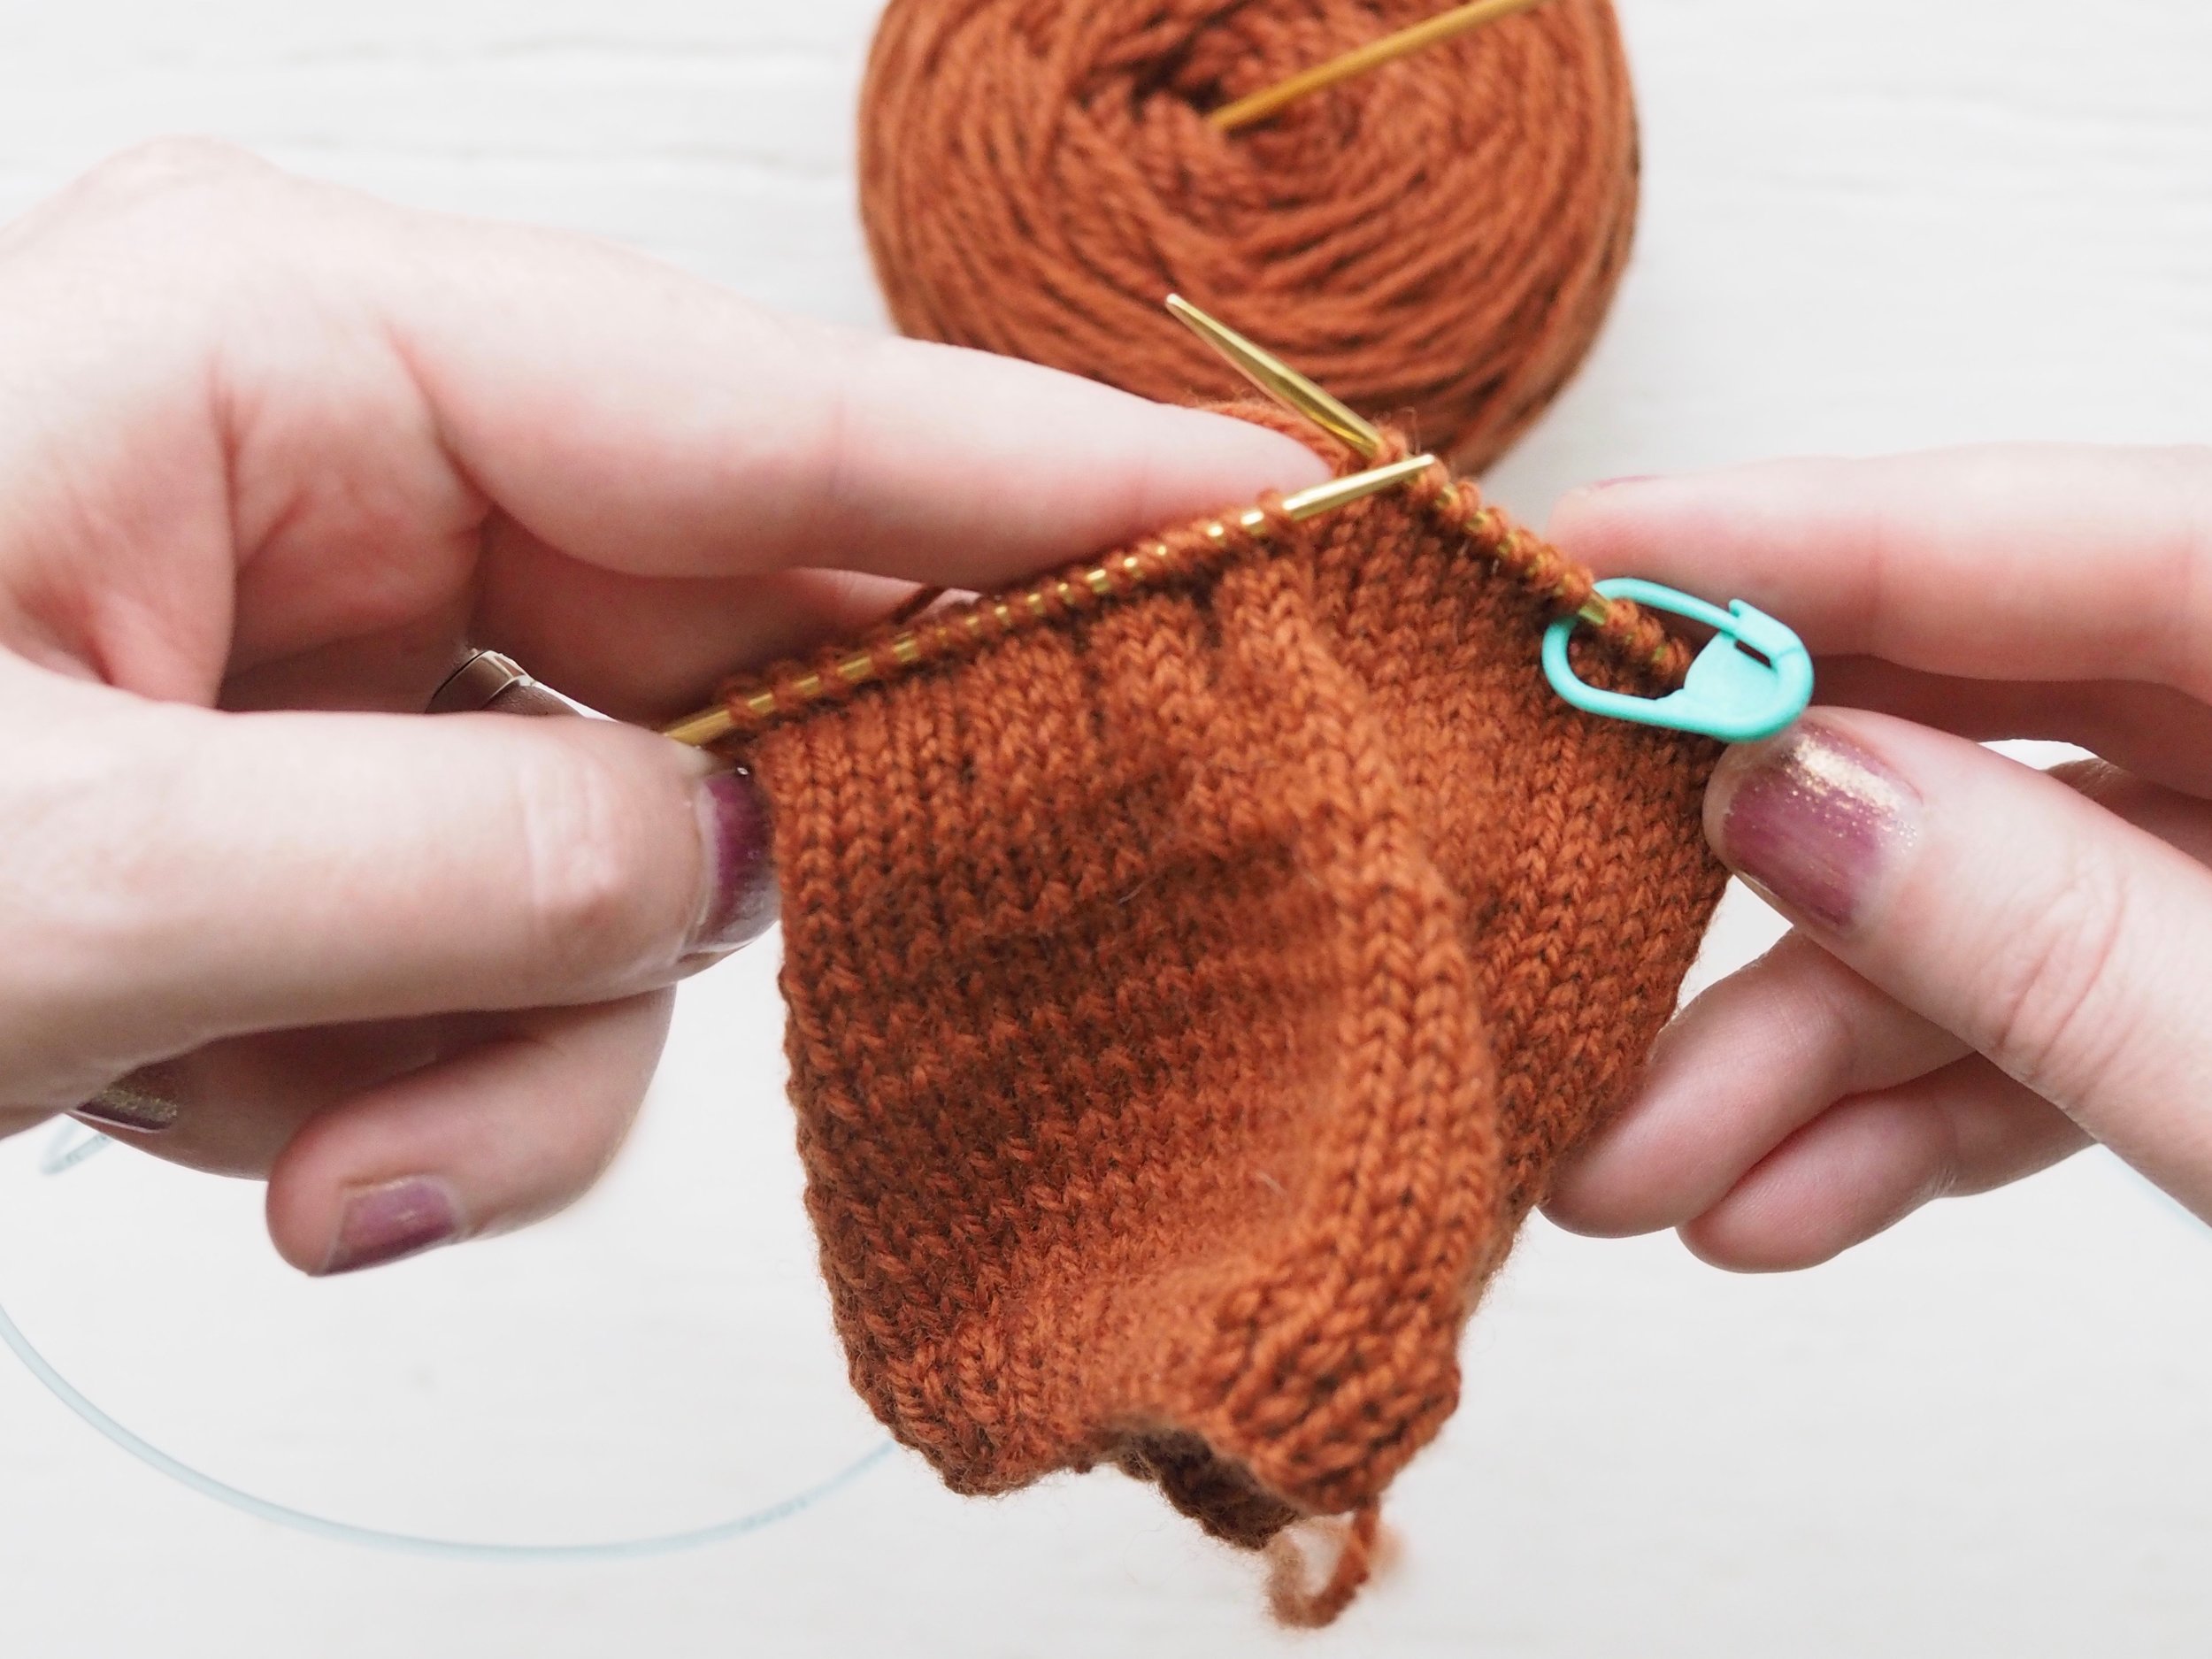
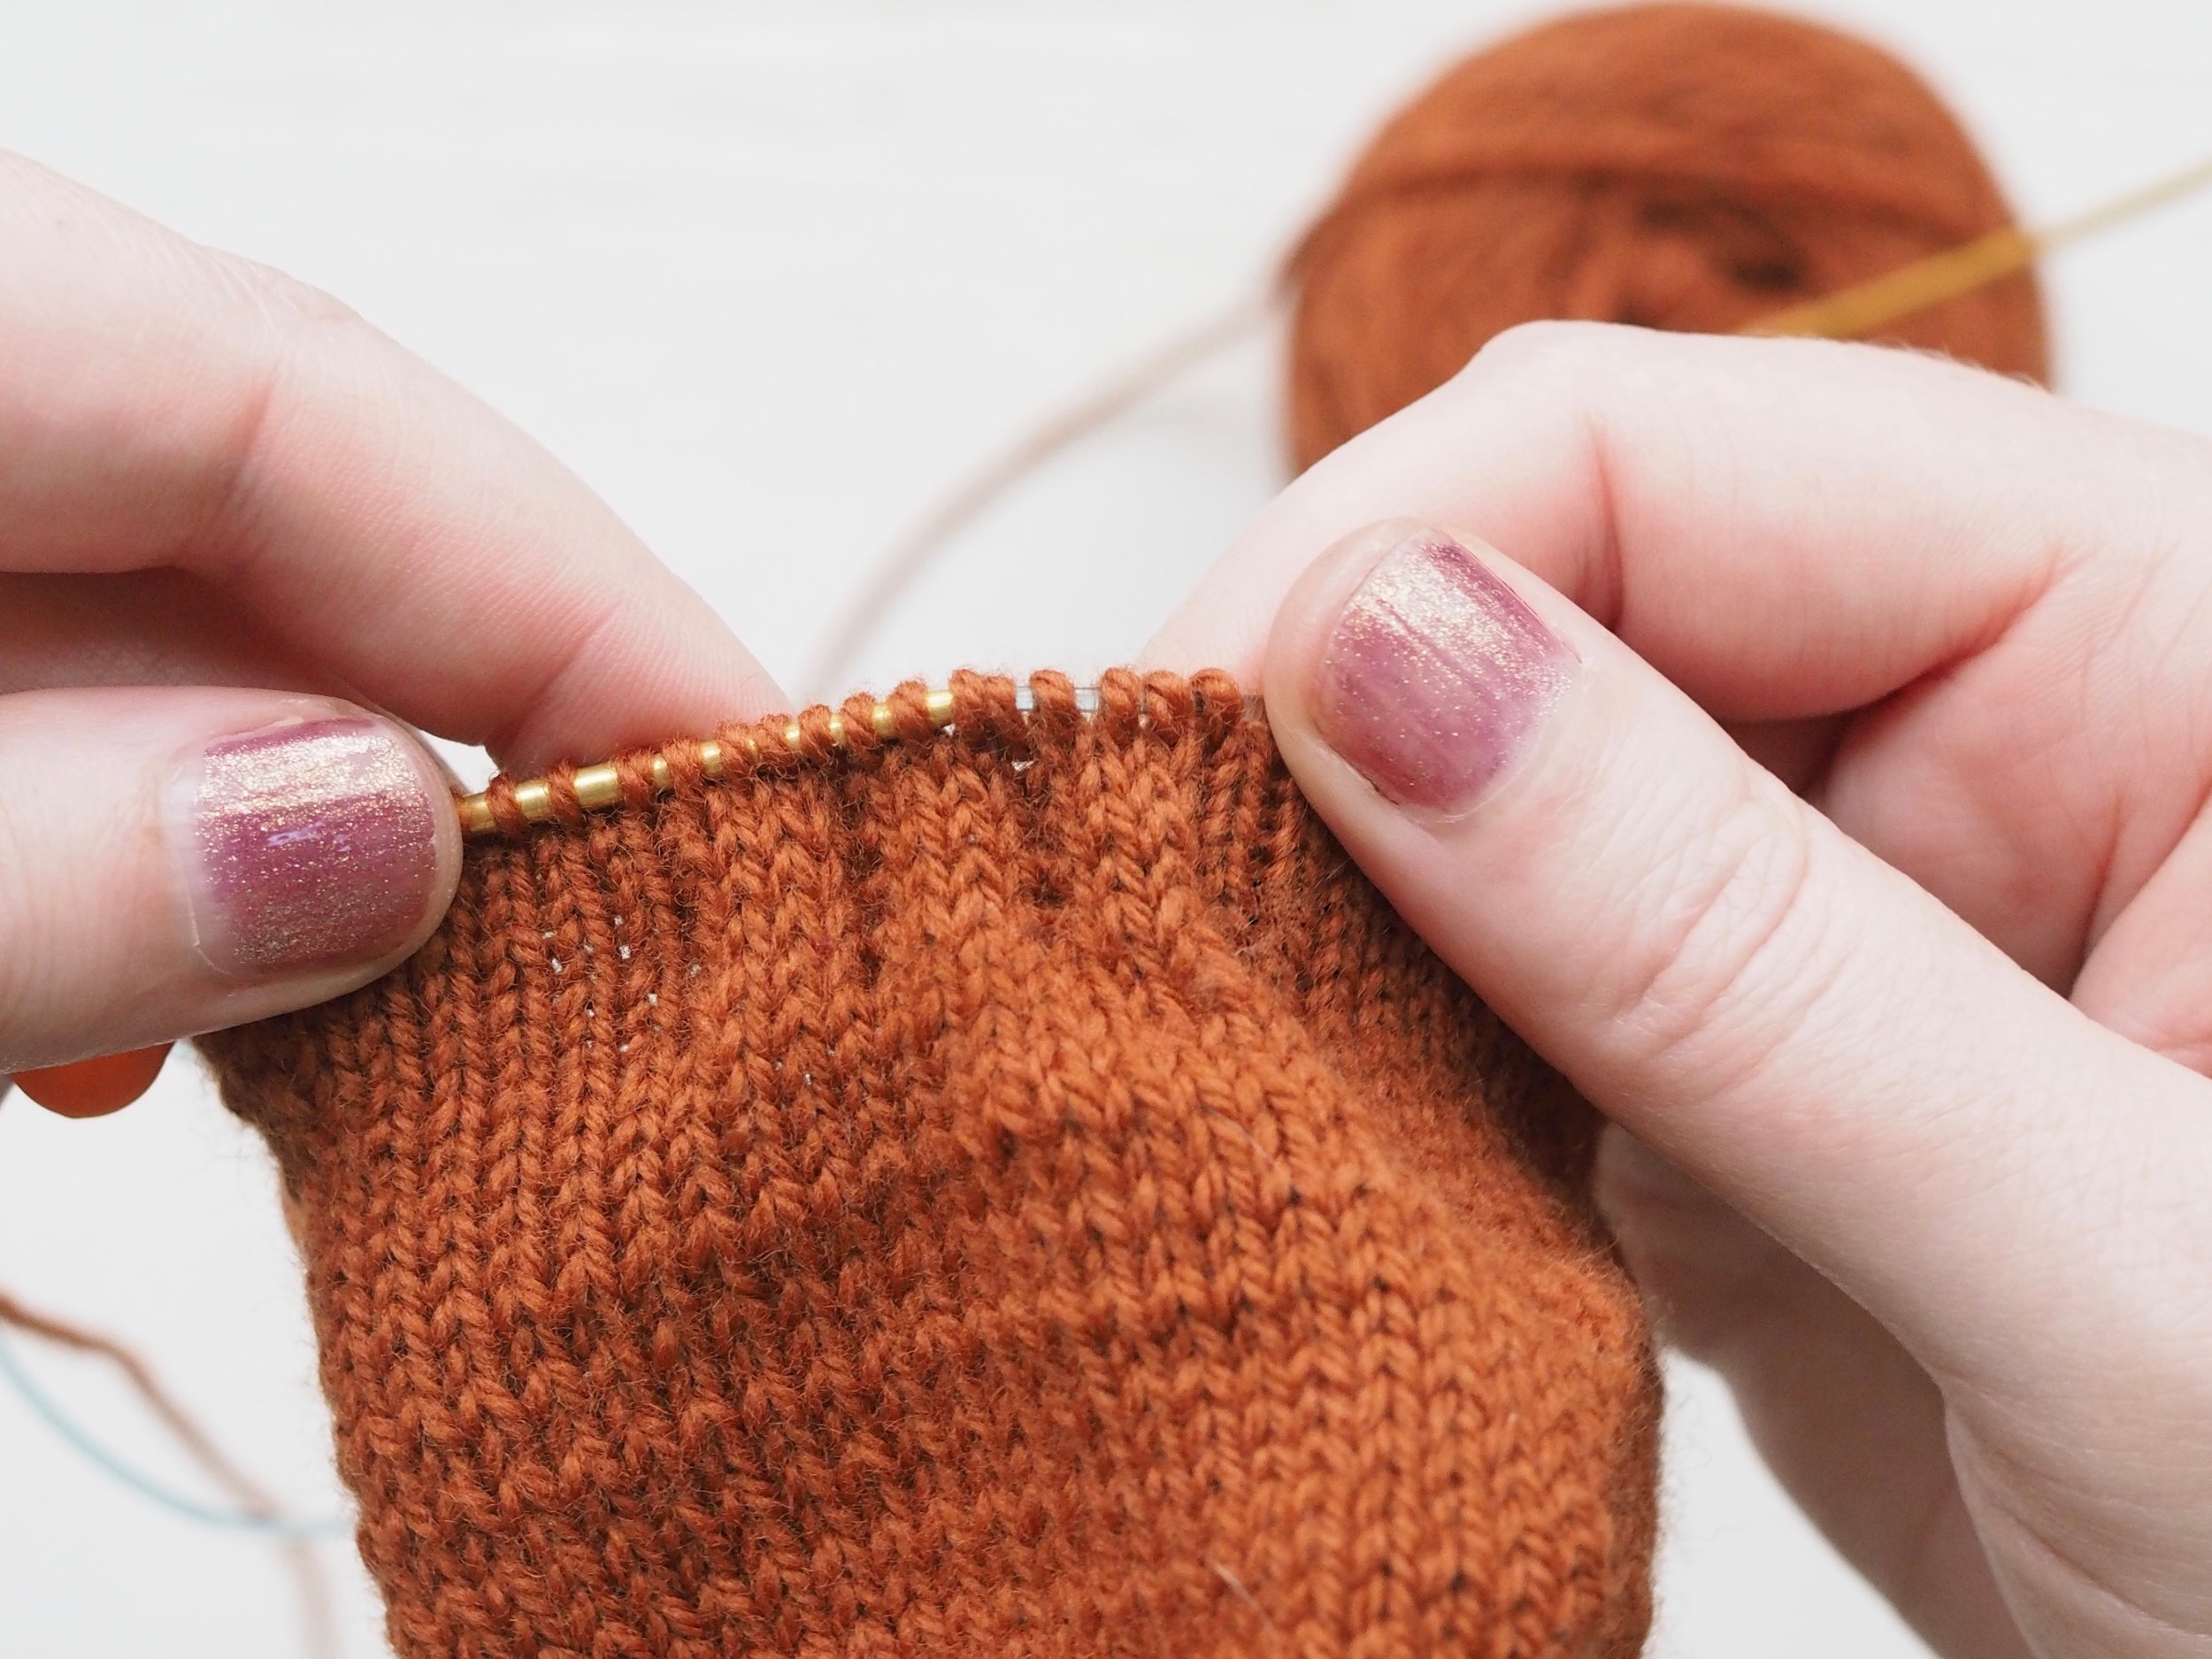
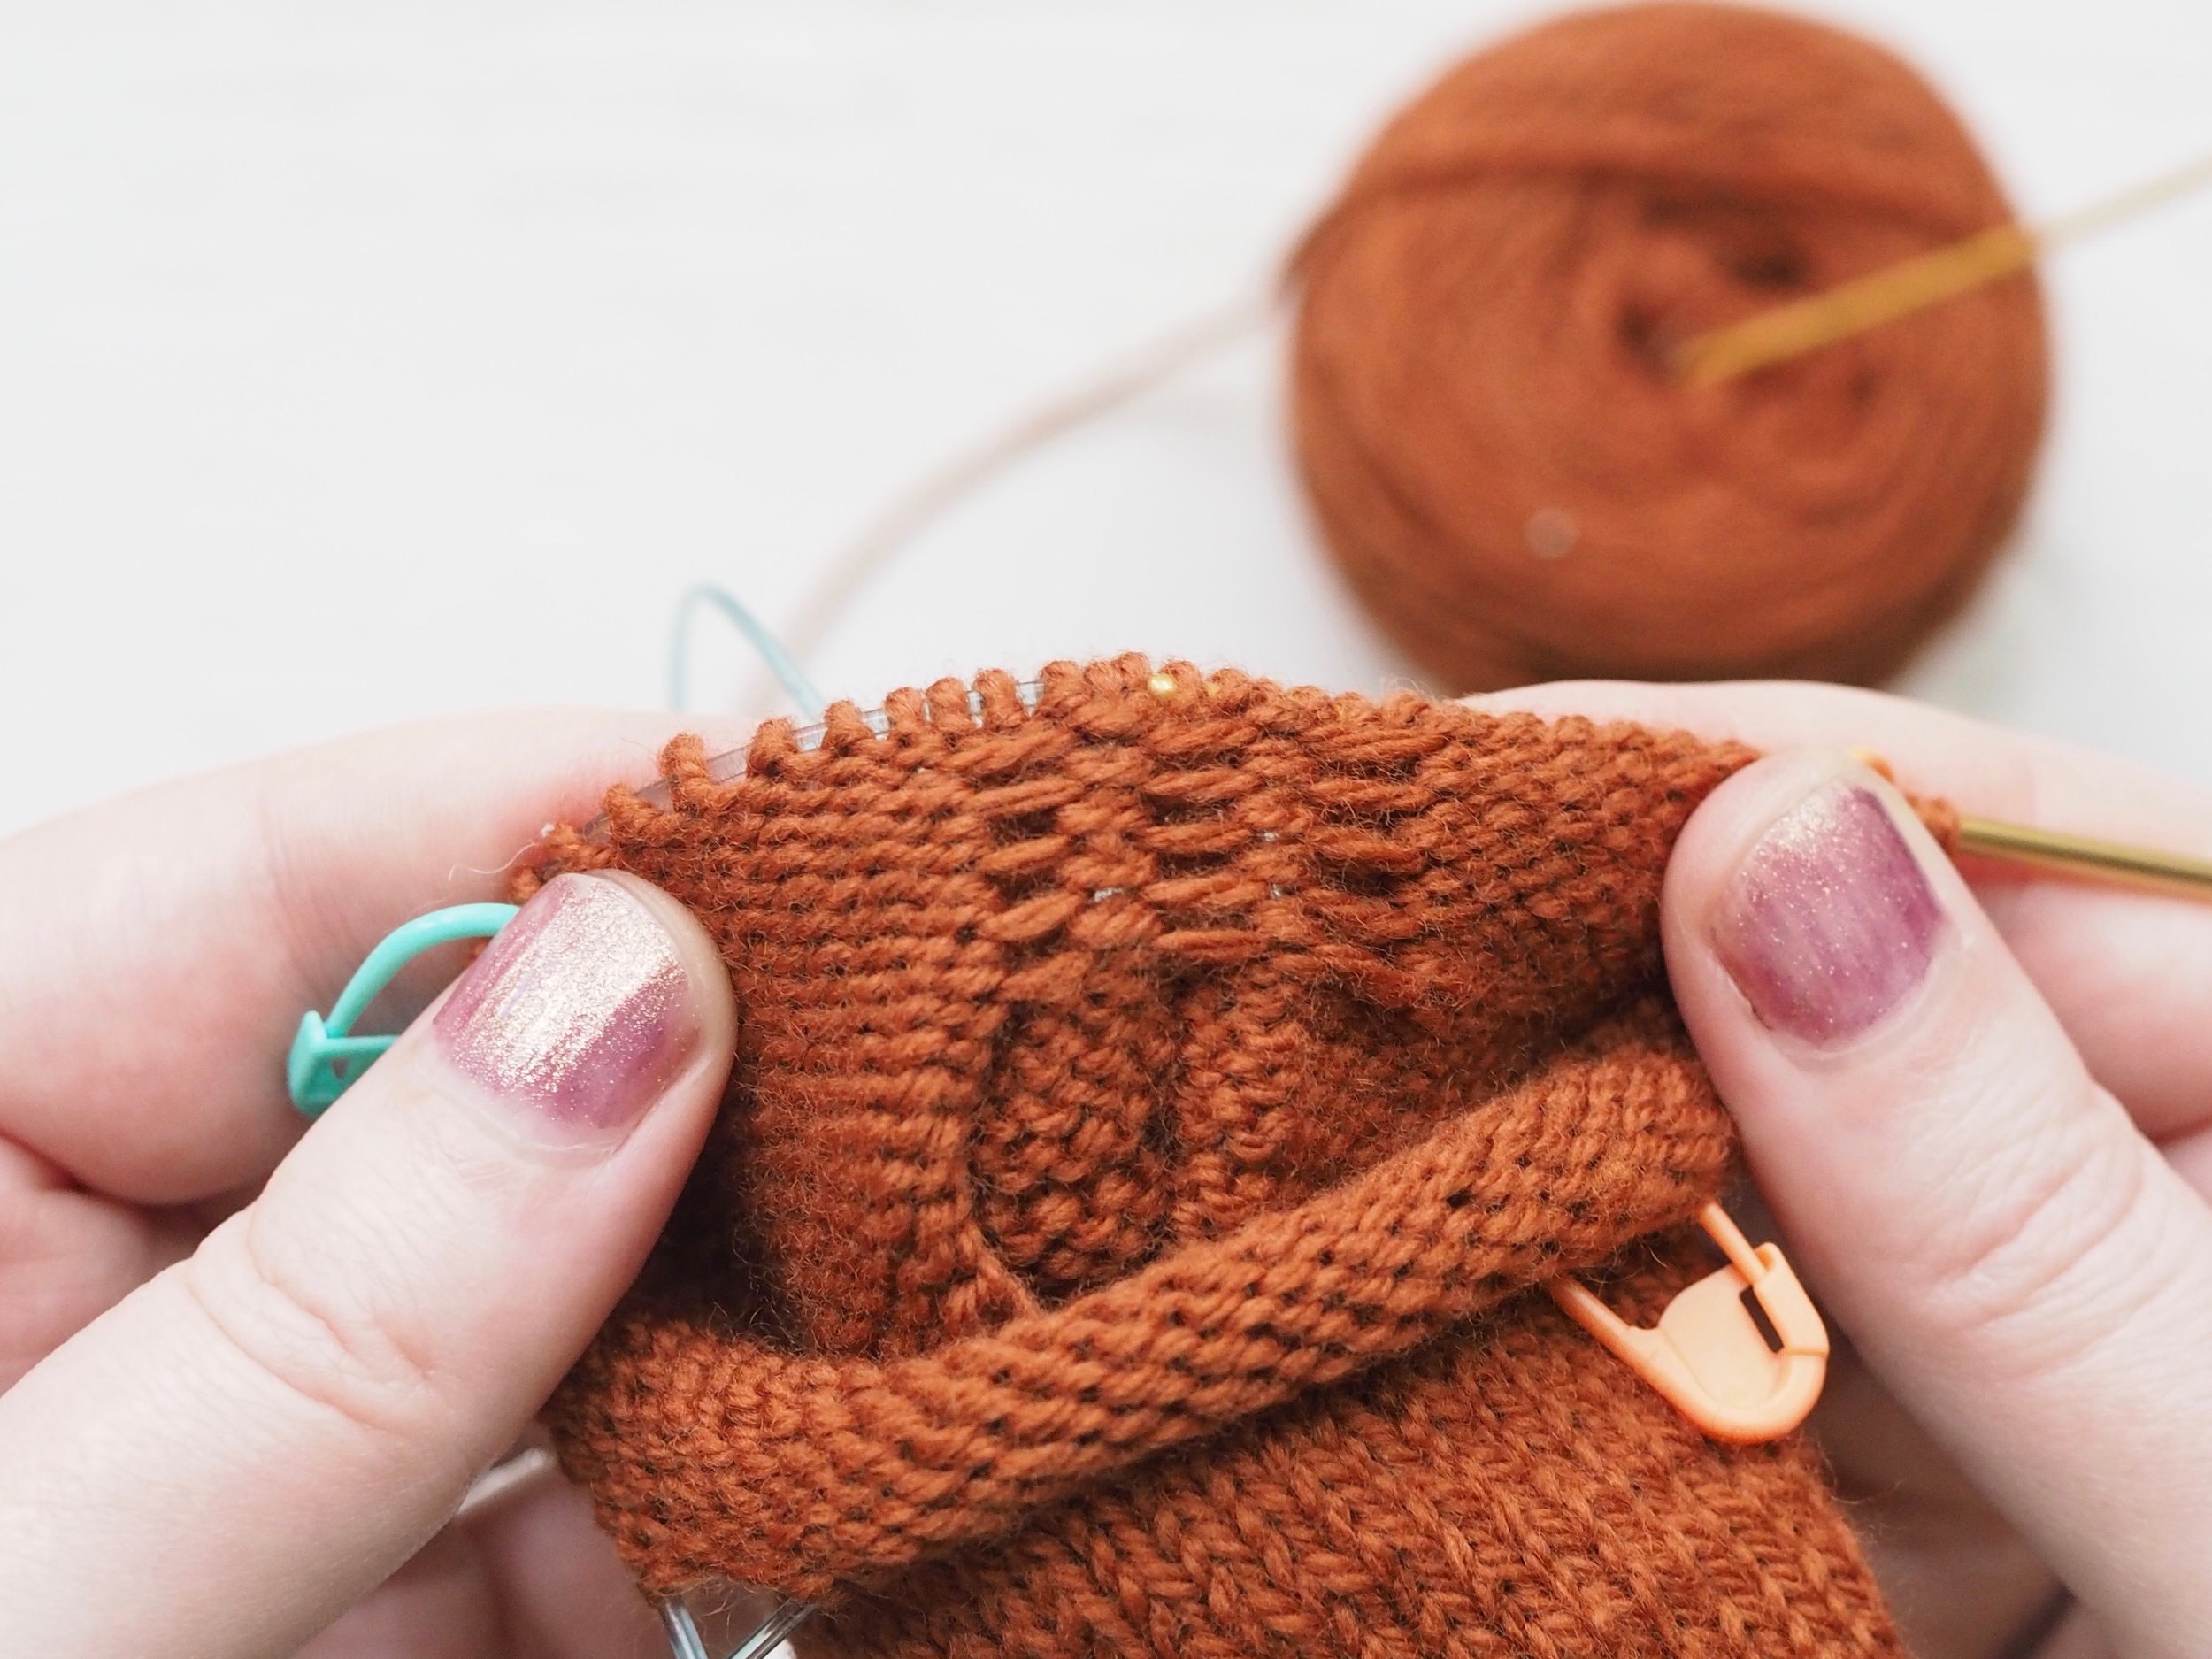
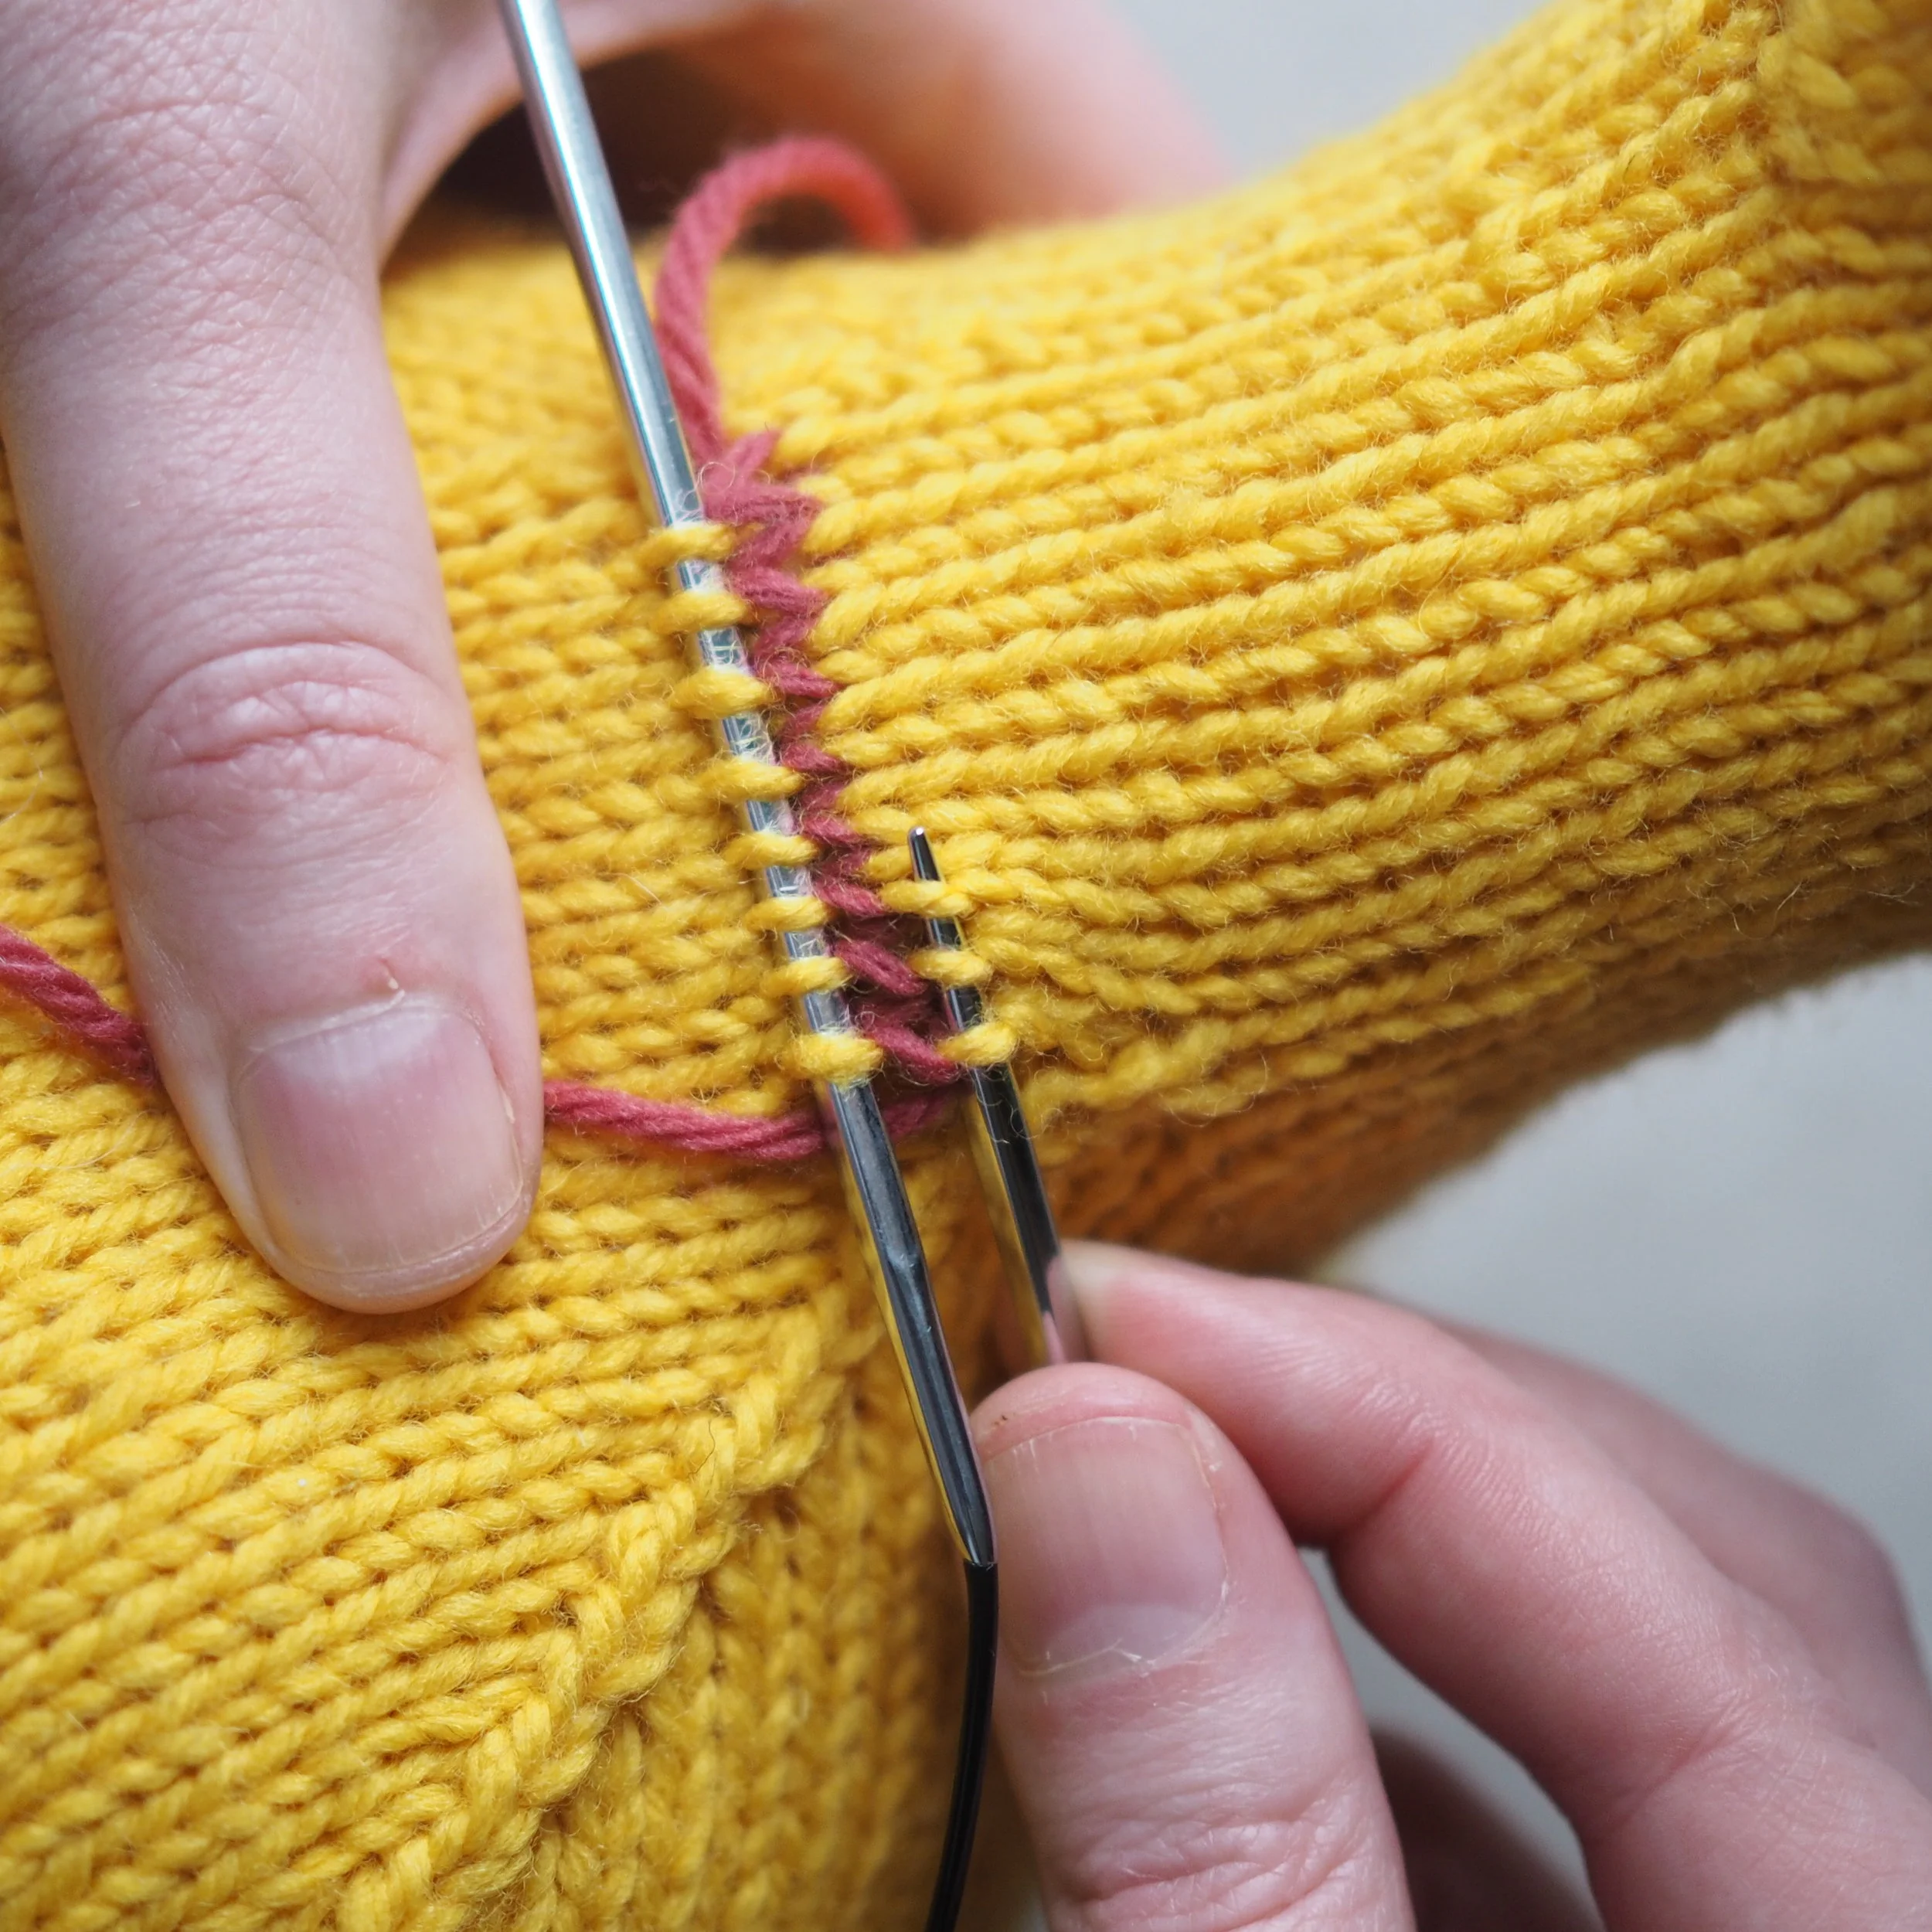
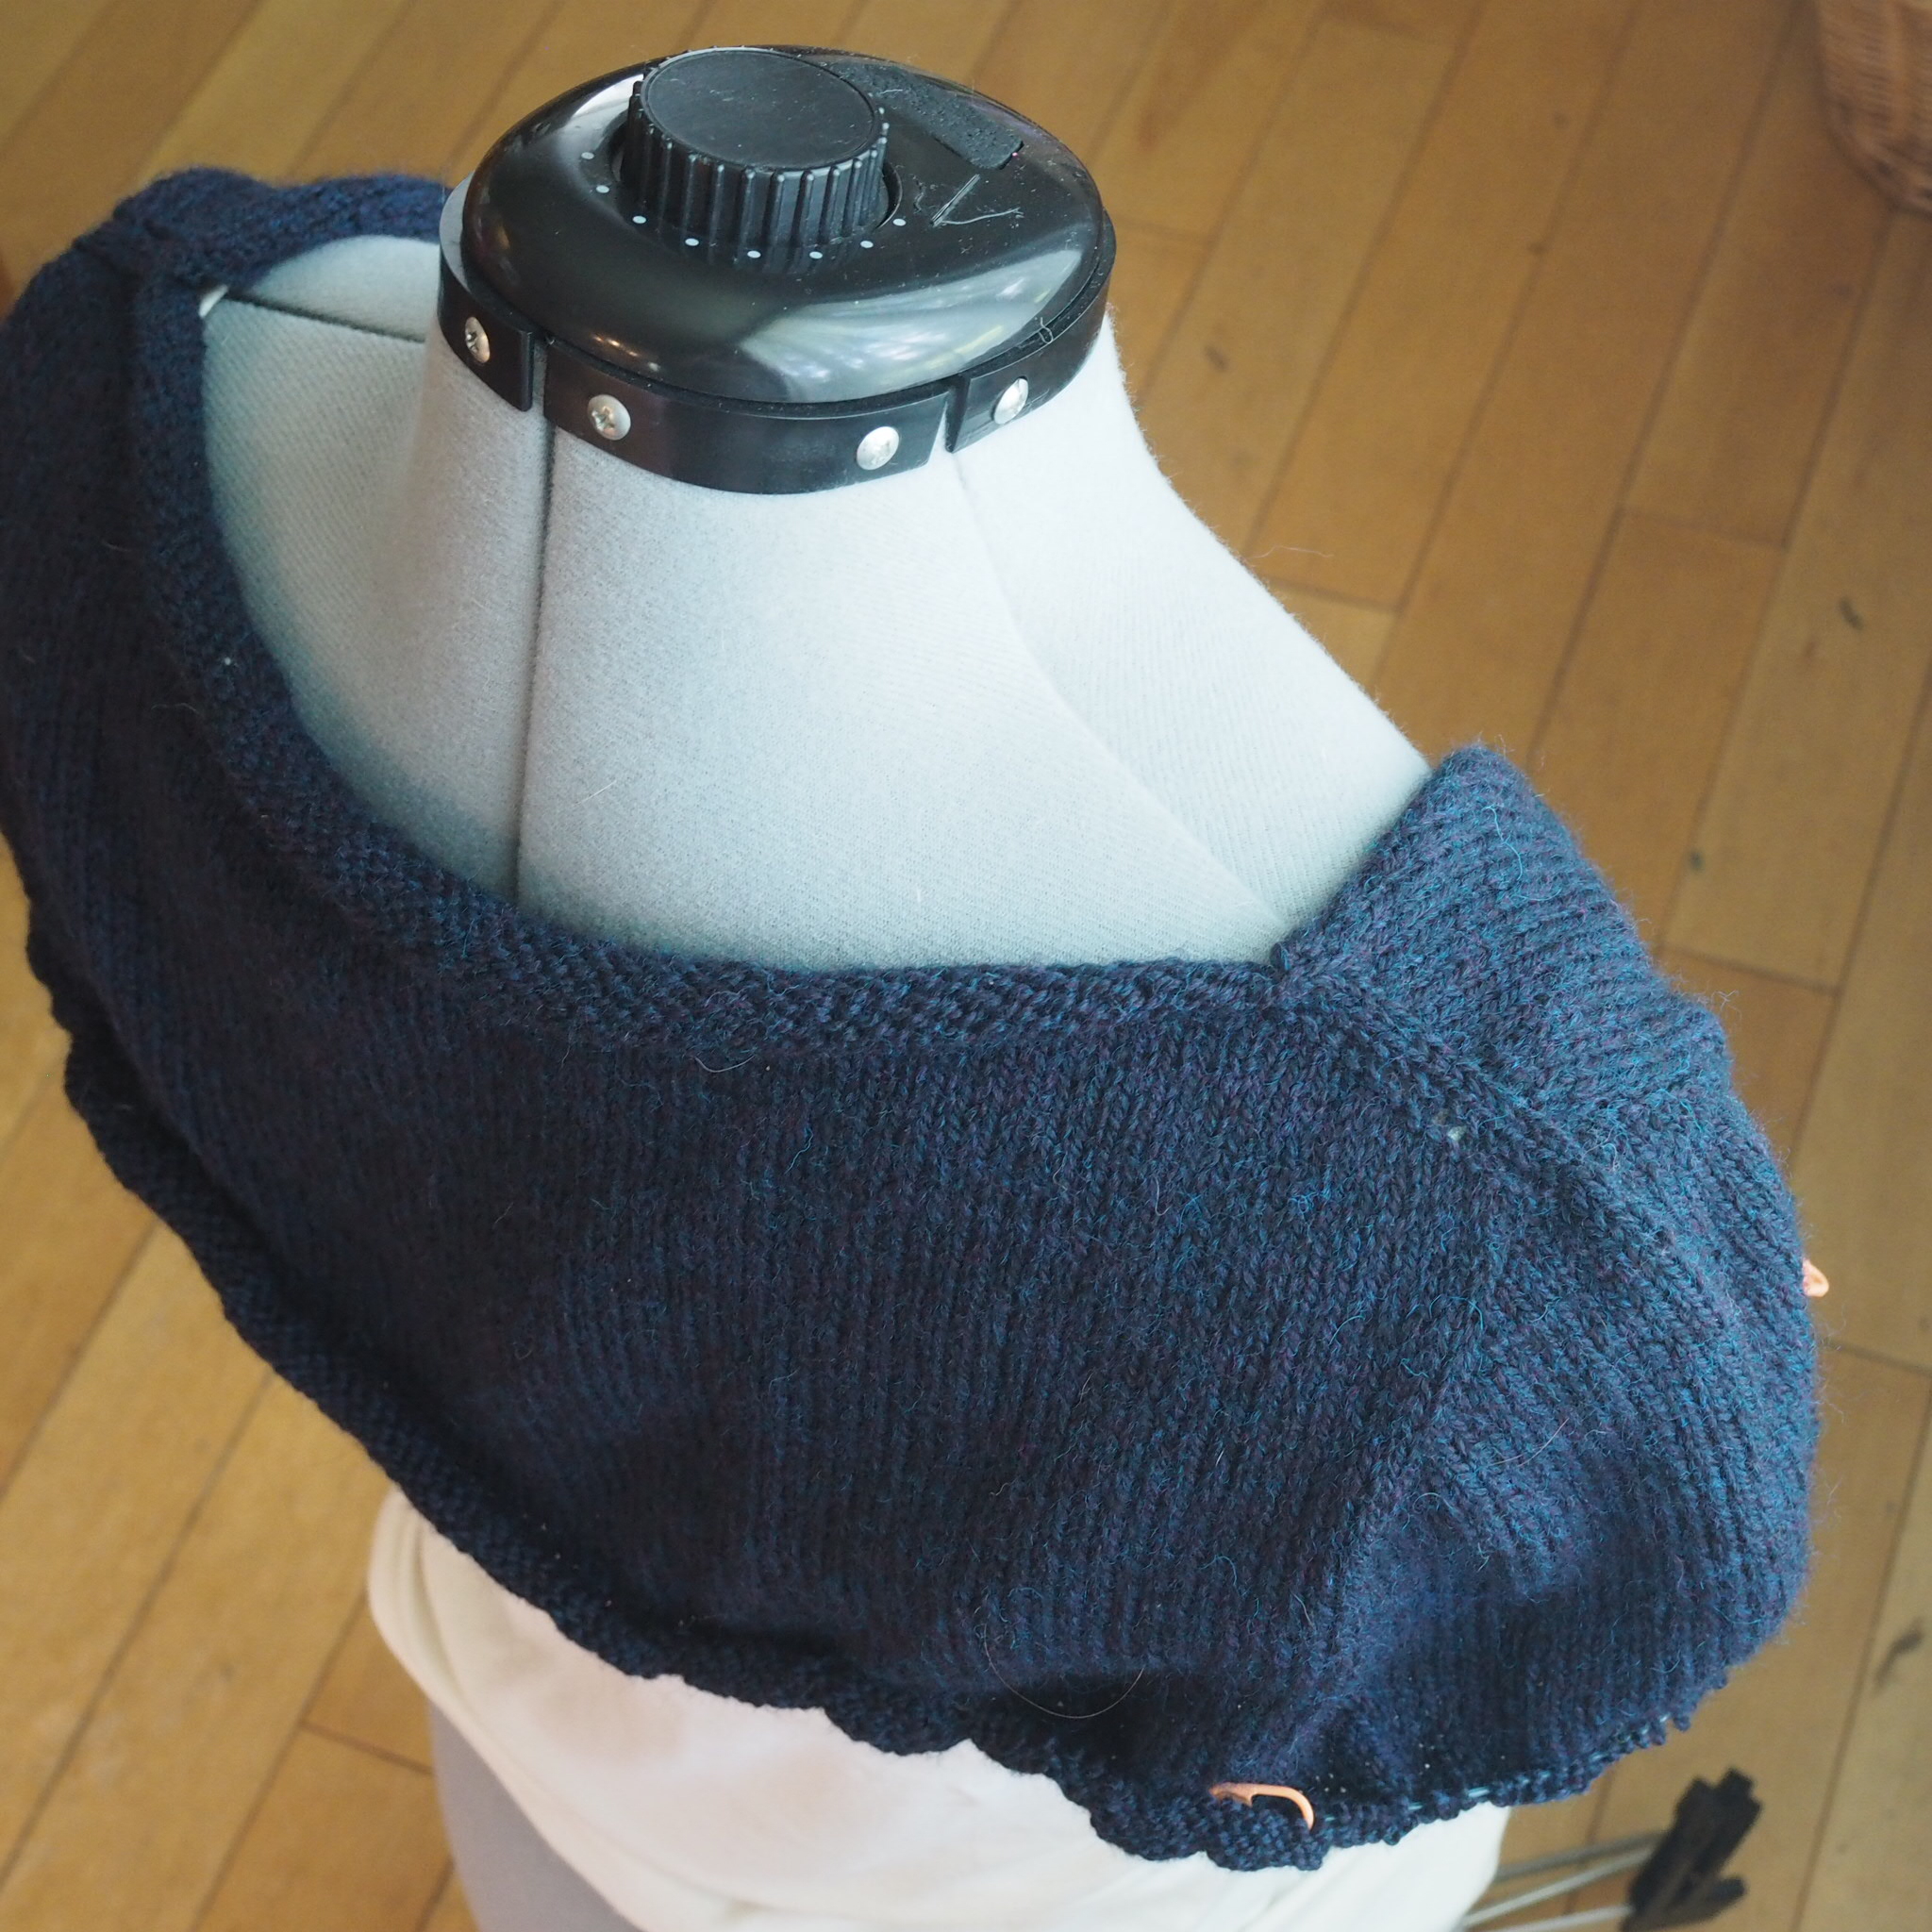
In the image above, I’ve already worked four rows of the three-stitch tuck pattern. You can see the three tucks, and the four recessed “channels” that fall on the sides of the tuck. Worked over two rows, the tucks are formed by slipping the tuck stitches on every other row and pulling the working yarn very tightly across the back, which pulls the stitches on either side of the tuck closer together, essentially folding them and holding the fold together.

ROW 1

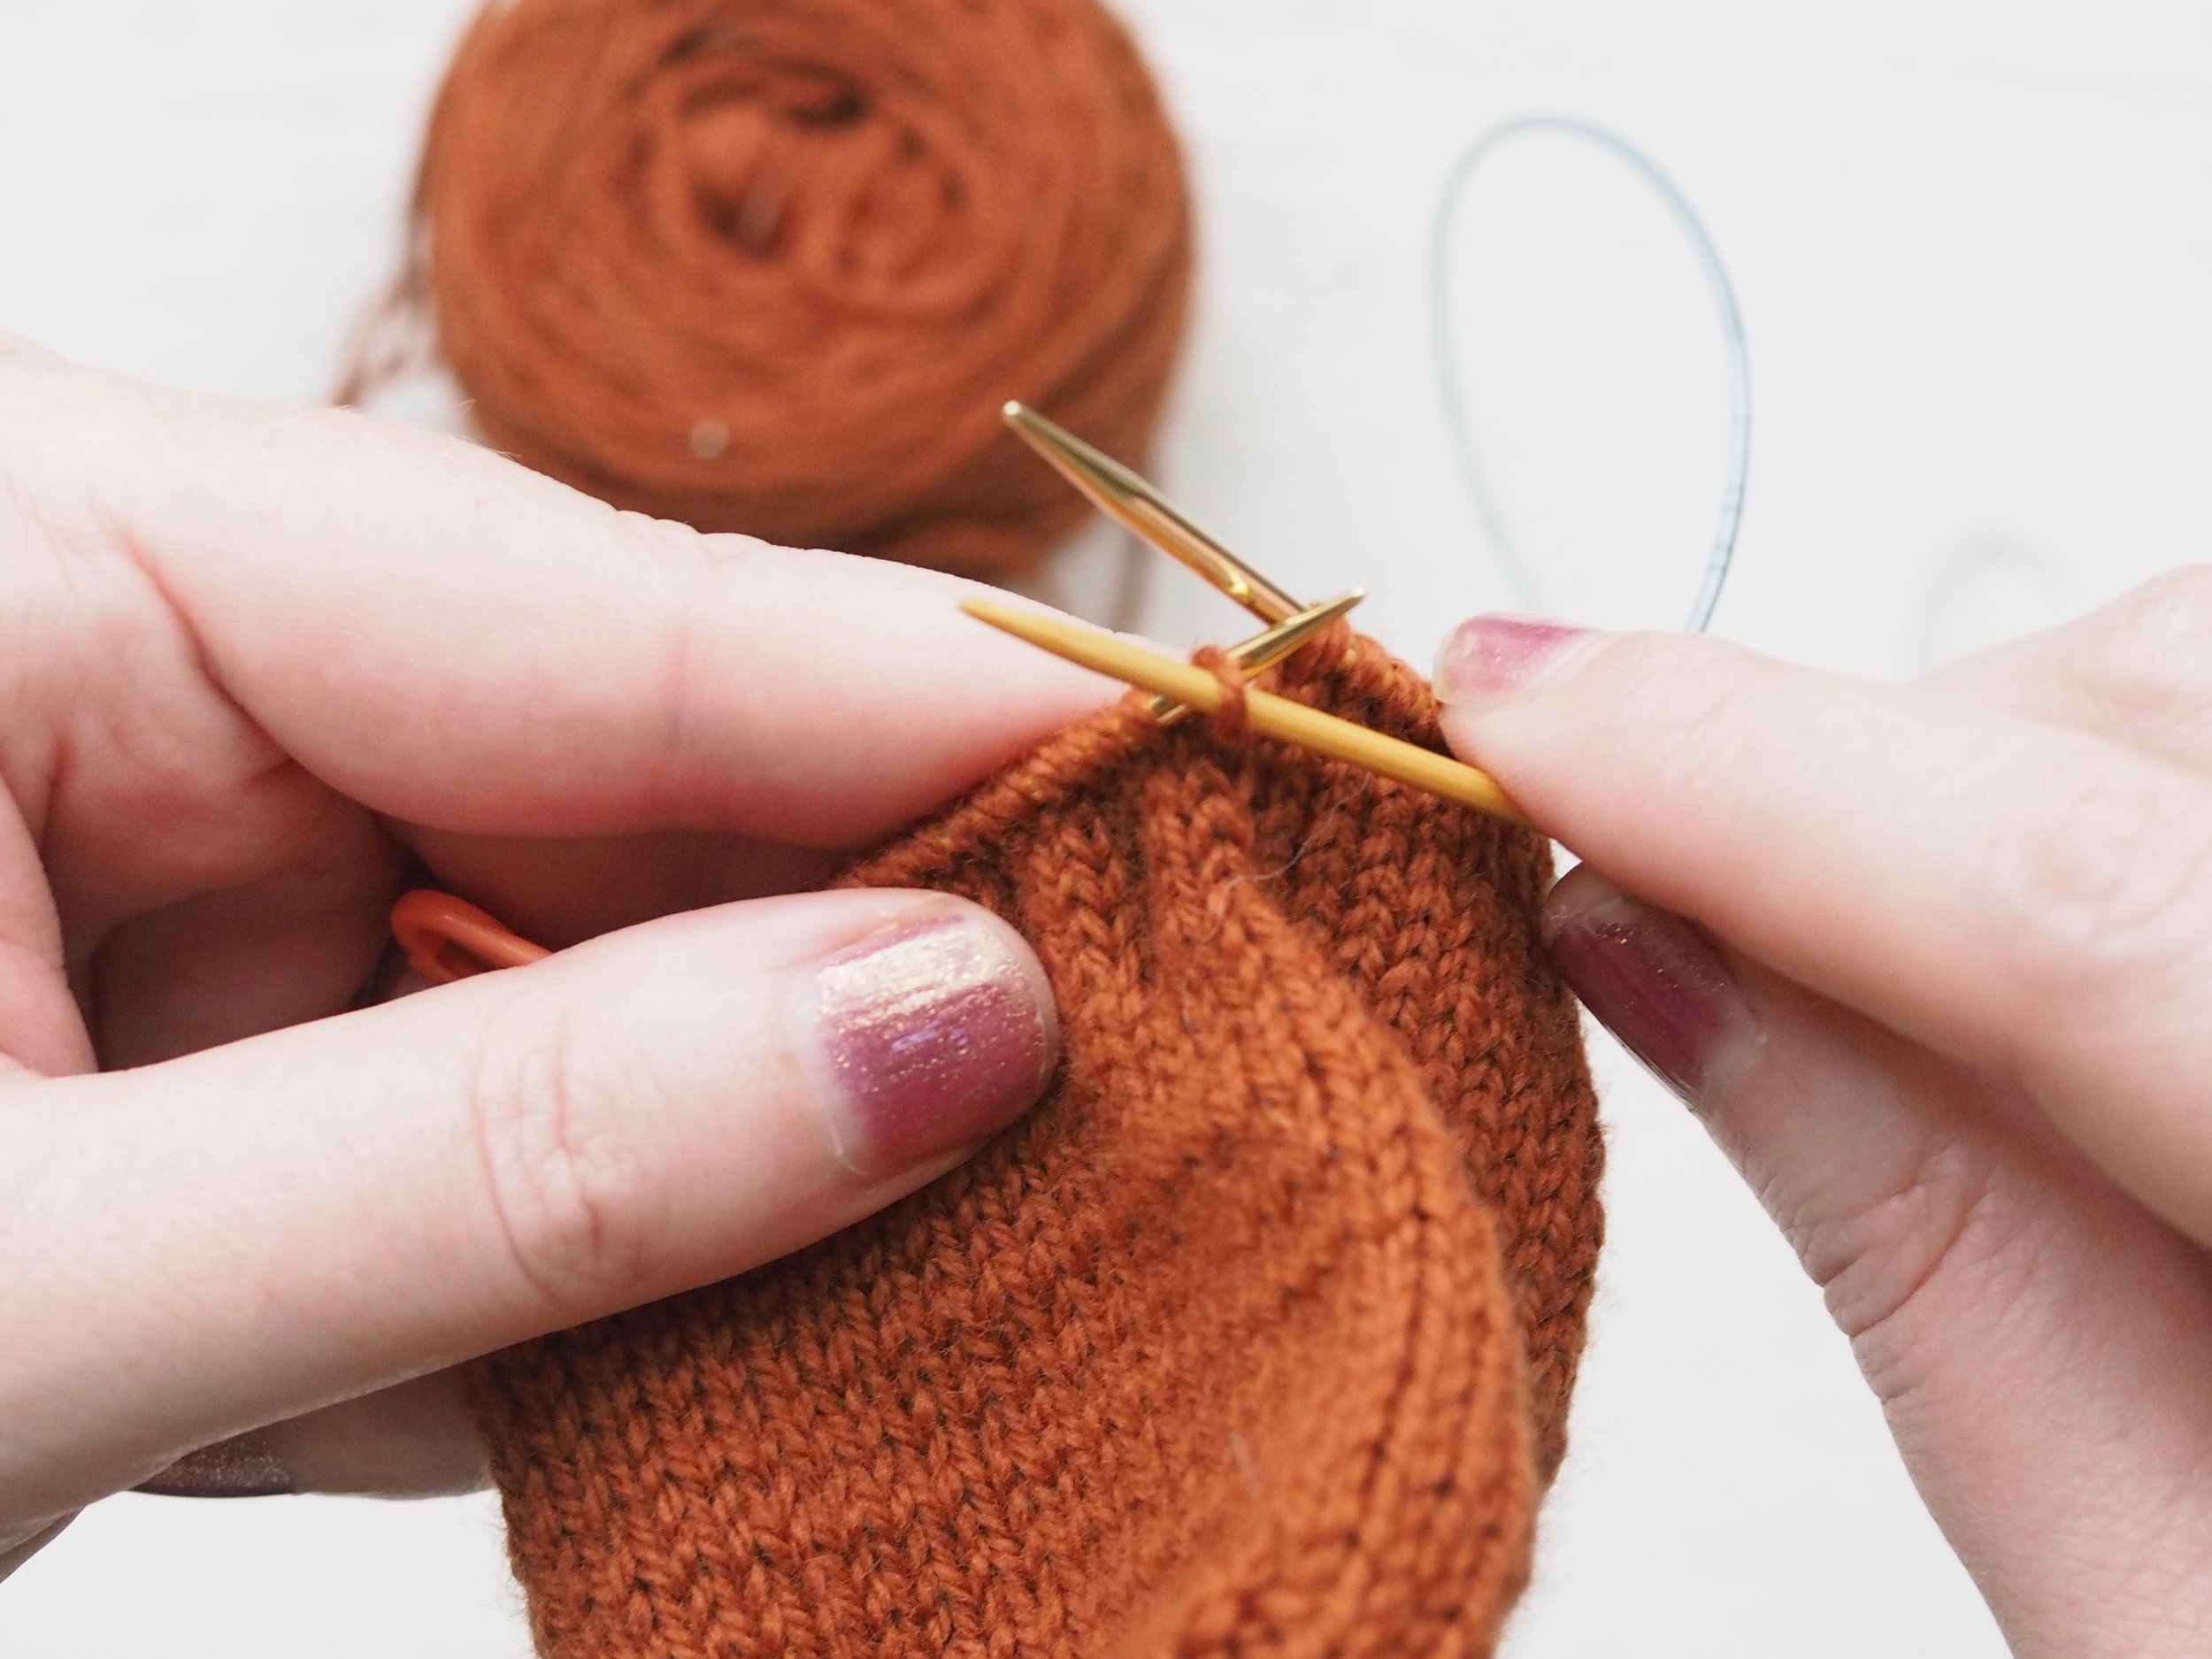
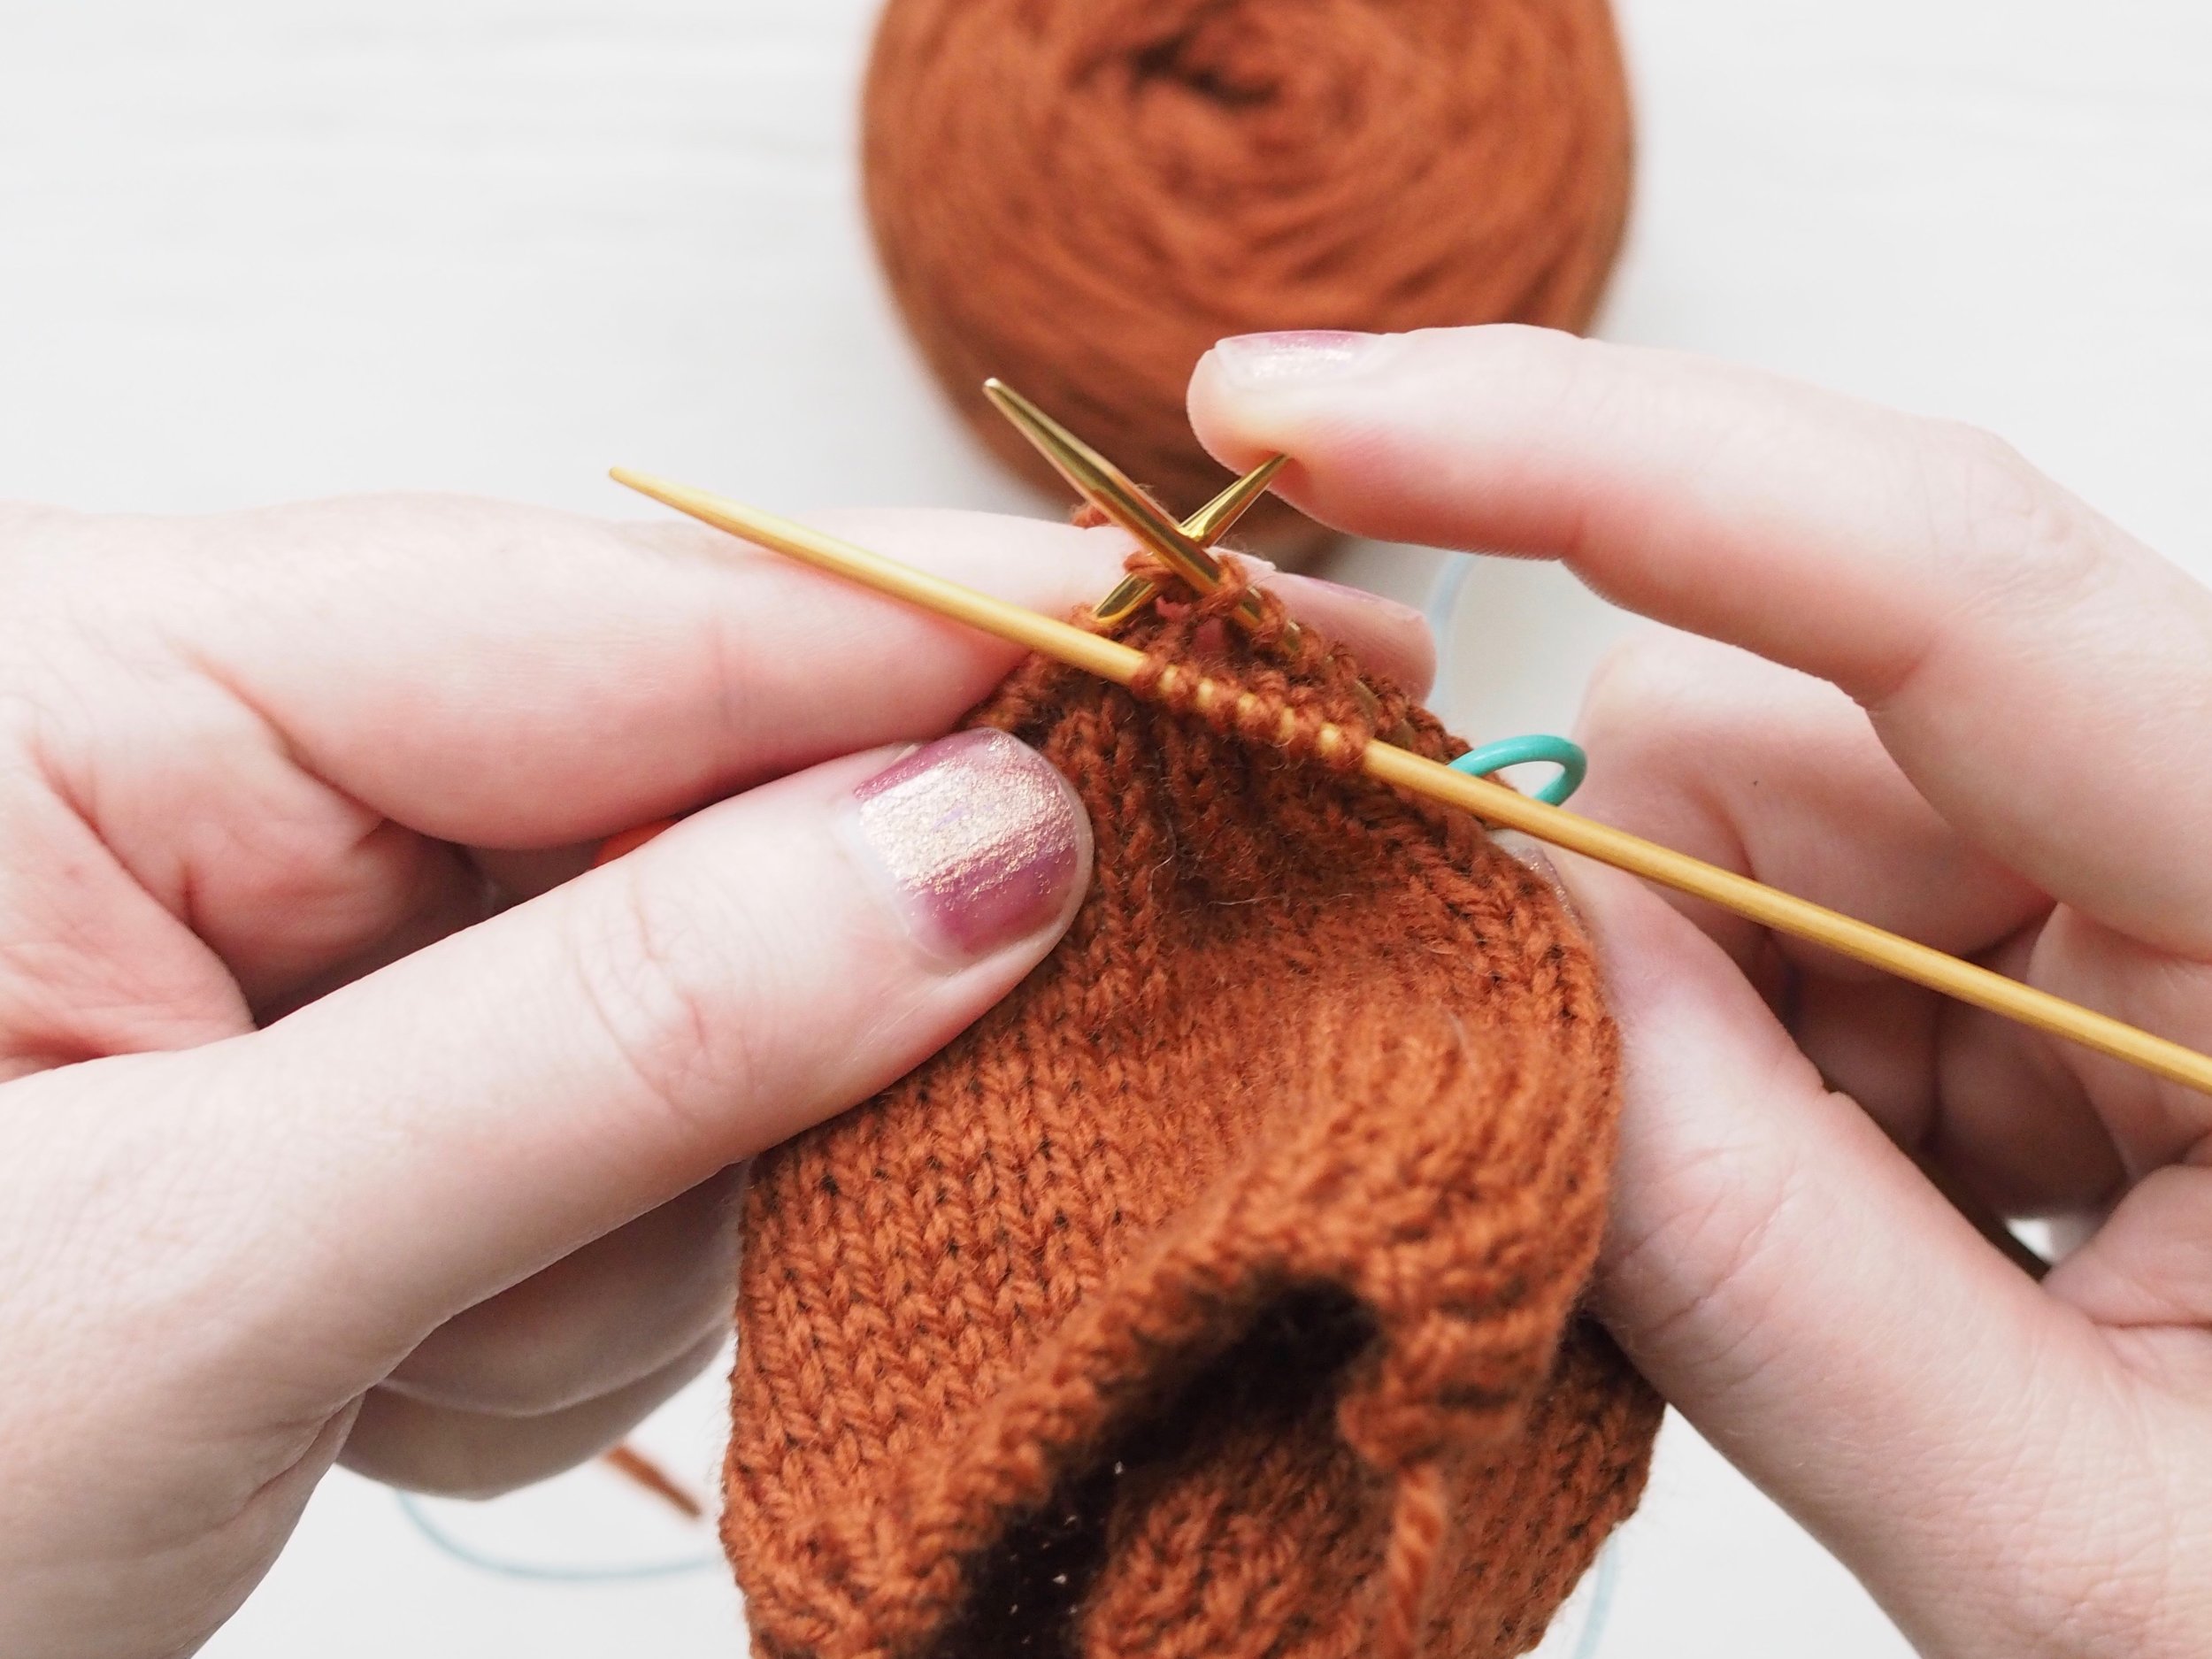
  1. Knit to the start of your first tuck.

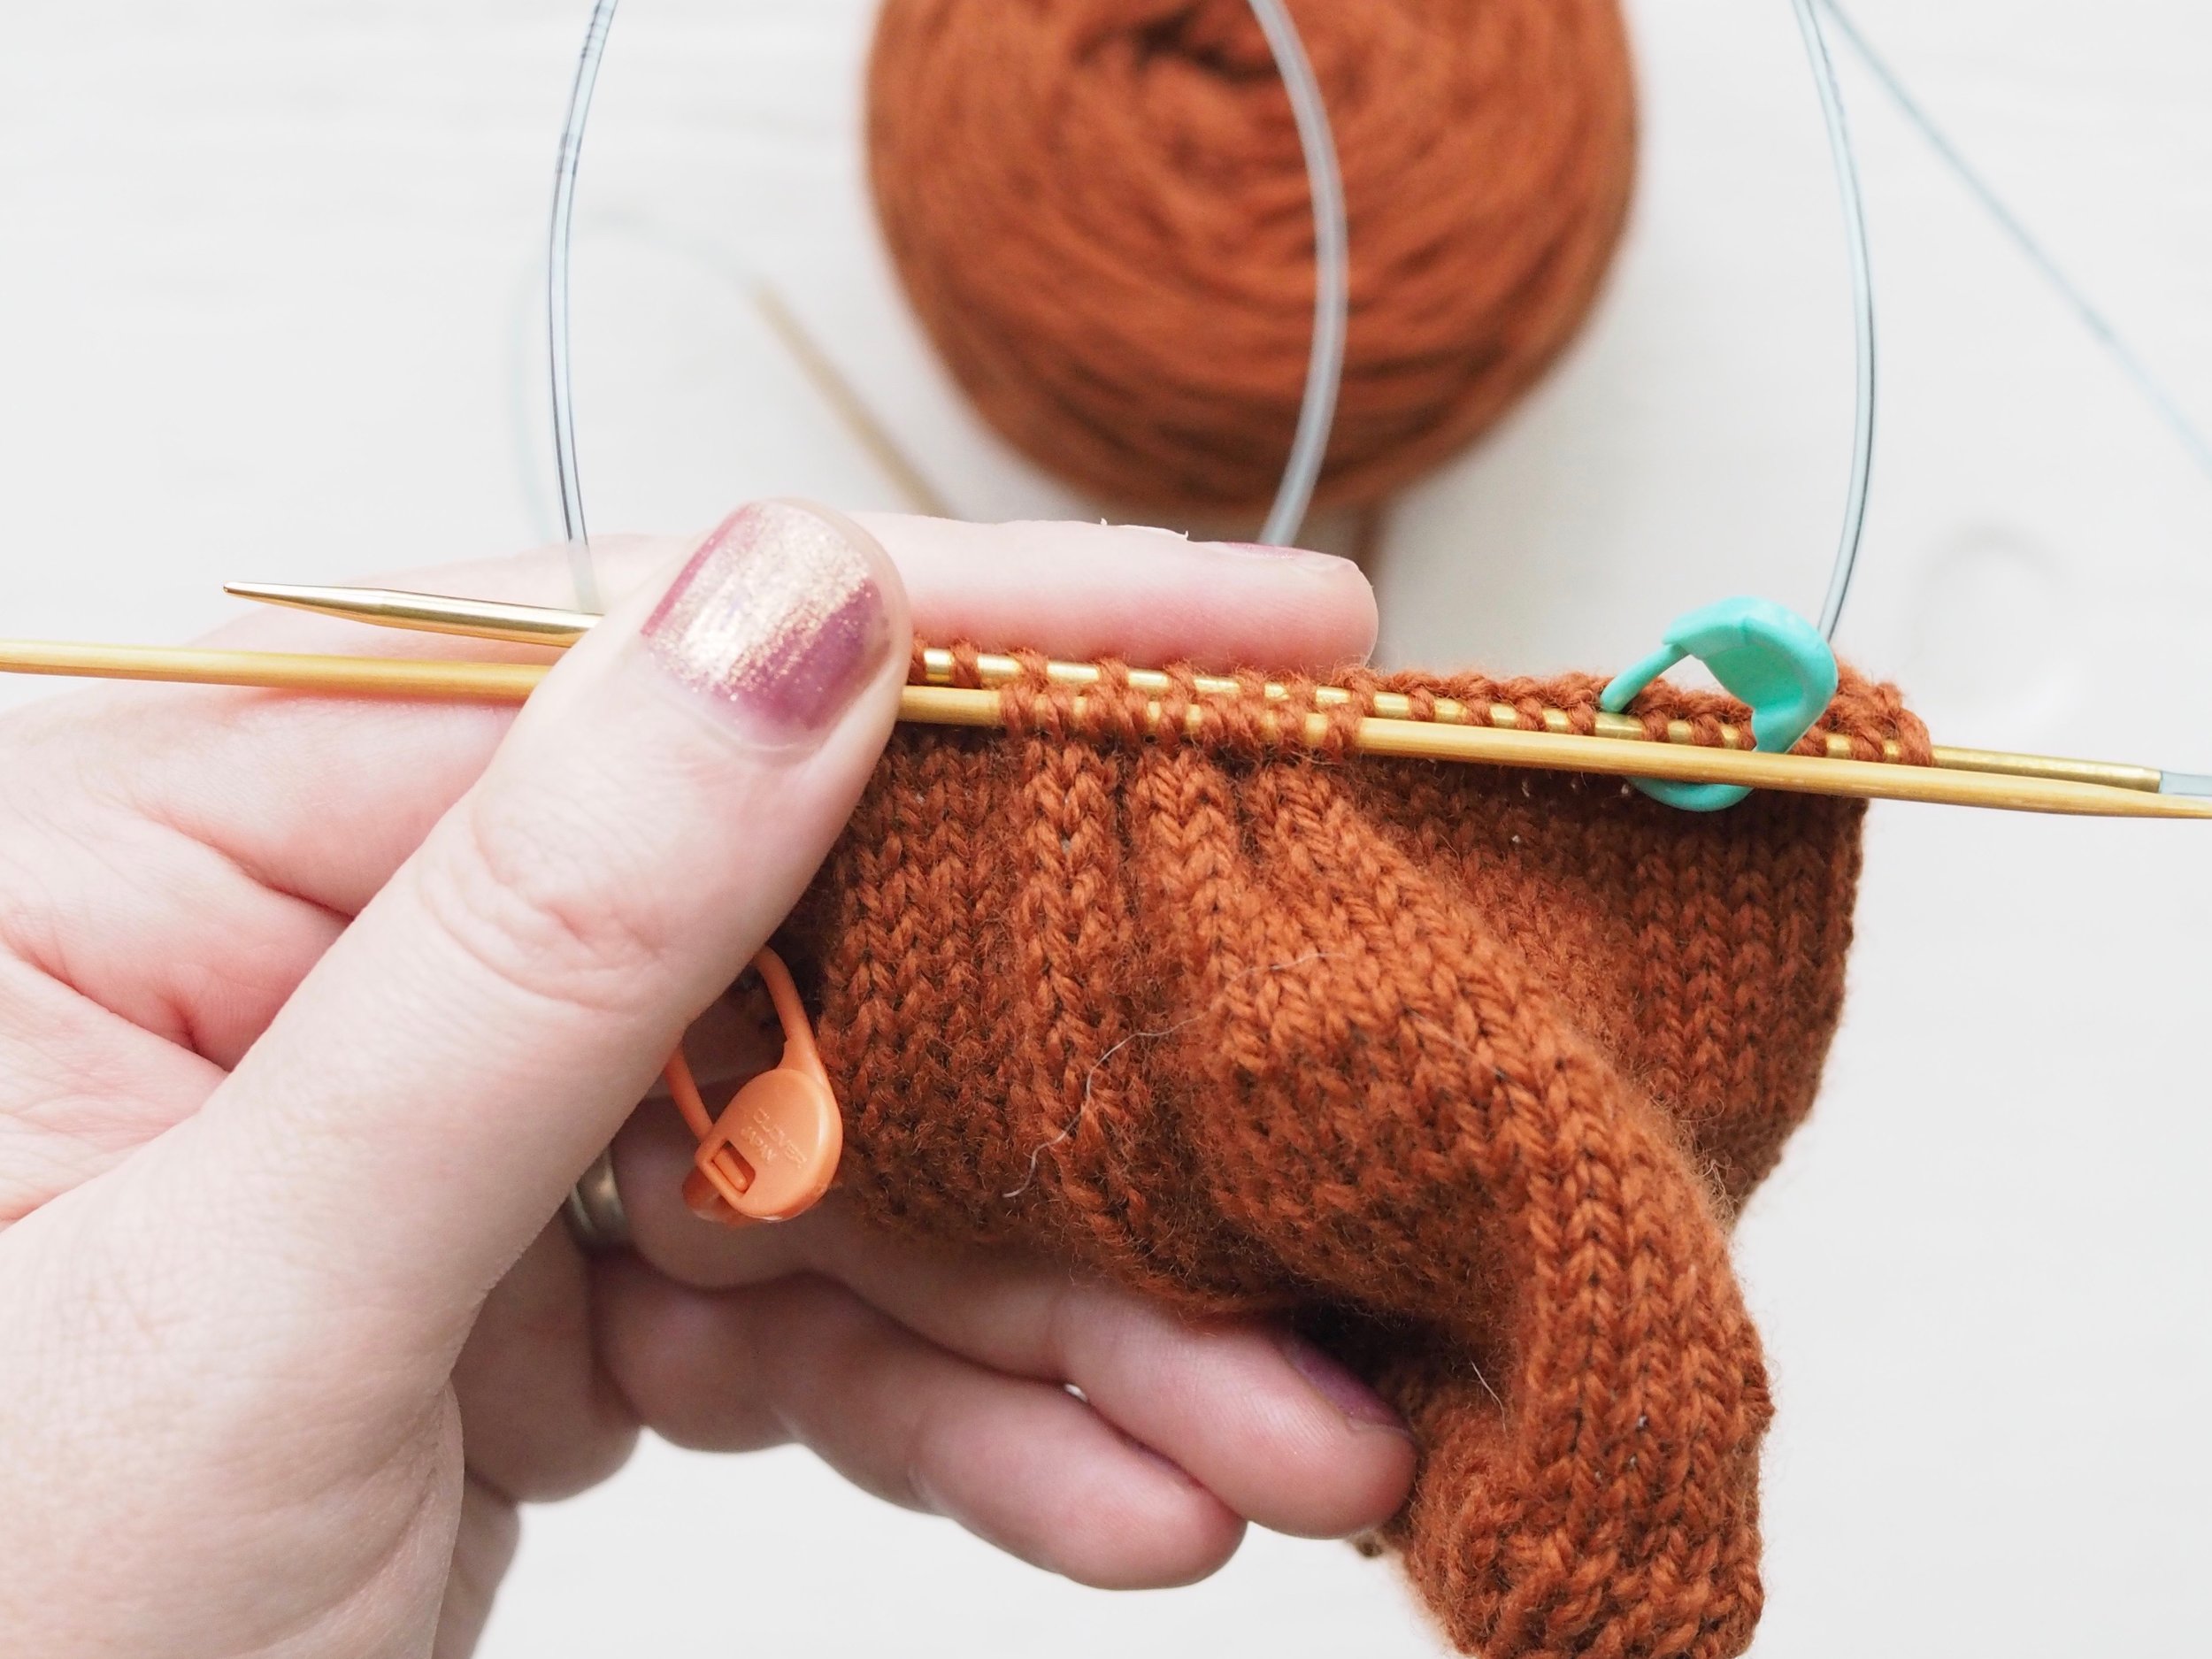
  2. Slip the tuck stitches (here, three stitches) on to a spare double-pointed needle or cable needle held in front of your work. [NB: if your tucks are small, you can use the same spare needle for all the tucks in a row]

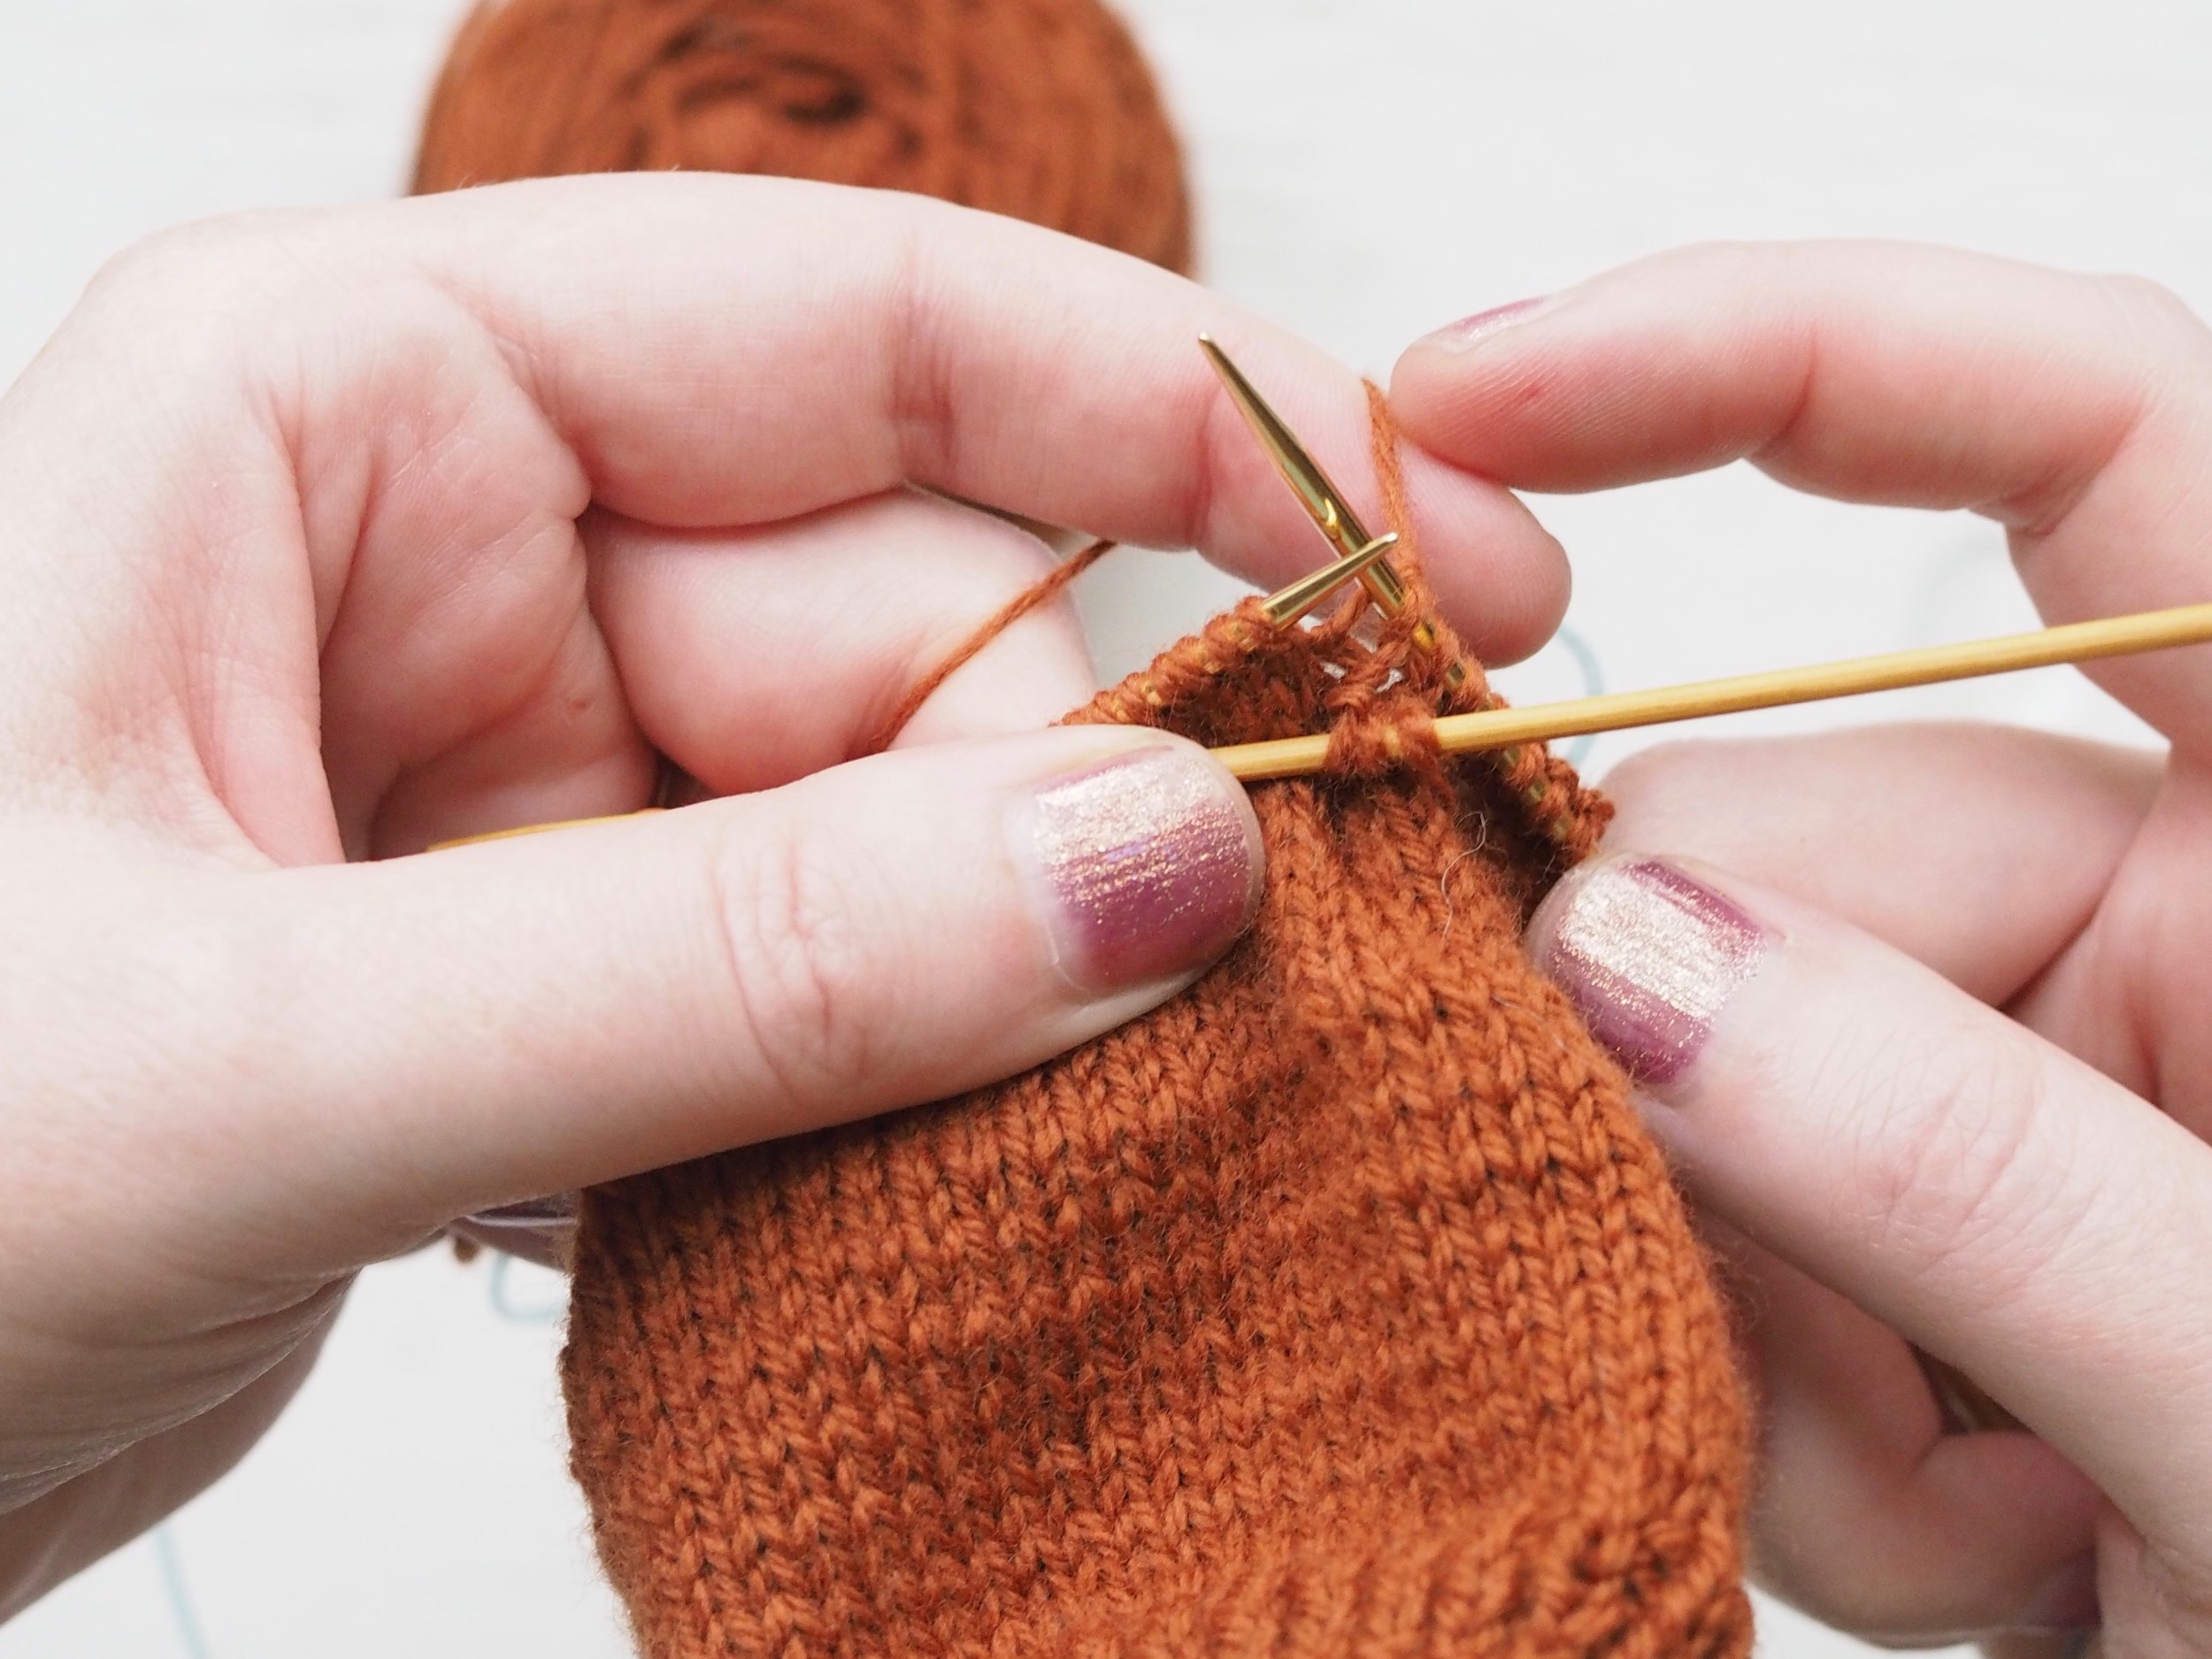
  3. Tension the working yarn tightly as you work the first stitch post-tuck. The more snugly you work the stitches together on either side of the tuck, the more visible your tuck will be. Continue knitting normally until you reach the next tuck.

Repeat steps 2 and 3 until you reach the end of the tuck section.

In the example shown, the tuck section is 11 stitches wide: three tucks three stitches wide, plus one spacer stitch on either side of the center tuck. When you finish working your first row of tucks, you should have nine stitches (width of tuck x number of tucks) on your spare needle (or needles, if your tuck is very wide).

ROW 2

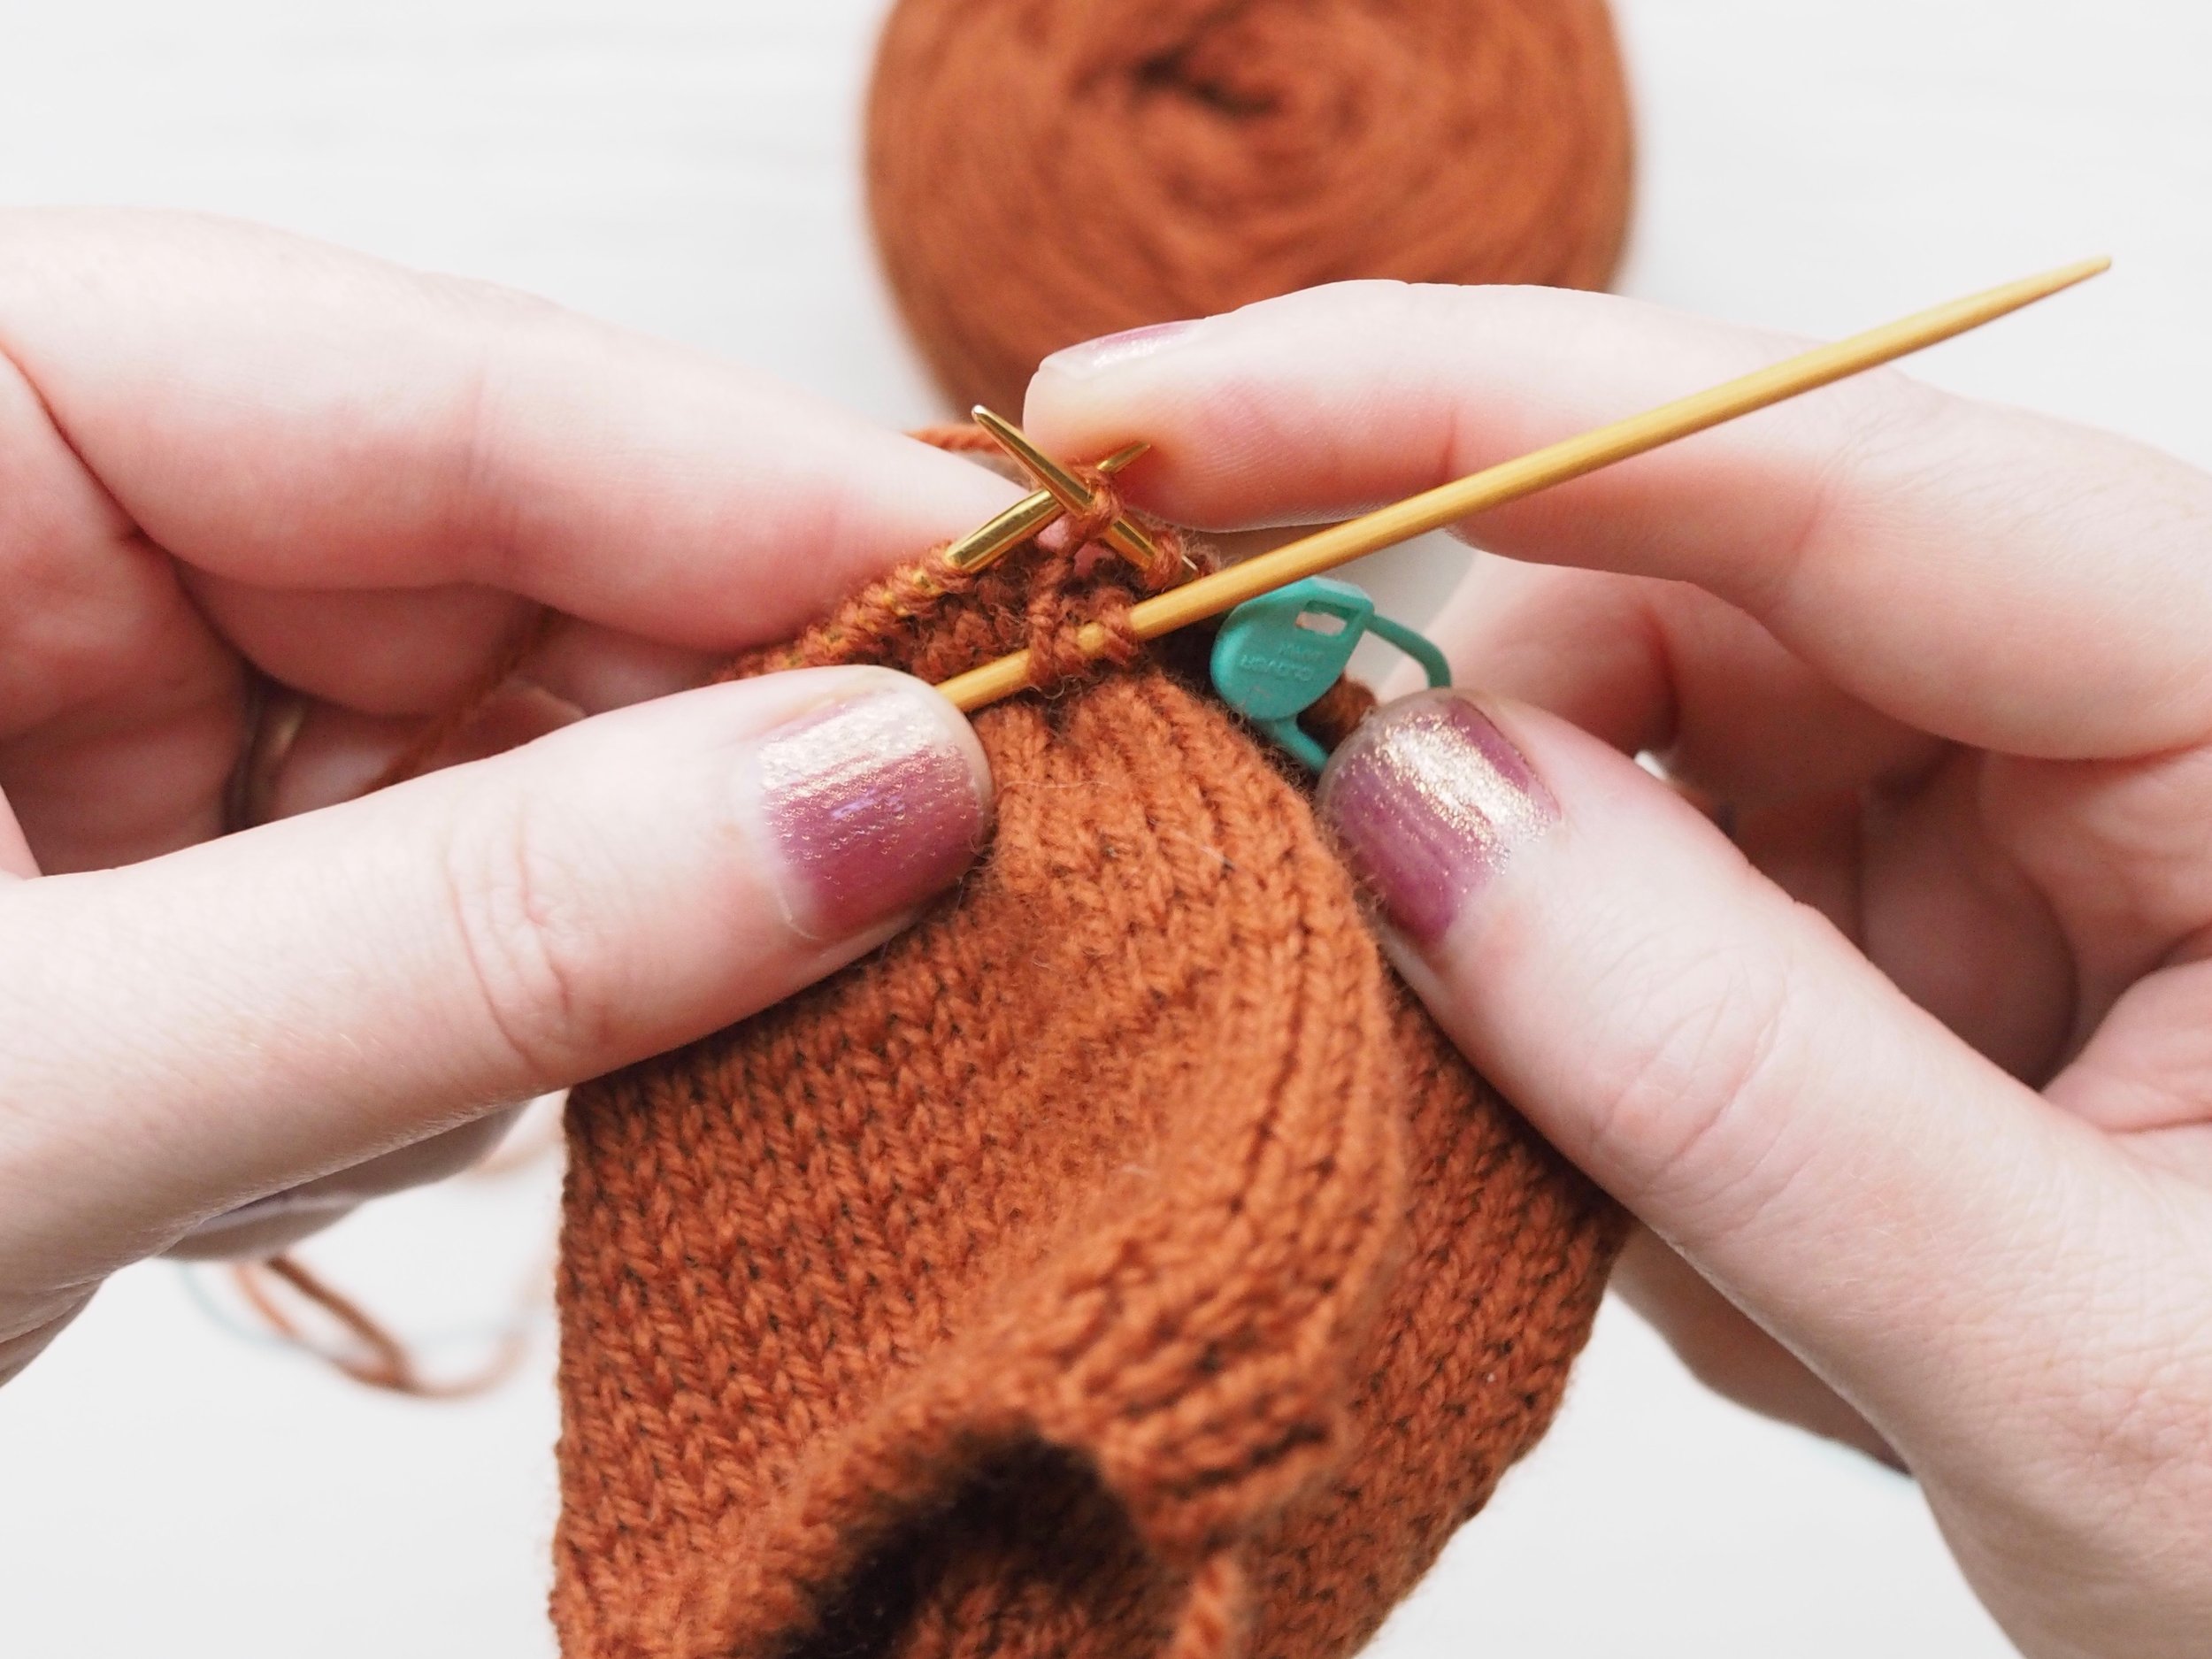
  1. Knit to the start of your first tuck.

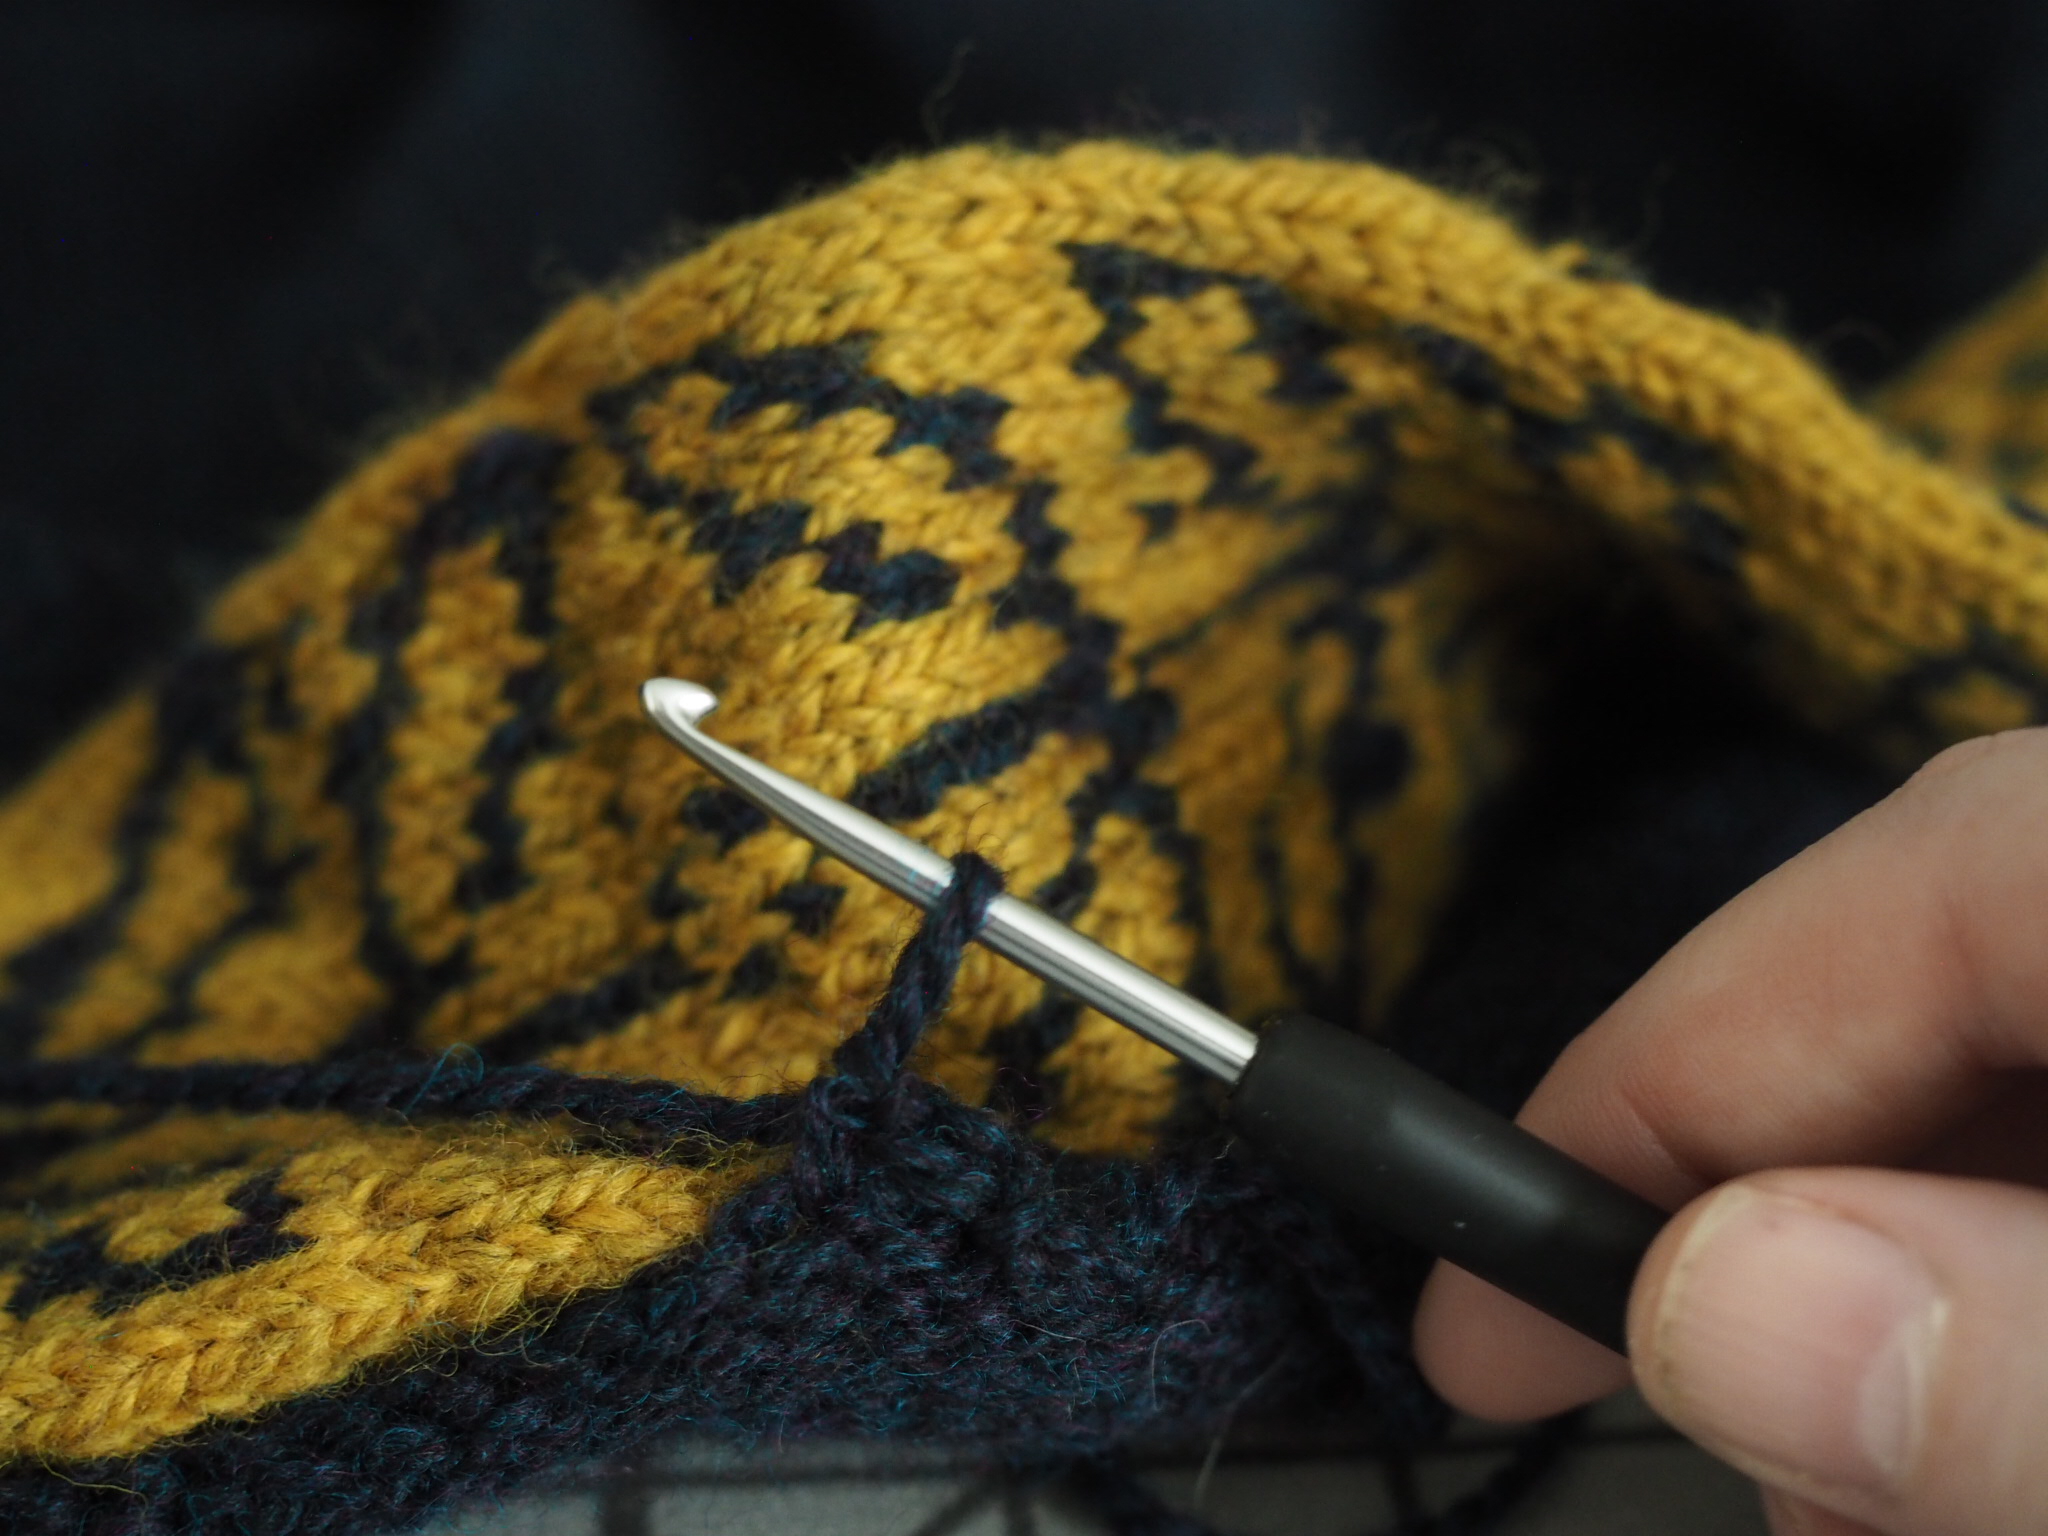
  2. Pick up and knit the tuck stitches (here, three stitches) off the spare needle.

  3. Knit normally to the next tuck.

Repeat steps 2 and 3 until all stitches are back on the main needle.

It will take a couple of rows until the tucks start to look like anything on the right side of the fabric. On the wrong side of the fabric, you should clearly see where the working yarn has held behind the slipped stitches. Try to keep that horizontal line the same length for tucks of the same width, and the short it is, the more prominent your tucks will be.


GET KNITTING!

Try out the pattern below which incorporate tucks, horizontal pleats, or smocking!


Print Friendly and PDF Follow
follow us in feedly

Introducing STORYTIME

Opening the Book on the Storytime Collection

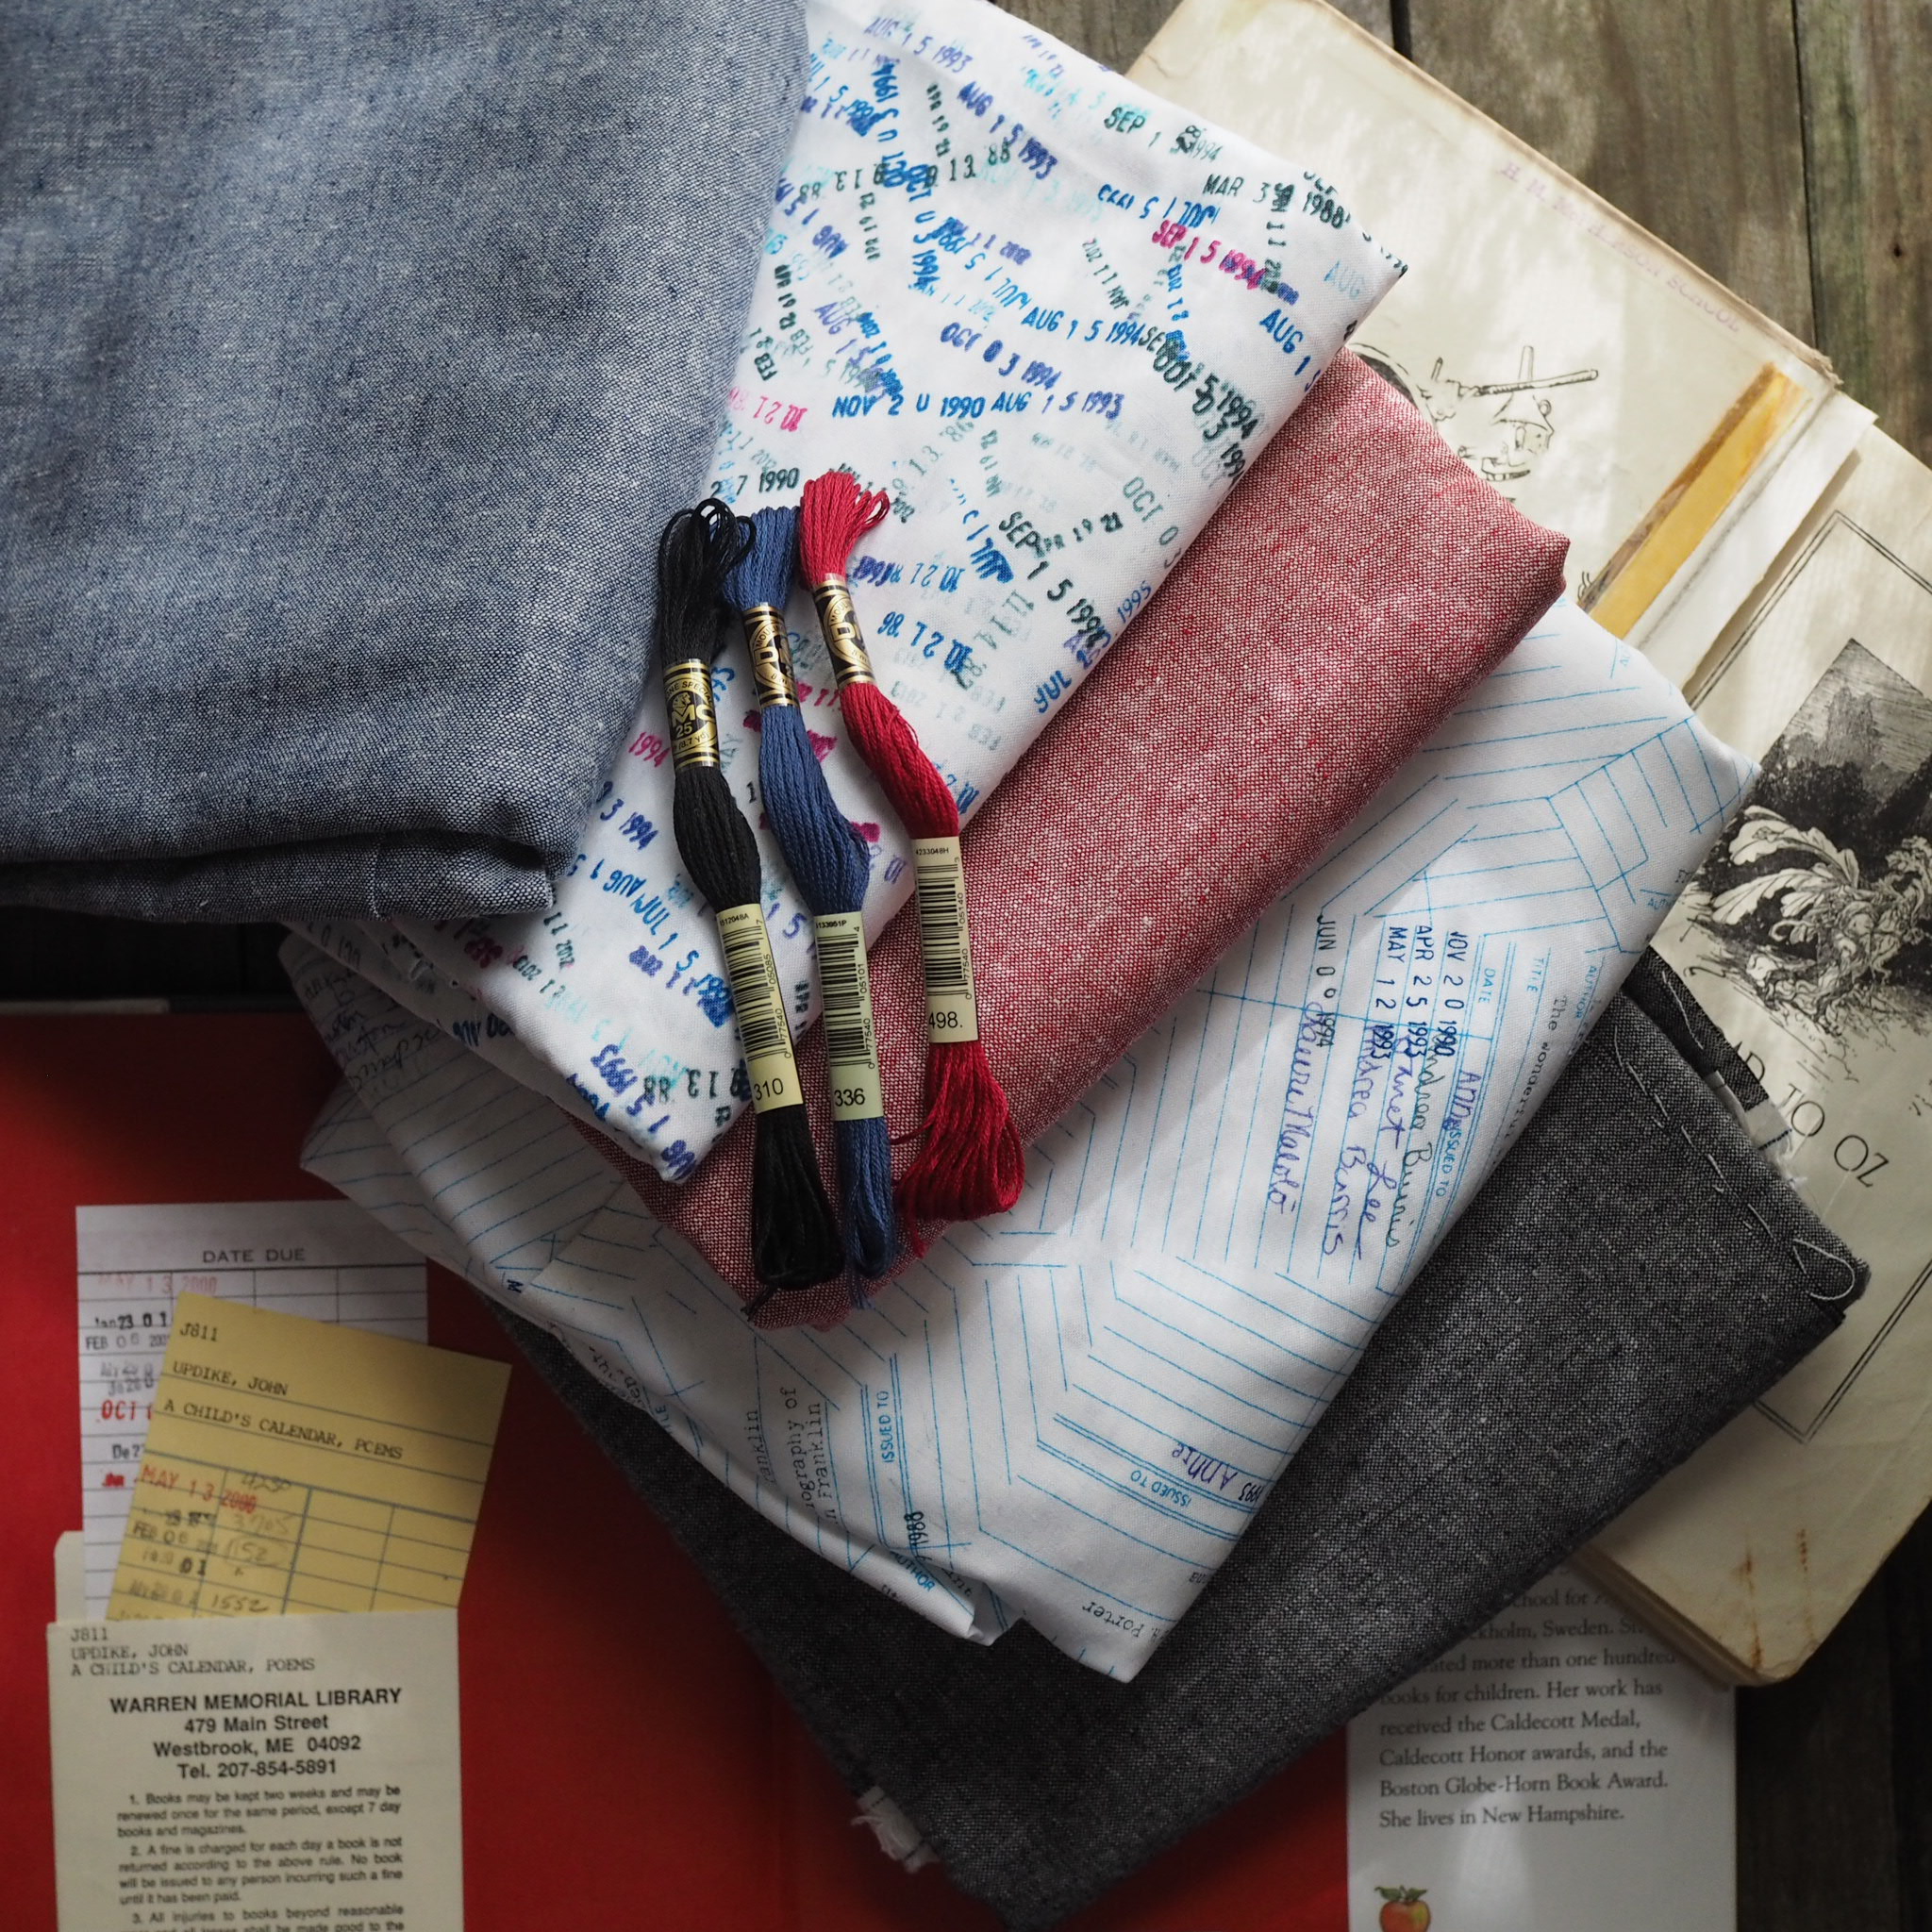
My mother was an elementary school librarian, so my childhood was filled with all sorts of children's literature modern and classic. The Storytime Collection draws it’s inspiration from some of my favorite pieces of classic children's literature and might include some of your favorites too! 

The collection, which includes a sweater, gloves, two embroidery designs and a sewing pattern, is available as kits, pattern bundles and stand-alone patterns and has projects suitable for beginners to more advanced makers.

Goldenbook Cardigan

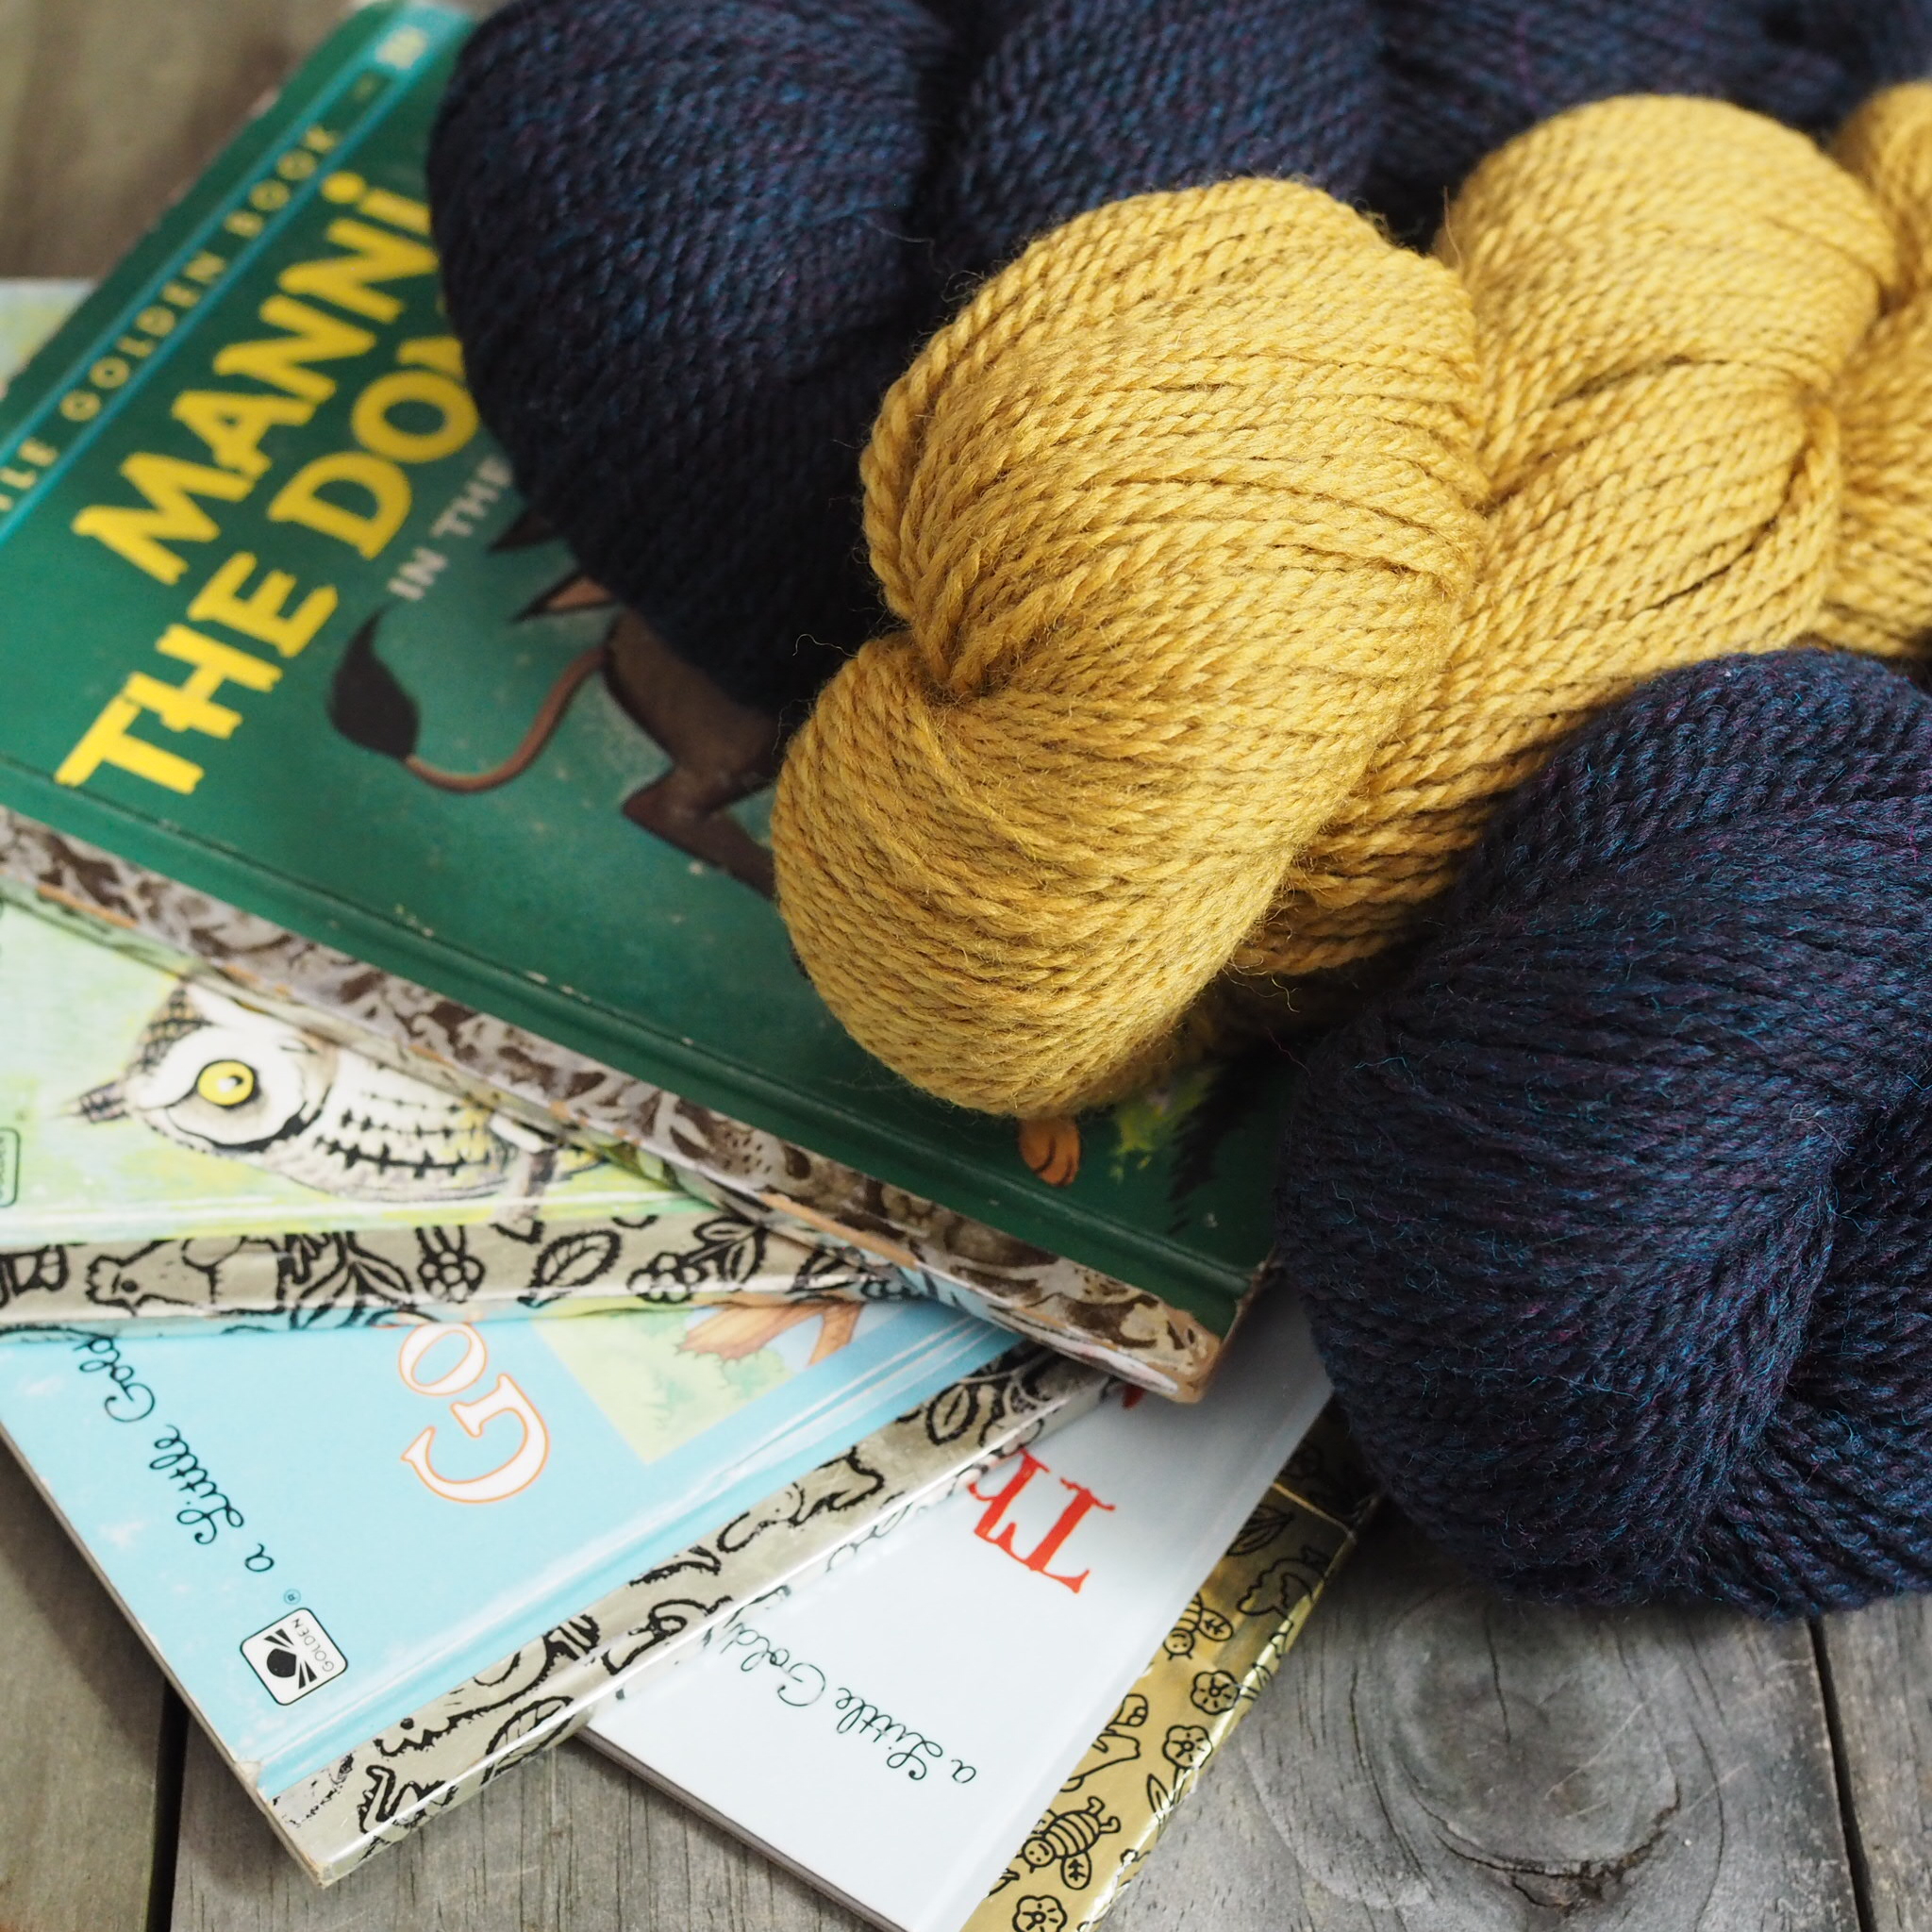
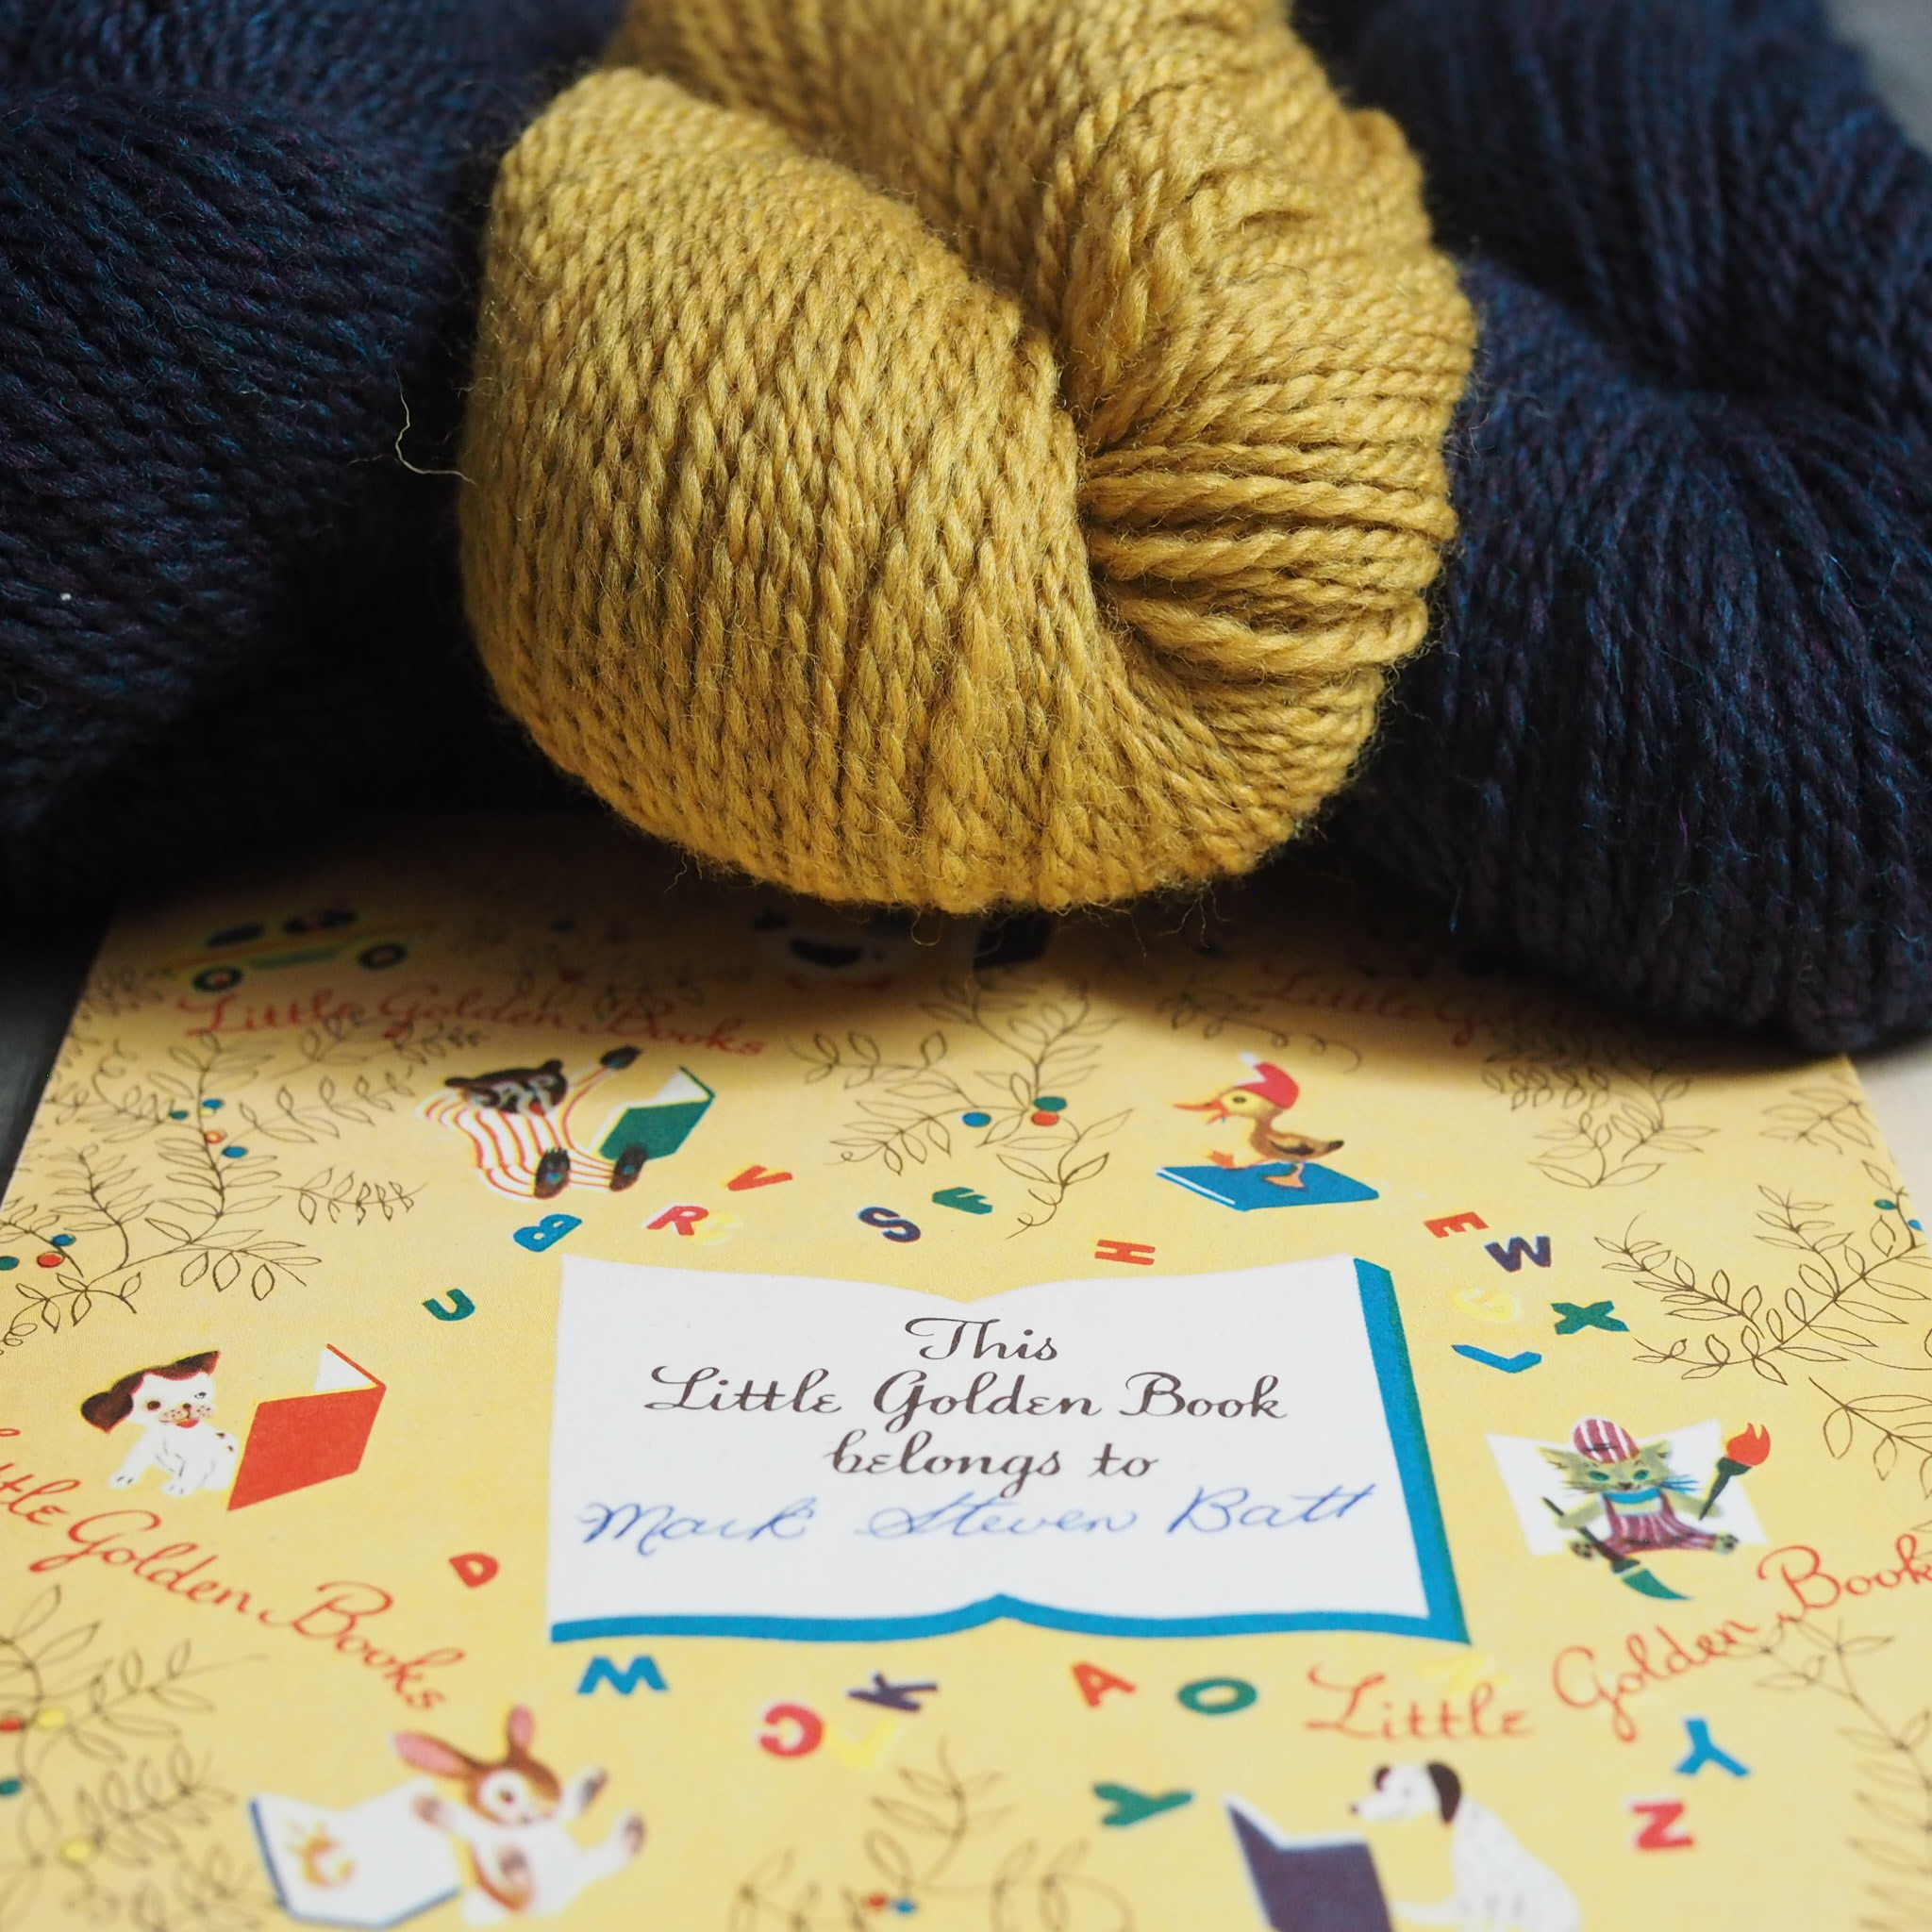
The Saggy Baggy Elephant, Tawny Scrawny Lion, Poky Little Puppy – since the first Little Golden Book was released in 1942, these titles and many more have become classics read by multiple generations.

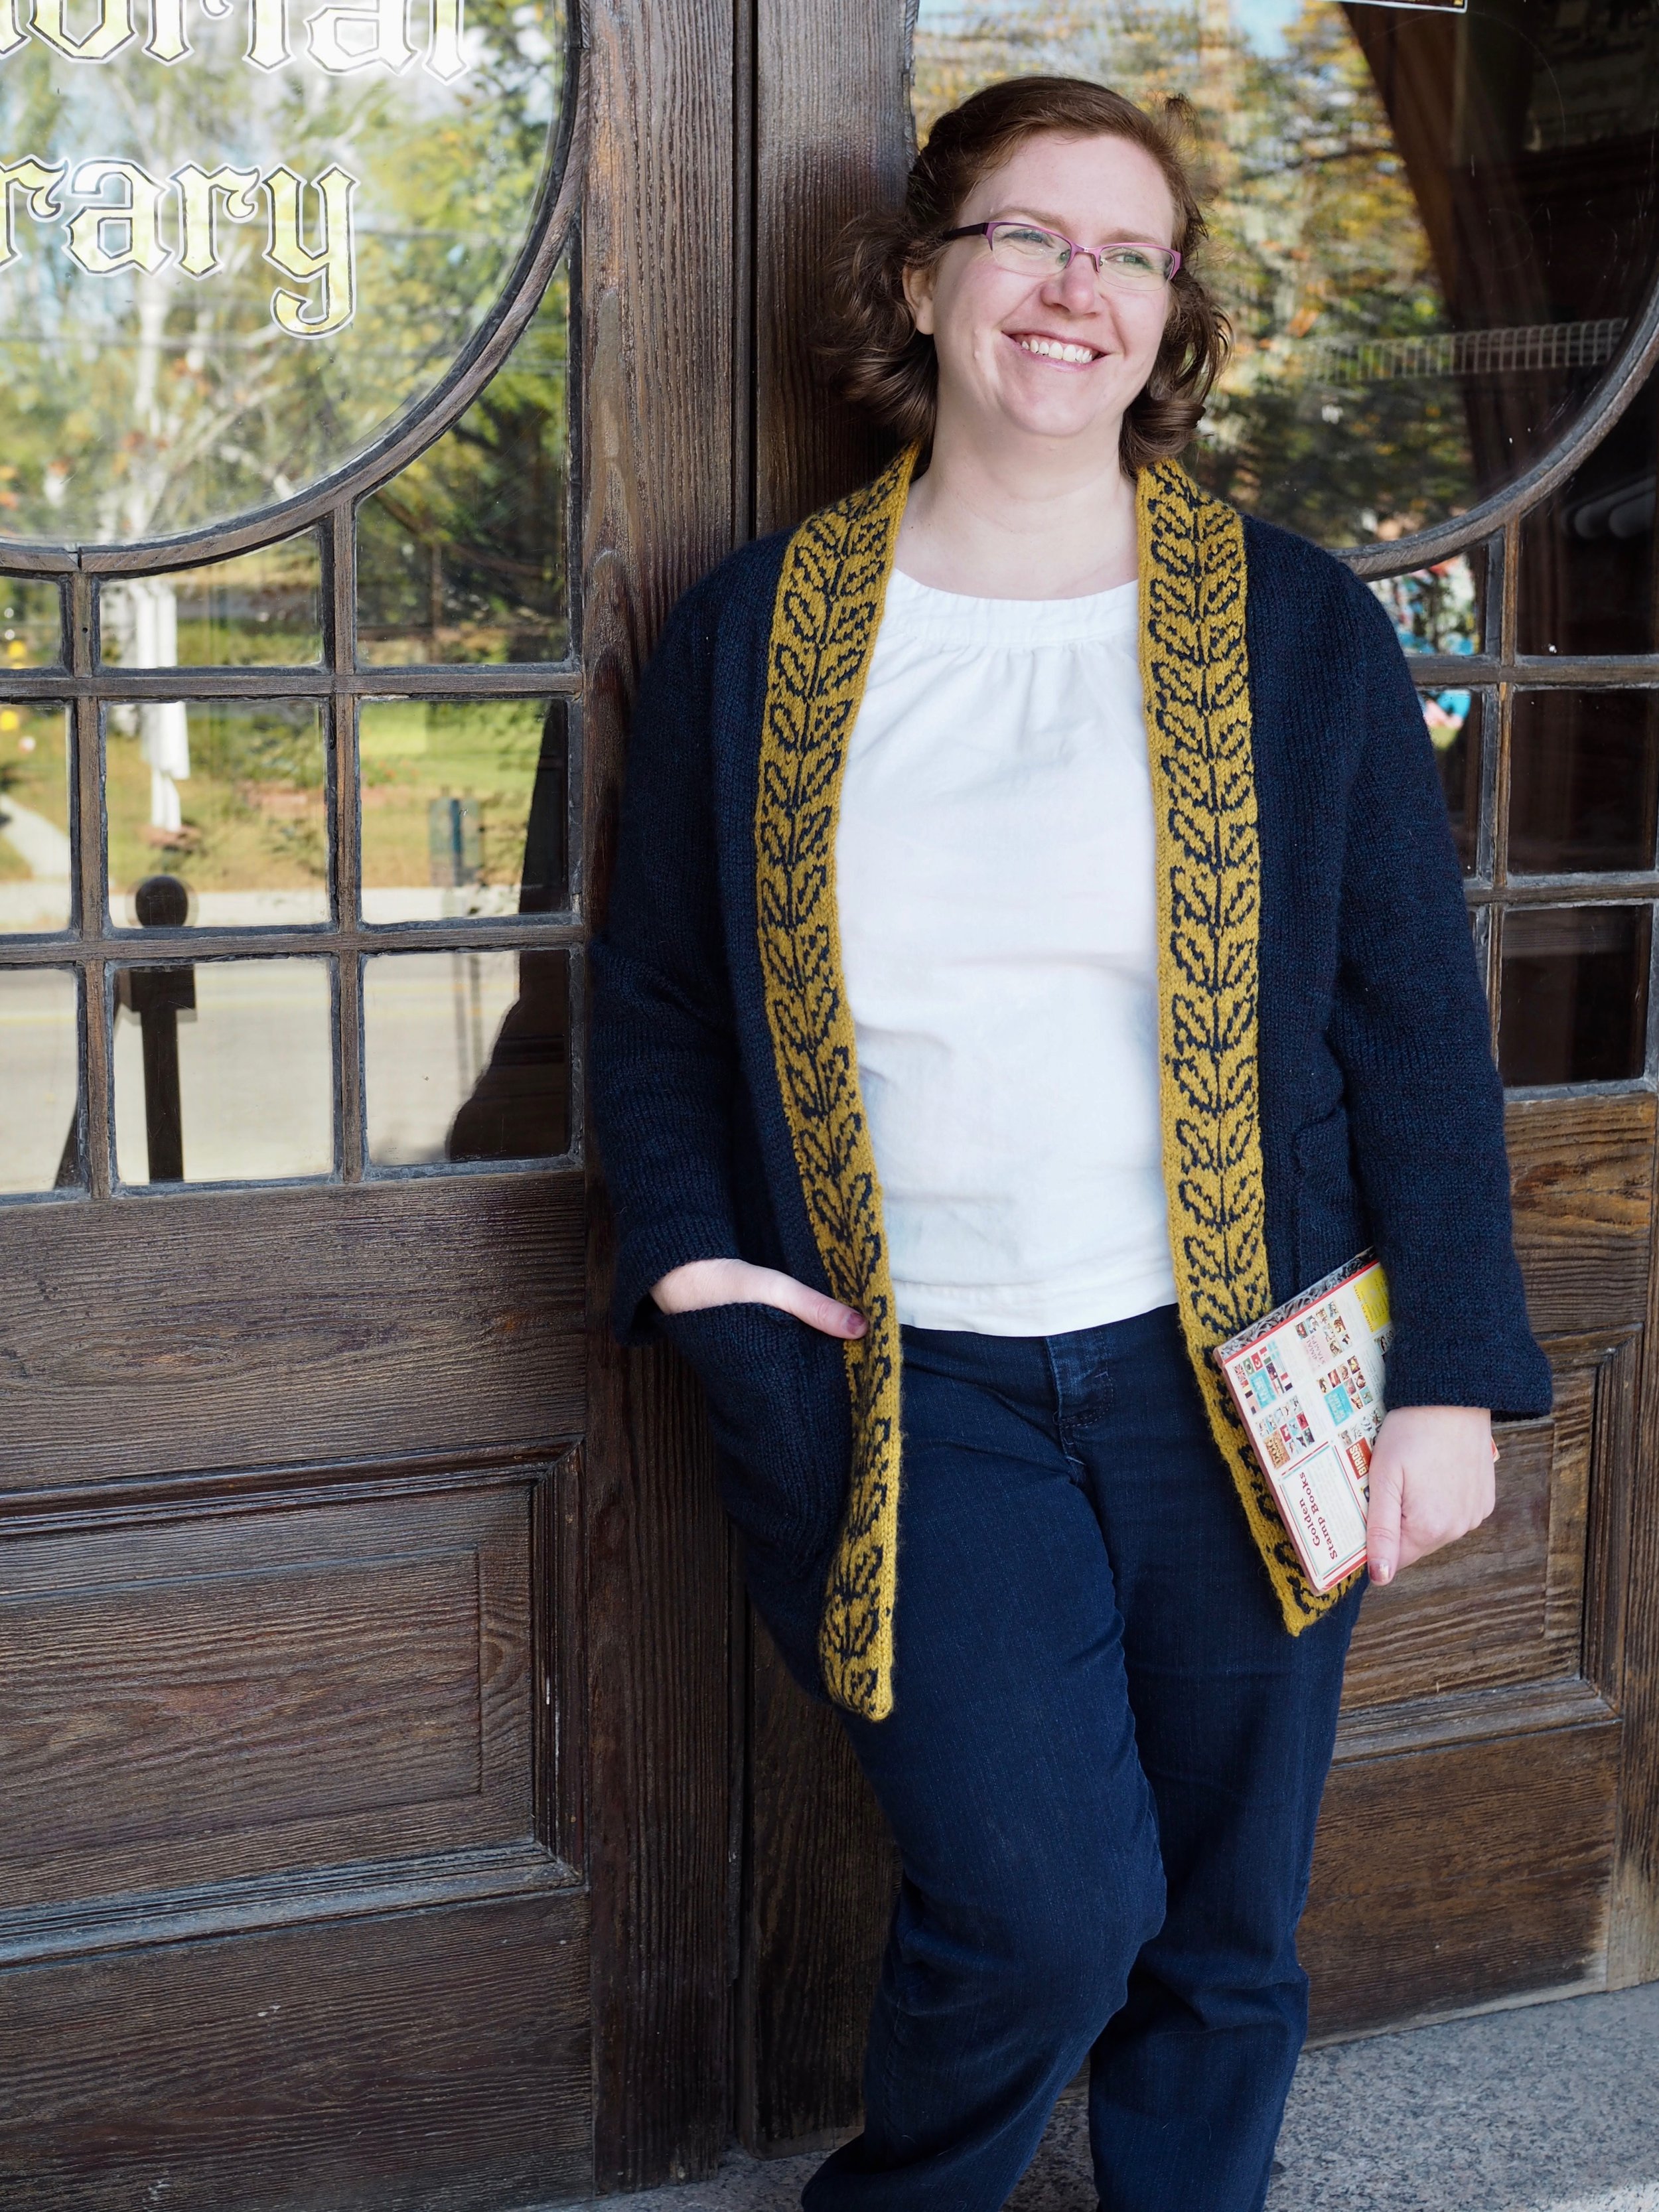
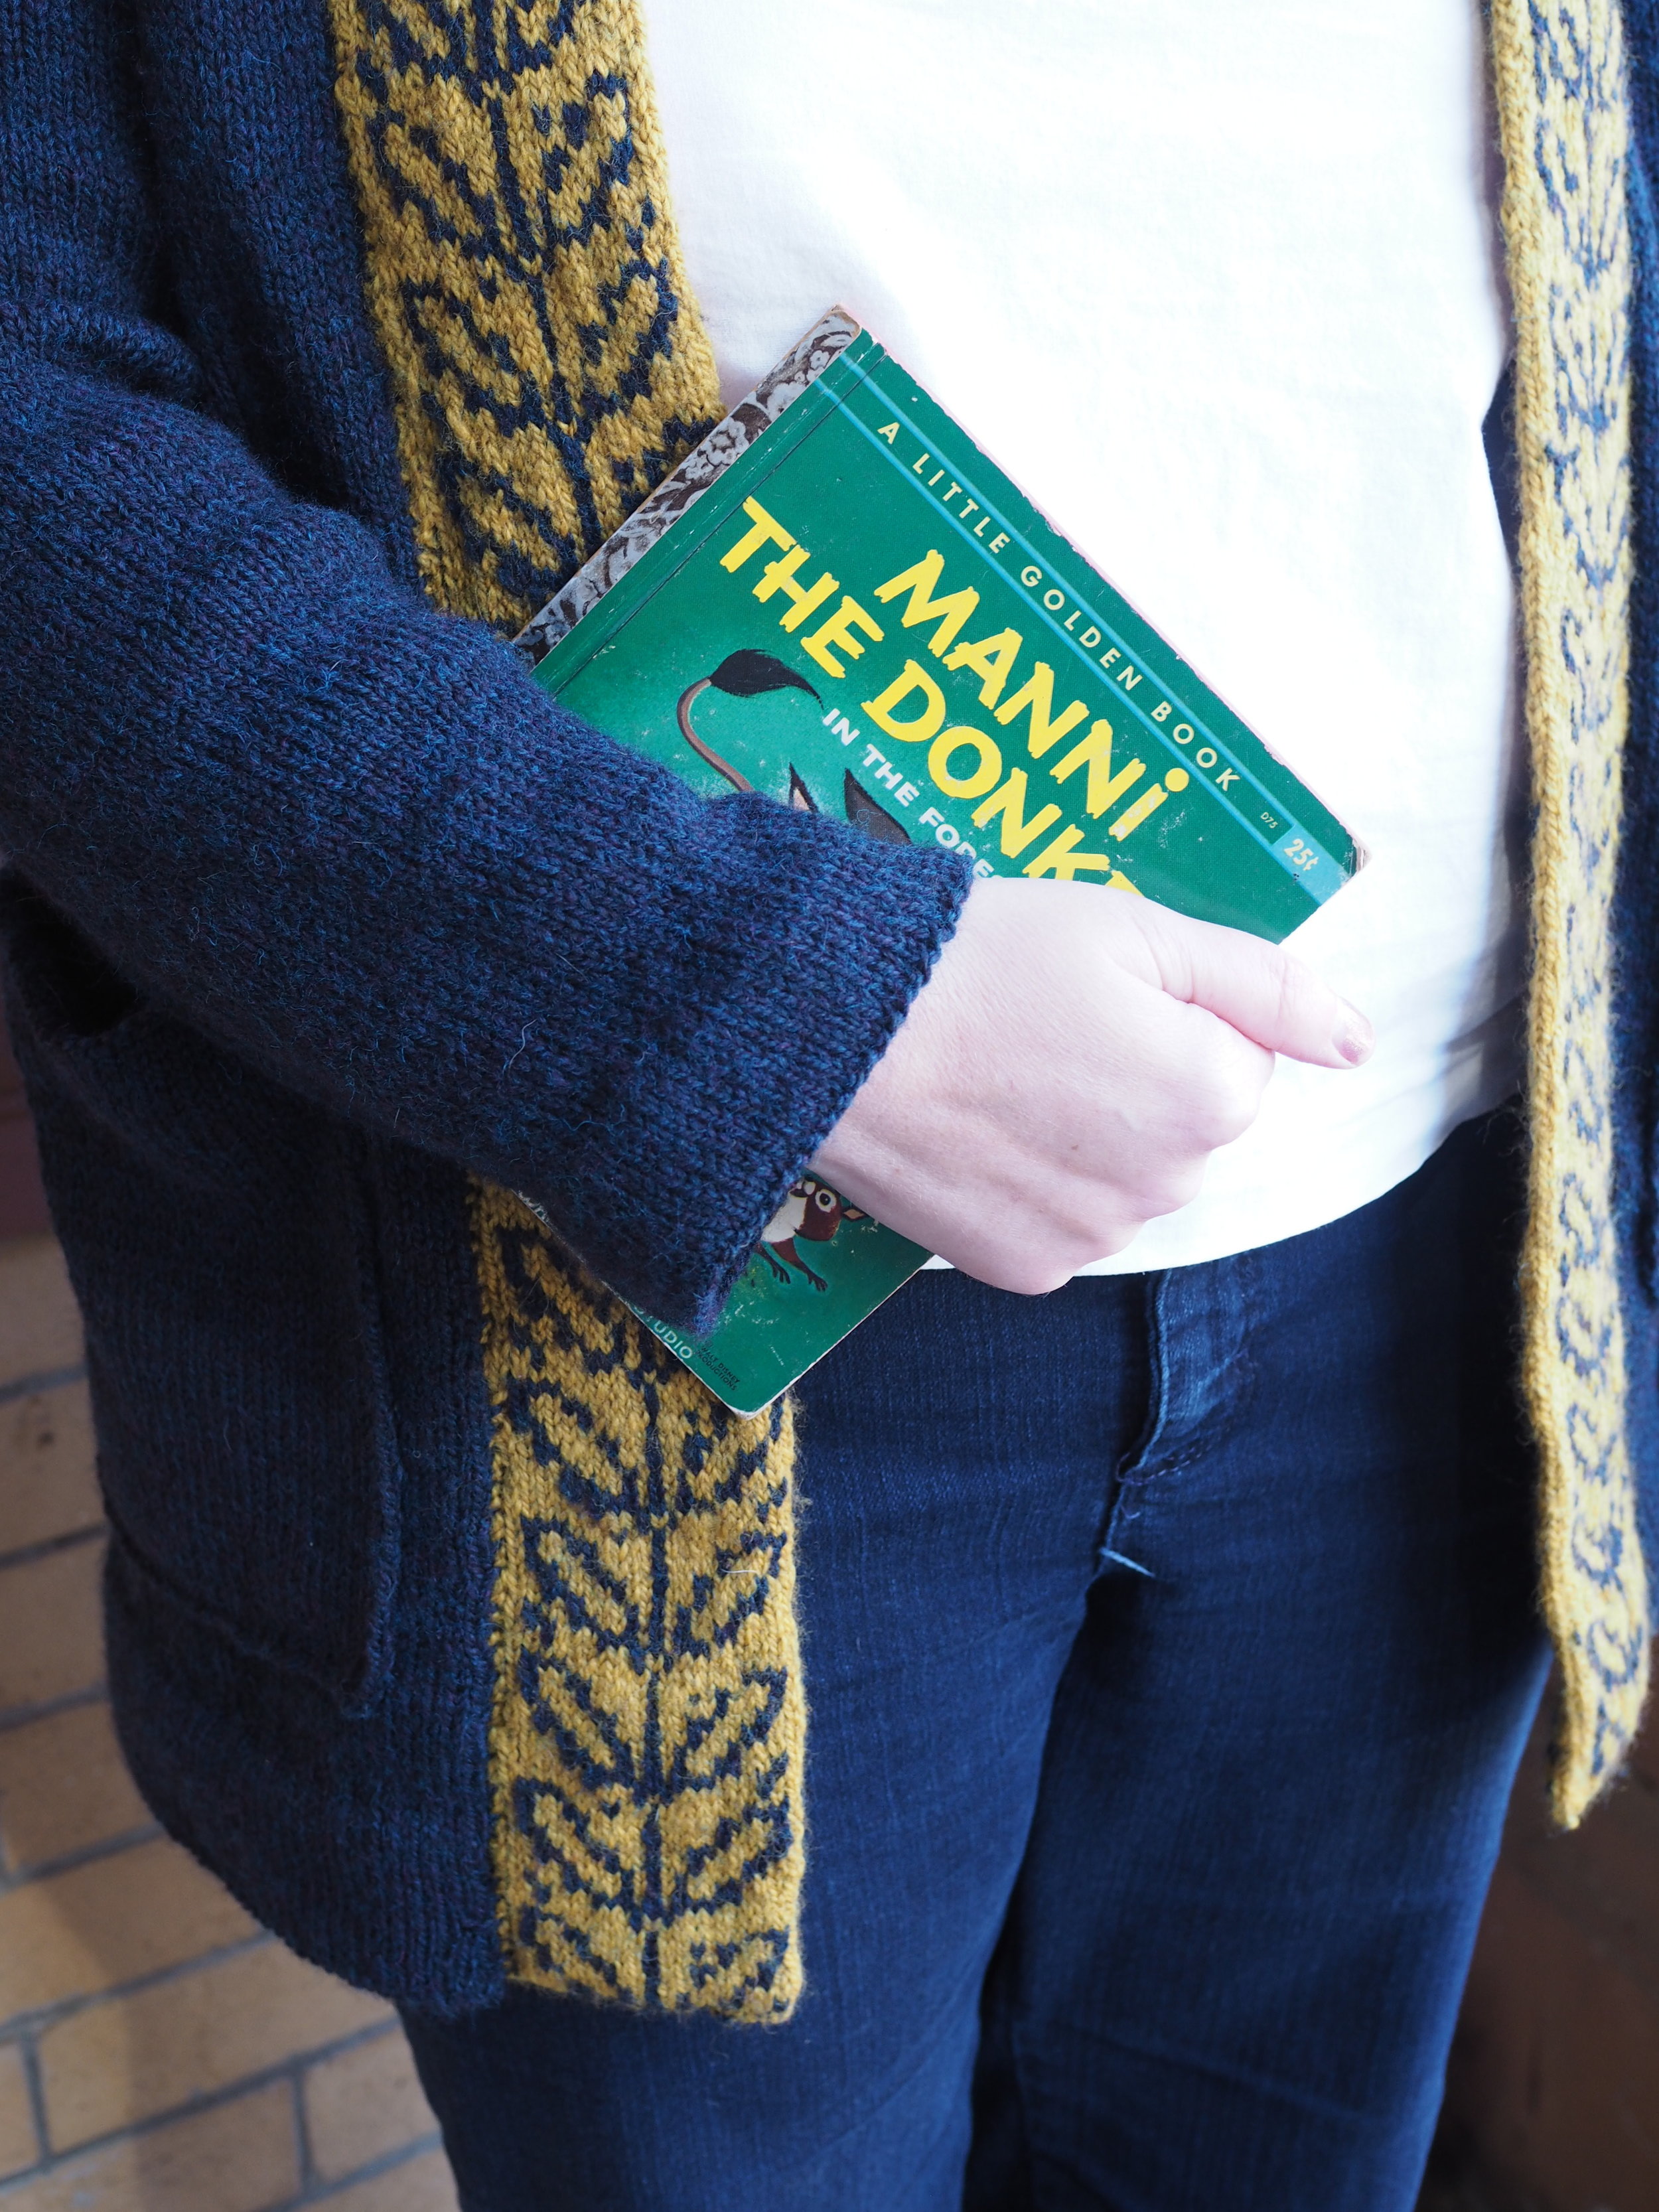
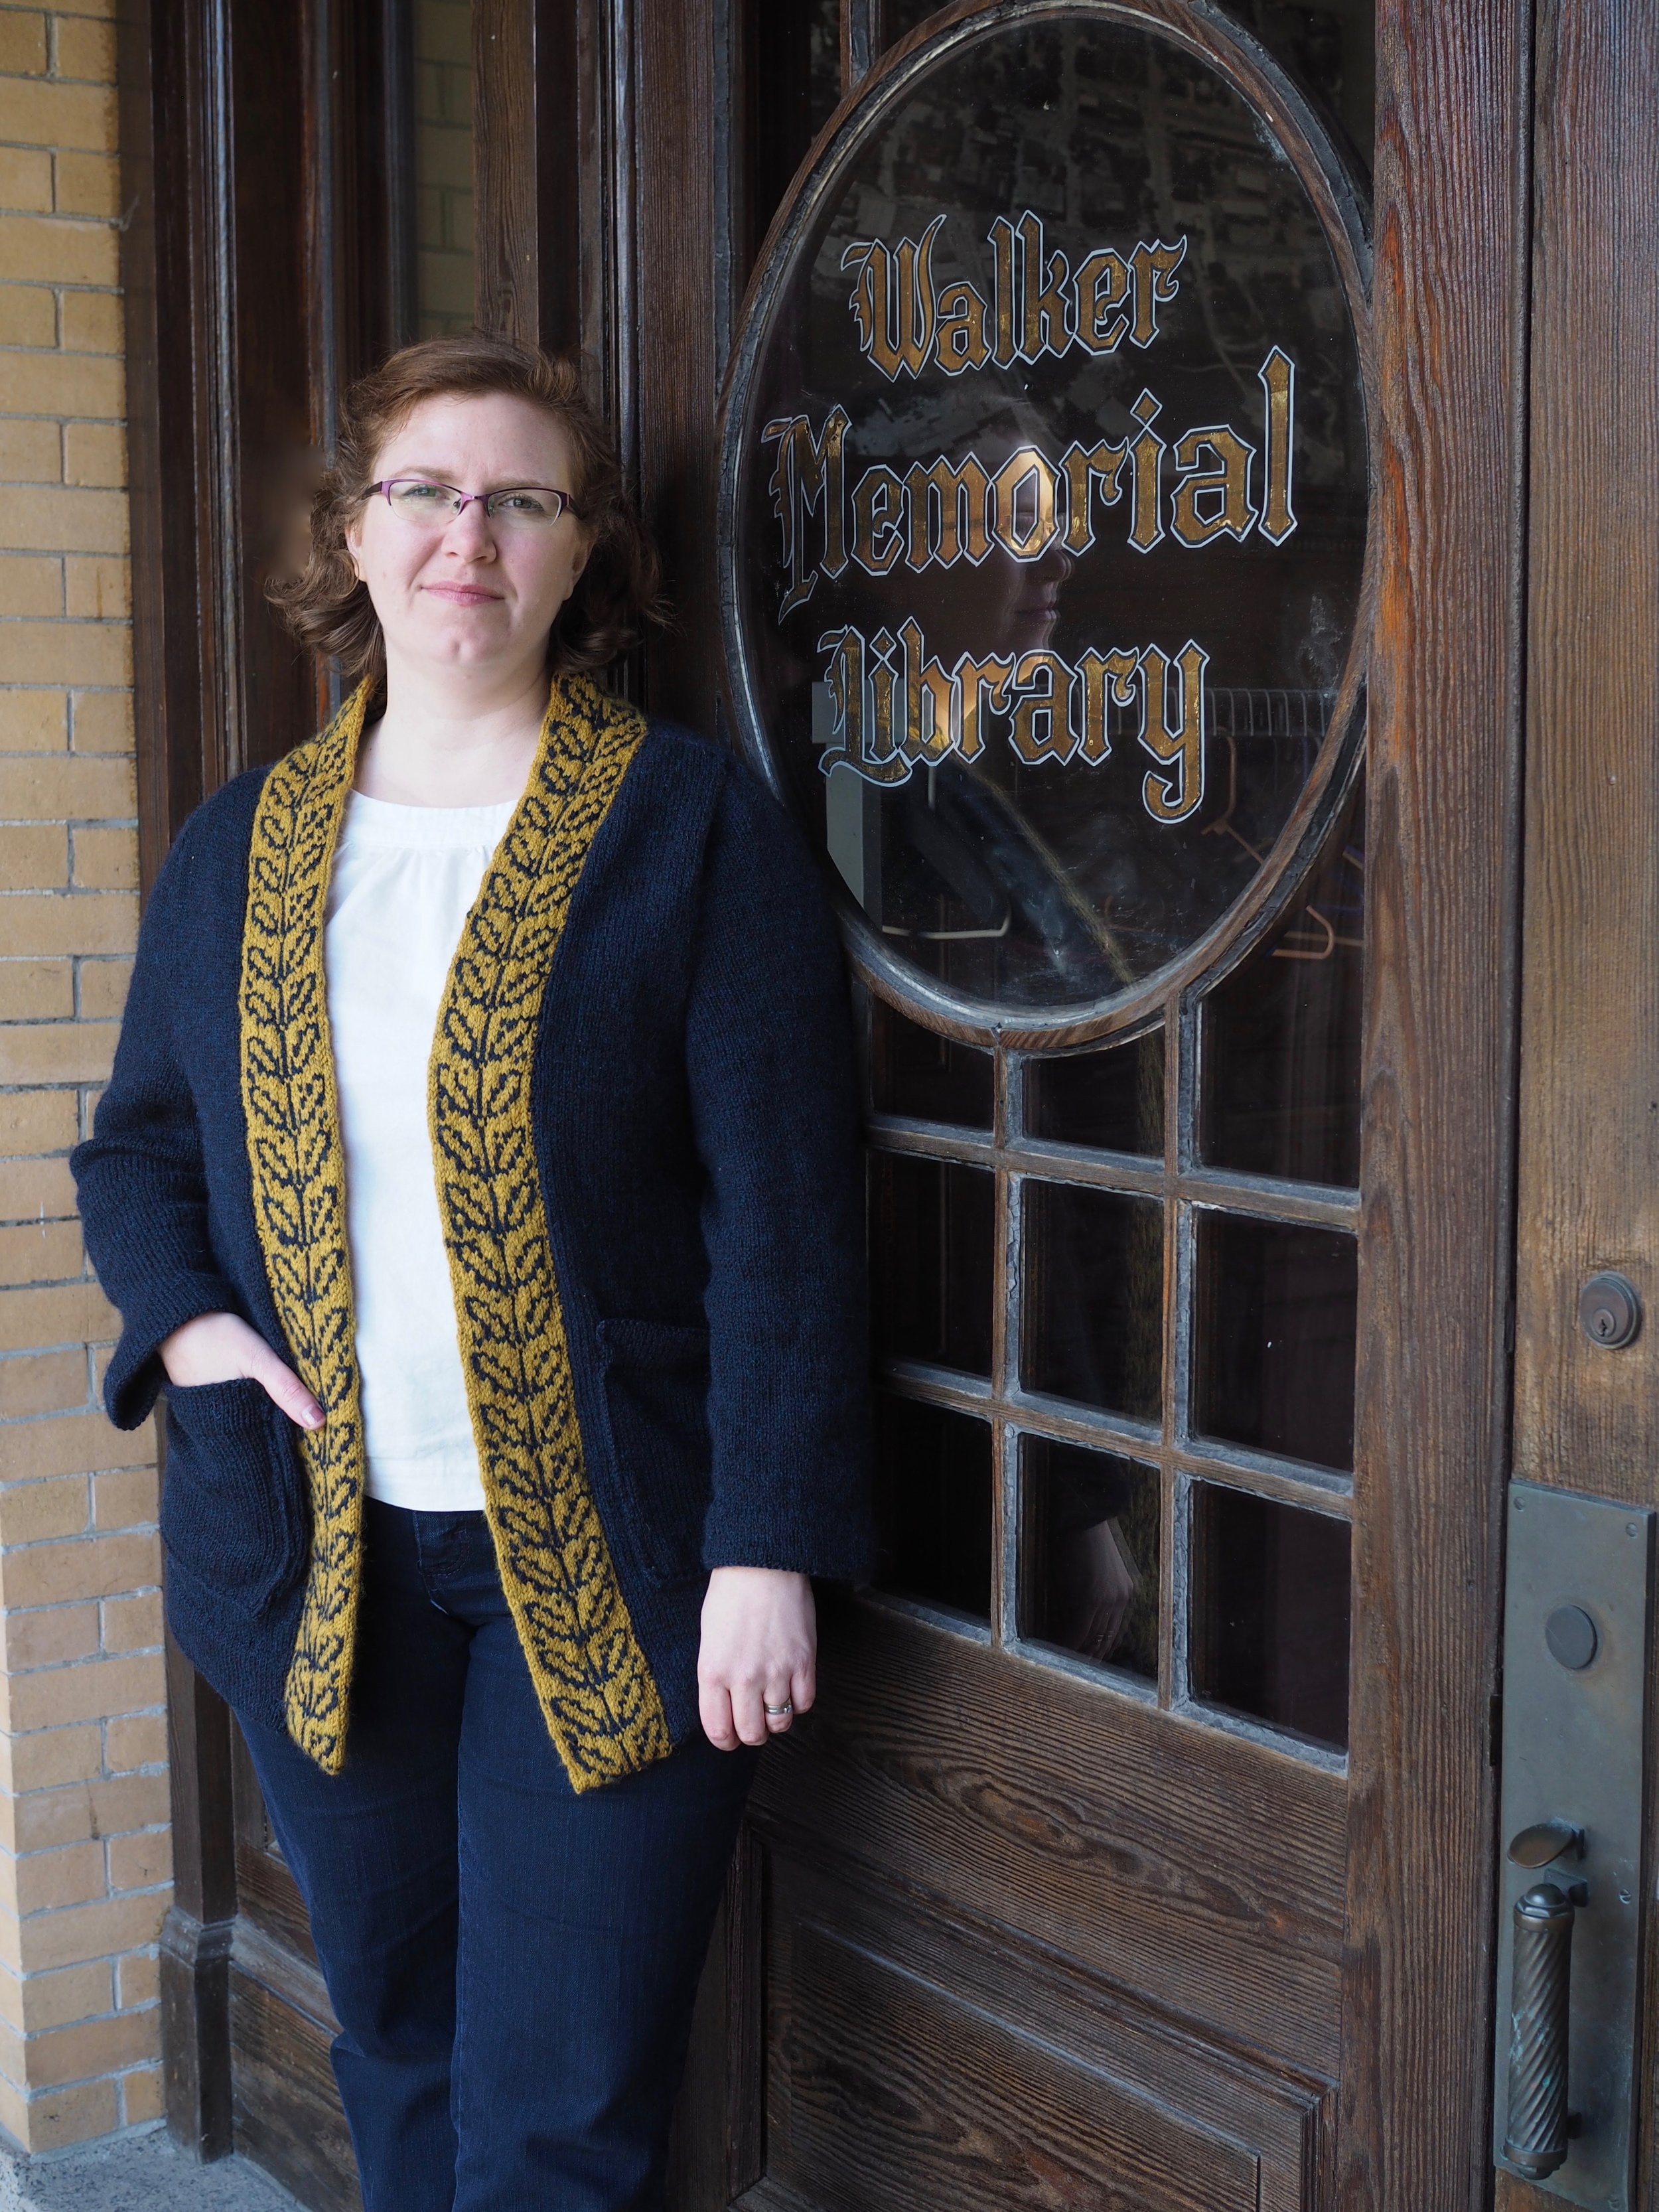
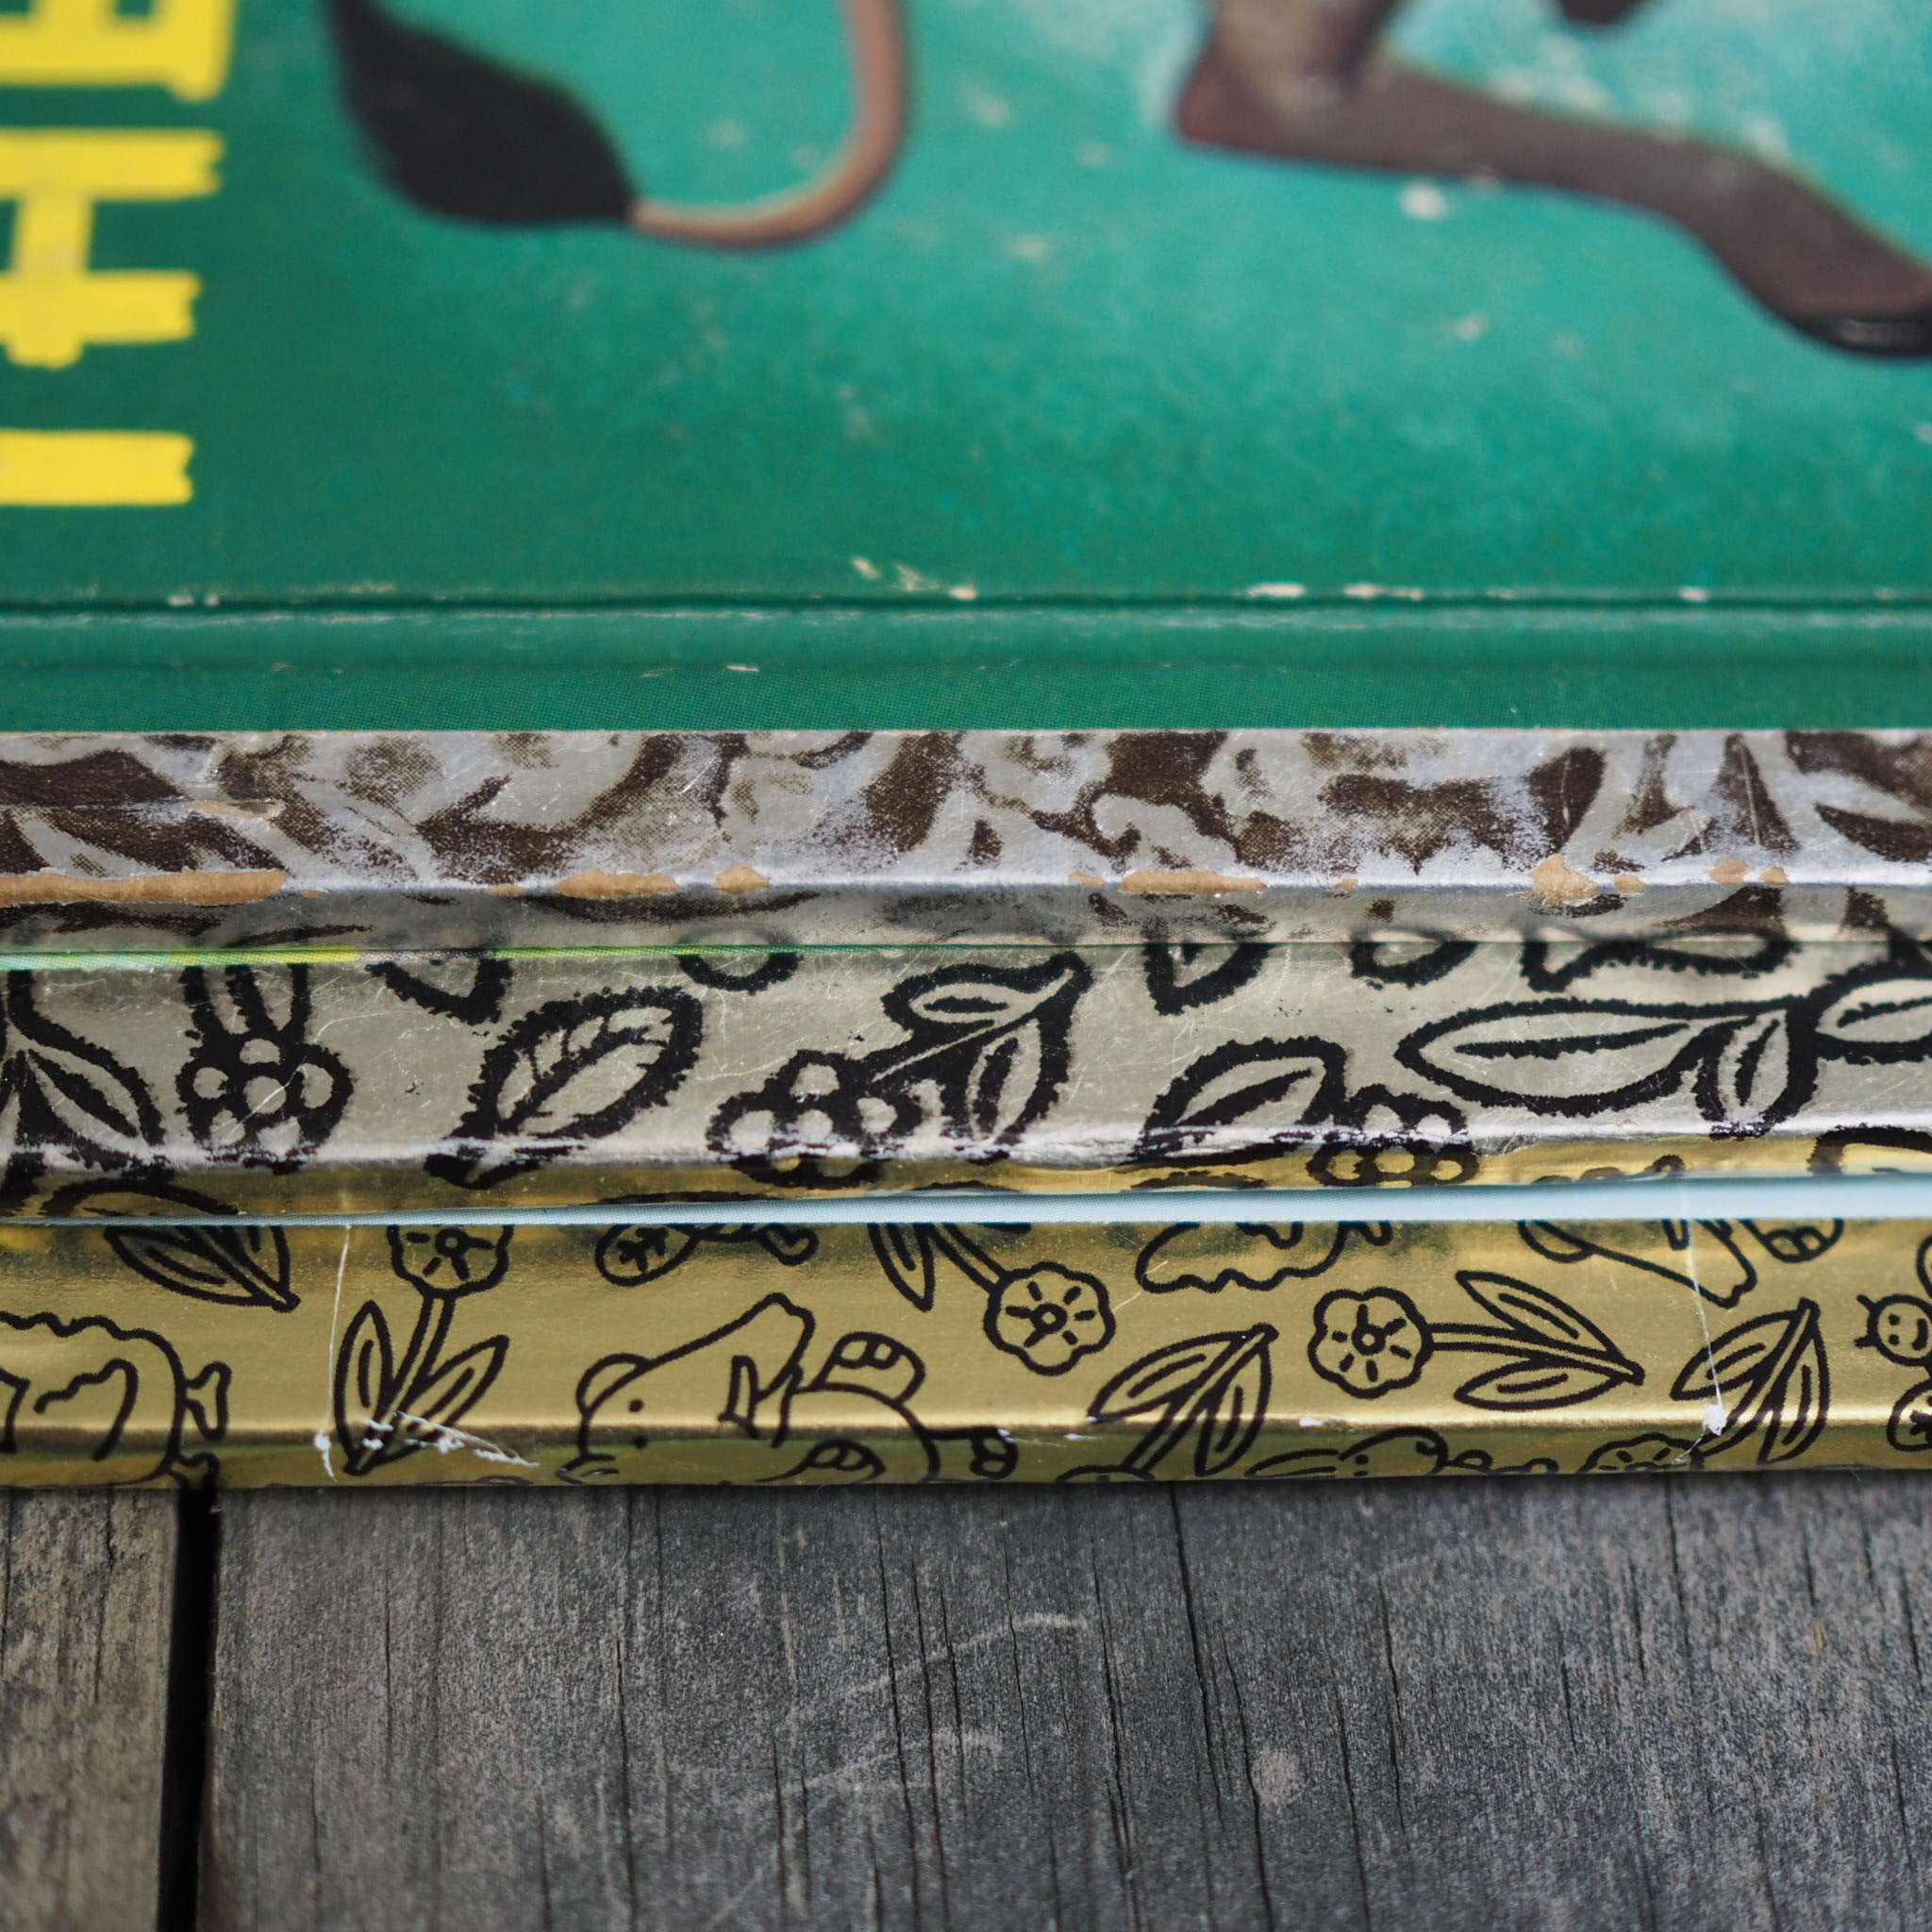
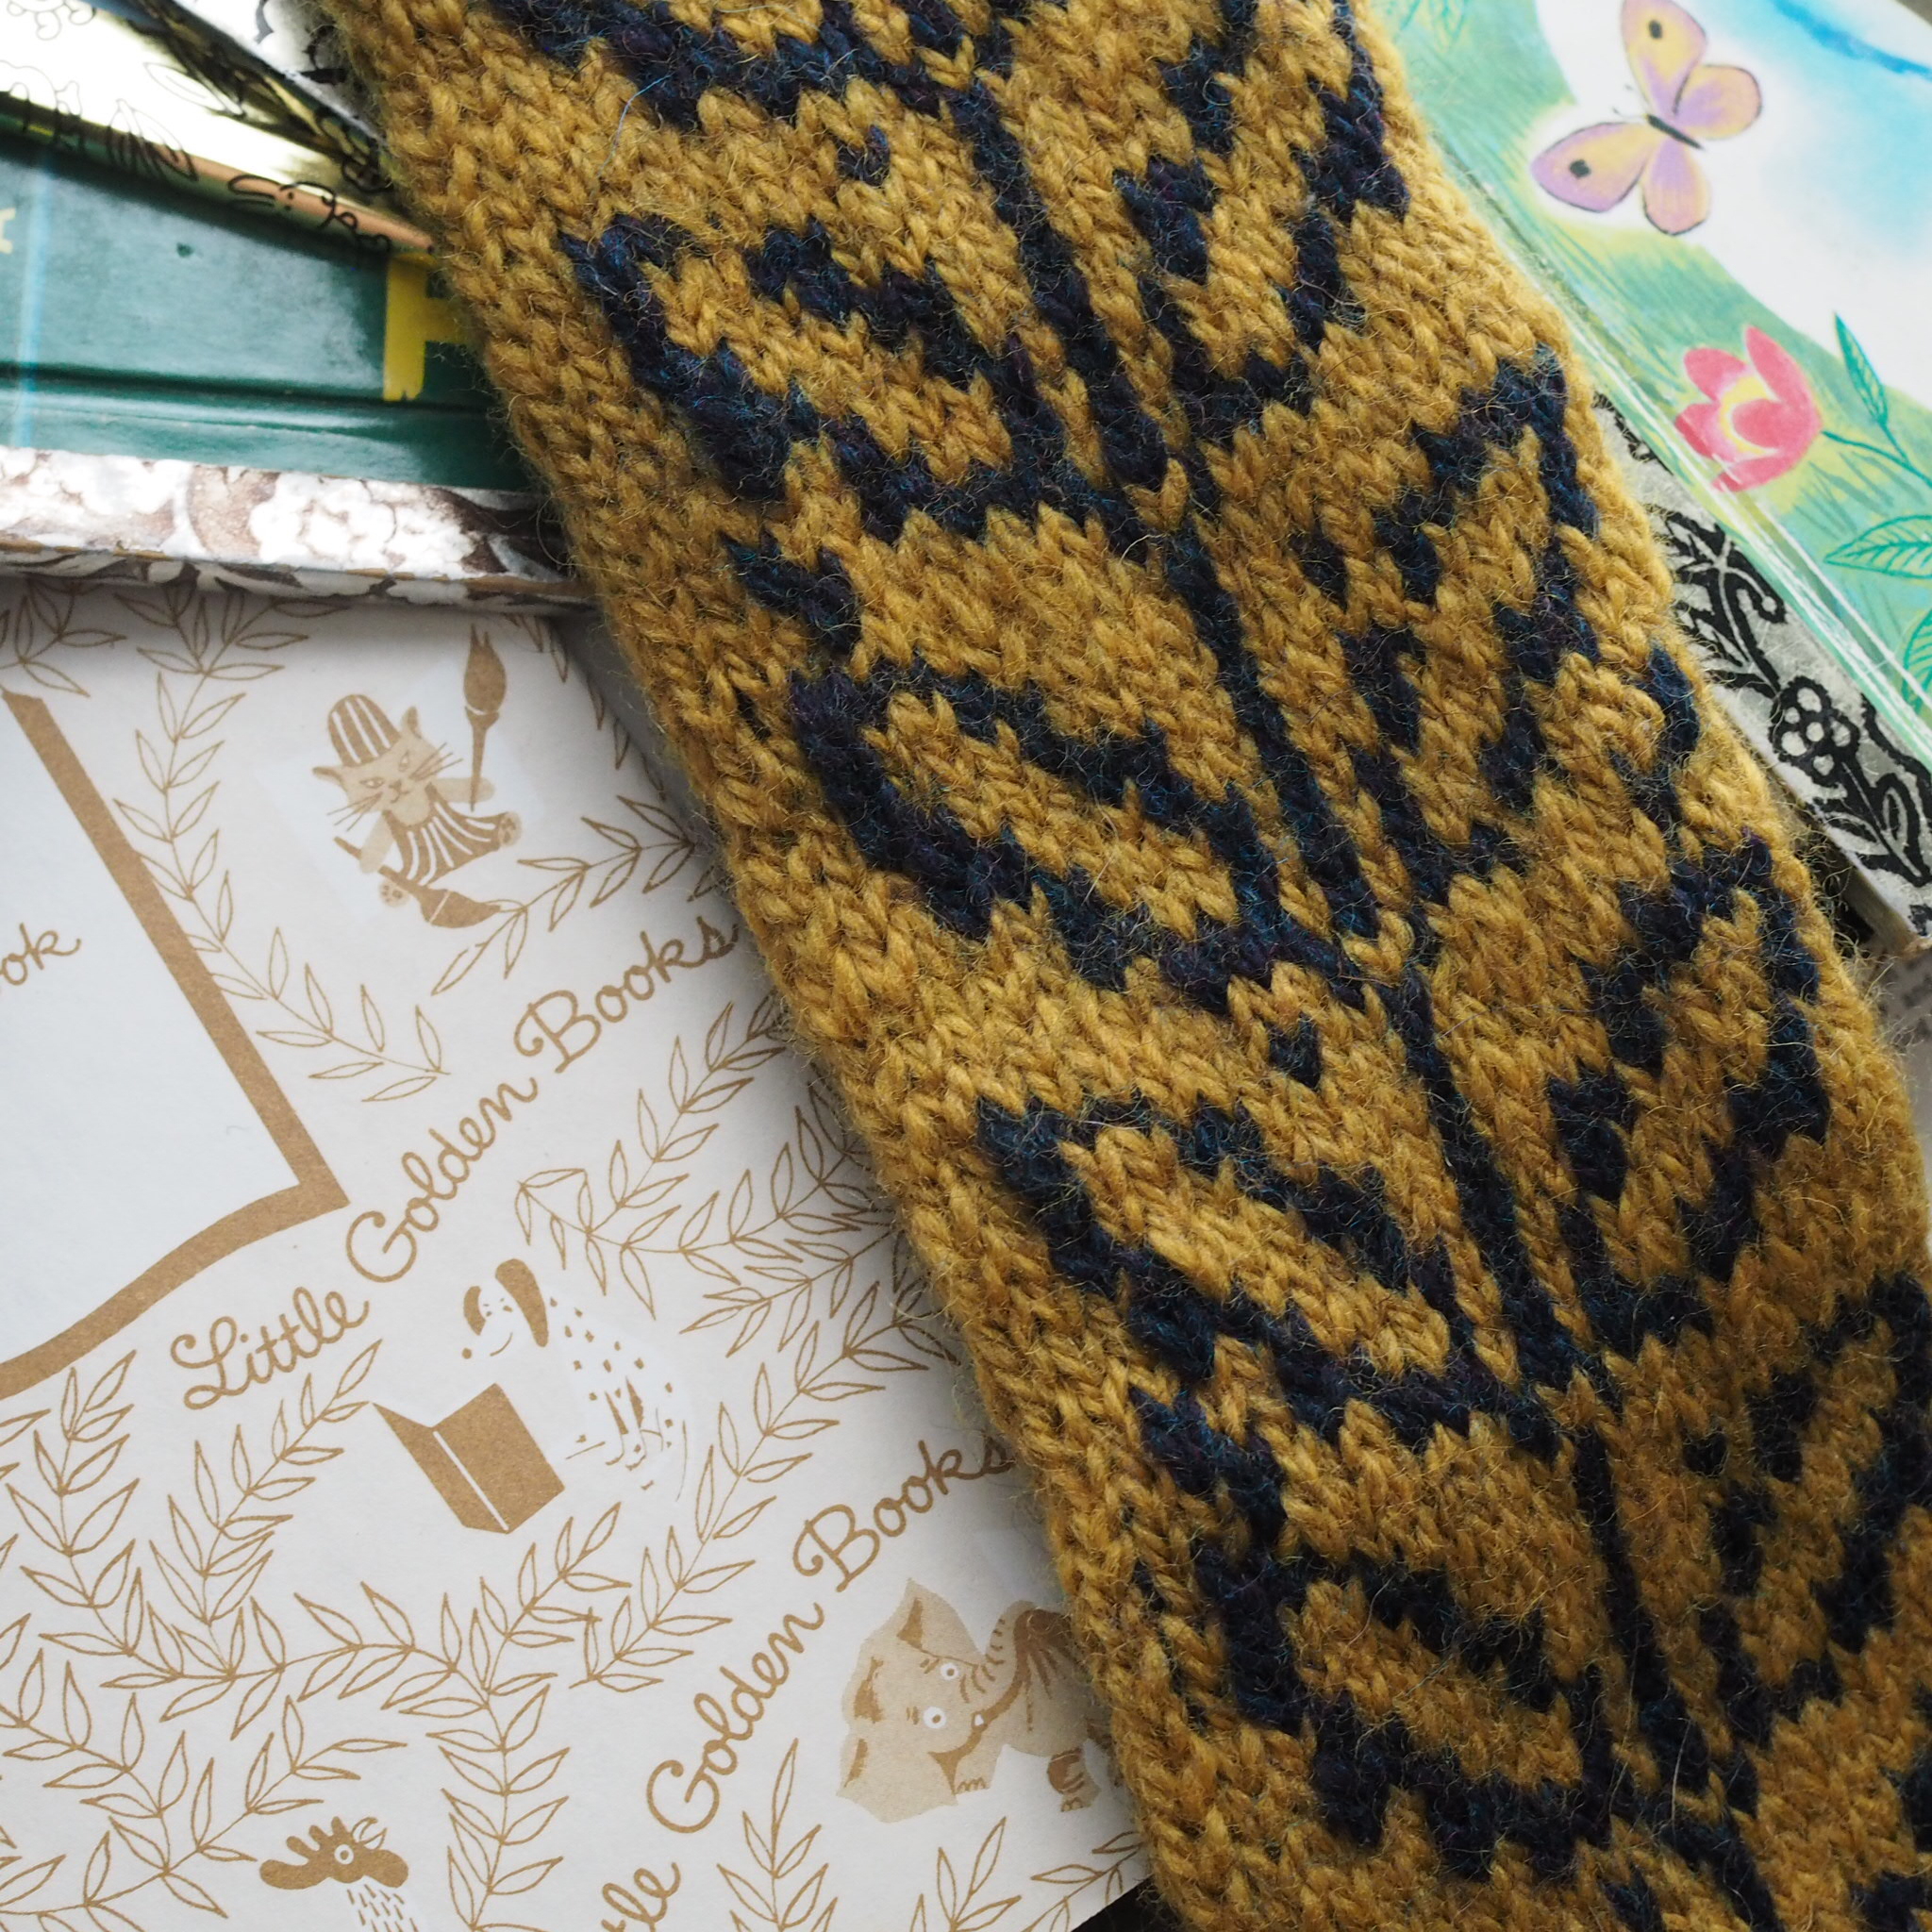
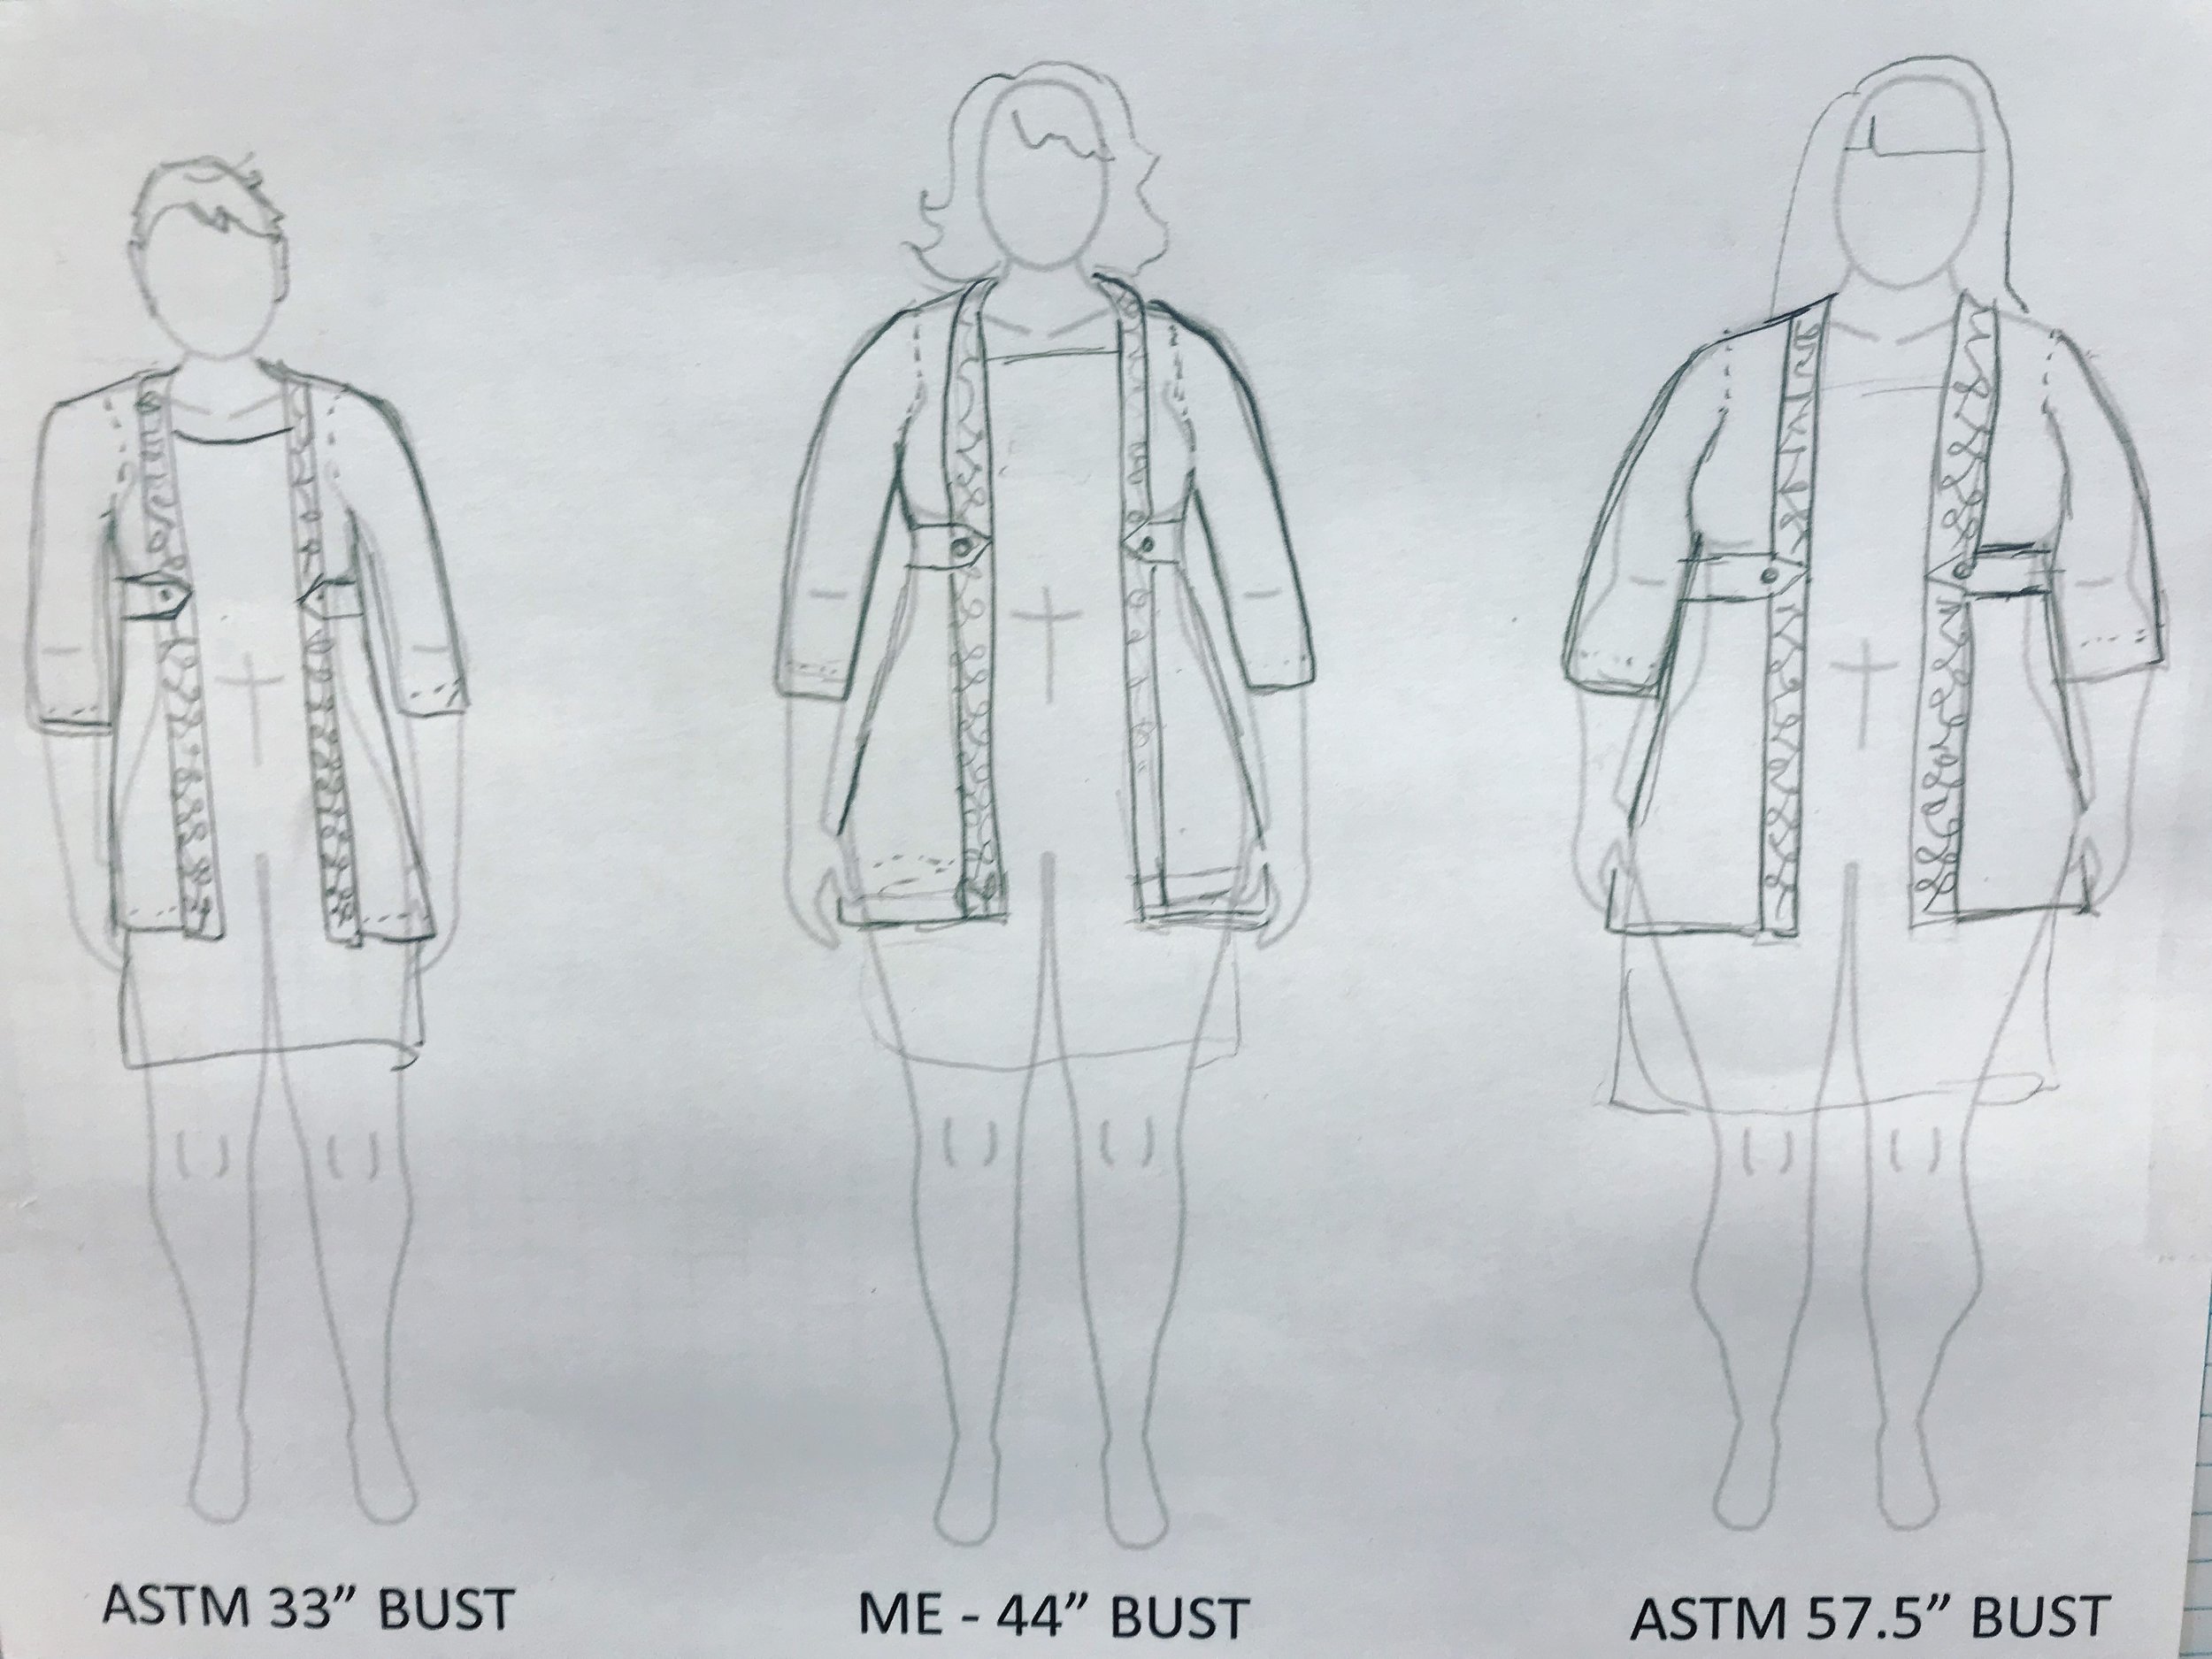
Inspired by the iconic spine of Little Golden Books, a long band of colorwork forms a statement collar on an open-front cardigan. Knit from the top-down, the pattern uses the contiguous method to form a well-fitting one-piece yoke and is finished with clean folded hems and deep pockets. The pattern is available in bust sizes up to 56.5"/143.5 cm and includes helpful fit tips throughout the pattern to get the best fit for your body. 

Can be purchased as bundle with the Turning Leaf Gloves.

Turning Leaf Gloves

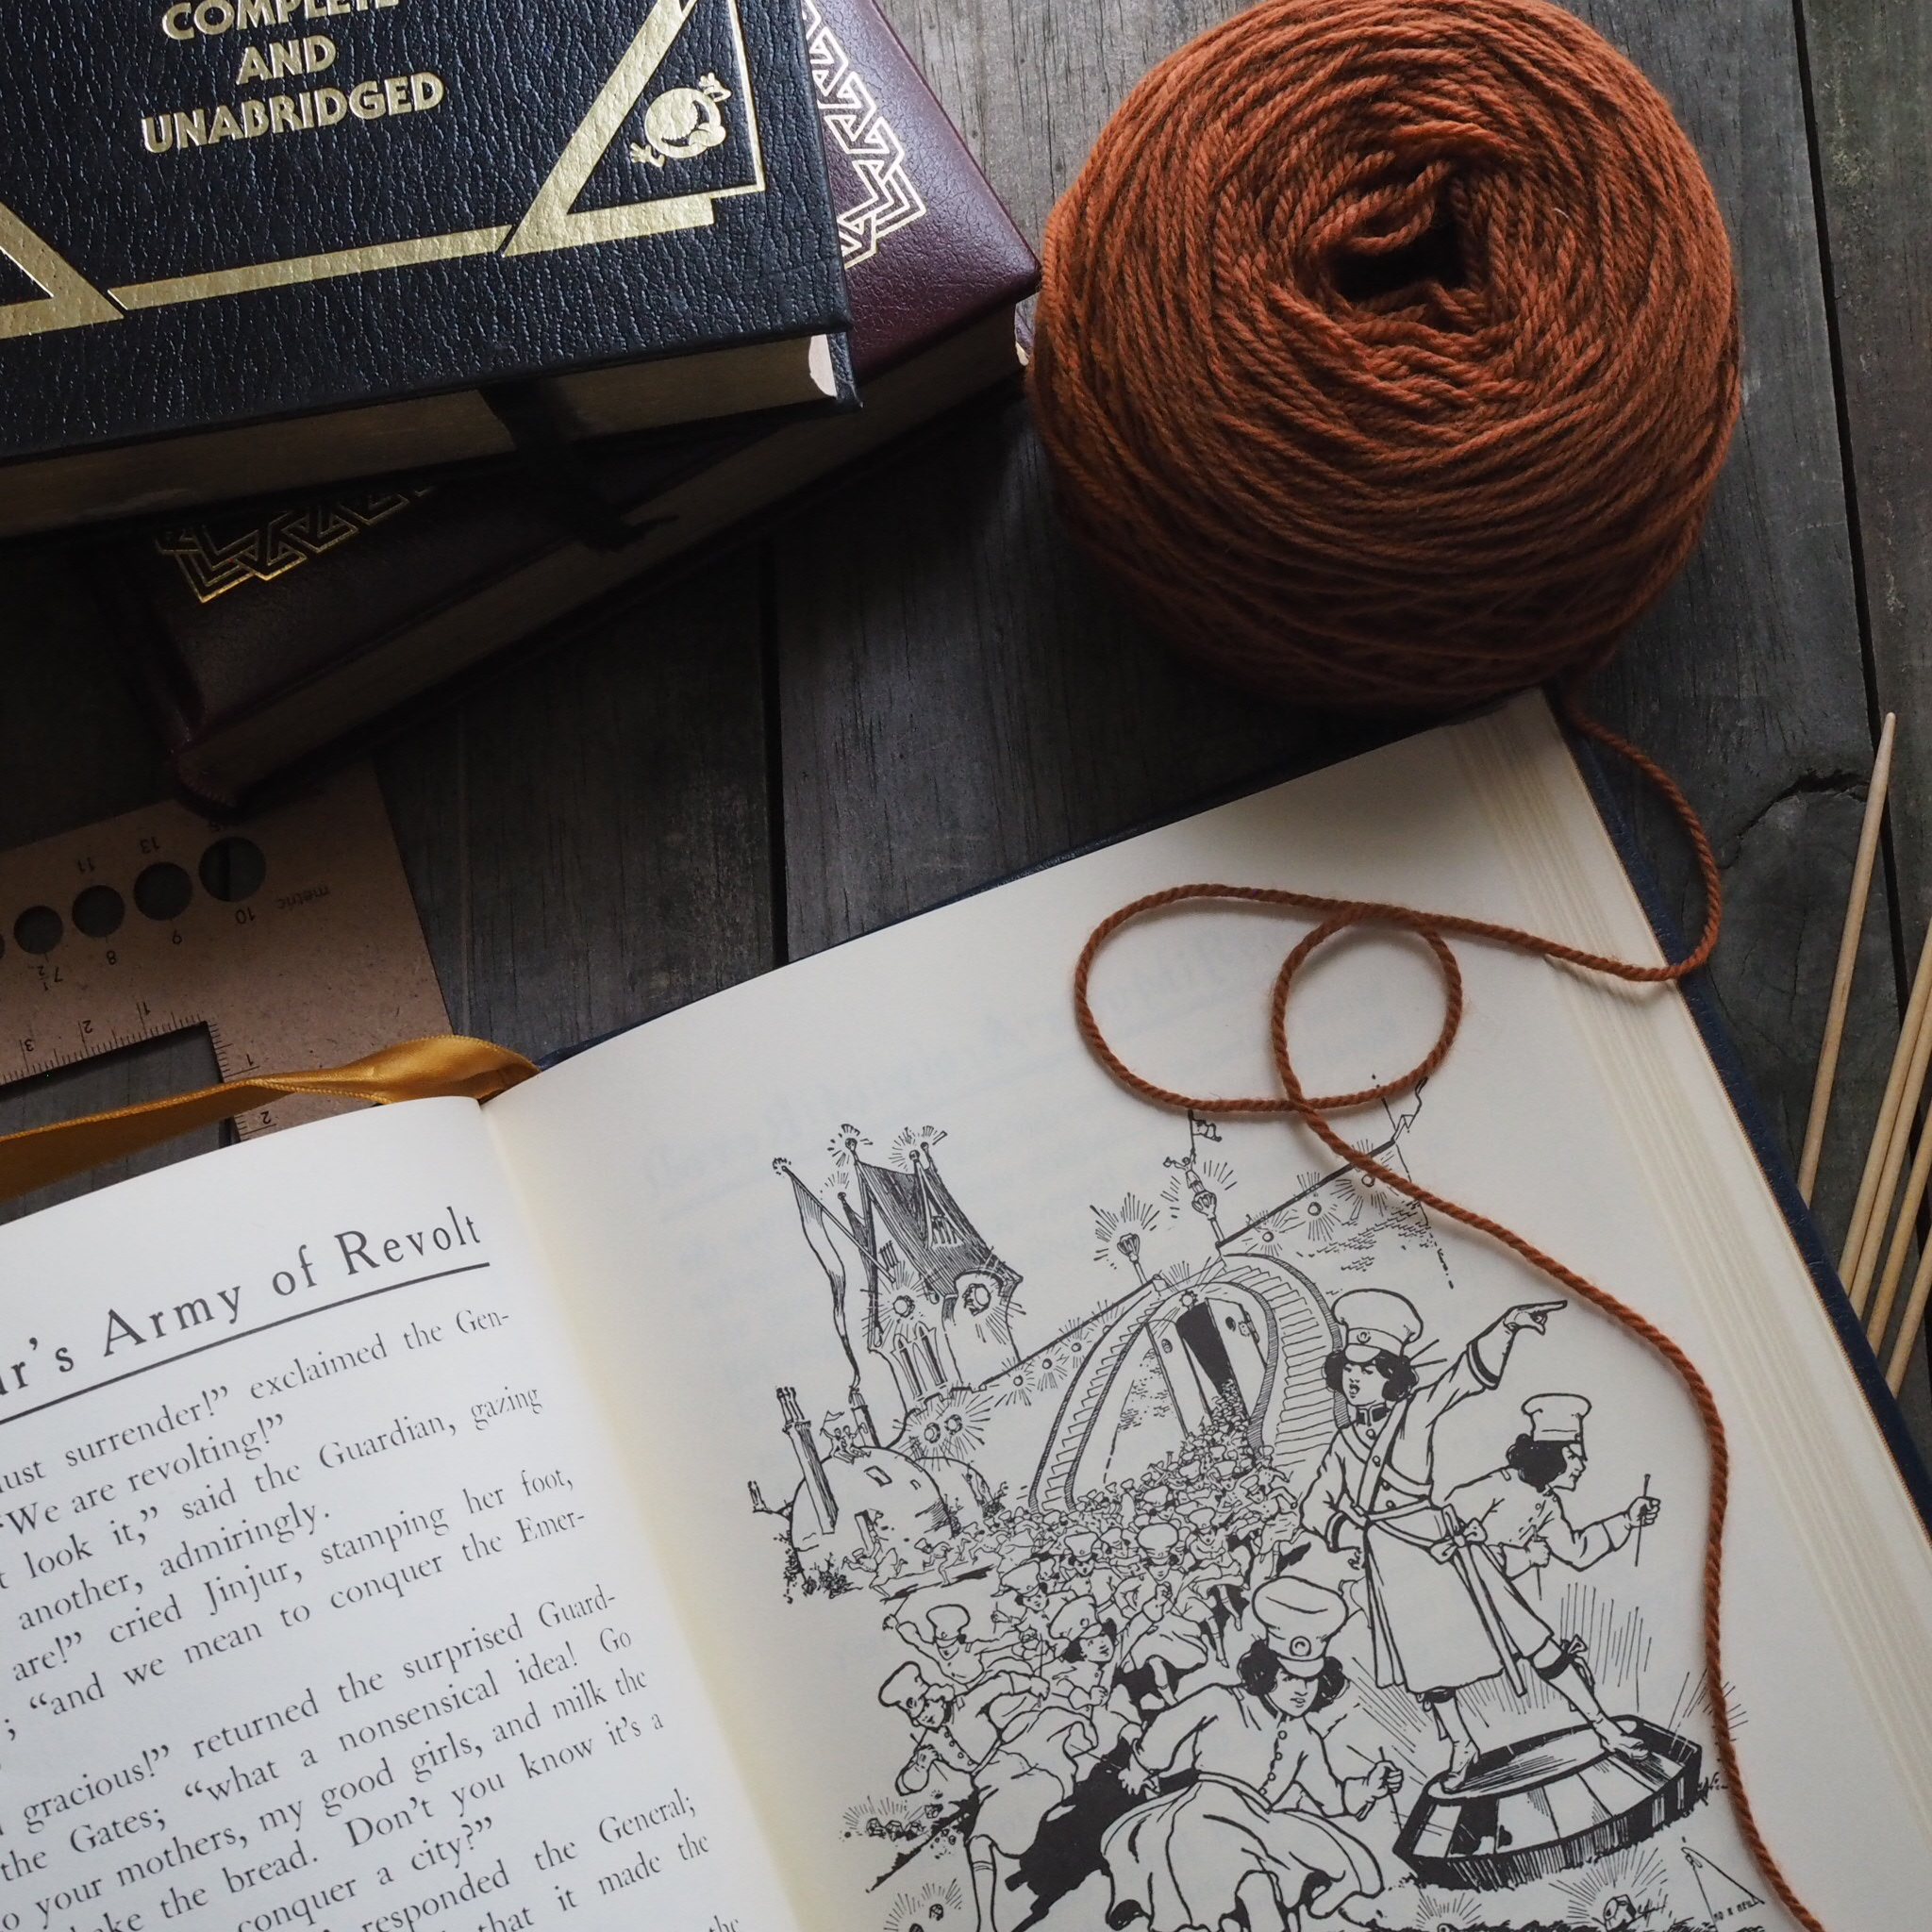
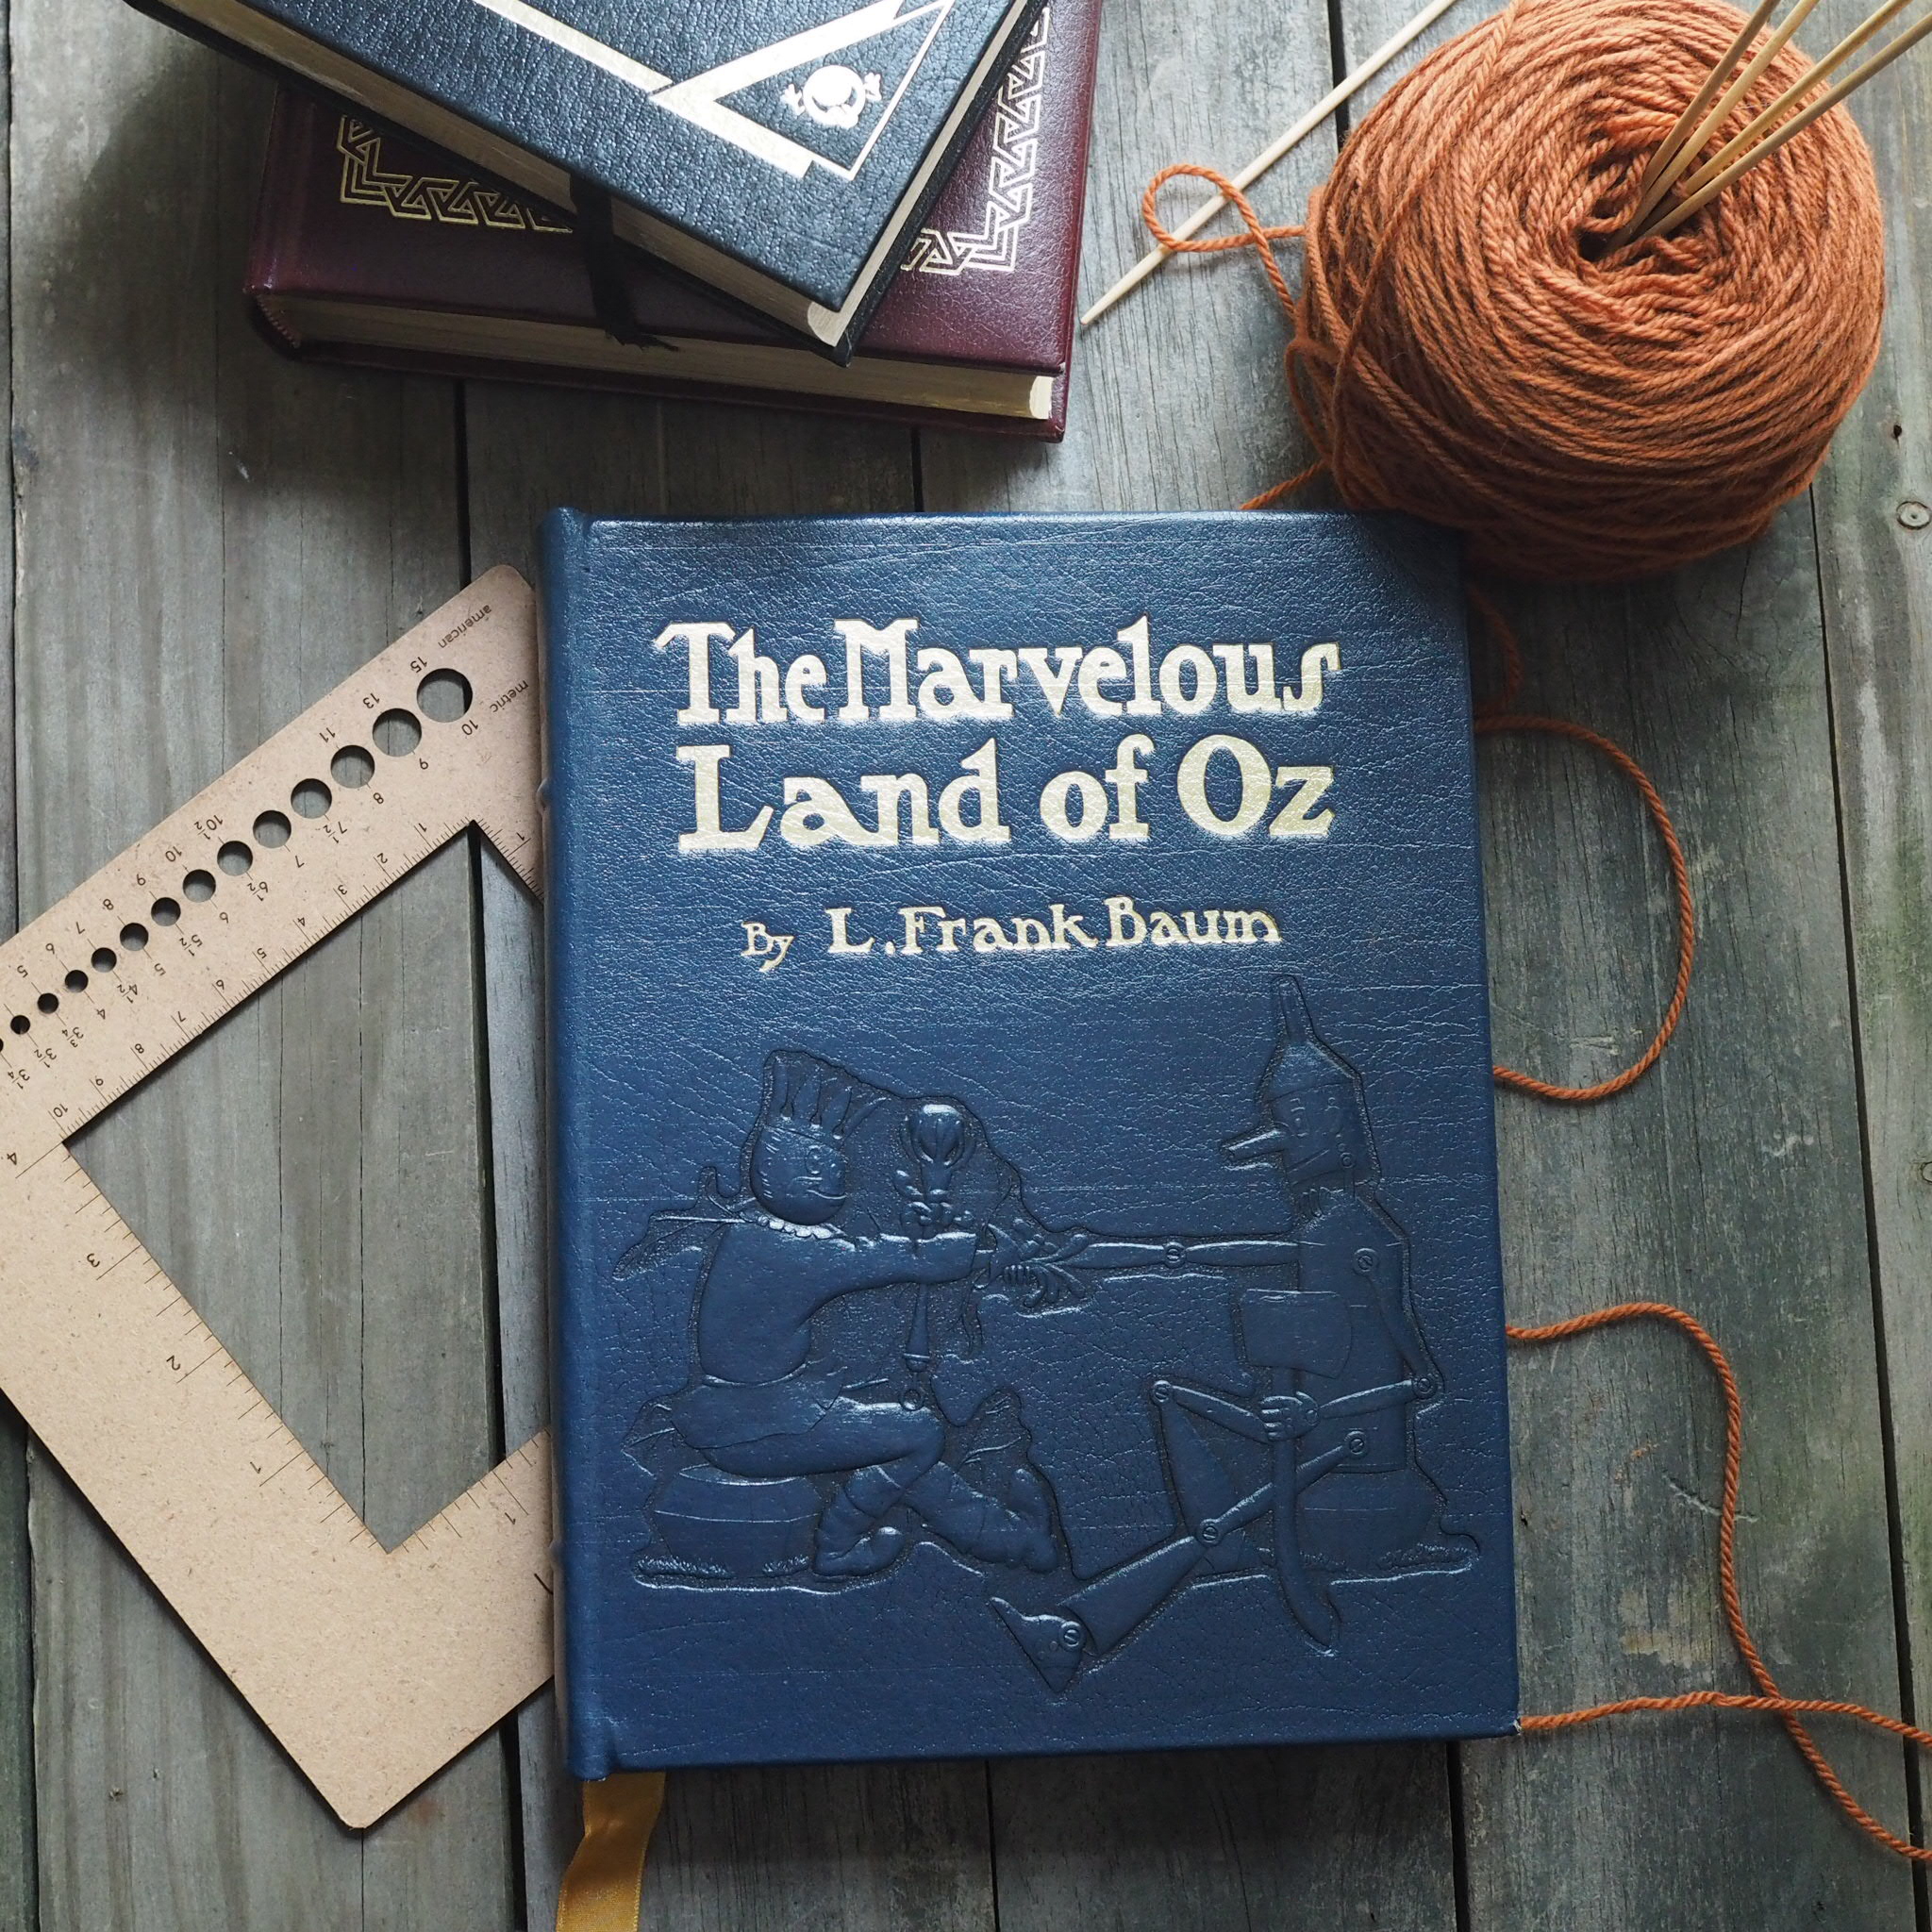
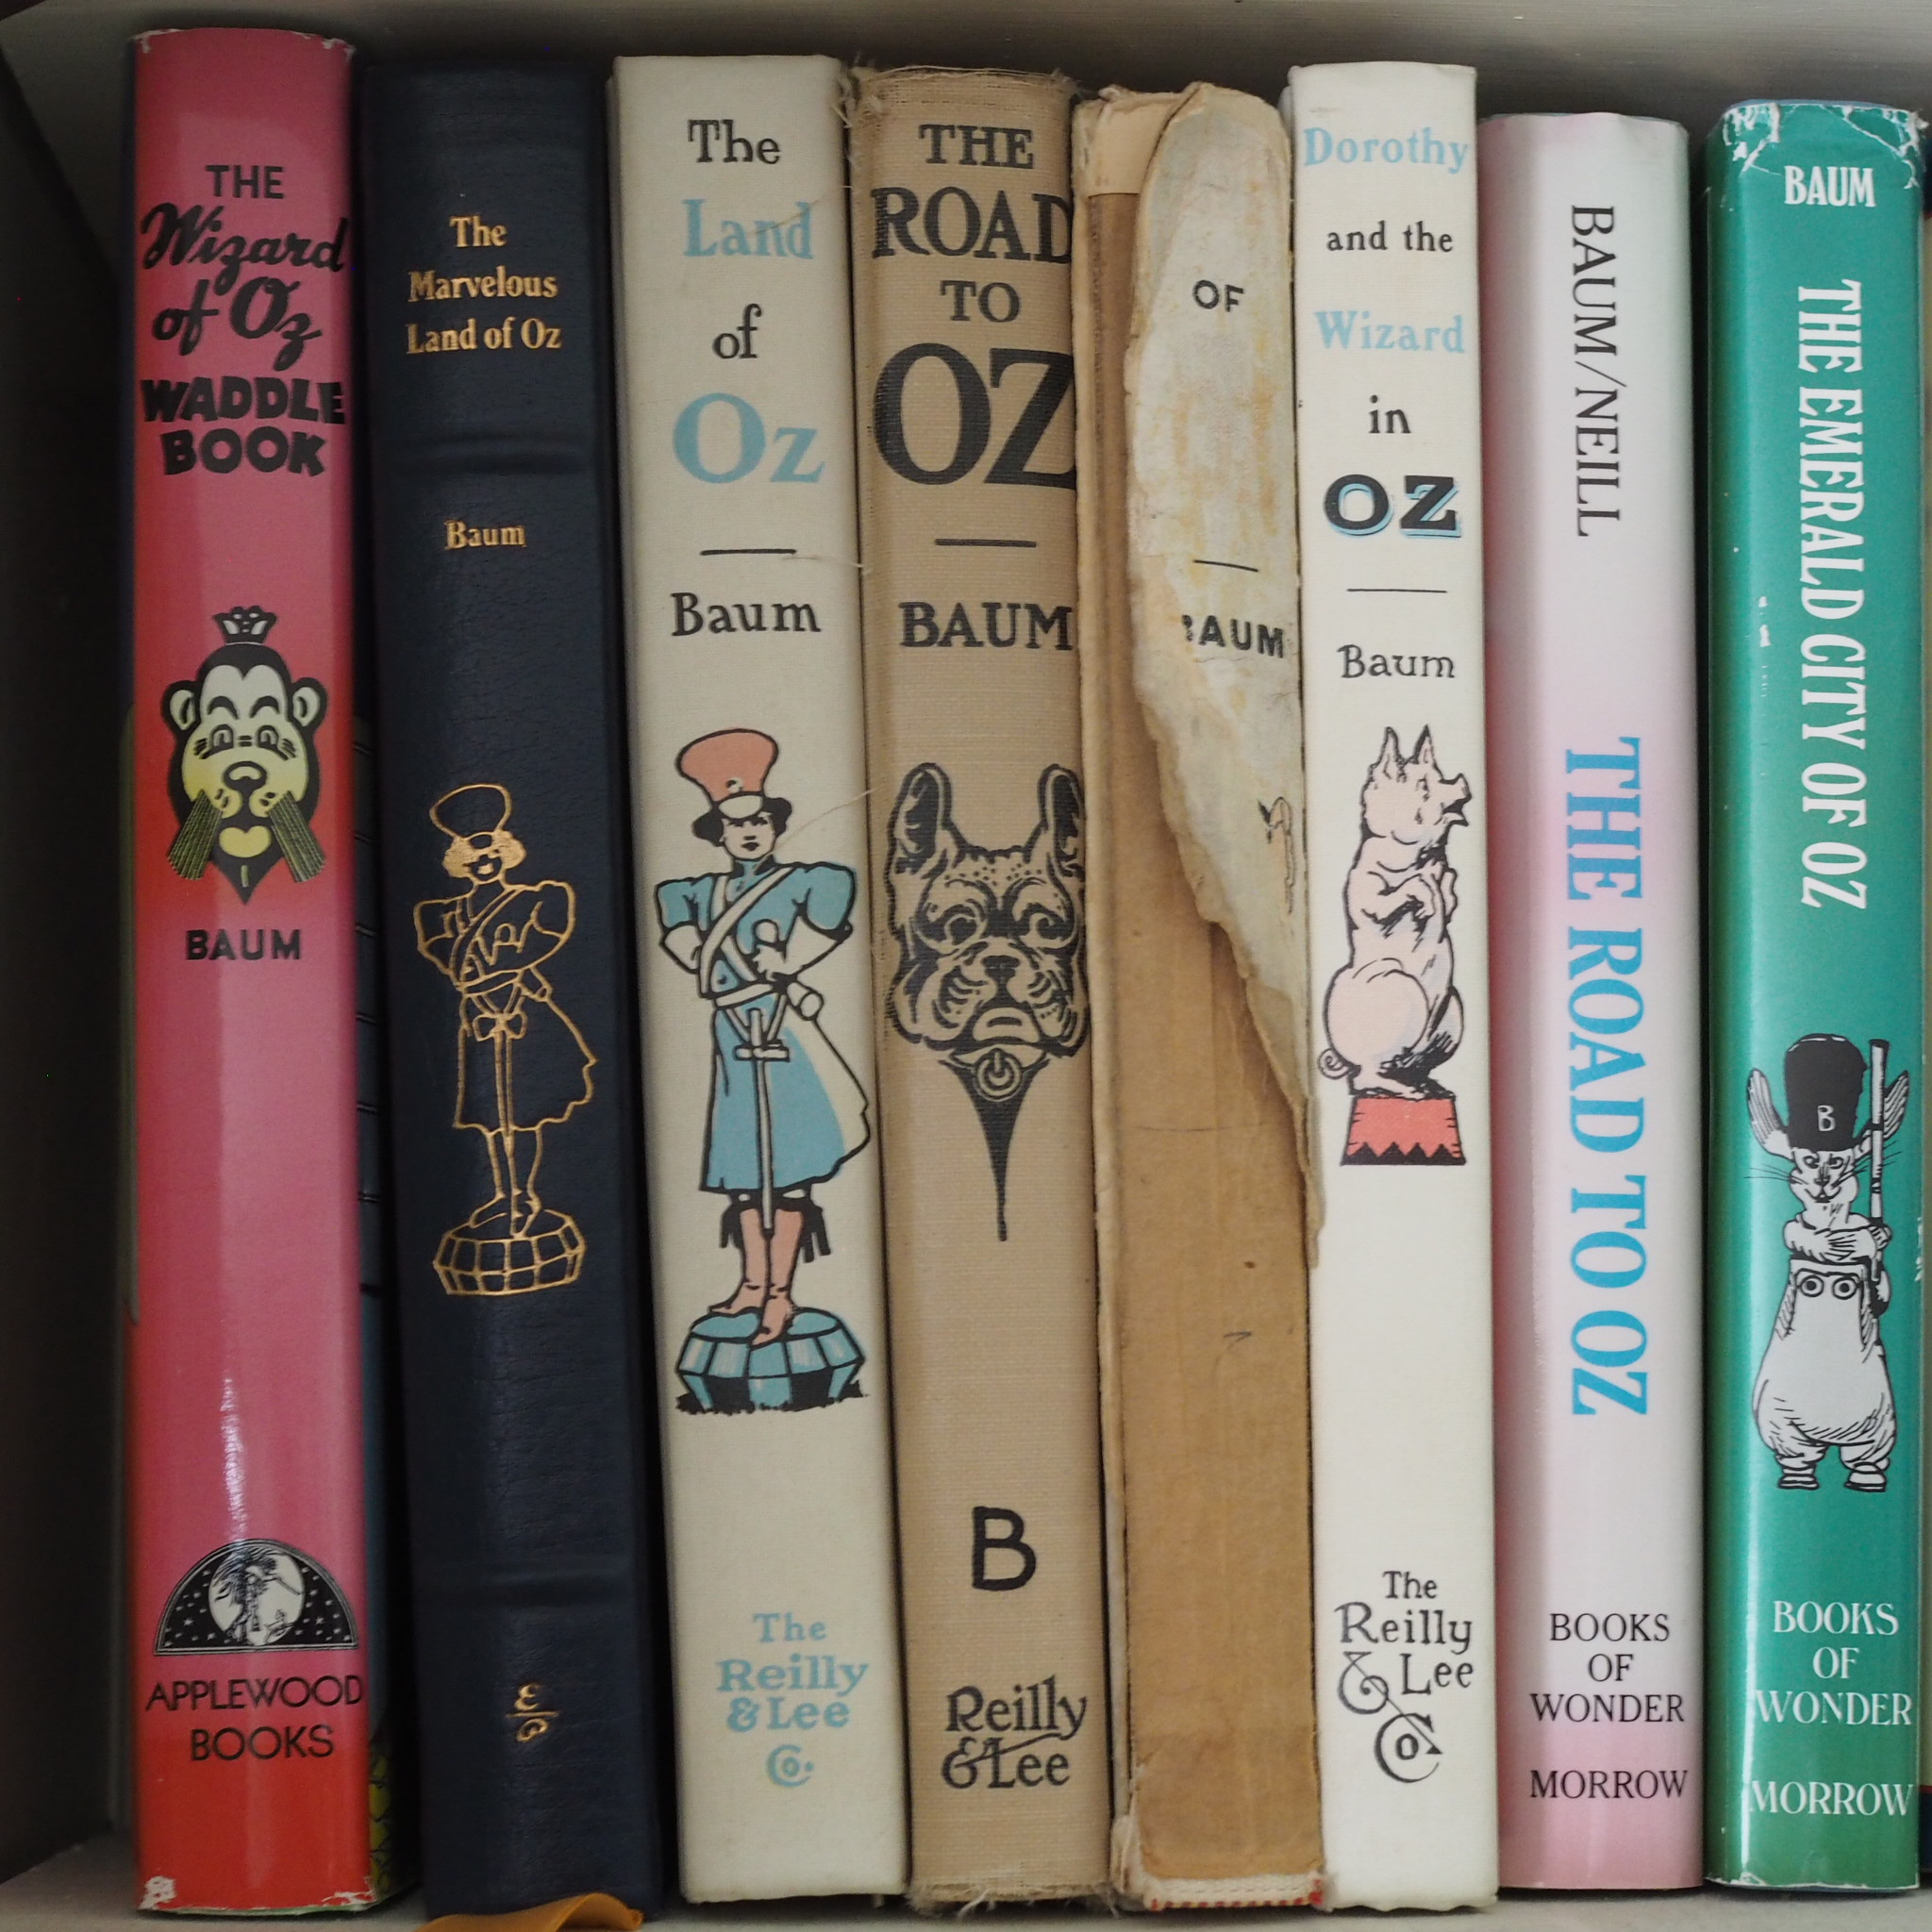
In the early days of publishing, a sheet of paper with printing on both pages/sides was commonly referred to as a leaf - a less popular usage now, but one that lives on in phrases like “to turn a new leaf, ”loose-leaf” paper, and the French word feuille. The Turning Leaf gloves were inspired by the gilded leaves of hefty leather-covered tomes (be they the Bible or The Wonderful Land of Oz), this inspiration reflected in graceful pleats that shape the hands of these vintage-style gloves.

Gloves are worked from the cuff to the fingers. The cuff is worked flat, with the hand and fingers worked in the round.

Can be purchased as bundle with the Goldenbook Cardigan.

Little Readers Embroidery & Ms. Marian Pillow

Is there anything better than cozying up with a good book?

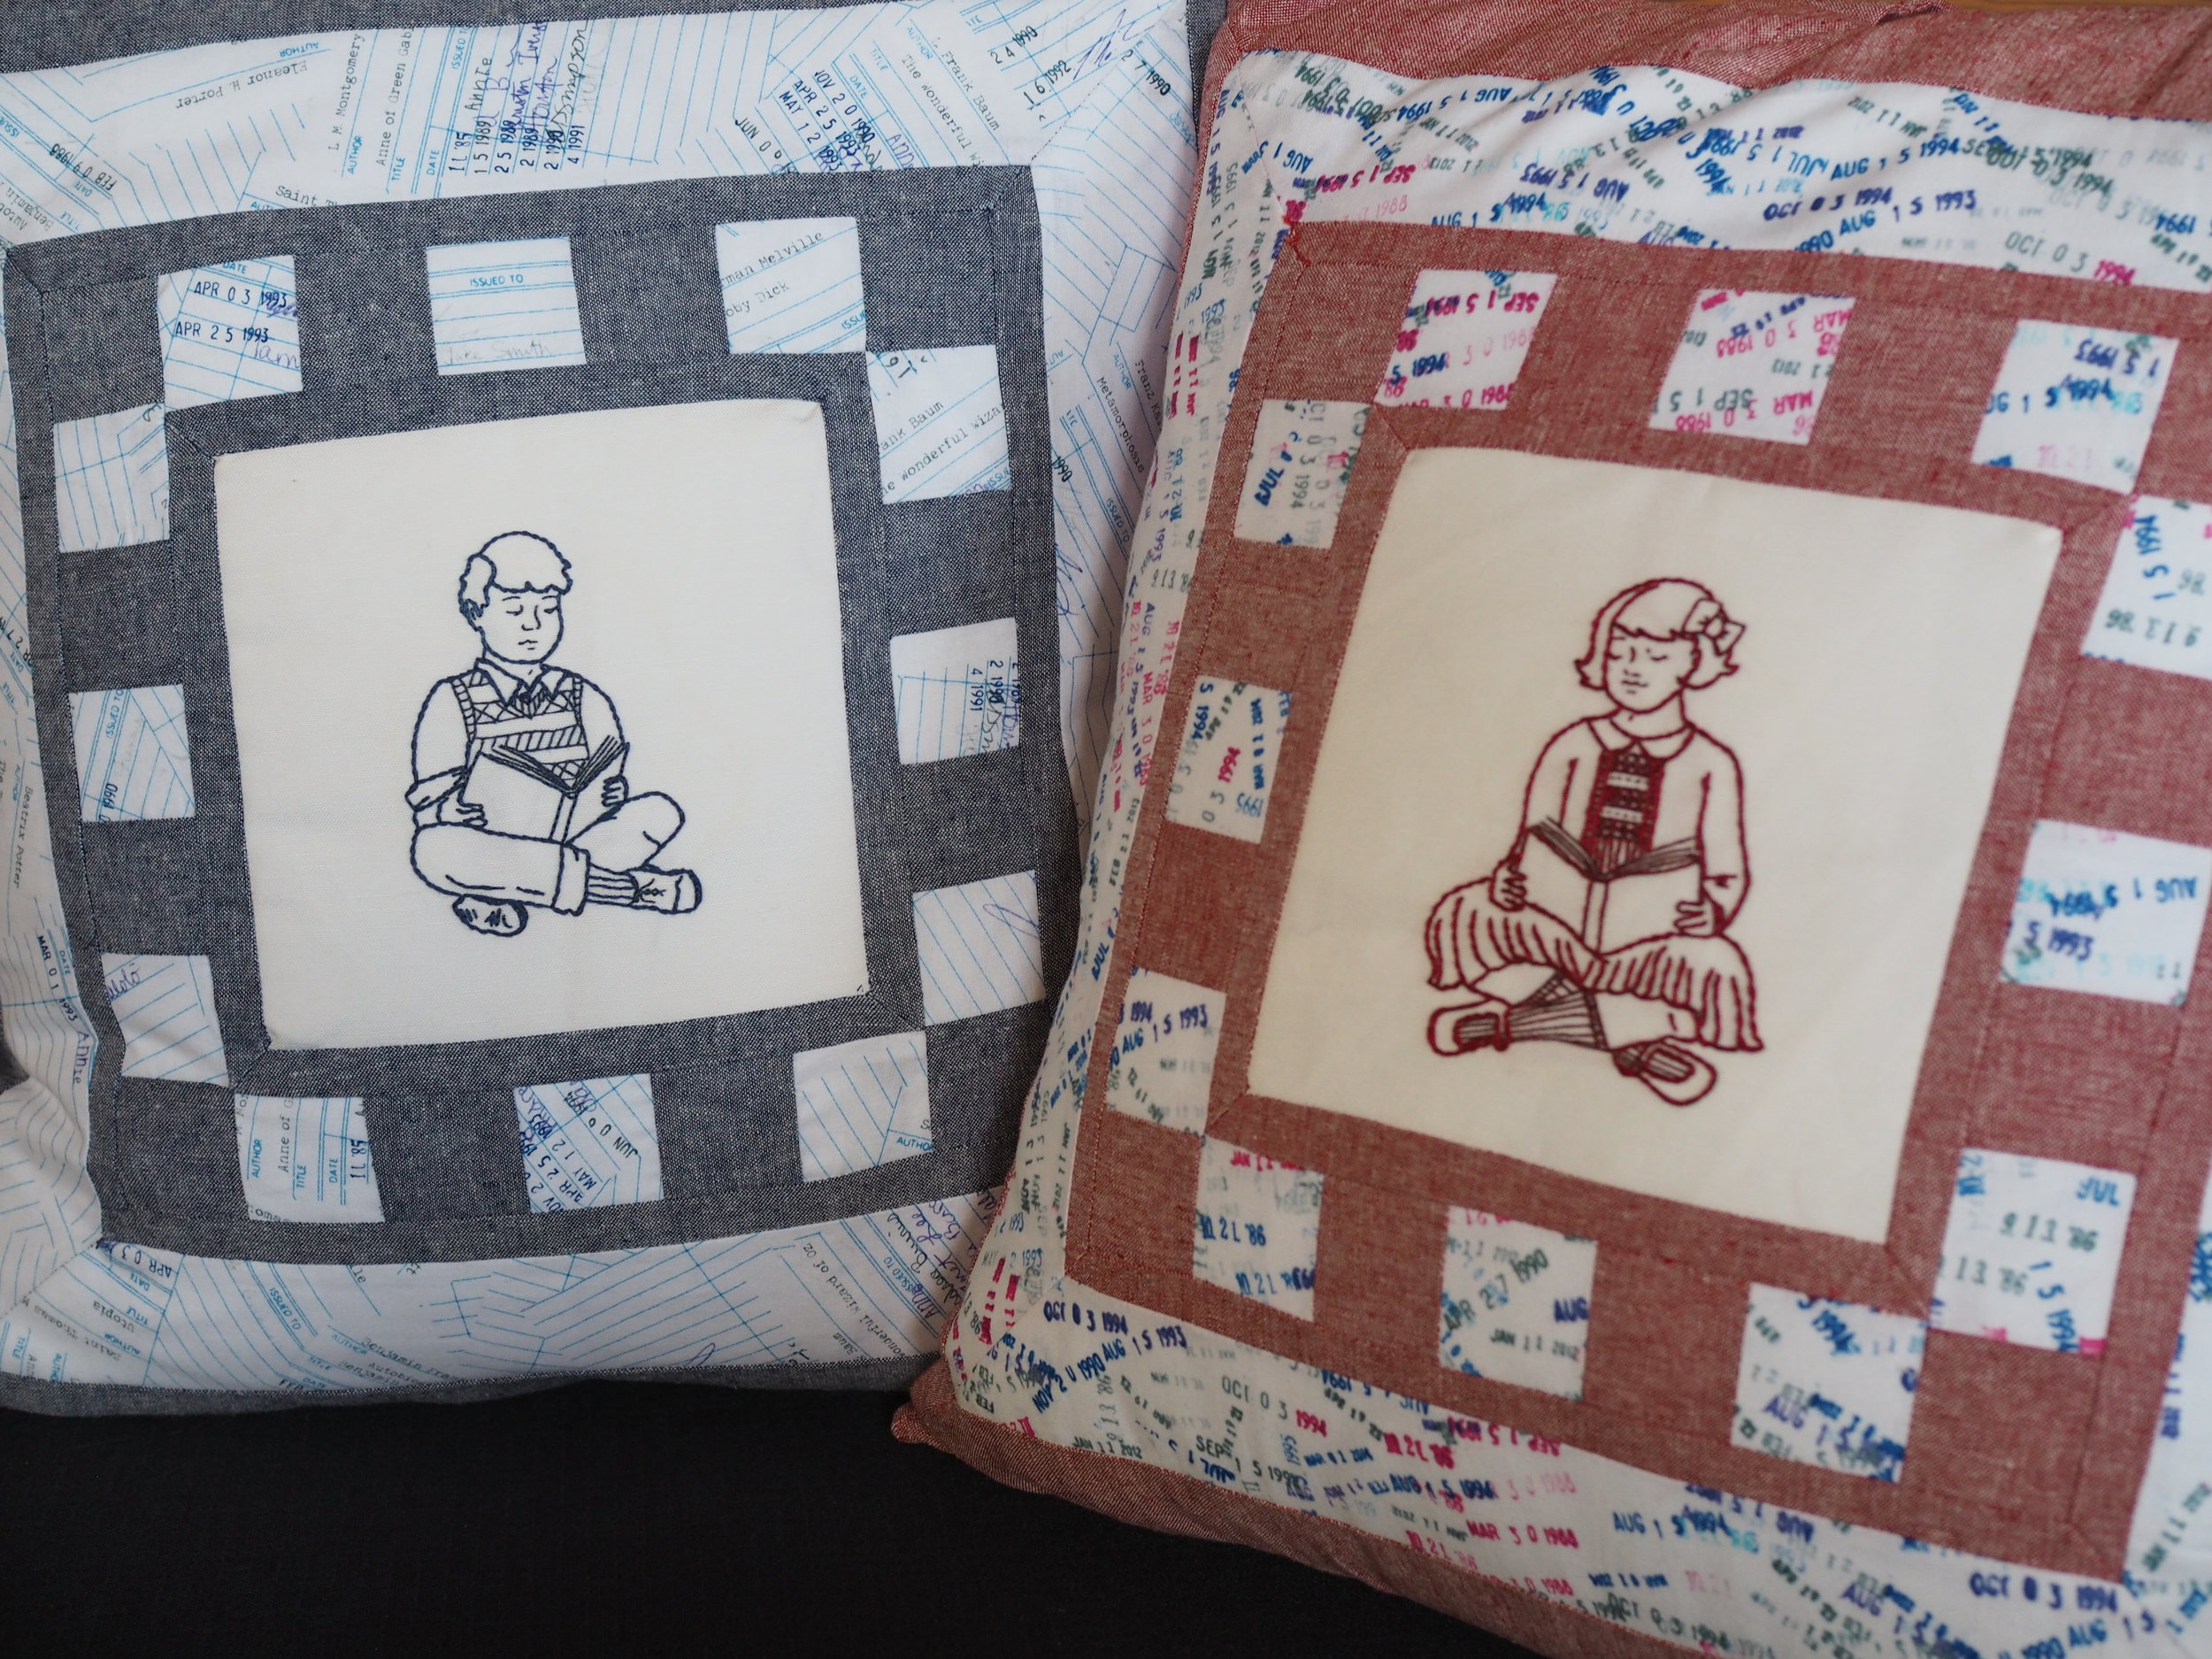
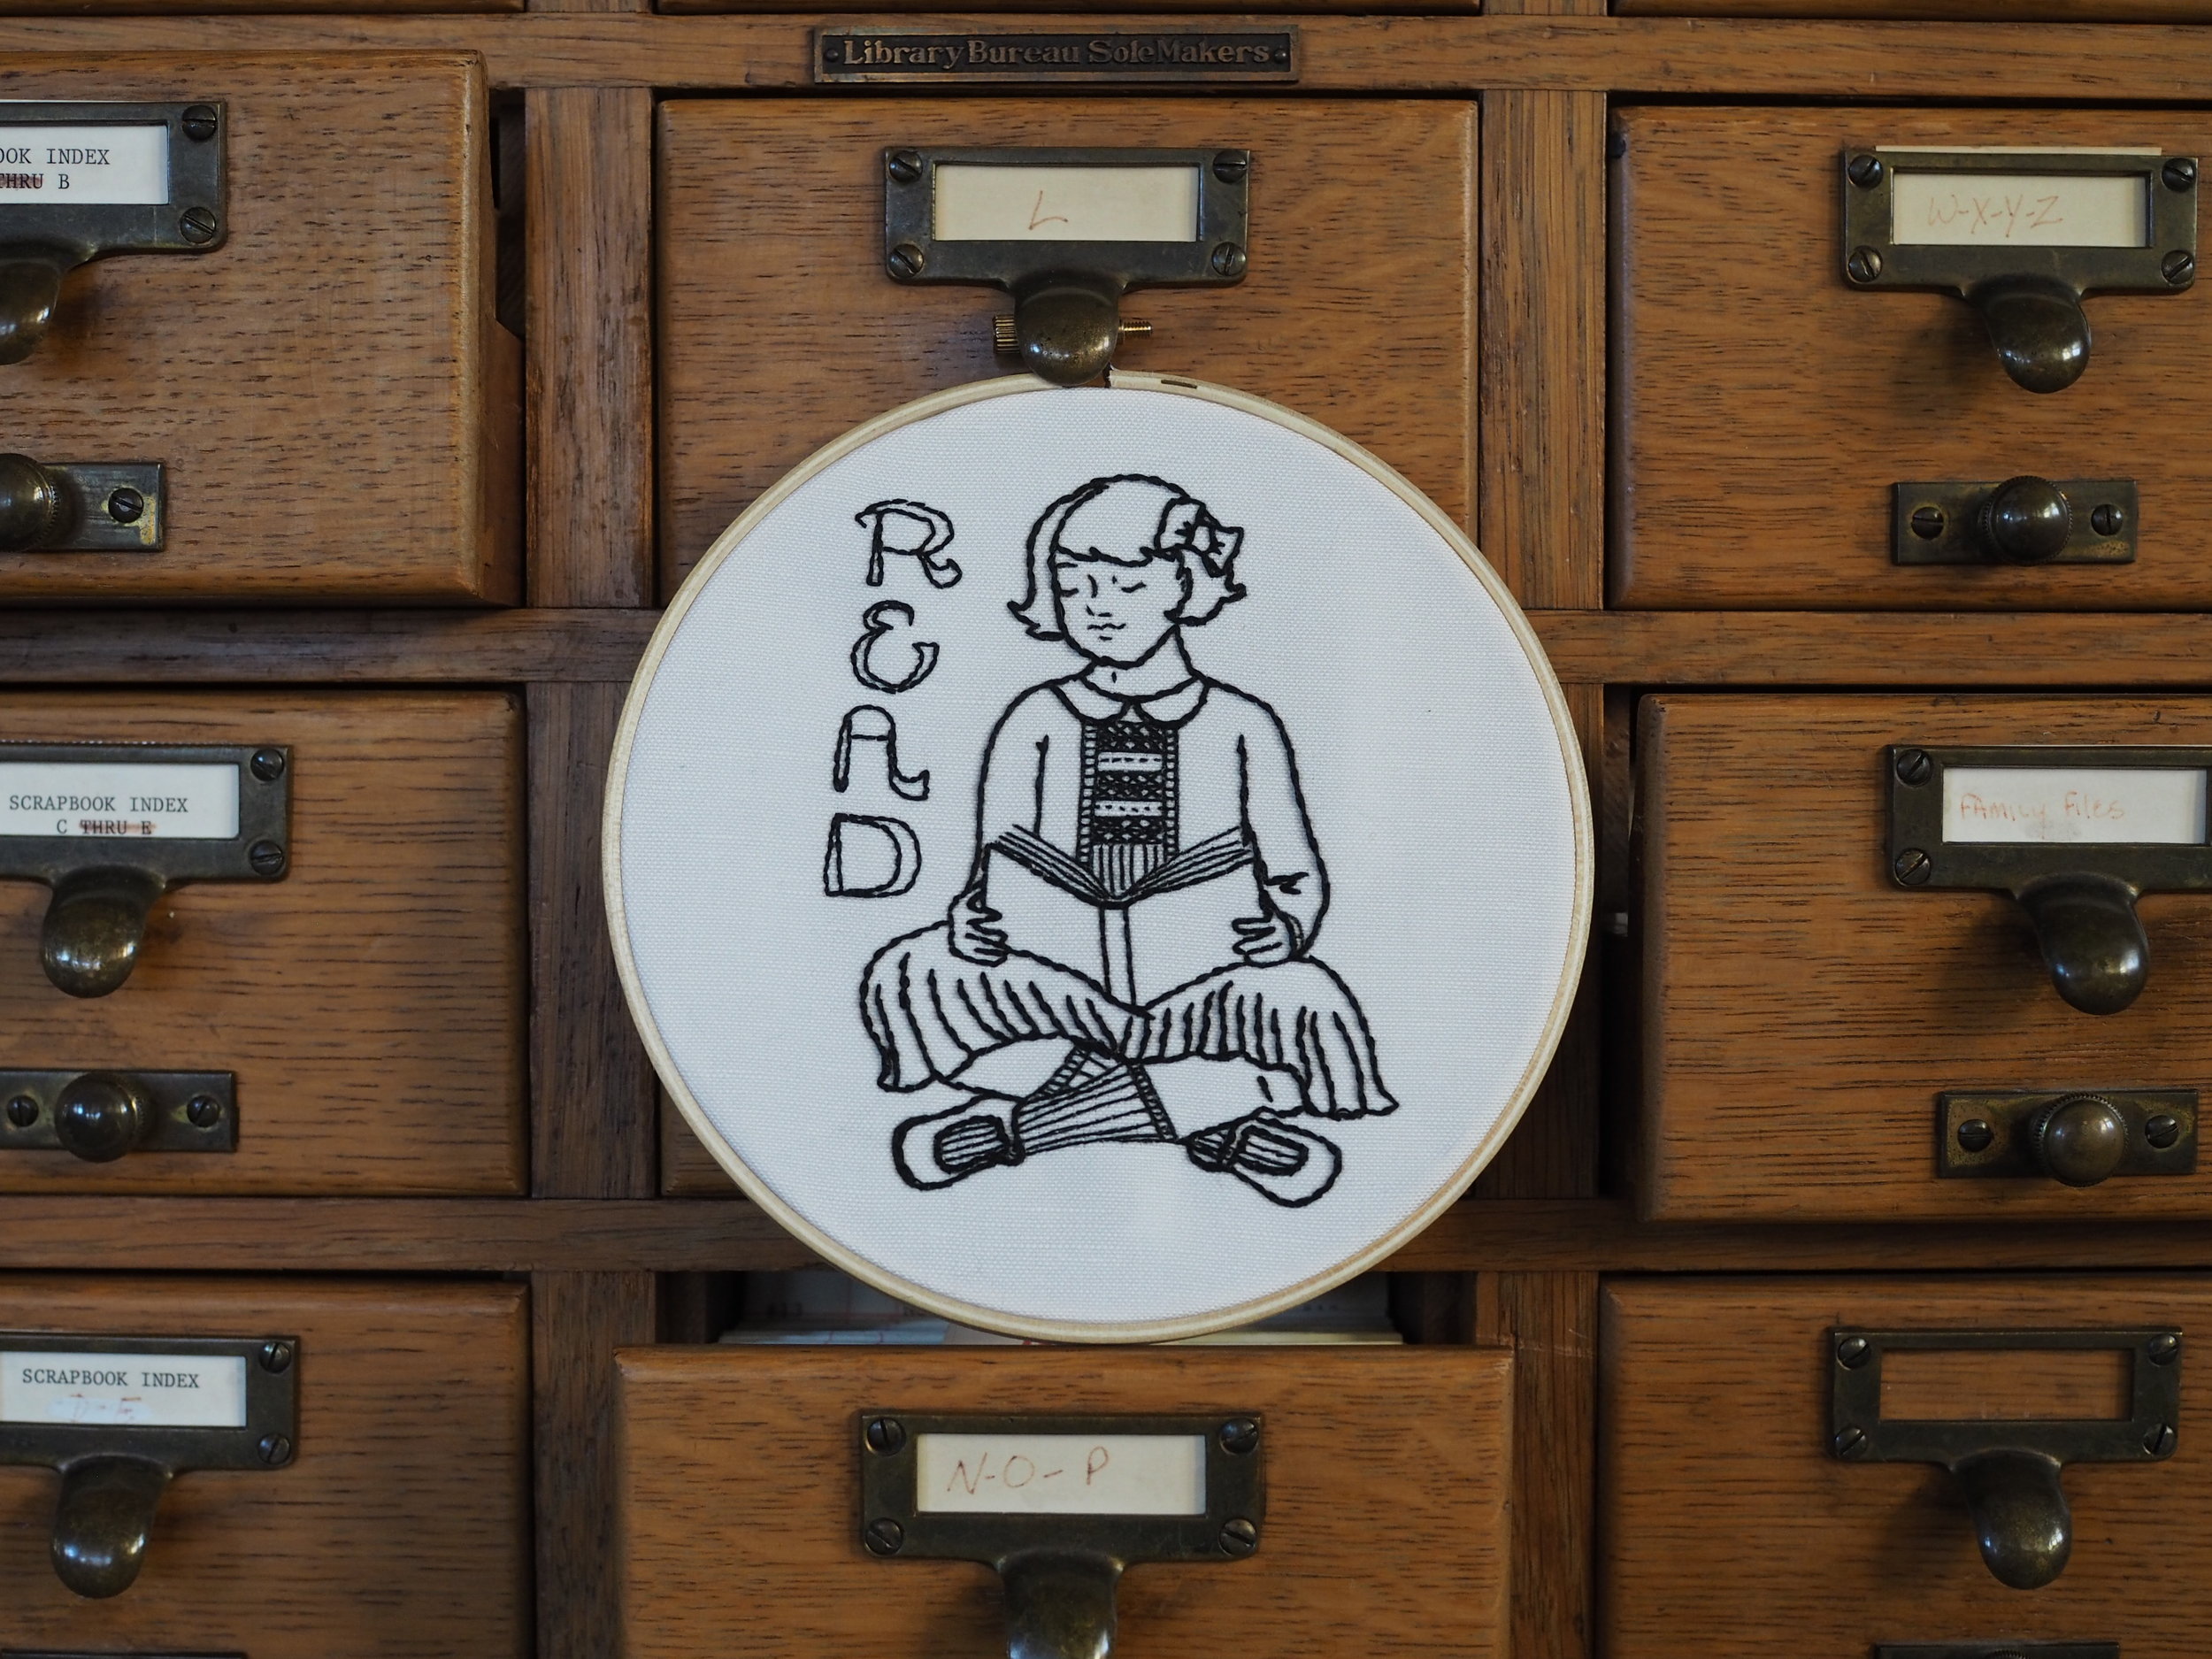
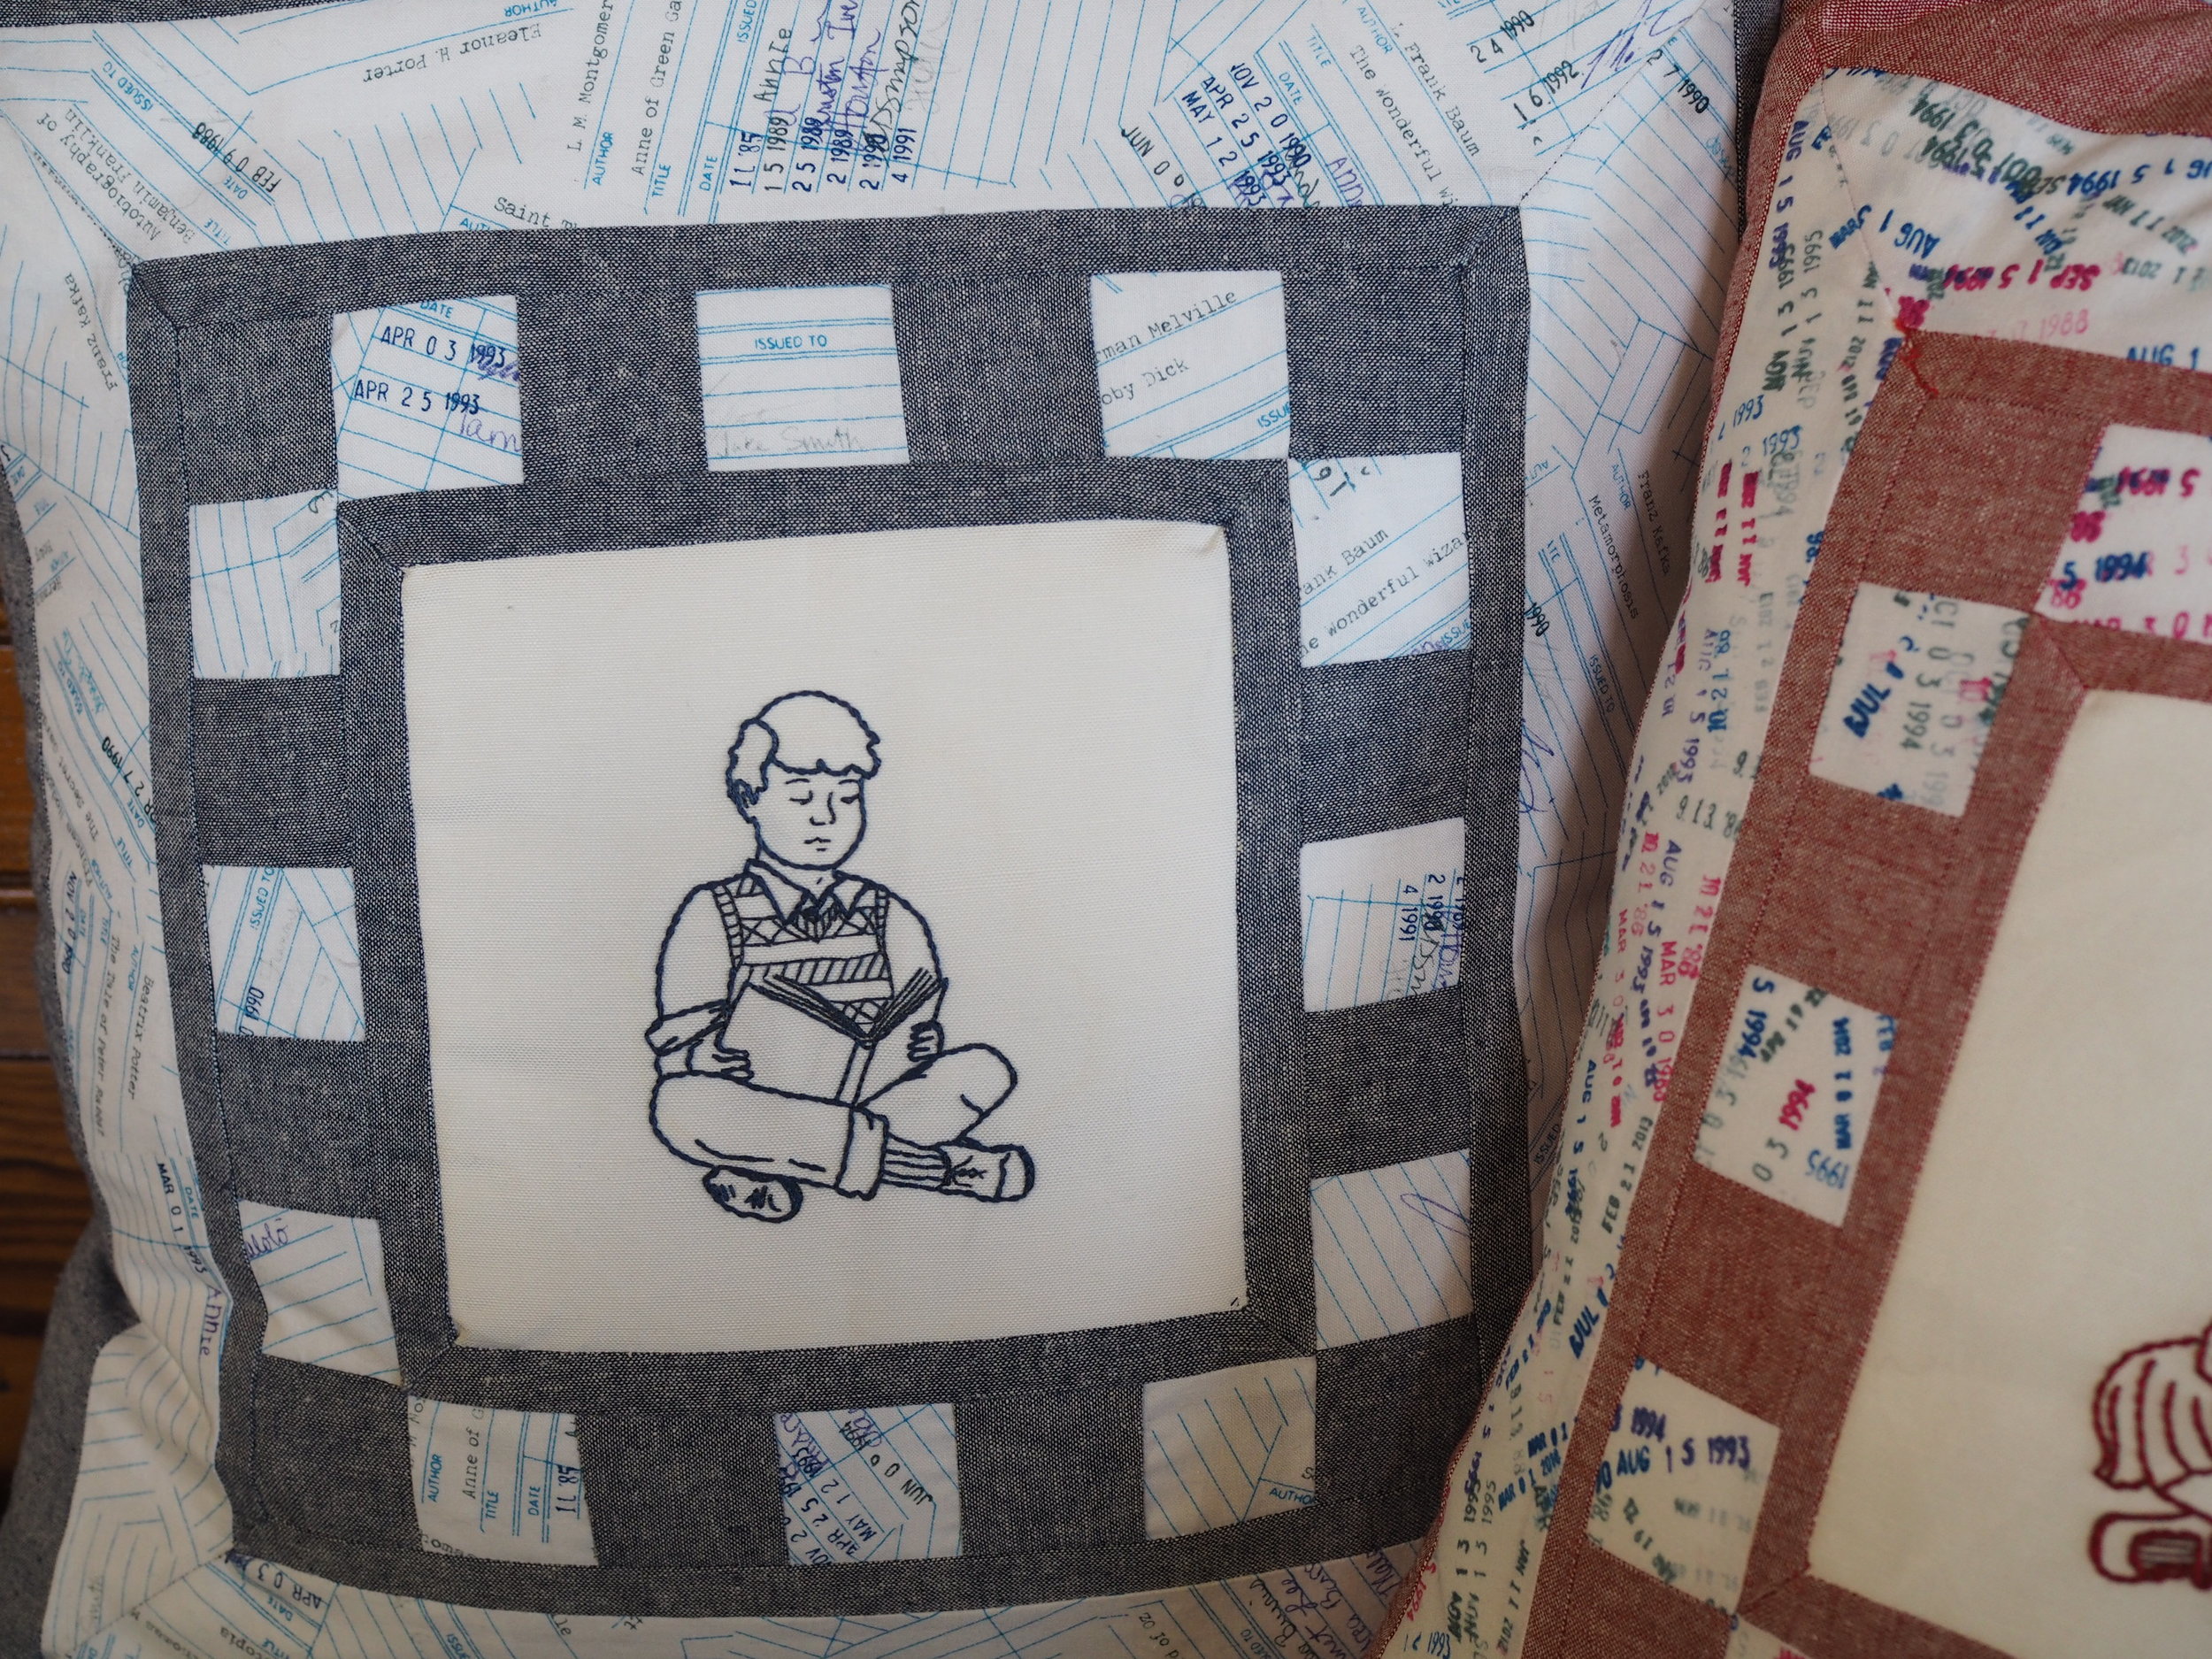
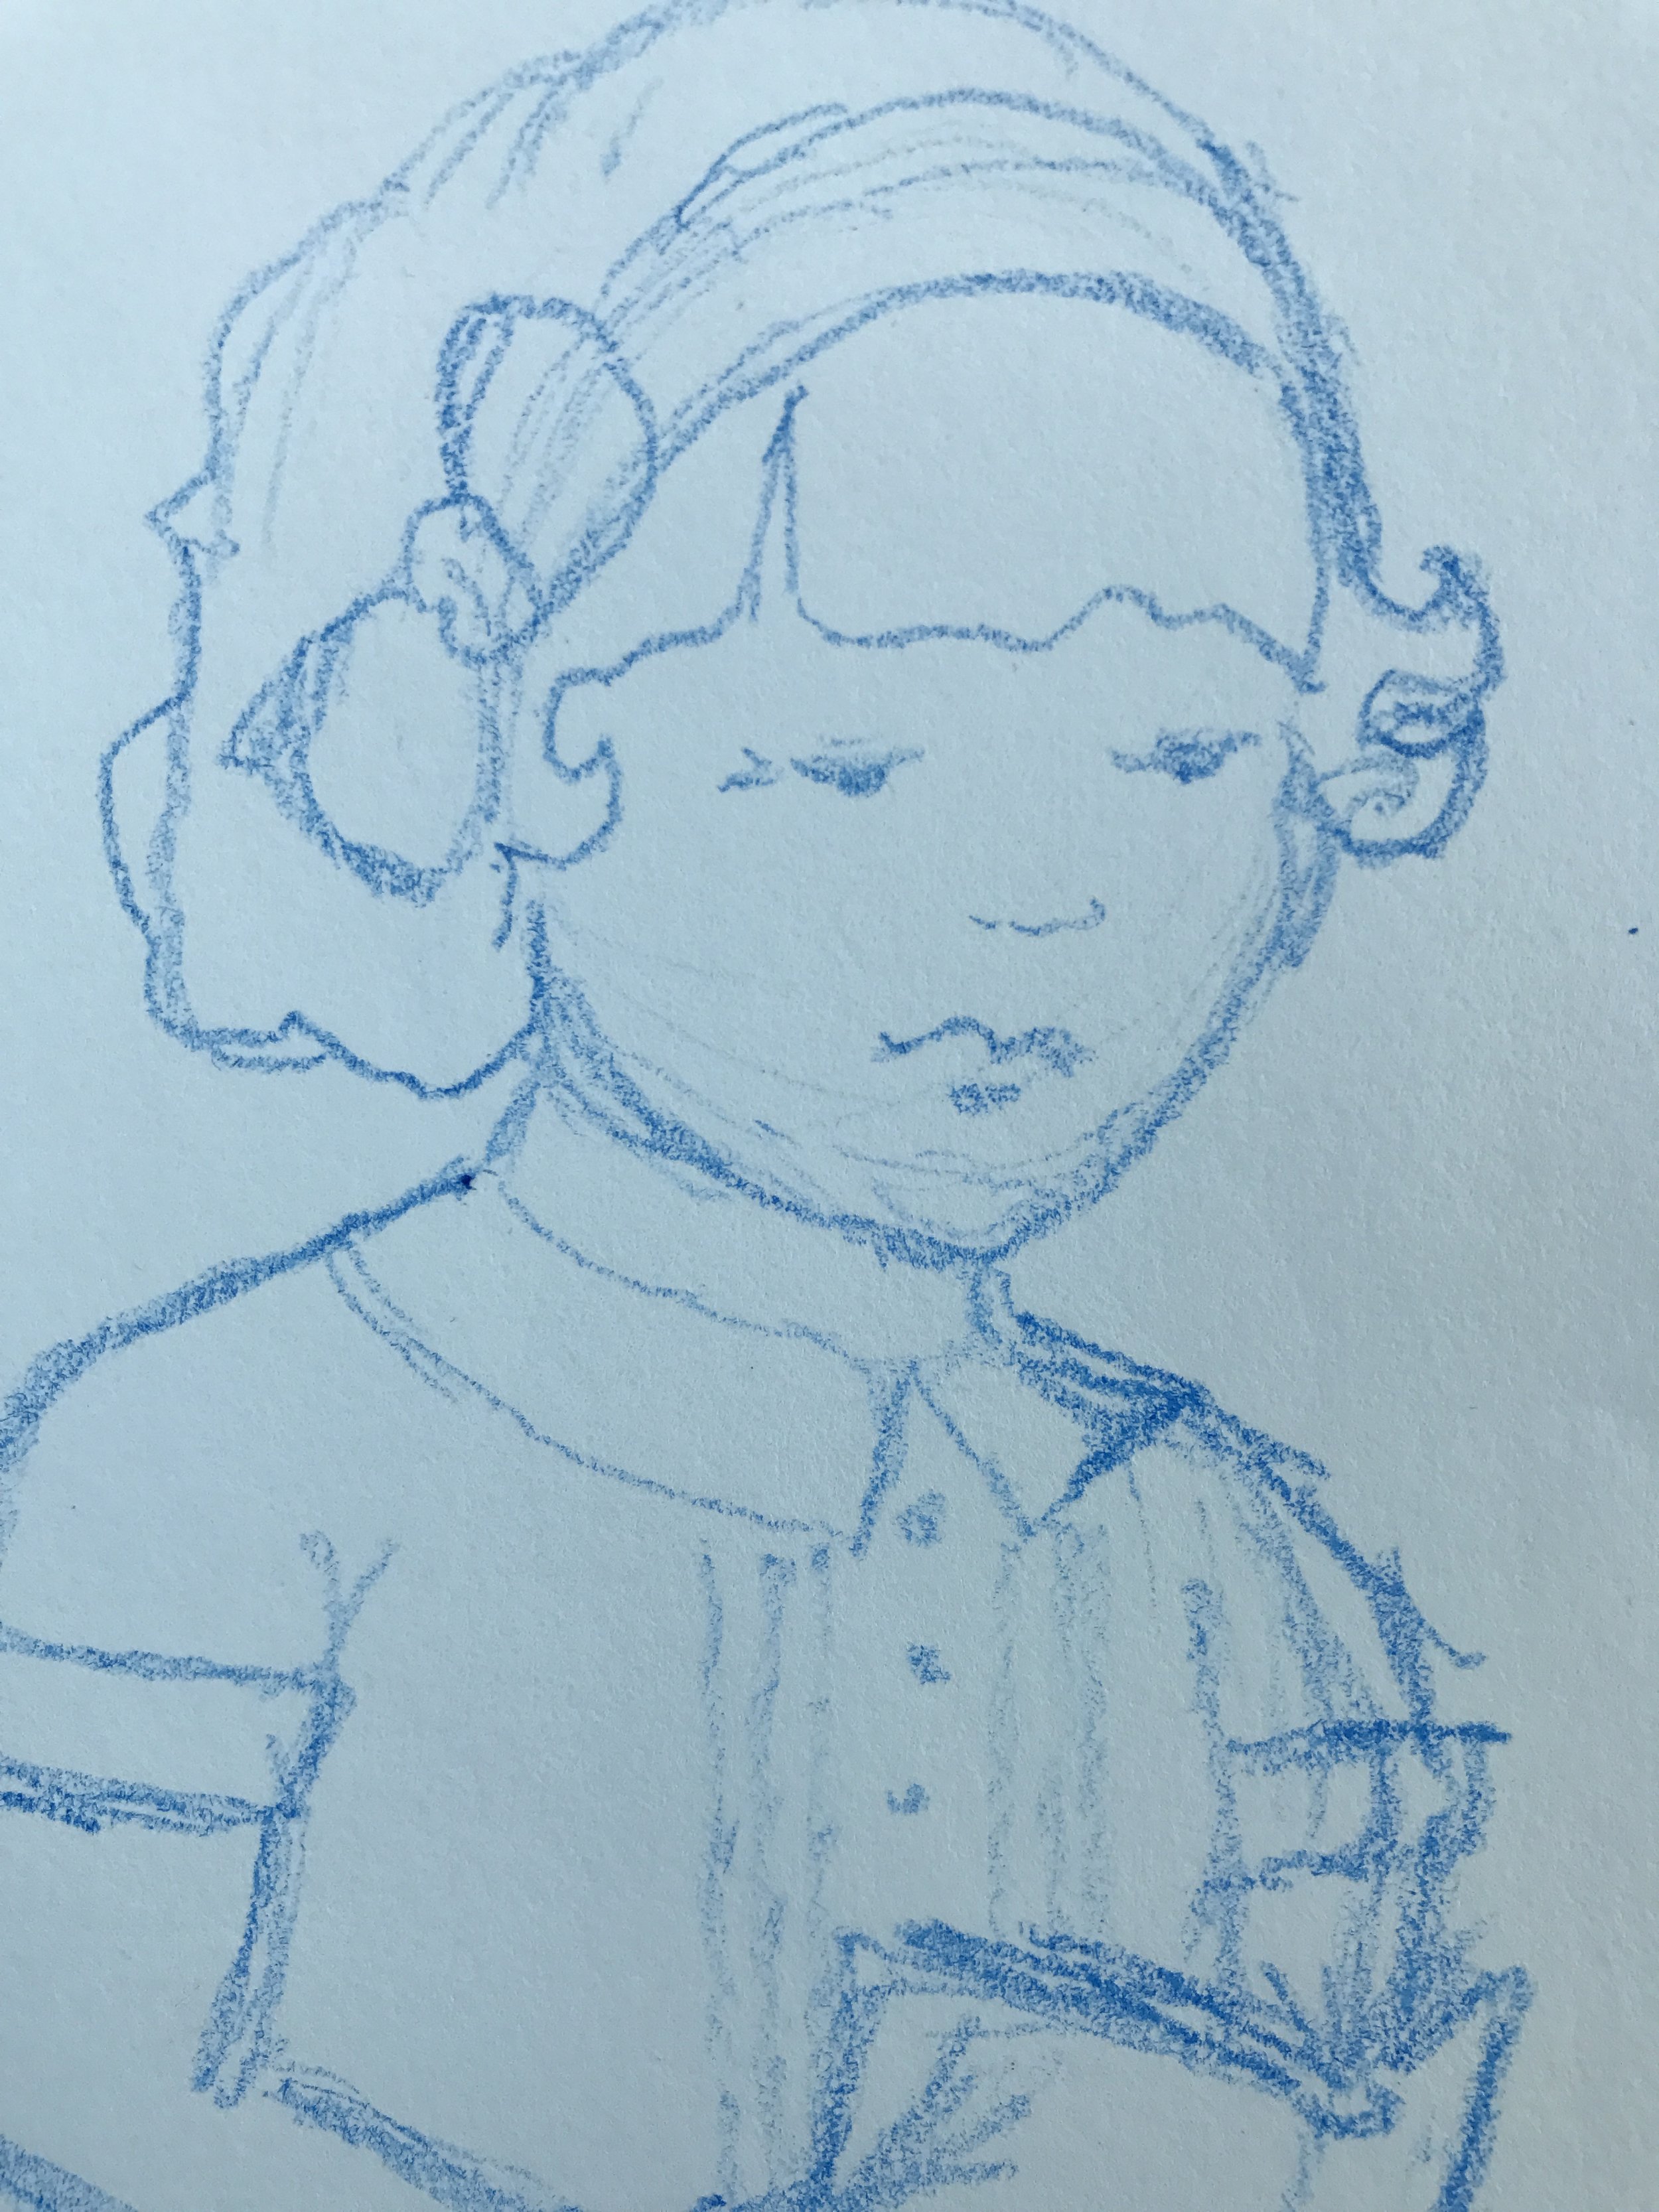
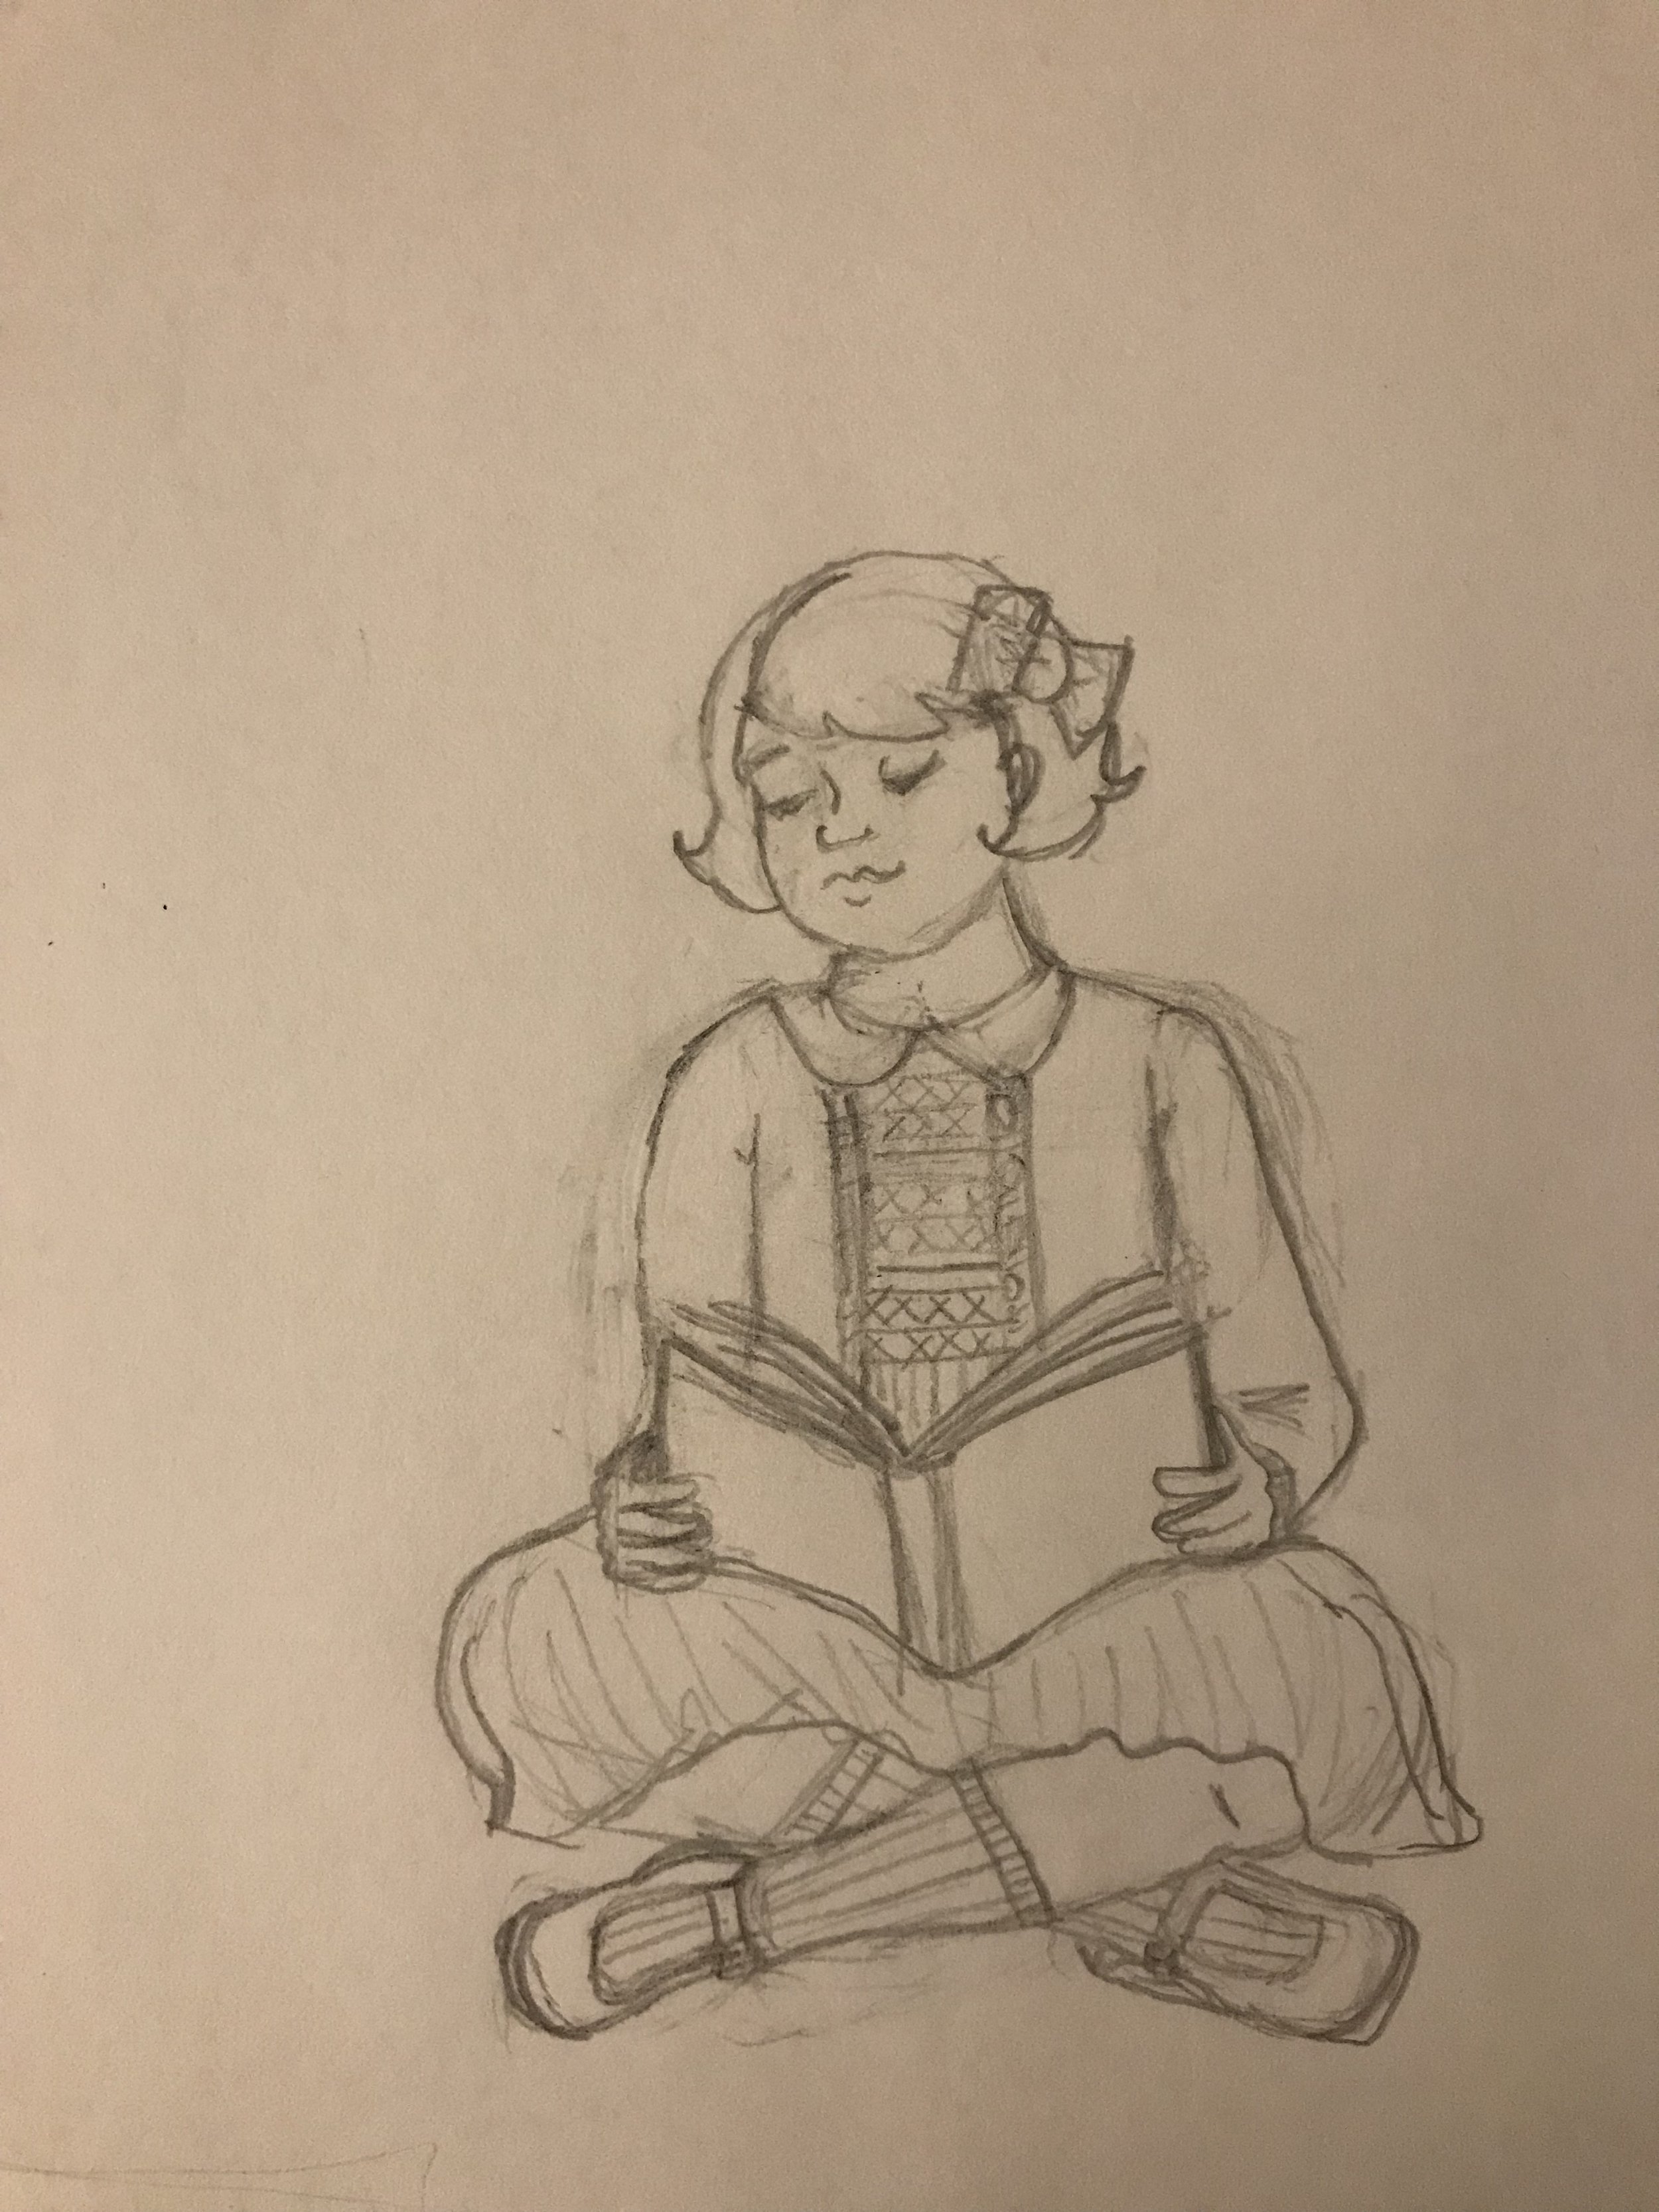
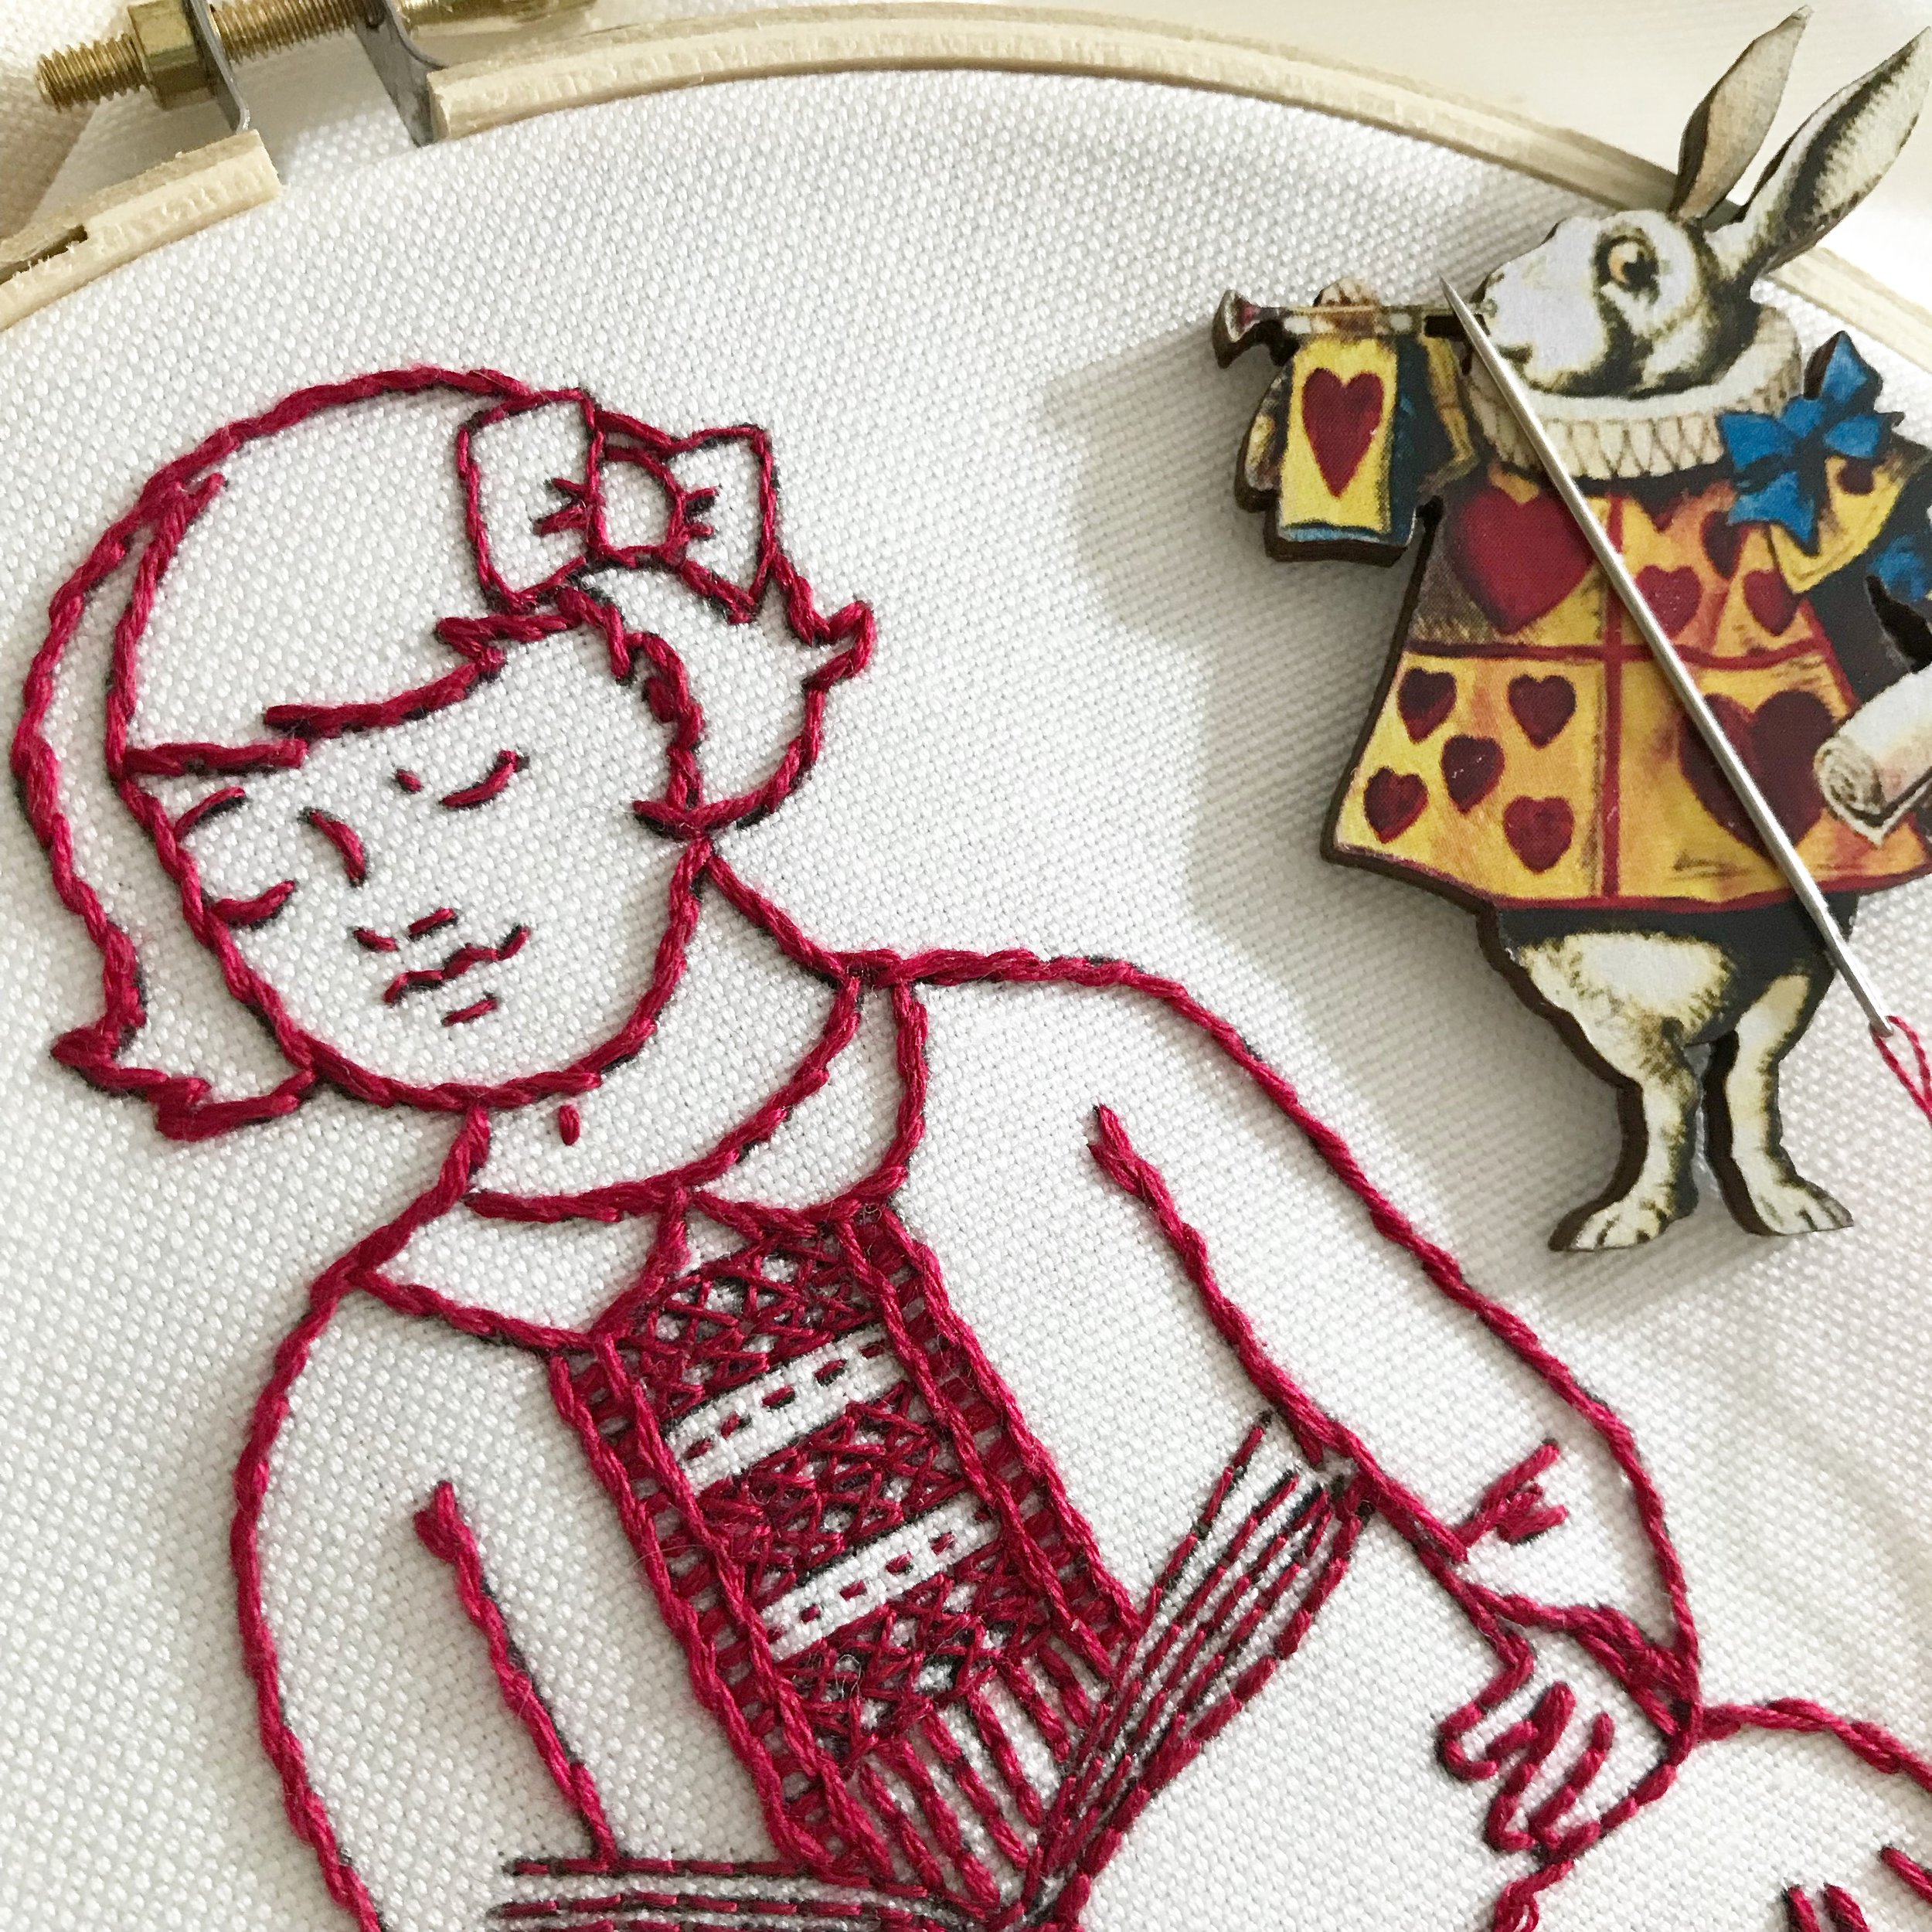
The Little Readers are vintage-inspired designs that use a single color to create a strong outline, a technique known as redwork (or bluework, depending on the color). The paired-down design is a great introductory project for beginning embroiderers and would make a wonderful gift for the book-lover in your life.

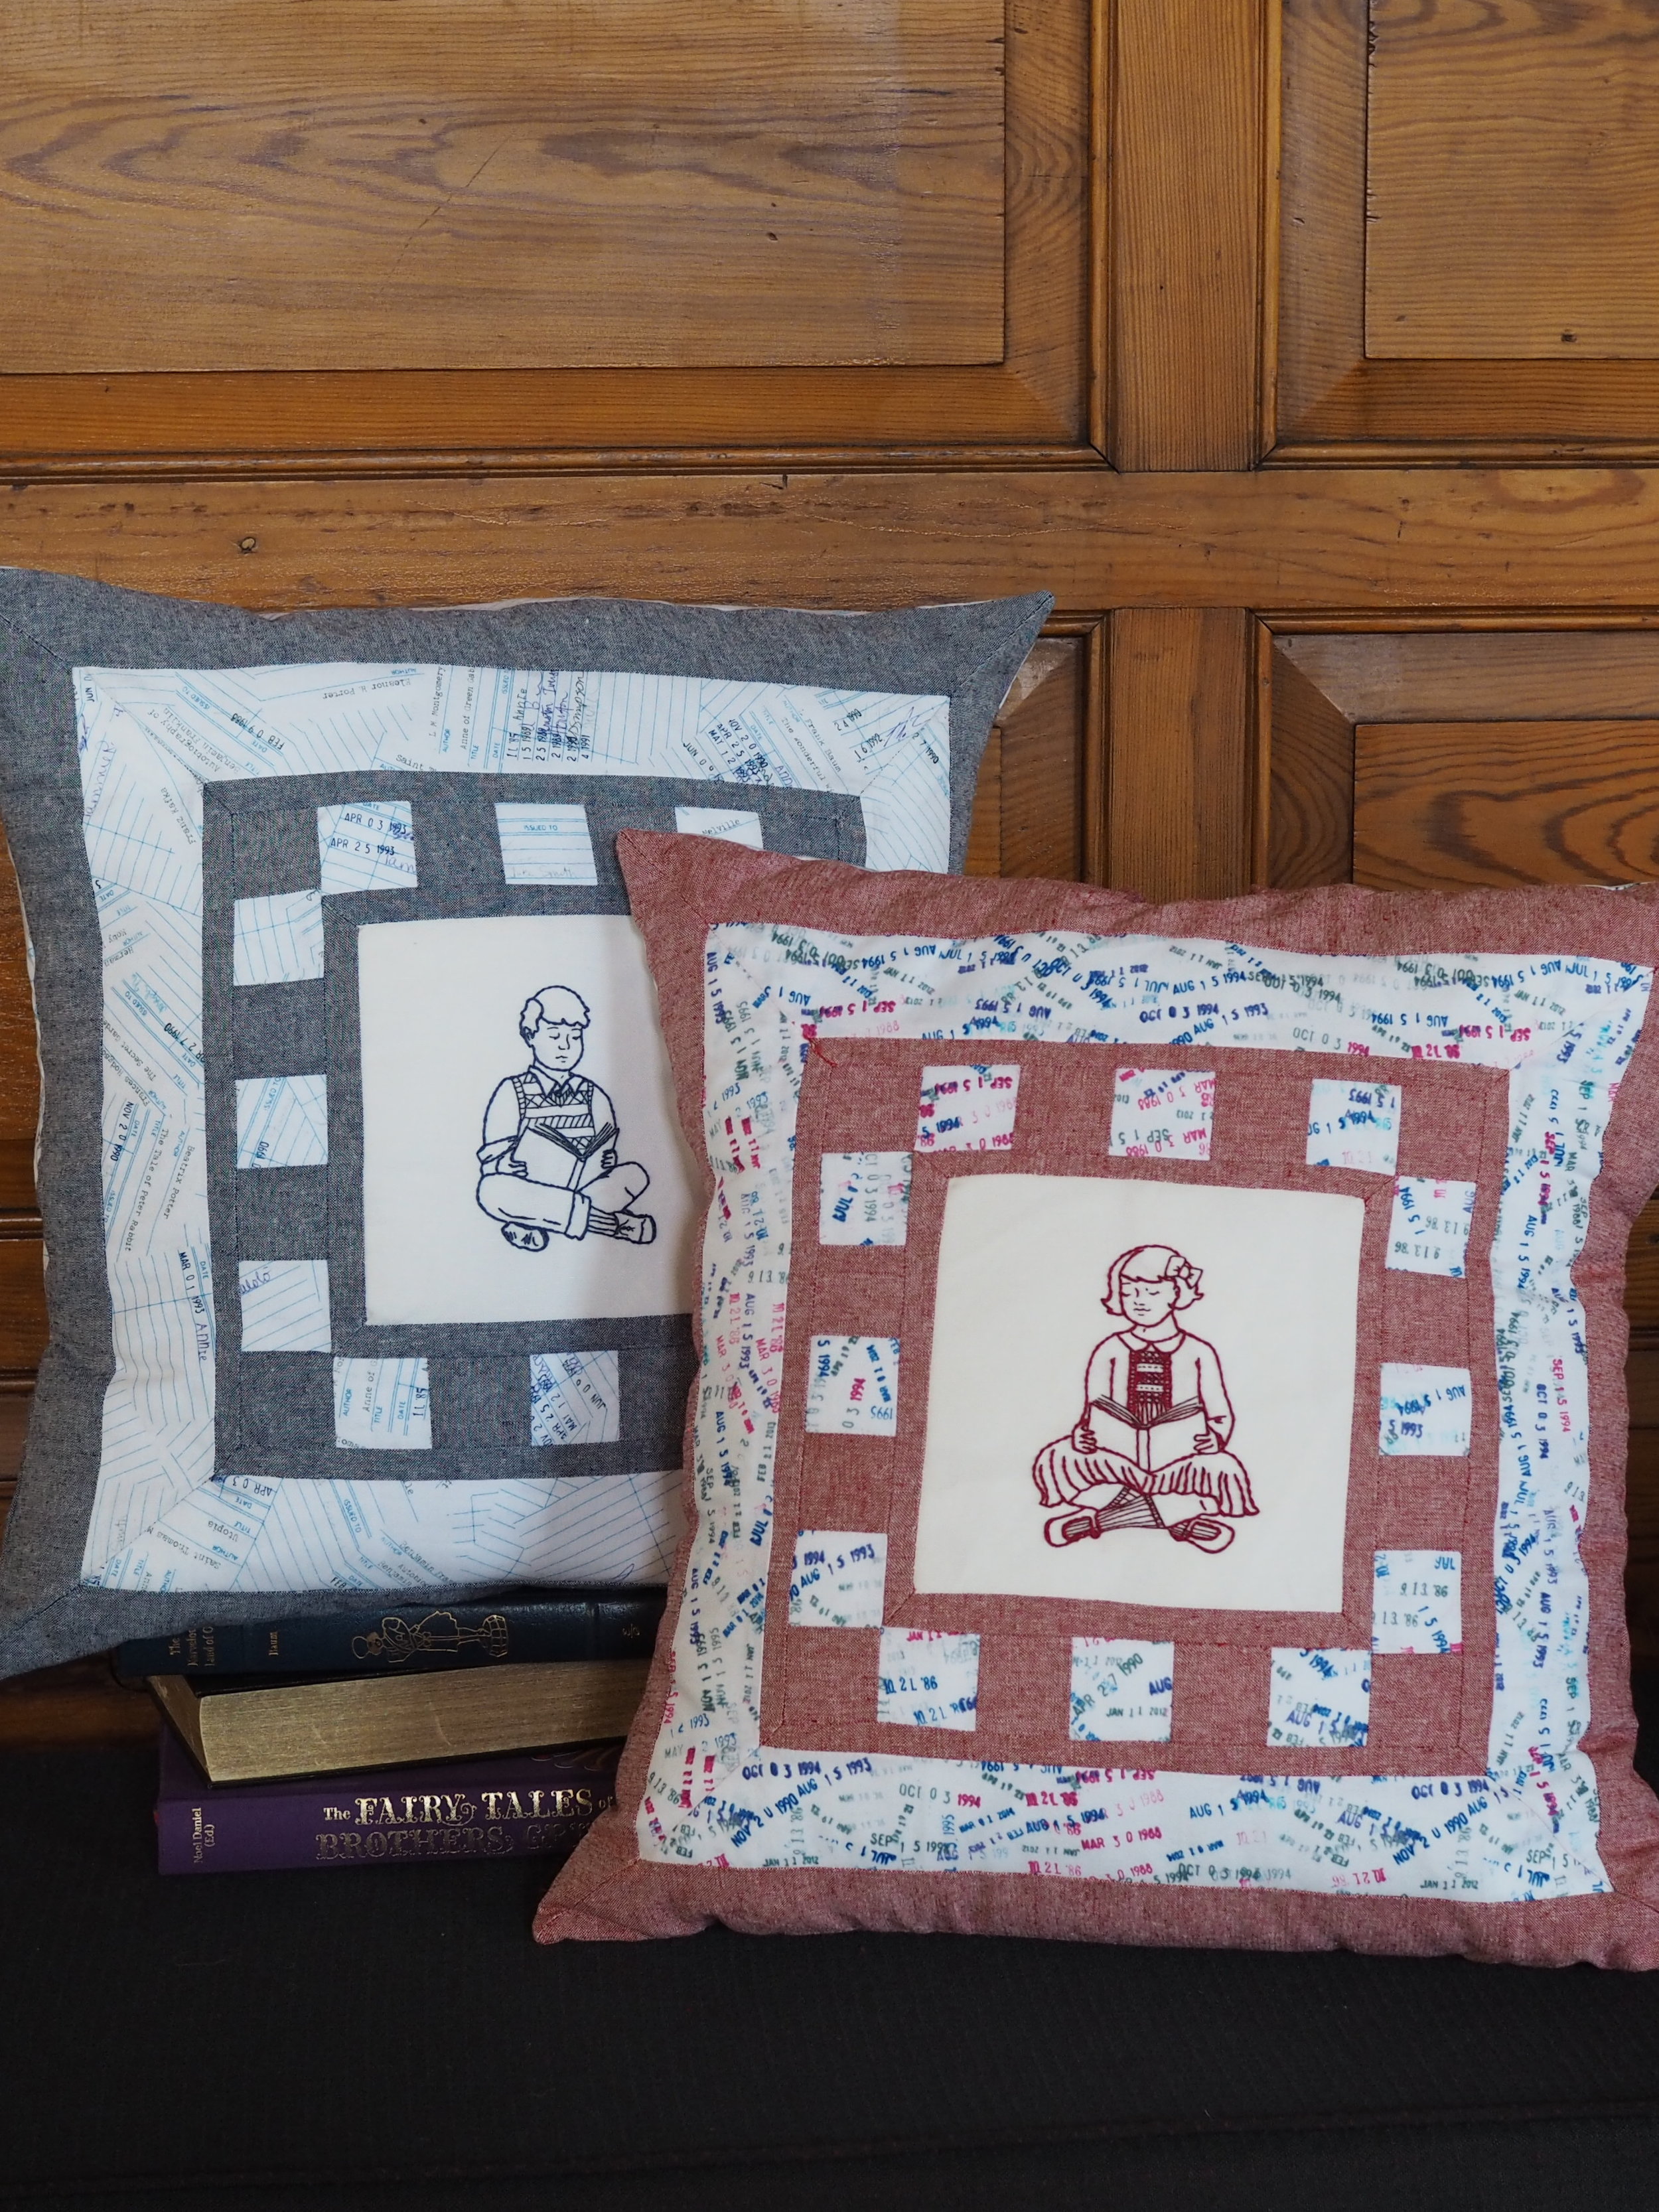
Named for The Music Man’s Marian The Librarian, the Ms. Marian Pillow turns your hoop art into cozy and beautiful home decor. Mitered corners and a checkerboard band increase the elegance of the design, which is suitable for intermediate sewists.

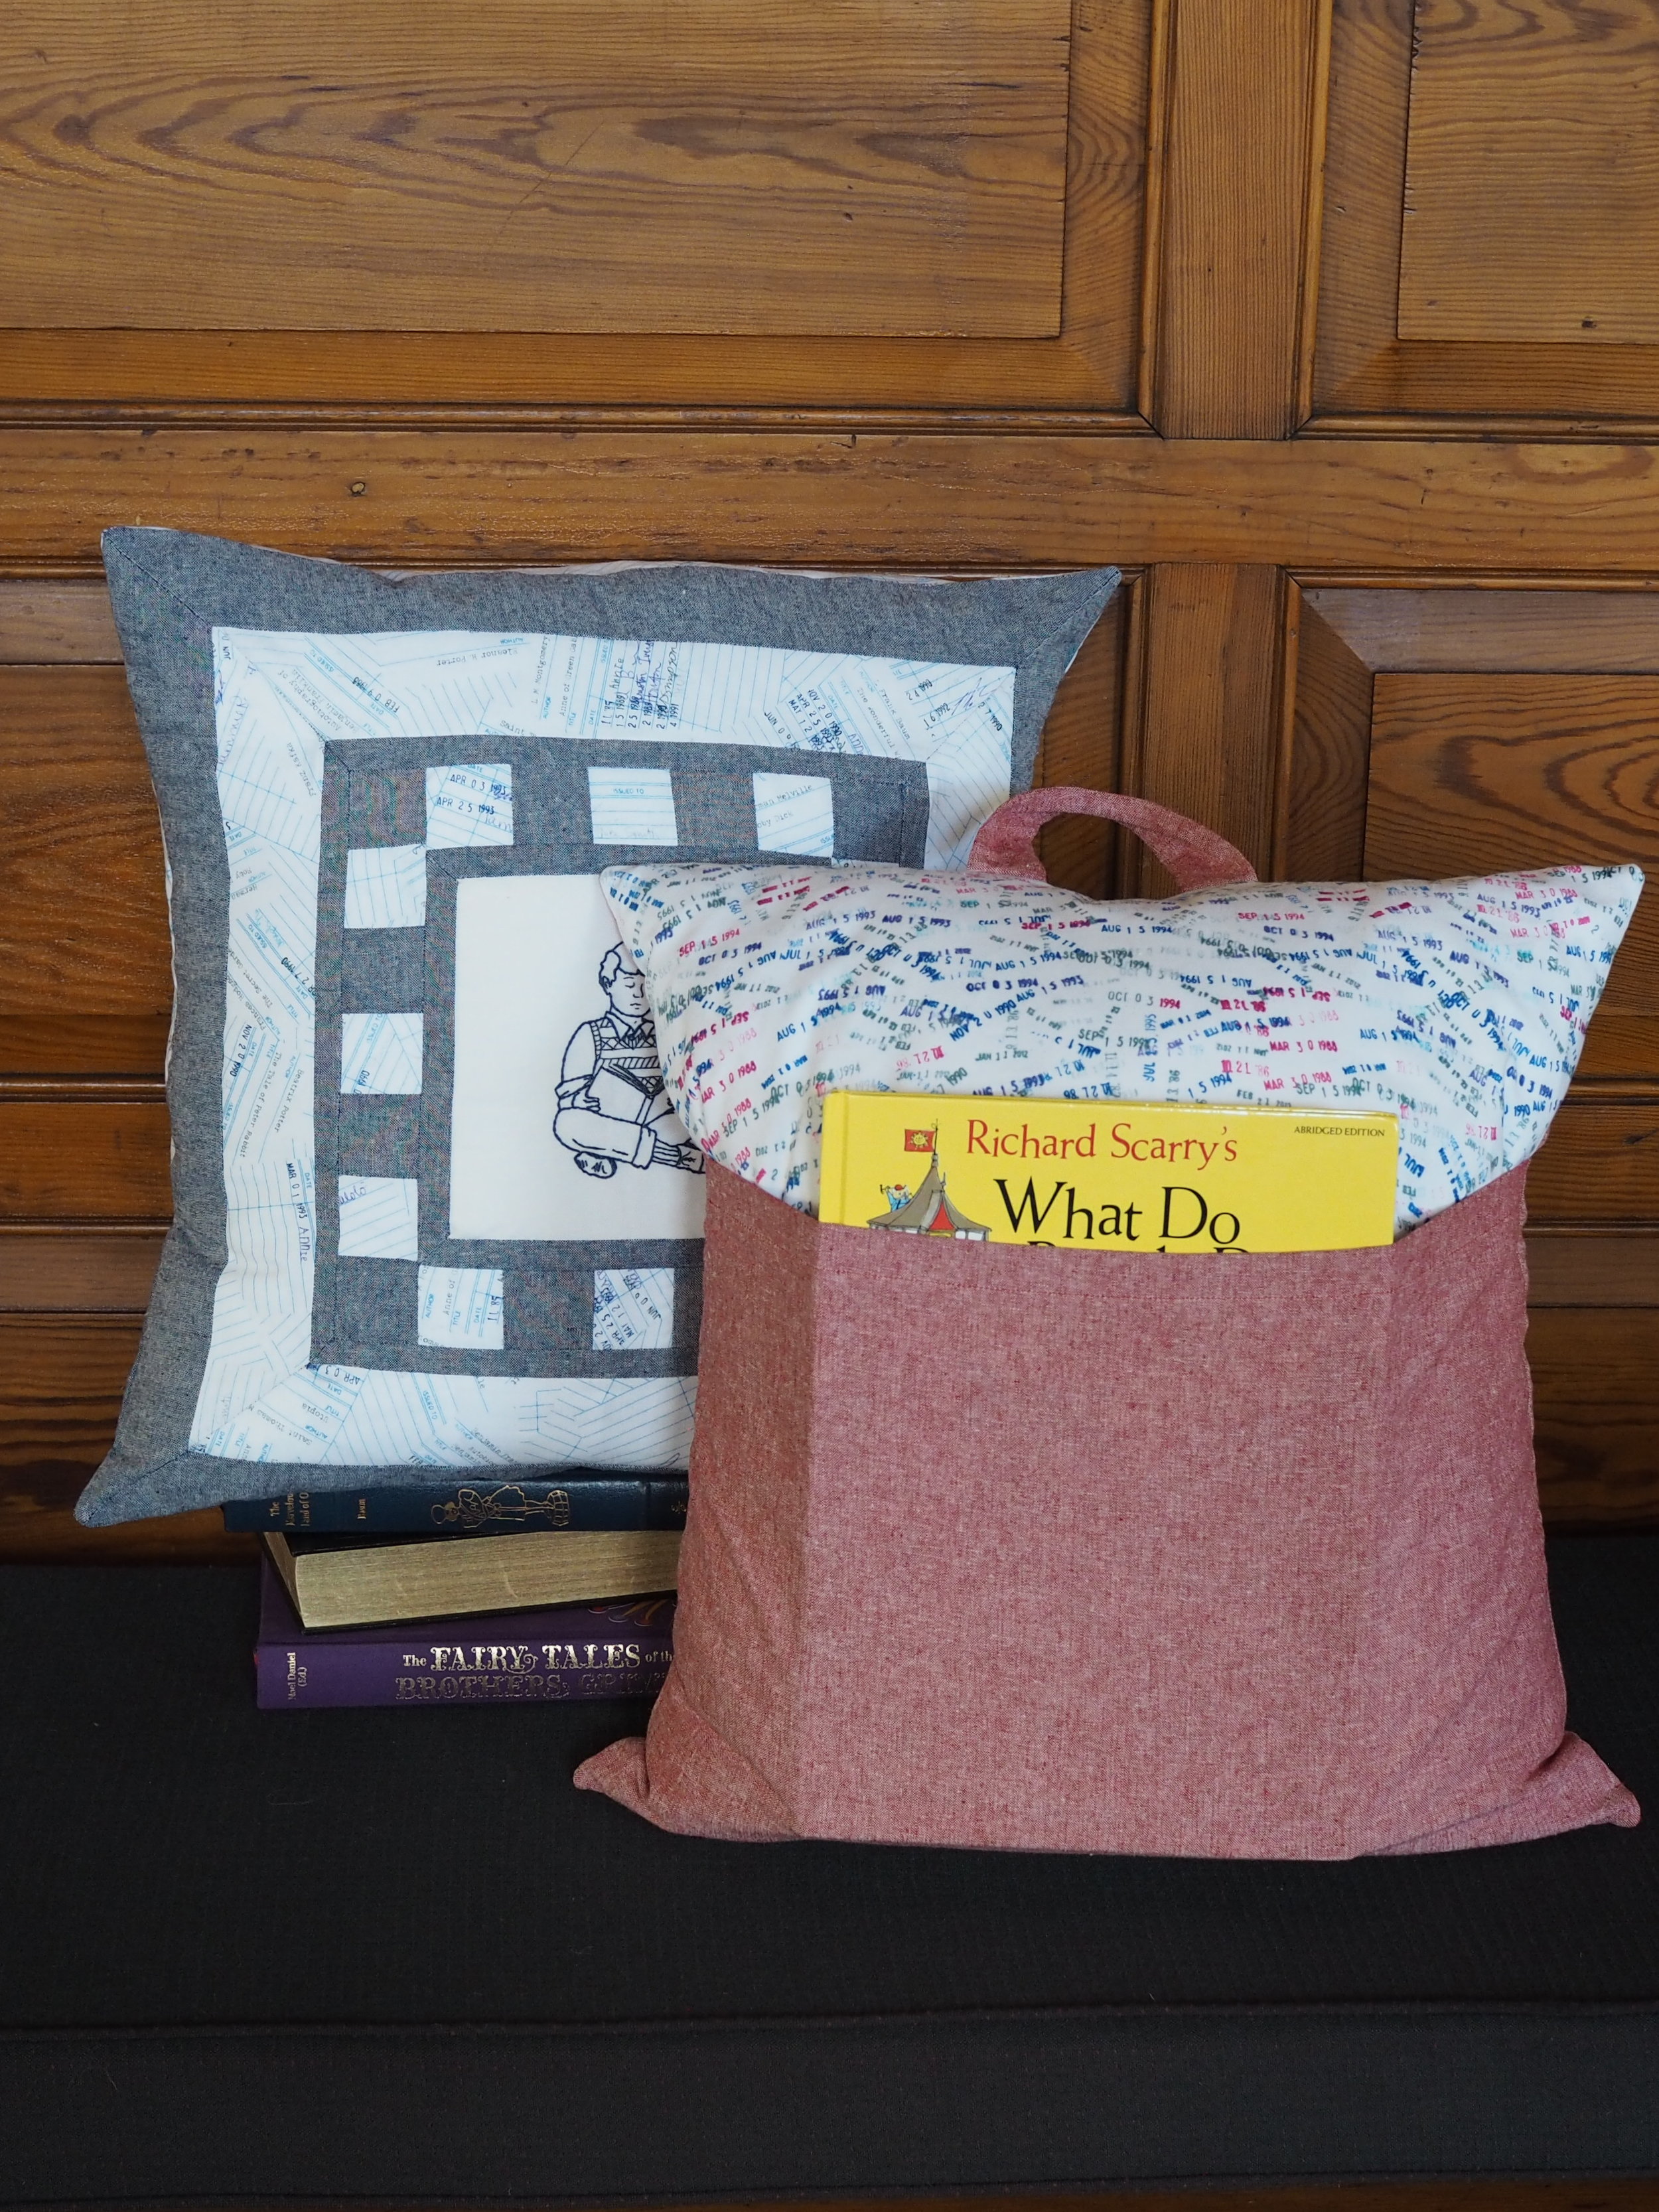
Instructions are included for a standard envelope pillowcase and a tote-able reading pillow with book pocket. The sewing pattern includes template/pattern for both Boy and Girl Little Reader embroideries and is a perfect companion to any of my 6” hoop designs or kits. Not into embroidery? Use the center panel to display an 7” square quilt block or panel of a favorite fabric.

The Ms. Marian Pillow Kit provides you with all the materials (minus pillowform) to make one beautifully embroidered, library-themed pillowcase. You can choose to sew it up as a standard envelope-back pillow, or (my favorite) as a tote-able reading pillow with book pocket.


Print Friendly and PDF Follow
follow us in feedly

FO Roundup - Into Fall 2018

One of the most fun parts of being a designer is seeing how others interpret your designs.

We’re in October already, leaves are starting to change color, which means we are entering peak knitwear season! Instead of the most recent FOs this go round, I thought I’d share some of my favorite of your autumnal knits.

Click on any image to visit the maker's Instagram or Ravelry page!

I LOVE seeing your makes! Tag me @mscleaver on Instagram, or if it's on Ravelry, I'll see it. :) 


Leading Bird Shawl by Mindful Folk in her own yarn!

Leading Bird Shawl by Mindful Folk in her own yarn!

Cormac by Fullosheep (pattern available via Interweave)

Cormac by Fullosheep (pattern available via Interweave)

Marketa Mitts by Irr-Saukh (pattern available via Interweave)

Marketa Mitts by Irr-Saukh (pattern available via Interweave)

Hemingway (Men's) by karencampandknit (pattern available via Twist Collective).

Hemingway (Men's) by karencampandknit (pattern available via Twist Collective).

Madalynn by Wolfcreeker

Madalynn by Wolfcreeker

Breakwater by Kahlefam

Breakwater by Kahlefam

A Two-Color Dolan Beret knit by Frances 75

A Two-Color Dolan Beret knit by Frances 75

Honeymaker by Shortrounds

Honeymaker by Shortrounds


Want to make one of your own? Grab the patterns below!


Print Friendly and PDF Follow
follow us in feedly

STORYTIME - Coming Soon!

If I’ve been quiet around here, it’s because I’ve been busy! Busy with work. Busy with transitioning Little Miss Cleaver into Kindergarten and busy with pulling together the pieces of my next collection - STORYTIME.

STORYTIME is inspired by some of my favorite classic children’s books, including Little Golden Books and The Wizard of OZ series. The collection will include two new knitting patterns (one adult sweater, one accessory), two new embroidery patterns/kits and a sewing pattern/kit perfect for spotlighting your favorite embroidery.

After a lot of time sketching and developing ideas, I’m finishing up samples and getting patterns written and reviewed. There’s still a lot of work left to to (it’s a lot to pull together for one person!), but I expect to release the collection in October.

Until then, you can follow my progress on Instagram and if you sign up for the newsletter, you’ll get to know about the collection release early with a special subscriber-only discount!

Back to stitching for me!


Print Friendly and PDF Follow
follow us in feedly

Got Moxie?

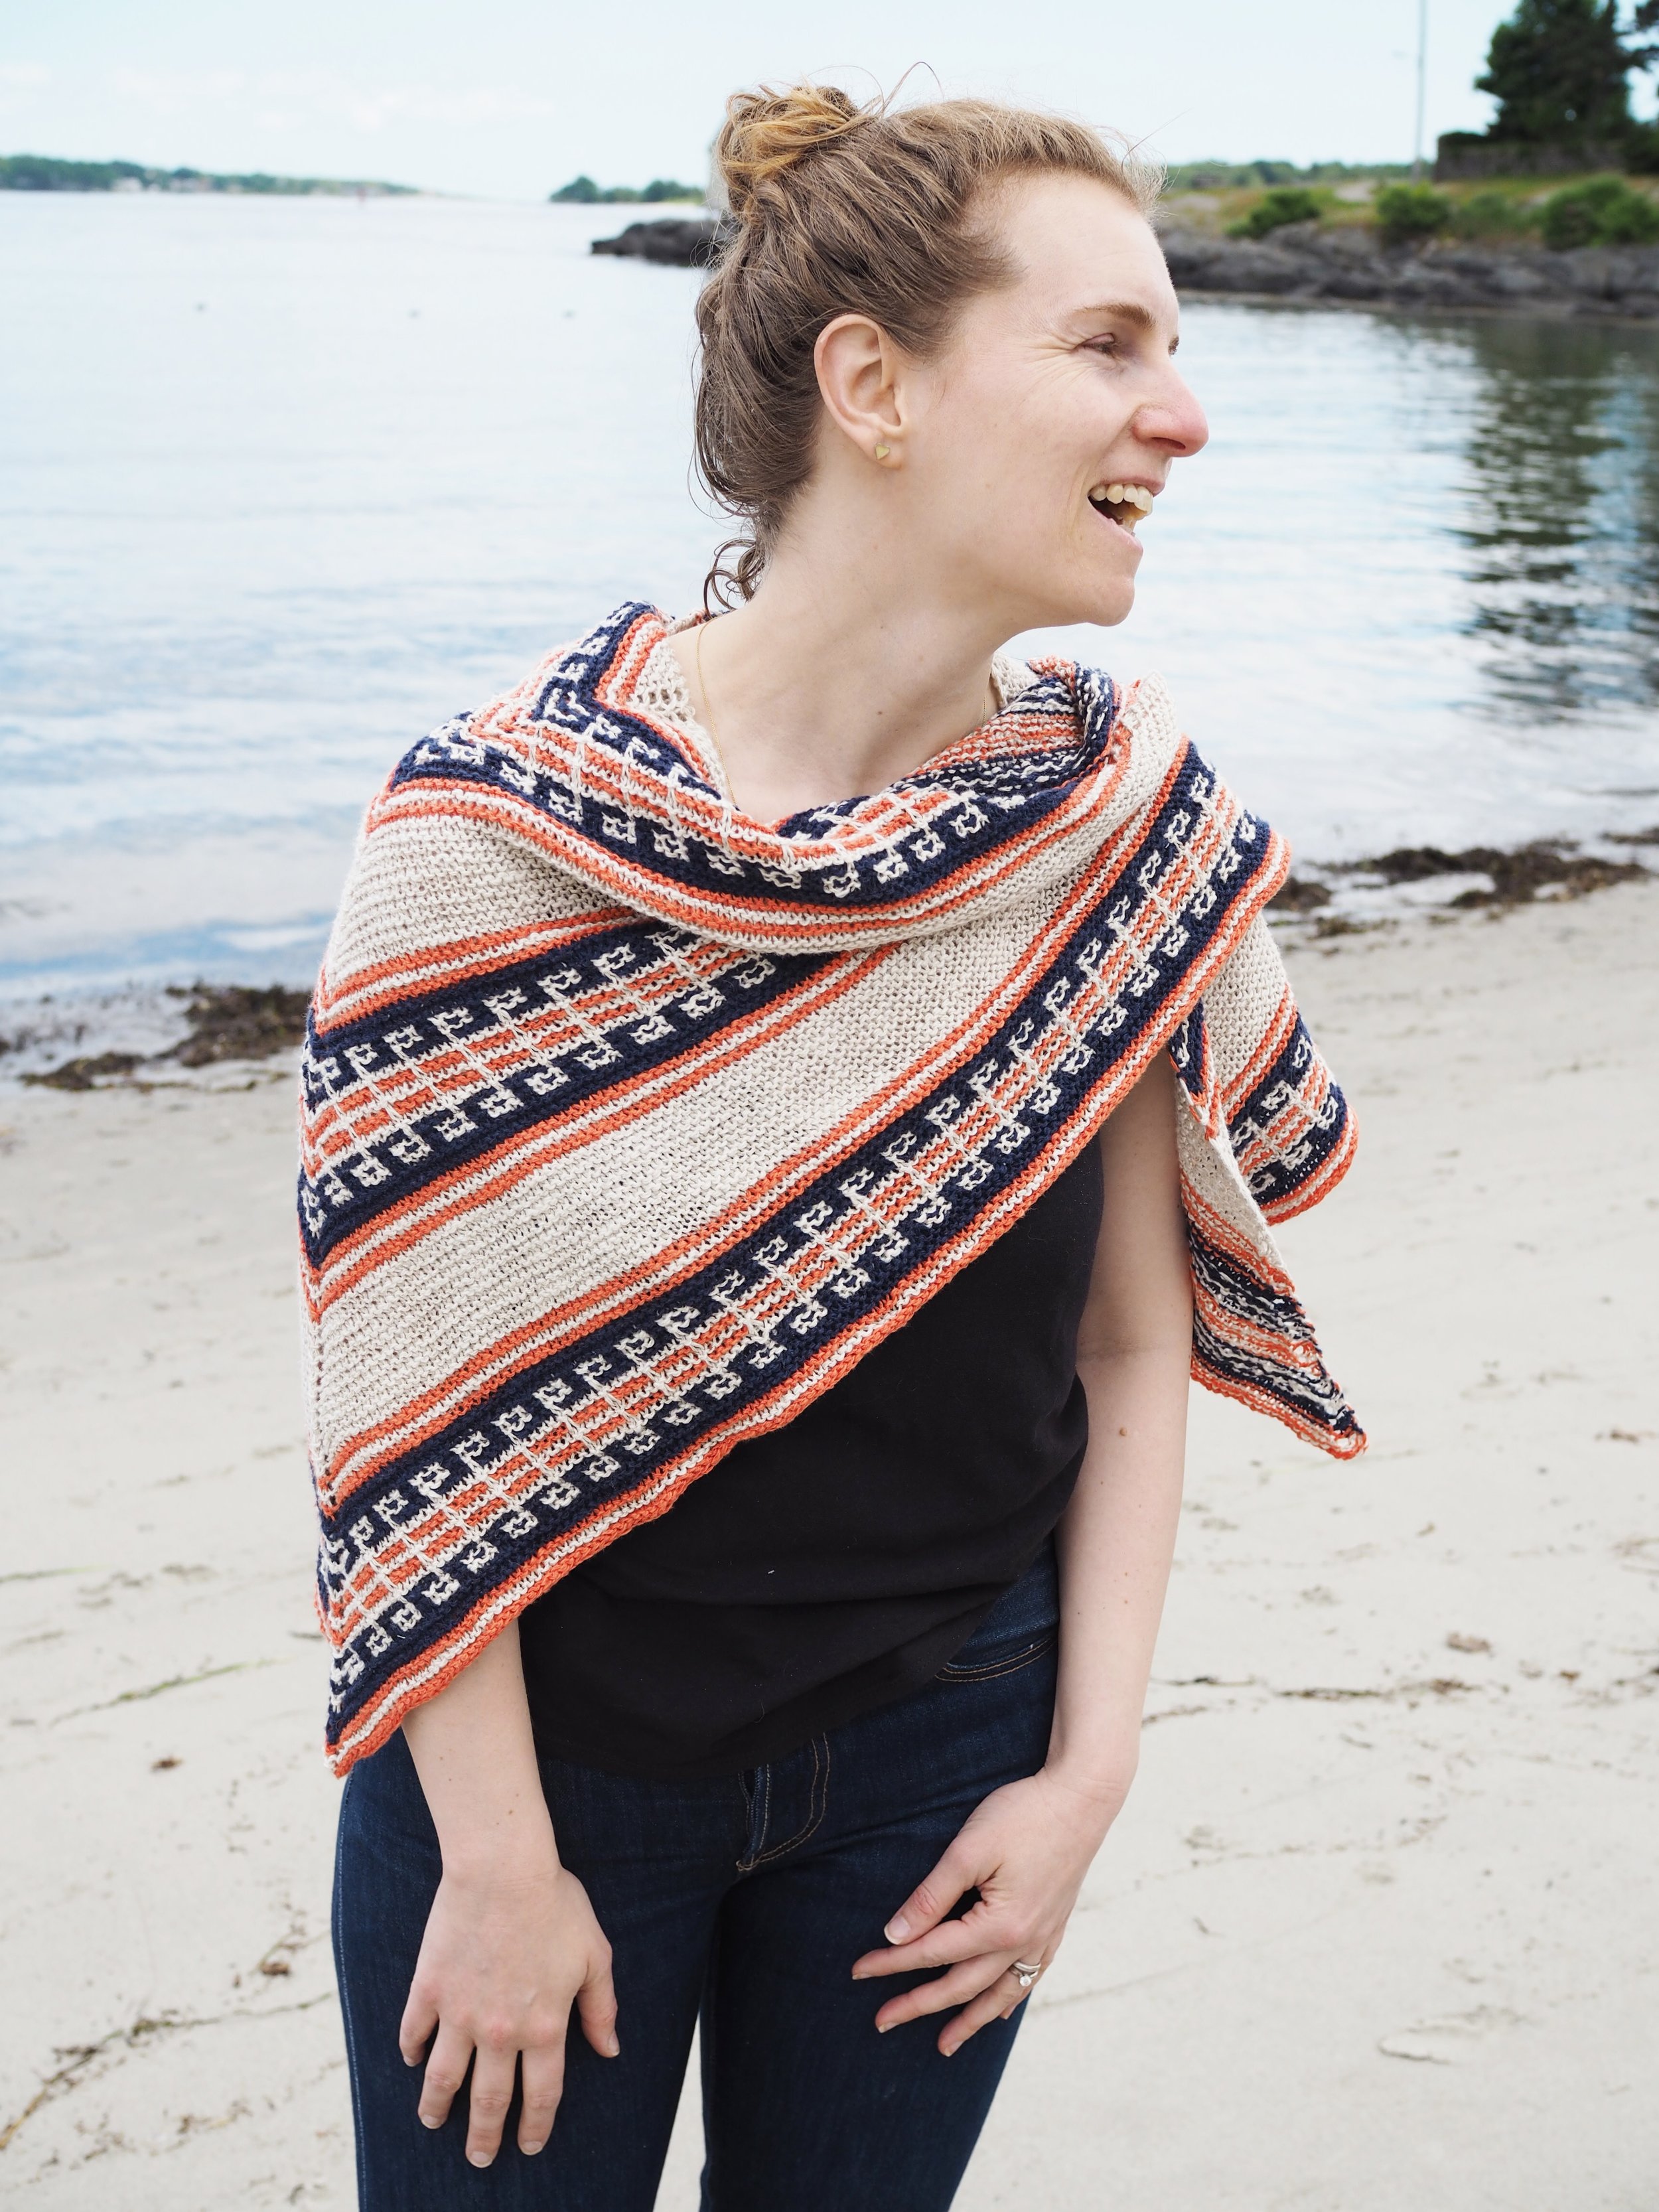
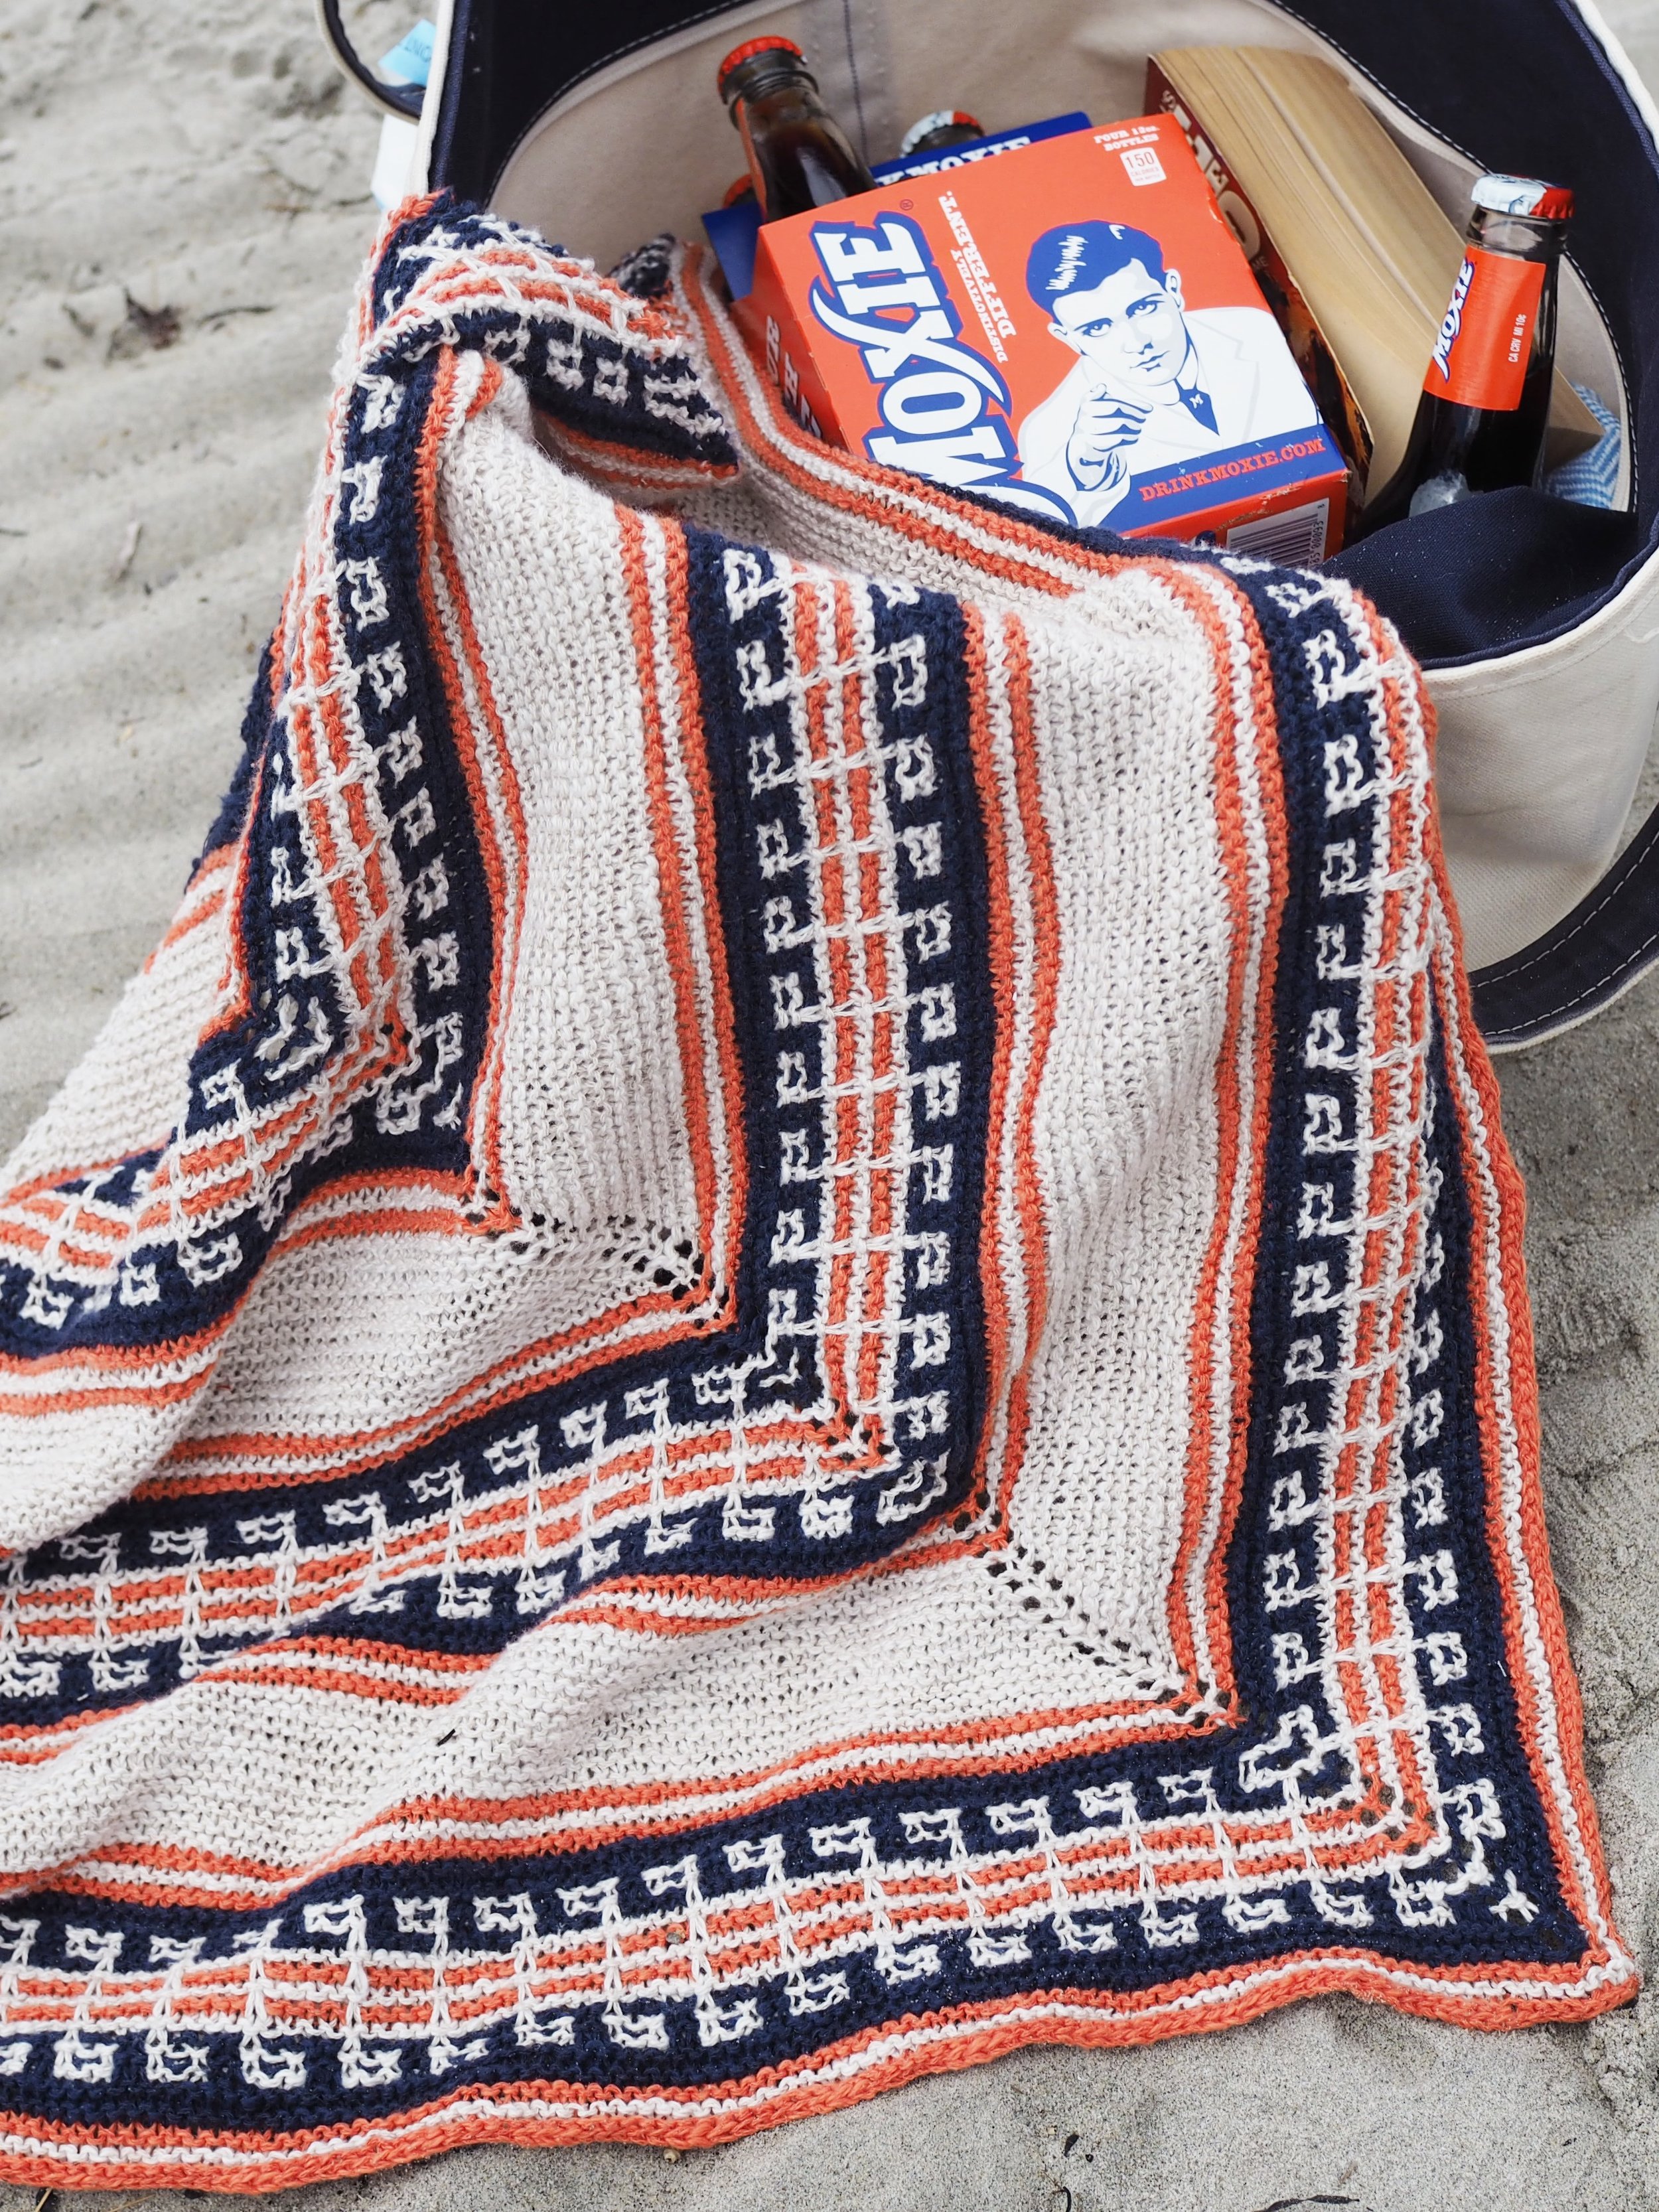
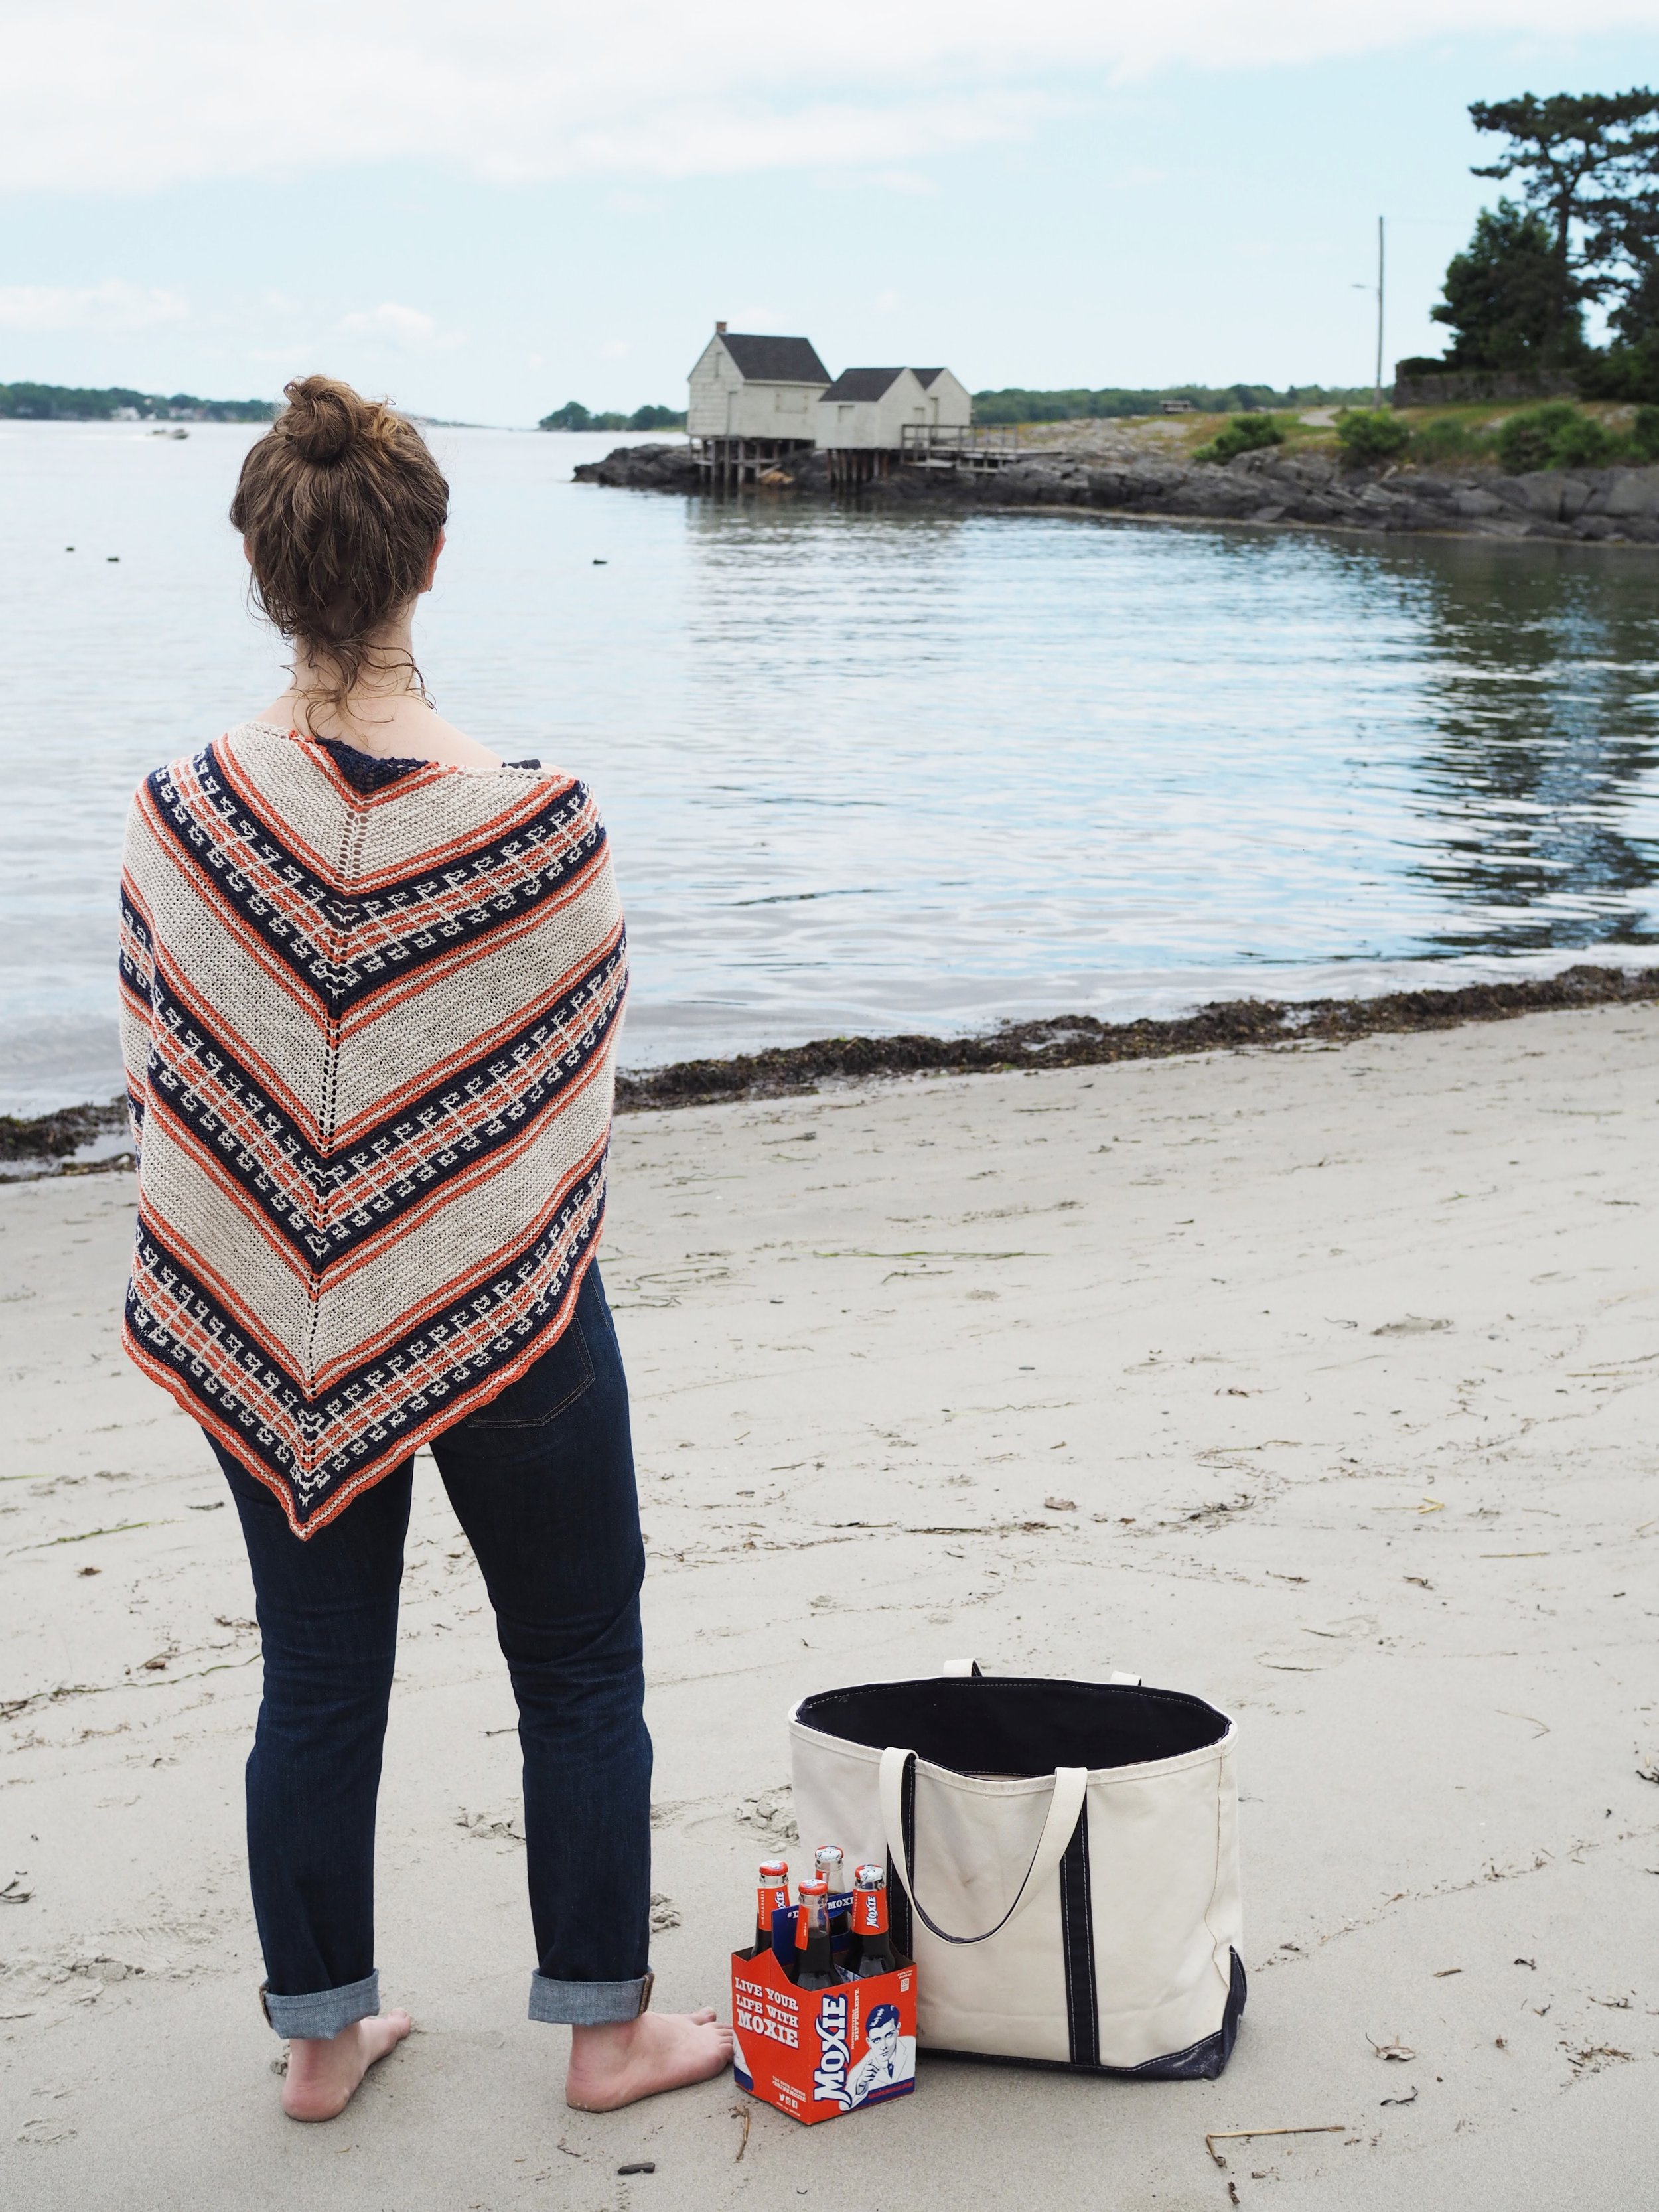
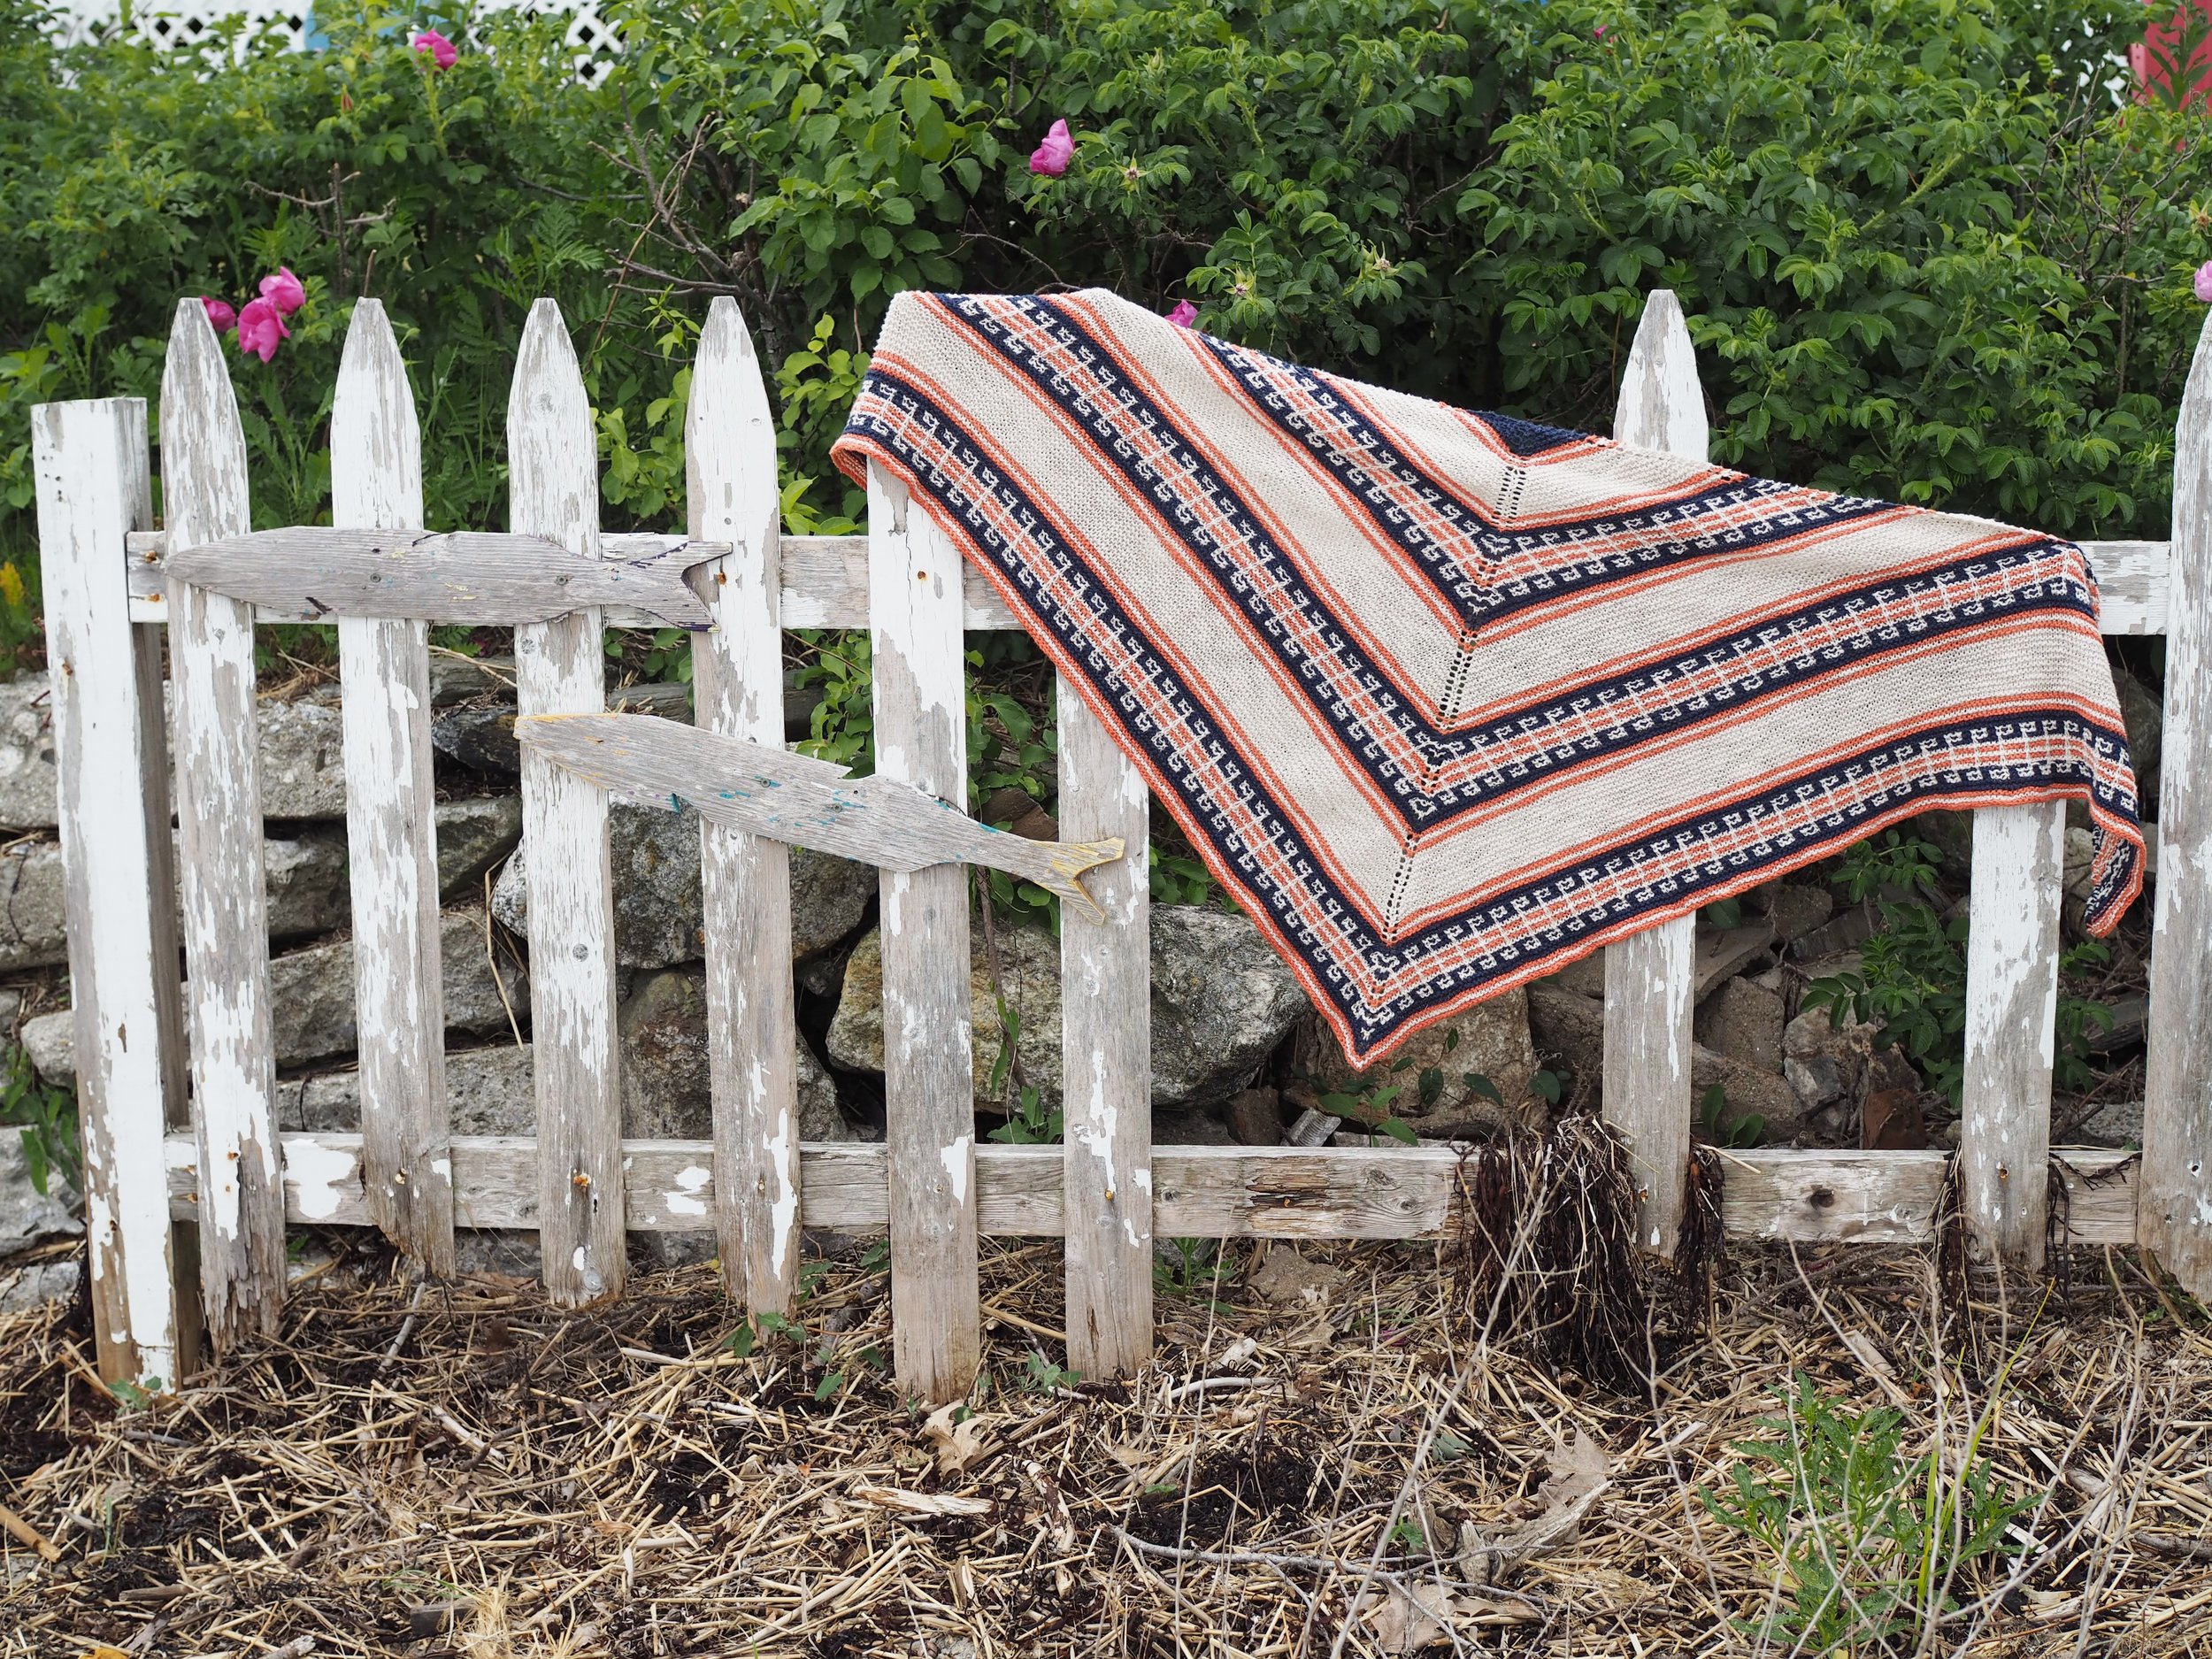
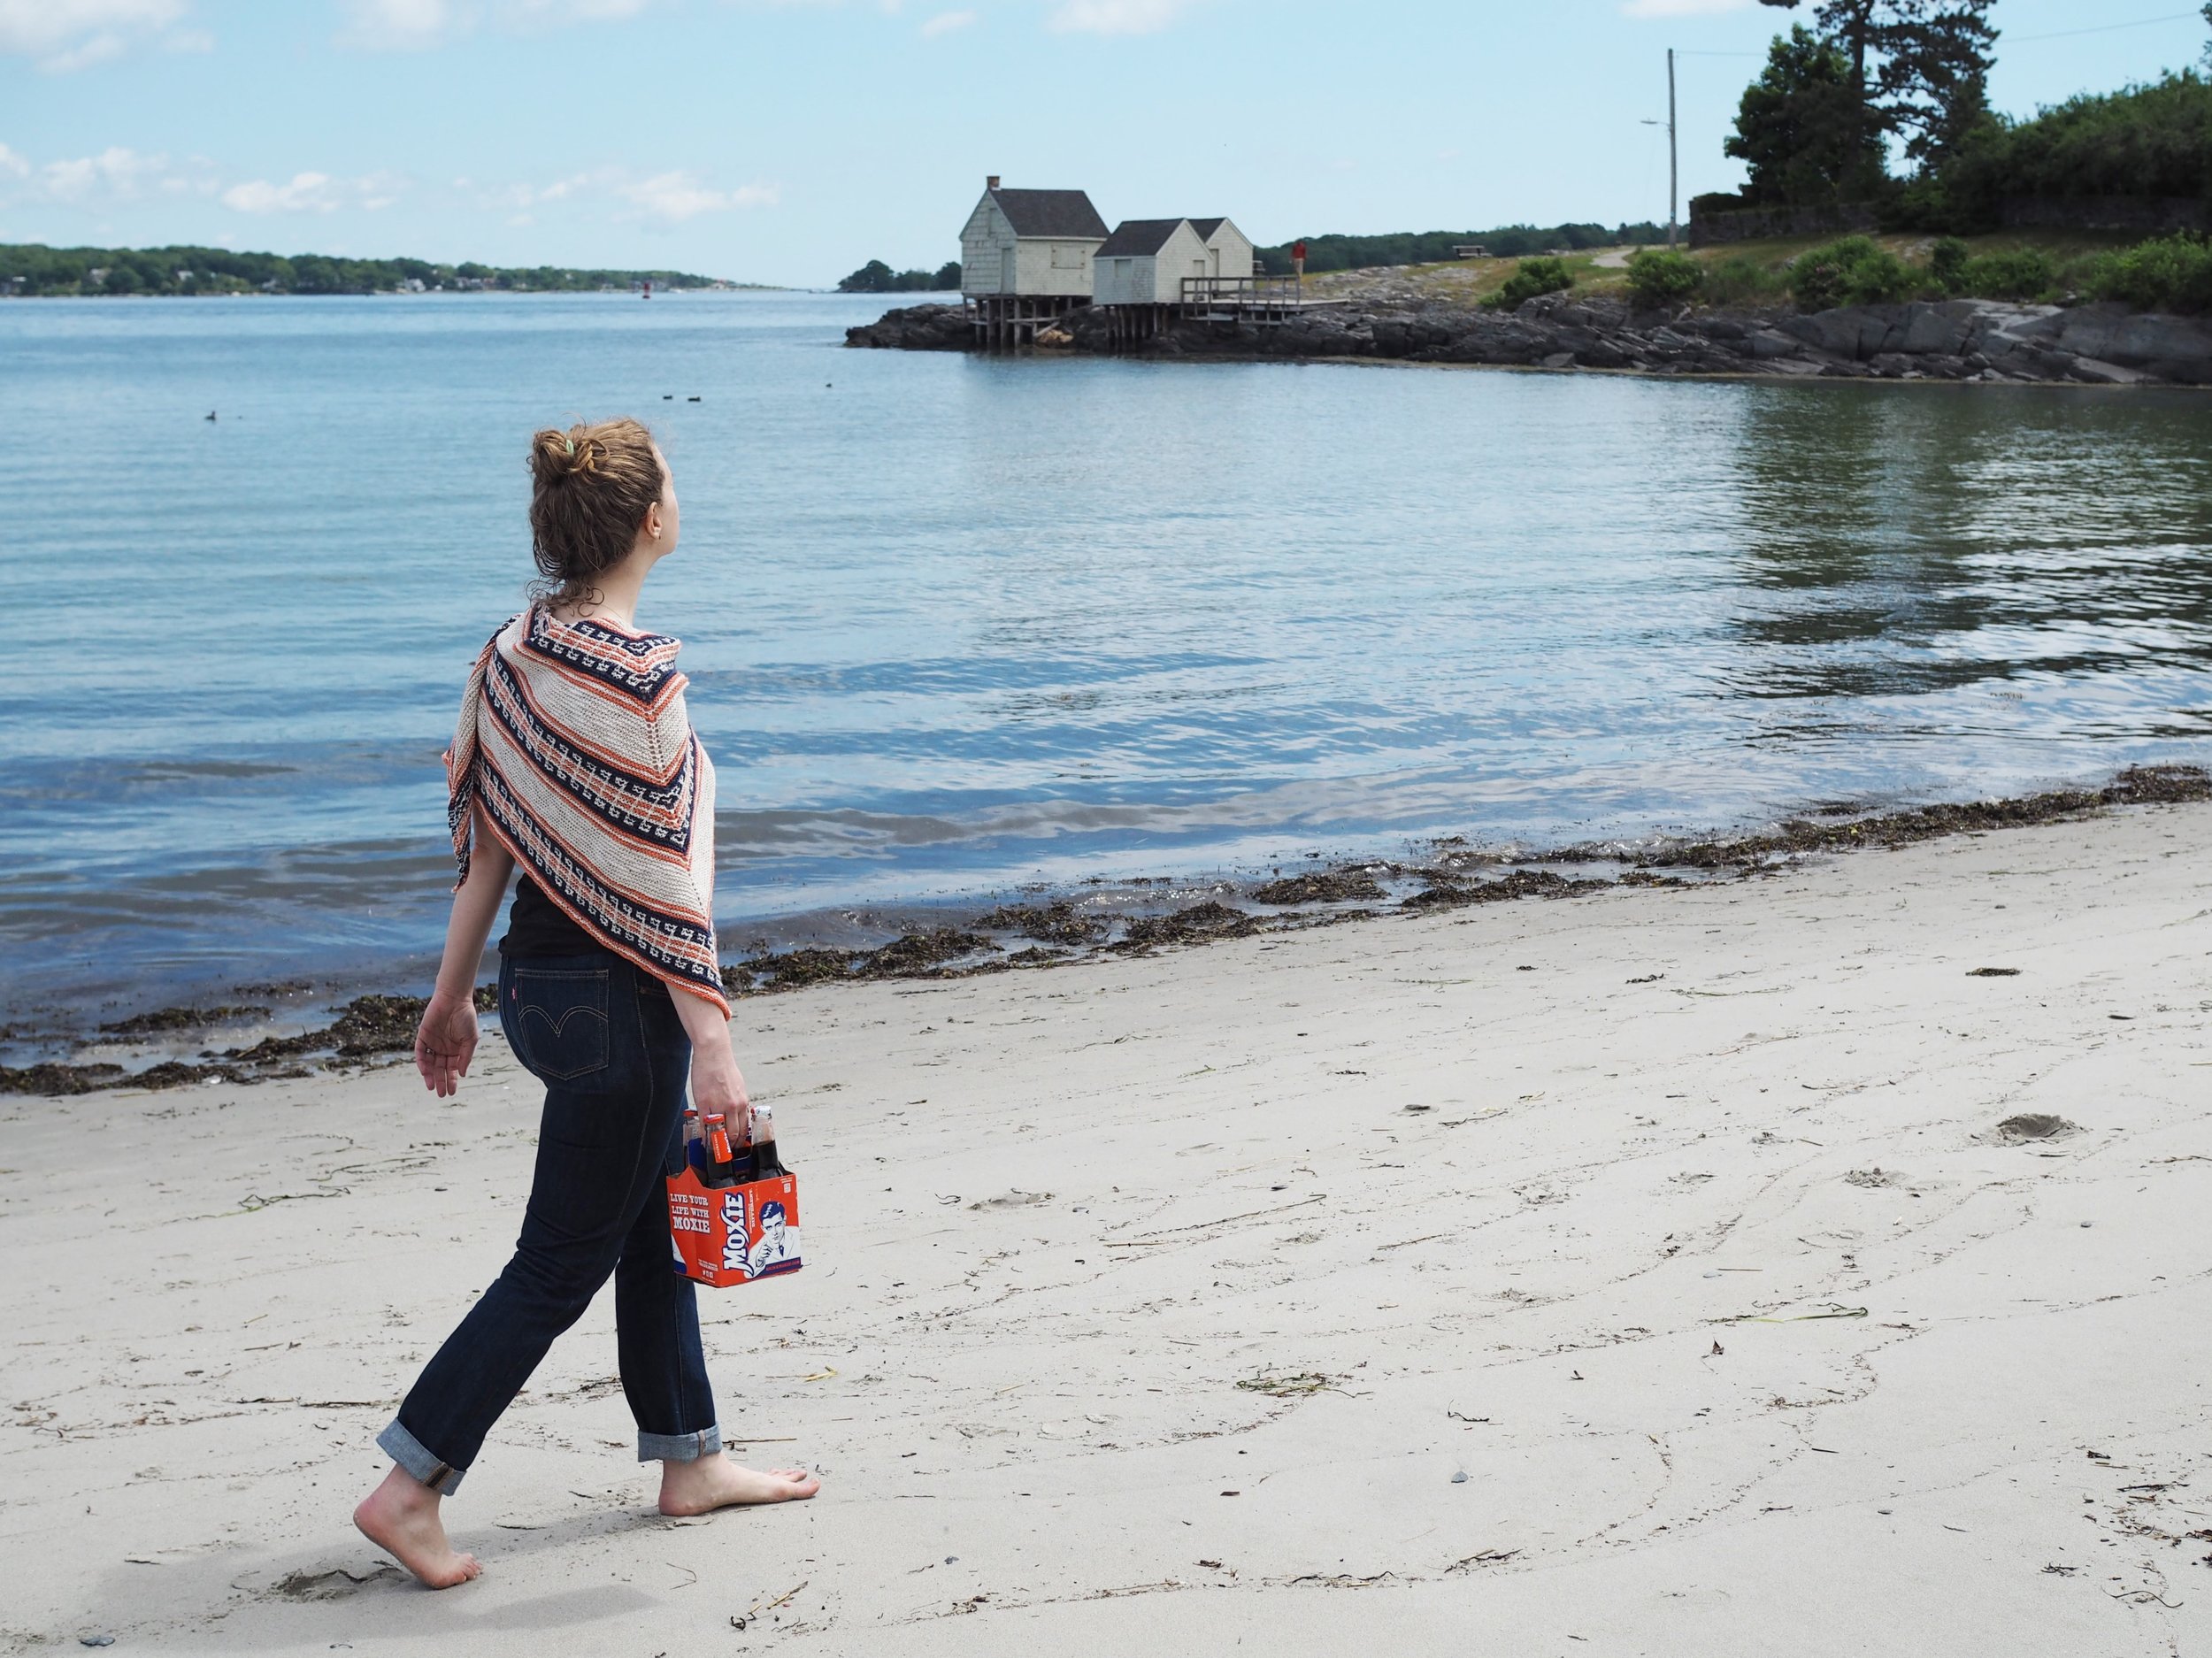
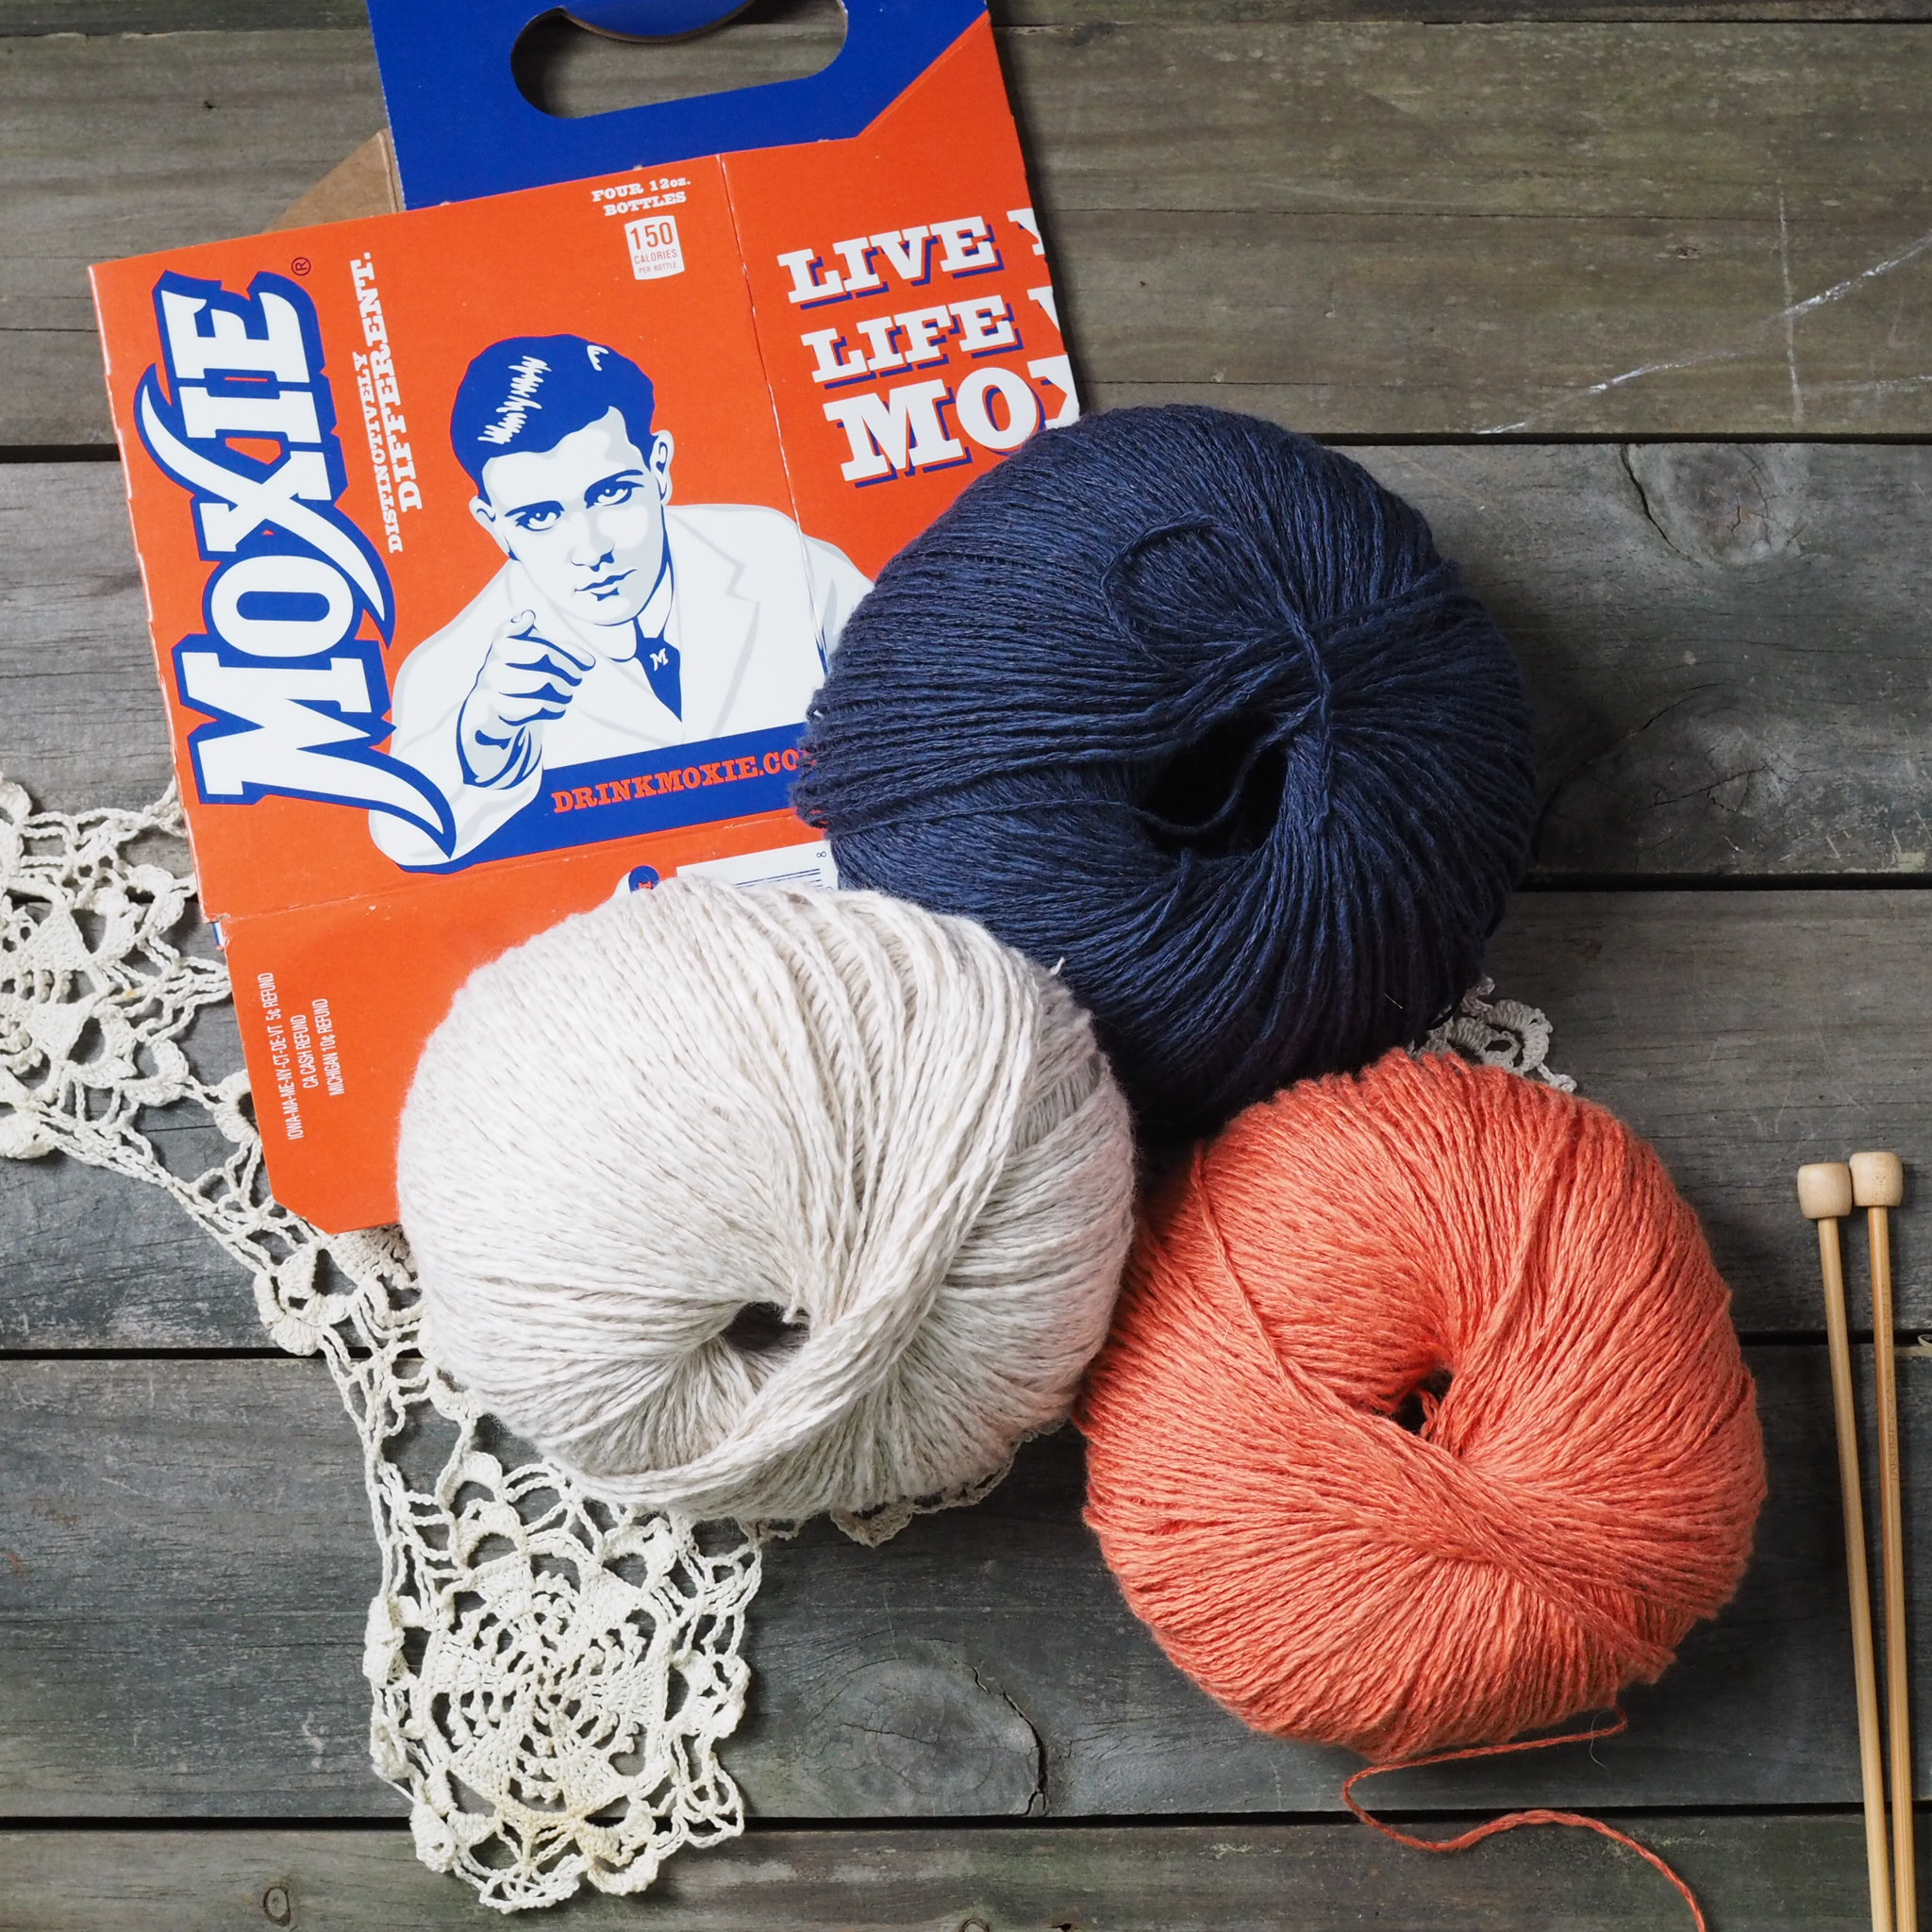
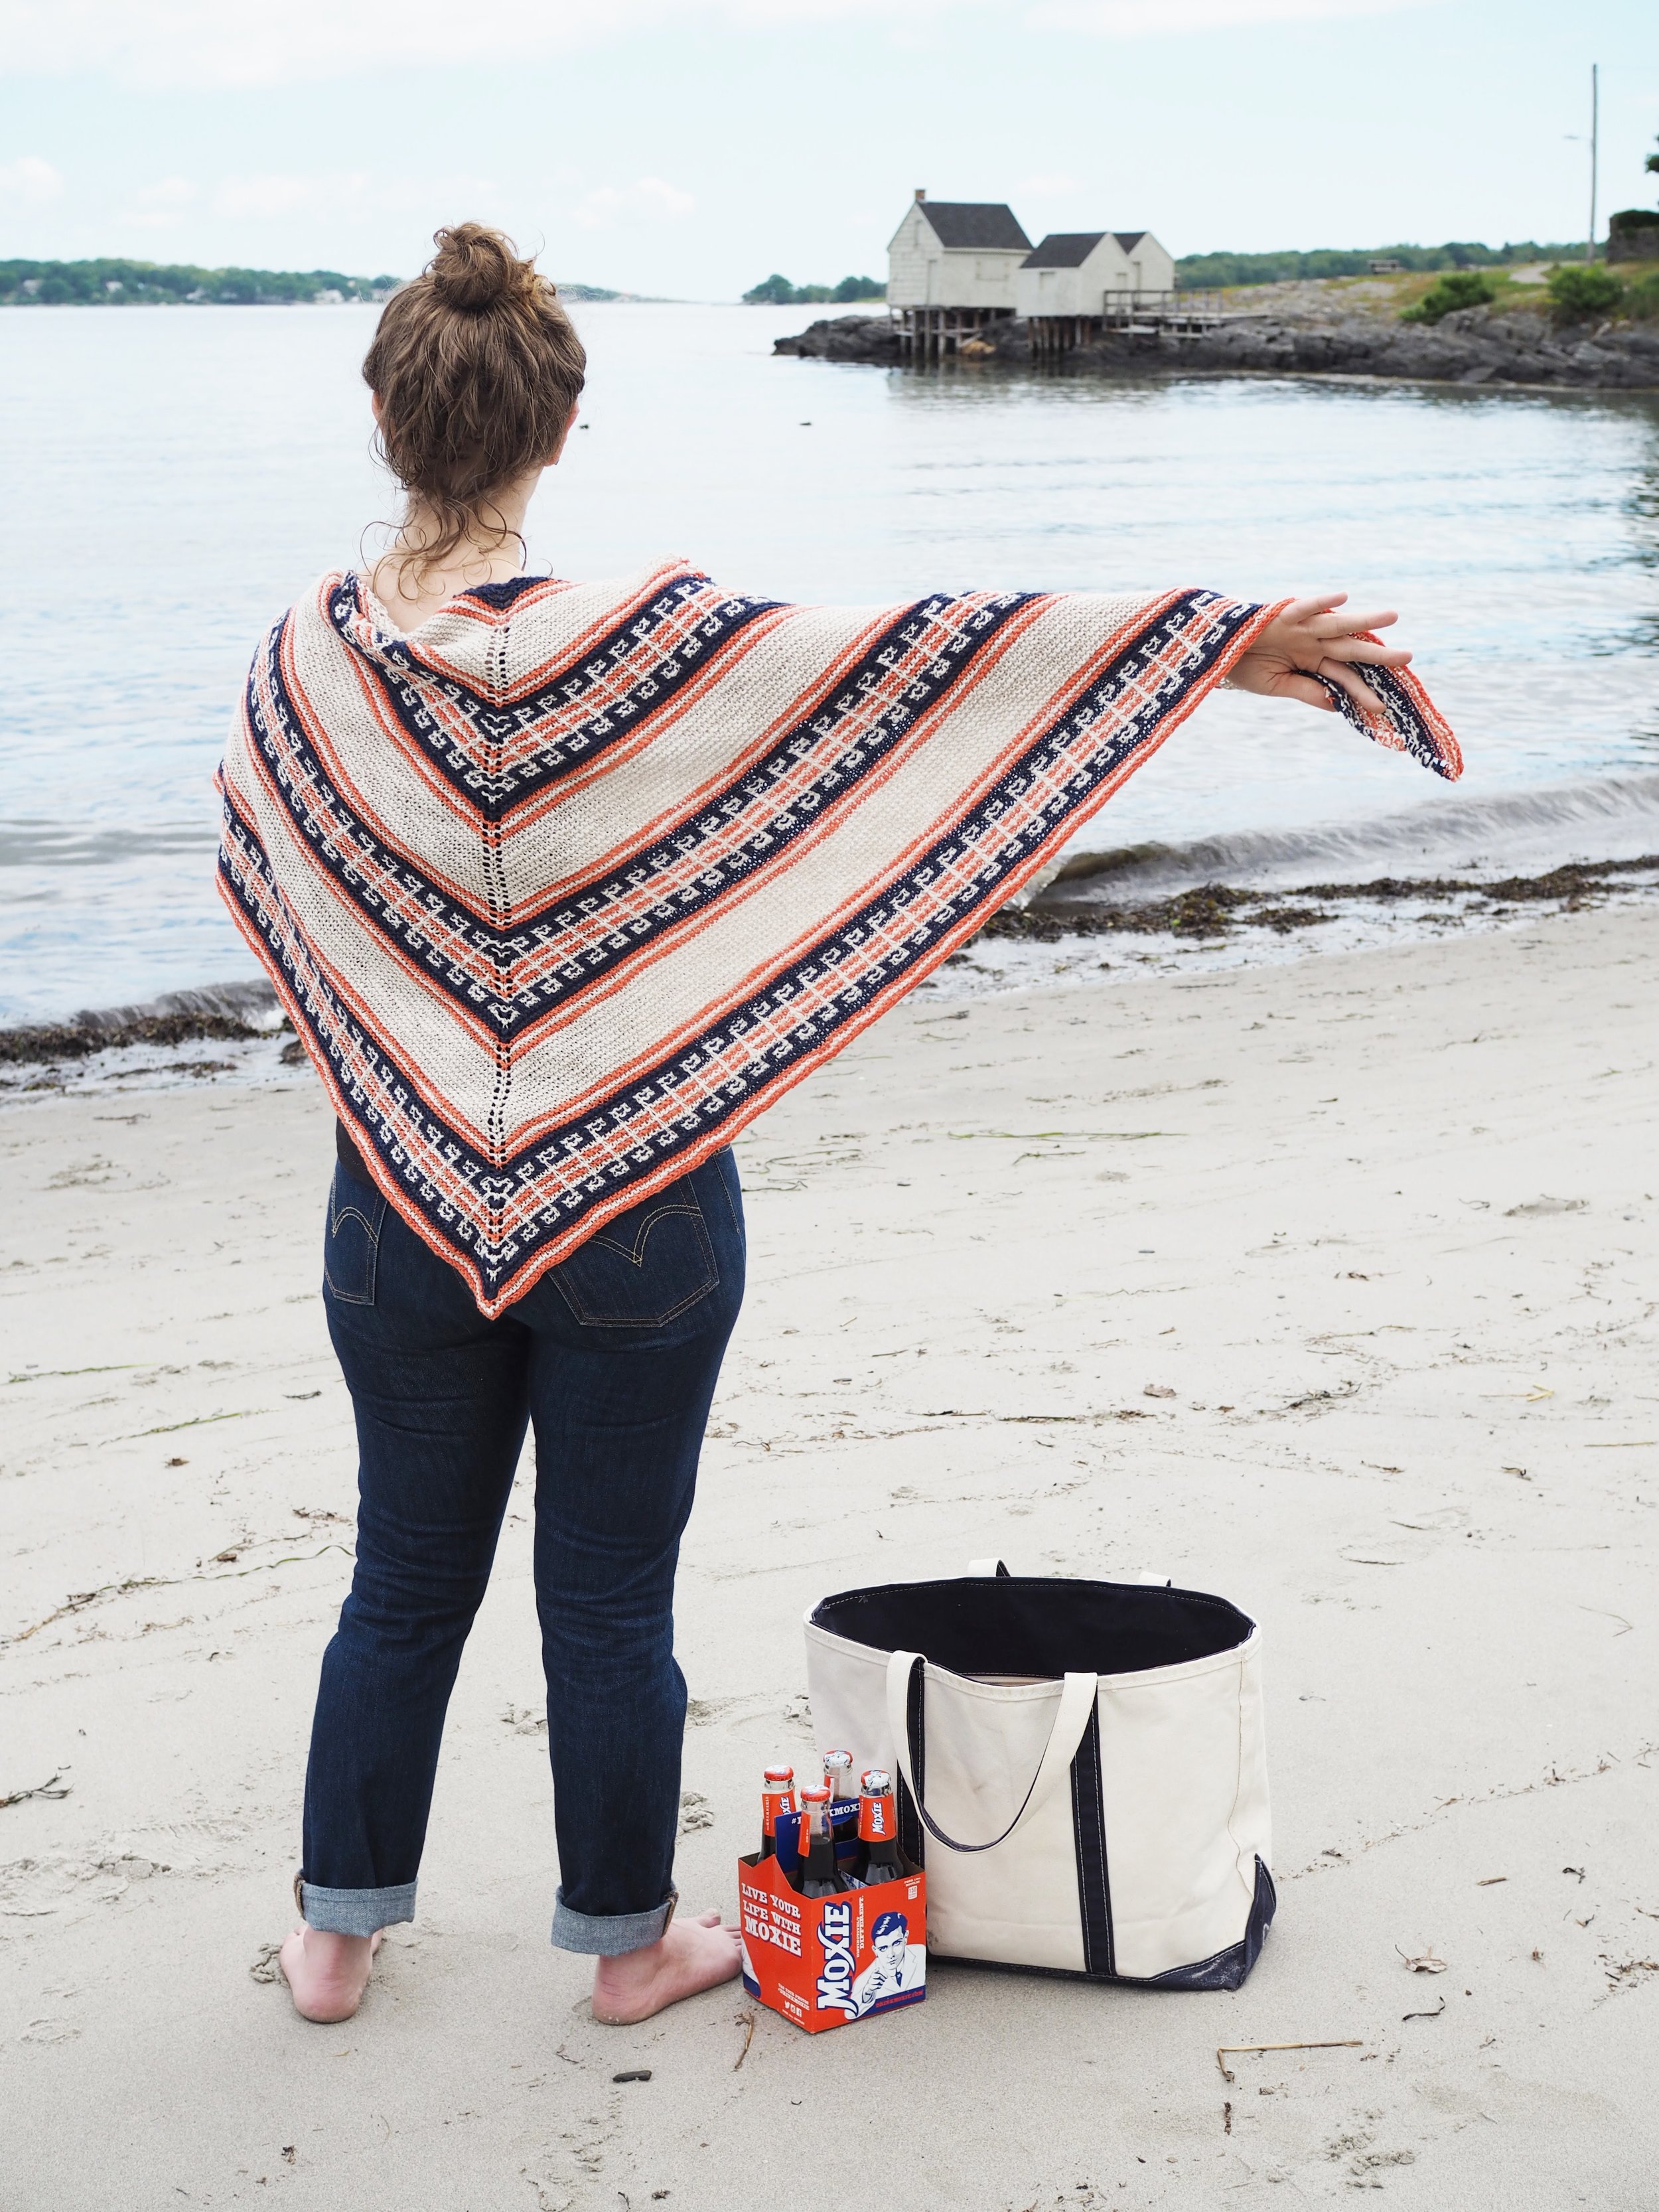
While browsing at my local yarn shop earlier this year, I came upon three colors of Juniper Moon Farm's Zooey piled together in a cubby and thought- what perfect New England colors for summer! When I got it home and placed my purchase next to some Moxie packaging, I realized that it was the perfect Maine summer colors. And so, inspired by the colors of Moxie soda, the official soft drink of Maine, the Moxie shawl is the perfect knit to both make and wear at the beach – whether your beach is in Maine or lands beyond.

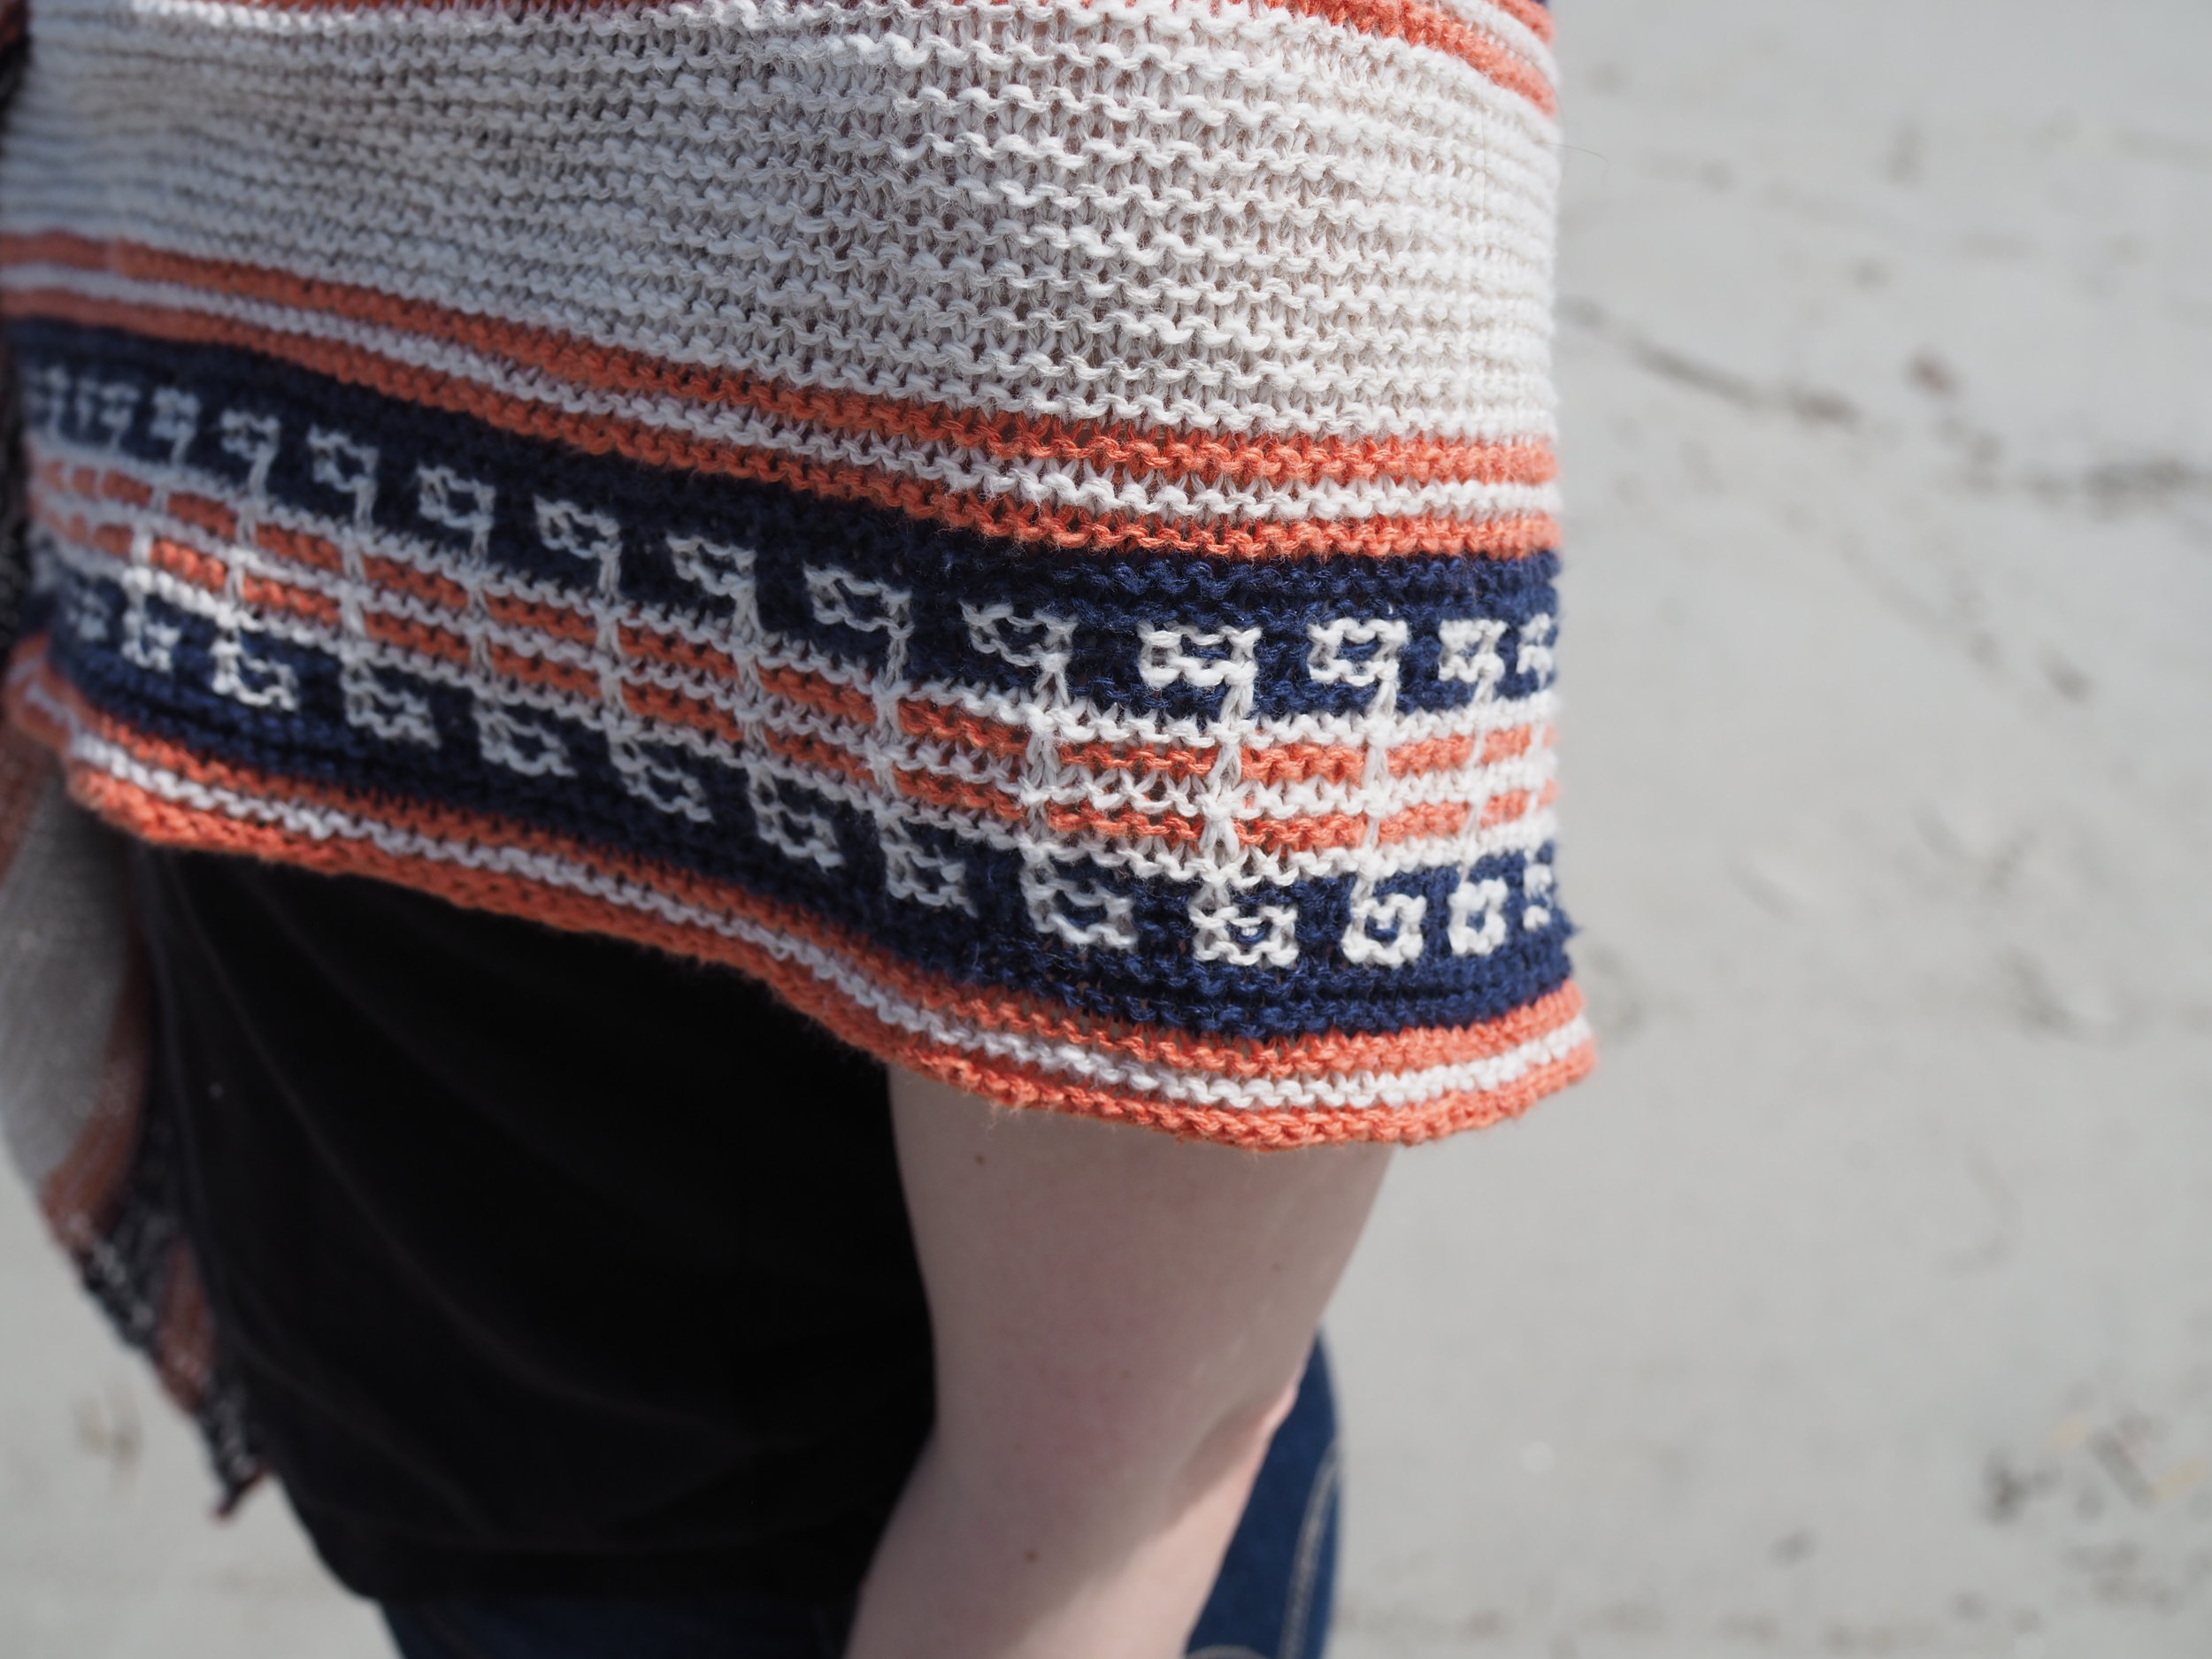
Moxie is a traditional top-down triangle shawl that uses a mosaic knitting technique for the colorwork bands. Mosaic knitting creates patterns by using slipped stitches that pull up a strand of color from the row below,  which means you're only dealing with one color in each row and getting a graphic "pop" with little complication. Worked in garter stitch, the shawl is a quick and cozy knit. 

The Moxie pattern can be found in GRAIN - the current issue of Taproot Magazine, available via subscription, their online shop, and at a variety of bookstores and stockists. 

A very special thanks to my testers and to Aimee Chapman for some short-notice modeling! 

Print Friendly and PDF Follow
follow us in feedly

Introducing Nerio

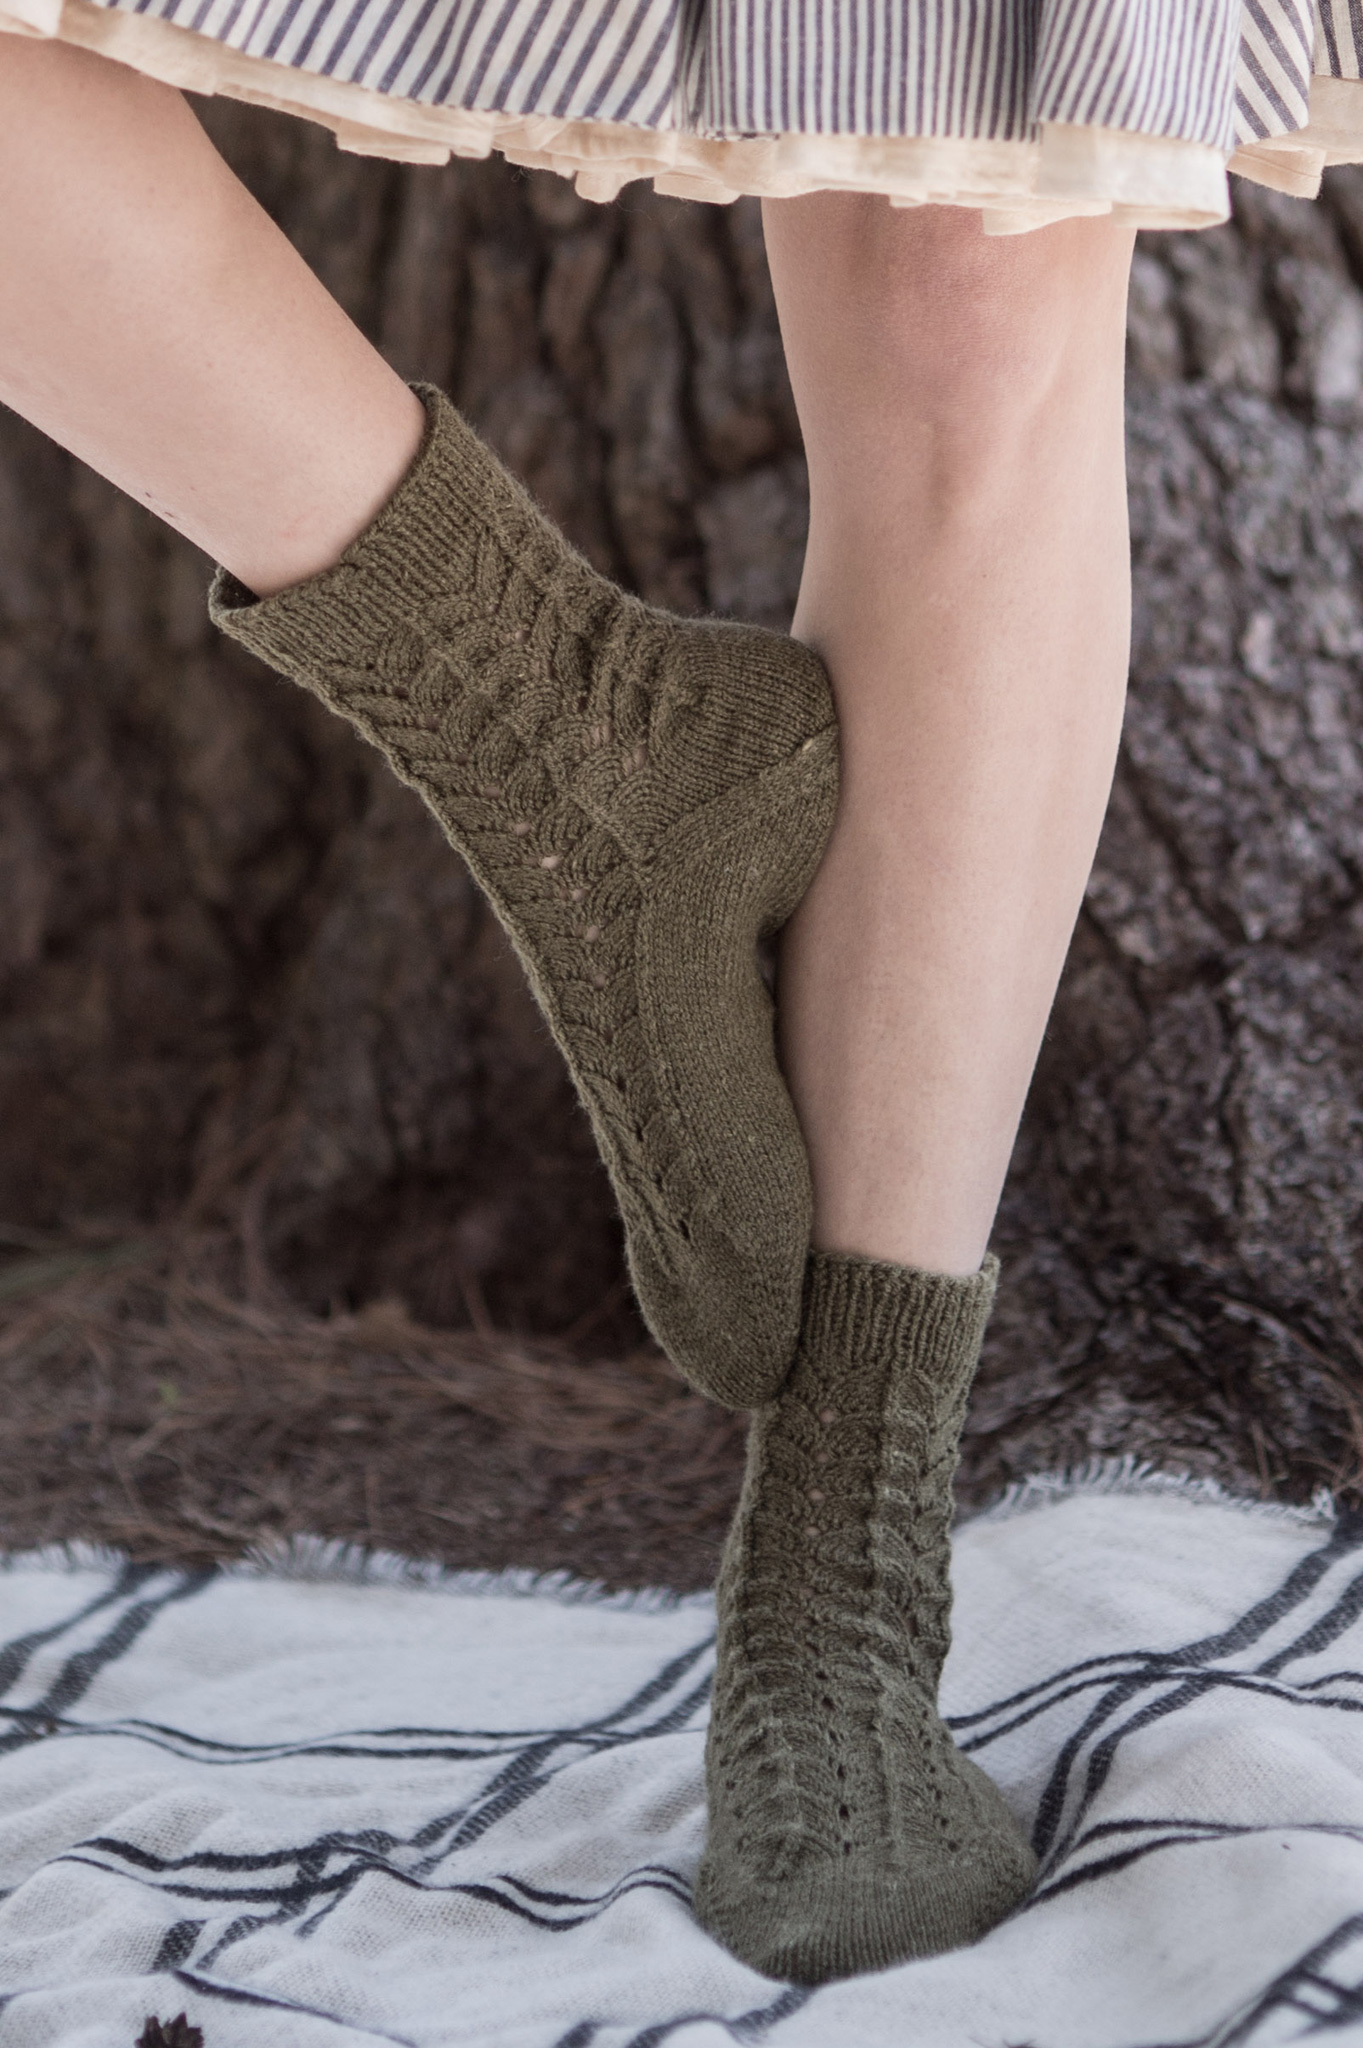
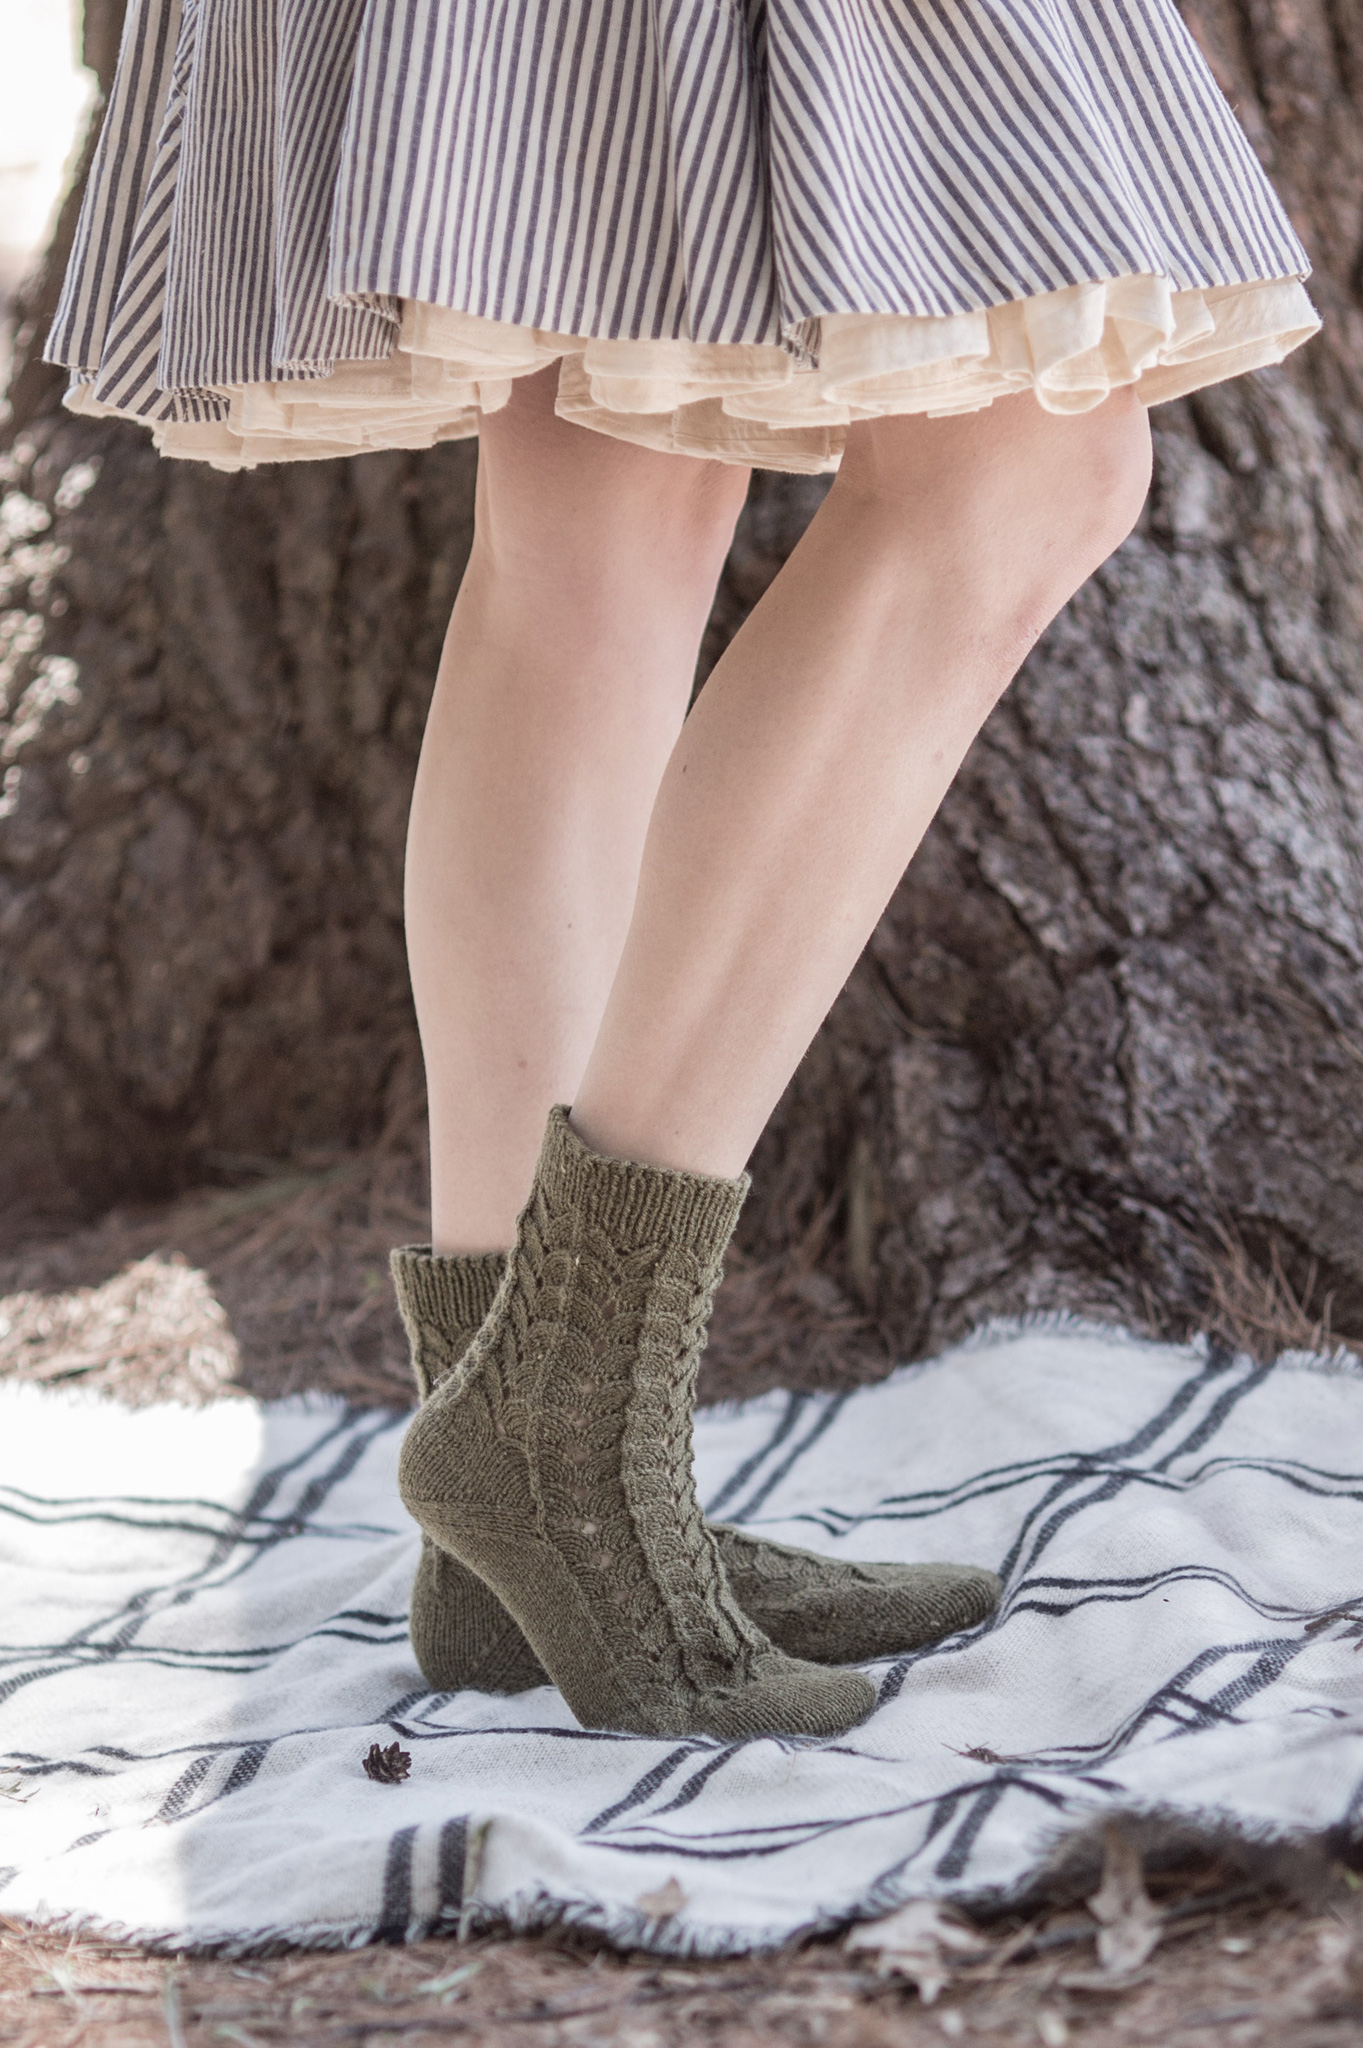
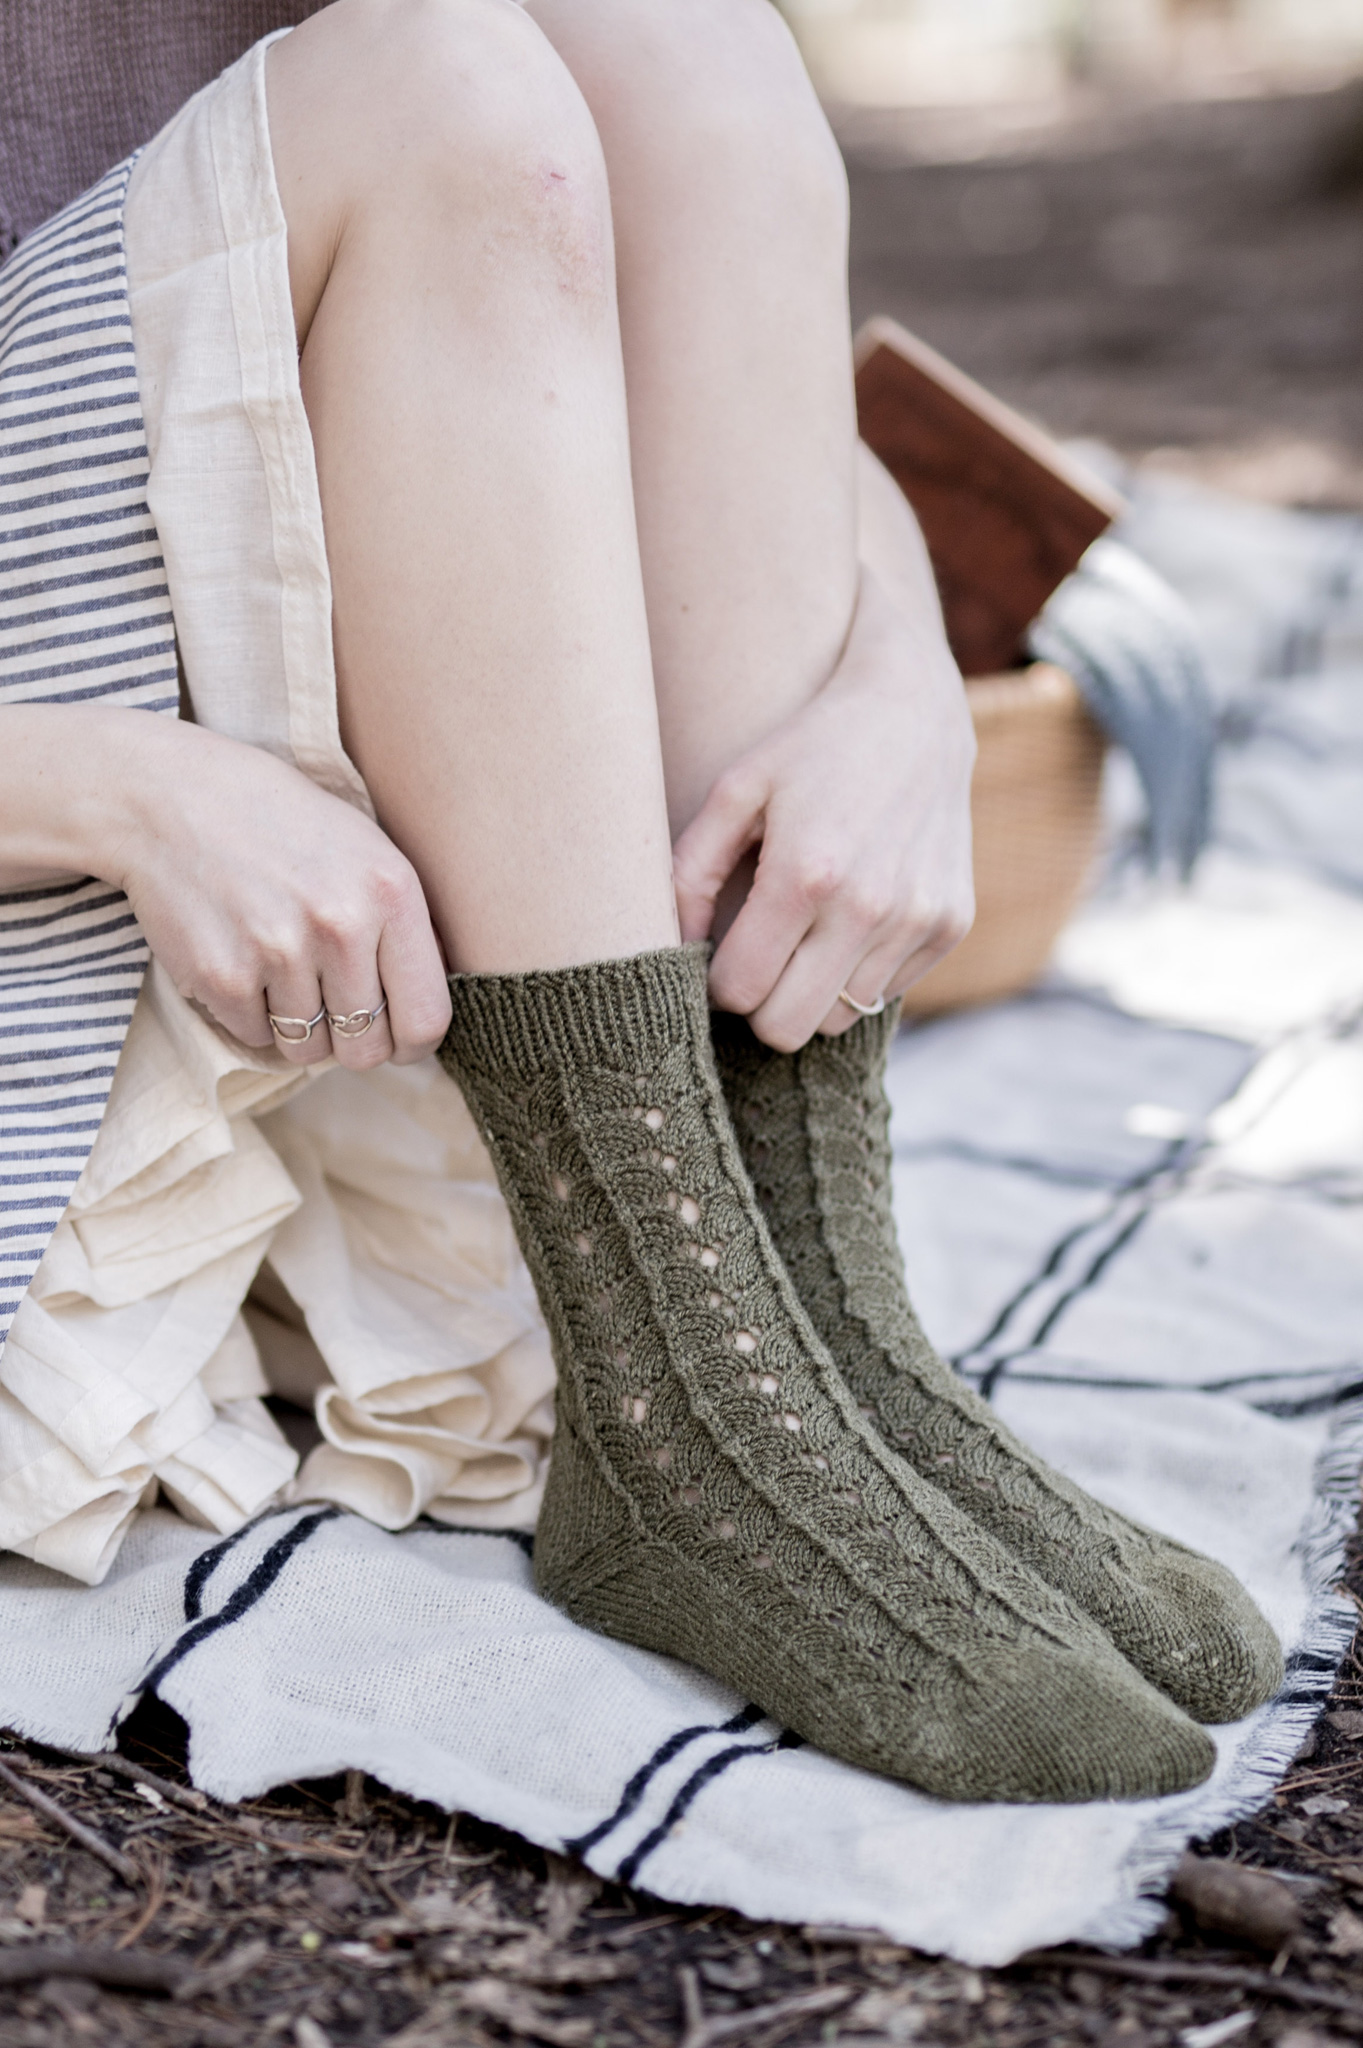
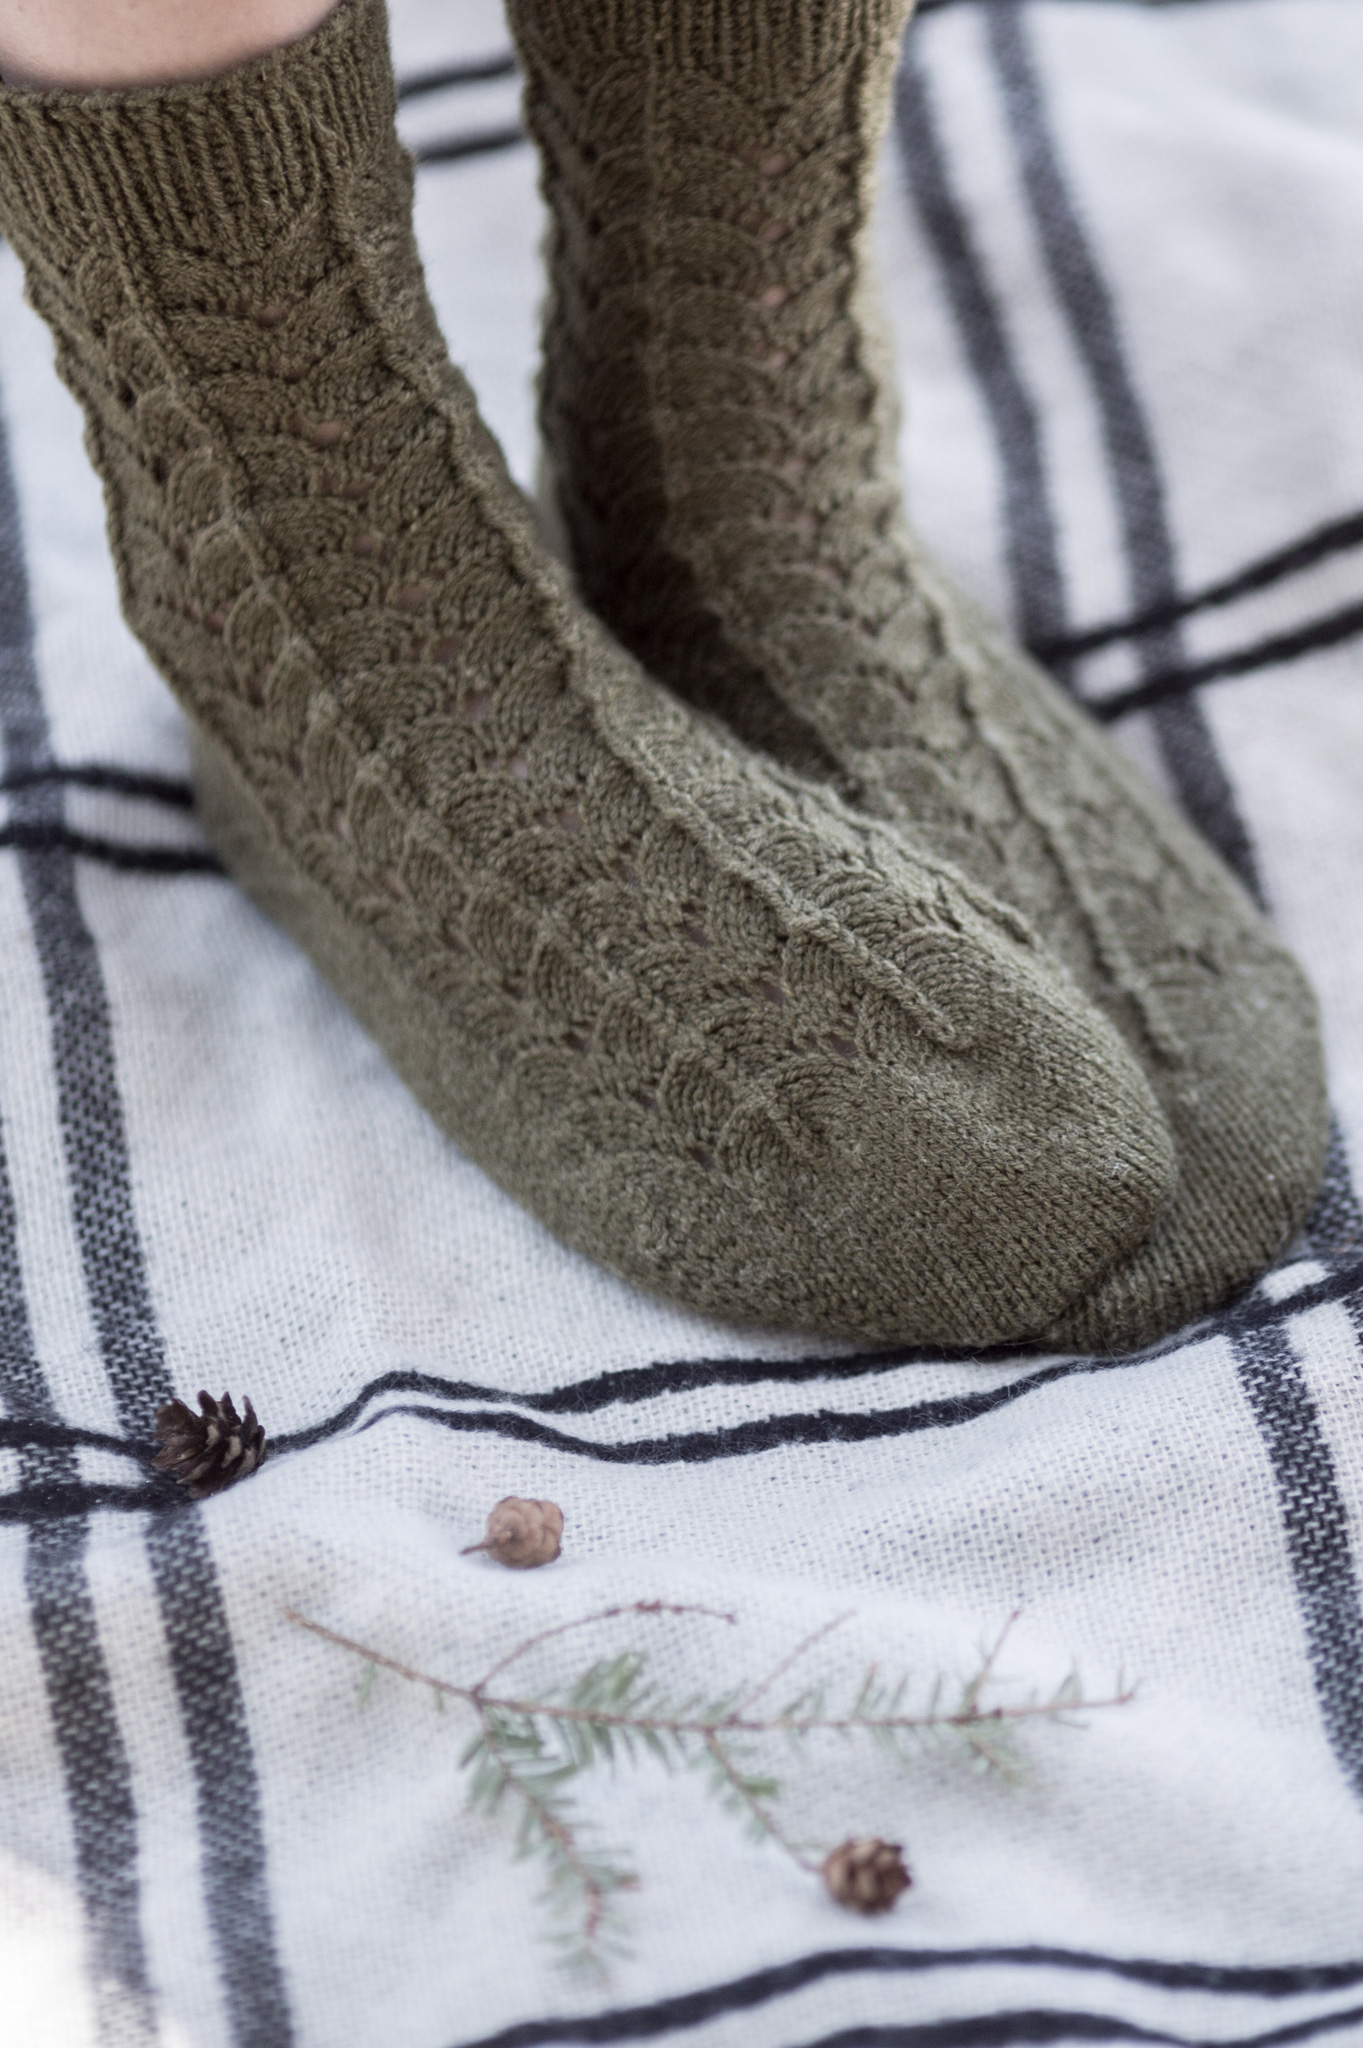
Meet Nerio, my latest (and 21st*!) release with Quince & Co. yarns. These quick-knit socks feature a deceptively simple lace pattern reminiscent of dragon scales. Toe-up construction with an afterthought heel keep the knitting flowing so these little beauties will practically hop (or should I say fly?)  off your needles. 

Nerio can be purchased as an individual pattern ($5.50 USD ) or as part of the five-pattern Tern 2018 collection ($18.00) from the following sources:

Ravelry | Ms. Cleaver | Quince & Co.

*And the third to be styled with that skirt!


Print Friendly and PDF Follow
follow us in feedly

Lazy River Embroidery Collection

Is it possible to be nostalgic for a life you've never lived?

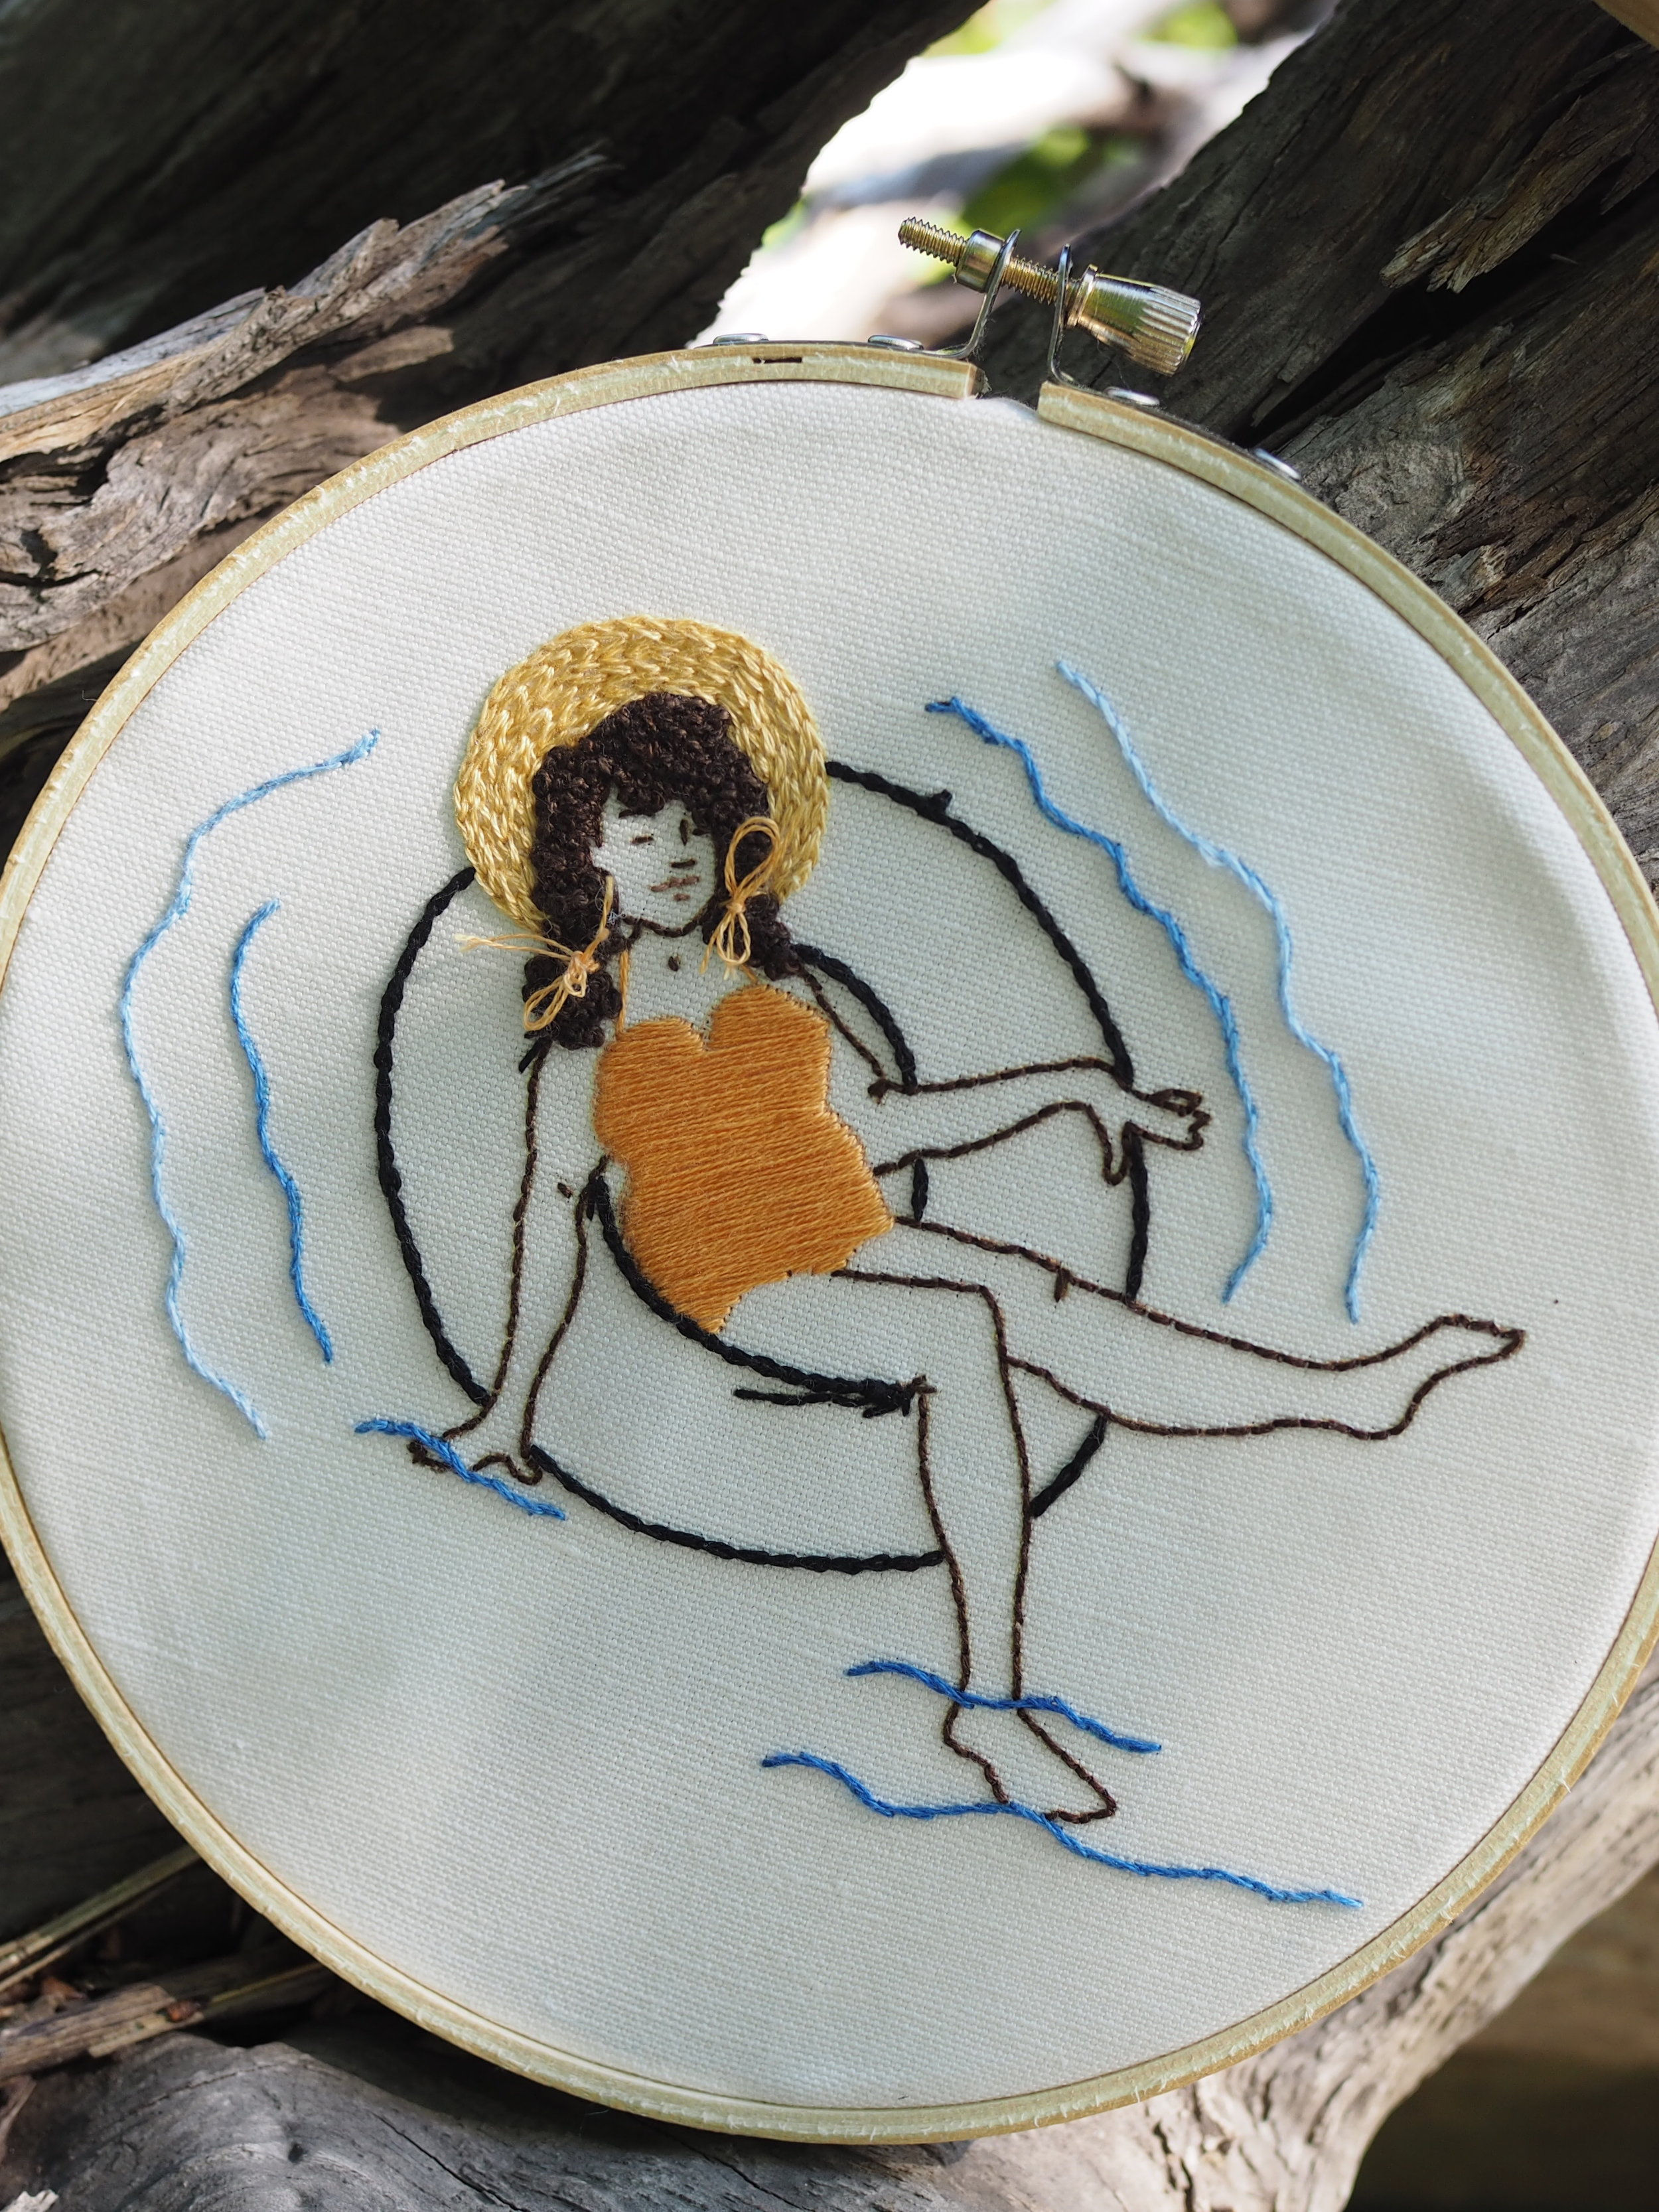
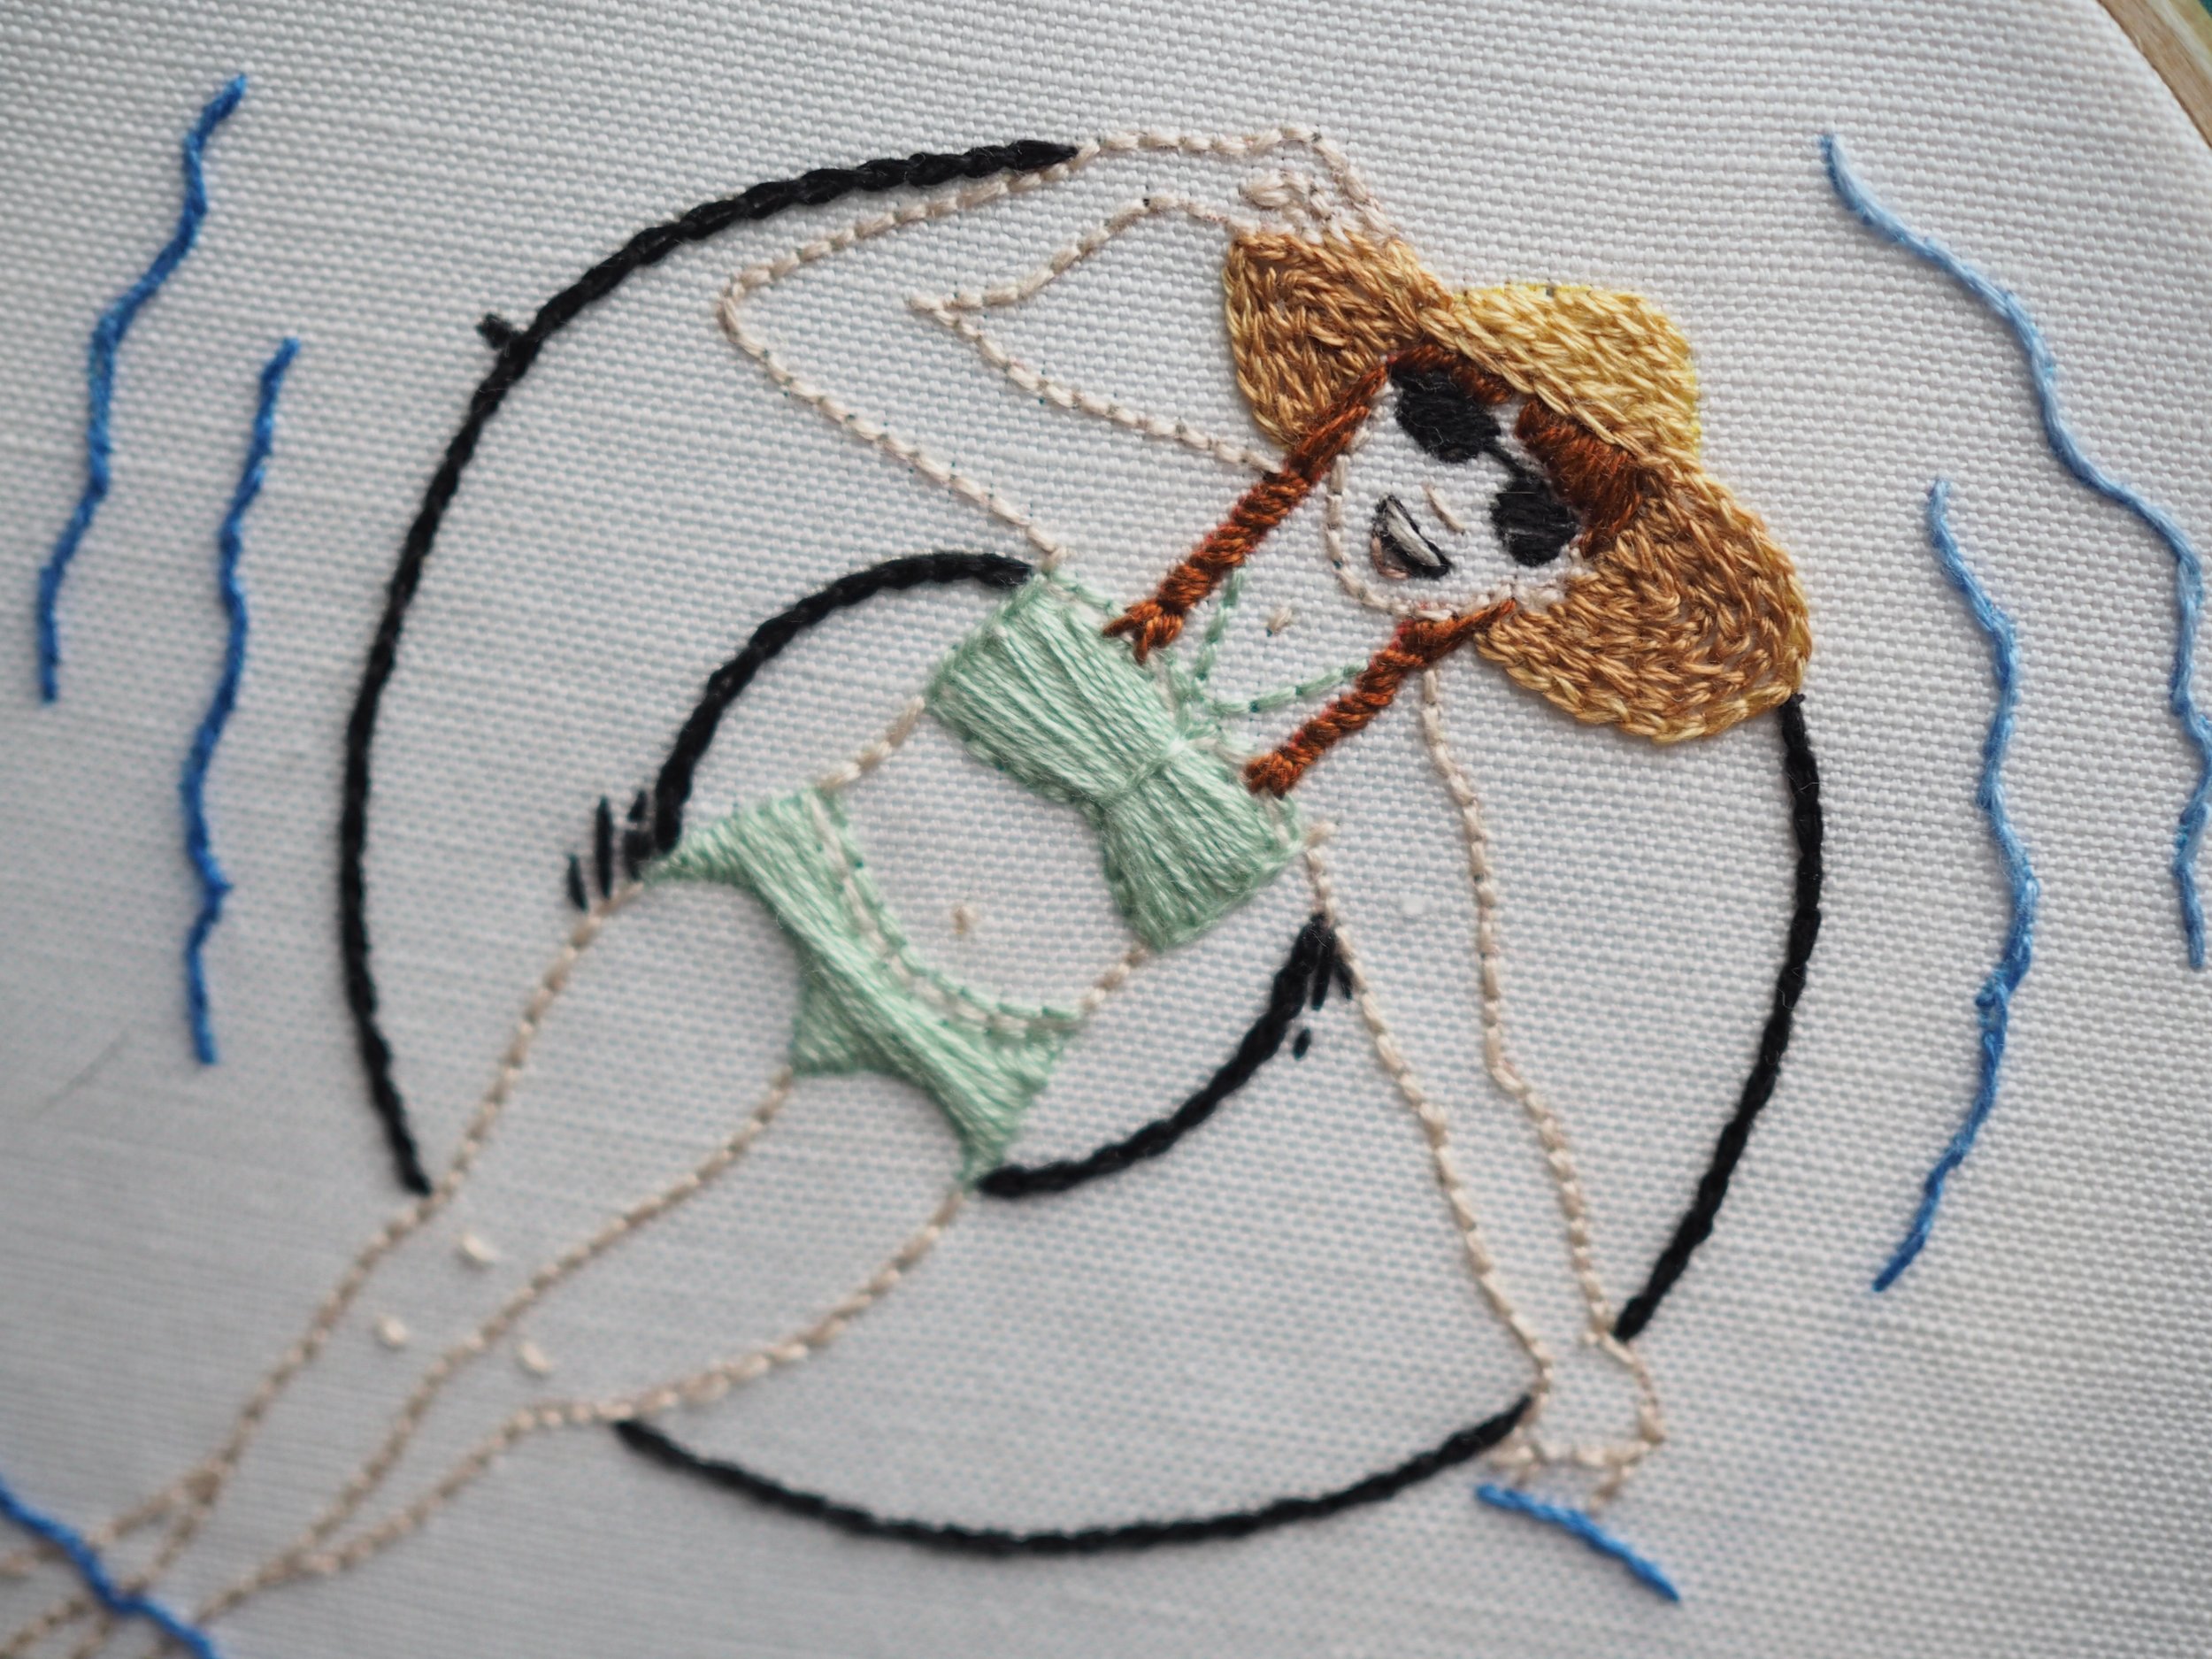
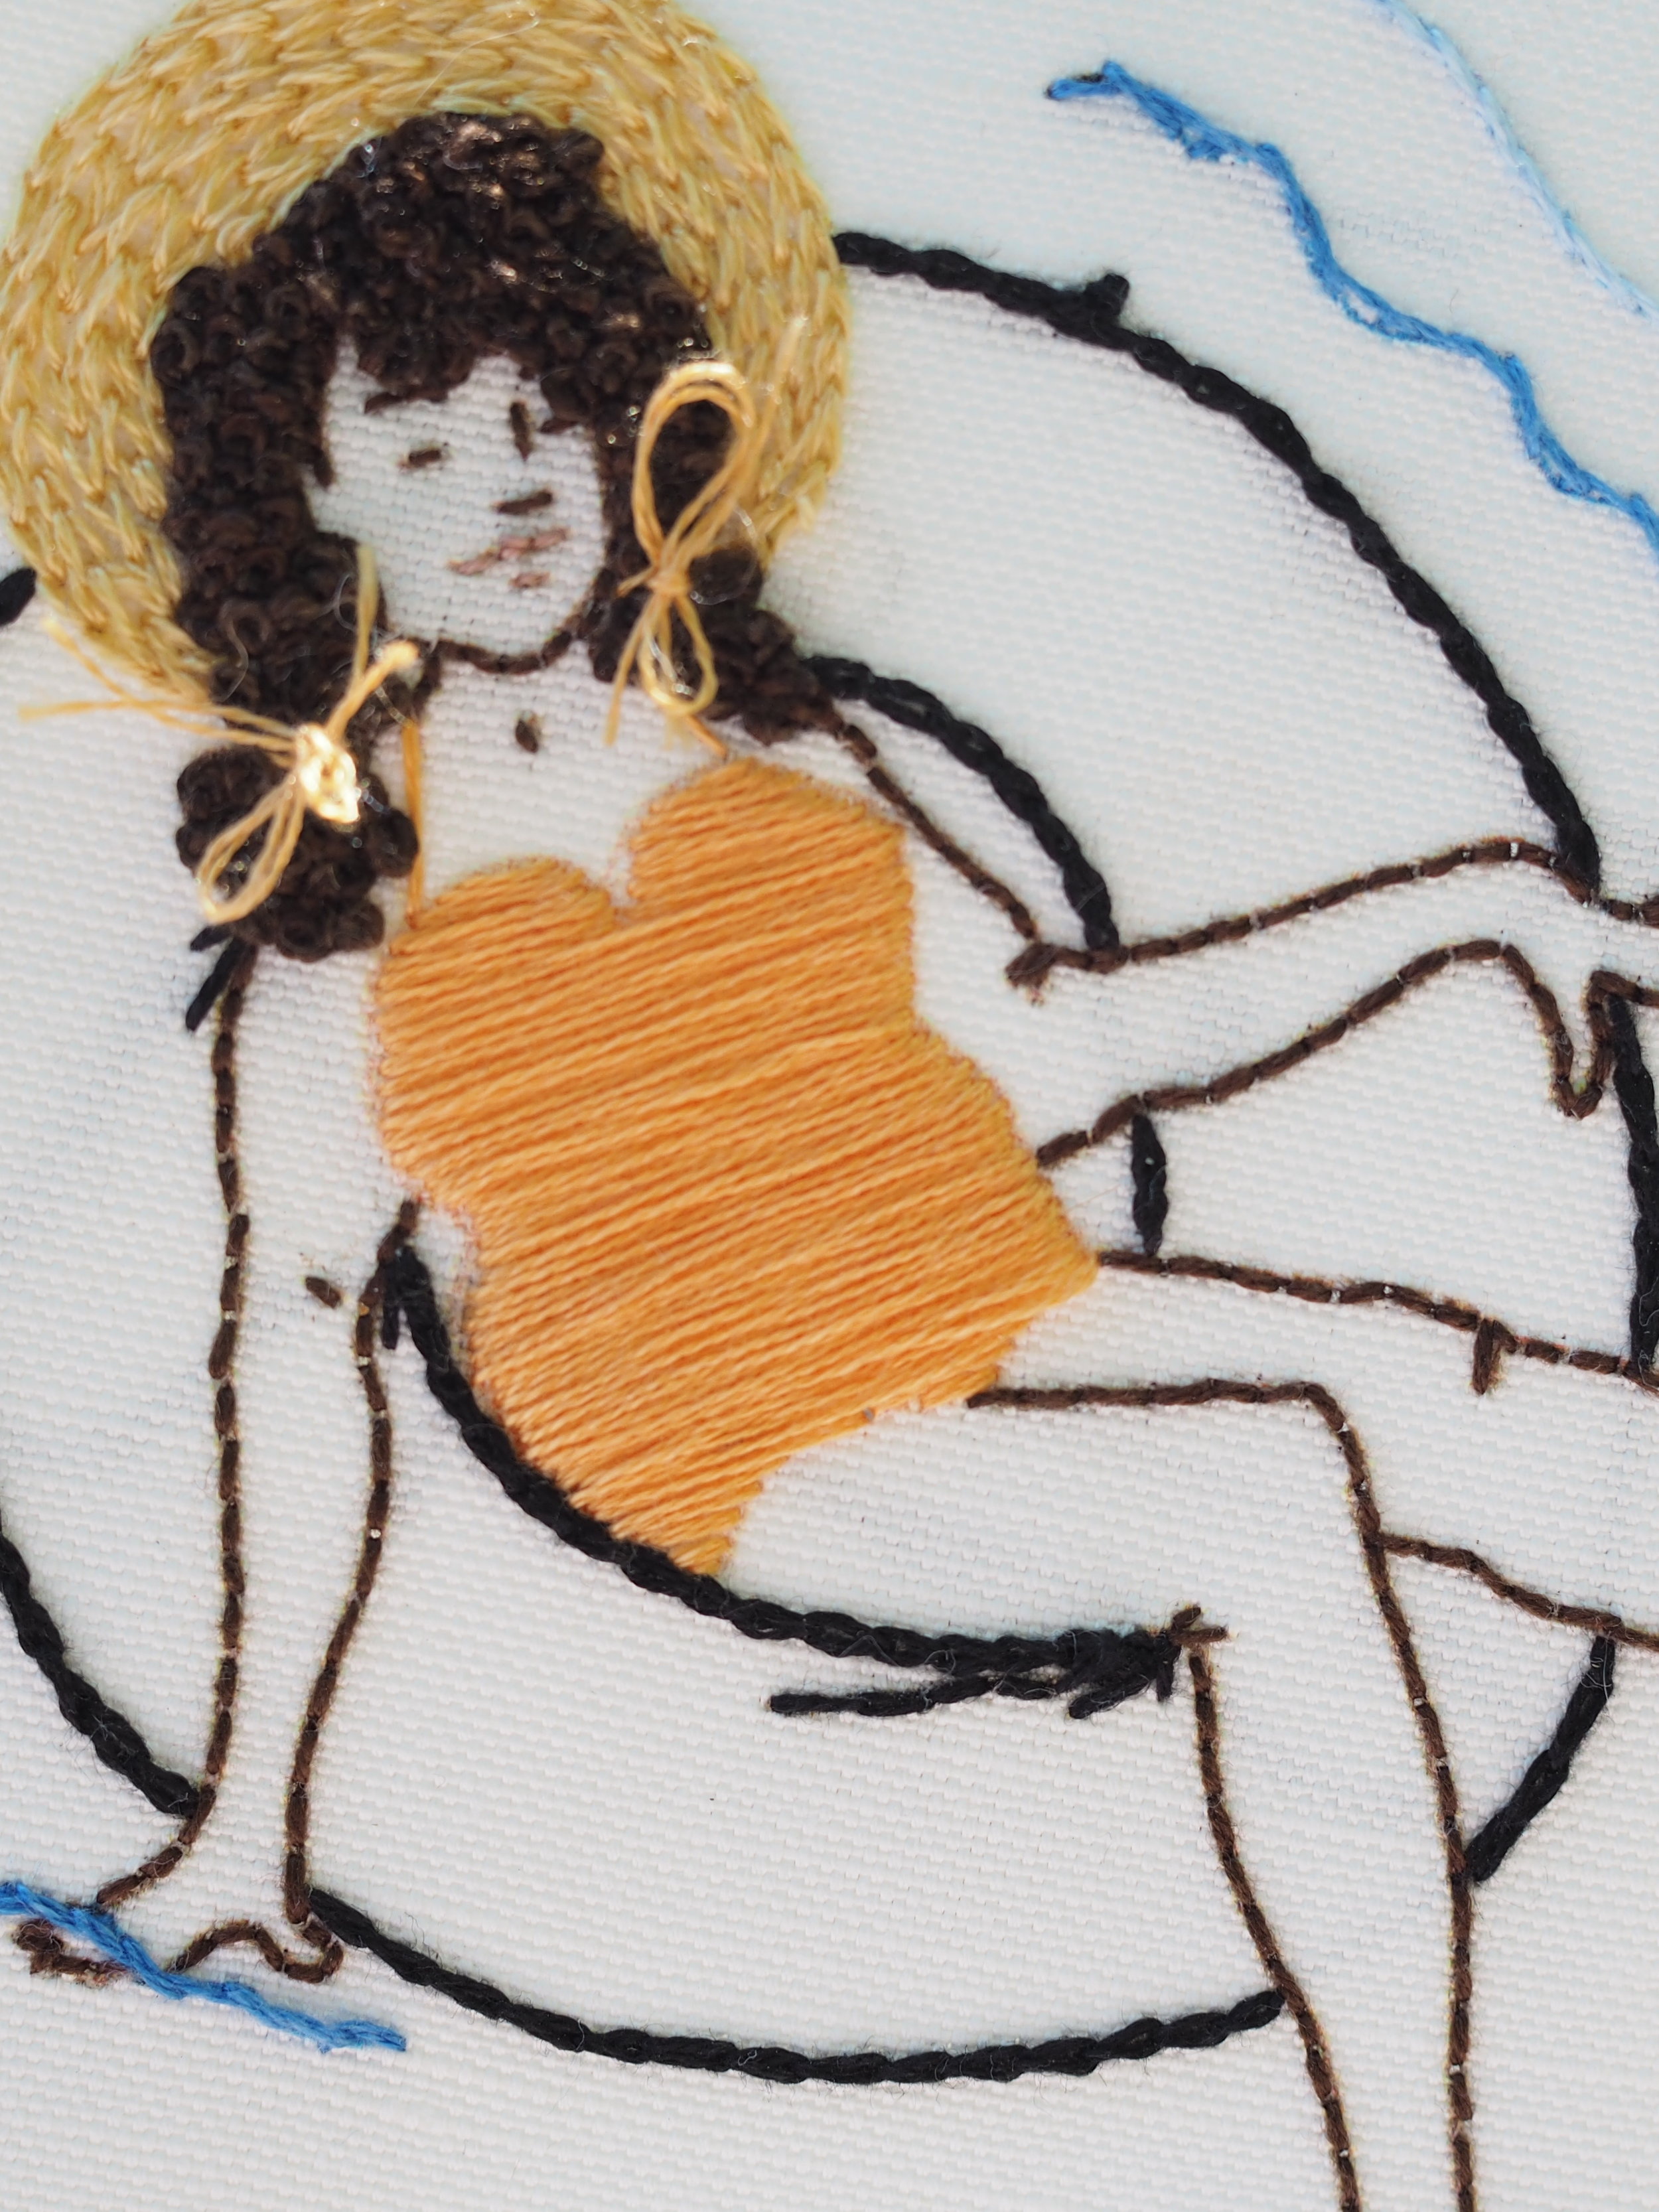
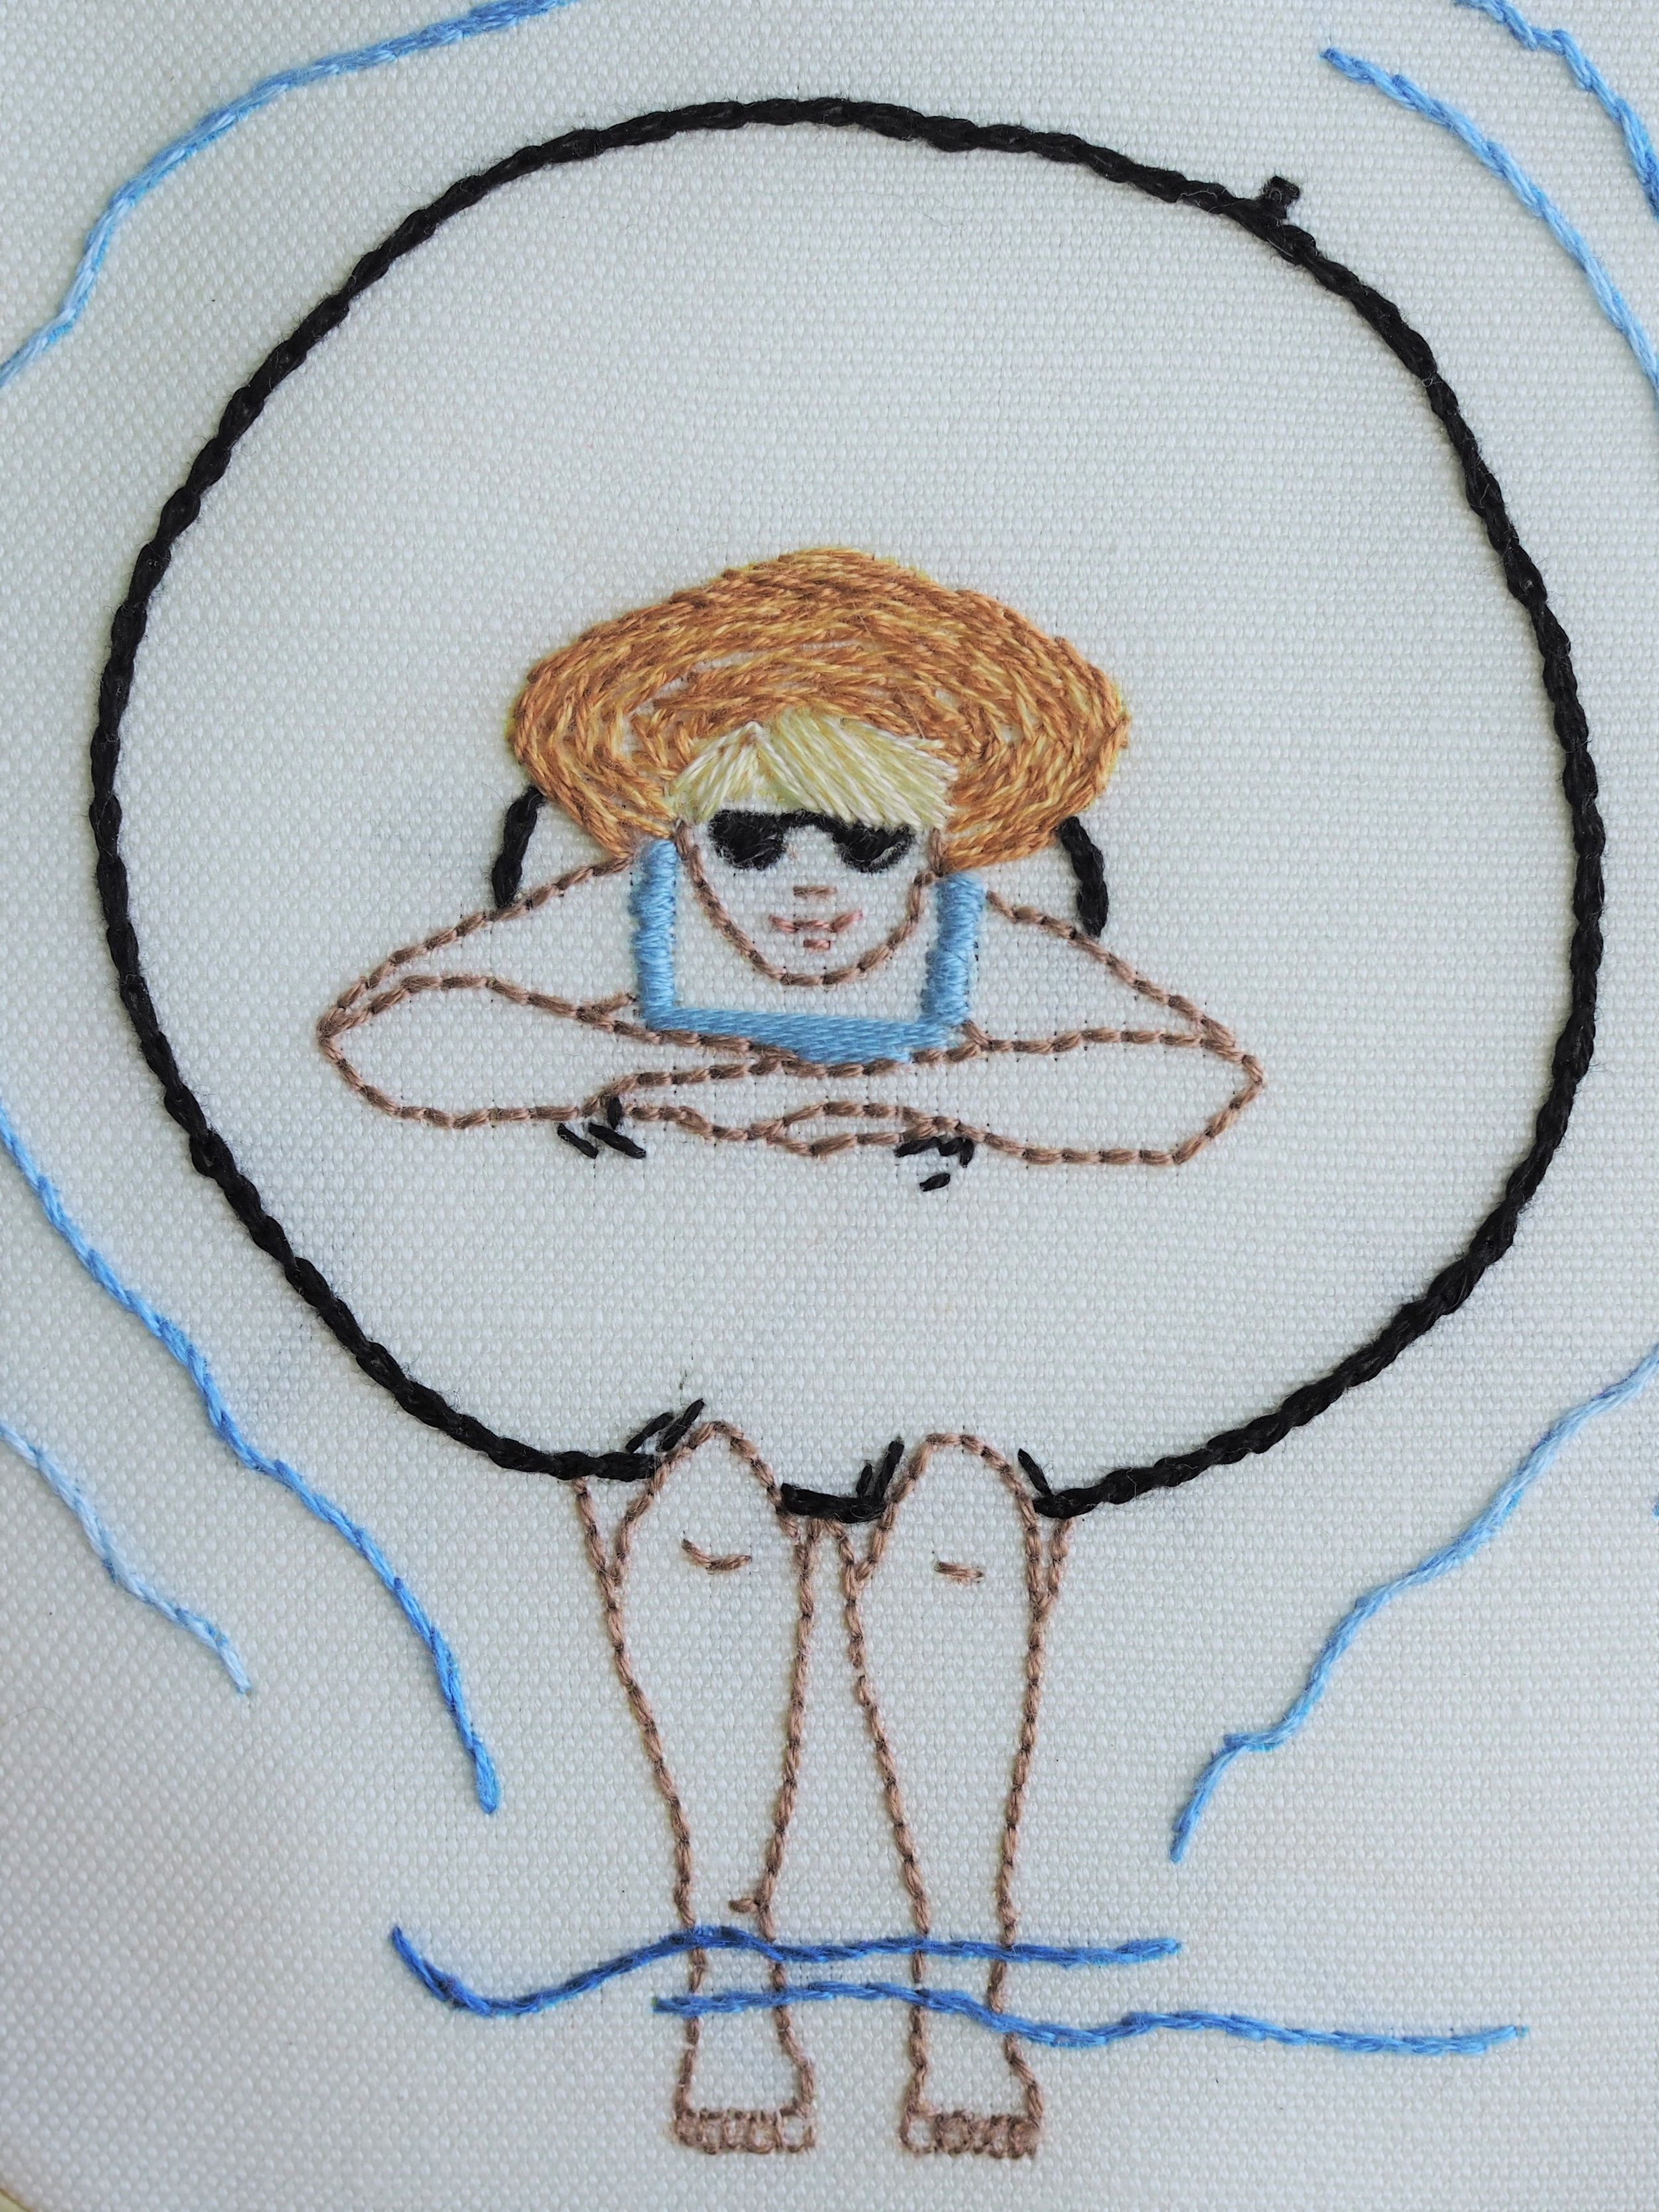
My idea of the perfect summer, for better or worse seems to be heavily colored by Country Time Lemonade commercials and reruns of the Andy Griffith Show that both played in heavy rotation during summer mornings in the late 1980s - I think summer should be swimming holes and floating docks in lakes and, yes, inner-tubing (with real tire inner tubes) down a lazy river. 

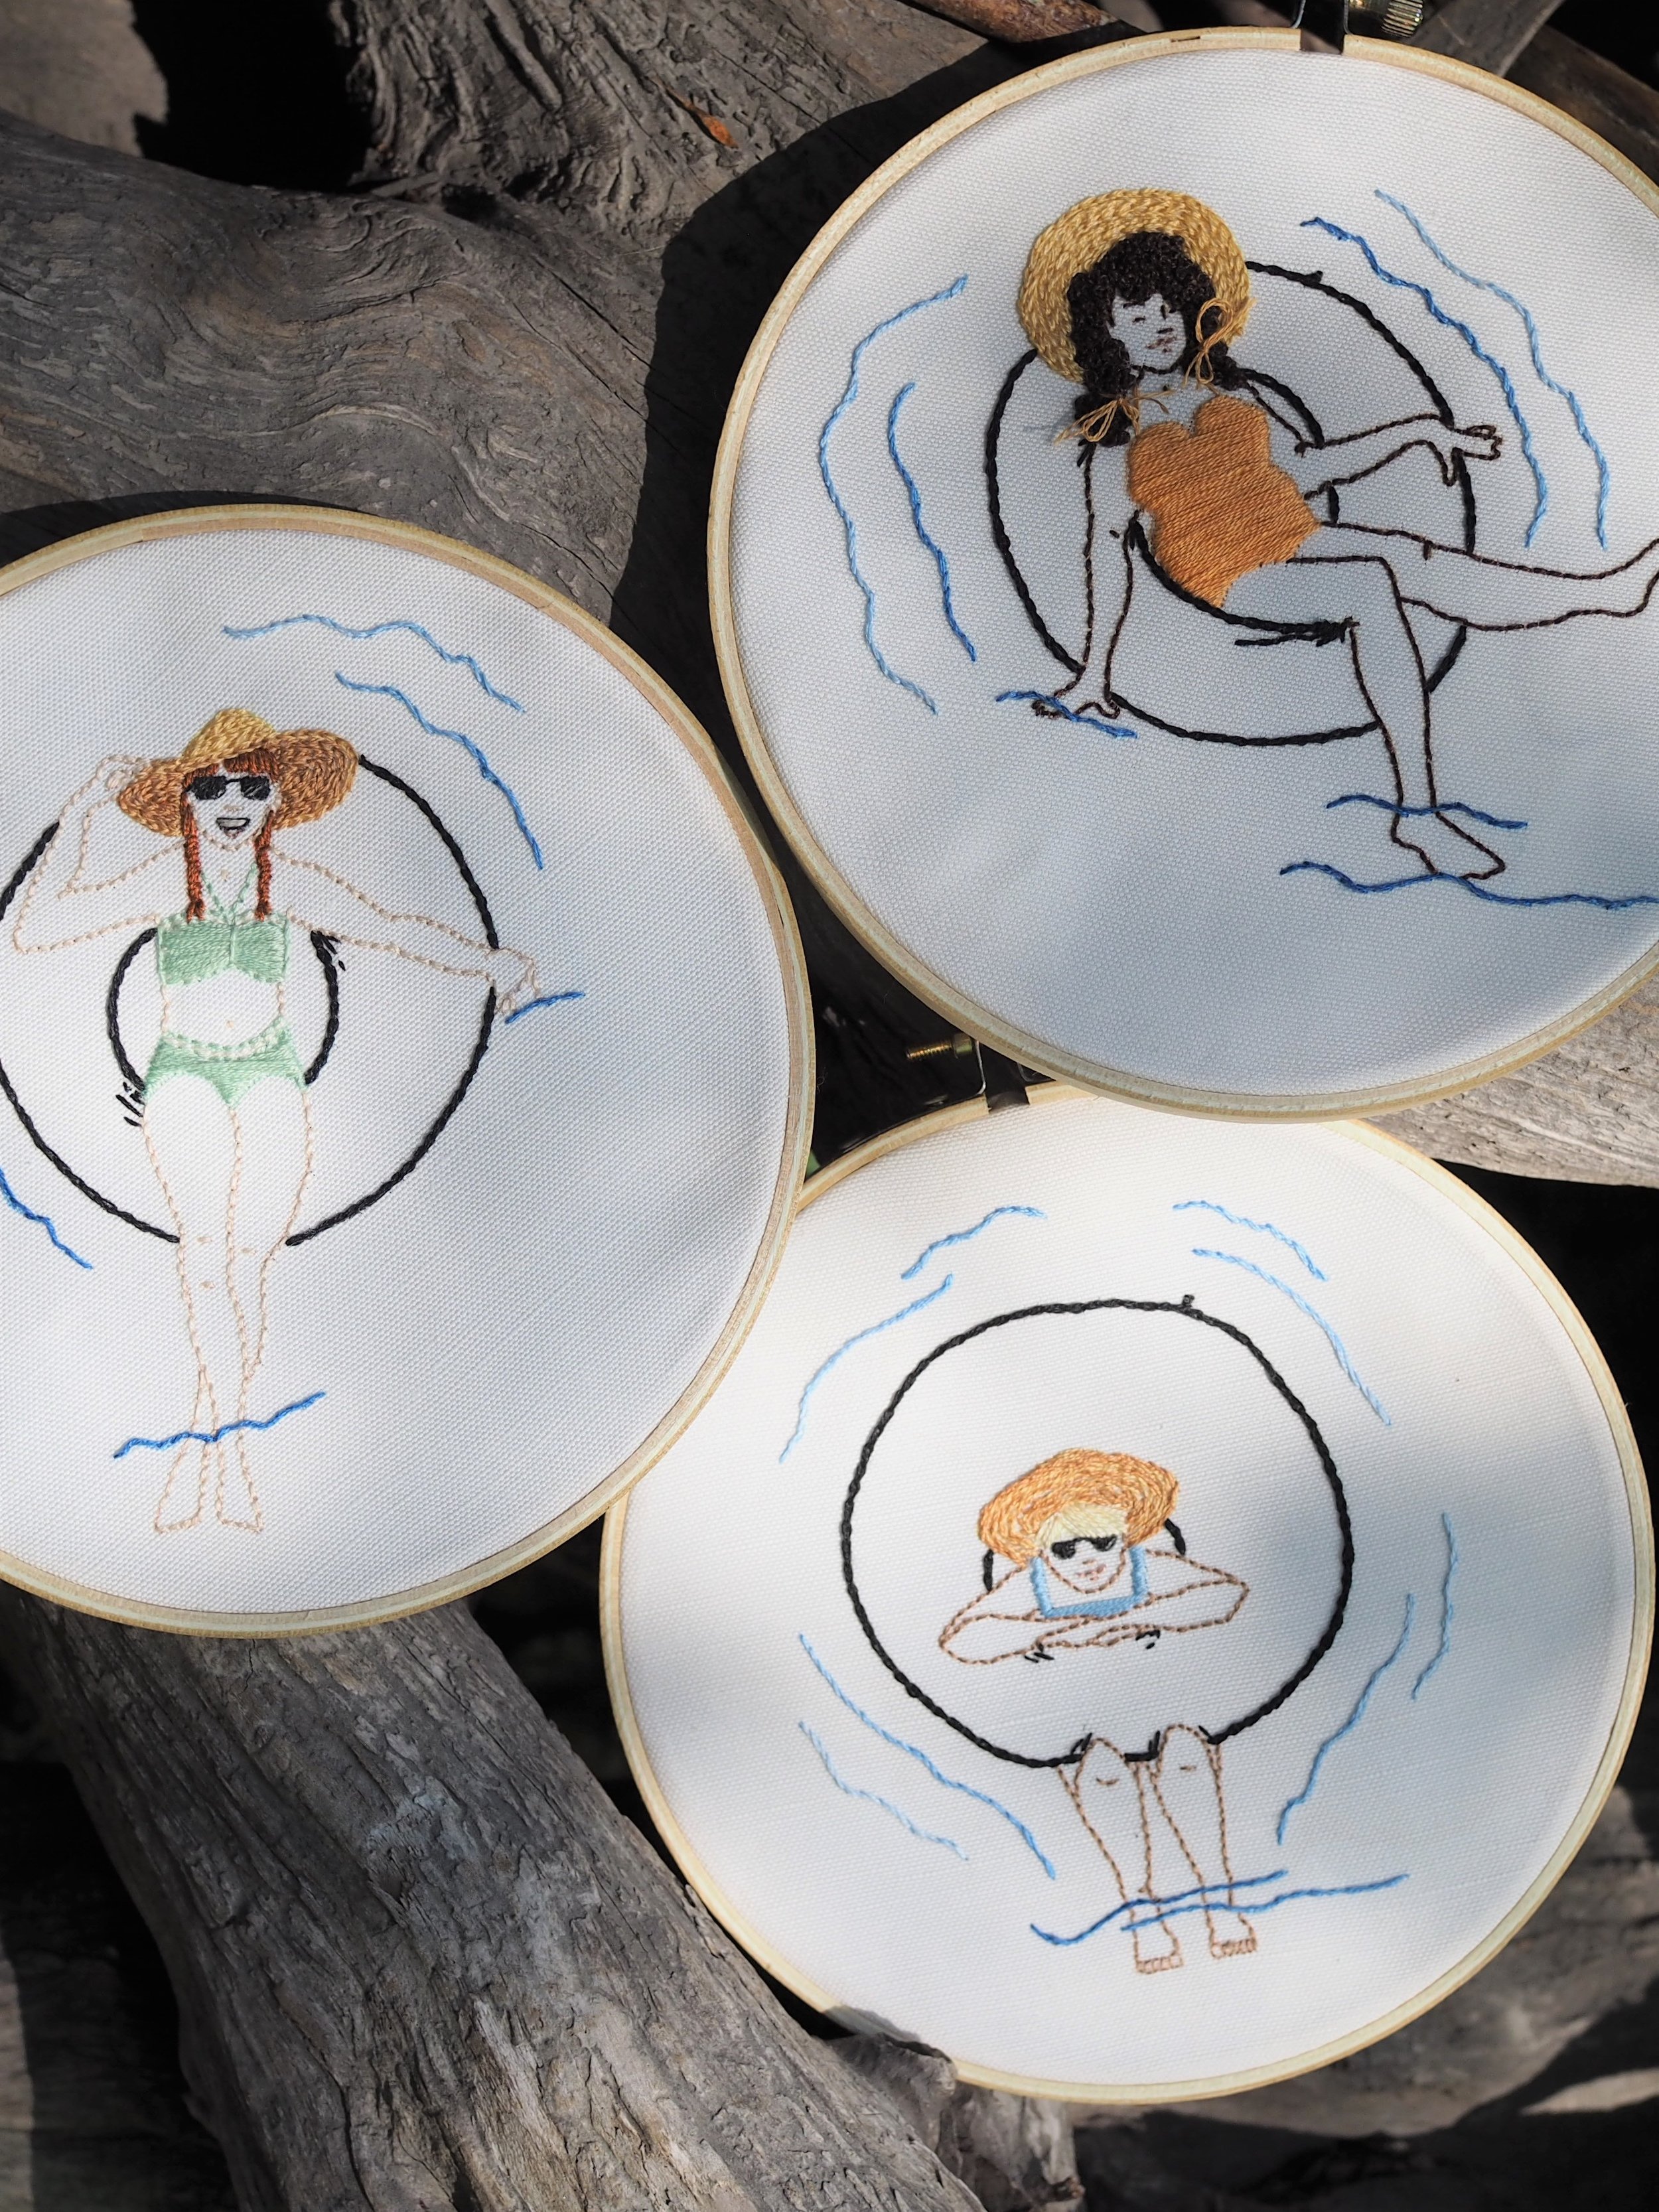
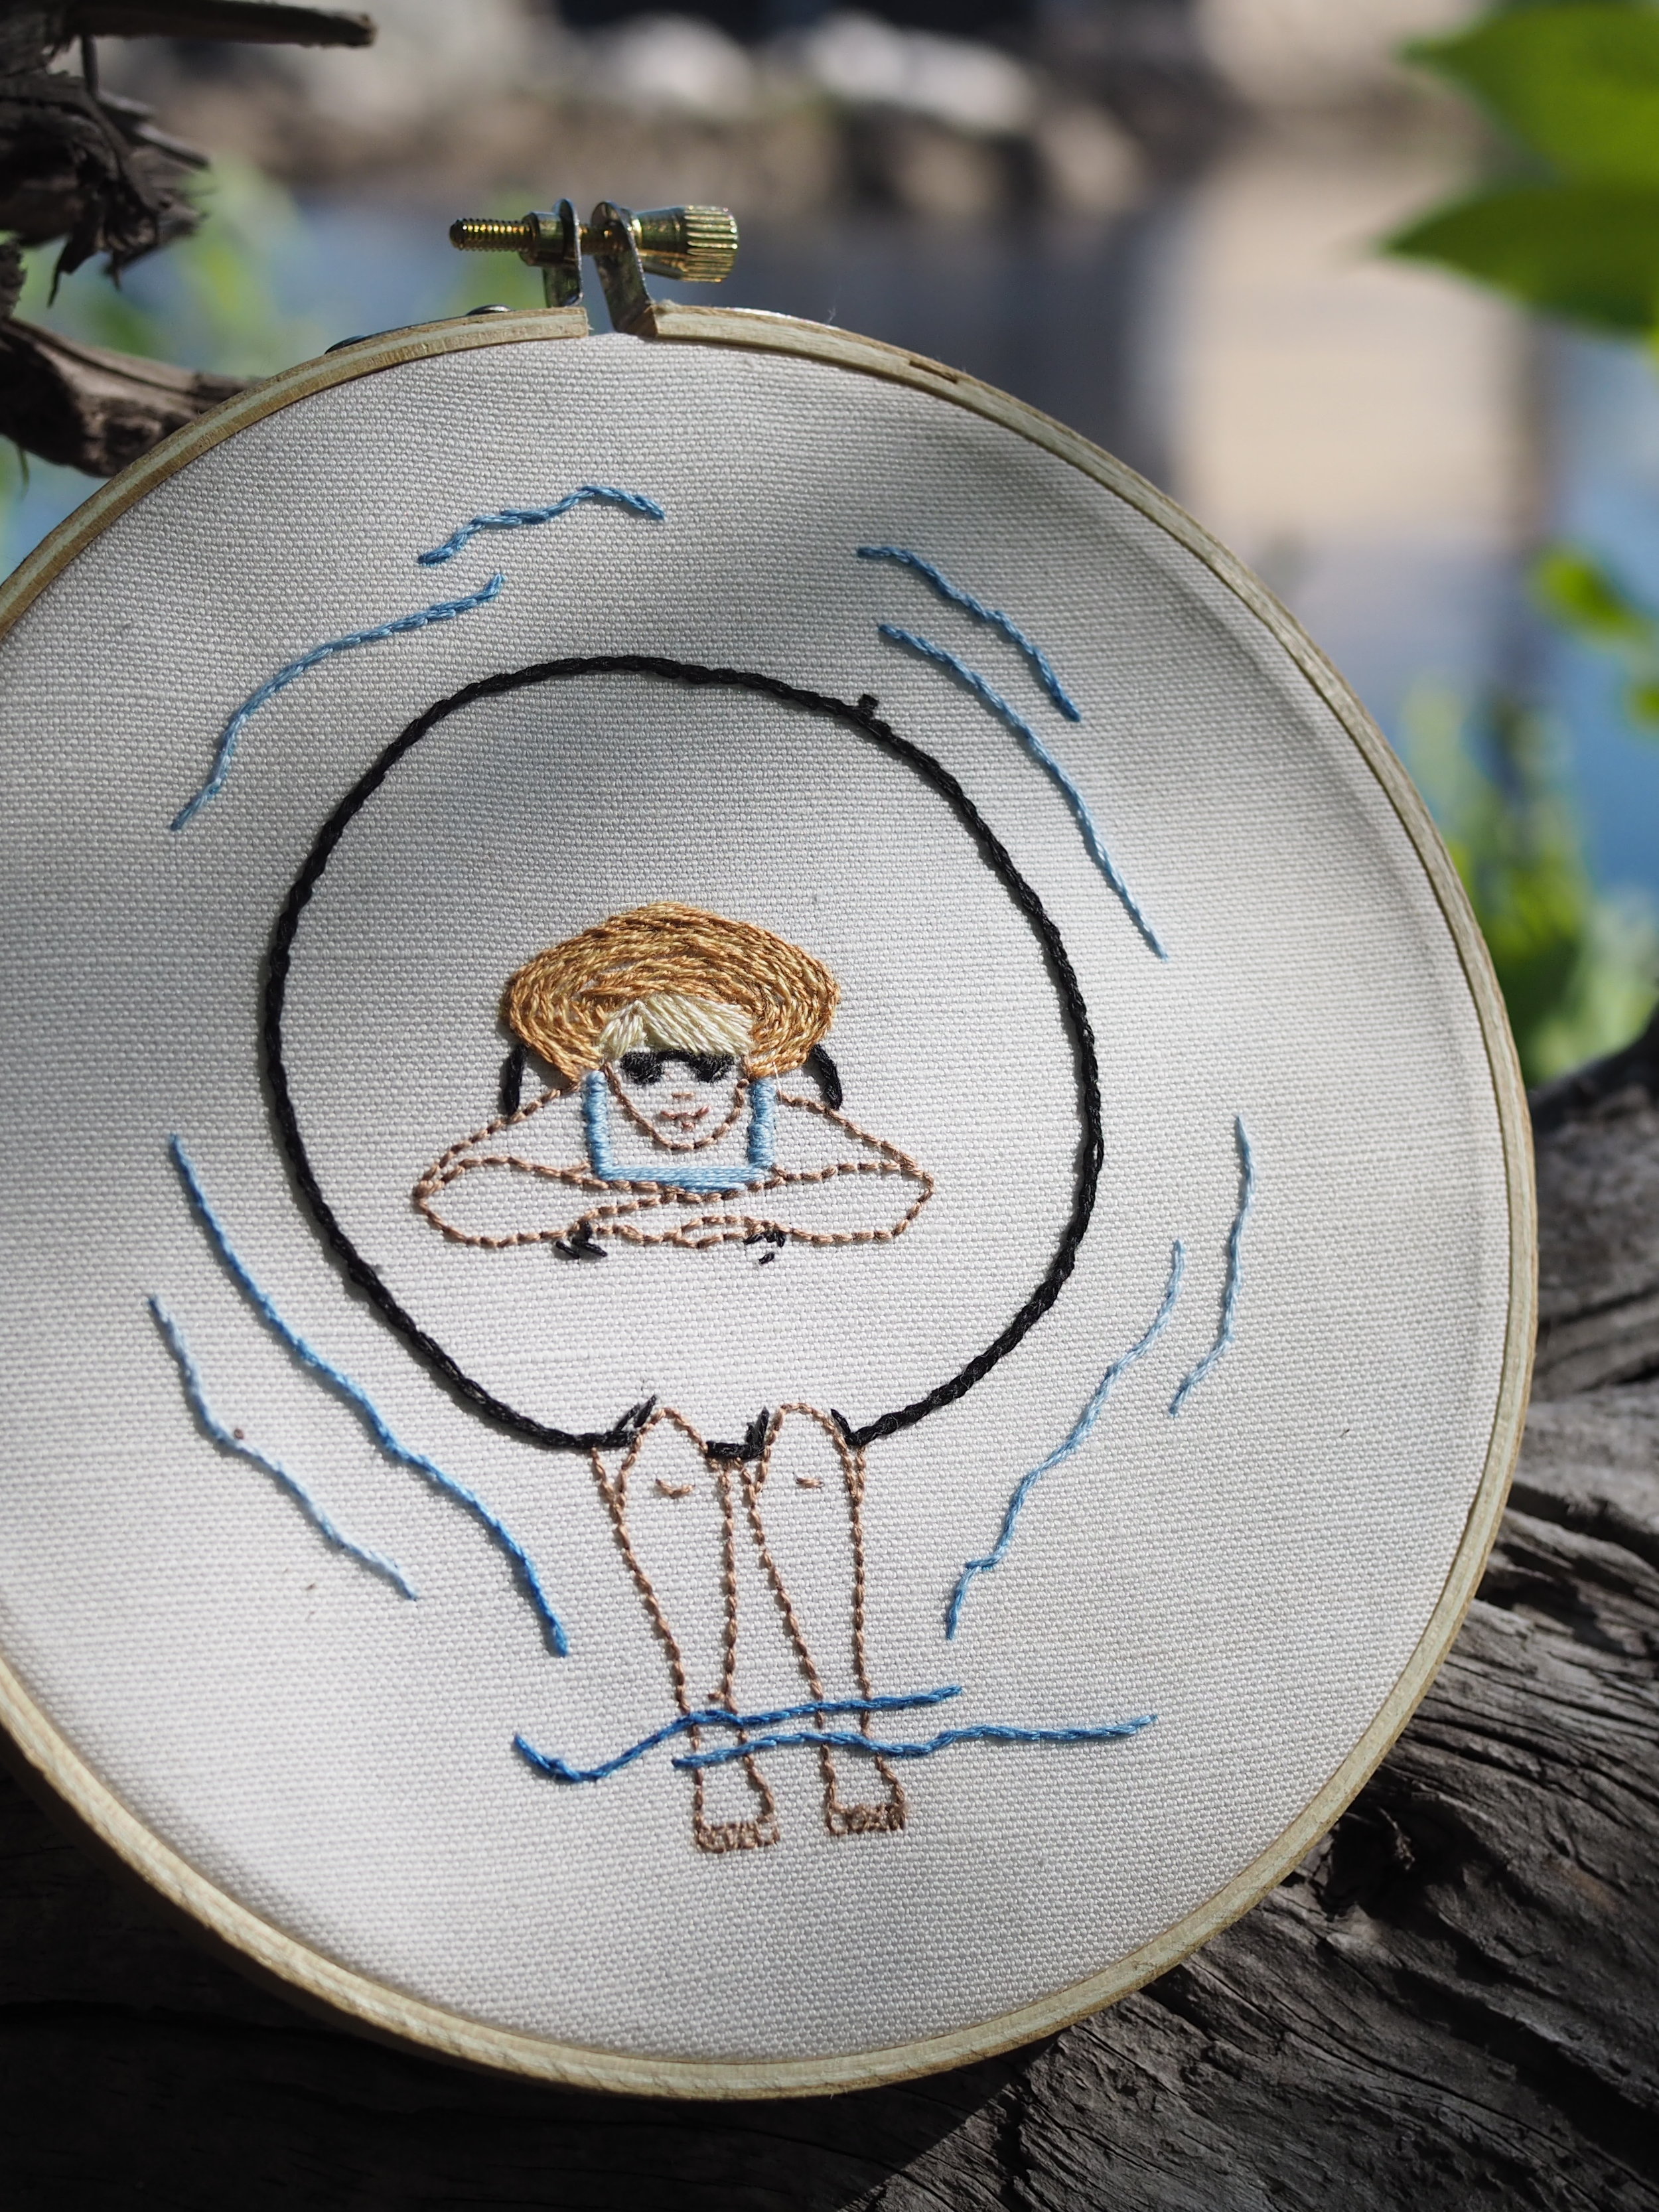
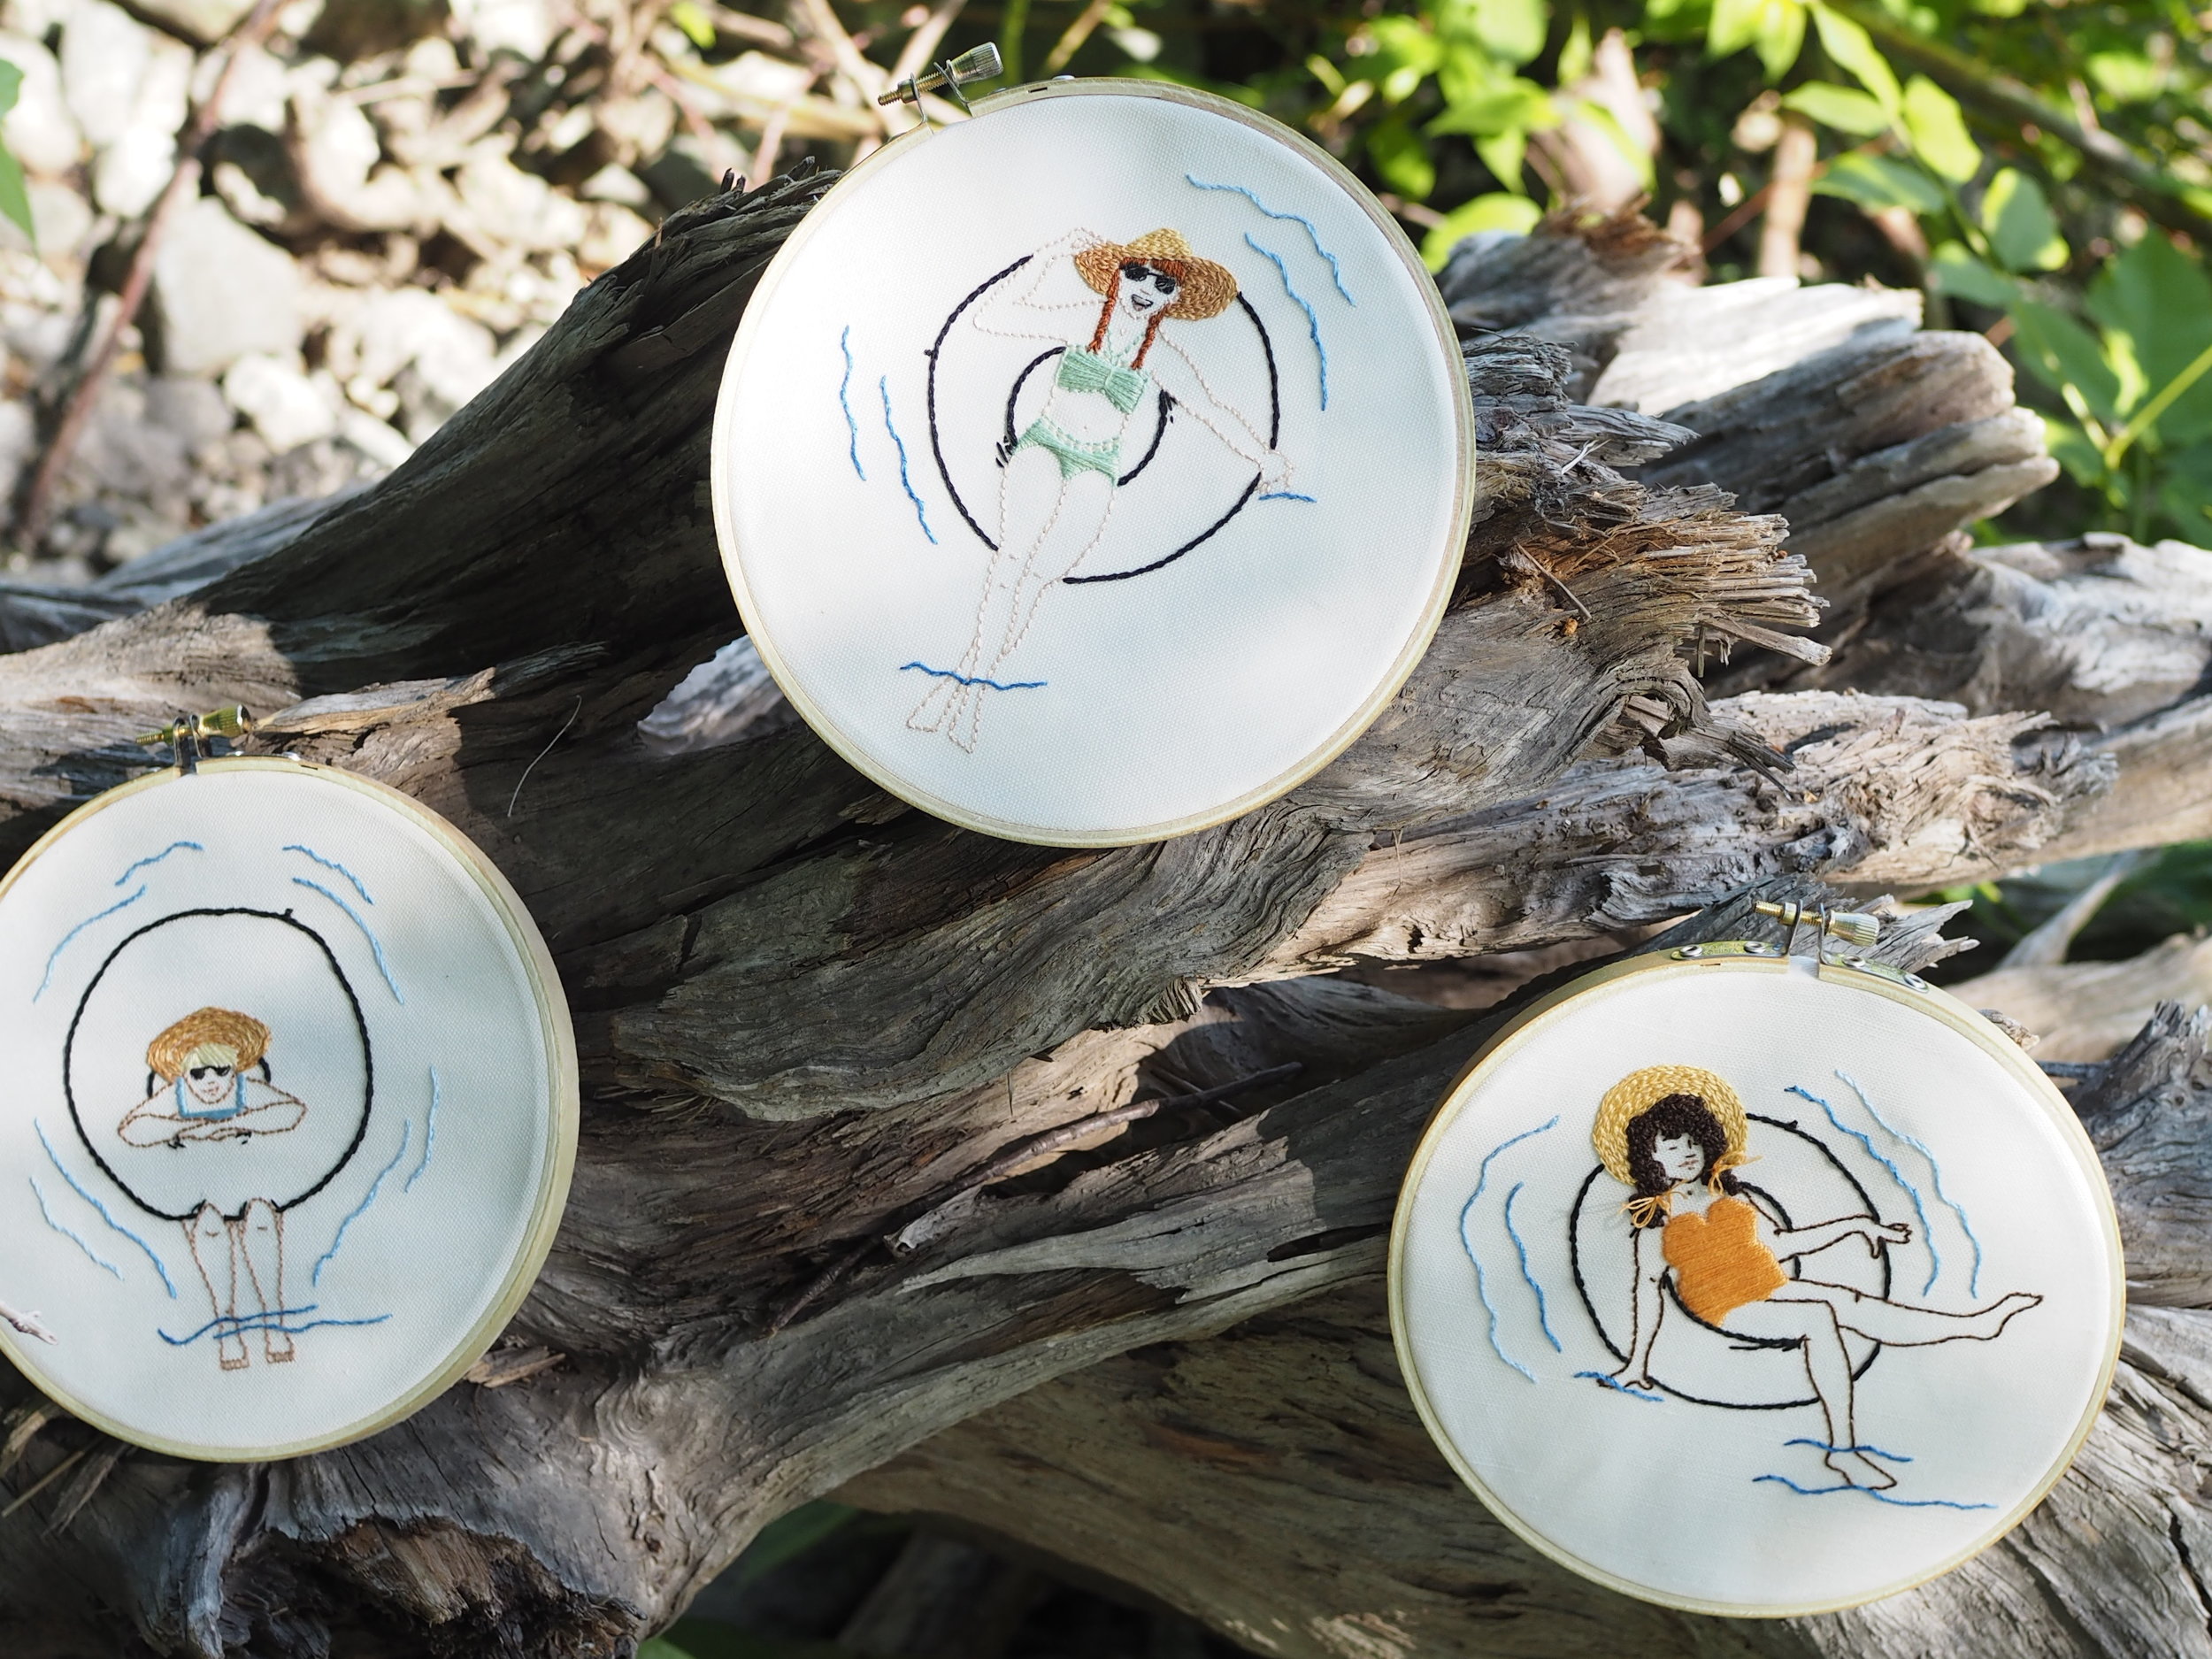
I can only recall actually inner-tubing on a real river (instead of, say, at Raging Waters) once - but I wouldn't mind kicking off my sandals, and going for a long float down a shady river. Until that opportunity pops, up I'll content myself with this trio of stitched ladies acting as my proxy. 

Want to stitch up your own lazy summer? Pick your favorite floating beauty or stitch up all three for a summery triptych - each kit comes with a range of five hair tones (silver, blonde, red, light brown, and black) and three skins tones (light, medium, and dark) to personalize your hoop art. 


Lazy River - Complete Kits
from $9.00
Materials:
Design:
Quantity:
Add To Cart
Print Friendly and PDF Follow
follow us in feedly

Knitting Colorwork: Tips & Tricks

I love knitting colorwork. But, for the uninitiated, colorwork can be quite intimidating. How you choose the right colors? Why does it make my gauge all weird and pucker-y??  What do I do with all these ends?!!

Today, I'll be sharing some tips and tricks for success with colorwork. This isn't a be-all, end-all guide, but it should help get you starting on or improving your colorwork skills.

Read more
Print Friendly and PDF Follow
follow us in feedly

FO Roundup - Spring 2018

One of the most fun parts of being a designer is seeing how others interpret your designs. Spring is in the air, which means there's a lot more linen and short sleeves popping up on the internet - here are a few of my favorite finished objects (FOs) of late. Click on any image to visit the maker's Instagram or Ravelry page!

Want to share your knits with me? Tag me @mscleaver on Instagram, or if it's on Ravelry, I'll see it. :) 

Ripley knit by SkinnyHookerCreations 

Ripley knit by SkinnyHookerCreations 

Reed knit by Chrisstrickt

Reed knit by Chrisstrickt

Atlee knit by Beeweefibers

Atlee knit by Beeweefibers

Atlee knit bu Todoknits

Atlee knit bu Todoknits

Dal knit by Decosphere and clevery adapted to a men's sweater

Dal knit by Decosphere and clevery adapted to a men's sweater

Summer Rain knit by Carie May

Summer Rain knit by Carie May

Summer Rain knit by Carie May

Summer Rain knit by Carie May


Toulouse knit by Bad Apple Betty

Toulouse knit by Bad Apple Betty


Want to make one of your own? Grab the patterns below!


Print Friendly and PDF Follow
follow us in feedly

Reading Lace Charts: A Tutorial

HowToReadLaceCharts.png

When a non-knitting colleague or friend sees me knitting with an open pattern in front of me, they’ll often take a quick glance and ask if I’m a) taking a multiple choice test or b) cracking a code. 

I always get a good laugh because, in some ways, they’re absolutely right! If I’m knitting up a multi-sized pattern, and I’ve circled or highlighted the stitch counts for my size, that’s pretty much multiple choice and if you’re never come across the language and abbreviations for knitting before, it might as well be a foreign language. 

The same goes for knitting charts - they are little boxes of code - but once you’ve cracked it (and have a few tricks up your sleeve) they’re a great tool!

Today, I’m going to walk you through reading a lace chart for soup to nuts. And all you need to do is ask yourself three simple questions.


Bracteole Chart  KEY for tutorial-02.png

THE KEY

A lace chart comes with two pieces: the Chart and the Key. The Chart shows you the stitch pattern and the Key shows you what all those little symbols mean. 

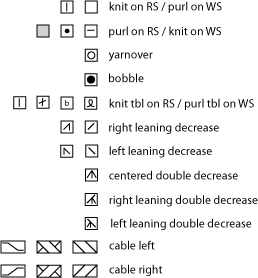
Before you do anything, look at the Key. Some knitting symbols are fairly standard (a blank box is a knit stitch, a dot or a dash is a purl, a circle is a yarn over), but how different increases and decreases are displayed can vary by designer and publisher. 

Generally, increases and decreases are going to lean in the direction that the knitting will eventually lean, so something more or less looking like this: 

\

can be any kind of left leaning decrease. Slip, slip, knit is a common one; but it could also be slip 1, knit 1, pass the slipped st over; or k2tog through the back loop. 

The designer will have made a choice in designing - so check the key and ask yourself our first question. 

Question #1: What do these symbols mean for this pattern? 

There’s a reason the designer chose that particular decrease - it could be that it plays to the design best, or it could simply be their personal knitting preference. If the design calls for a SSK but you prefer k2tog tbl - feel free to switch it up! It might result in a slightly different look, but it’s your knitting. 

(Is the Key missing? It totally happens sometimes in the process of getting something to print. Your best bet is to email the designer/publisher or you can see if there is a written out version of the chart and extrapolate from there).


Bracteole Chart for tutorial-01.png

THE CHART 

Now that you know what all the little symbols mean, you can start to read the chart. But before you get into the nitty-gritty (knitty-gritty?) of individual stitches, it’s best to look at some big-picture items first.

ORDER 

First, unlike text, you read a lace chart in the direction you knit. That is, right to left, bottom to top (see red arrows above). The stitches and rows should be numbered in this direction to guide you. 

ROWS/ROUNDS

A lot of lace patterns are designed so you don’t have deal with any yarn overs or increases/decreases on the wrong side of your knitting - you focus on all the “tricky stuff” on the front, then mindlessly purl your way across back.

Even if a lace pattern in worked in the round, you often alternate between a lace round and a non-lace round. (Fun fact: patterns with yarn overs on every round are called openwork). 

But those “spacer rows/rounds” aren’t just nice from a mental break perspective, they make a big different in the way the lace looks - skip it and you’ll have a really squat-looking pattern. So they’re important to remember.

Knitting designers and publishers like to save space (especially magazines), so they often truncate charts to the most pertinent information. Which leads us to…

Question #2: Is this chart showing every row/round or every other row/round?

To tell, look at the numbers along the side the chart.

If it’s a chart for knitting flat, right side row numbers (usually odd numbers) are generally listed to the right hand side of the chart. Wrong side row numbers (usually even numbers) are generally listed to the left hand side of the chart. 

Ezekiel Saw Lace Charts_1-01.png

The chart above is for openwork, there’s yarn overs on both right and wrong sides. All rows are shown, because you need to know what’s happening on every row. 

But a lot of times, there’s nothing interesting happening on a wrong side row. So to save space, the chart will omit it. 

Scallop Lace Charts-03-03.png

On this chart, every wrong side row is purled, so the chart only shows the information on the right side. The numbers on the right read 1, 3, 5, etc, but instead of having a “spacer row” between them (as in the openwork above), they’re right next to each other. 

The same rules go for lace worked in the round. If all you’re doing on an even-numbered round is knitting, the chart probably won’t take up space to show you that.

Bracteole Chart WS highlighted-01-01.png

This chart is an example where every row/round is knitted, but there’s only lacework (i.e. yarn overs) done on the right side. So why bother with showing all the rows/rounds? 

Take a closer look at those wrong-side rows (in blue). The pattern combines purl bumps with the lace, so to carry that pattern, the bumps need to be worked on every row/round. 

REPEATS

The next big-picture thing to look at is repeats. If a shawl is 100+ stitches wide, showing all those stitches in impractical, and, honestly, not that helpful if the pattern repeats every 6 stitches. Repeats help break down the pattern into manageable chunks. So next you want to know: 

Question #3: How does this pattern repeat? 

Since they’re generally both horizontal and vertical, repeats are typically shown with a box that  outlines the repeat area. 

Bracteole Chart repeats-01-01.png

If we take another look at the chart above (which is designed for the top of the foot of a sock) - the full lace section (only 35 sts) is represented, but even with that there are repeats. Each repeat is 10 stitches wide and 9 rows high). But here’s where it can get tricky - you have a 10 stitch repeat over 35 stitches - there should be three full repeats, plus 5 extra stitches, right? 

Not always.  

Bracteole Chart repeat exception-01-01.png

If you look at the chart above, sts 24-33, they are almost exactly the same as sts 14-23 and 4-13. It acts like an additional repeat. But there's one important exception with stitch 33 on row 5. Instead of a double decrease, like the other repeats, it’s a single decrease. The other “half” of the double decrease is at stitch 3 on row 5. SO if you're marking out a repeat (on your page or in your mind) make sure it's a true repeat. 

Now, assuming that the item this chart is for something taller than 10 rows/rounds high. When you get to row/round 11, just start back at row/round 1.  

Summer Rain Lace Charts_1 repeats-01.png

Here’s another chart (for a shawl), which shows only a portion of the lace section. Section A1 is worked across about 439 stitches, B1 across 411 stitches, and C1 across 387 stitches. But the charts for each section look about the same width.

This is possible because each section uses a 6 stitch wide/12 row high repeat. The stitches on the left and right of the repeat box are just to get to to that repeating section.

For example, to knit chart A1, row 1: you’d knit the first 11 sts to the right of the repeat box as charted (SSK, k4, yo, k2tog, k4) and then you’d repeat the section within the box as many times as you needed until you were 6 stitches from the end of the row (or marker, whatever the design dictates) and then you’d finish up with the last 6 stitches of the chart (yo, k2tog, k3, k2tog)

And that's basically how most lace charts work!


TIPS AND TRICKS

KEEPING YOUR PLACE

With a large lace (or colorwork) chart - the trickiest part is keeping your place. There are a lot of tools available to help.

You can purchase some pre-made items like magnetic boards or copy holders.

OR

You could also be a little more DIY and use highlighter tape, washi tape, post its notes (my go-to) or a ruler. Basically anything that’s straight, long enough and easy to move (but won’t slip when you’re in the middle of a row!) 

If you are using something opaque (like a post-it), arrange it so the bottom of the marker is ABOVE the row you’re working on, so you can still see the rows you’ve already worked. That way you can continually check to see if everything is lining up appropriately.

LIFELINES

If you want some extra security when working lace, you can always put in a “lifeline.” To insert a lifeline, thread up a darning needle with some high-contrast colored yarn and slip it through the live stitches on your knitting needle, as if to put them on a holder. 

But instead of removing the stitches from your knitting needle, remove the darning needle and leave the “line” in and continue knitting normally. If you make a mistake you can’t easily fix, rip out back to the lifeline which will nicely hold your stitches for your while you put them back on the knitting needle. Only insert a lifeline into a row you’re confident is correct, and if you’re going to use them, I’d recommend inserting it after every repeat or more often if the rows are really long. 


RECAP

To read a lace chart go right to left and top to bottom. Before knitting, ask yourself the following three questions:

Question #1: What do these symbols mean for this pattern? 

Question #2: Is this chart showing every row/round or every other row/round?

Question #3: How does this pattern repeat?

With those answered, you should be ready to tackle some charted lace! 


GET KNITTING!

For some beginner-friendly lace patterns, check out the following designs:

The West Branch Cowl was designed to show off a special skein of handspun or hand-dyed yarn and is a great beginner lace project - the lace is only on the right side and has a short repeat. 

The Ferrous Shawl uses simple motifs that are easy to memorize and was designed for the complete beginner to lace shawl knitting in the traditional triangle shape.

The Maian shawl consists of two 4-stitch repeats and all the increases are done on the edge with a backward loop cast on, meaning you won’t get your lace yarn overs confused with your increase yarnovers.


The lace border on the Cresting Waves Shawl is only 21 stitches wide and is knit separately from the body of the shawl, so if you make a mistake, you only have to tear back a few stitches (instead of the whole body of the shawl) to fix it.

Want a little challenge?

Alaria uses the same construction as Ferrous, but adds some more complex motifs.

Rambling Eden uses the same construction as Cresting Waves, but with a really wide border and openwork lace.

Bracteole takes lace into the round and adds some purls into the mix. (And it’s the main chart we’ve been looking at throughout this tutorial!!)


Print Friendly and PDF Follow
follow us in feedly