December is for Dabbling

For Christmas, I gave Mr. Cleaver a skein of sock yarn. 

"I am supposed to learn to knit?" He asked, eyebrow raised.

"No," I replied, "This gift is two-fold. 1) Sometime this year you'll get a new pair of socks and 2) I didn't try to knit them before Christmas."

As creatives and makers, it's easy to get overwhelmed with a desire to try to make our holidays as handmade as possible. I've definitely stayed up far too late many a December trying to finish a gift or two before that deadline on the 24th. 

In 2016, my creative life was ruled by deadlines more than ever before, and it was incredibly stressful. So when I had a month of no deadlines and over two weeks of vacation from my day job planned, I decided that I wasn't going to give myself any new deadlines. 

So I gave my husband a skein of yarn for Christmas and I didn't make my daughter a thing. And I'm okay with that. 

Instead, I decided to play. 

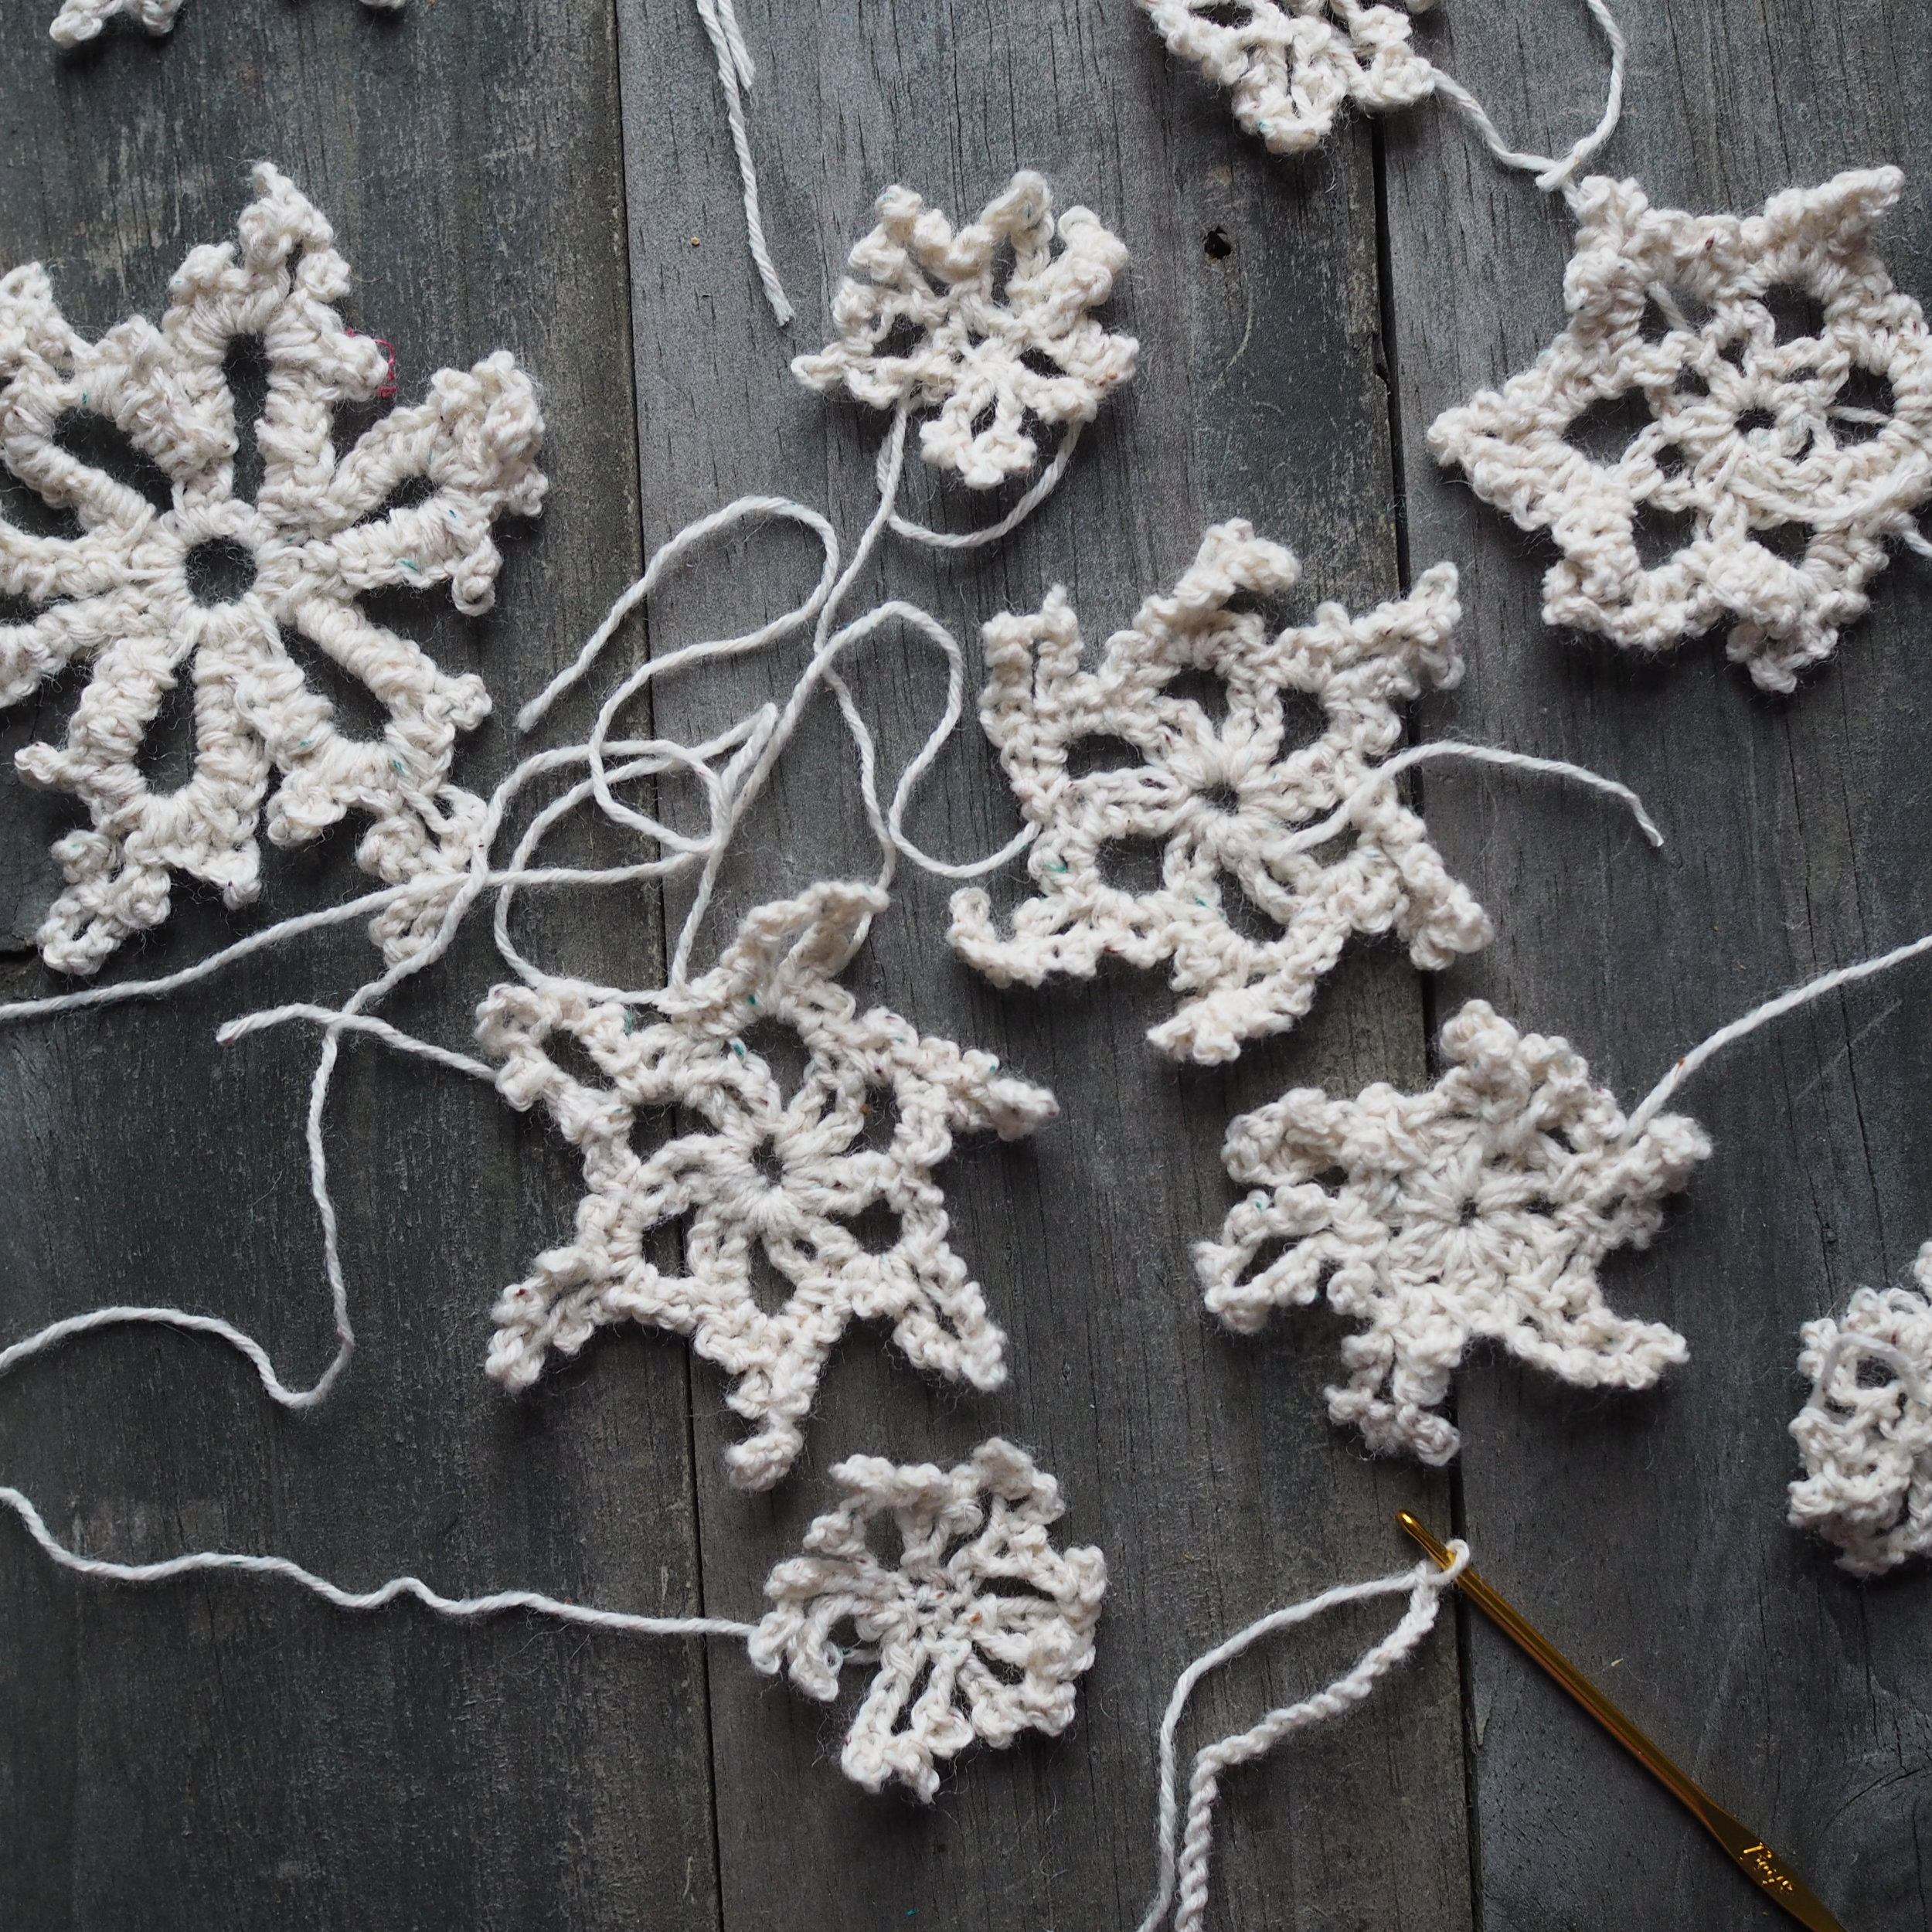
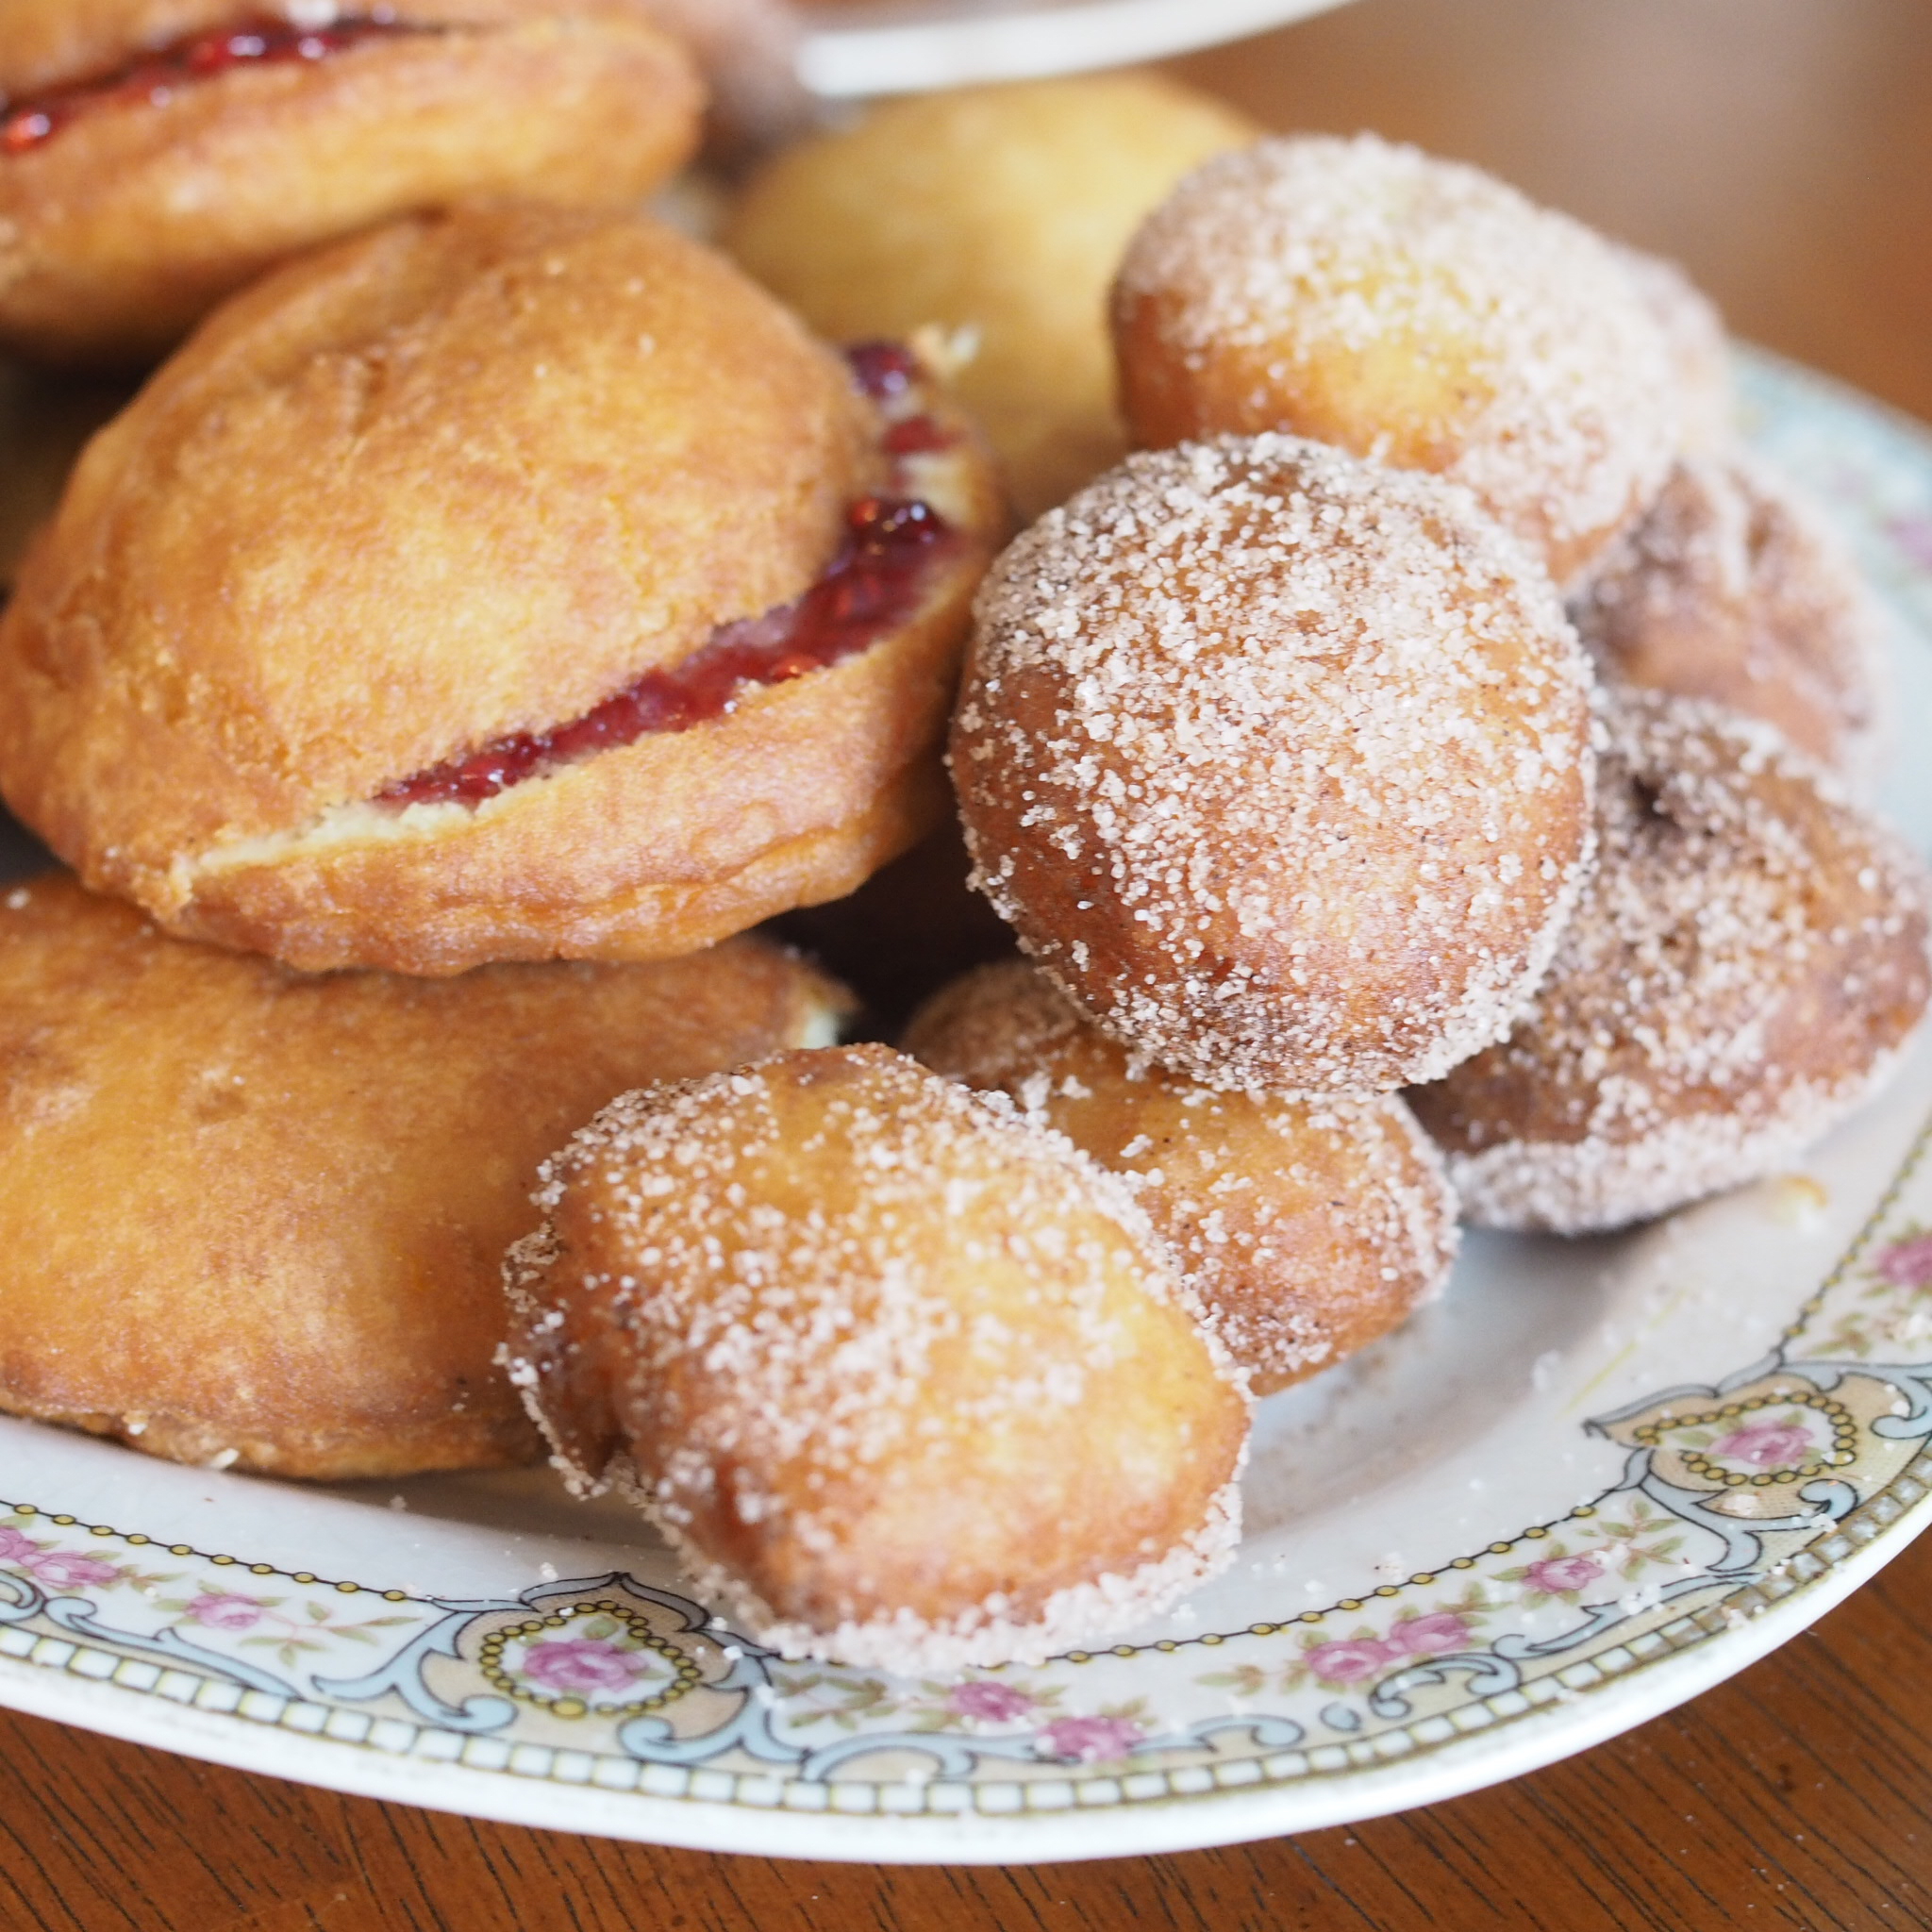
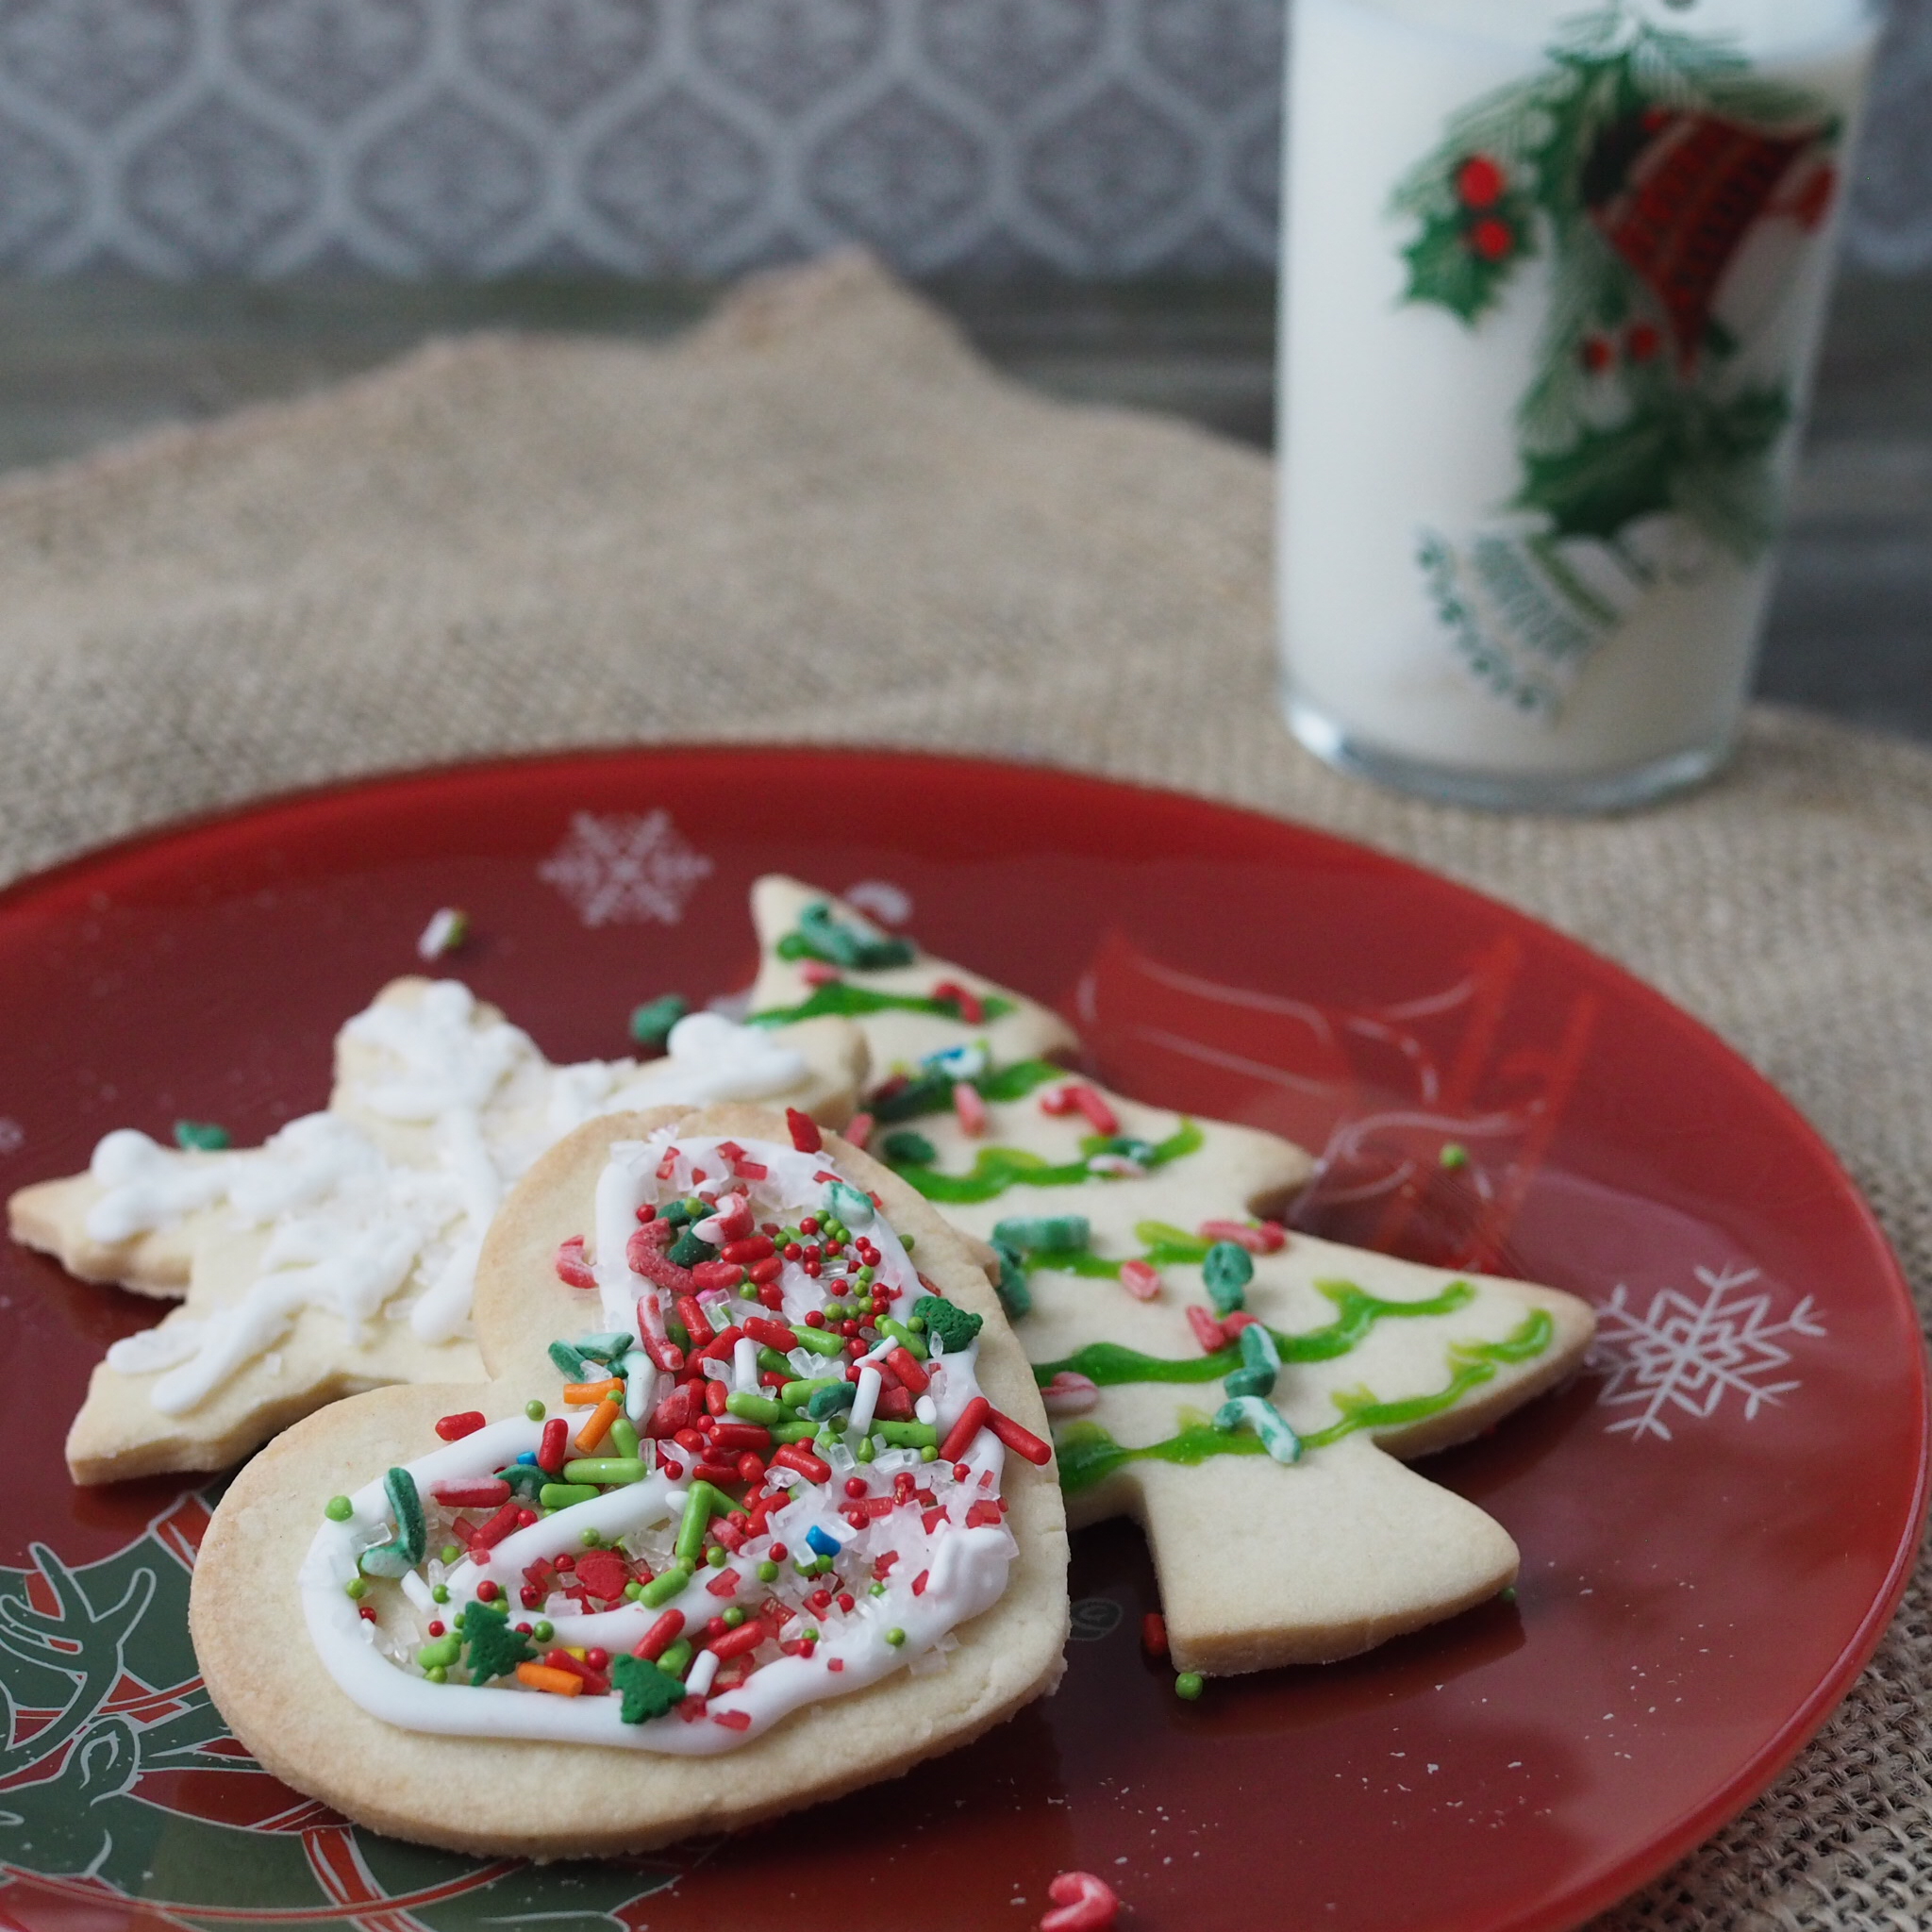
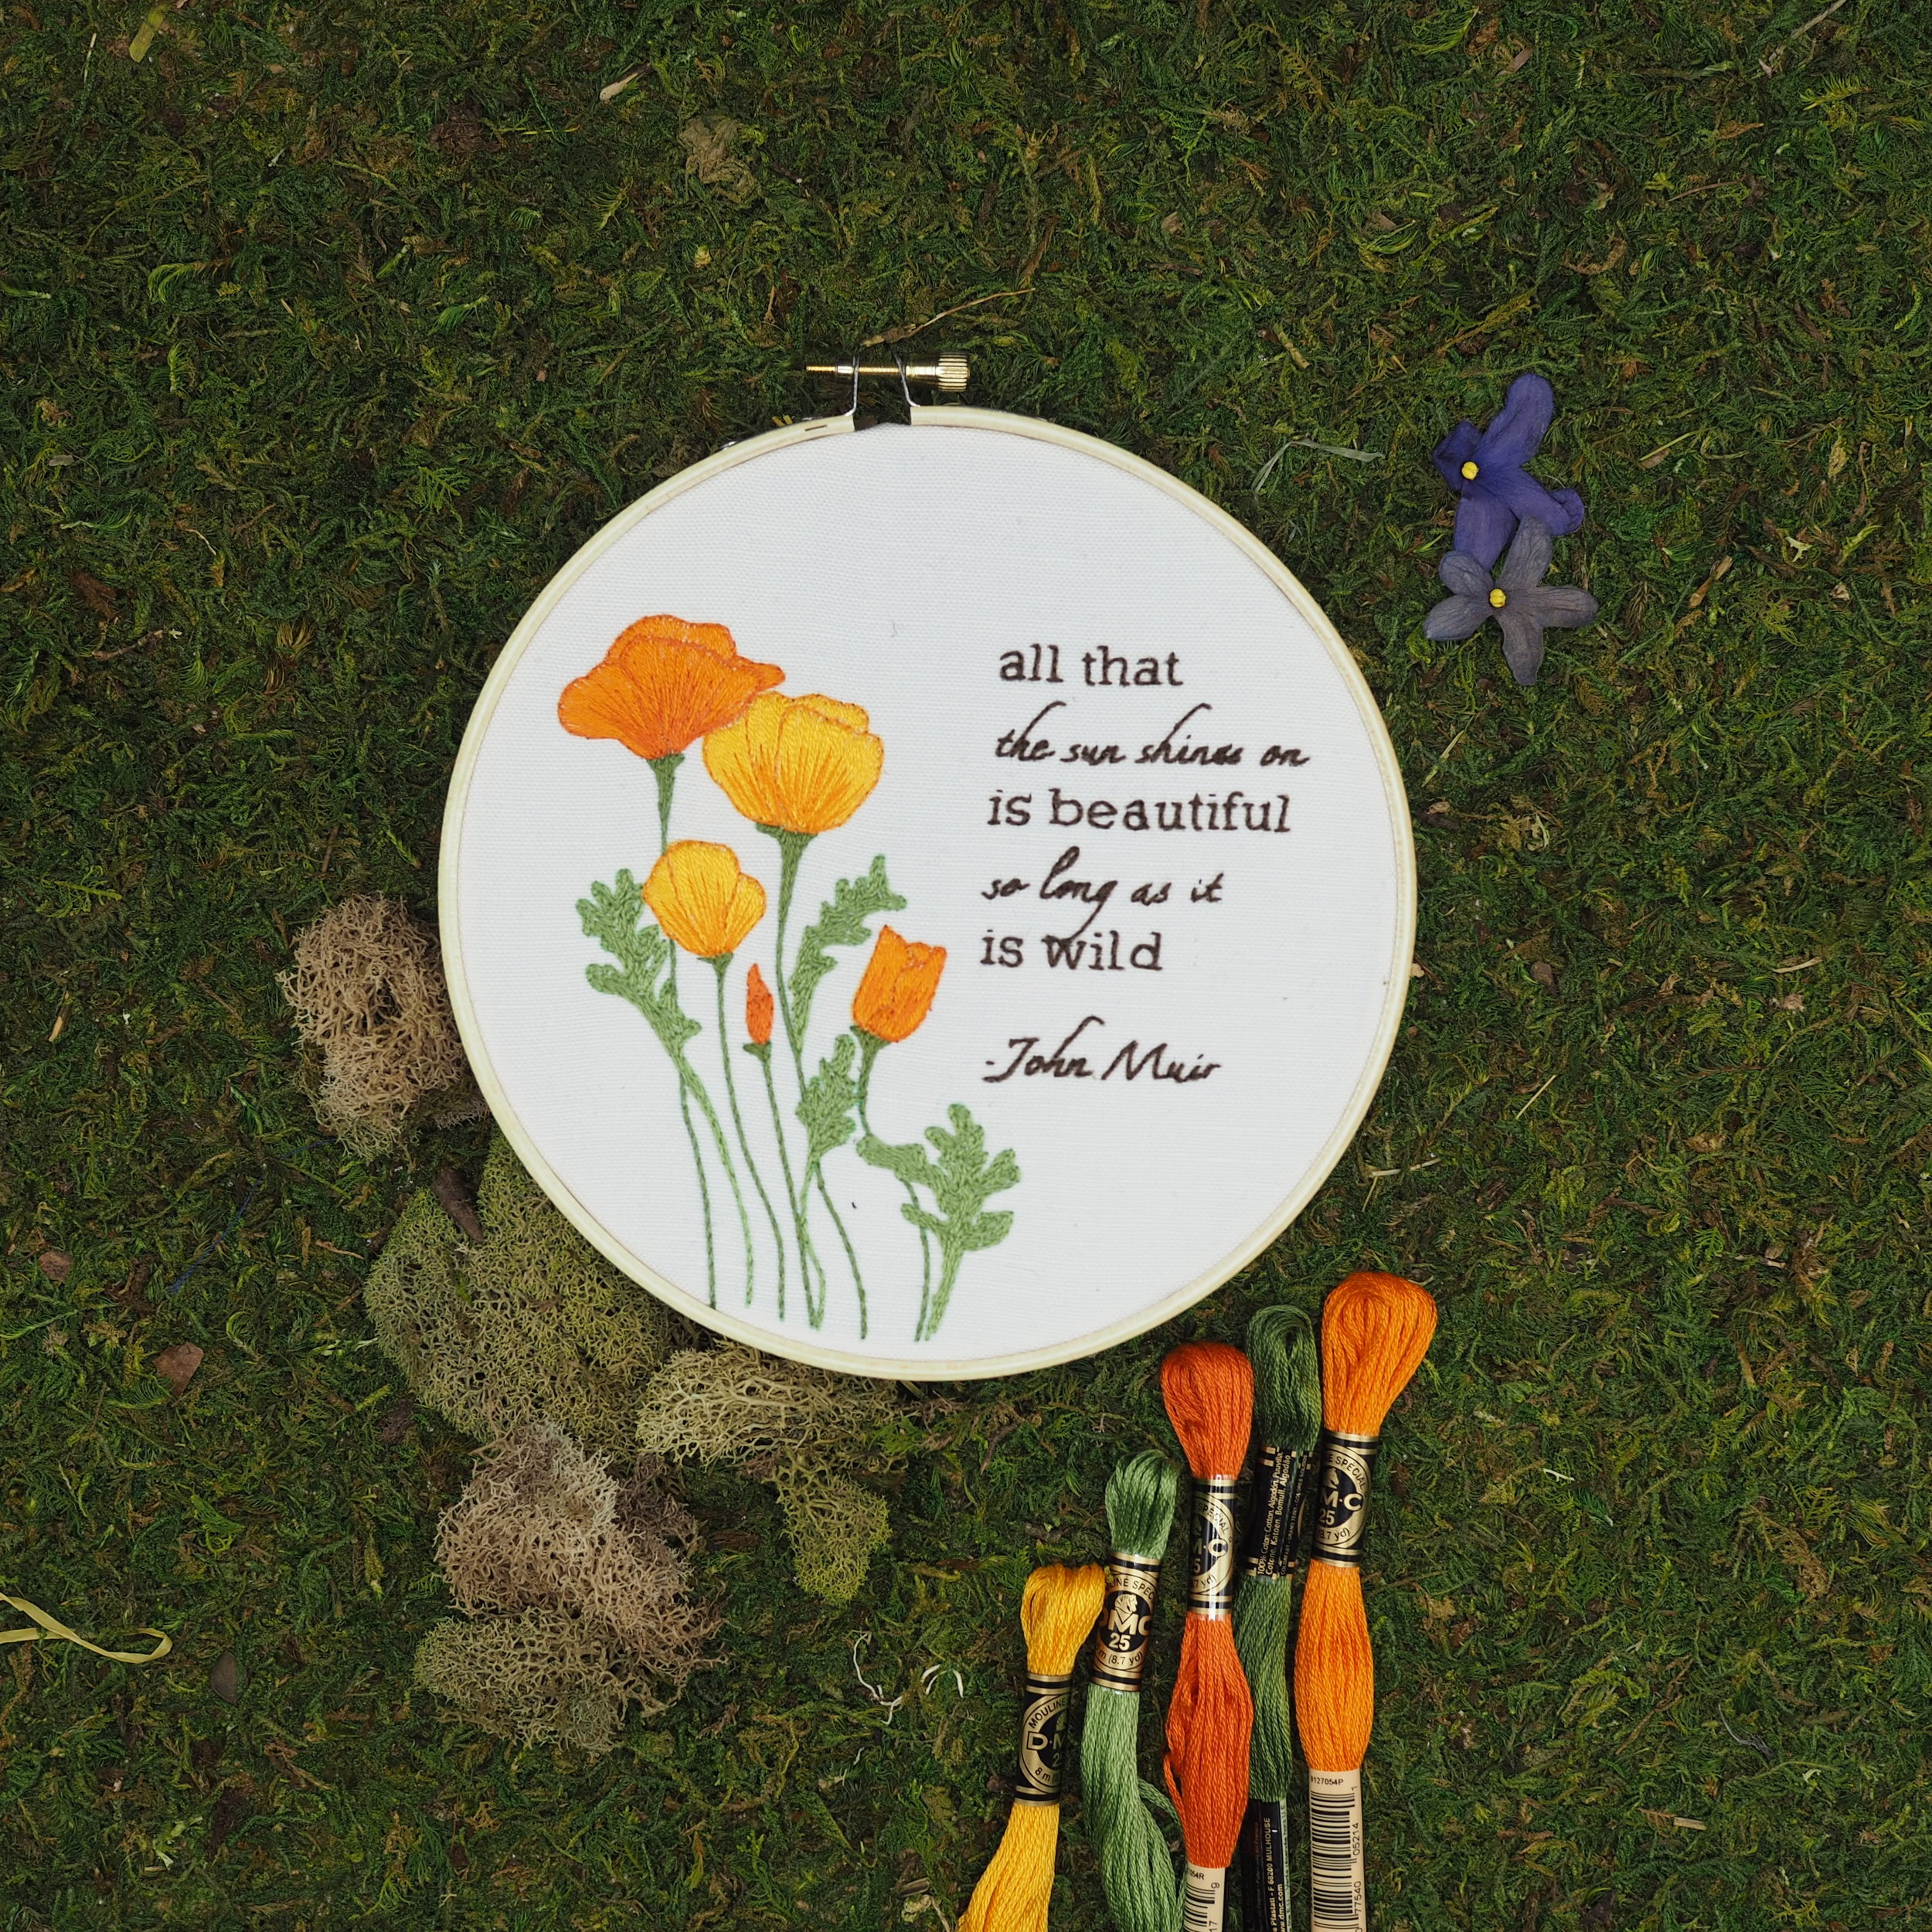
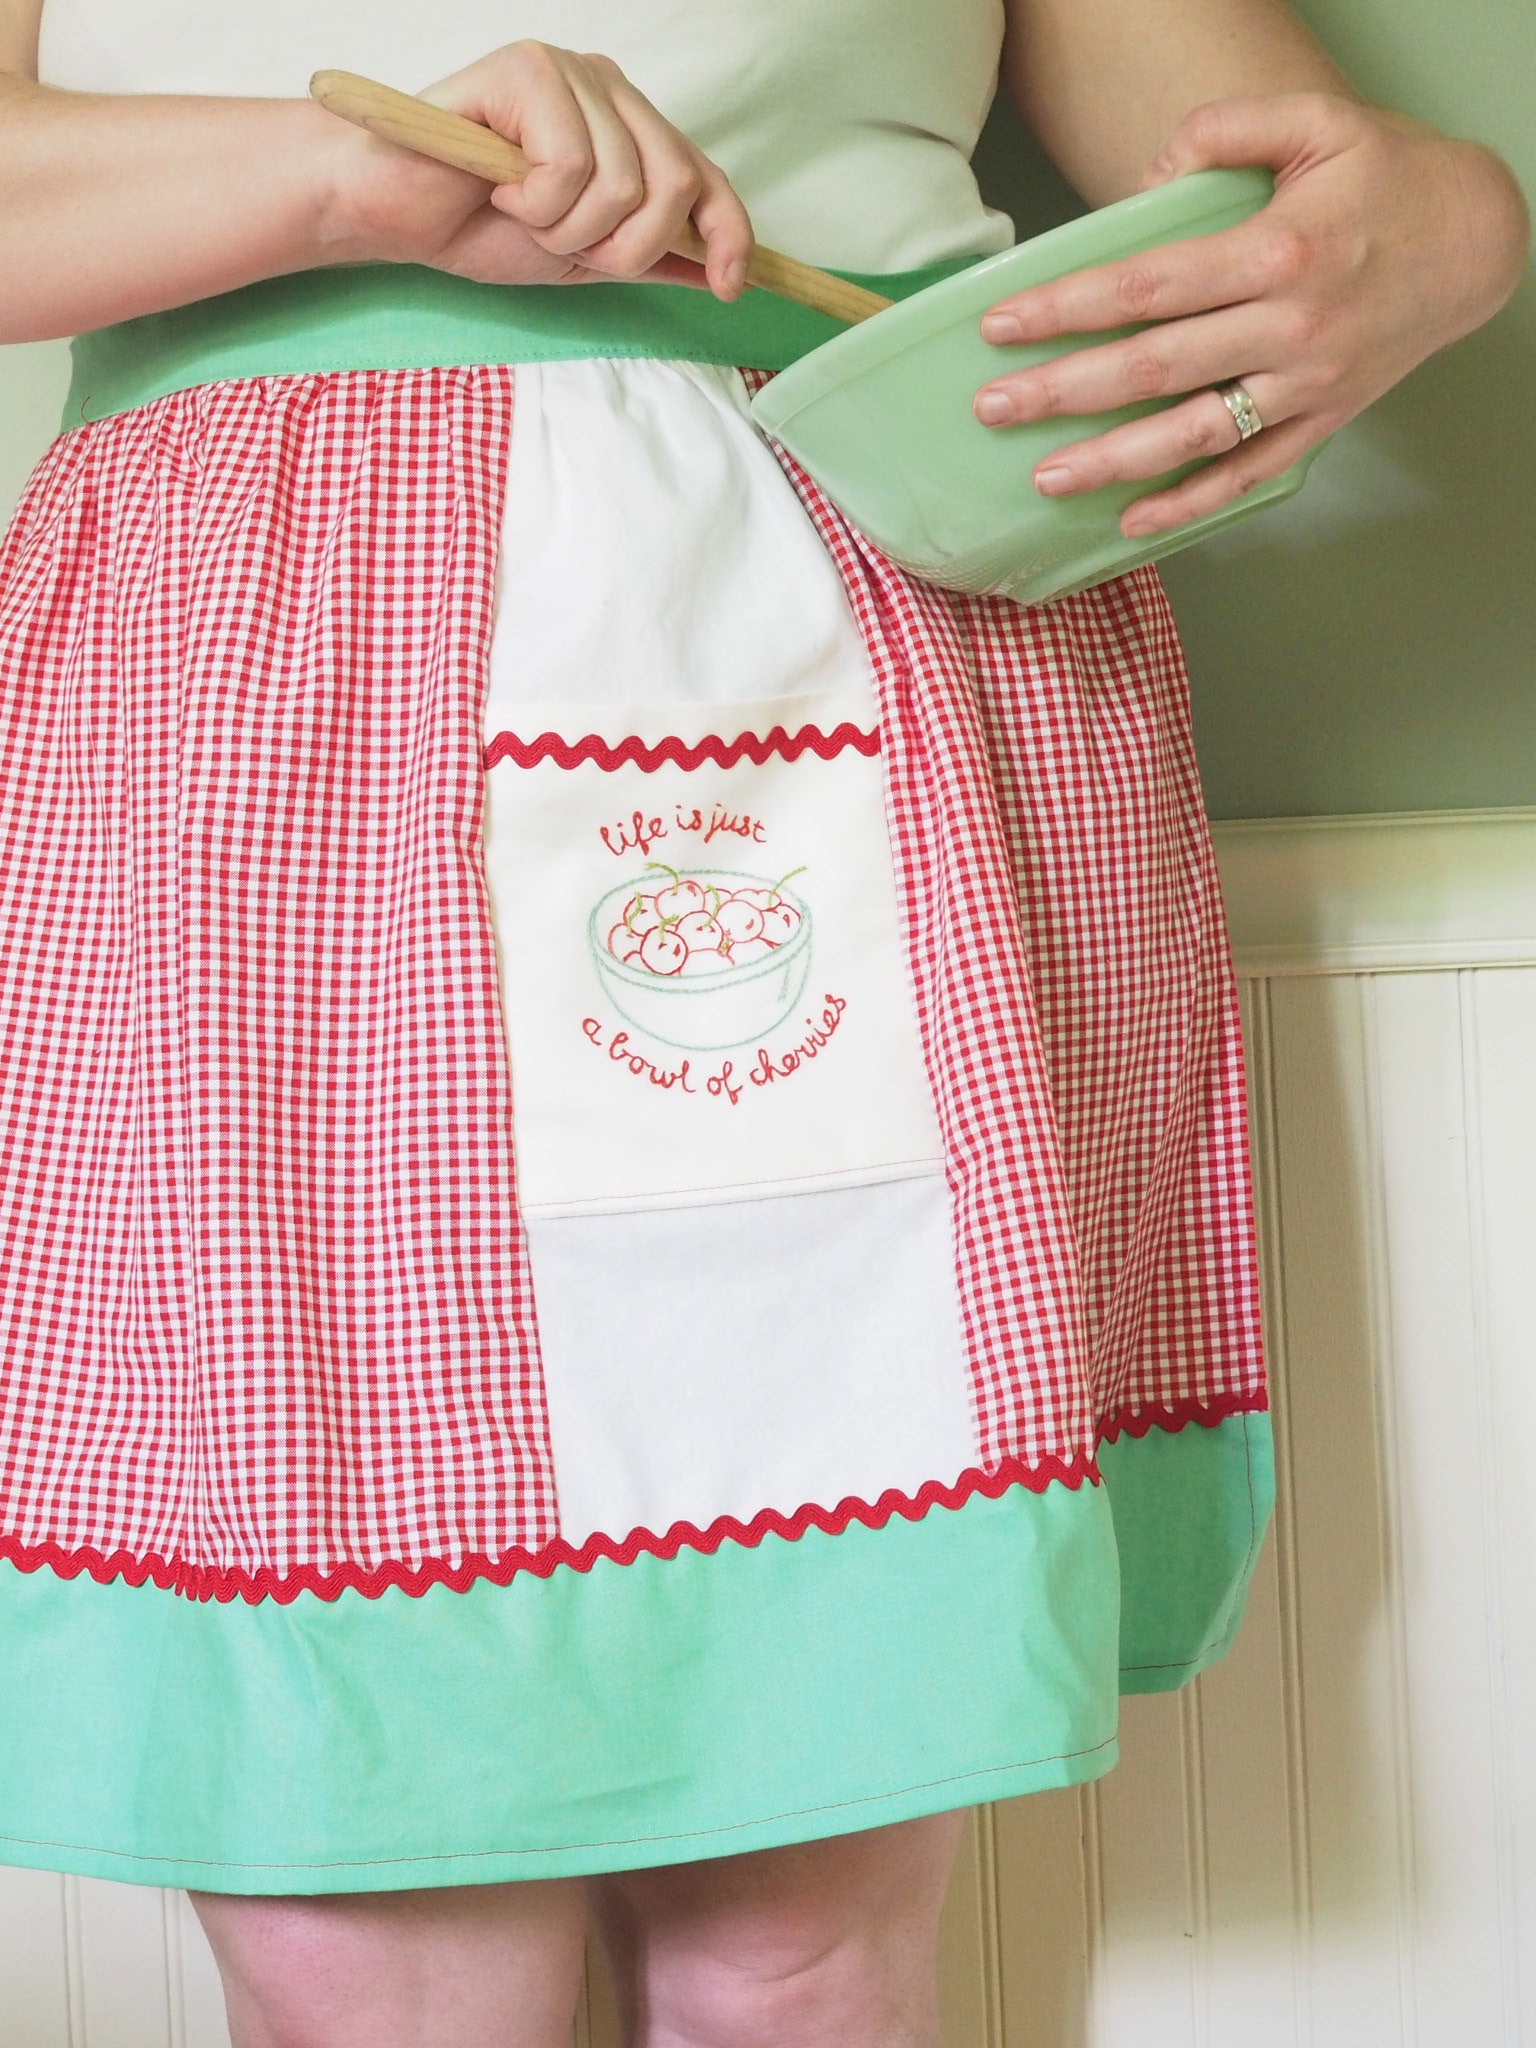
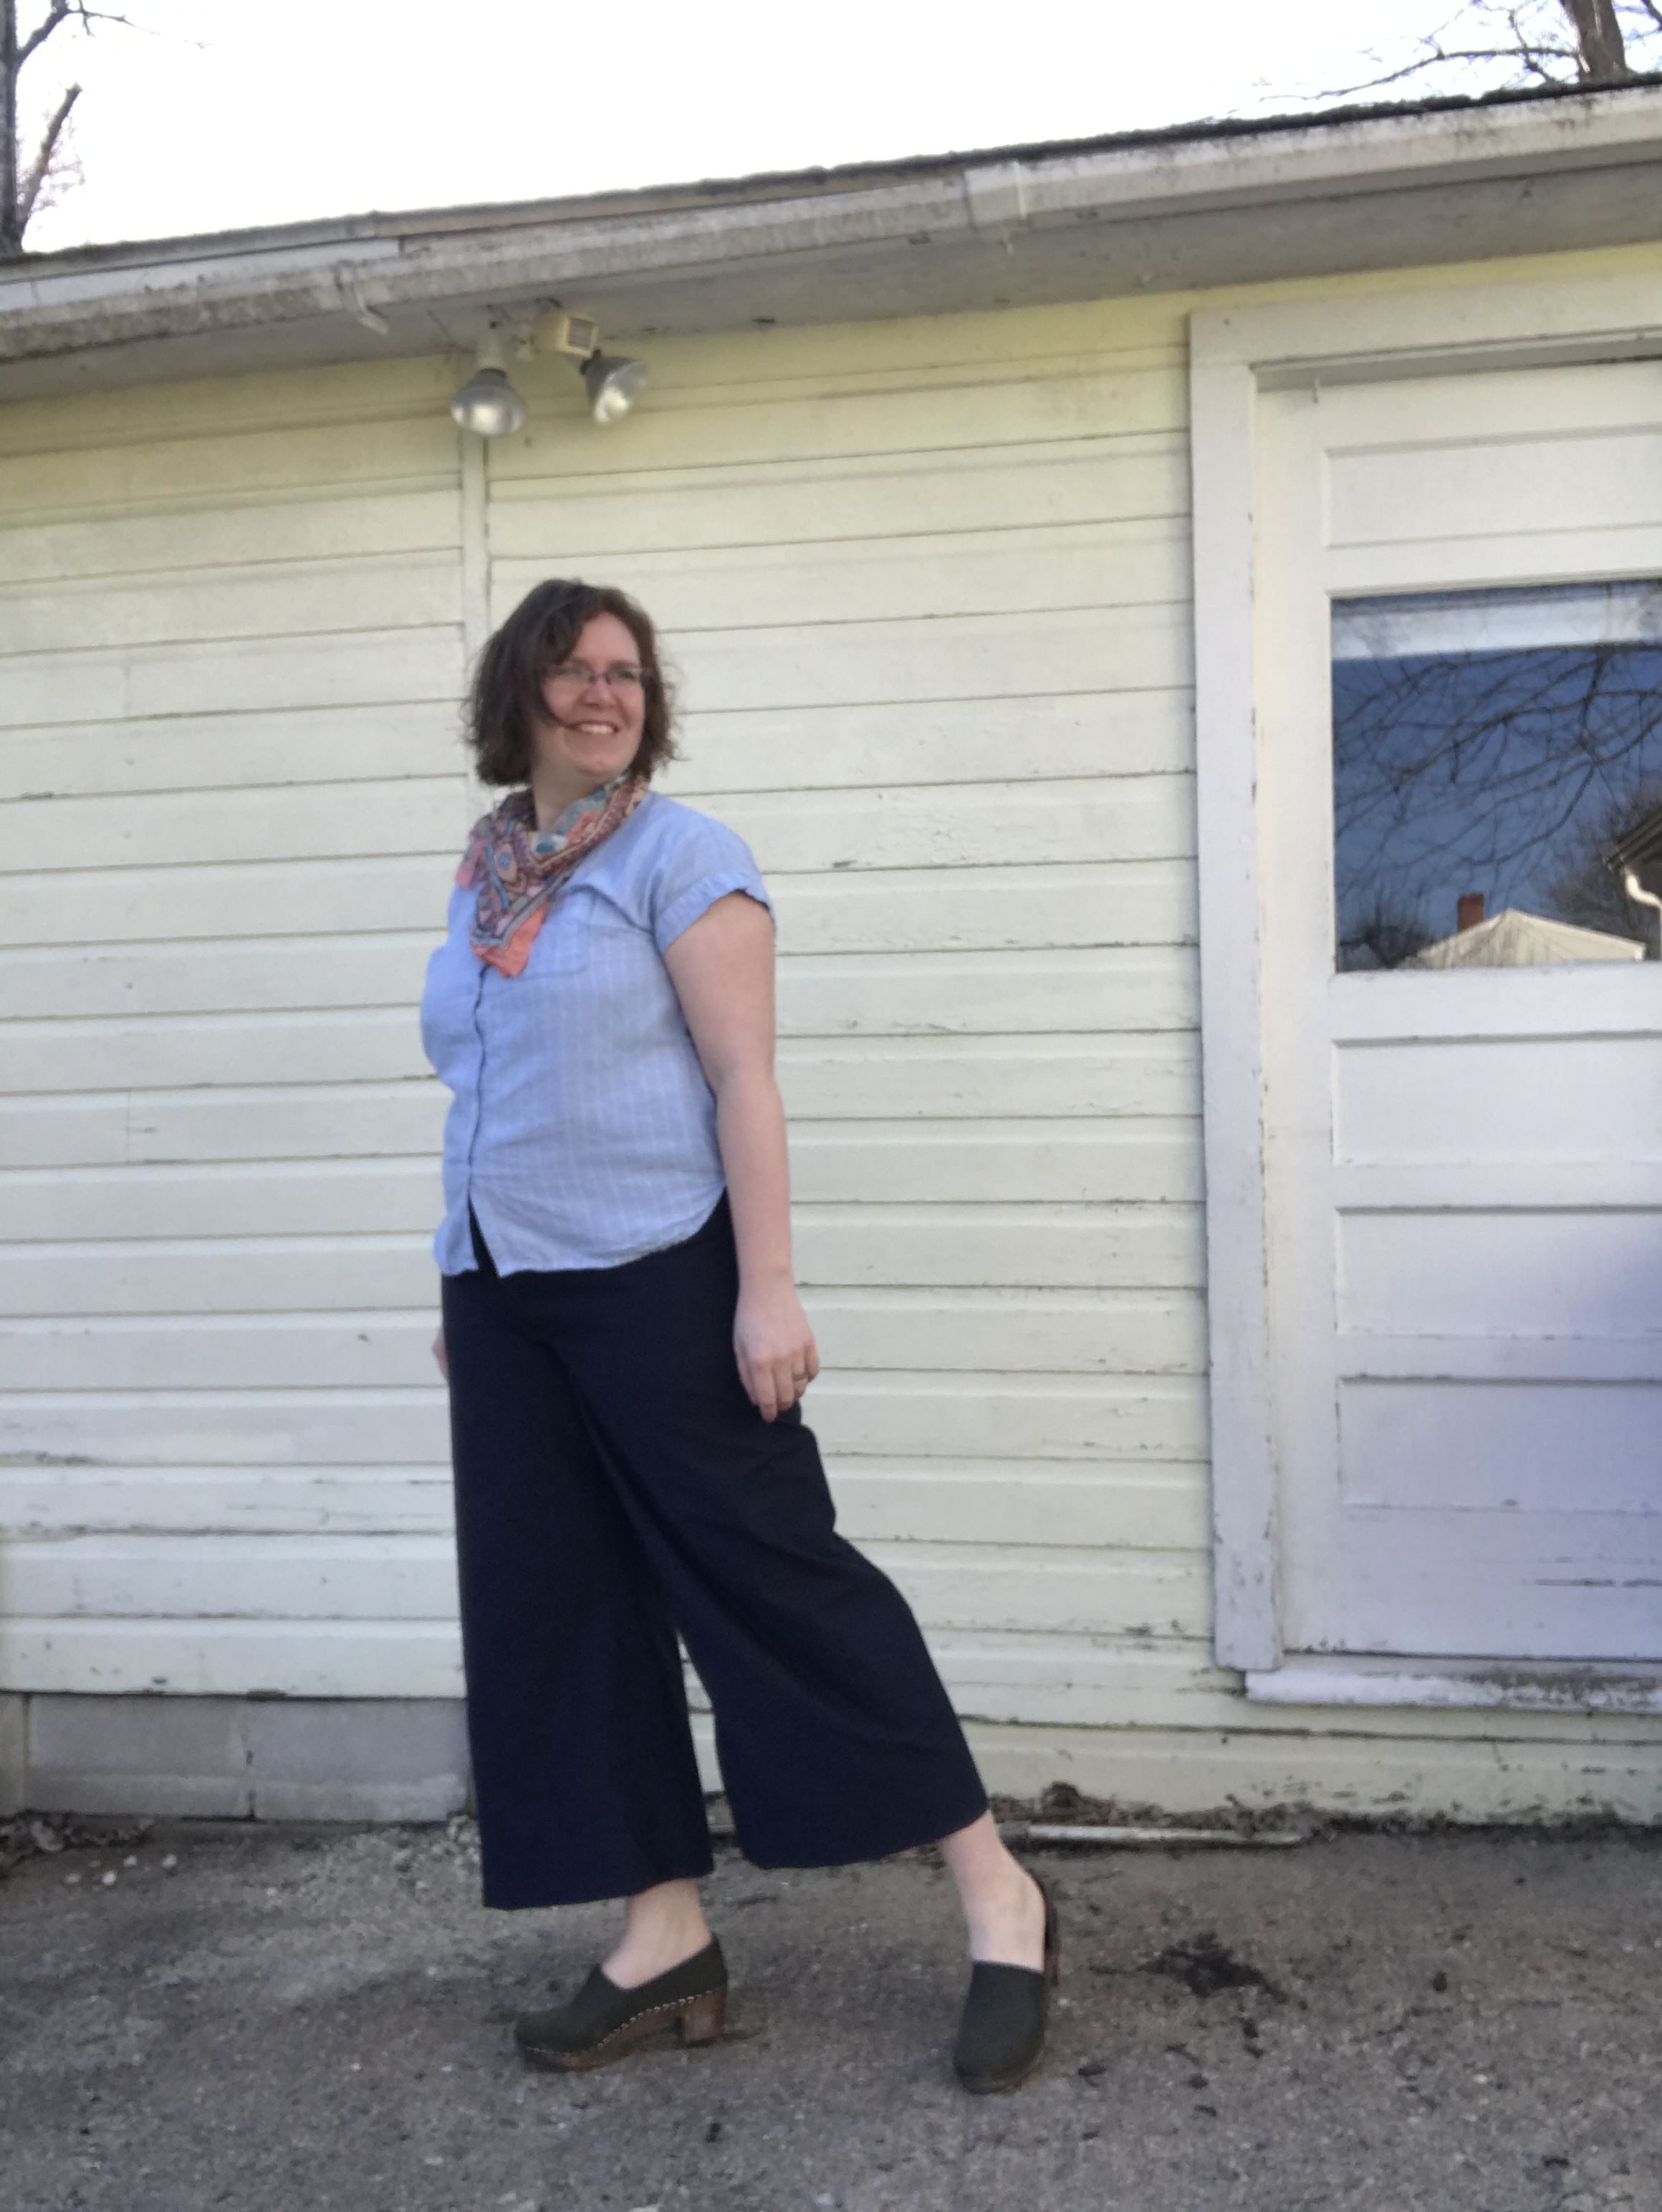
I spun yarn for the first time since LMC was born. I baked my way through a 5 pound bag of flour with whatever inspiration struck my fancy. I needle-felted, and needle-felted some more. I wet-felted a pair of slippers for the first time. I was able to sew for the first time in months. I crocheted snowflakes and learned how to steek. I picked out yarn for a sweater, for me, from someone else's pattern and have knit most of it. I made snowmen and ice skated and took naps with my daughter. 

It was like summer camp in the winter and it was glorious. 

I want to make this a new holiday tradition for myself. December is for dabbling. It's the best gift I could receive. 


Print Friendly and PDF Follow
follow us in feedly

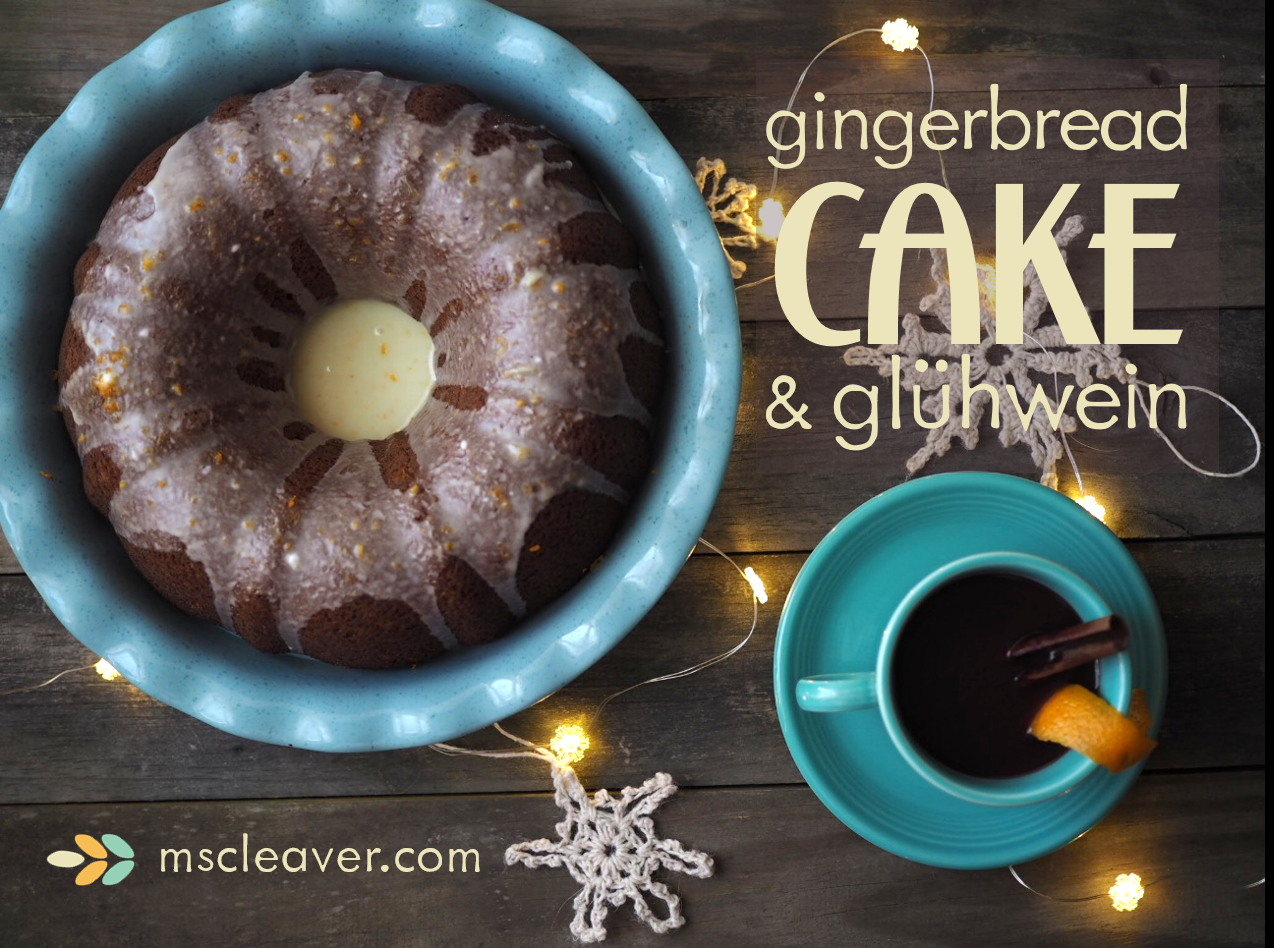
Gingerbread Cake and Glühwein

I love baking for the Holidays.  There's just something about the flavors of winter I find so appealing , the combination of nutmeg and cinnamon and citrus. The depth of molasses and wine. That's why this pairing is perfect combination for any winter gathering, and since there's a lot of overlap in ingredients, they're easy to make together. 

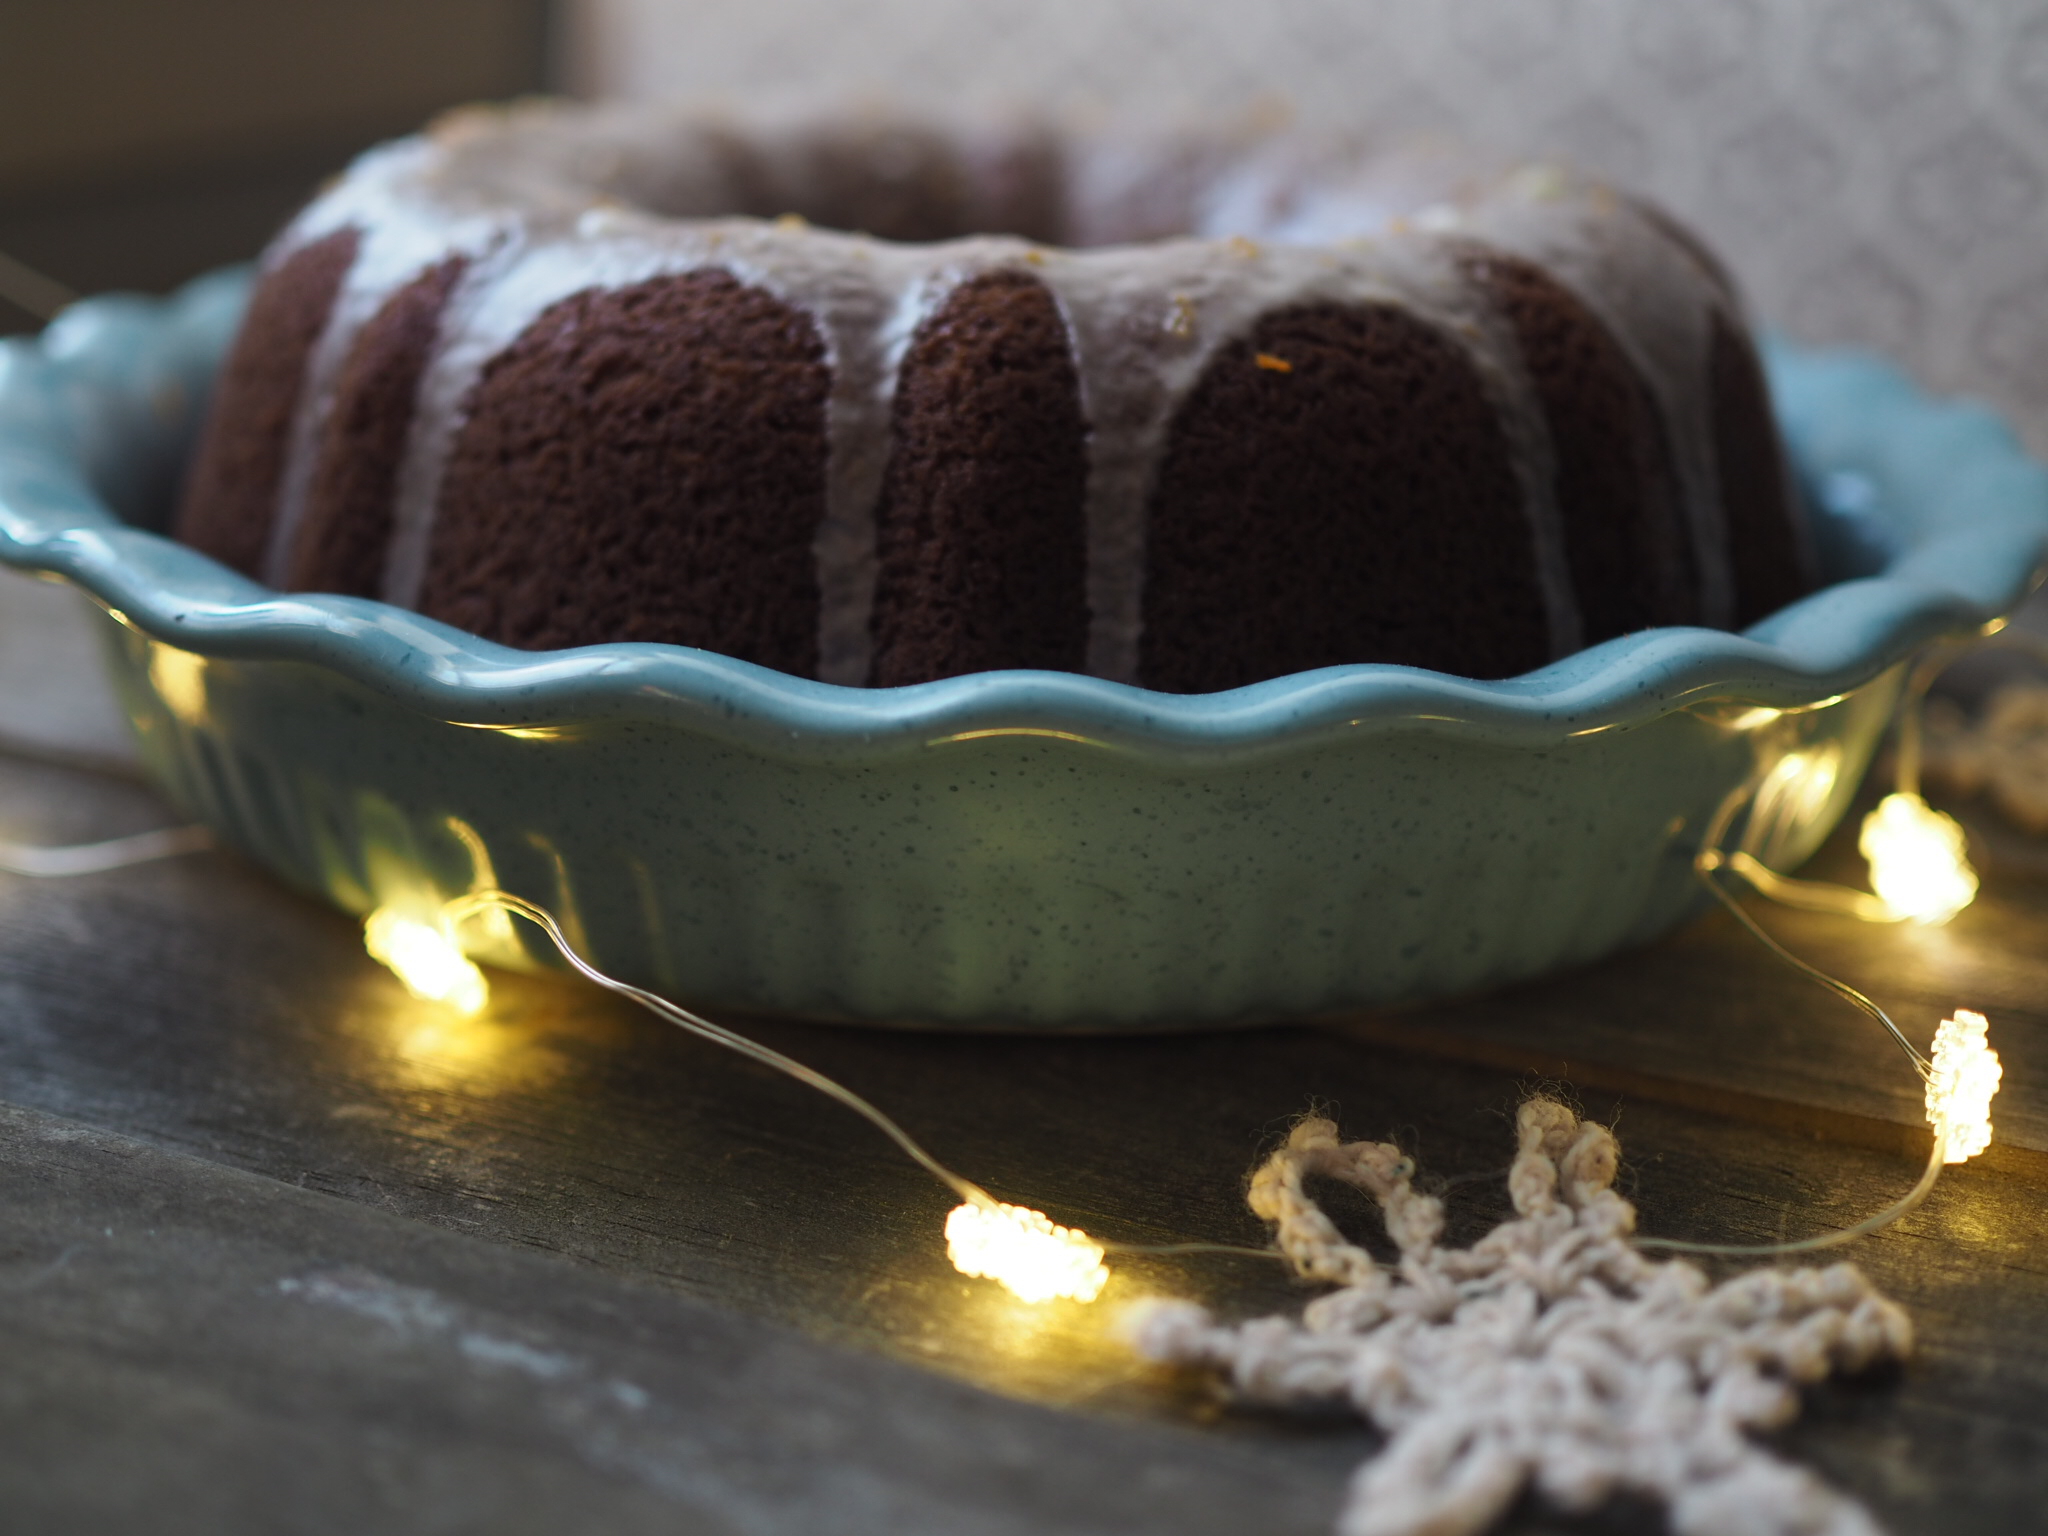
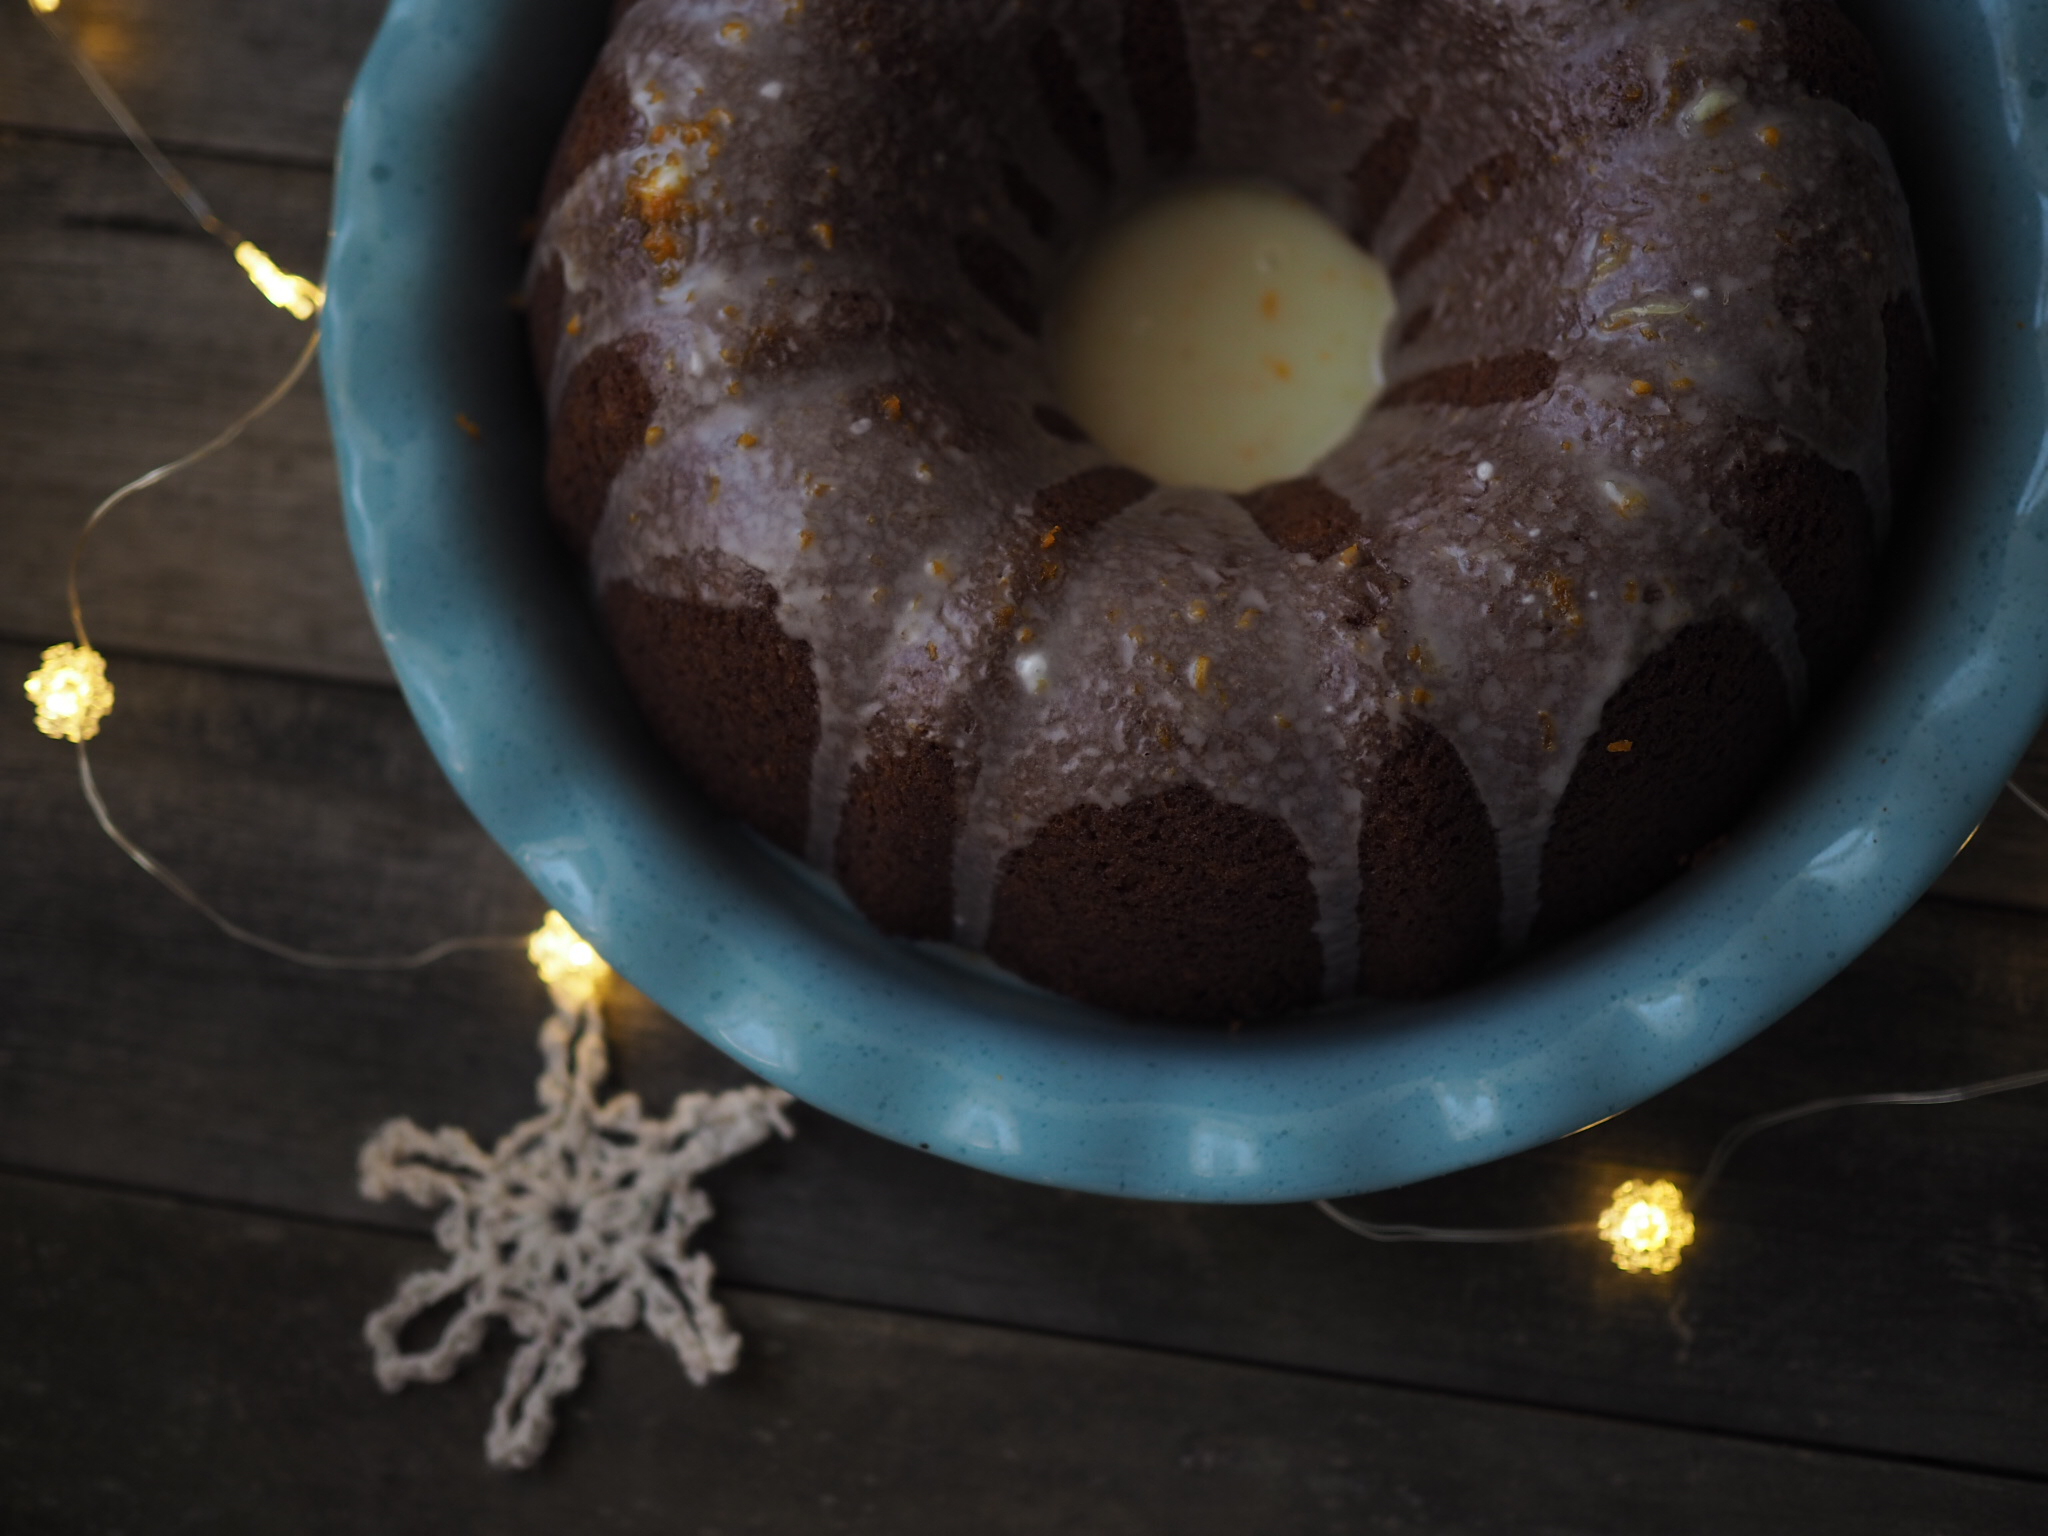
Gingerbread Cake with Orange Glaze

Serves 8-12

Gingerbread is an obvious choice for the holidays, but this take on the classic has a soft and light crumb, and isn't overly dense or spicy, as I find some gingerbread to be. The cake is best when the spices are allowed to meld for a bit, so make the day ahead, if possible. For a spicier cake, increase the amount of ginger, or replace powdered with fresh. You may also increase the amount of molasses, as desired.

For the Cake:

  • 2½ cups all-purpose flour
  • 2 teaspoons baking powder
  • ¼ teaspoon baking soda
  • ½ teaspoon salt
  • 2 teaspoons ground ginger
  • ½ teaspoon ground cinnamon
  • ¼ teaspoon allspice
  • ⅛ teaspoon freshly grated or ground nutmeg
  • ½ cup molasses
  • ½ cup brewed coffee, at room temperature
  • 1½ sticks ( 1¼ cups) unsalted butter, at room temperature
  • 1¼ cups light brown sugar
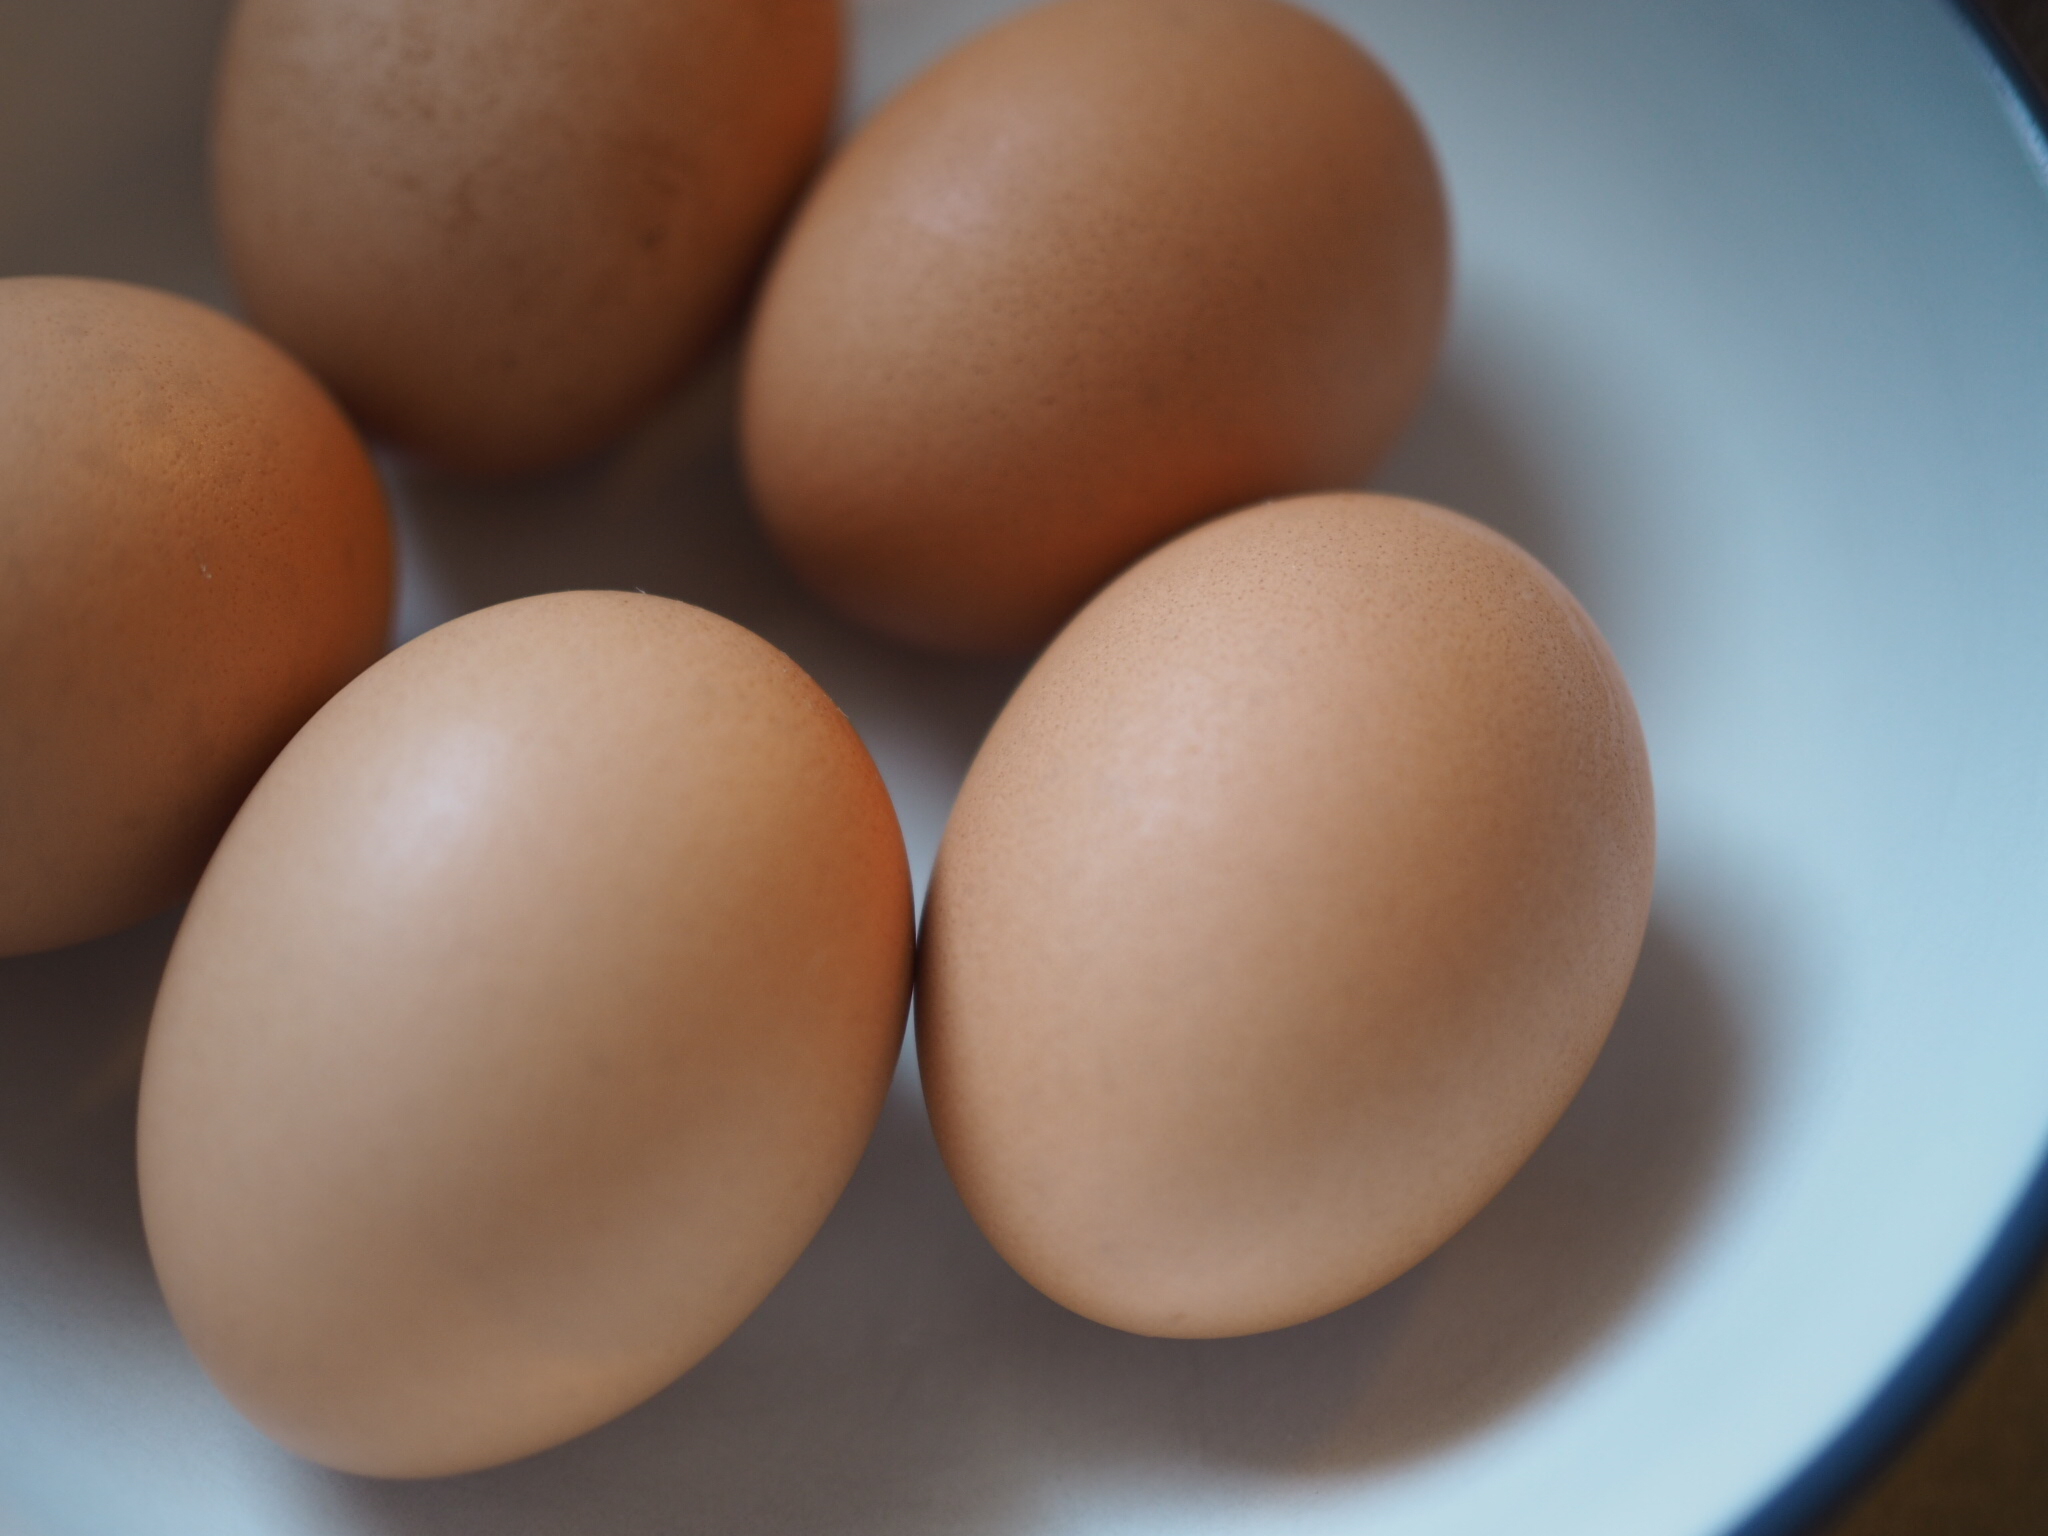
  • 3 eggs + 2 egg yolks, at room temperature

For the Glaze:

  • 1½ cups powdered sugar
  • 2 Tbl milk
  • 2 Tbl orange juice
  • Zest of 1 orange
  • pinch of salt


Preheat oven to 350 degrees F. Grease and flour or spray a 10-cup Bundt pan (I find Pam with Flour works the best for those tricky Bundt pans). 

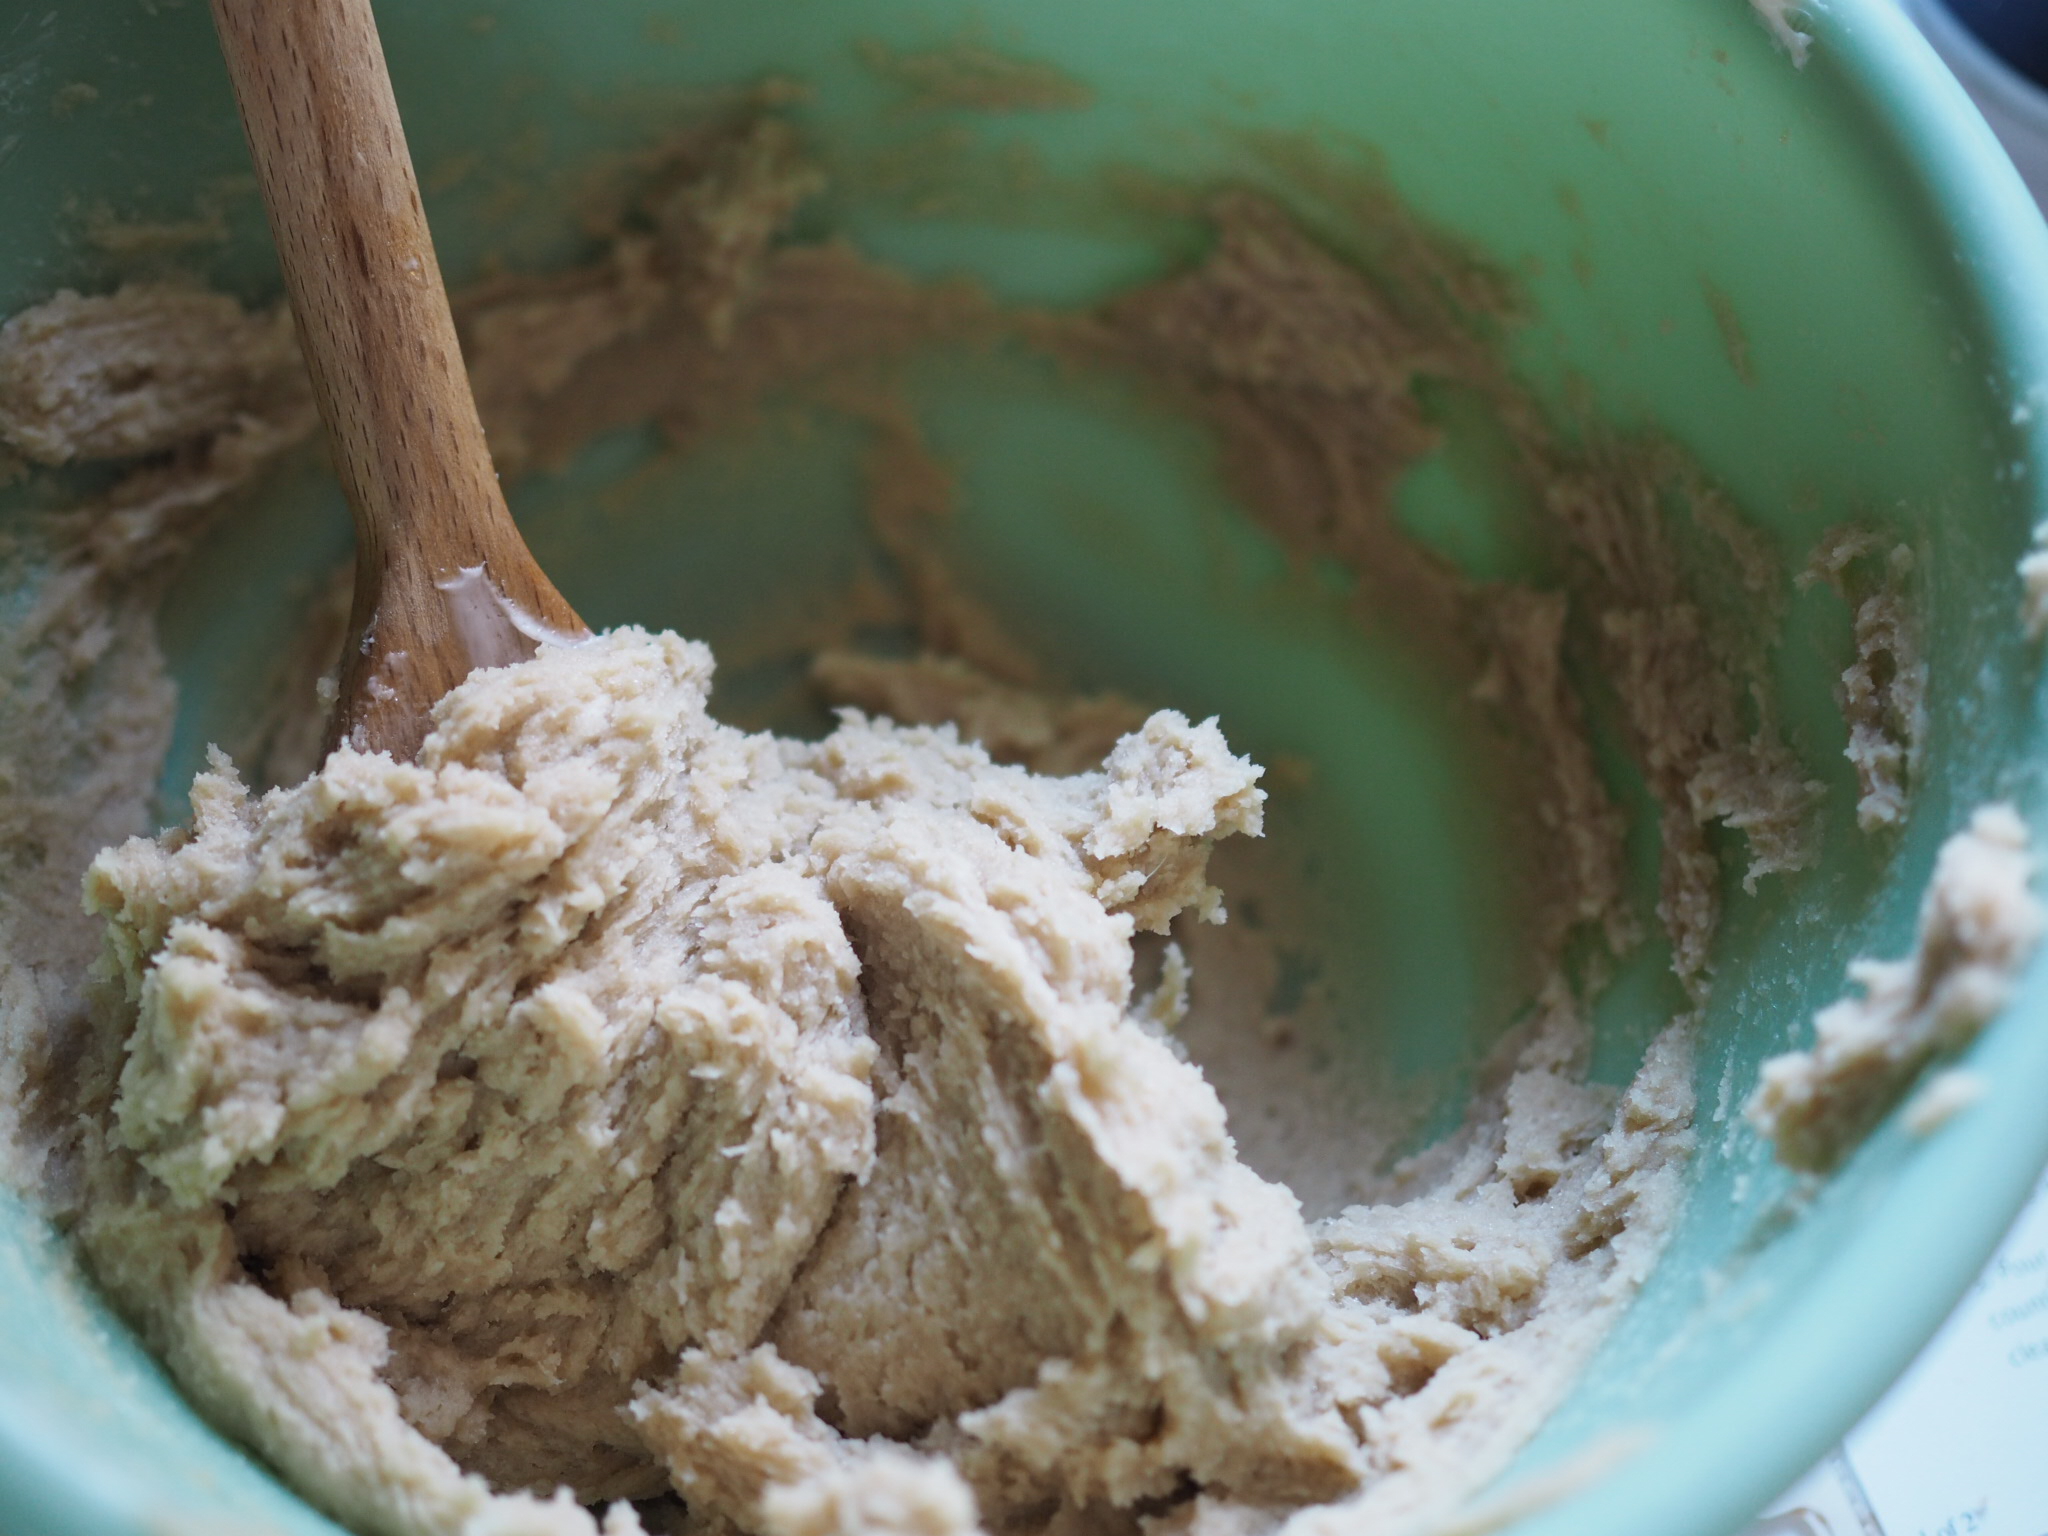
In a large mixing bowl, cream butter until smooth using a wooden spoon or mixer. Add brown sugar and cream until light and fluffy, making sure butter is fully integrated and there are no visible chunks. Add eggs to butter mixture one at a time, mixing in completely before adding the next egg.

In a separate bowl, shift together flour, baking powder, baking soda, salt, and spices.

In a small bowl or cup, mix together room temperature coffee with the molasses.

Add the 1/3 of the flour to the egg/butter mix, then 1/2 the molasses, 1/3 of the flour, the remaining molasses, then the remaining flour. Mix until just combined. 

Pour batter into prepared pan and snap against the counter to remove any large bubbles. Smooth out the top with a rubber spatula.  Place in center of oven an bake for approximately 50 minutes, or until a toothpick inserted into the center of the cake comes out clean. 

Let cake cool in pan for about 7 minutes, then turn onto a cooling rack. Let cake cool completely, transfer to serving plate, and then glaze.

To make glaze: mix all ingredients, adding liquid slowly until desired consistency is achieved. Pour over cooled Bundt cake, making sure to allow glaze to drip down both sides. Scoop extra glaze out of cake center and re-drizzle as desired.

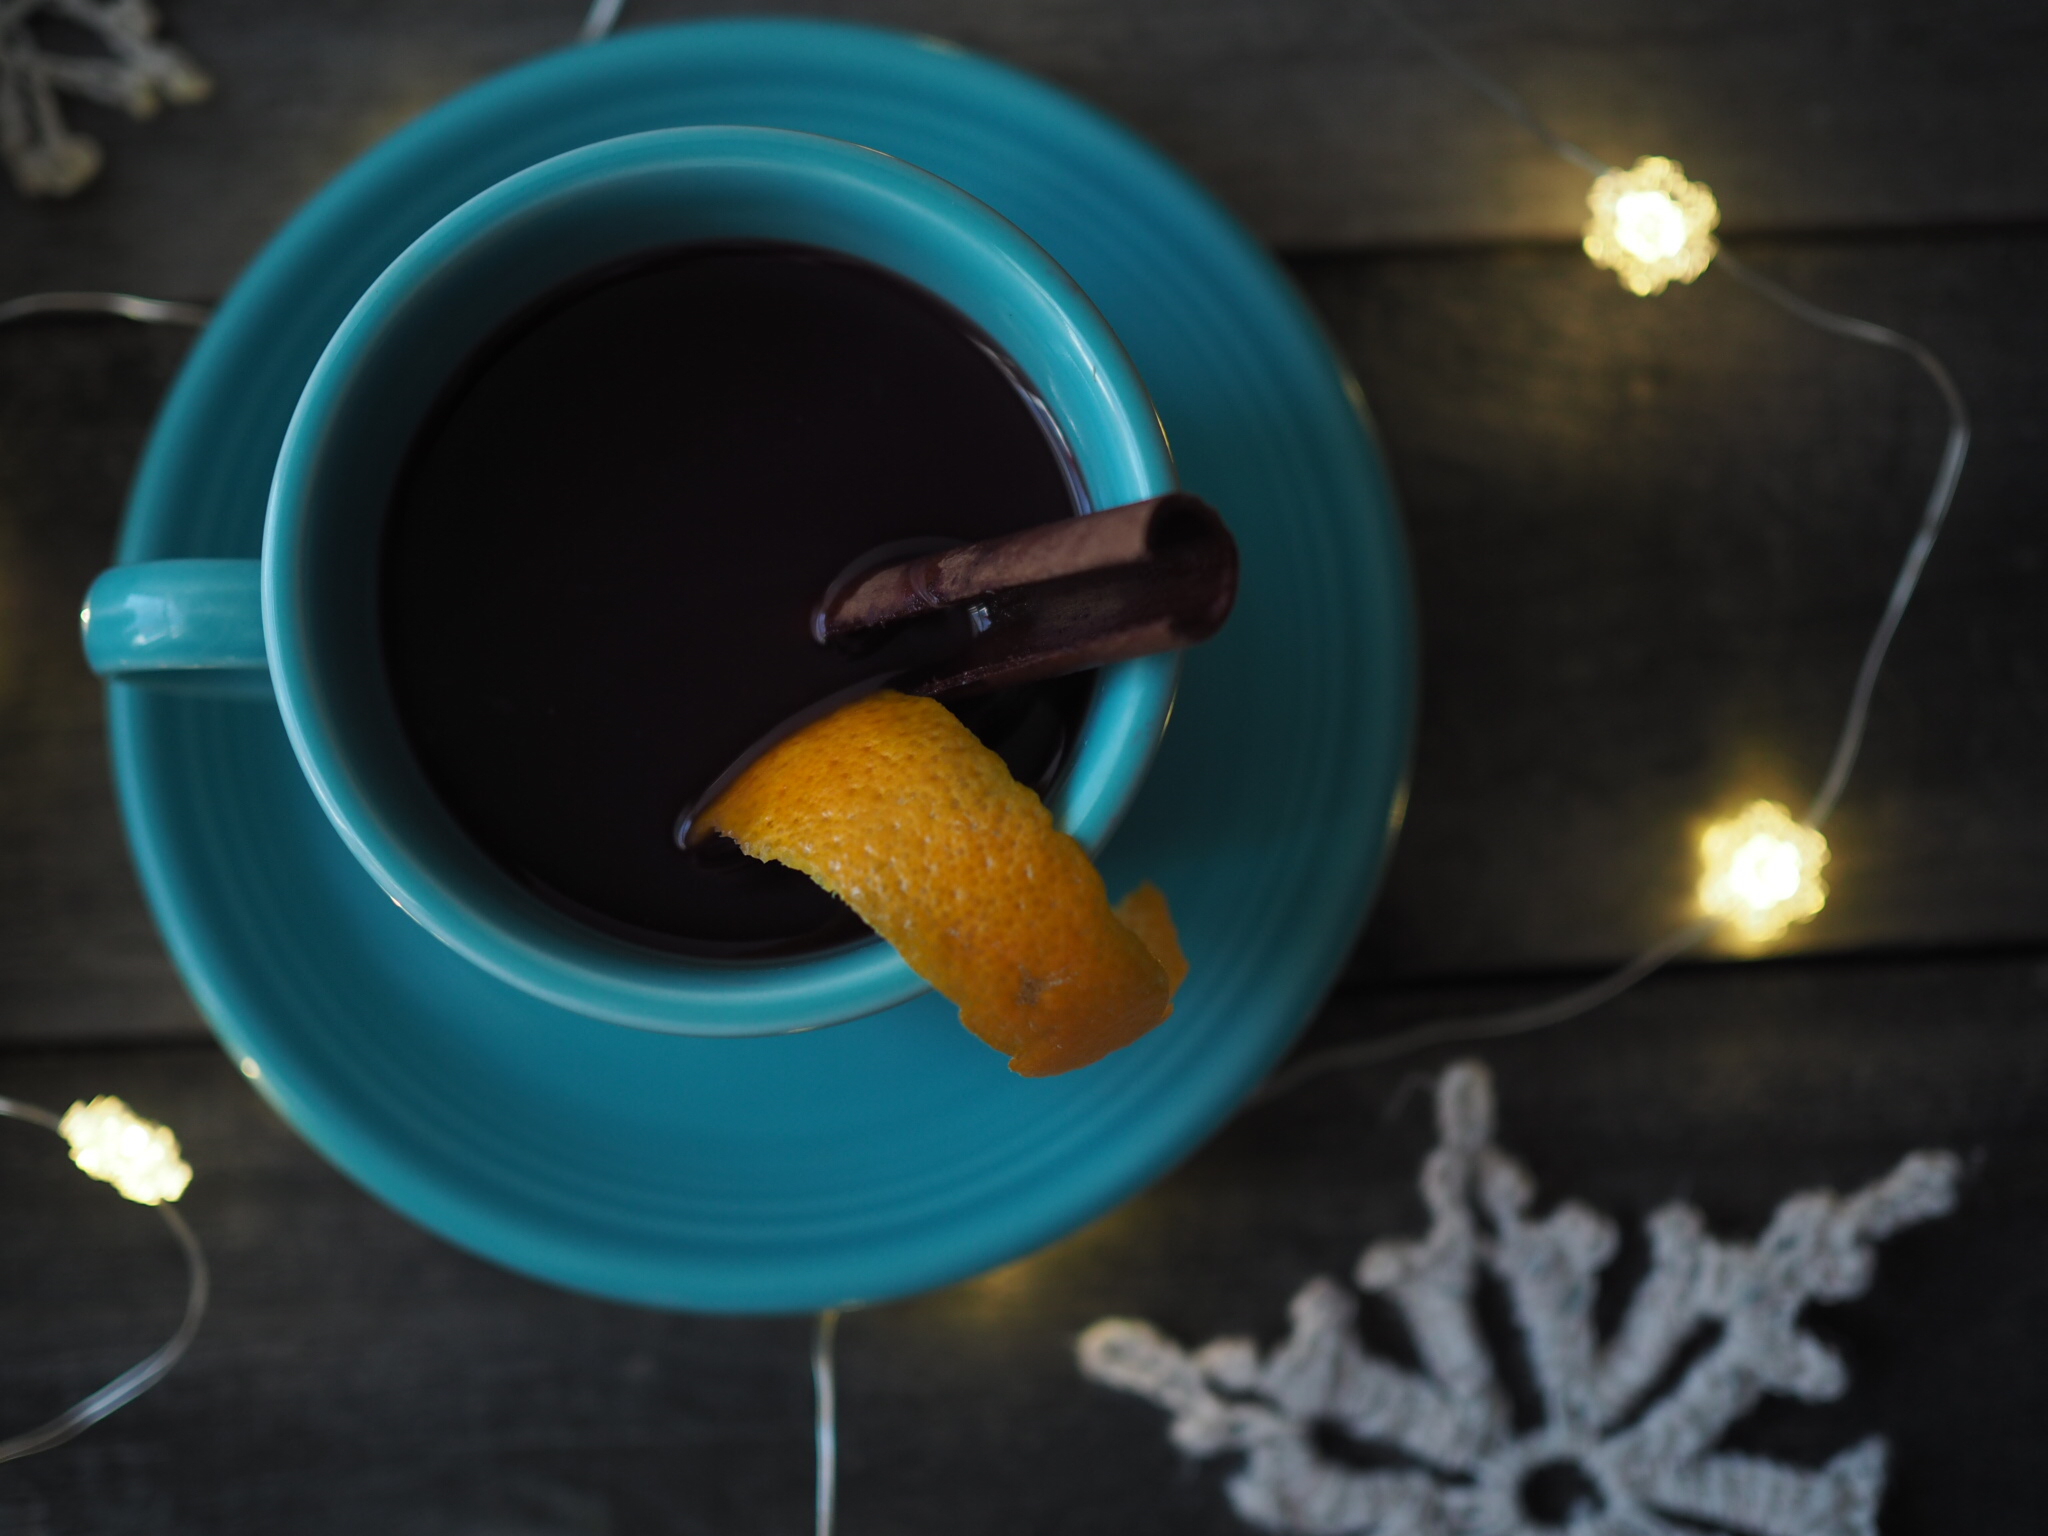
Glühwein, or German Mulled Wine, is perhaps less familiar, but a wonderful addition to winter gatherings. I discovered Glühwein when searching for mulled wine recipes, and then immediately emailed a German friend for her take on the tradition. I've merged her recipe with some I found online, but mulled wine is something that is easy to vary to meet your own tastes. Throughout my wine-mulling process, I kept running to Mr. Cleaver with a hot mug and saying "taste this." We quickly ran through the batch at my knitting group's annual Christmas fête, so I think my test-taster served me well.

Glühwein - German Mulled Wine

  • 1.5 L dry red wine
  • 2 1/3 cup orange juice (juiced oranges + pre-made orange jucie)
  • 2/3 cup brandy
  • 4-5 oranges, peeled (see instructions below) and juiced
  • 1 lemon, peeled and juiced
  • 4 cinnamon sticks
  • 20 cloves
  • 1/8 tsp freshly ground nutmeg
  • up to 1/3 cup sugar, to taste

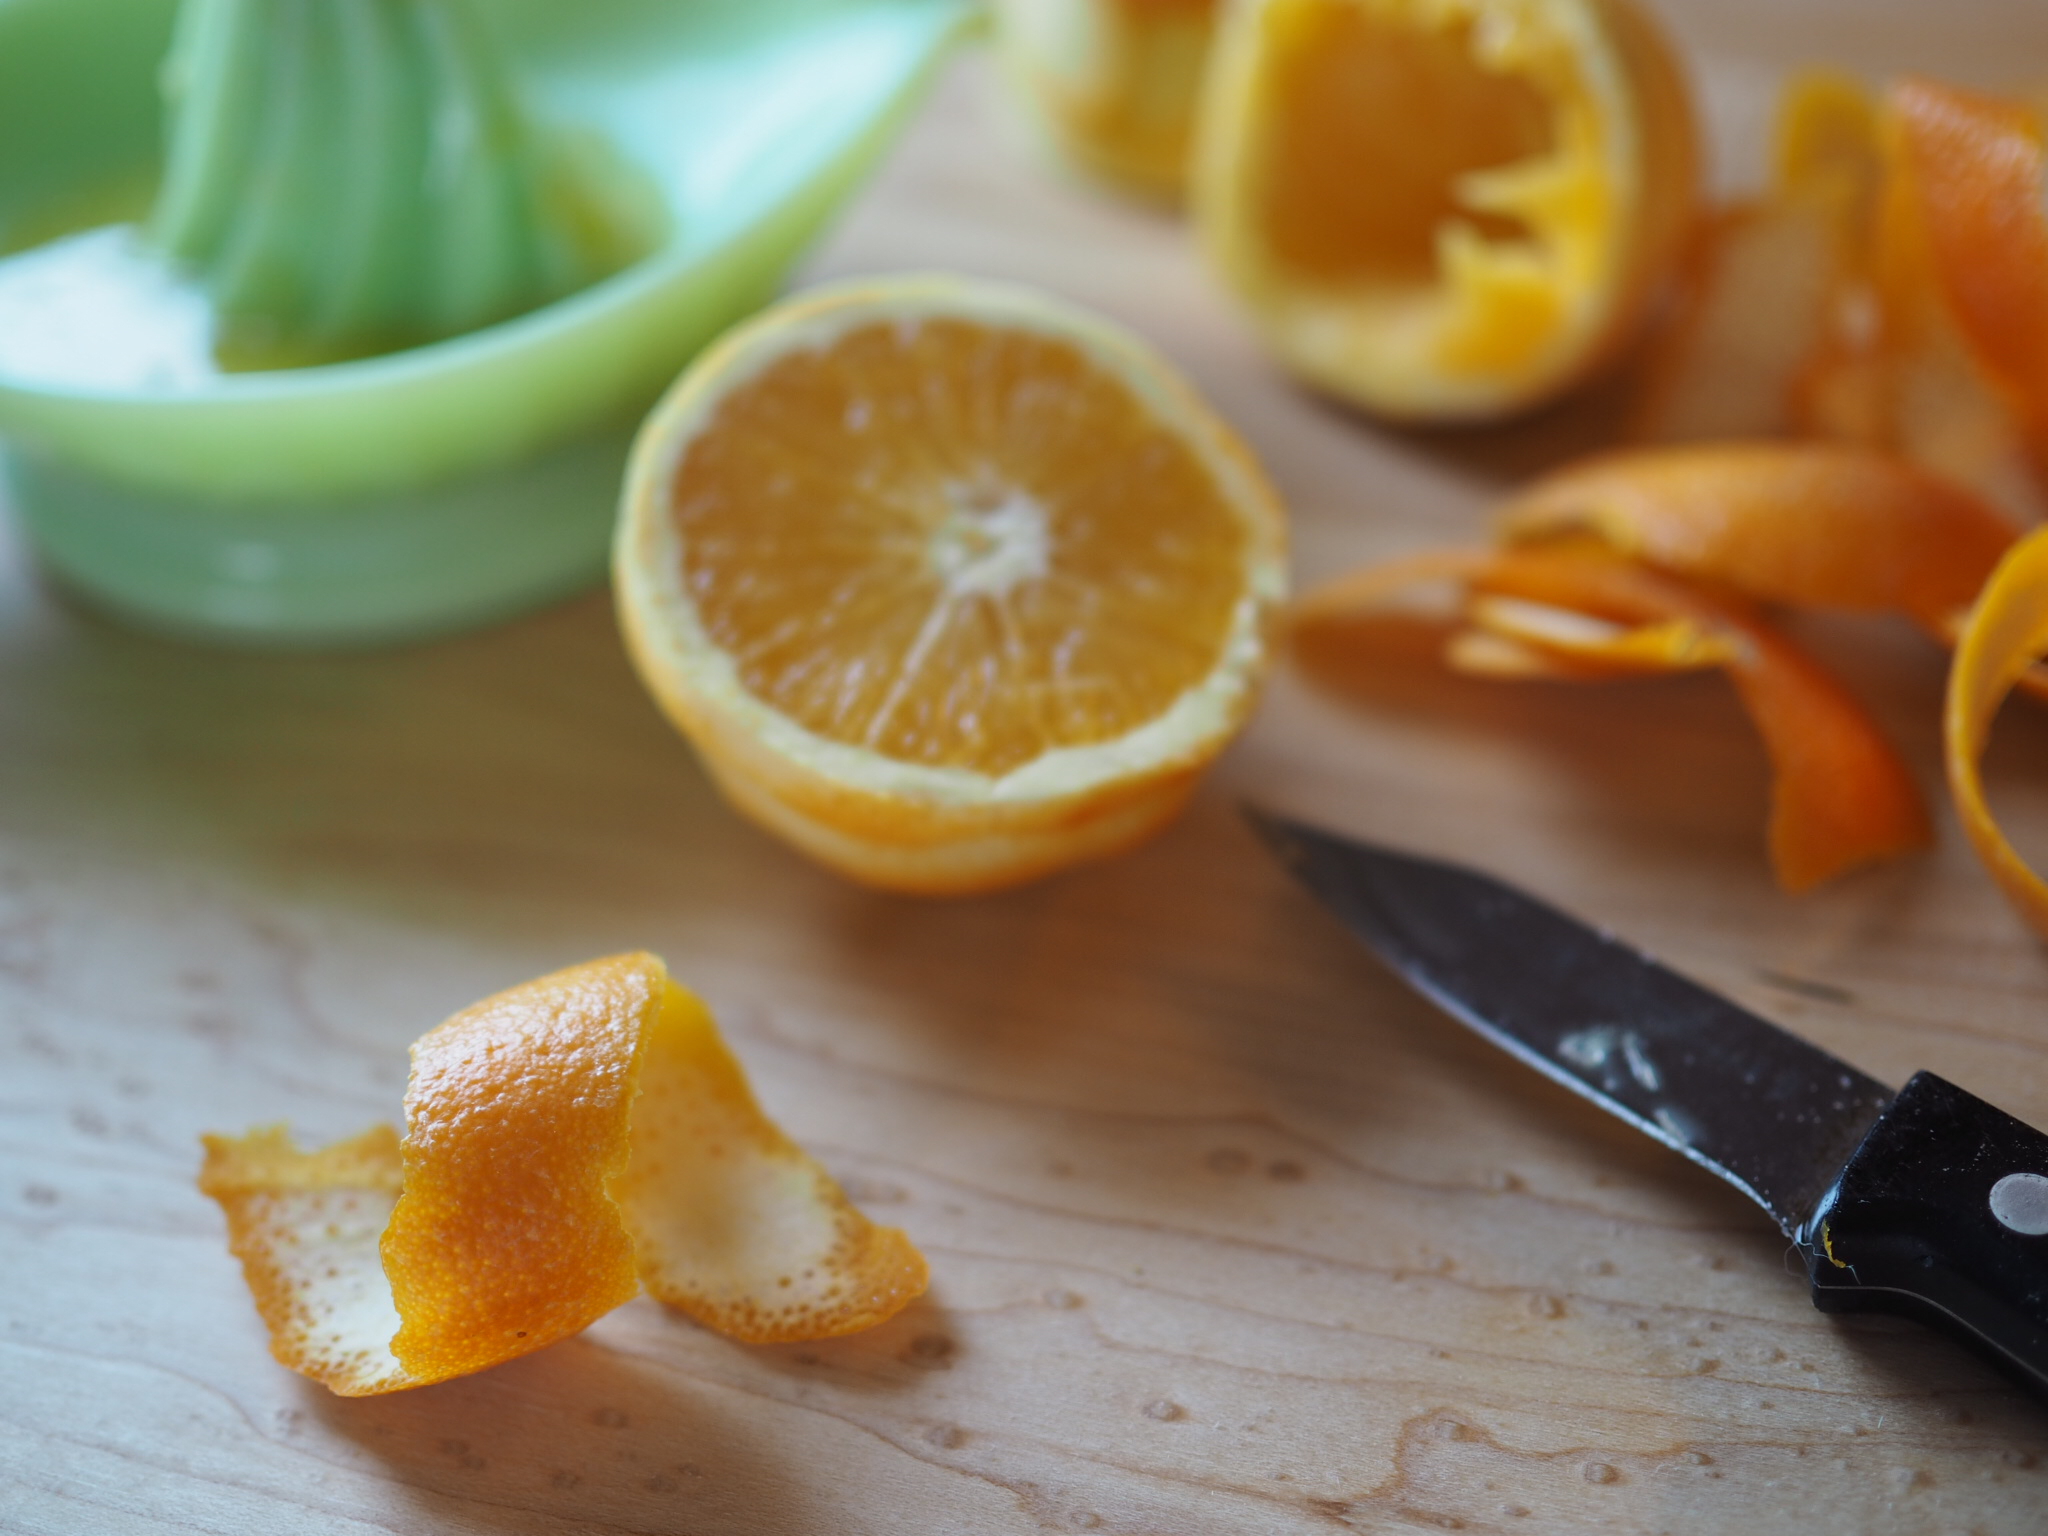
Using a paring knife or vegetable peeler, peel all citrus into wide strips, avoiding as much of the bitter white pith as possible. Juice all fruit, making up the difference with pre-made orange juice as needed.  Reserve some peels for garnish.

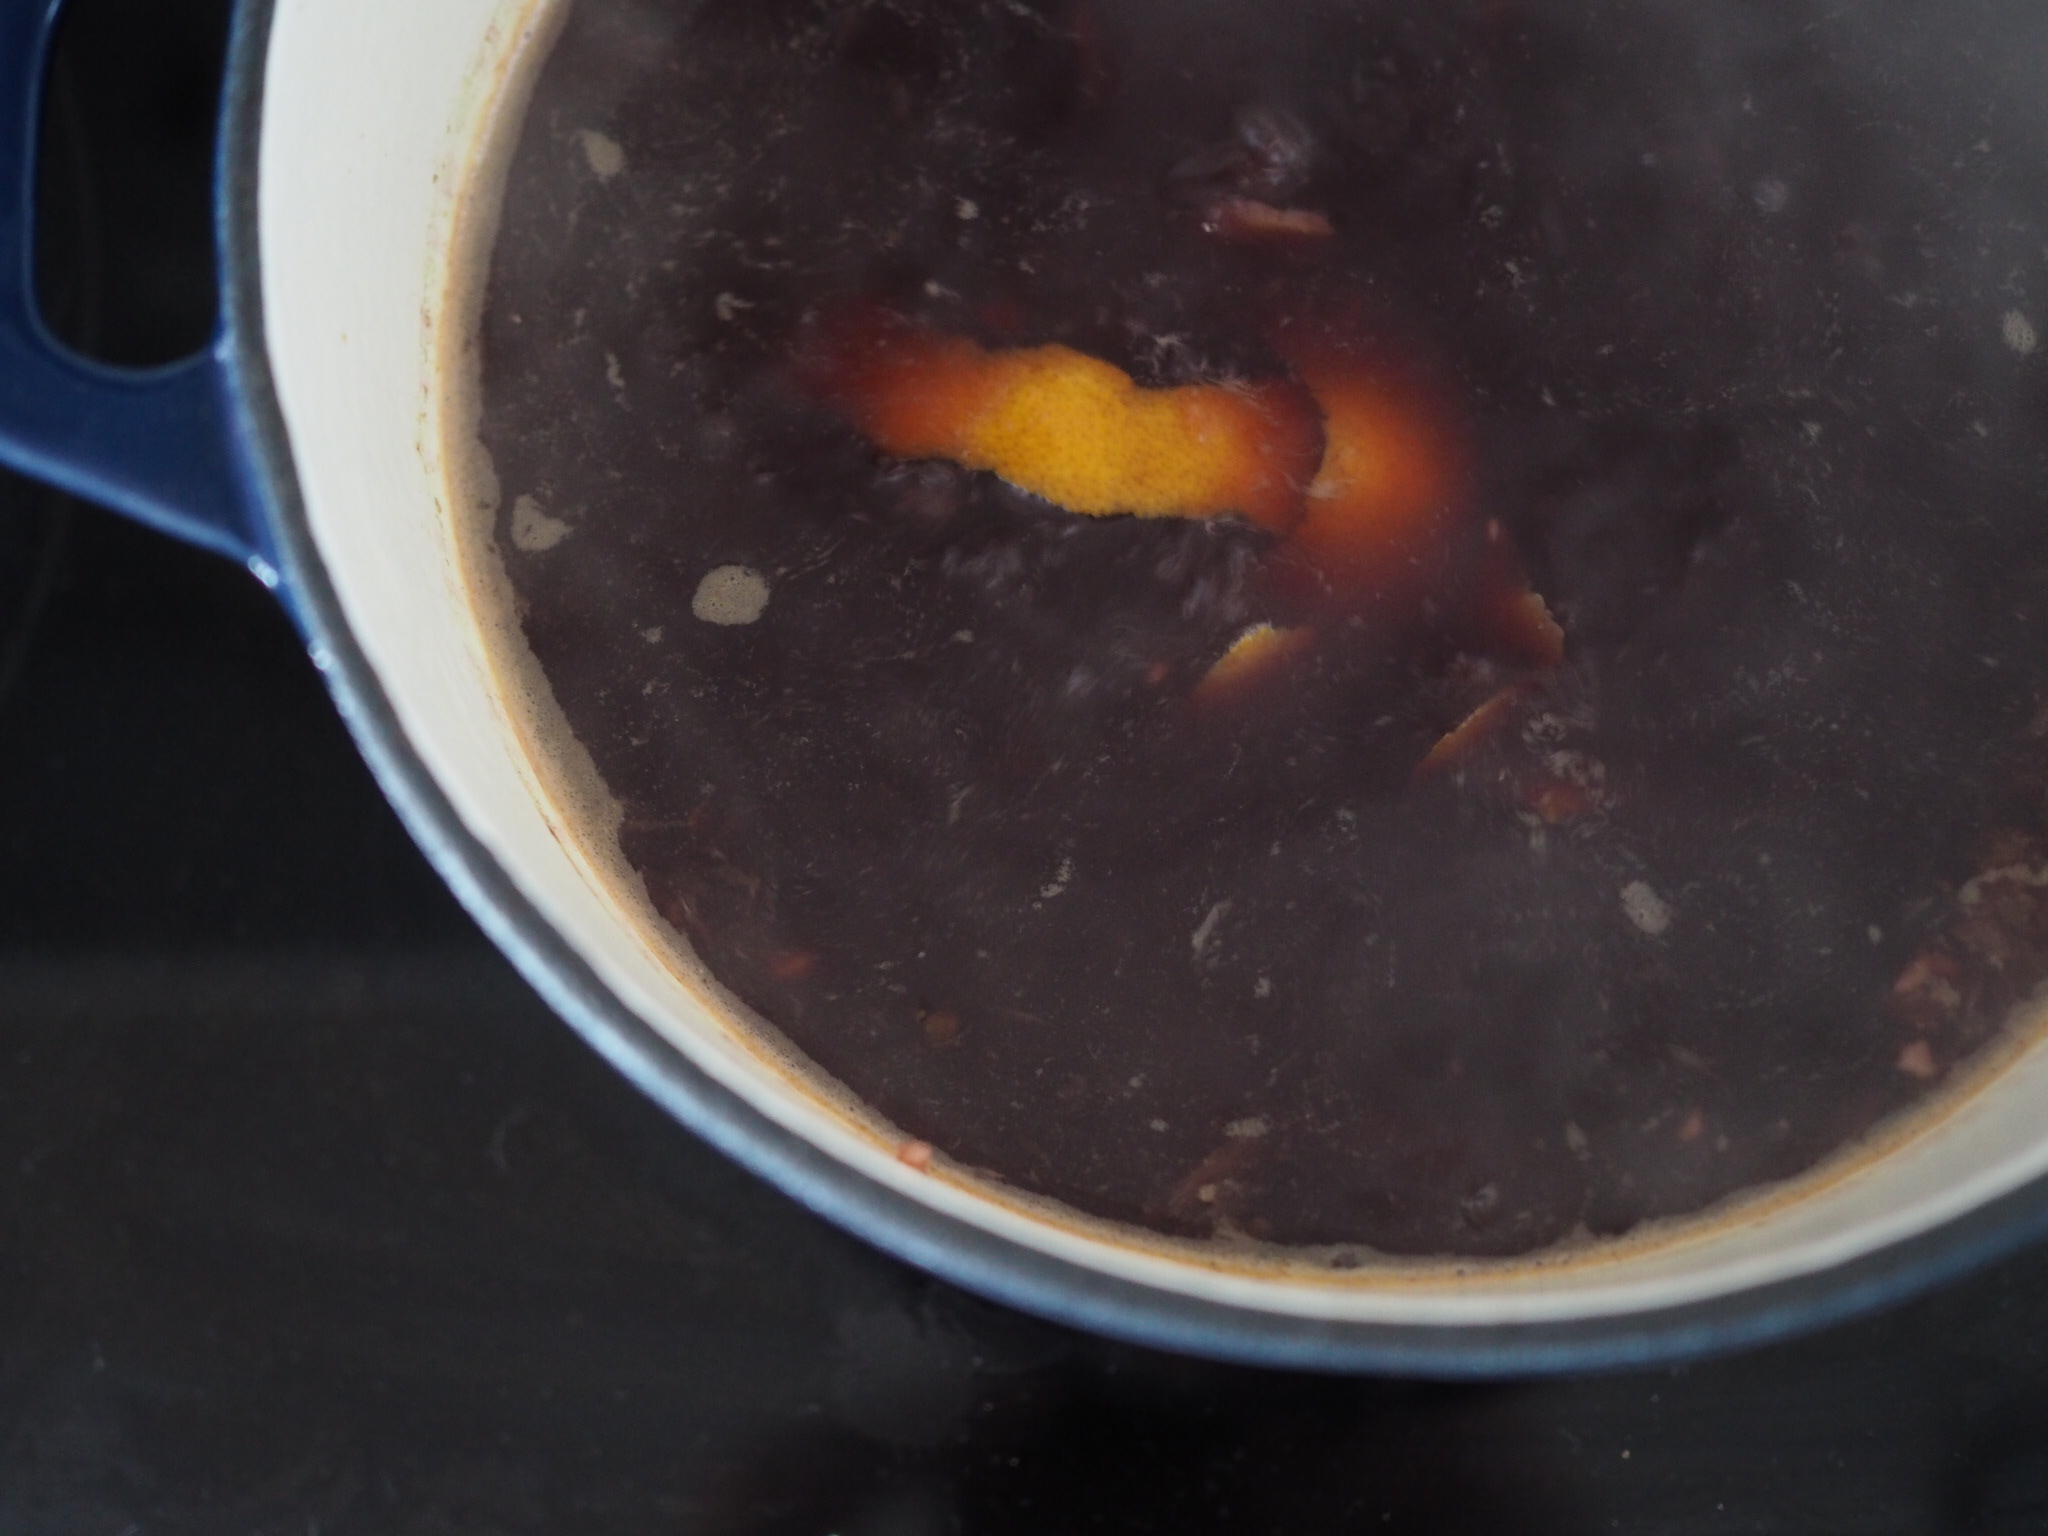
Combine wine, juice, remaining peels, and spices in a heavy covered stockpot. Bring pot to a low simmer. Add Brandy and continue to simmer. Add sugar to taste. 

Serve hot, not warm.

What are your favorite holiday recipes? Share links below!!


Print Friendly and PDF Follow
follow us in feedly

Introducing the Cresting Waves Shawl

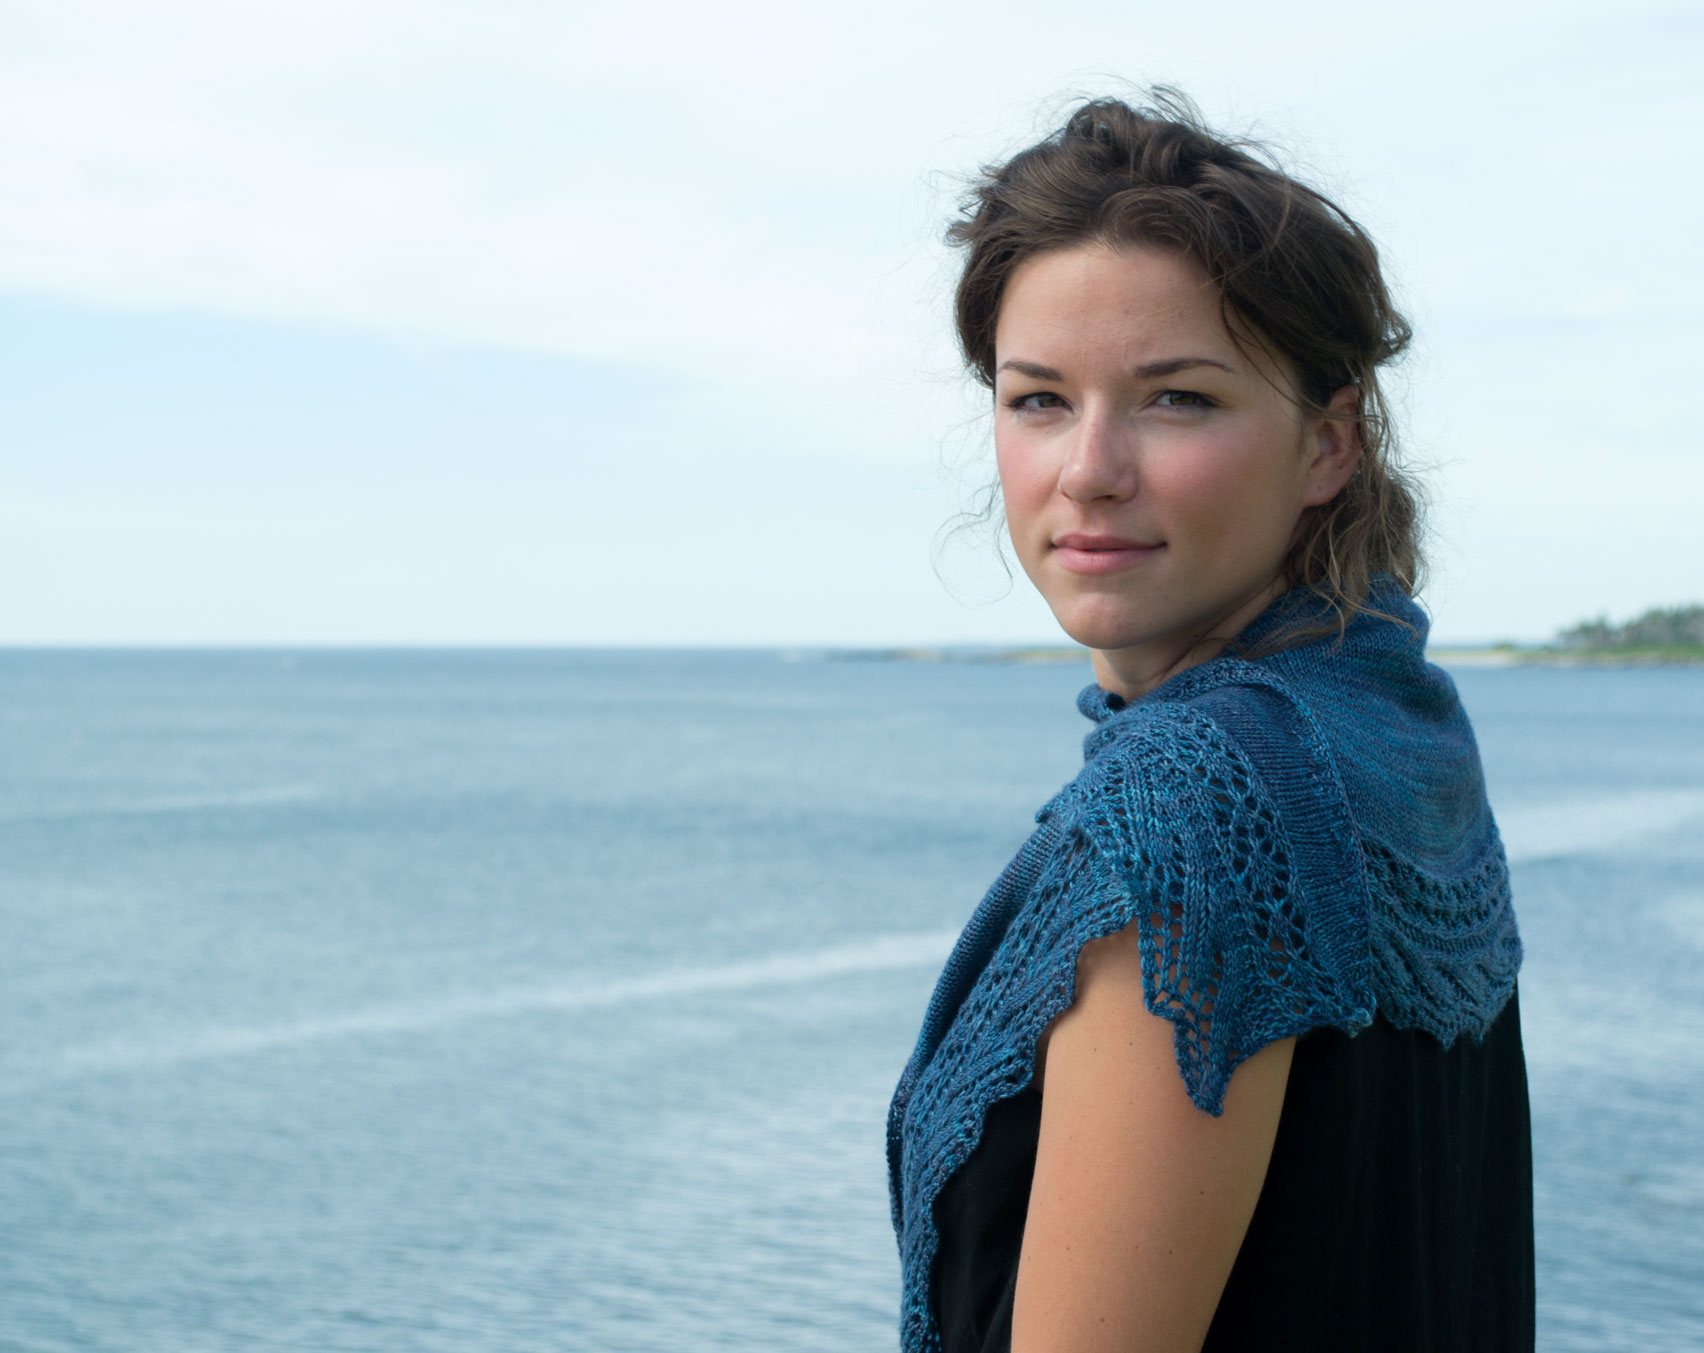
I was honored when Beatrice Perron Dahlen invited me to contribute to her MAINE knits book, a celebration of sea, farm and wild in Maine. It's really a thrill to be represented alongside some of my Maine knitting friends and peers, like Carrie Bostick Hoge, Bristol Ivy, Cecily Glowik MacDonald, Mary Jane Mucklestone, Beatrice Perron Dahlen, Alicia Plummer, Leila Raabe, Elizabeth Smith, and Kristen TenDyke.  

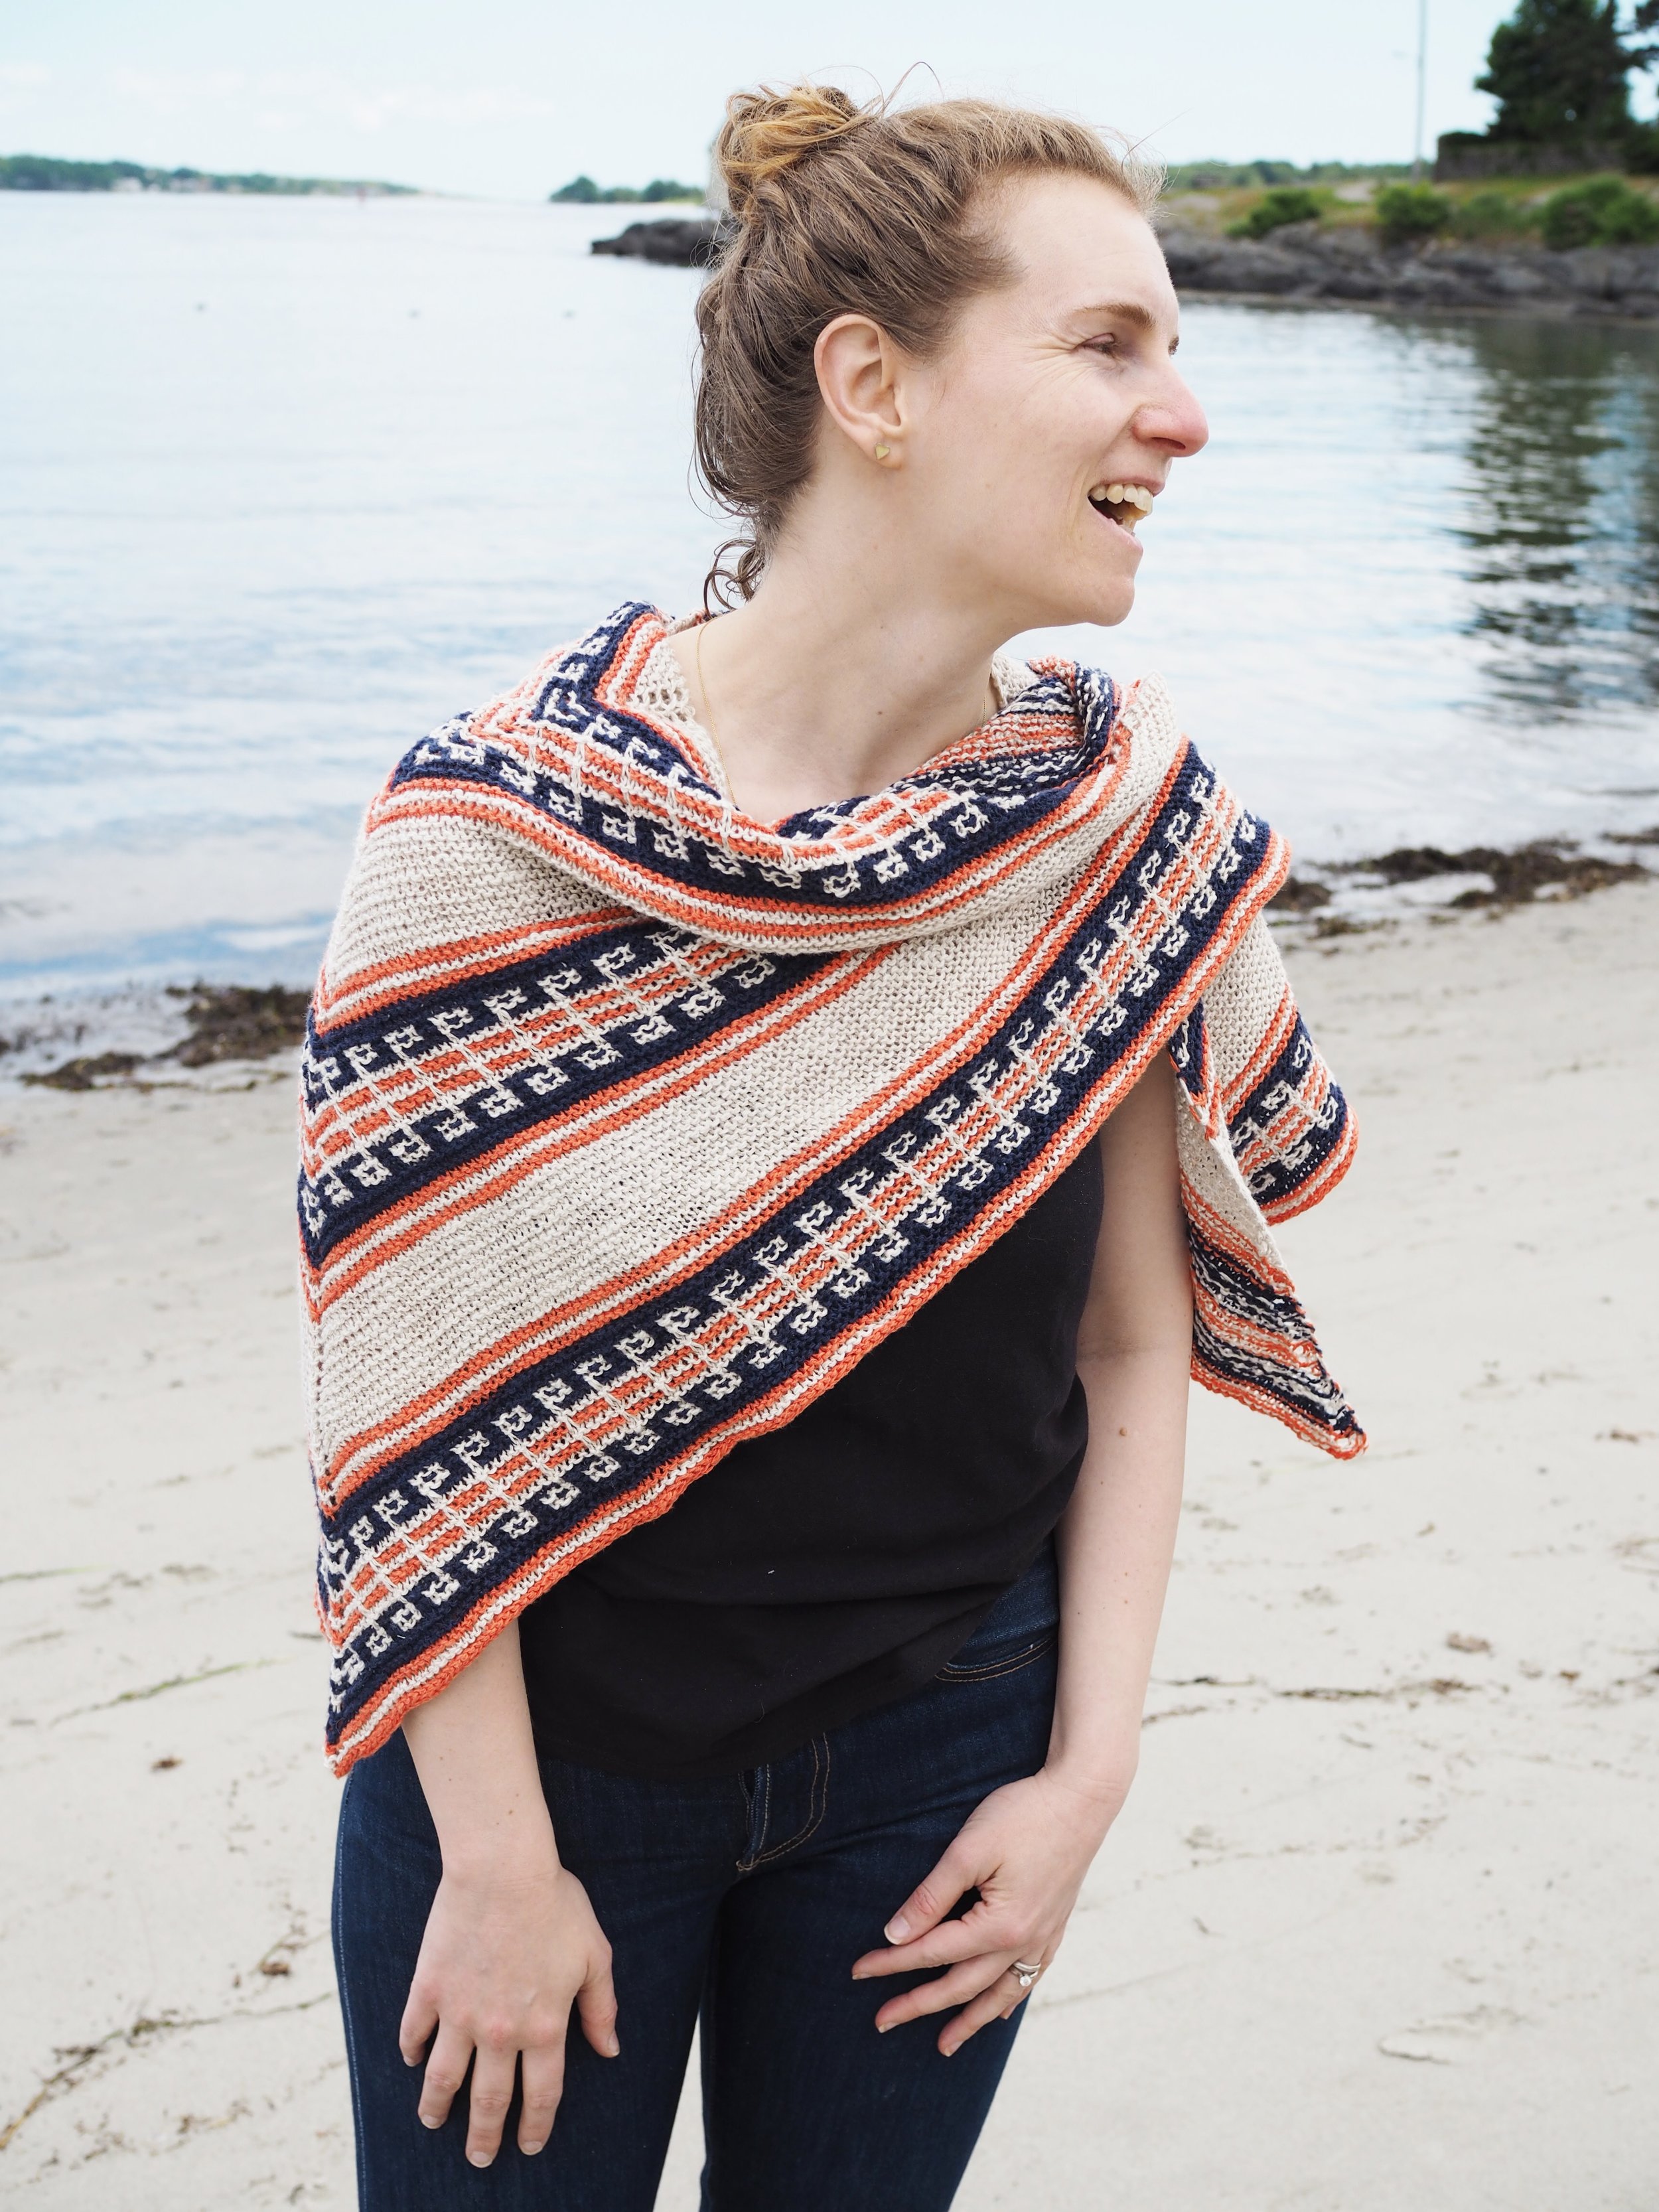
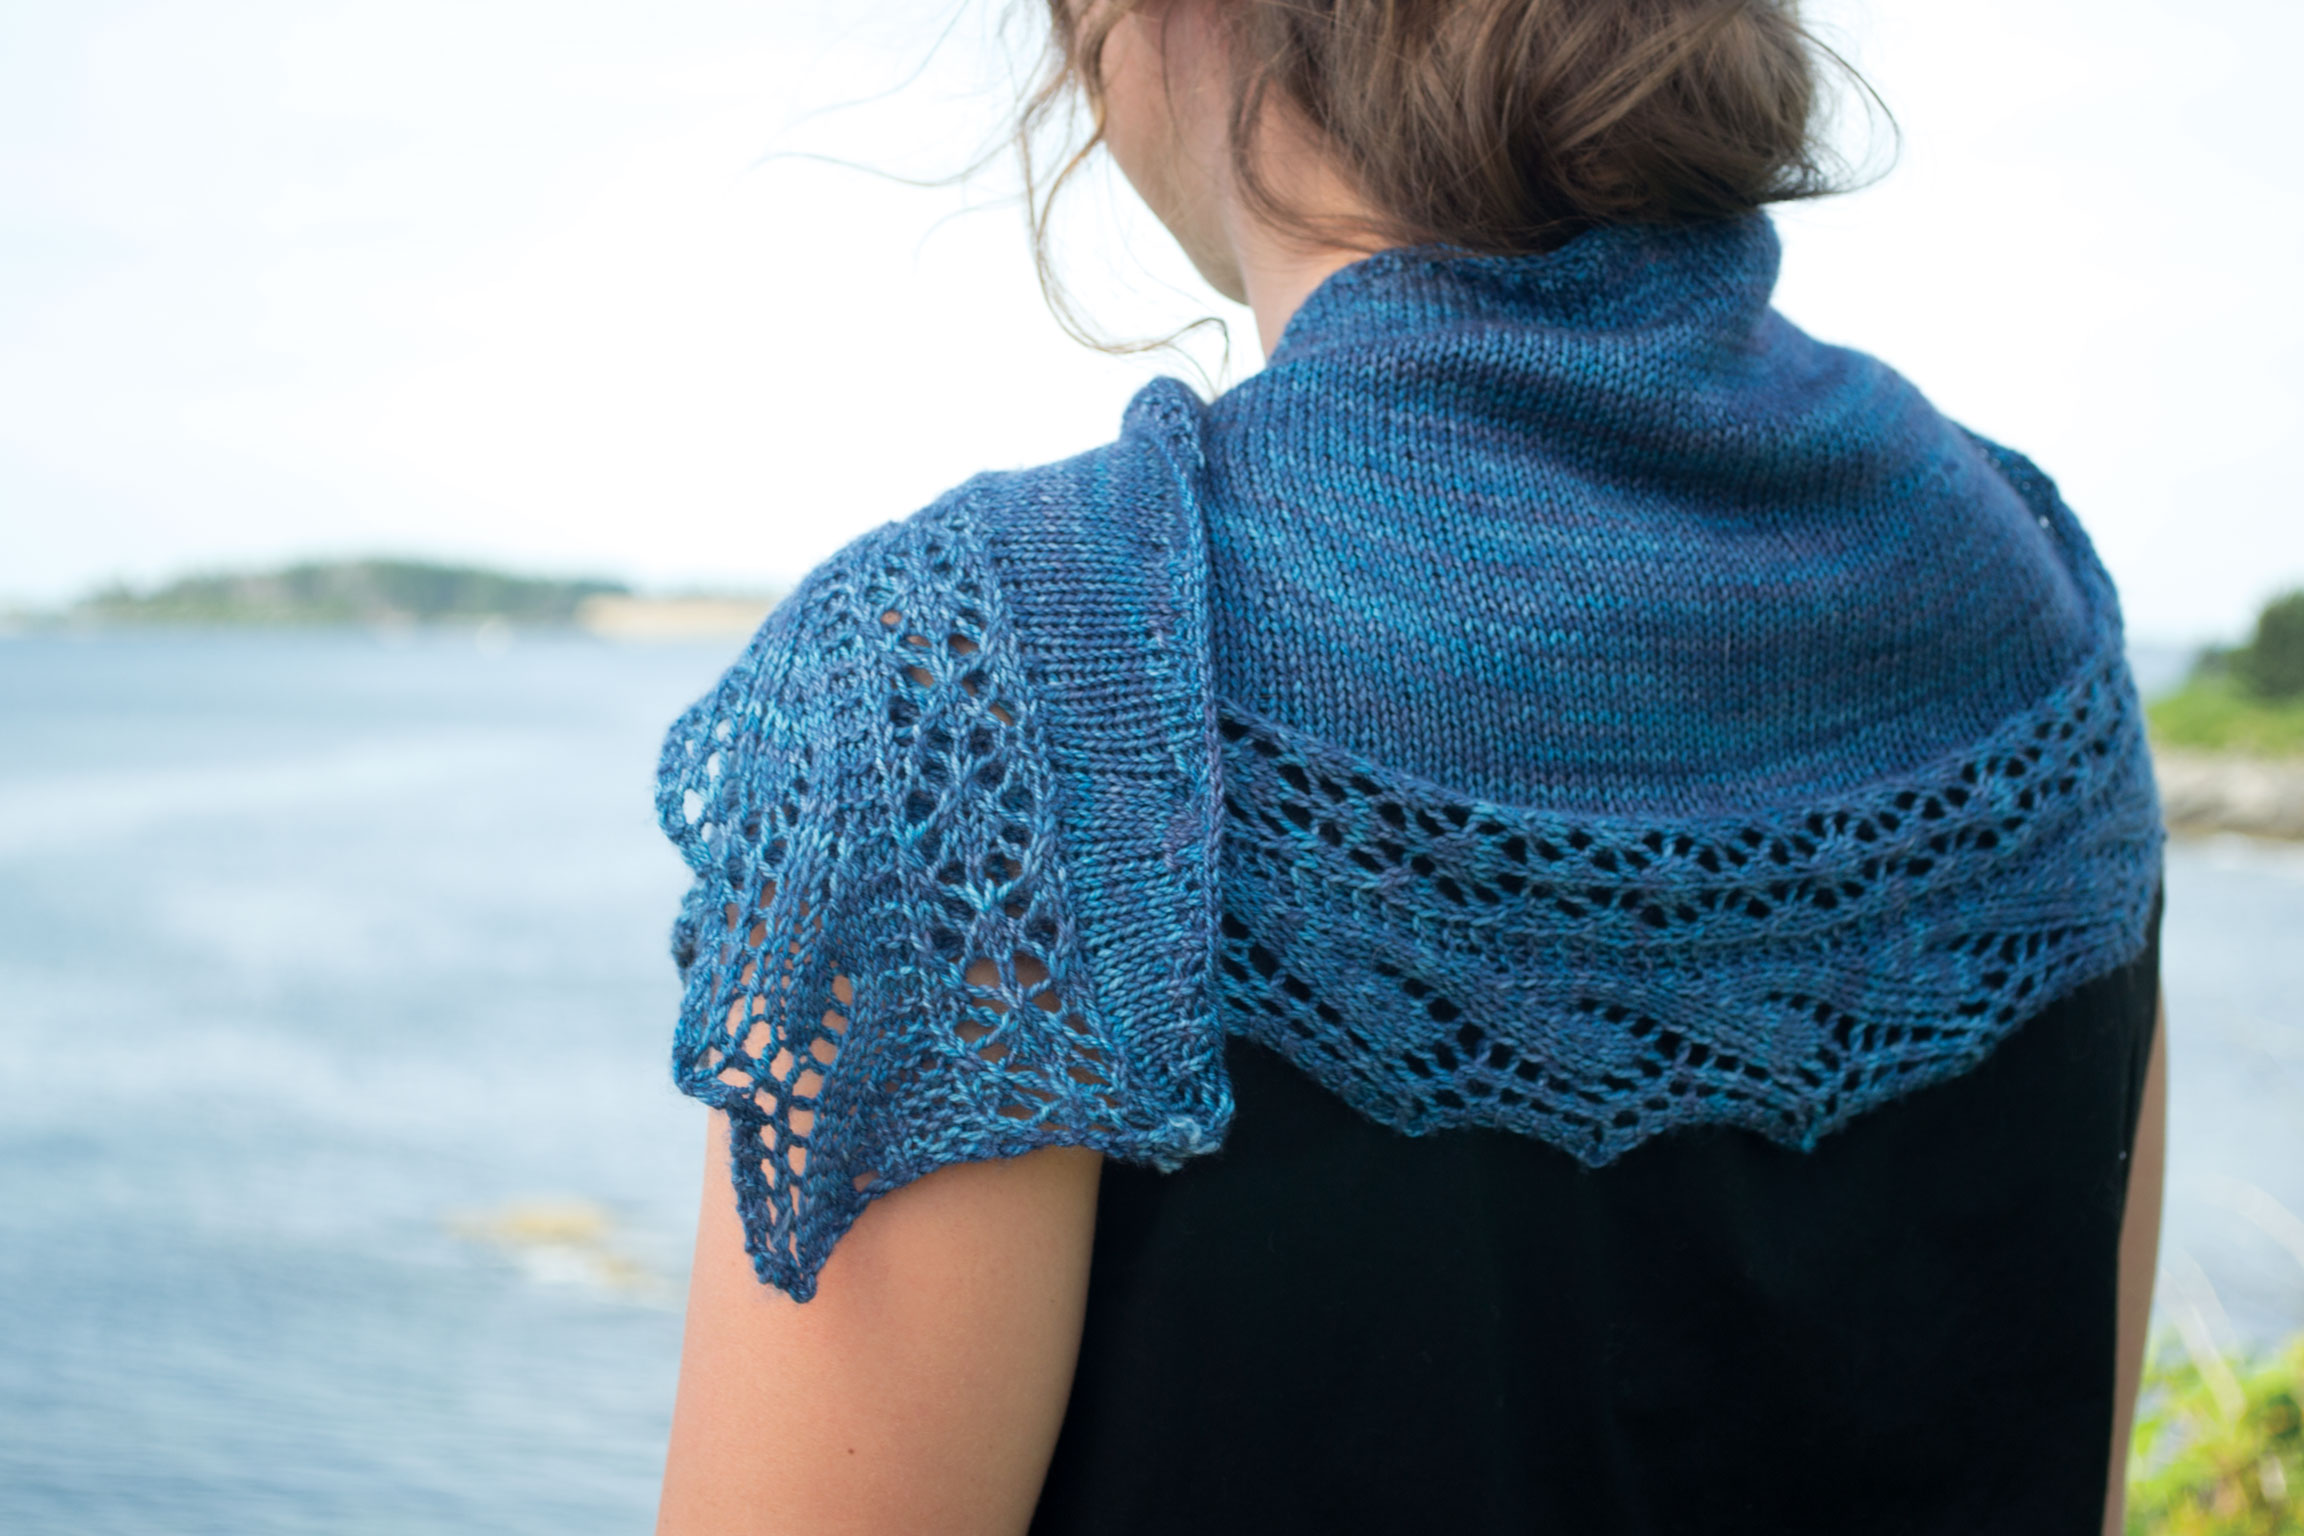
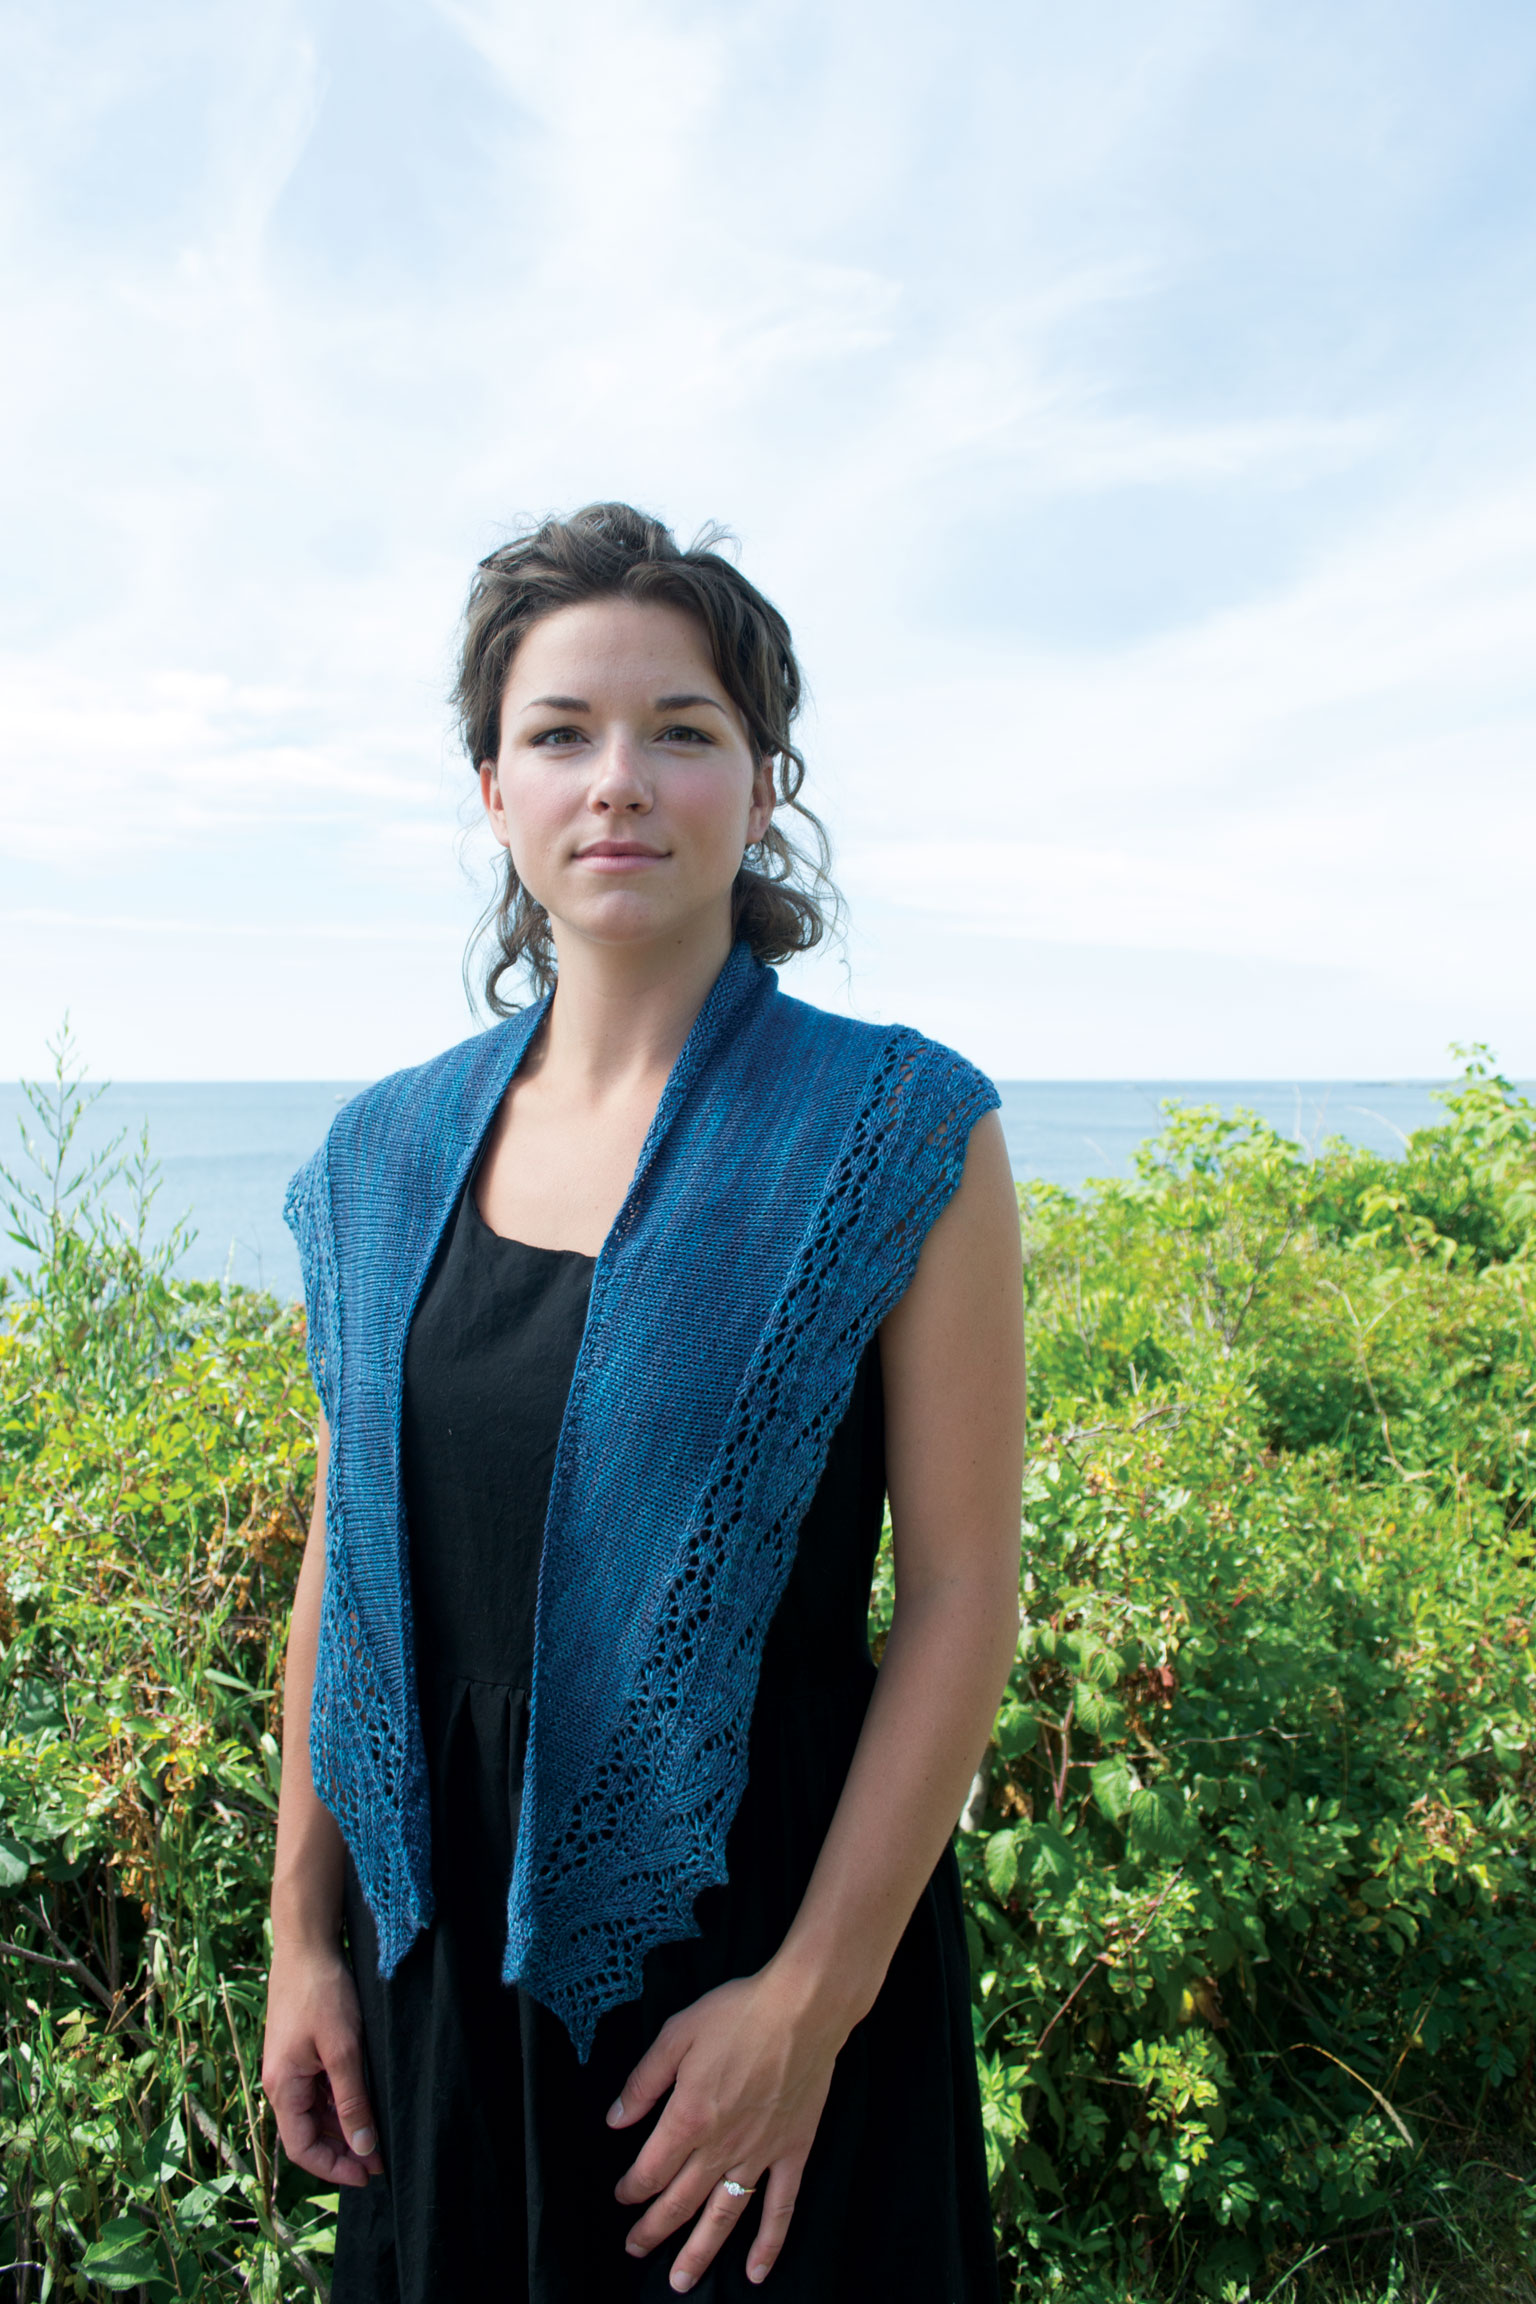
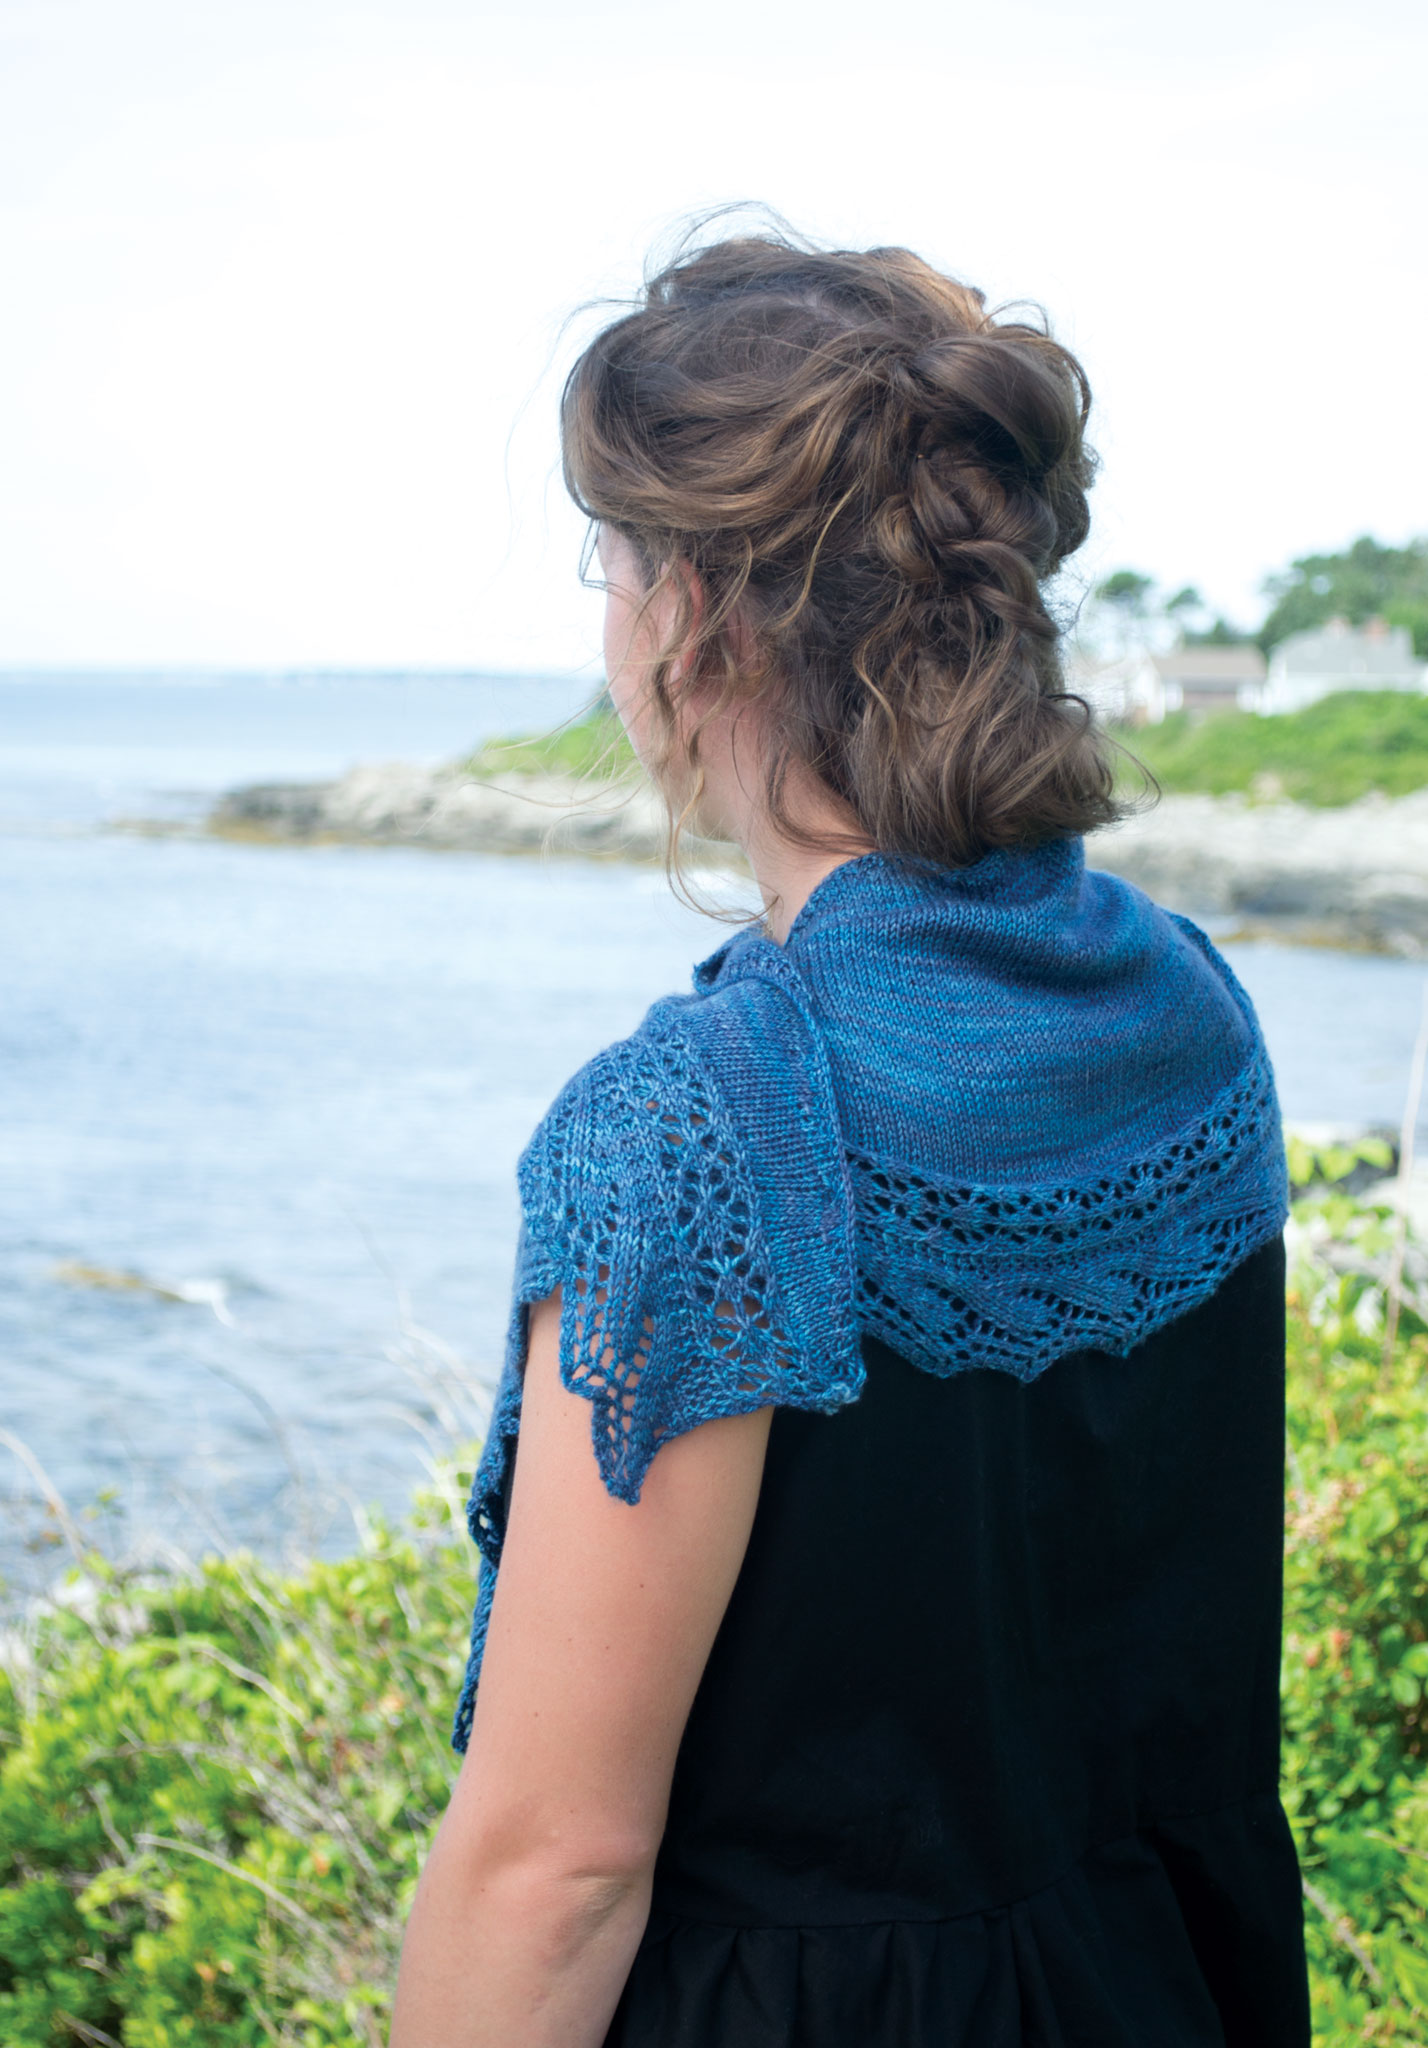
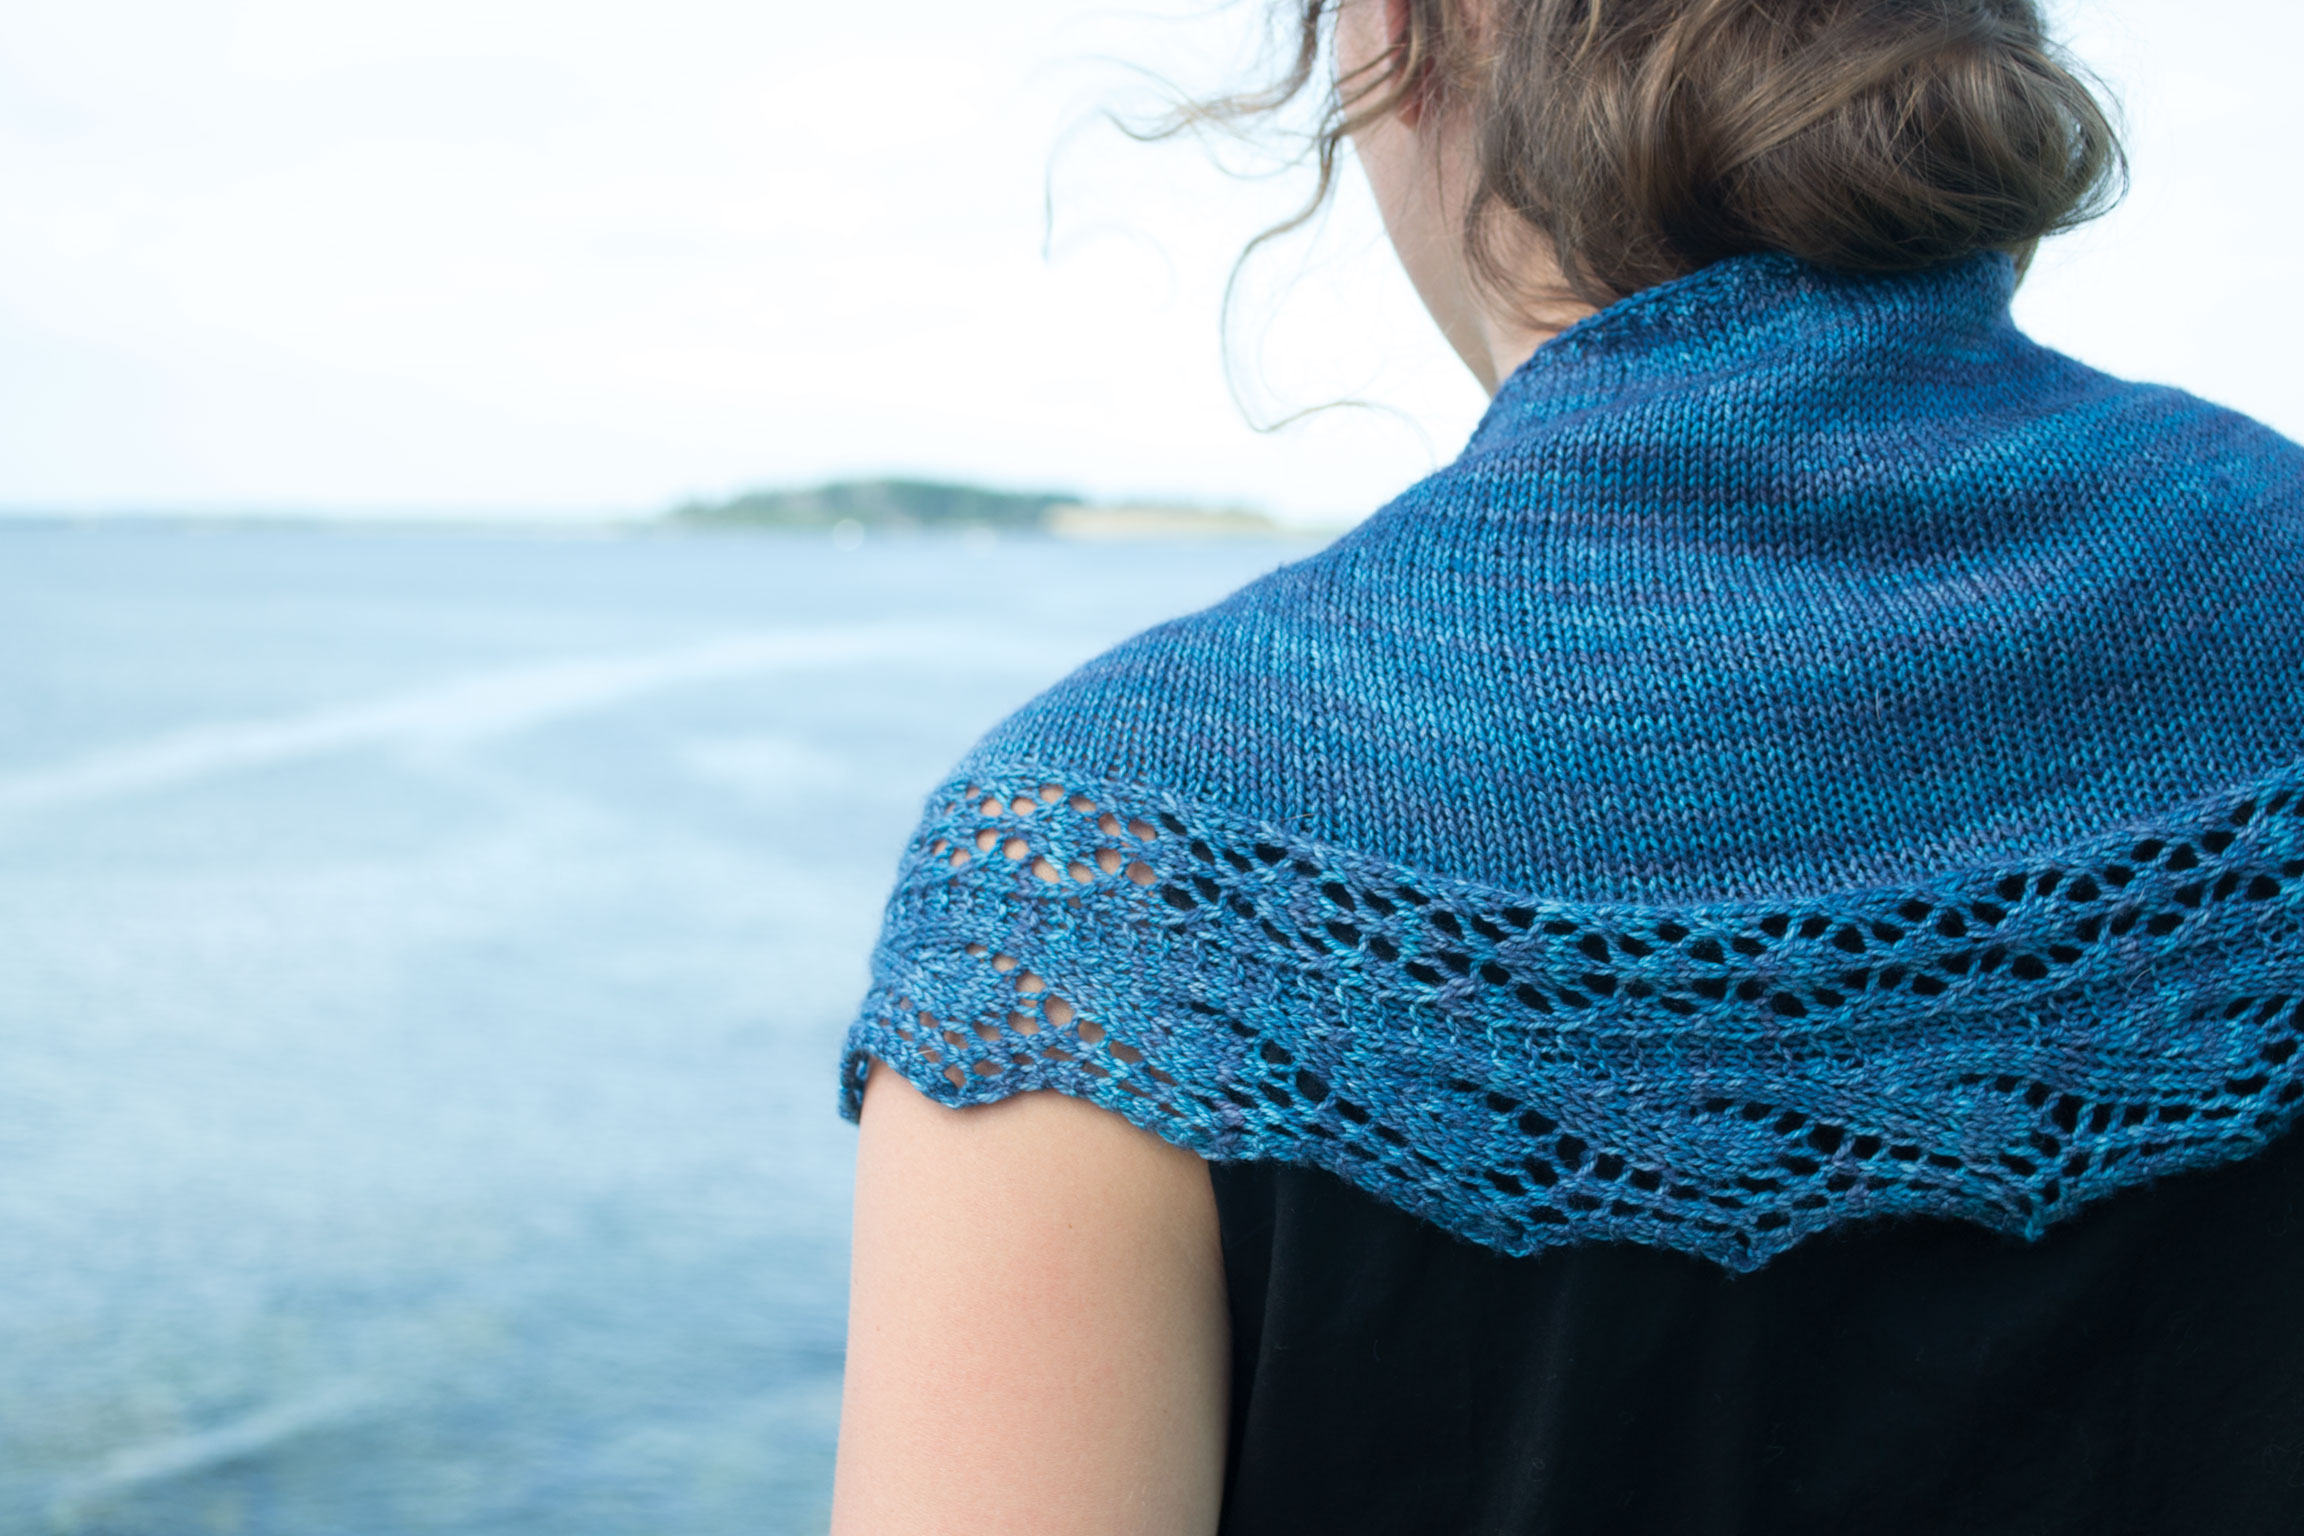
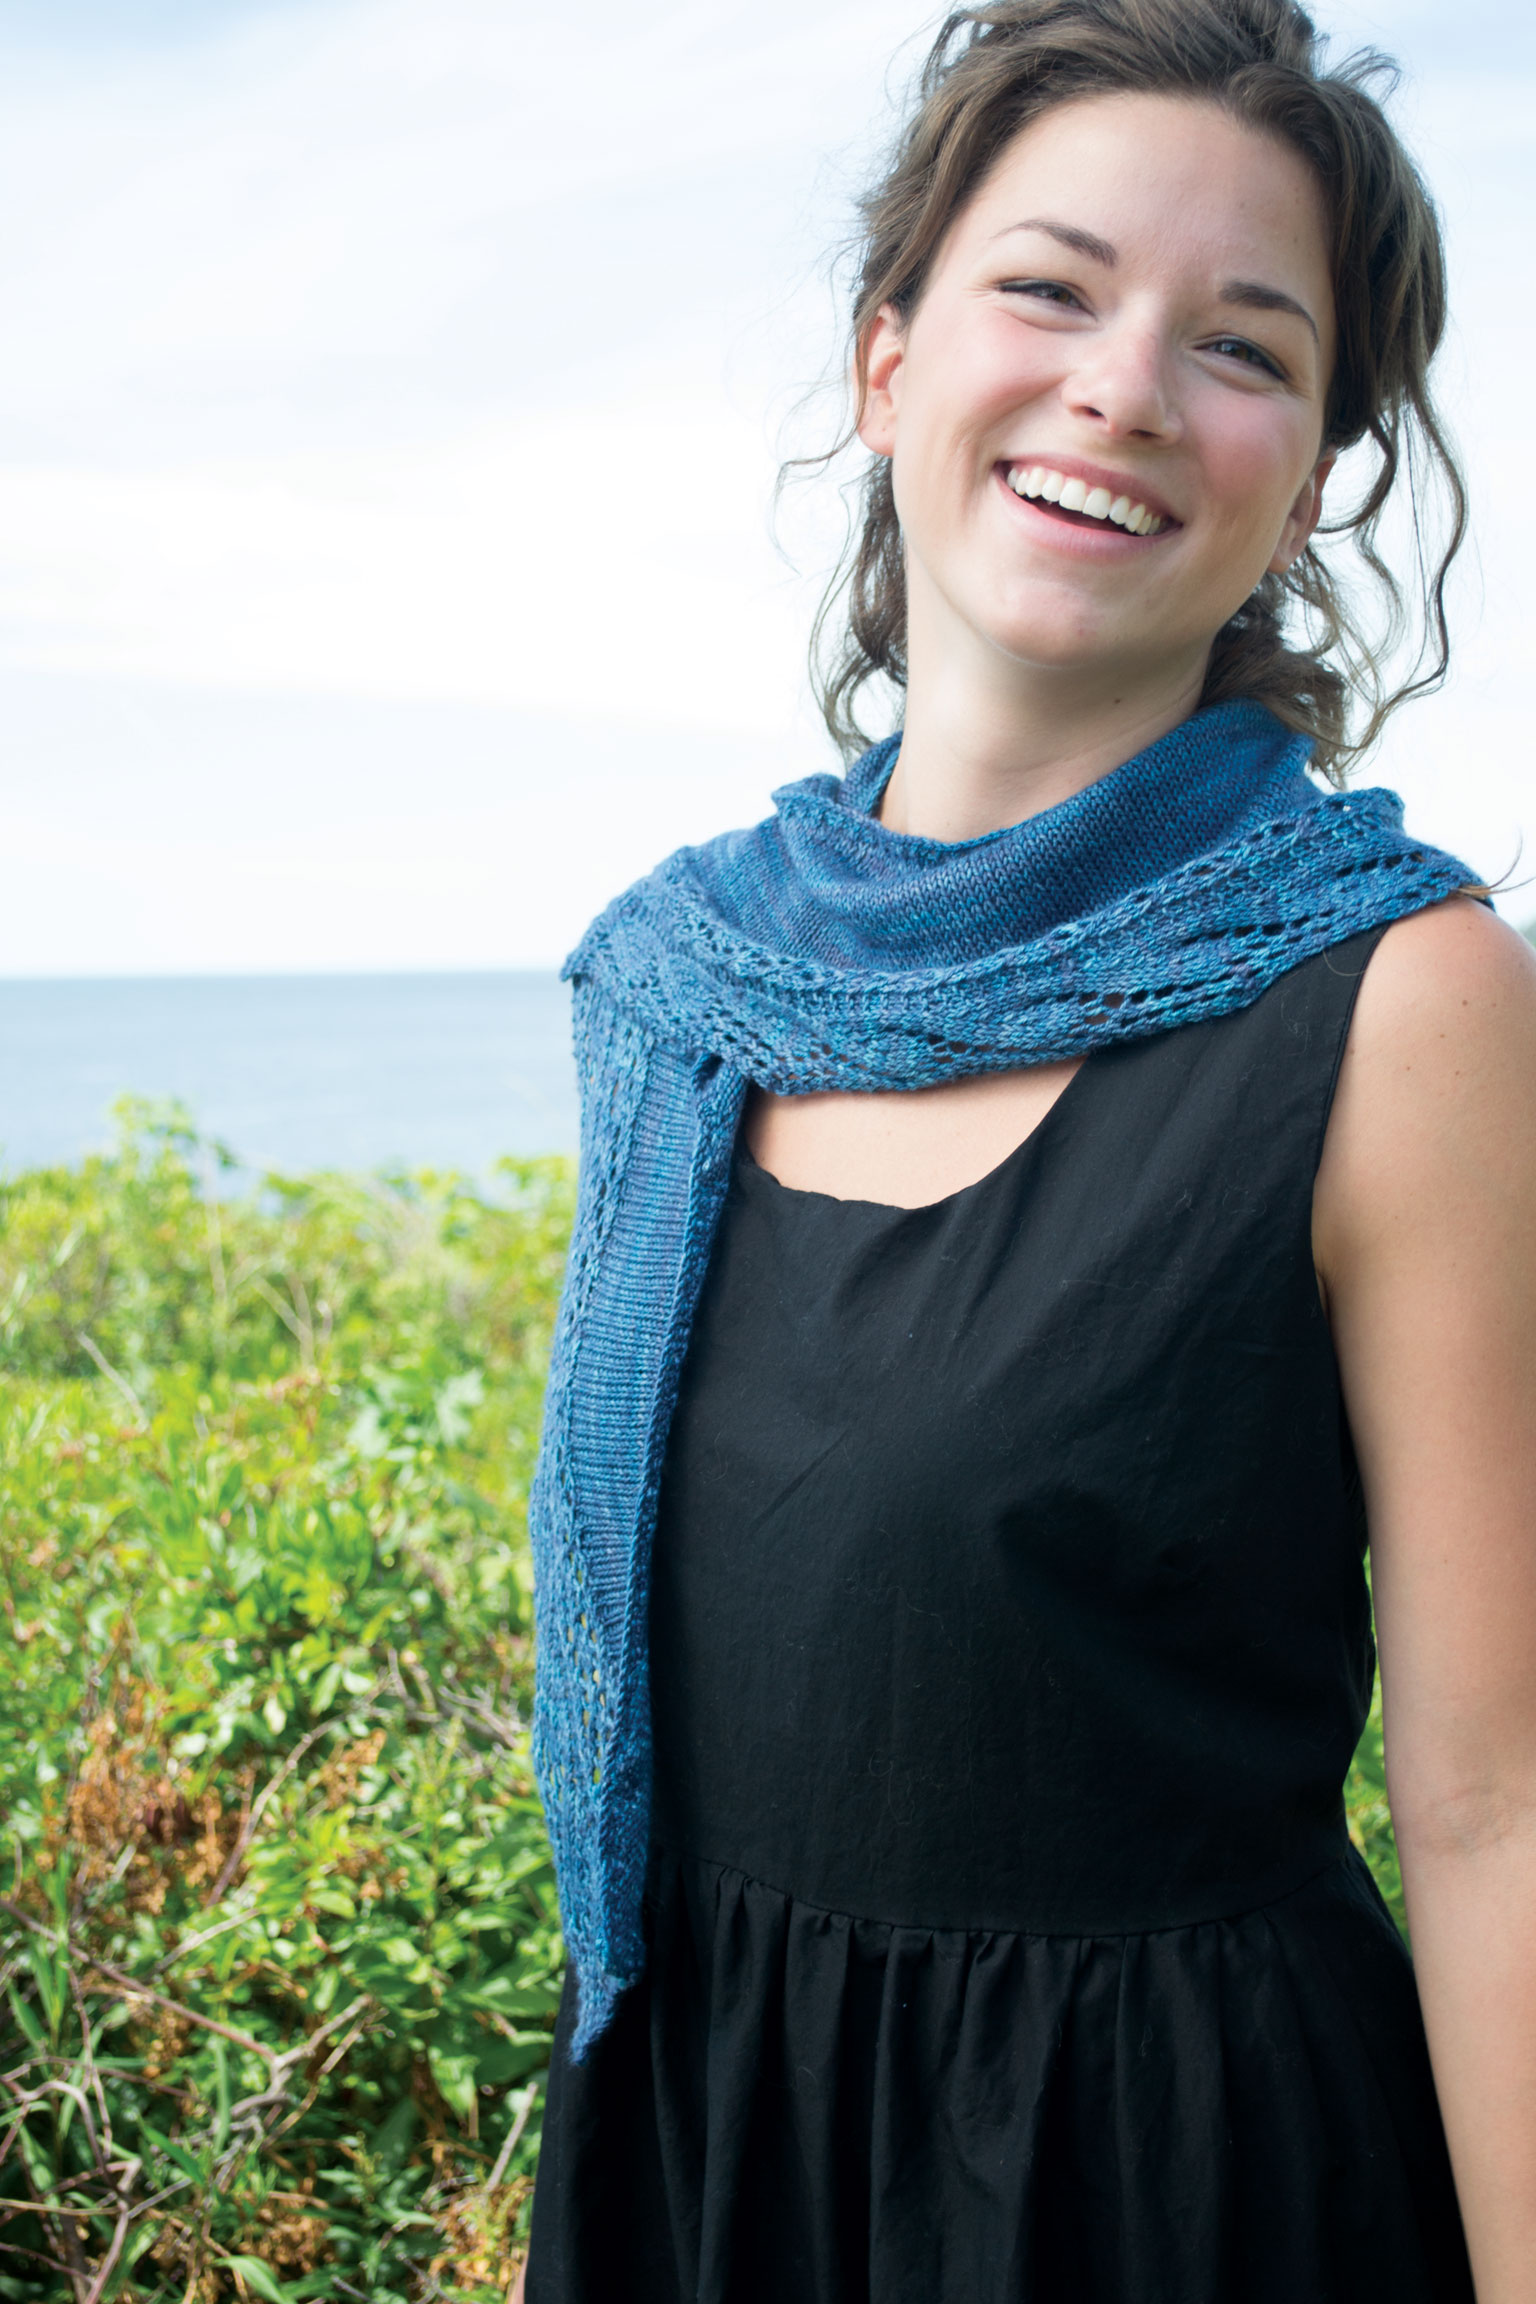
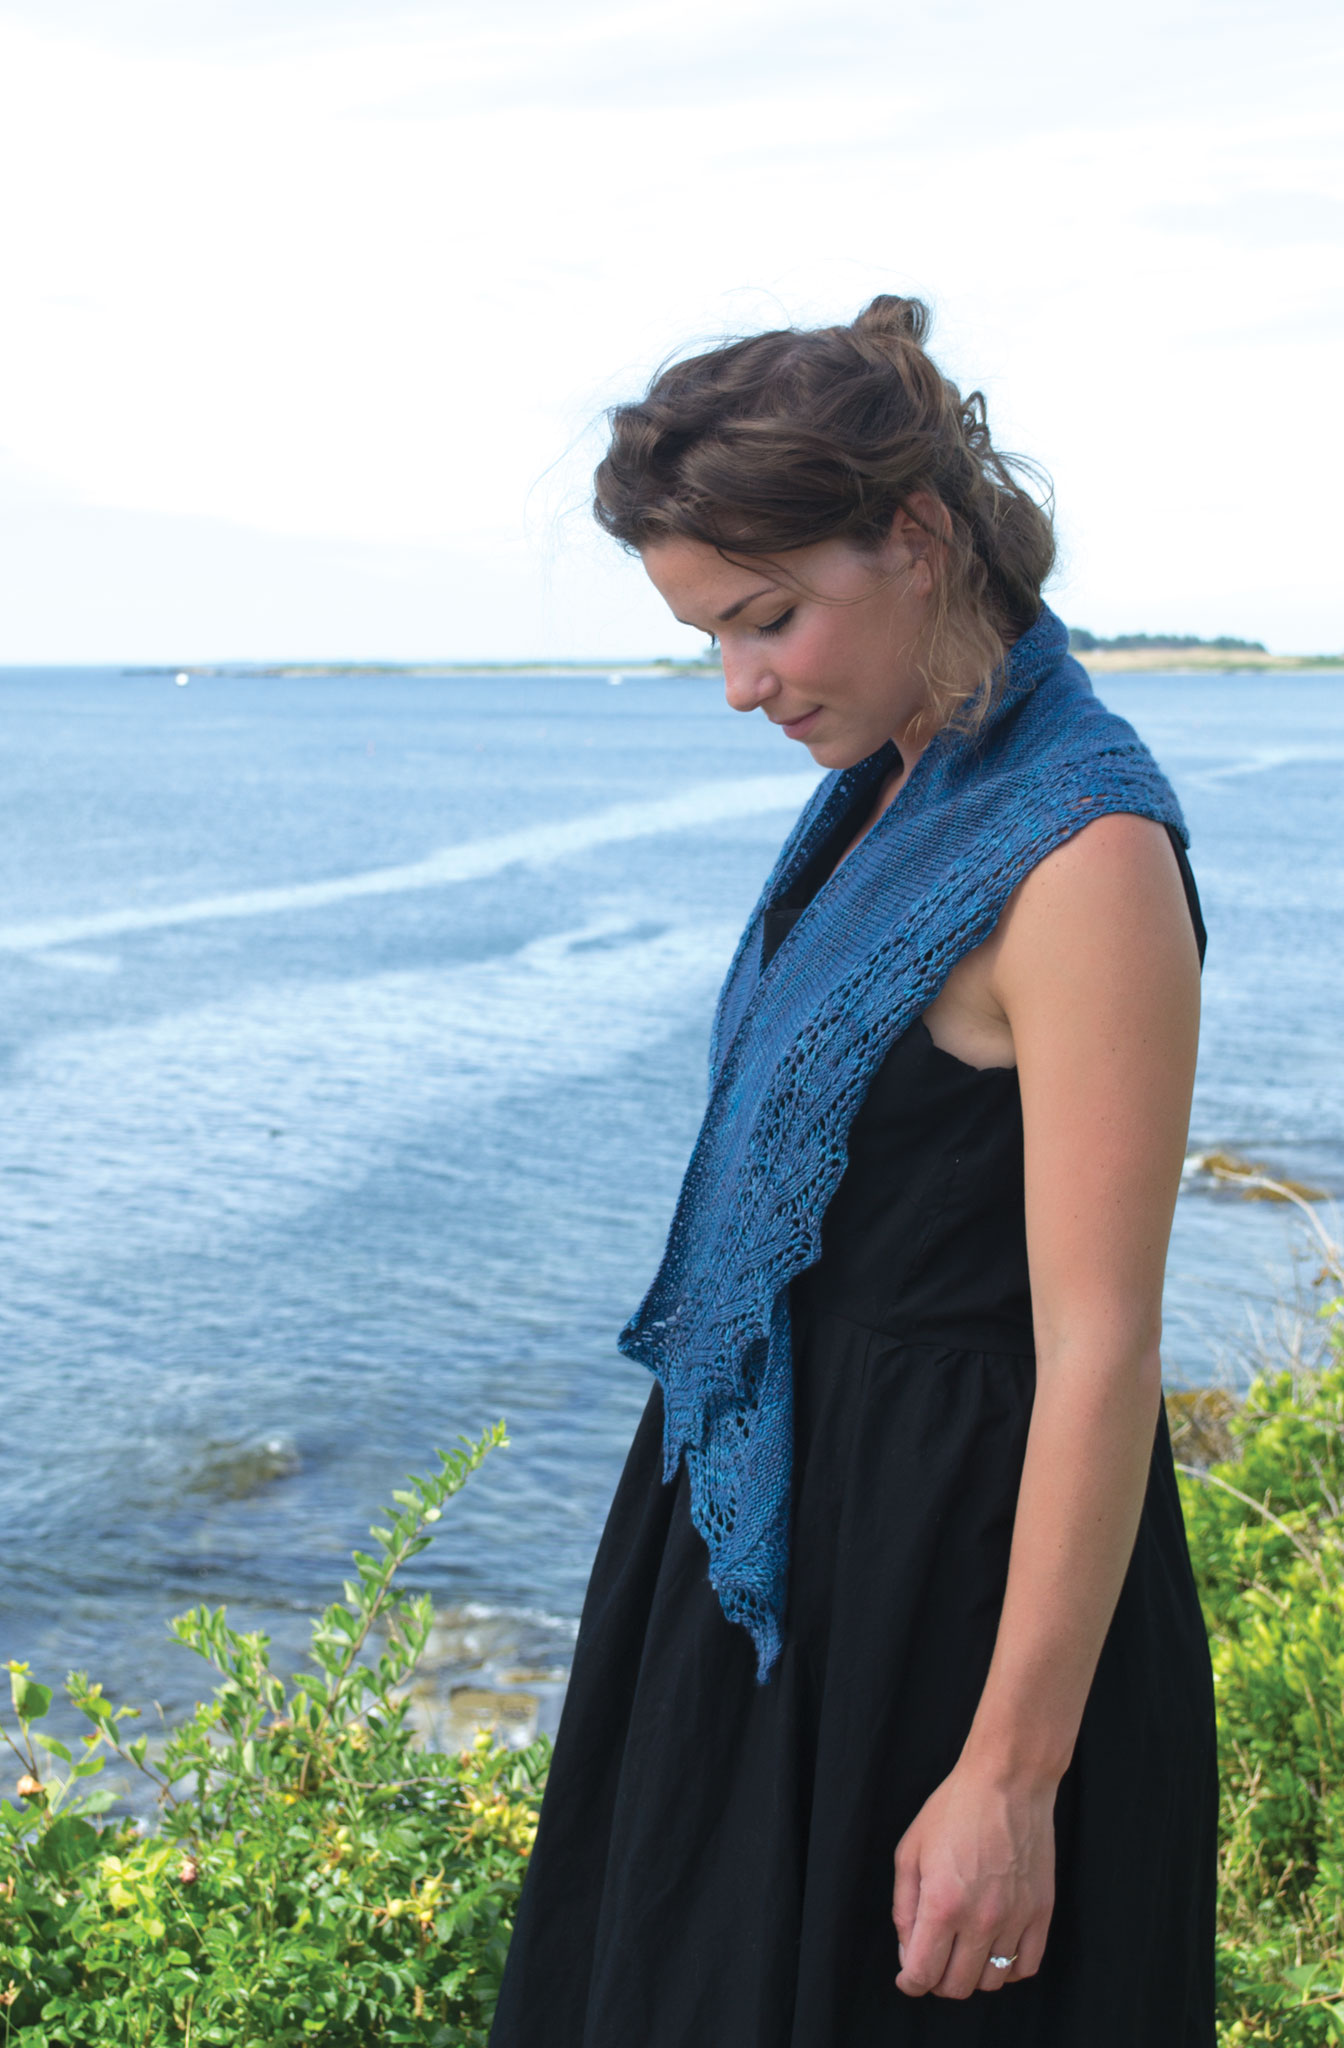
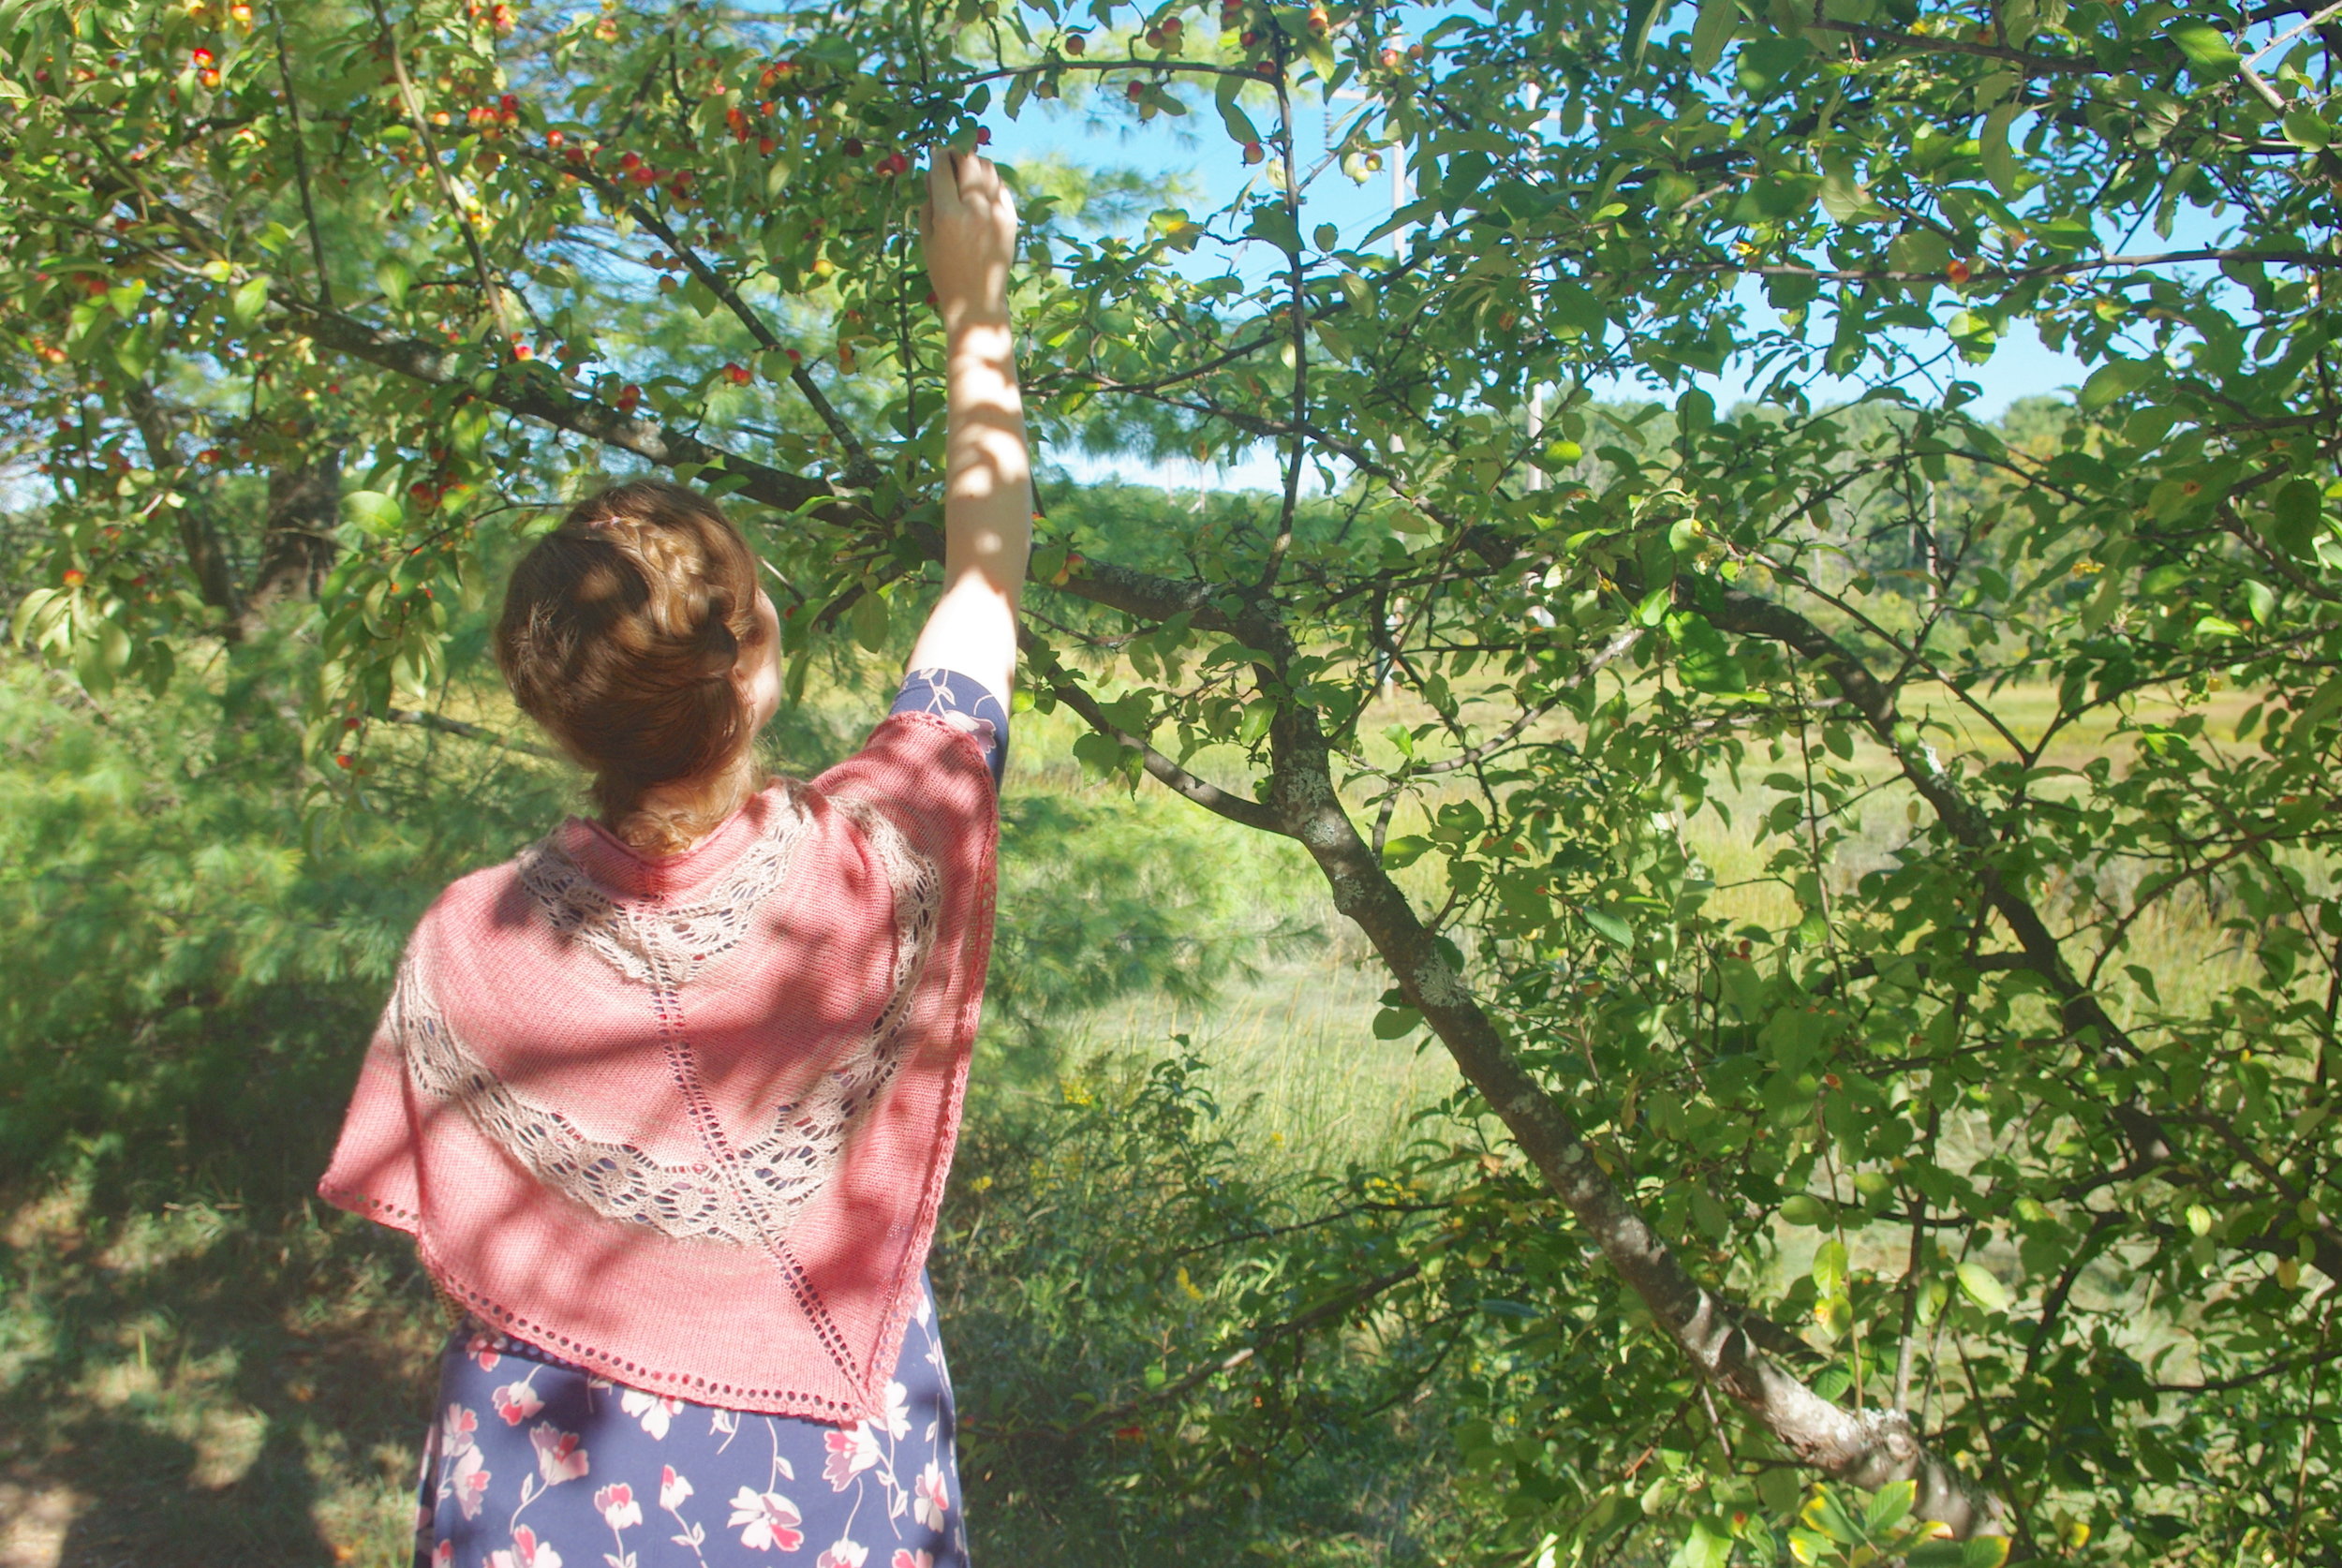
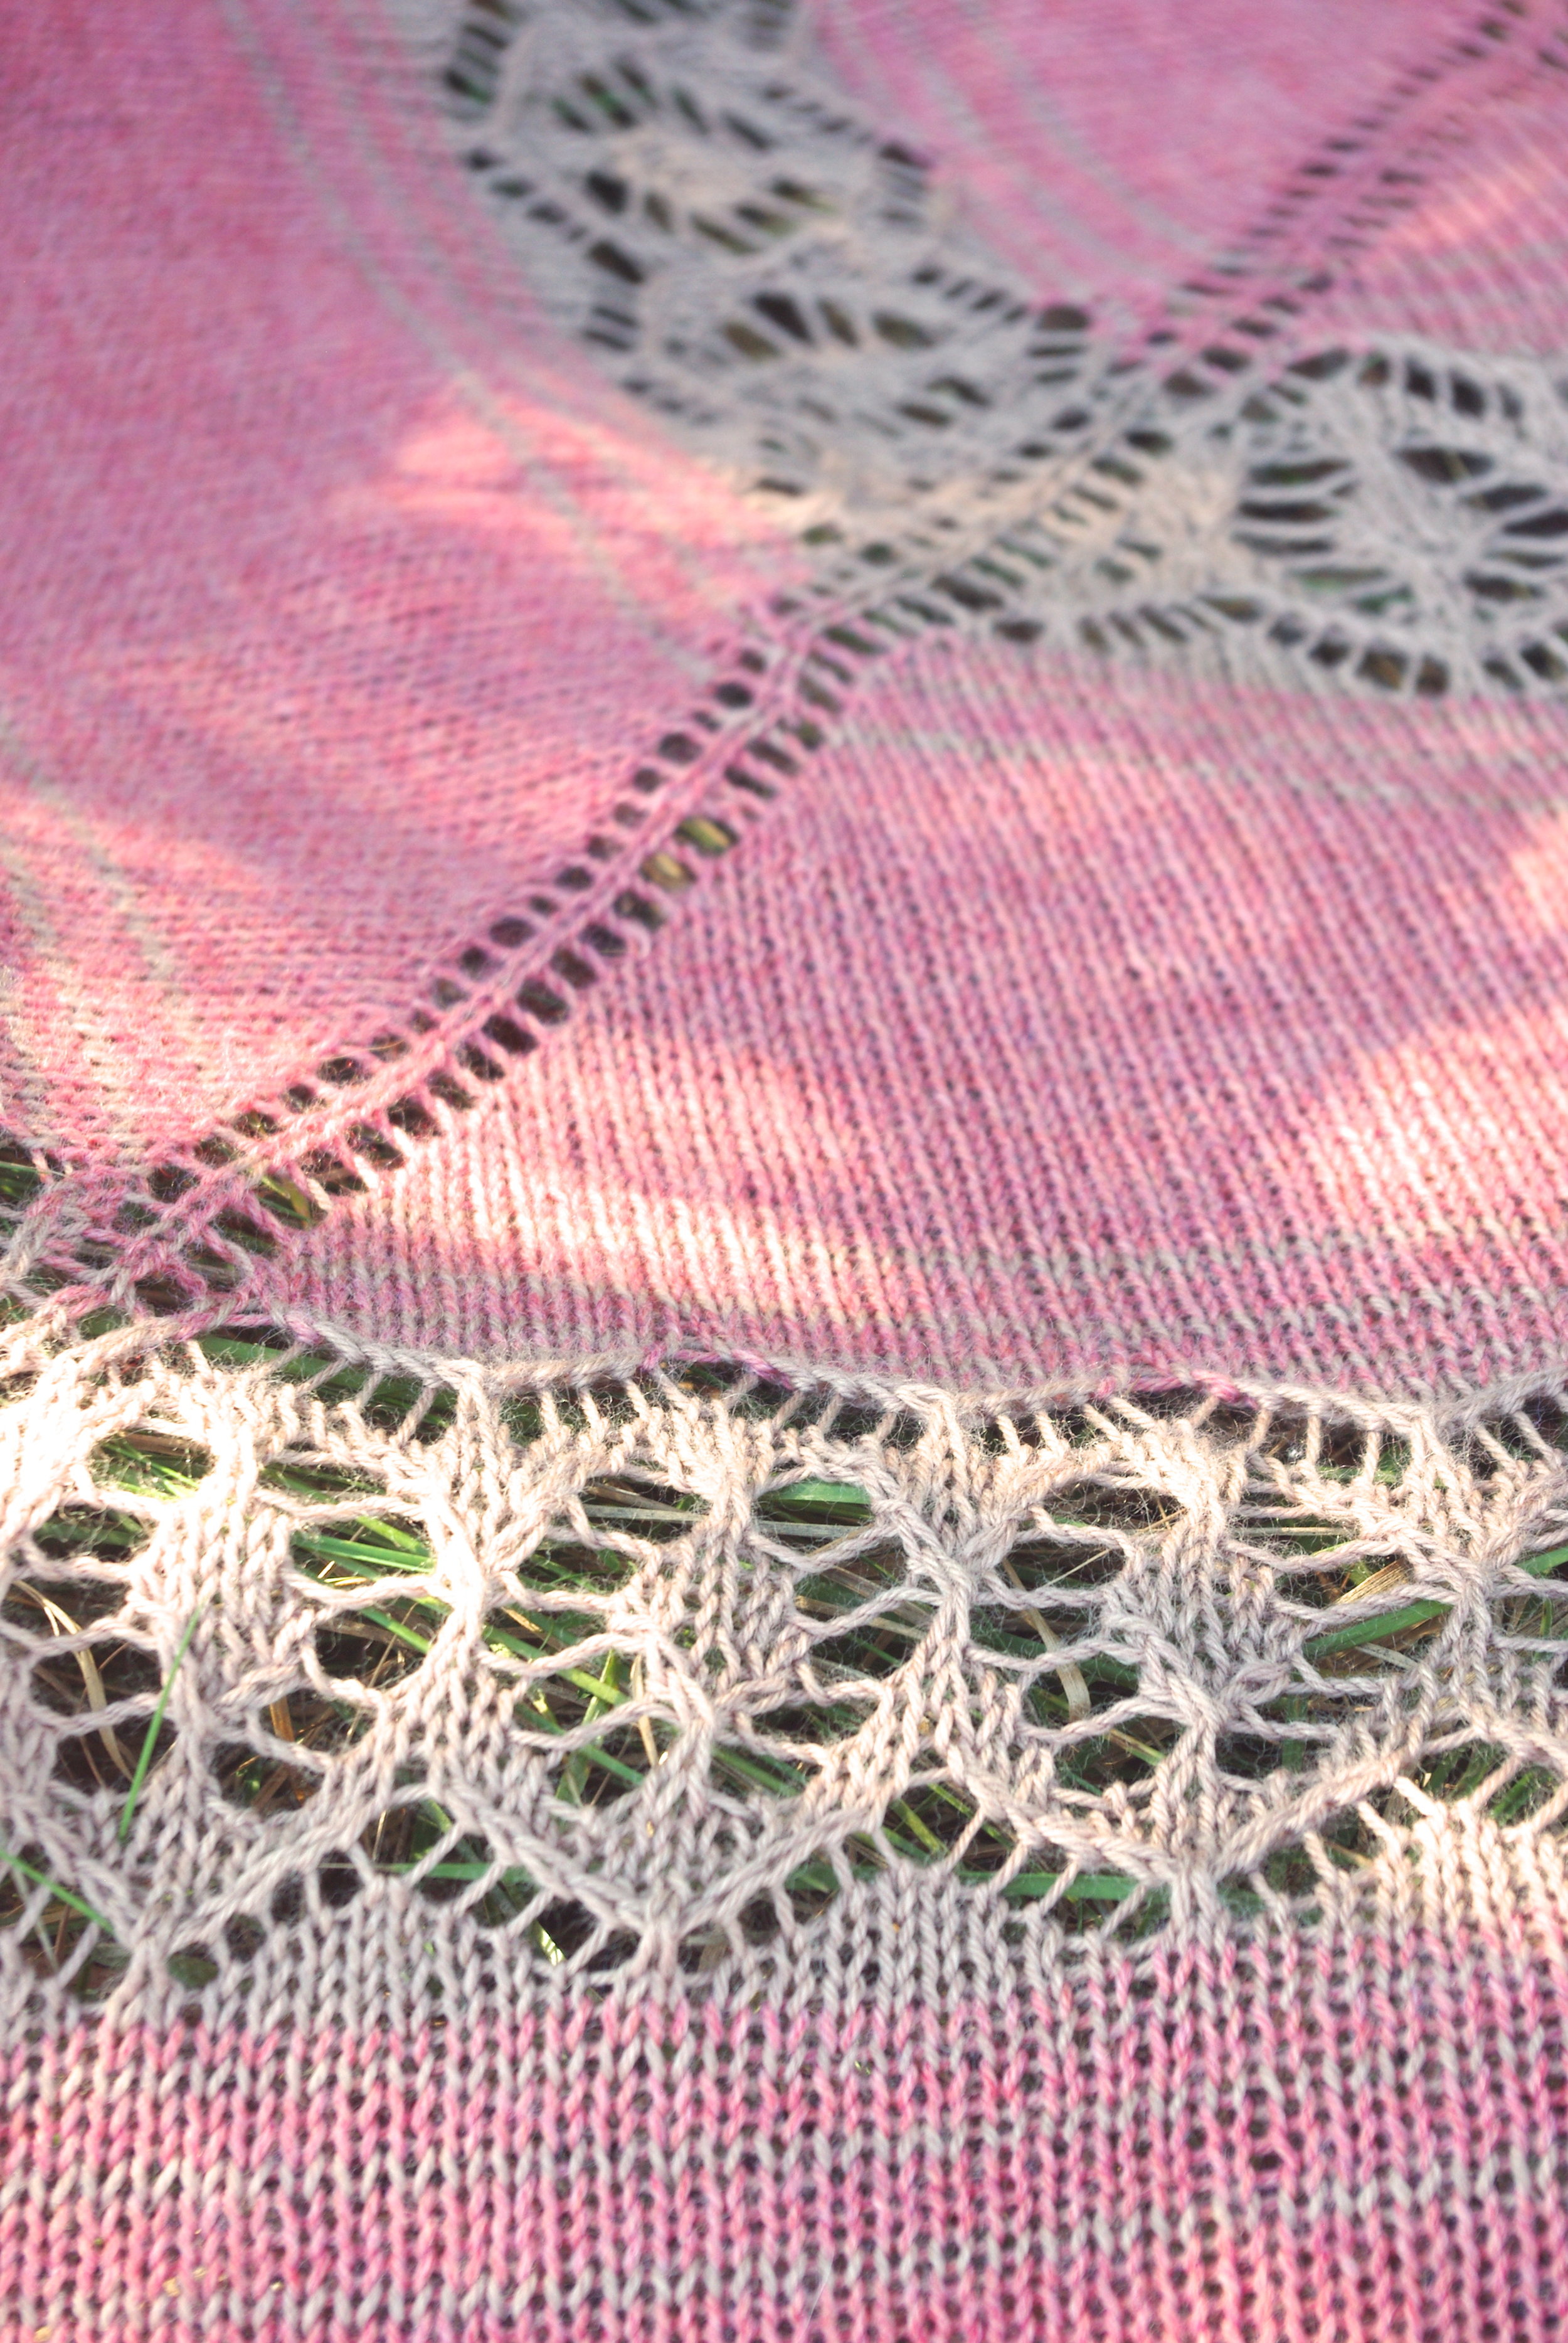
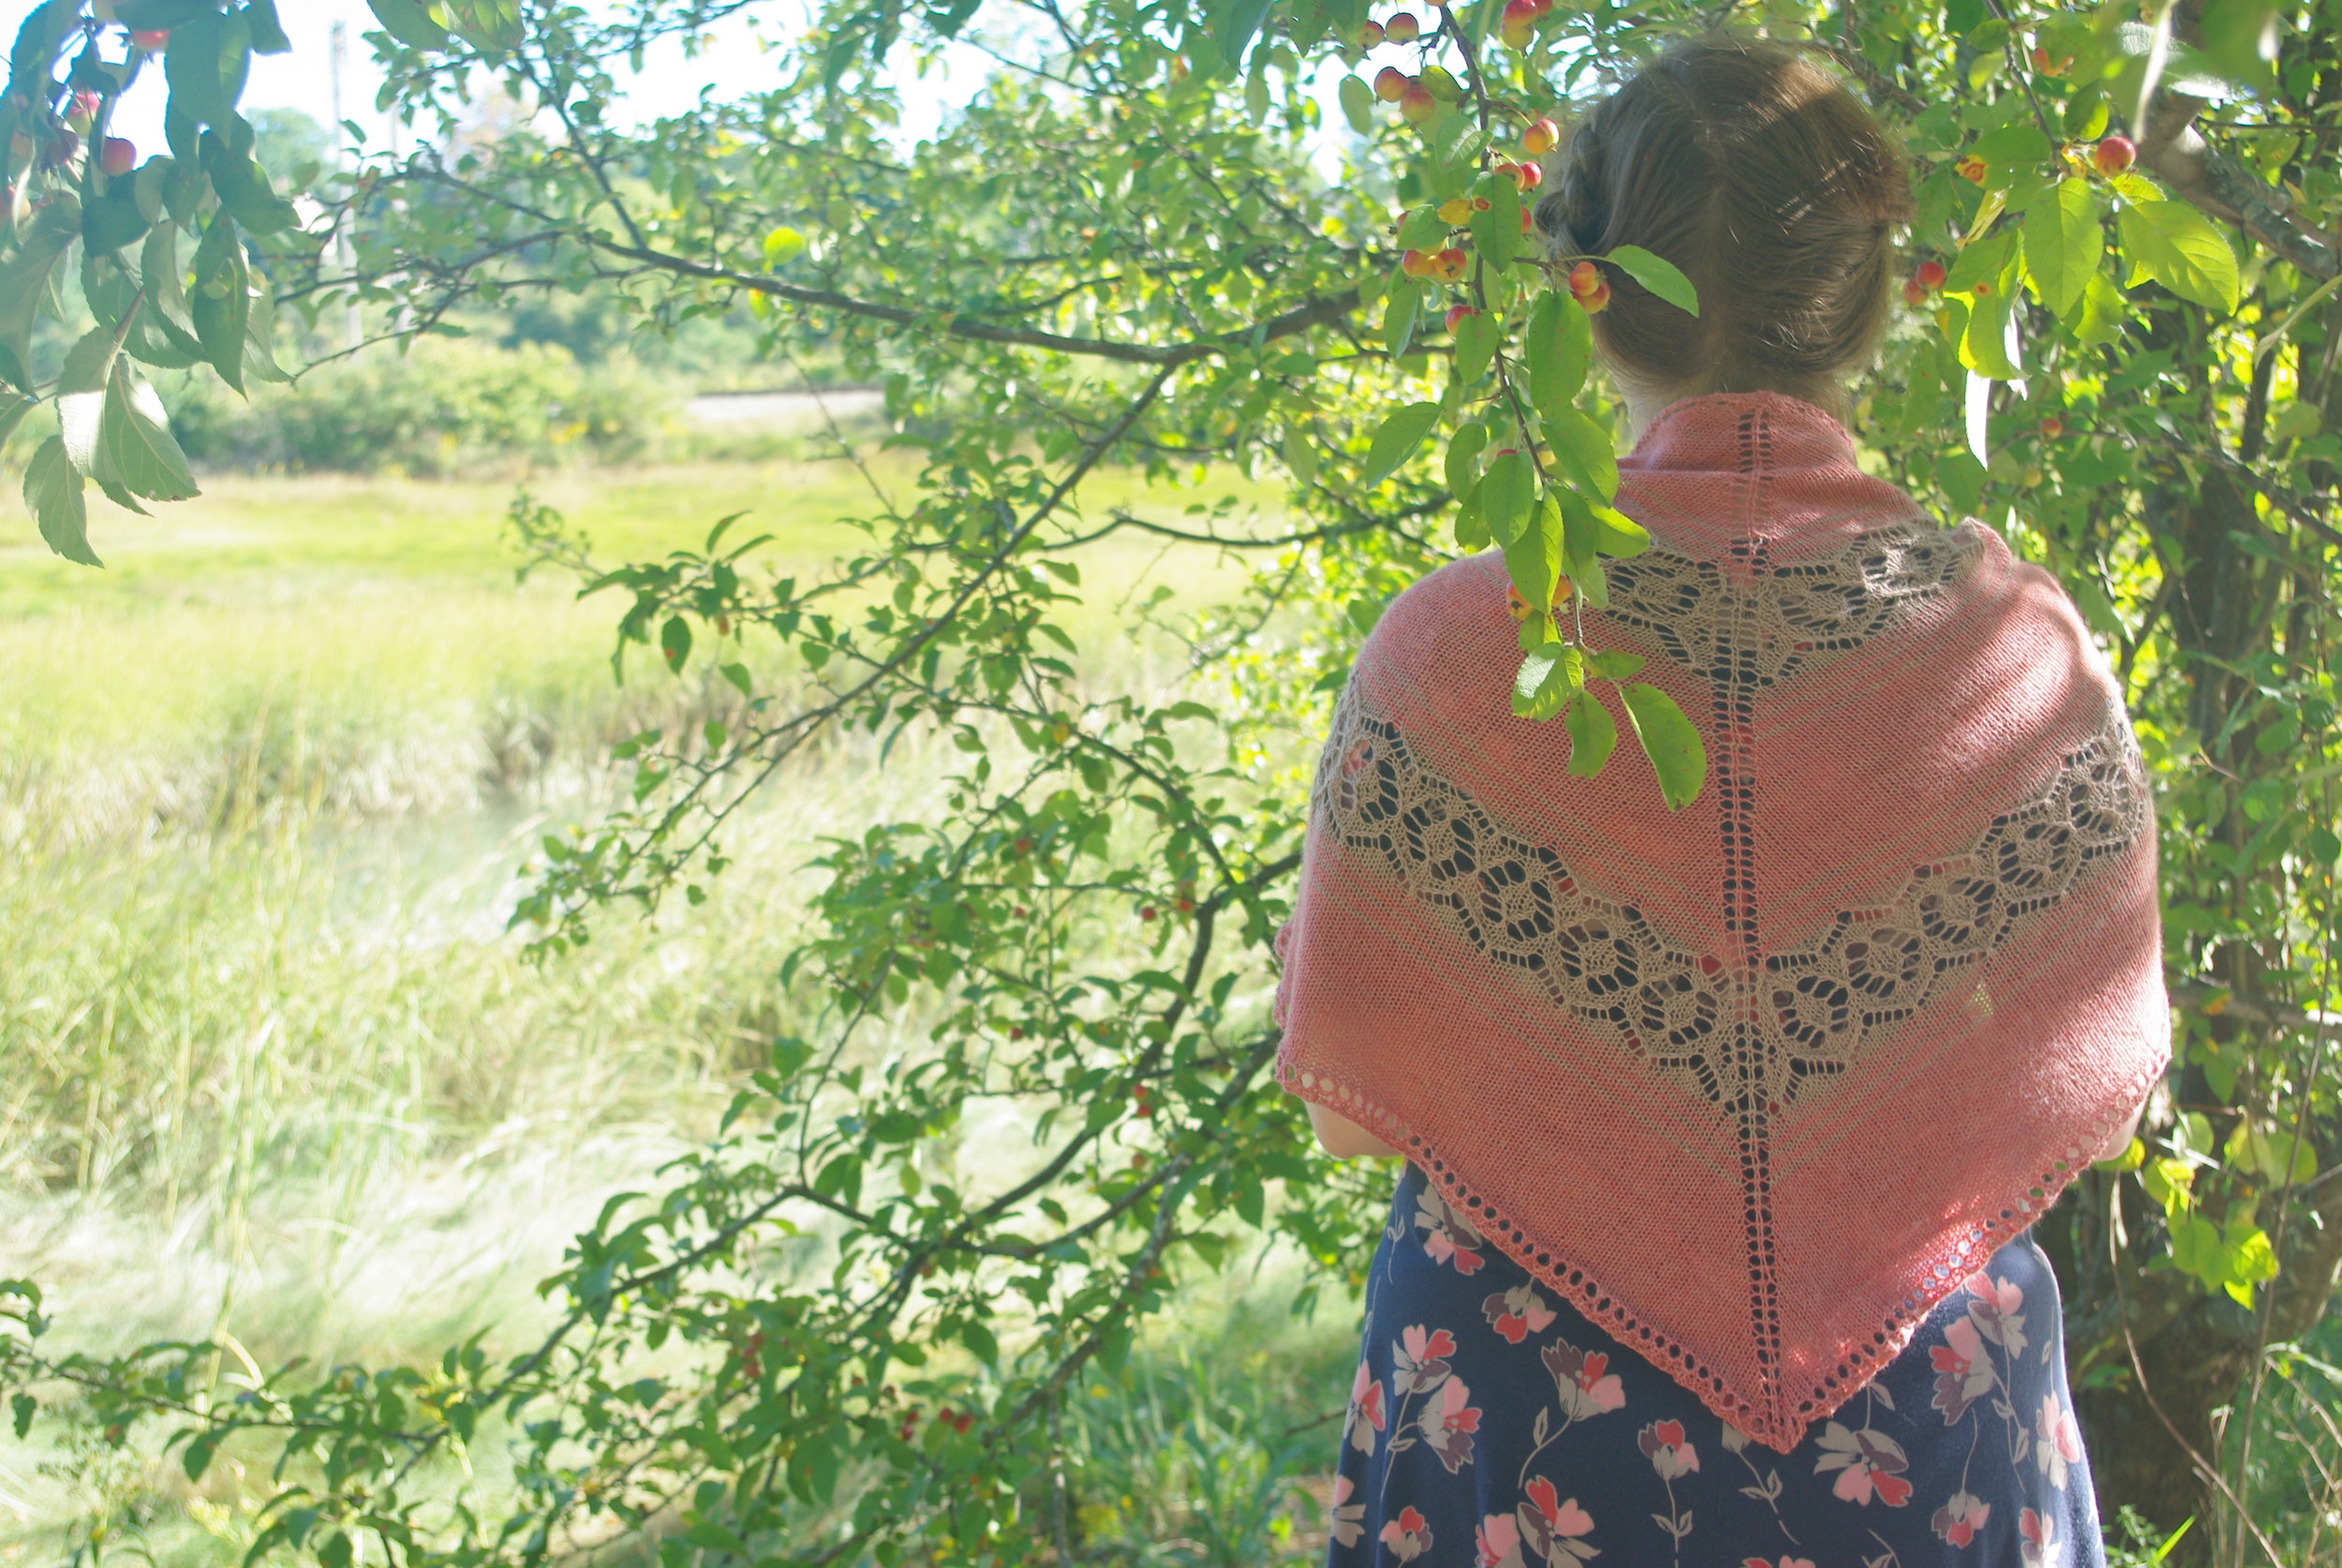
My contribution is the Cresting Waves shawl, knit in String Theory Yarn. As the name indicates, I went with the sea as my inspiration and came up with this simple shawl.  As shown, the shawl only uses 1 skein/345 yards of fingering weight yarn, making it the perfect project for that special skein. Instructions are also provided for making deeper versions for a more generous shawl. 

The lace border is worked first, then stitches are picked up along the edge for the body, which is worked in short rows. It's a great project for those nervous about tackling lace, because if you mess up a lace row, it's only about 20 stitches to pull back. You can read more about my thoughts on knitting, Maine and this design over on Bea's blog - Thread and Ladle. You can also pre-order the book on the site, which will ship in January. I've had a chance to see a proof of the whole book, and it really is lovely, filled with great patterns and beautiful photography. 

If you'd like, you can also give the pattern some love, or queue it up on Ravelry, where Bea will be releasing a preview of each of the patterns over the coming days. 

More to come on the book in January, including information about a launch party! :) 


Print Friendly and PDF Follow
follow us in feedly

Indie Design Gift-A-Long 2016 Sale

Gift-A-Long Sale!!
For the second year, I'm participating in the Indie Design gift-a-long on Ravelry. The Indie Design Gift-A-Long is a 6 week long KAL/CAL of holiday gifts made from patterns designed by hundreds of independent designers.

From November 22nd at 8pm (US-EST) through November 30th at 11:59 pm (US-EST) I, along with many 334 other indie designers will be discounting between 5 - 20 of our patterns 25% for this event with the code giftalong2016. The code is good both in my Ms. Cleaver and Ravelry shops. 

In addition to the giftalong patterns, I'll also be discounting all kits in my shop by 10% for same period (Nov 22-30).

You can find all 20 of my discounted patterns above, or here:   

Ms. Cleaver Creations    ||    Ravelry

While the knit-a-long portion (with numerous prizes!) of the Gift-A-Long is ongoing, the sale ends tomorrow, so I've curated some of my favorite offerings from other designers to consider in the following Pinterest board, a few of which I'll be snagging myself. :) 

Happy Holiday Knitting!!

Print Friendly and PDF Follow
follow us in feedly

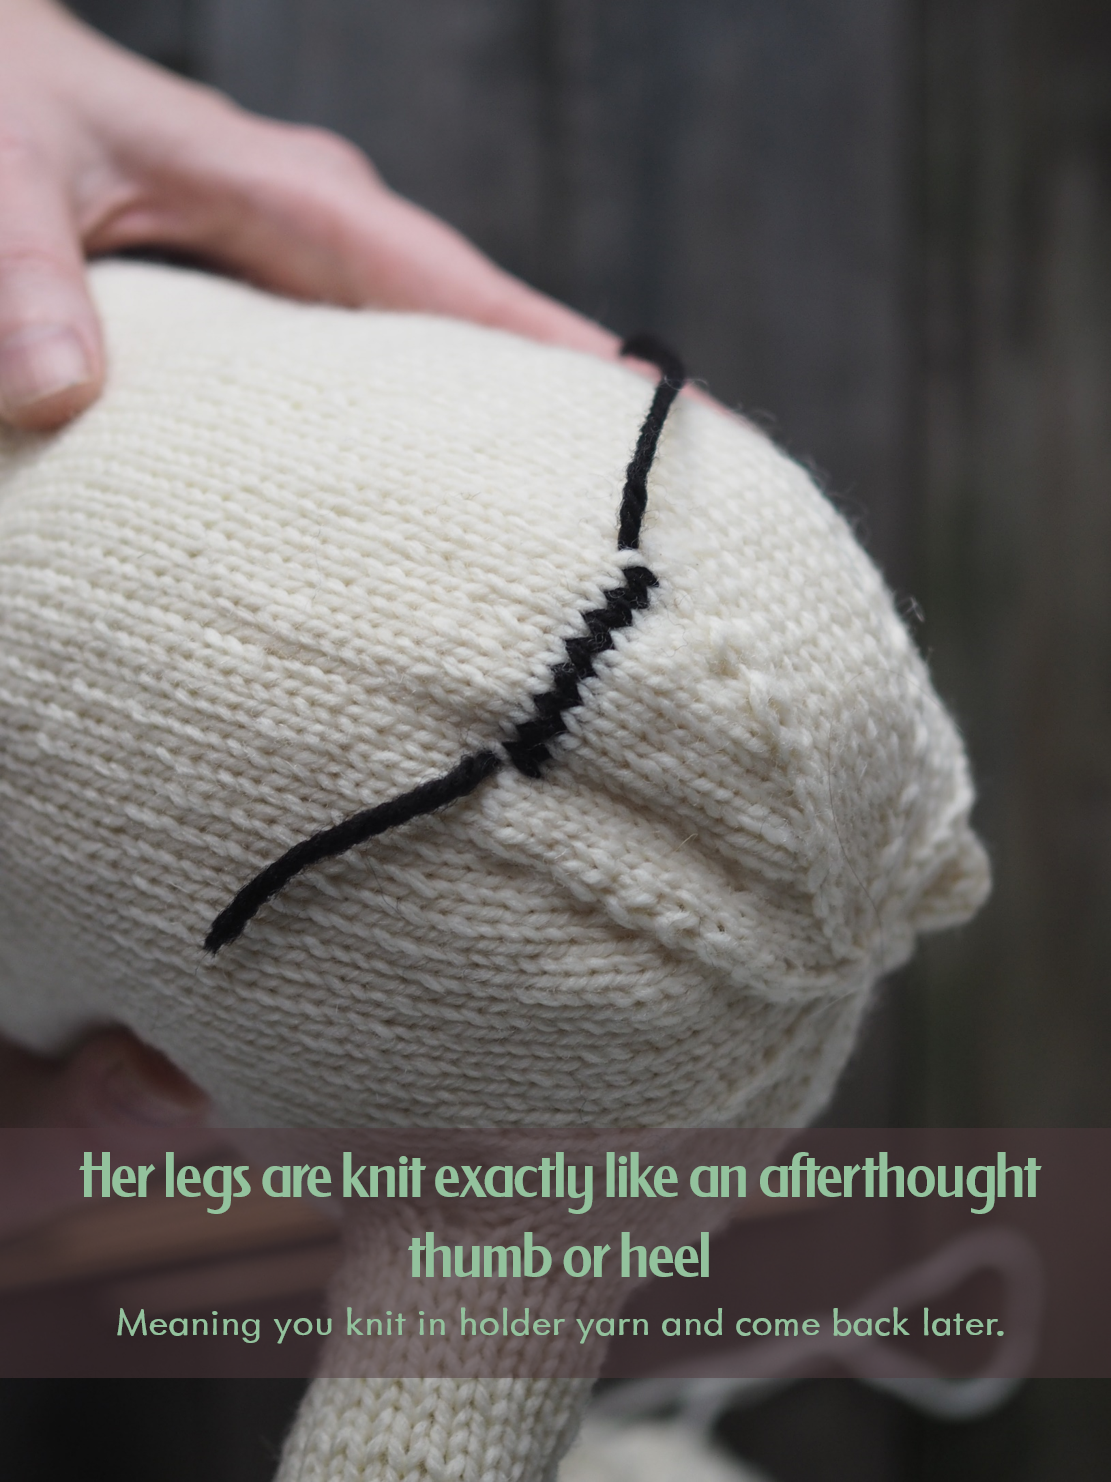
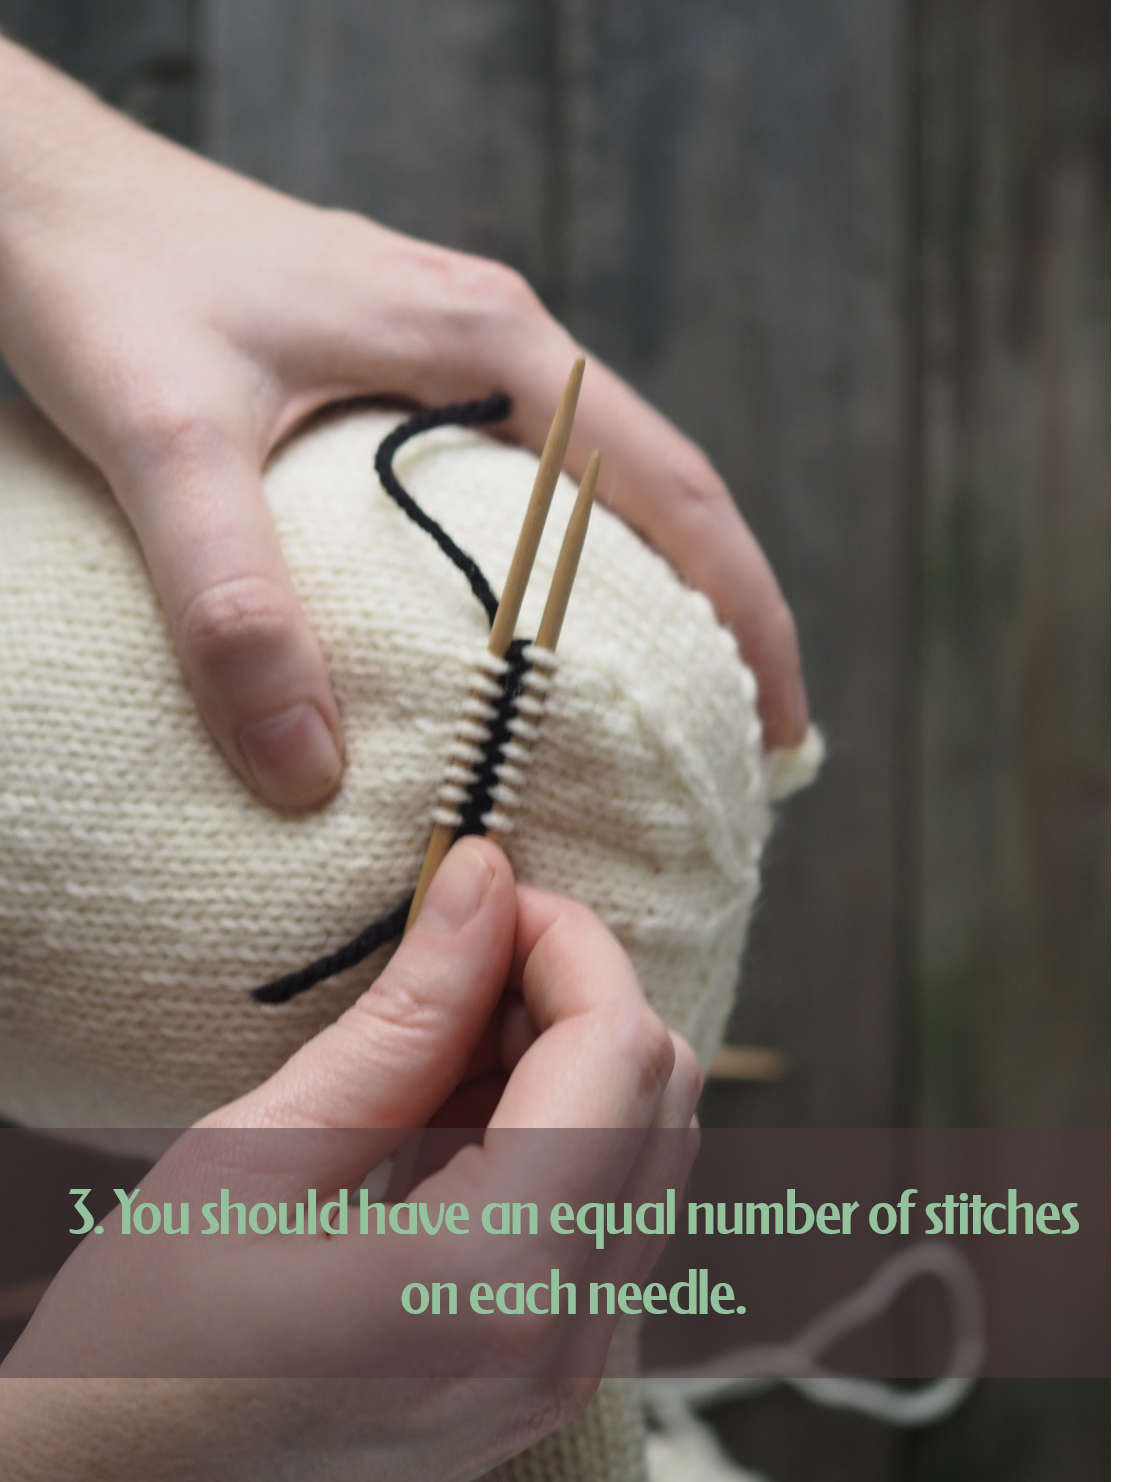
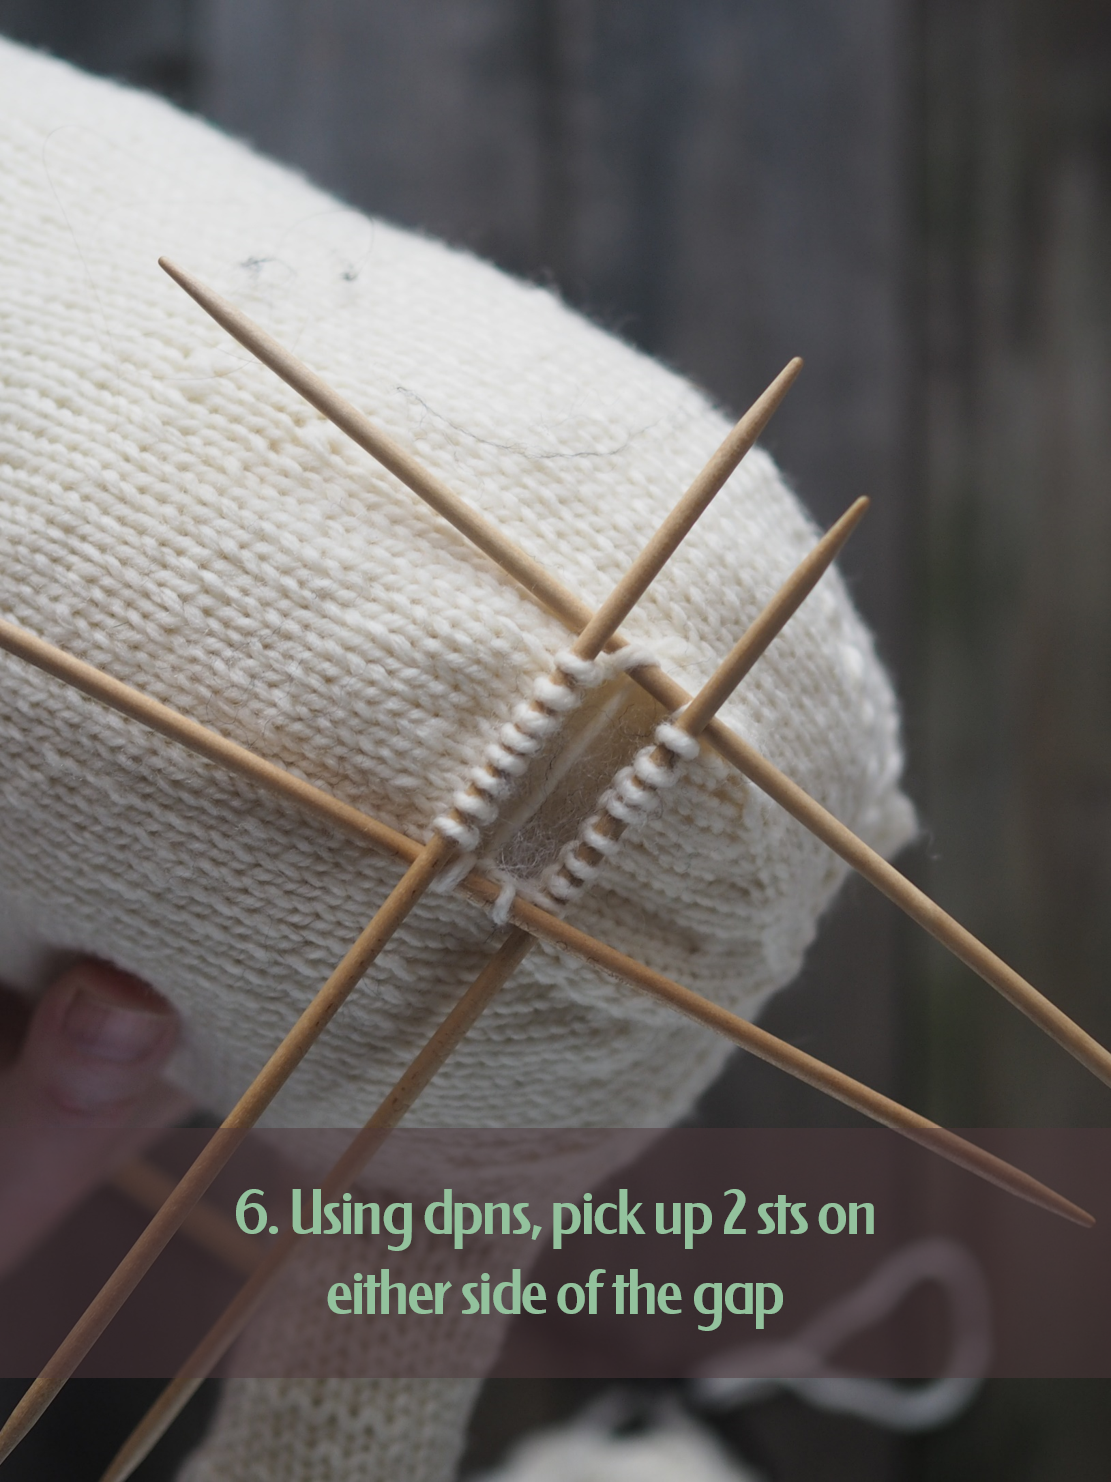
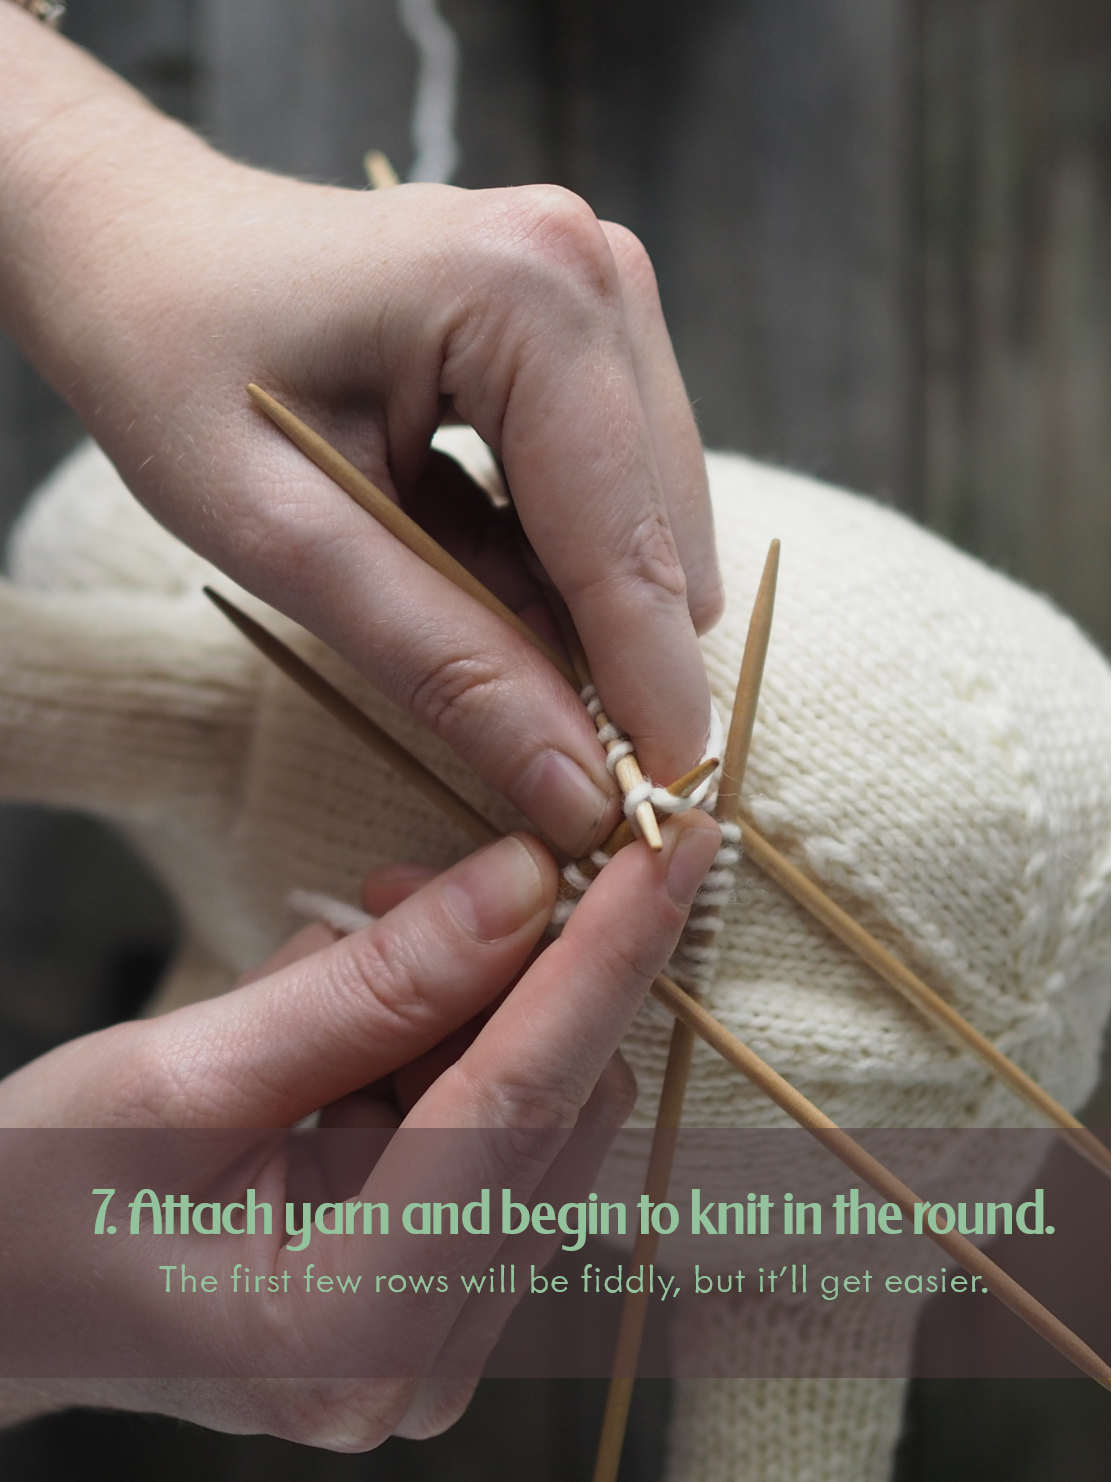
Tutorial: Knitting an afterthought leg (or thumb or heel)

Afterthoughtlegtutorial (1).png

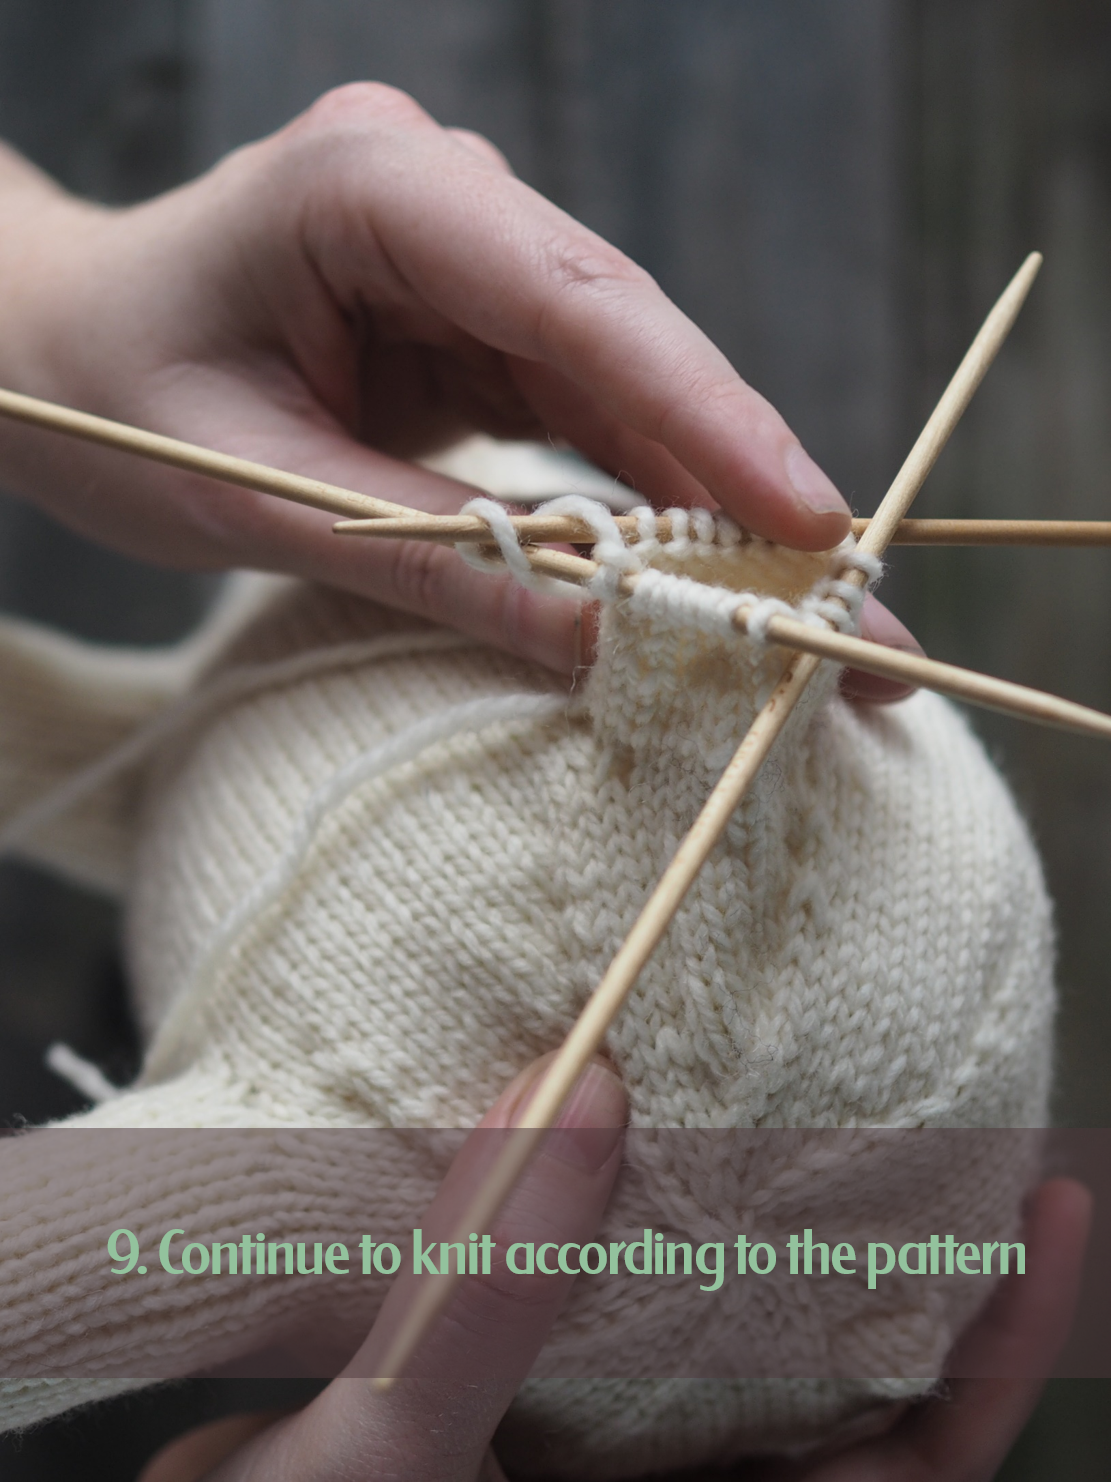
I like to knit my stuffed animals as seamlessly as possible. Seams can be weak spots, particularly when being pulled and dragged about by little hands. So I've designed all my stuffed animals with seamless appendages. They're set up the same way you would do an afterthought heel on a sock, or an afterthought thumb on a mitten, but if you haven't done it before, it can be a bit fiddly. So let's walk through it together, shall we? 

Want to knit a cuddly and strong seamless friend of your own? I'll be selling Bradac kits this Saturday (11/19) at Knitwit yarn shop in Portland or check out my toy designs below!


Print Friendly and PDF Follow
follow us in feedly

Quick Winter Knits and a Pop-Up Shop!!

West Branch Cowl by Leah B. Thibault
Bradac Polar Bear Kit
Ms. Cleaver Creations Project Bag
Eiswasser by Leah B. Thibault
West Branch Cowl by Leah B. Thibault
Eiswasser by Leah B. Thibault
West Branch Cowl by Leah B. Thibault
Eiswasser by Leah B. Thibault
Ms. Cleaver Creations Project Bag
Bradac Polar Bear design by Leah B. Thibault

I've been a busy little beaver of late. Without any looming deadlines, I've had time to just play with my knitting design, and in doing so, I've come up with a lot of fun, quick accessories to share with you, just in time for your own holiday knitting.

First up is Eiswasser: this spiraling knit toque is inspired by the snowpack on top of the mountains that melts into rivulets, which turns into streams and rivers. Eiswasser (or ice water in German) recreates those streams in a densely-cabled toque that is incredibly warm, despite its name and lighter-weight yarn. Top it off with a fluffy (faux) fur pompom or leave the spiraling crown open to view. The sample is knit in Manos Del Uruguay Milo in Lisboa a Merino/Linen blend that is divine to knit with and has a beautiful rustic look, but soft feel. Never have I been more sad to hand a sample off than I was when I dropped this off at Knitwit last week.

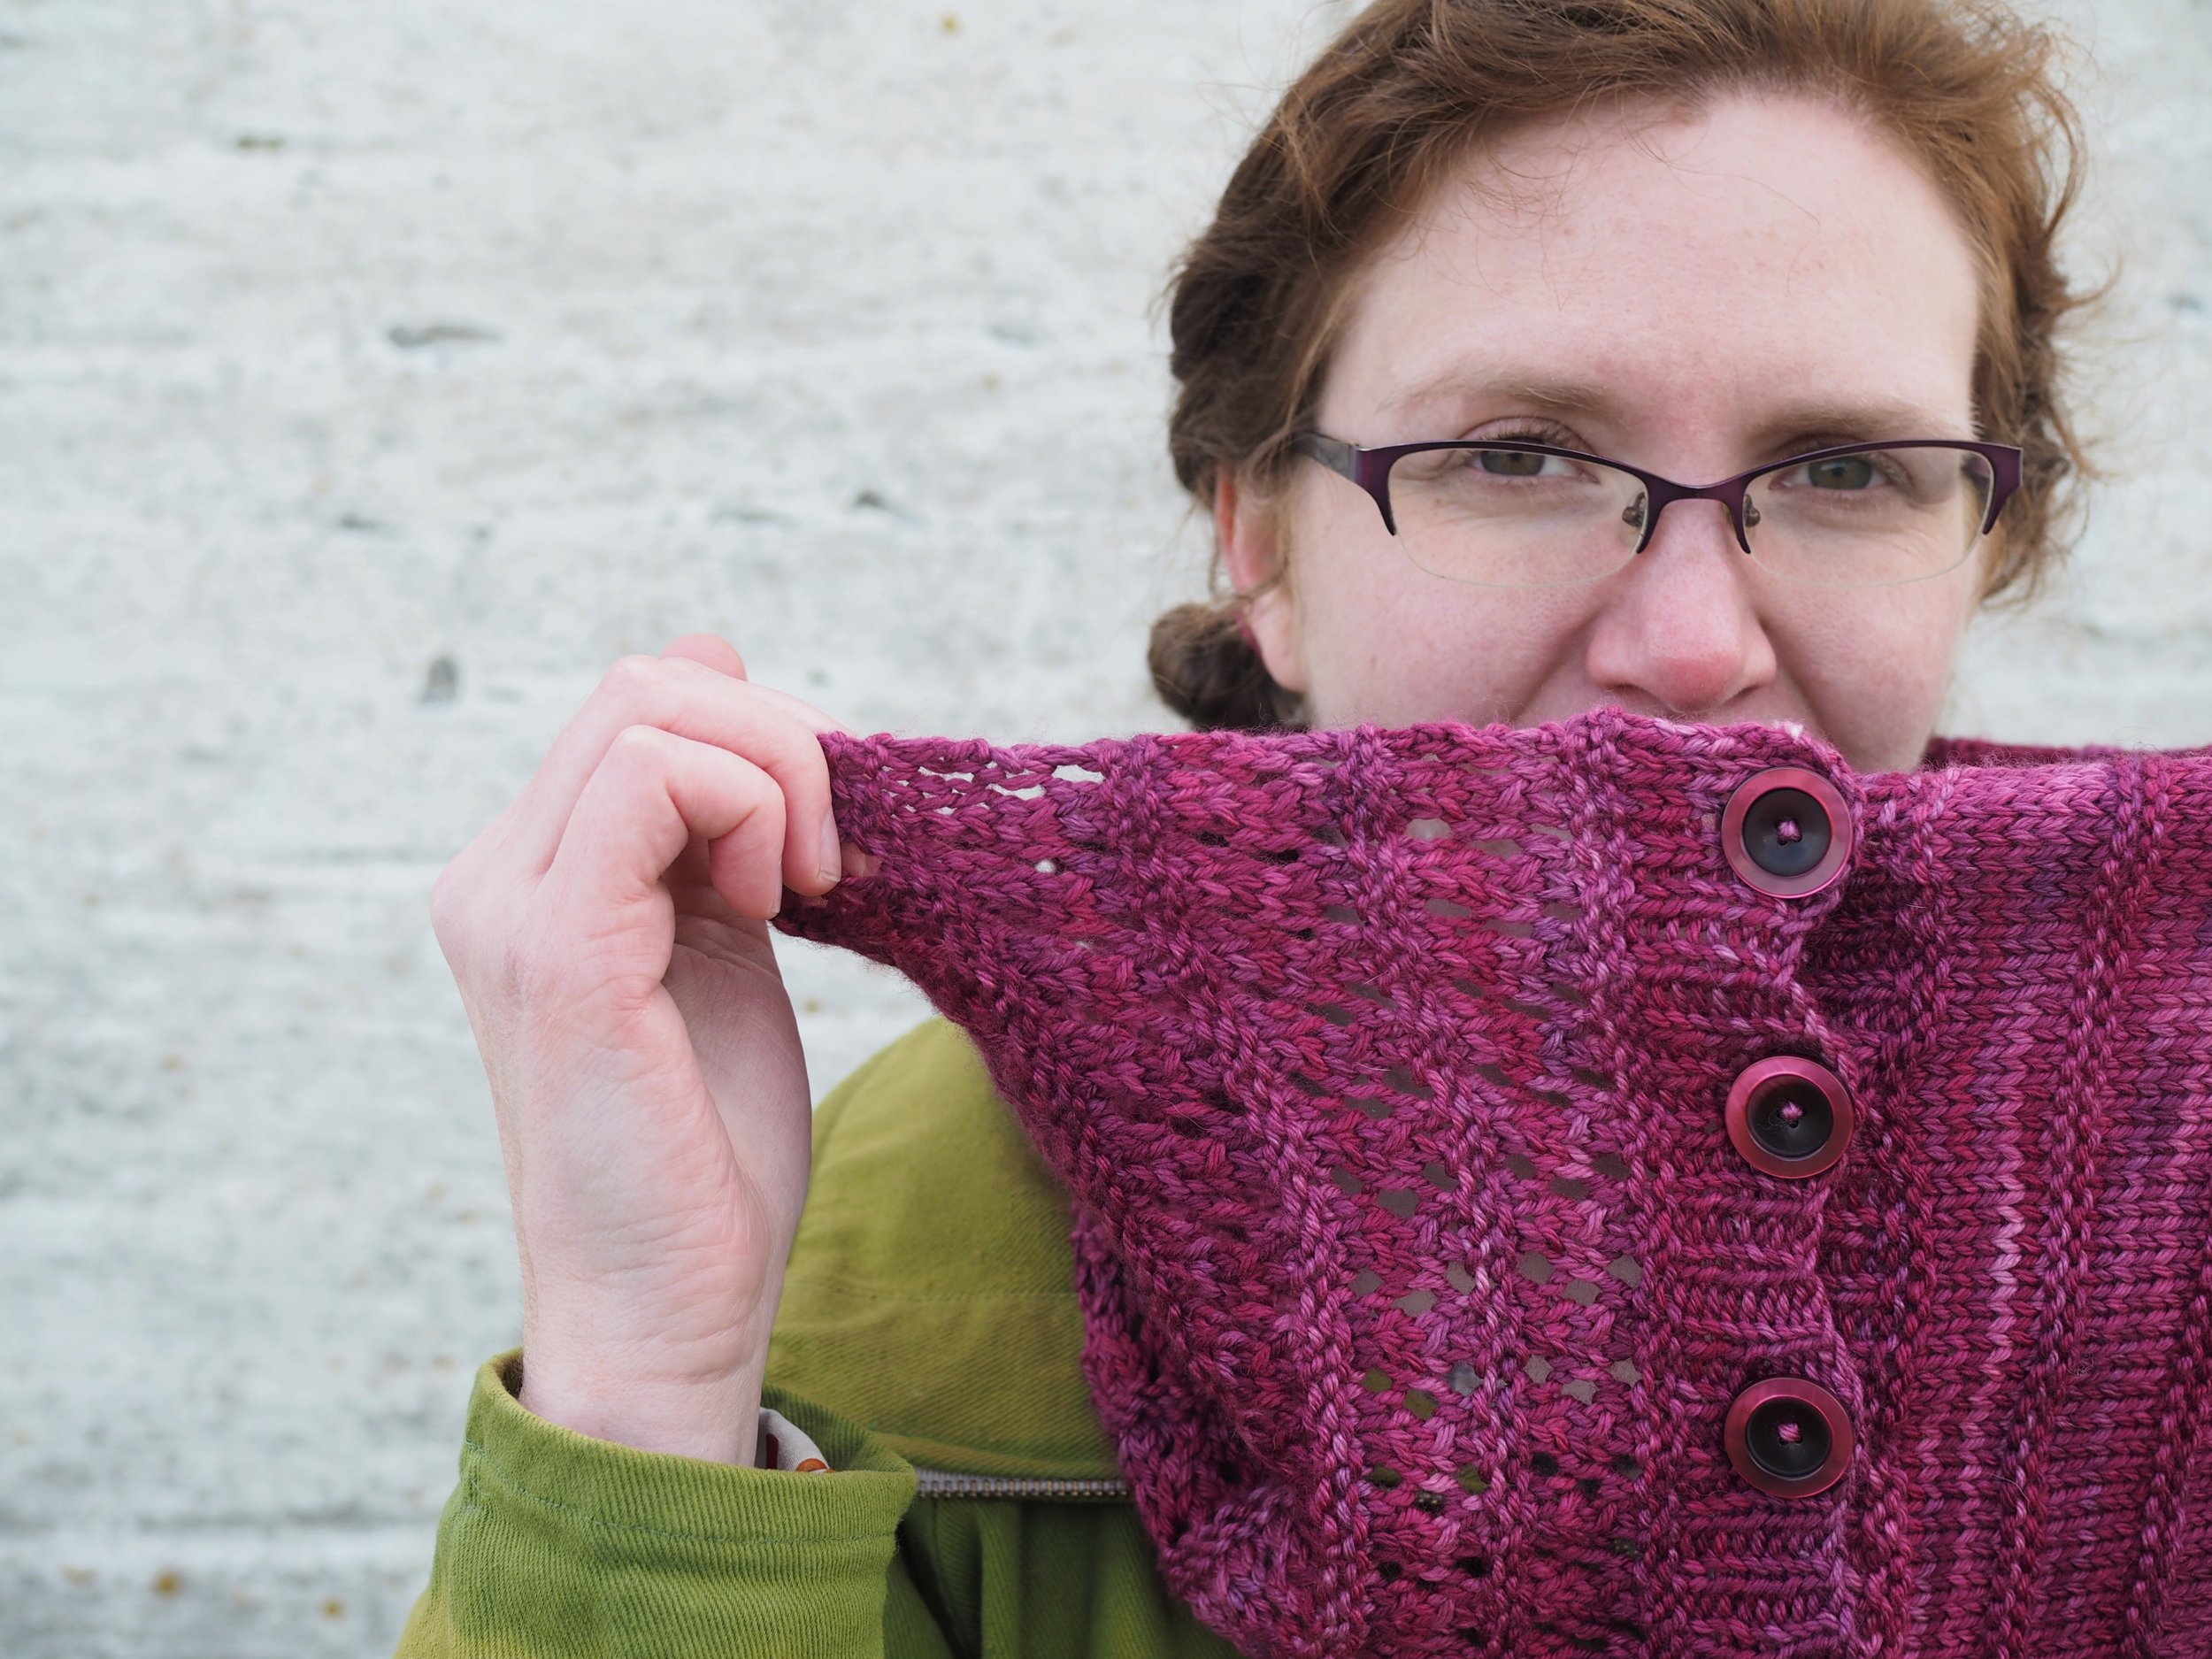
Next in the quick-knit accessory line is the West Branch cowl. Designed to show off a special skein of handspun or hand-dyed yarn, this simple, but gracefully cozy cowl is the perfect knit for those looking to learn lace or who just want to use a special skein. A few big buttons add an extra fun with minimal effort. This cowl works in a variety of fiber weights. The pink sample, shown in One Lupine’s West Branch in Berry, is a worsted weight wool/silk blend available Exclusively at Knitwit, while the white sample is an all-wool Aran weight yarn of my own handspun. Very different in drape, but equally beautiful.

Pop-Up Shop

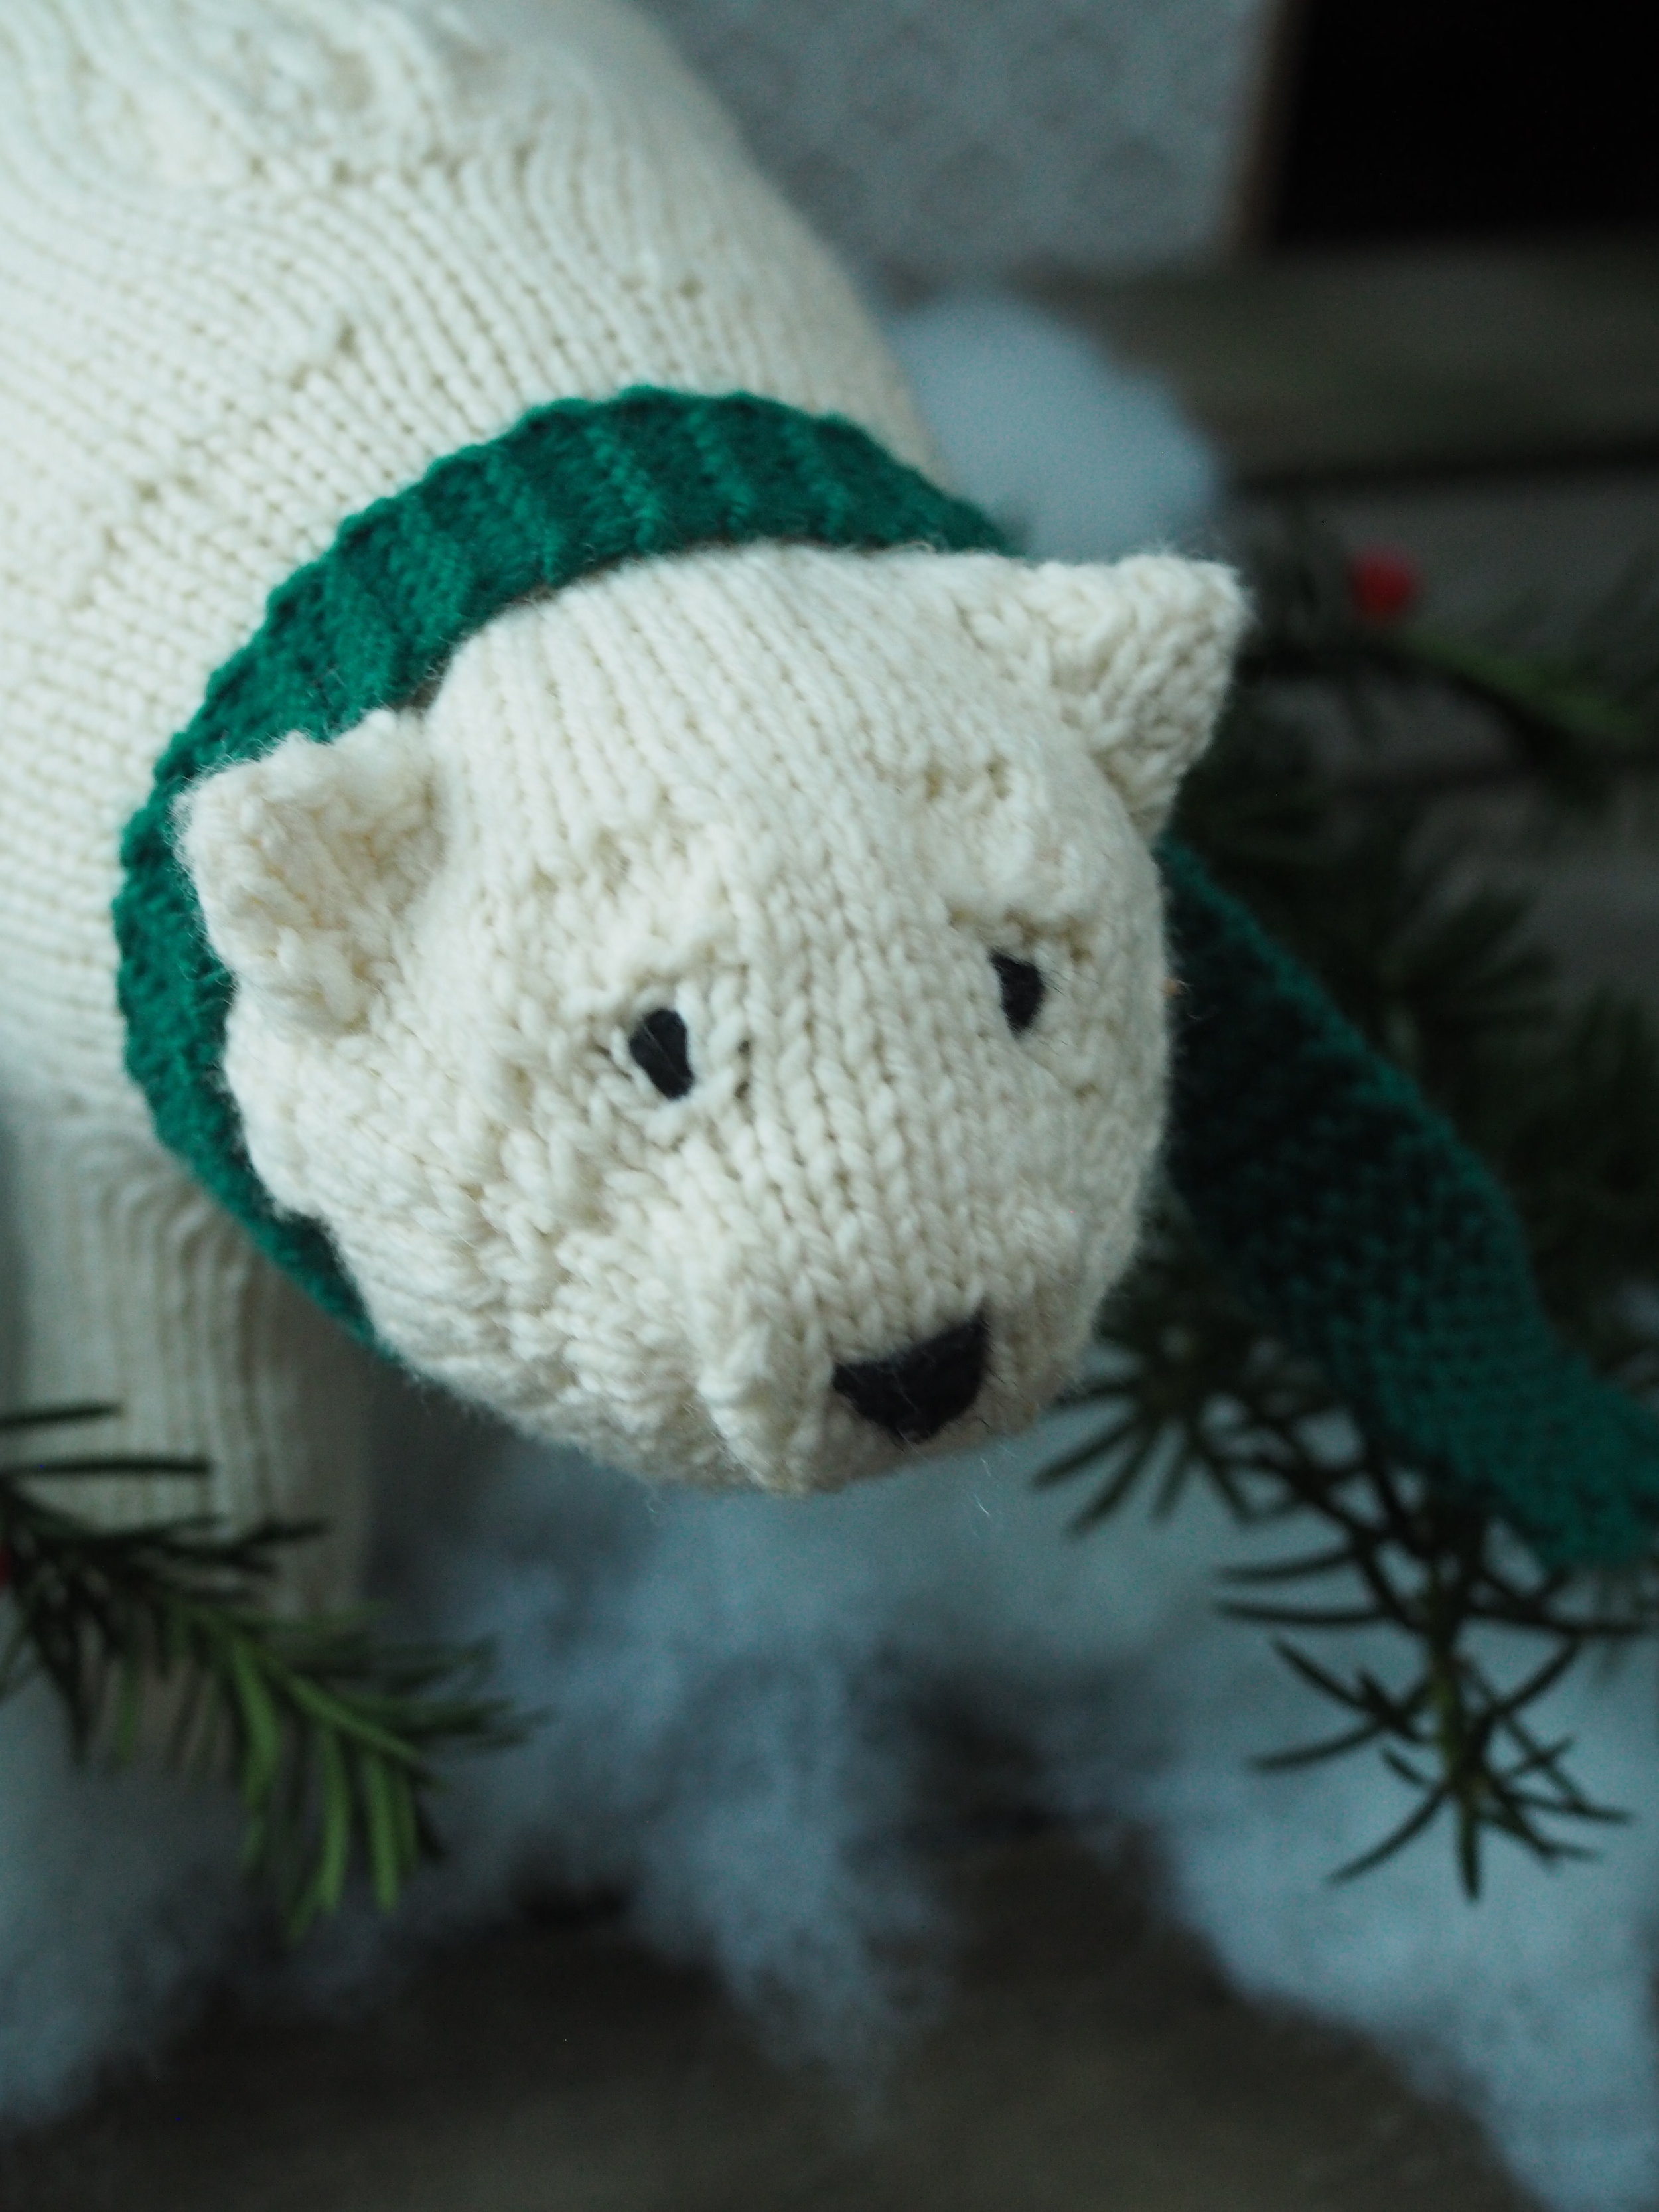
In other big news, if you've been poking around the website, you may have noticed I now sell a curated range of craft supplies and kits! I'm very excited to share this new endeavor with you all and will be adding more items in the coming months. If you're in the Southern Maine area, I'd invite you to join me at Knitwit in Portland this Saturday from 1-3, where I'll be having a mini pop-up shop as part of their holiday knitting kick-off event. I'll be selling project bags and polar bear kits, and have sample of several designs to try on. 


Print Friendly and PDF Follow
follow us in feedly

This is Halloween

I love any excuse to dress up, so I've always loved Halloween. These days the challenge is to a) coordinate everyone's costume and b) find time to pull them all together. 

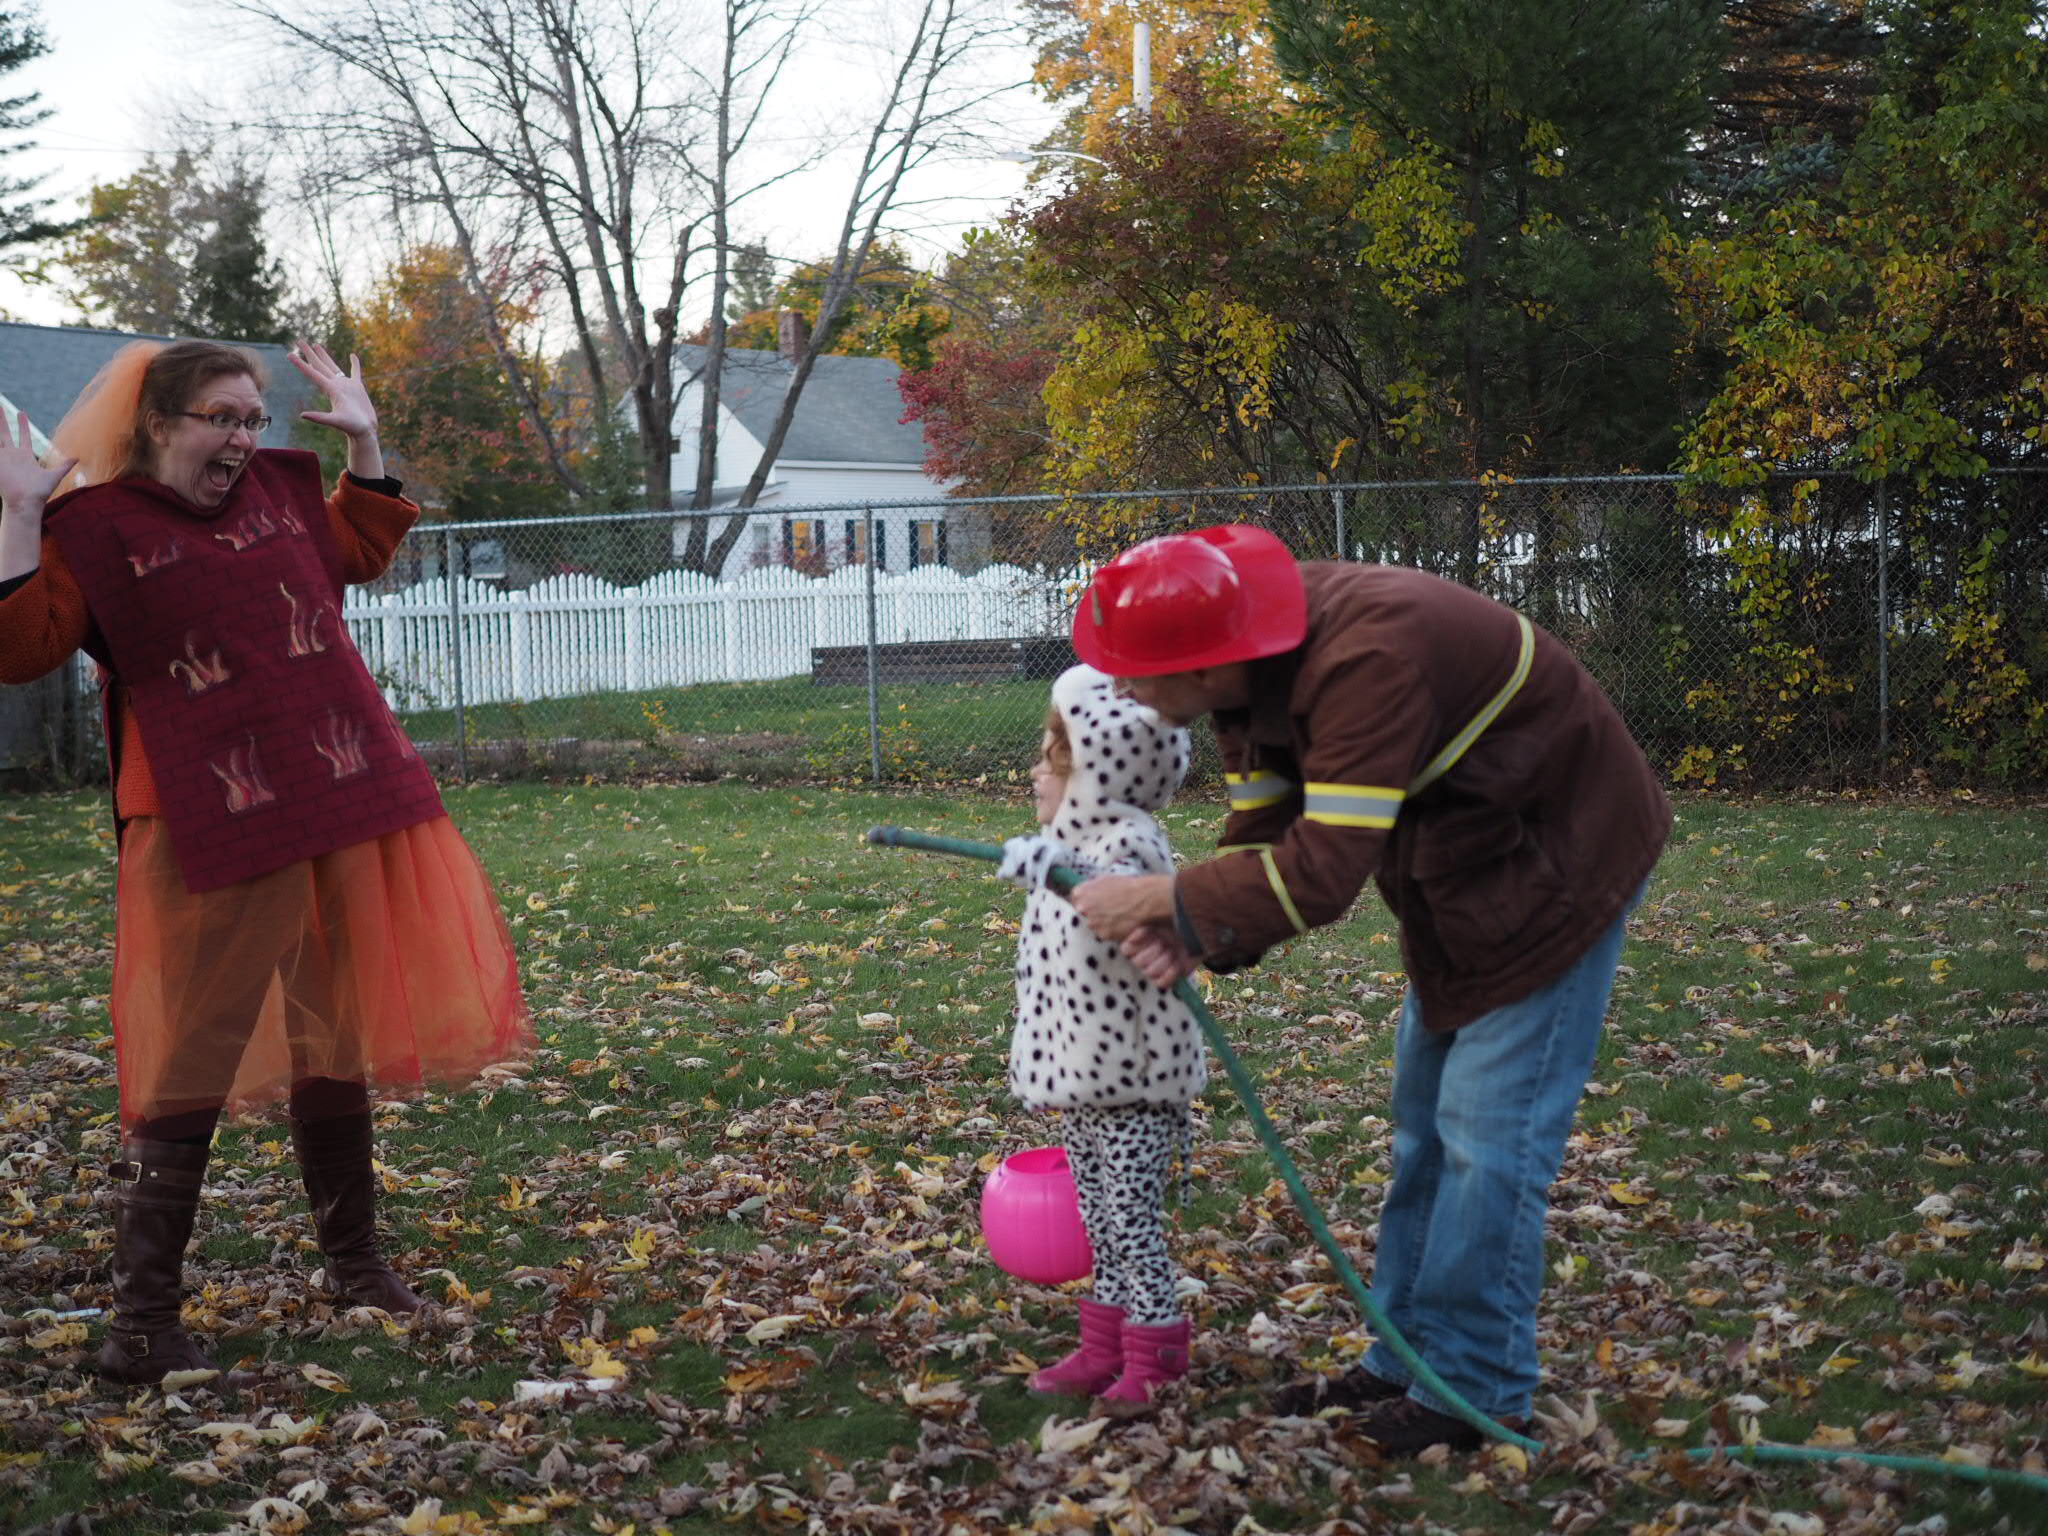
This year was a perfect mix of homemade + purchased items. Little Miss Cleaver wanted to be a dalmatian/firehouse dog and we were lucky to find the hooded vest at the consignment store. The spotted fleece she already had, so I only had to whip up some leggings and "paws". Mr. Cleaver got to be a fireman, and after little luck finding anything that looked like a firefighter coat for cheap, I bought some reflective tape at the fabric store and pinned it to one of his coats. The store-bought hat sells the look. 

As for me? Not being able to find a firefighter outfit for one, I shifted my plan from being a second firefighter to being a burning building. With some cheap felt, a dozen yards of tulle and some quality time with fabric paint and a sharpie, I ended up with the hottest costume in town. (Can't help myself.) 

LMC had a great time trick-or-treating and handing out candy. We have some very generous neighbors, so even though we only did both sides of one street, she is well stocked on sweets. I can't wait to see what she comes up with for next year! 


Print Friendly and PDF Follow
follow us in feedly

Introducing Ezekiel Saw

Every so often, a design bursts, Athena-like, fully formed from its creator’s head. Ezekiel Saw is one such design for me. I had a clear vision of a triangle shawl in two-similarly toned, but distinct colors with detailed open lace bands.

When I went to Knitwit, my local yarn shop, to scout yarns to bring that vision to life, I was immediately entranced by the drape and subtly marled palette of CoopKnits’ Socks Yeah! yarn.

The Wave and Wheel lace pattern of the bands creates a wheel within a wheel motif, reminiscent of an old folk song about an altogether different kind of vision that we used to sing in my high school choir: “Ezekiel Saw Da Wheel.”

“Ezekiel saw da wheel;
Way up in the middle of the air.
Now Ezekiel saw da wheel in a wheel;
Way in the middle of the air.

And the big wheel run by Faith, good Lordy;
And the little wheel run by the Grace of God;
In the wheel in the wheel in the wheel good Lord;
Way in the middle of the air.”

I'm also pleased to say that for the first time, I'm offering kits for one of my designs!

The Ezekiel Saw kit is exclusively available through MsCleaver.com and comes with all the yarn needed to complete the project, a printed pattern, and a sturdy cotton drawstring project bag. You can also purchase the suggested needles if desired. 

The PDF pattern is available for $6.00 USD from the following online shops:

LoveKnitting (coming soon)   ||    Ms. Cleaver Creations    ||    Ravelry

If you knit it and participate in social media, use #ezekielsaw to share or tag me @mscleaver !  

I'd love to see your version!!!

Photos by Bristol Ivy


Print Friendly and PDF Follow
follow us in feedly

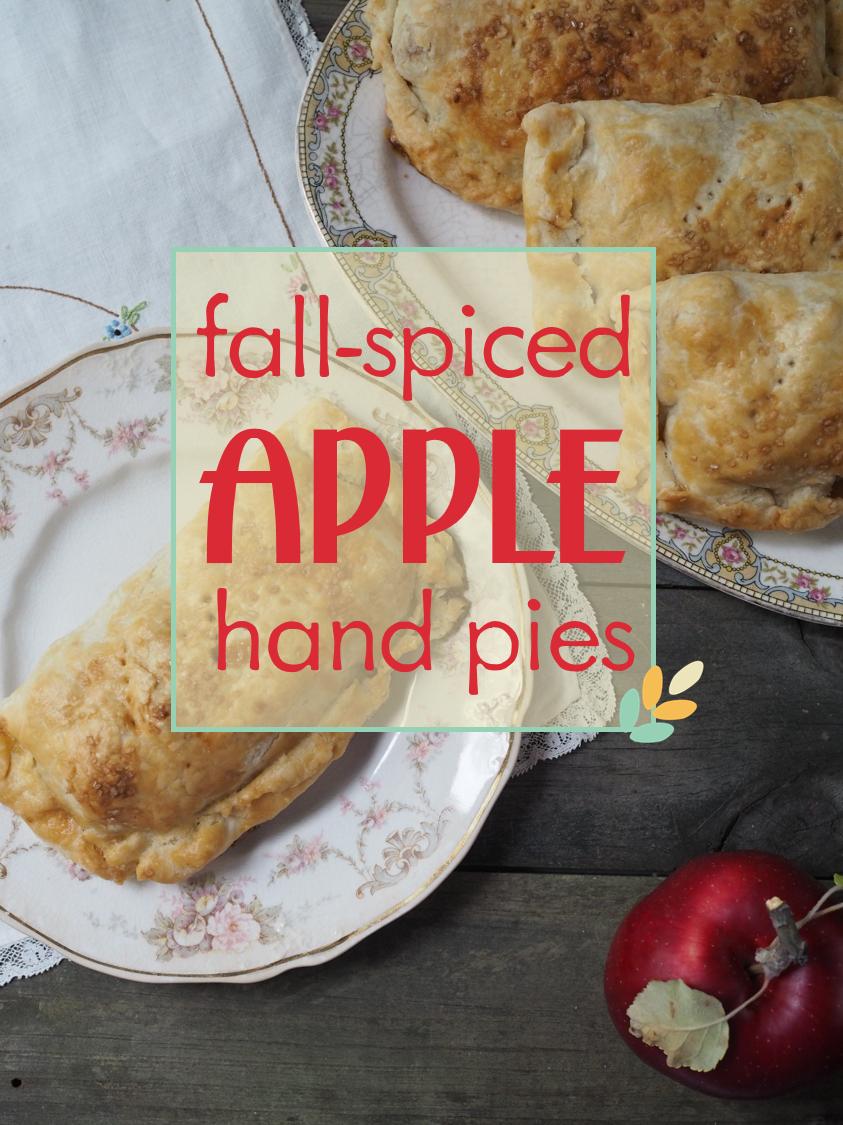
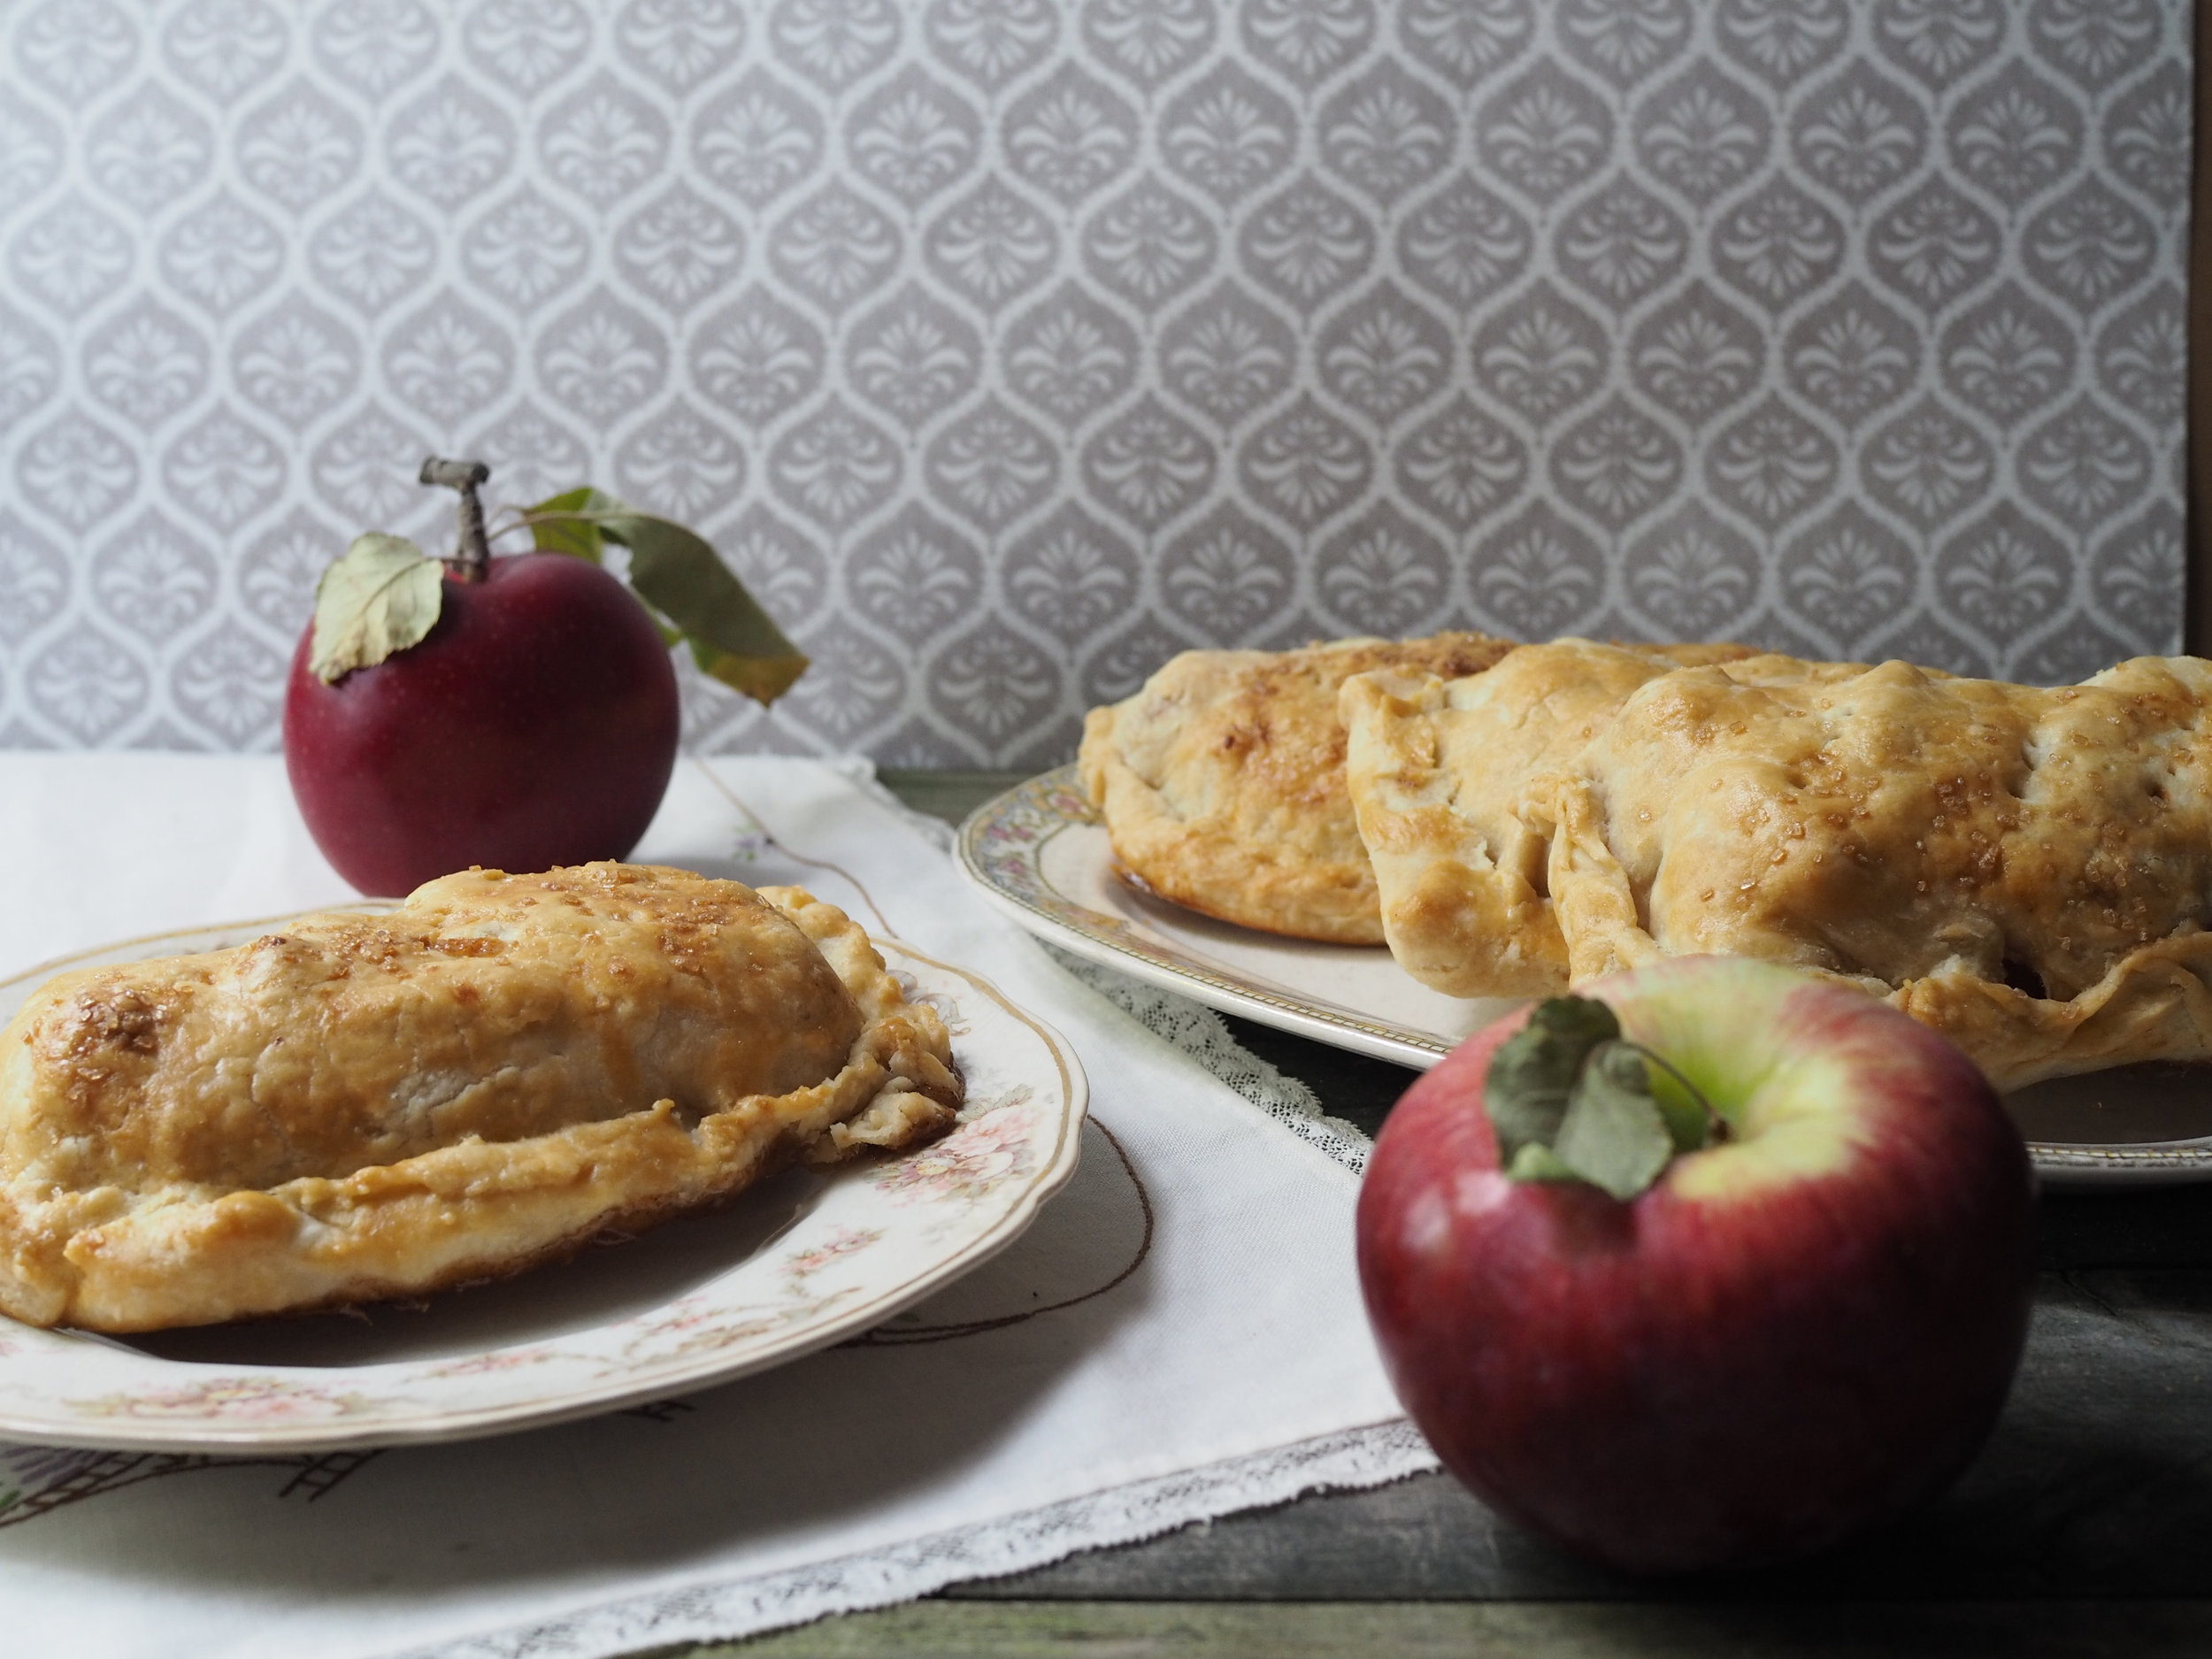
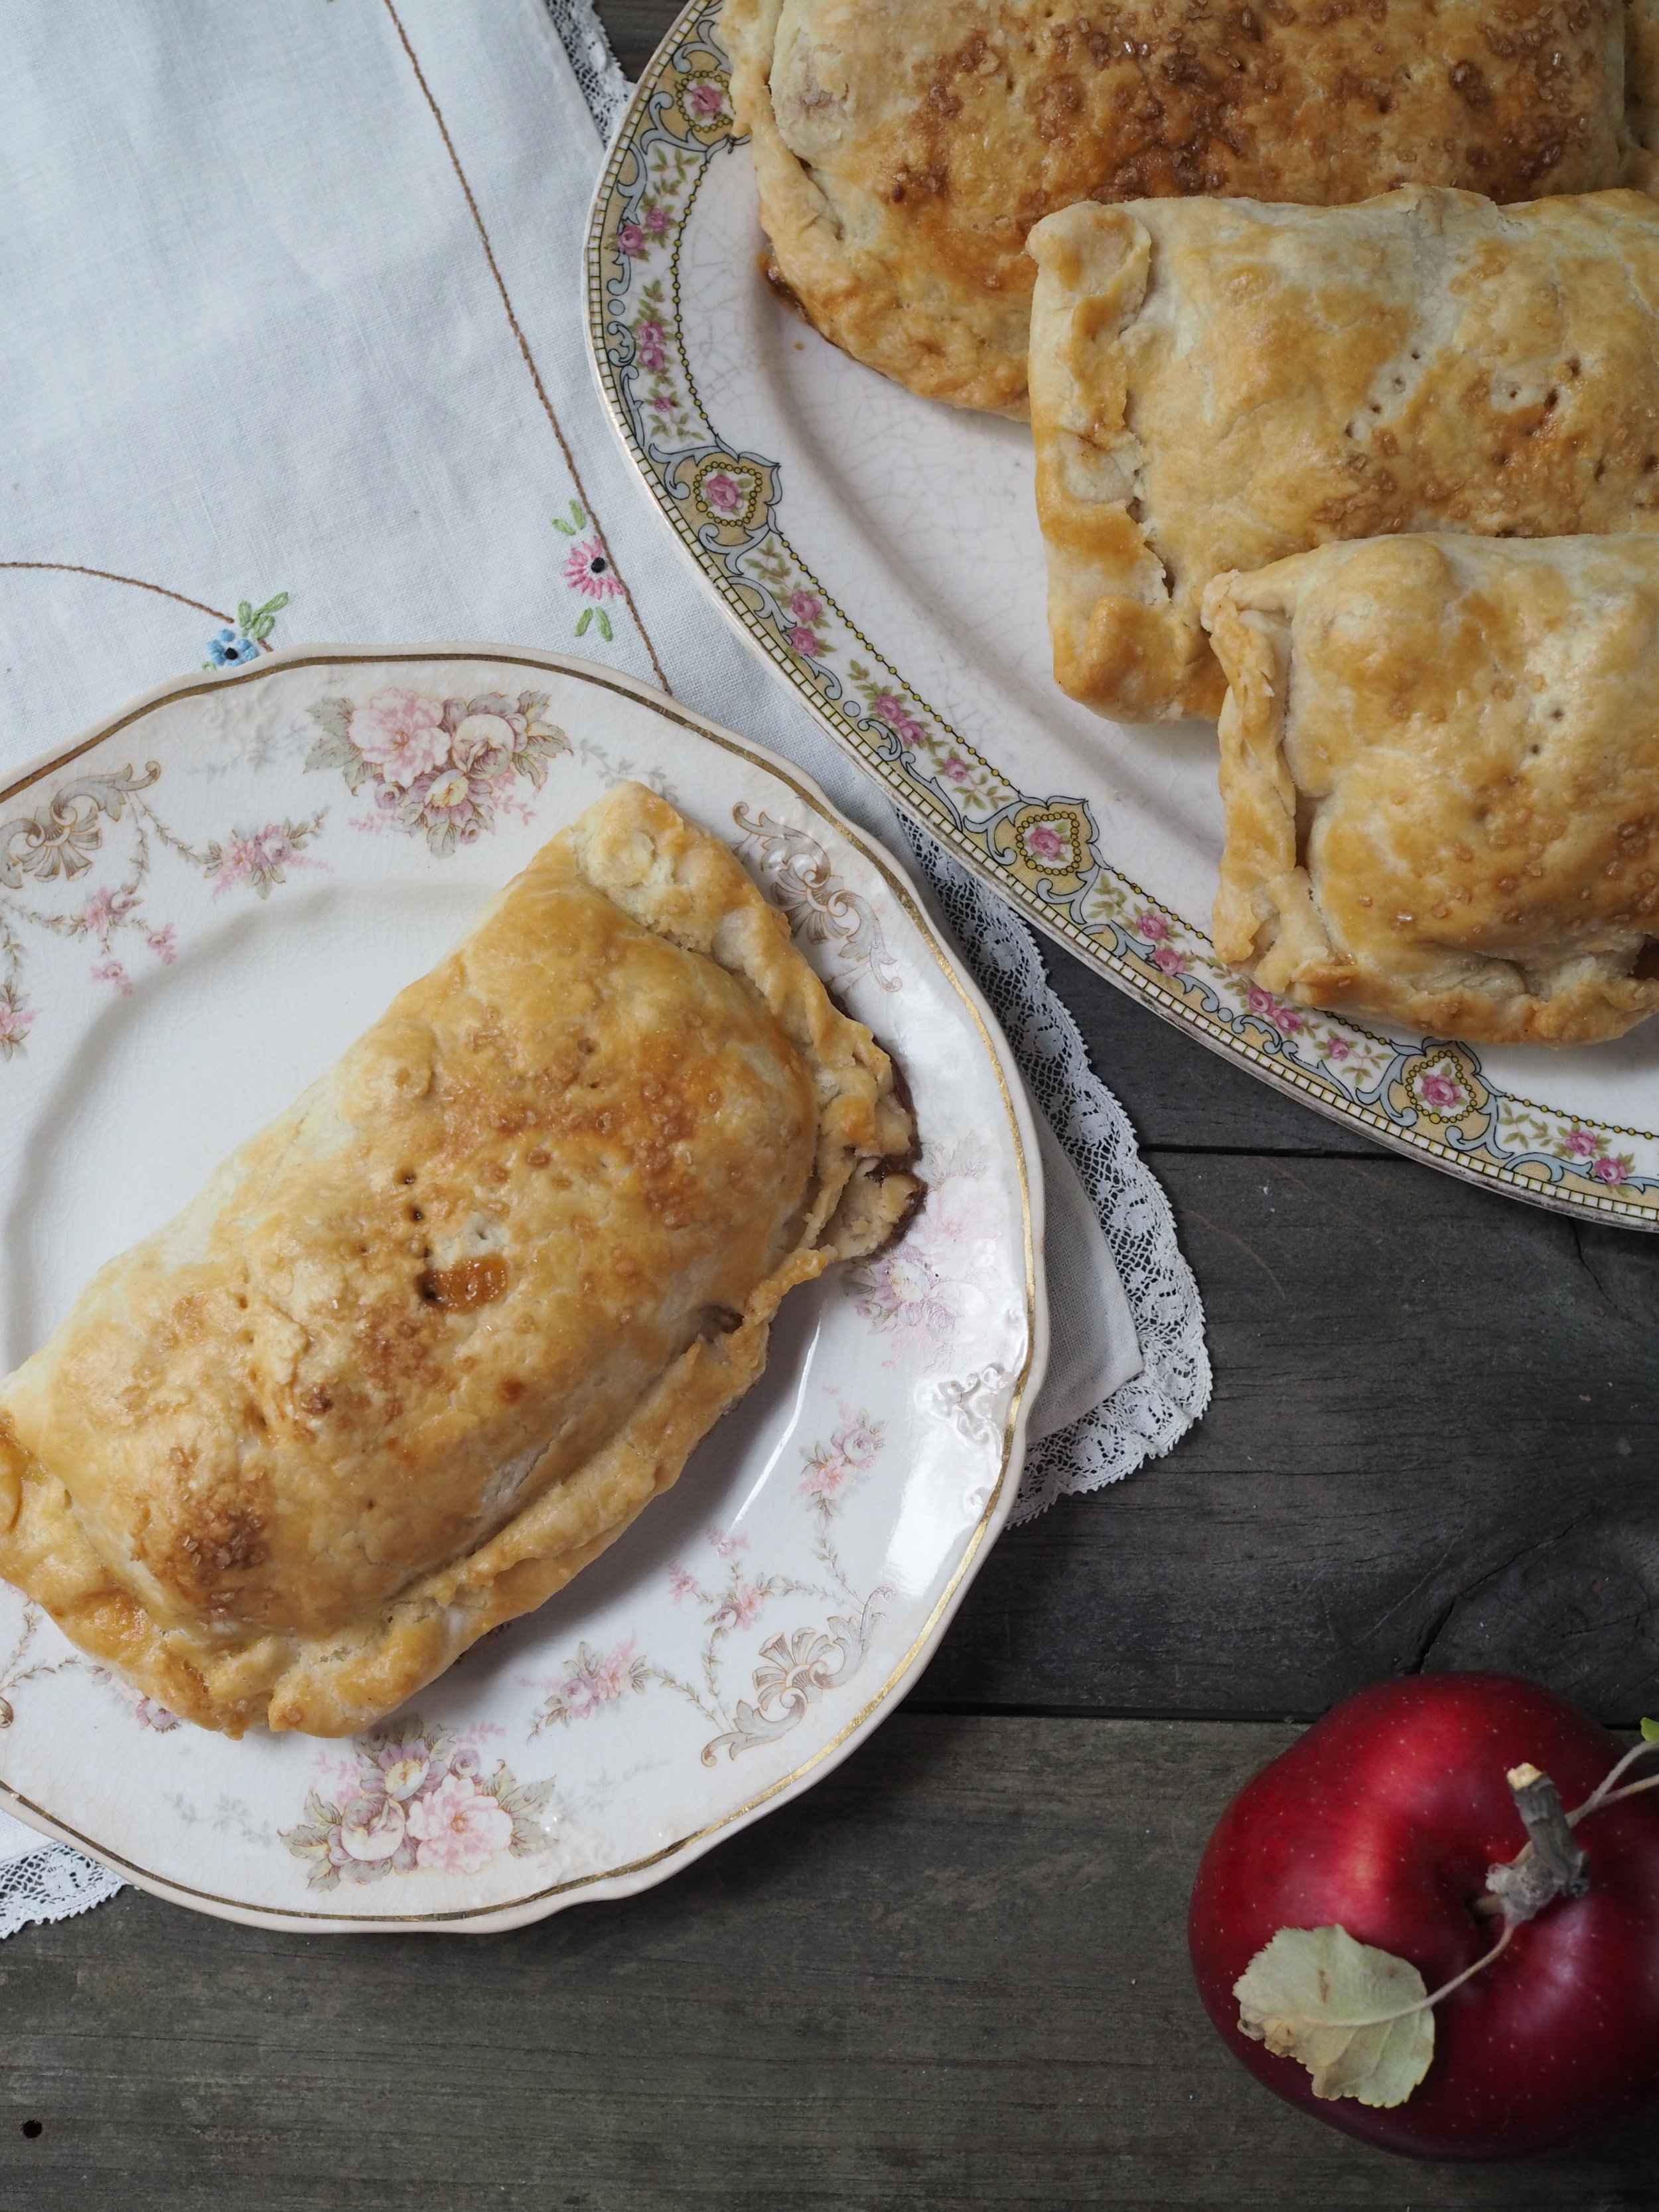
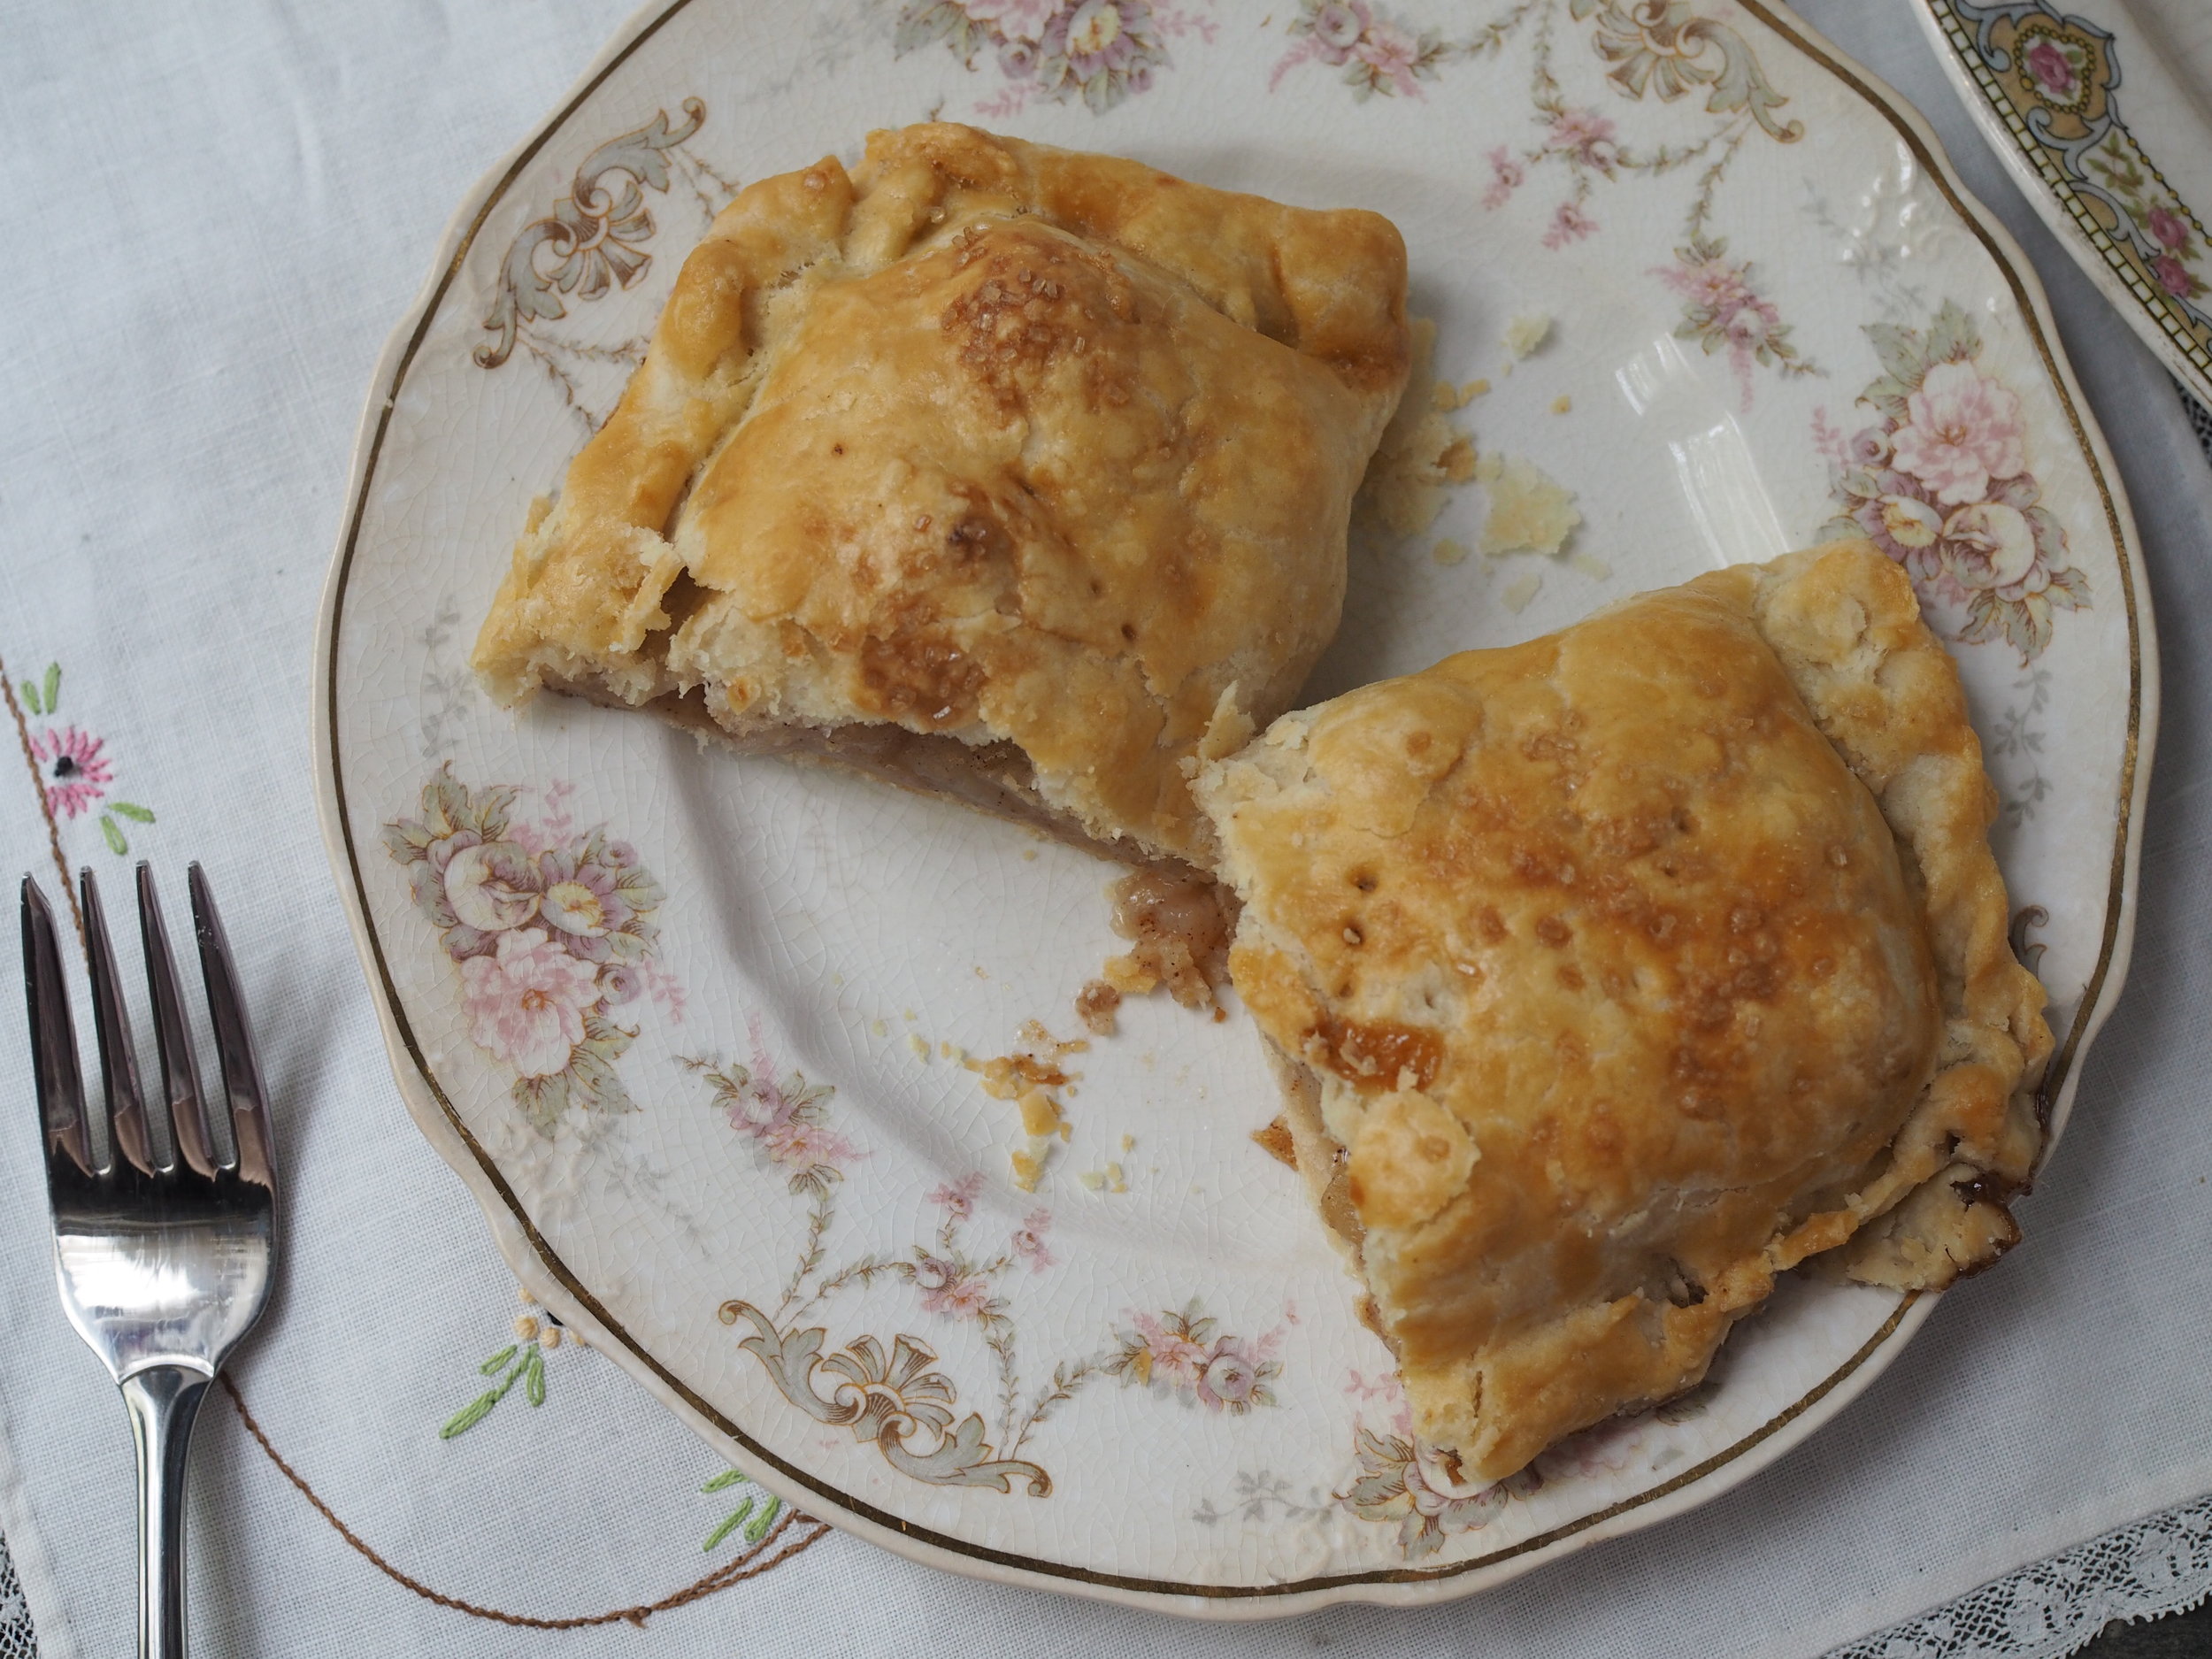
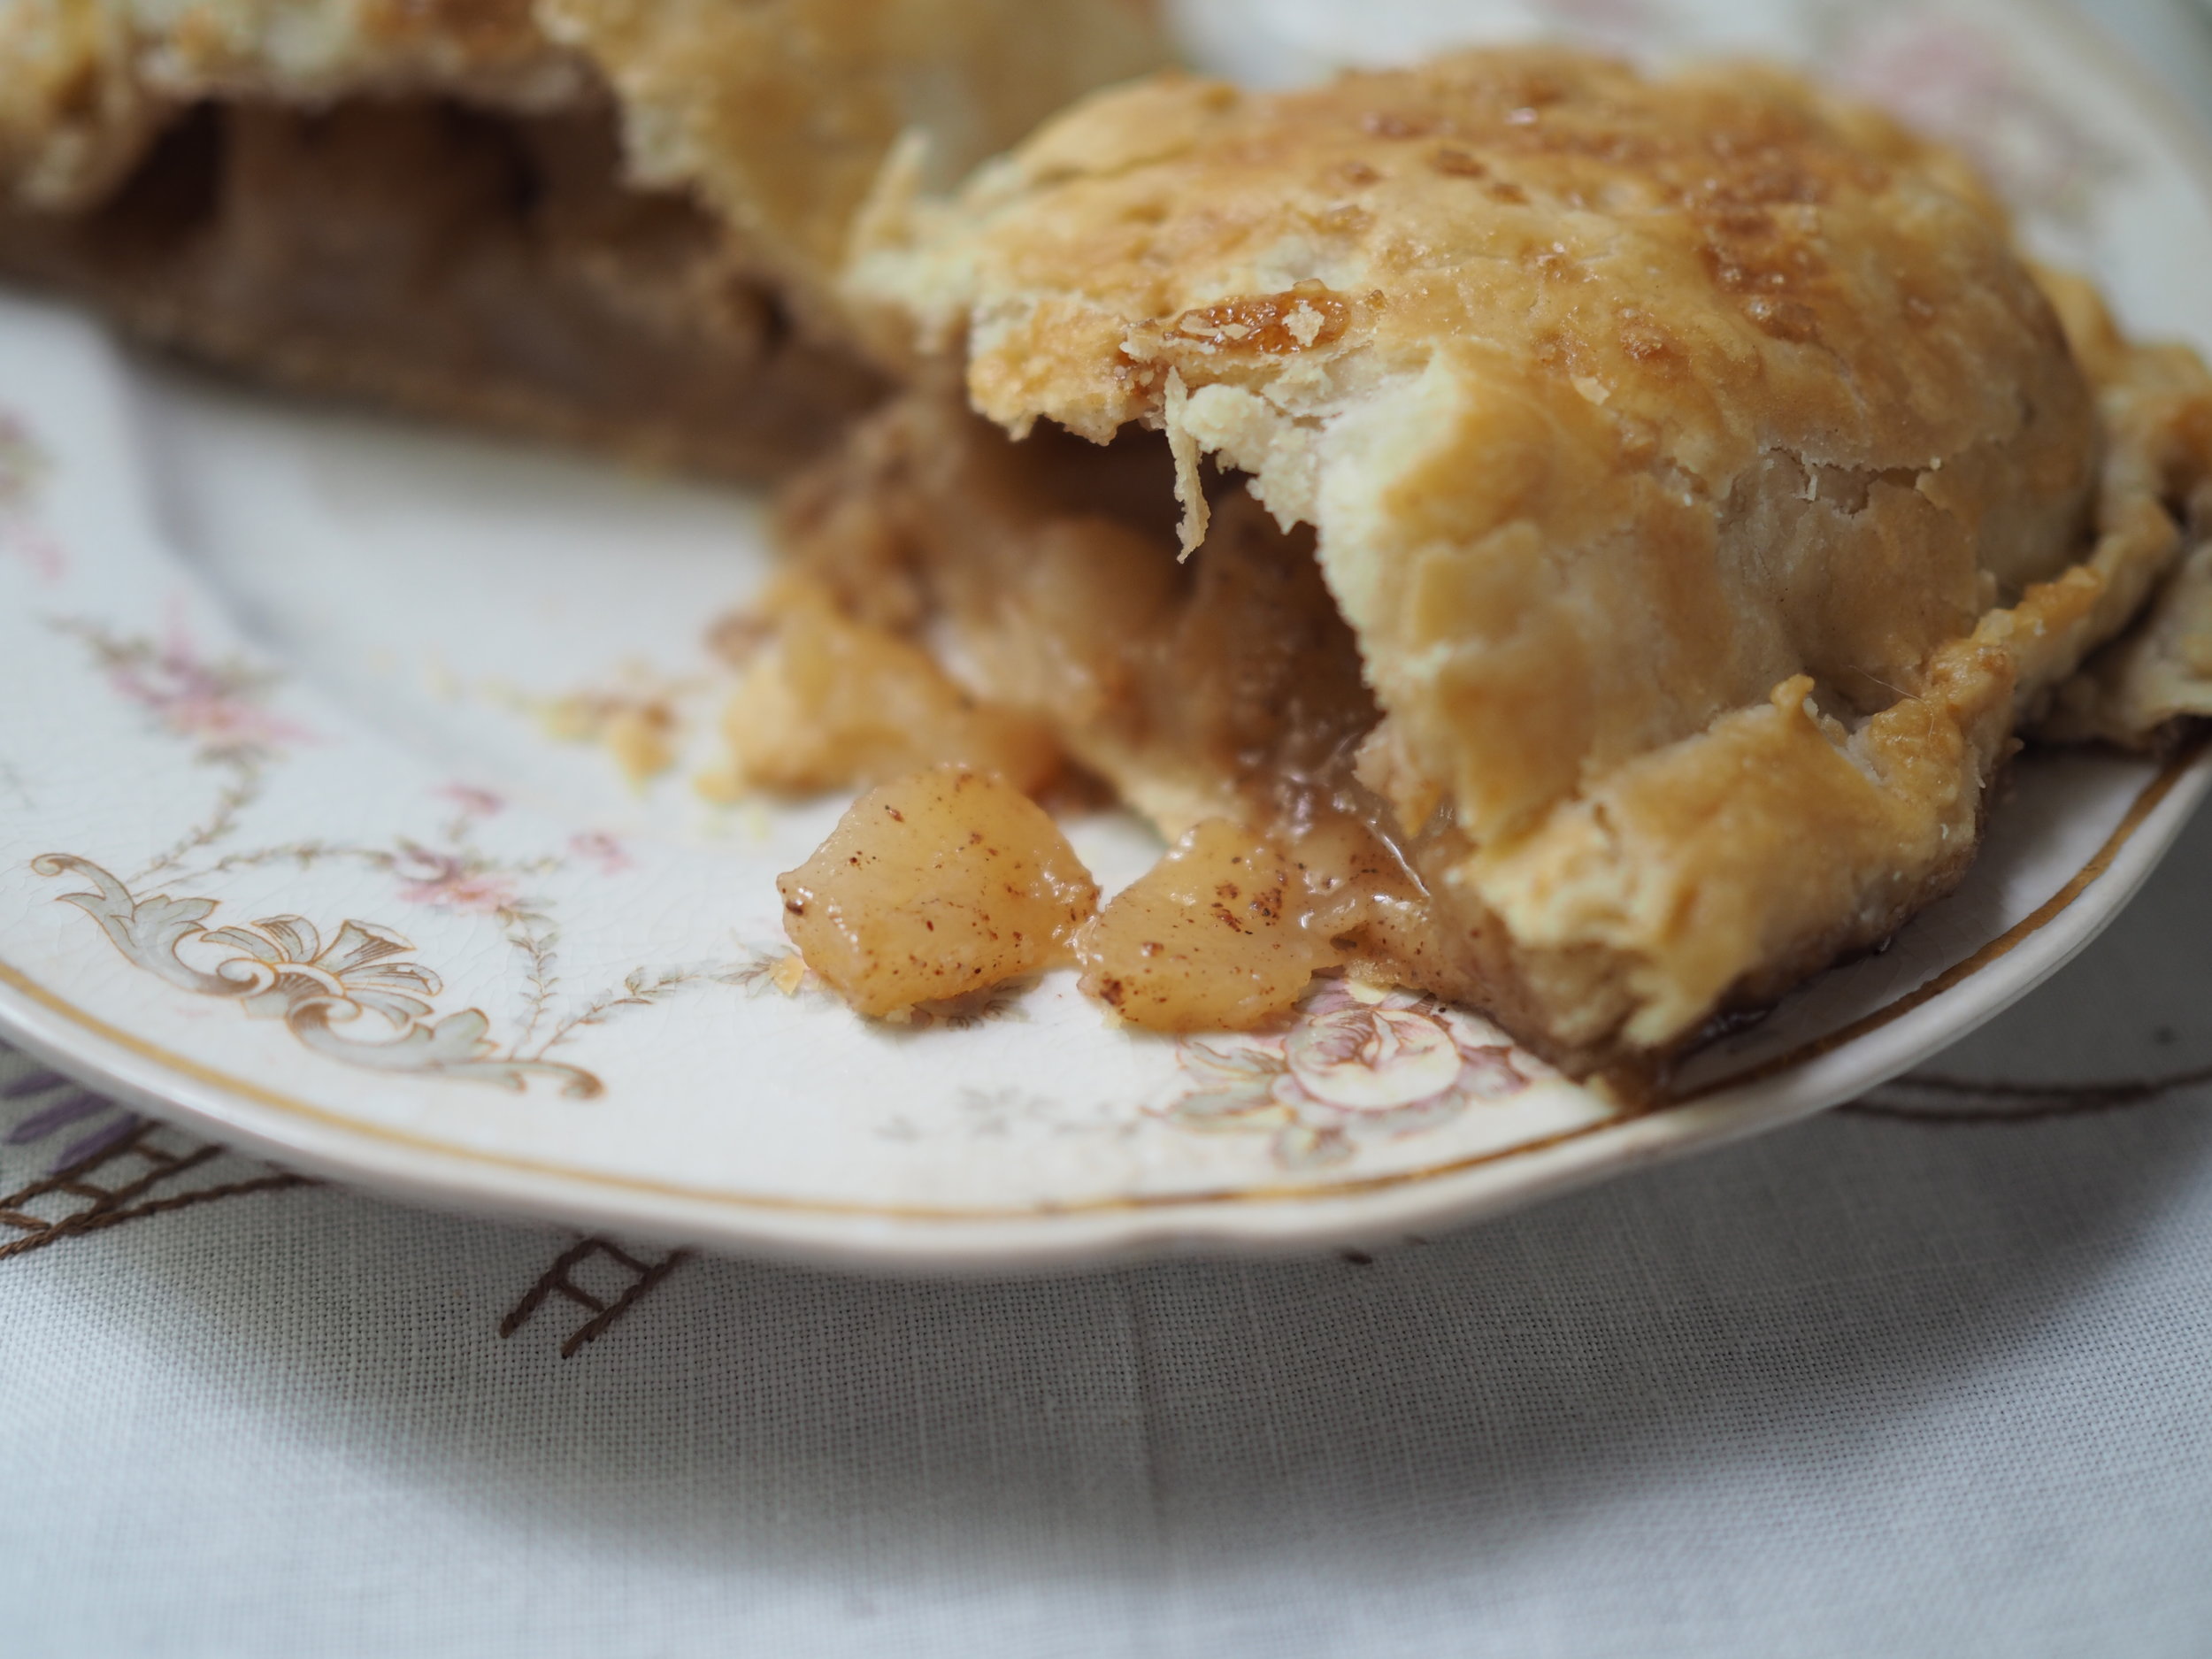
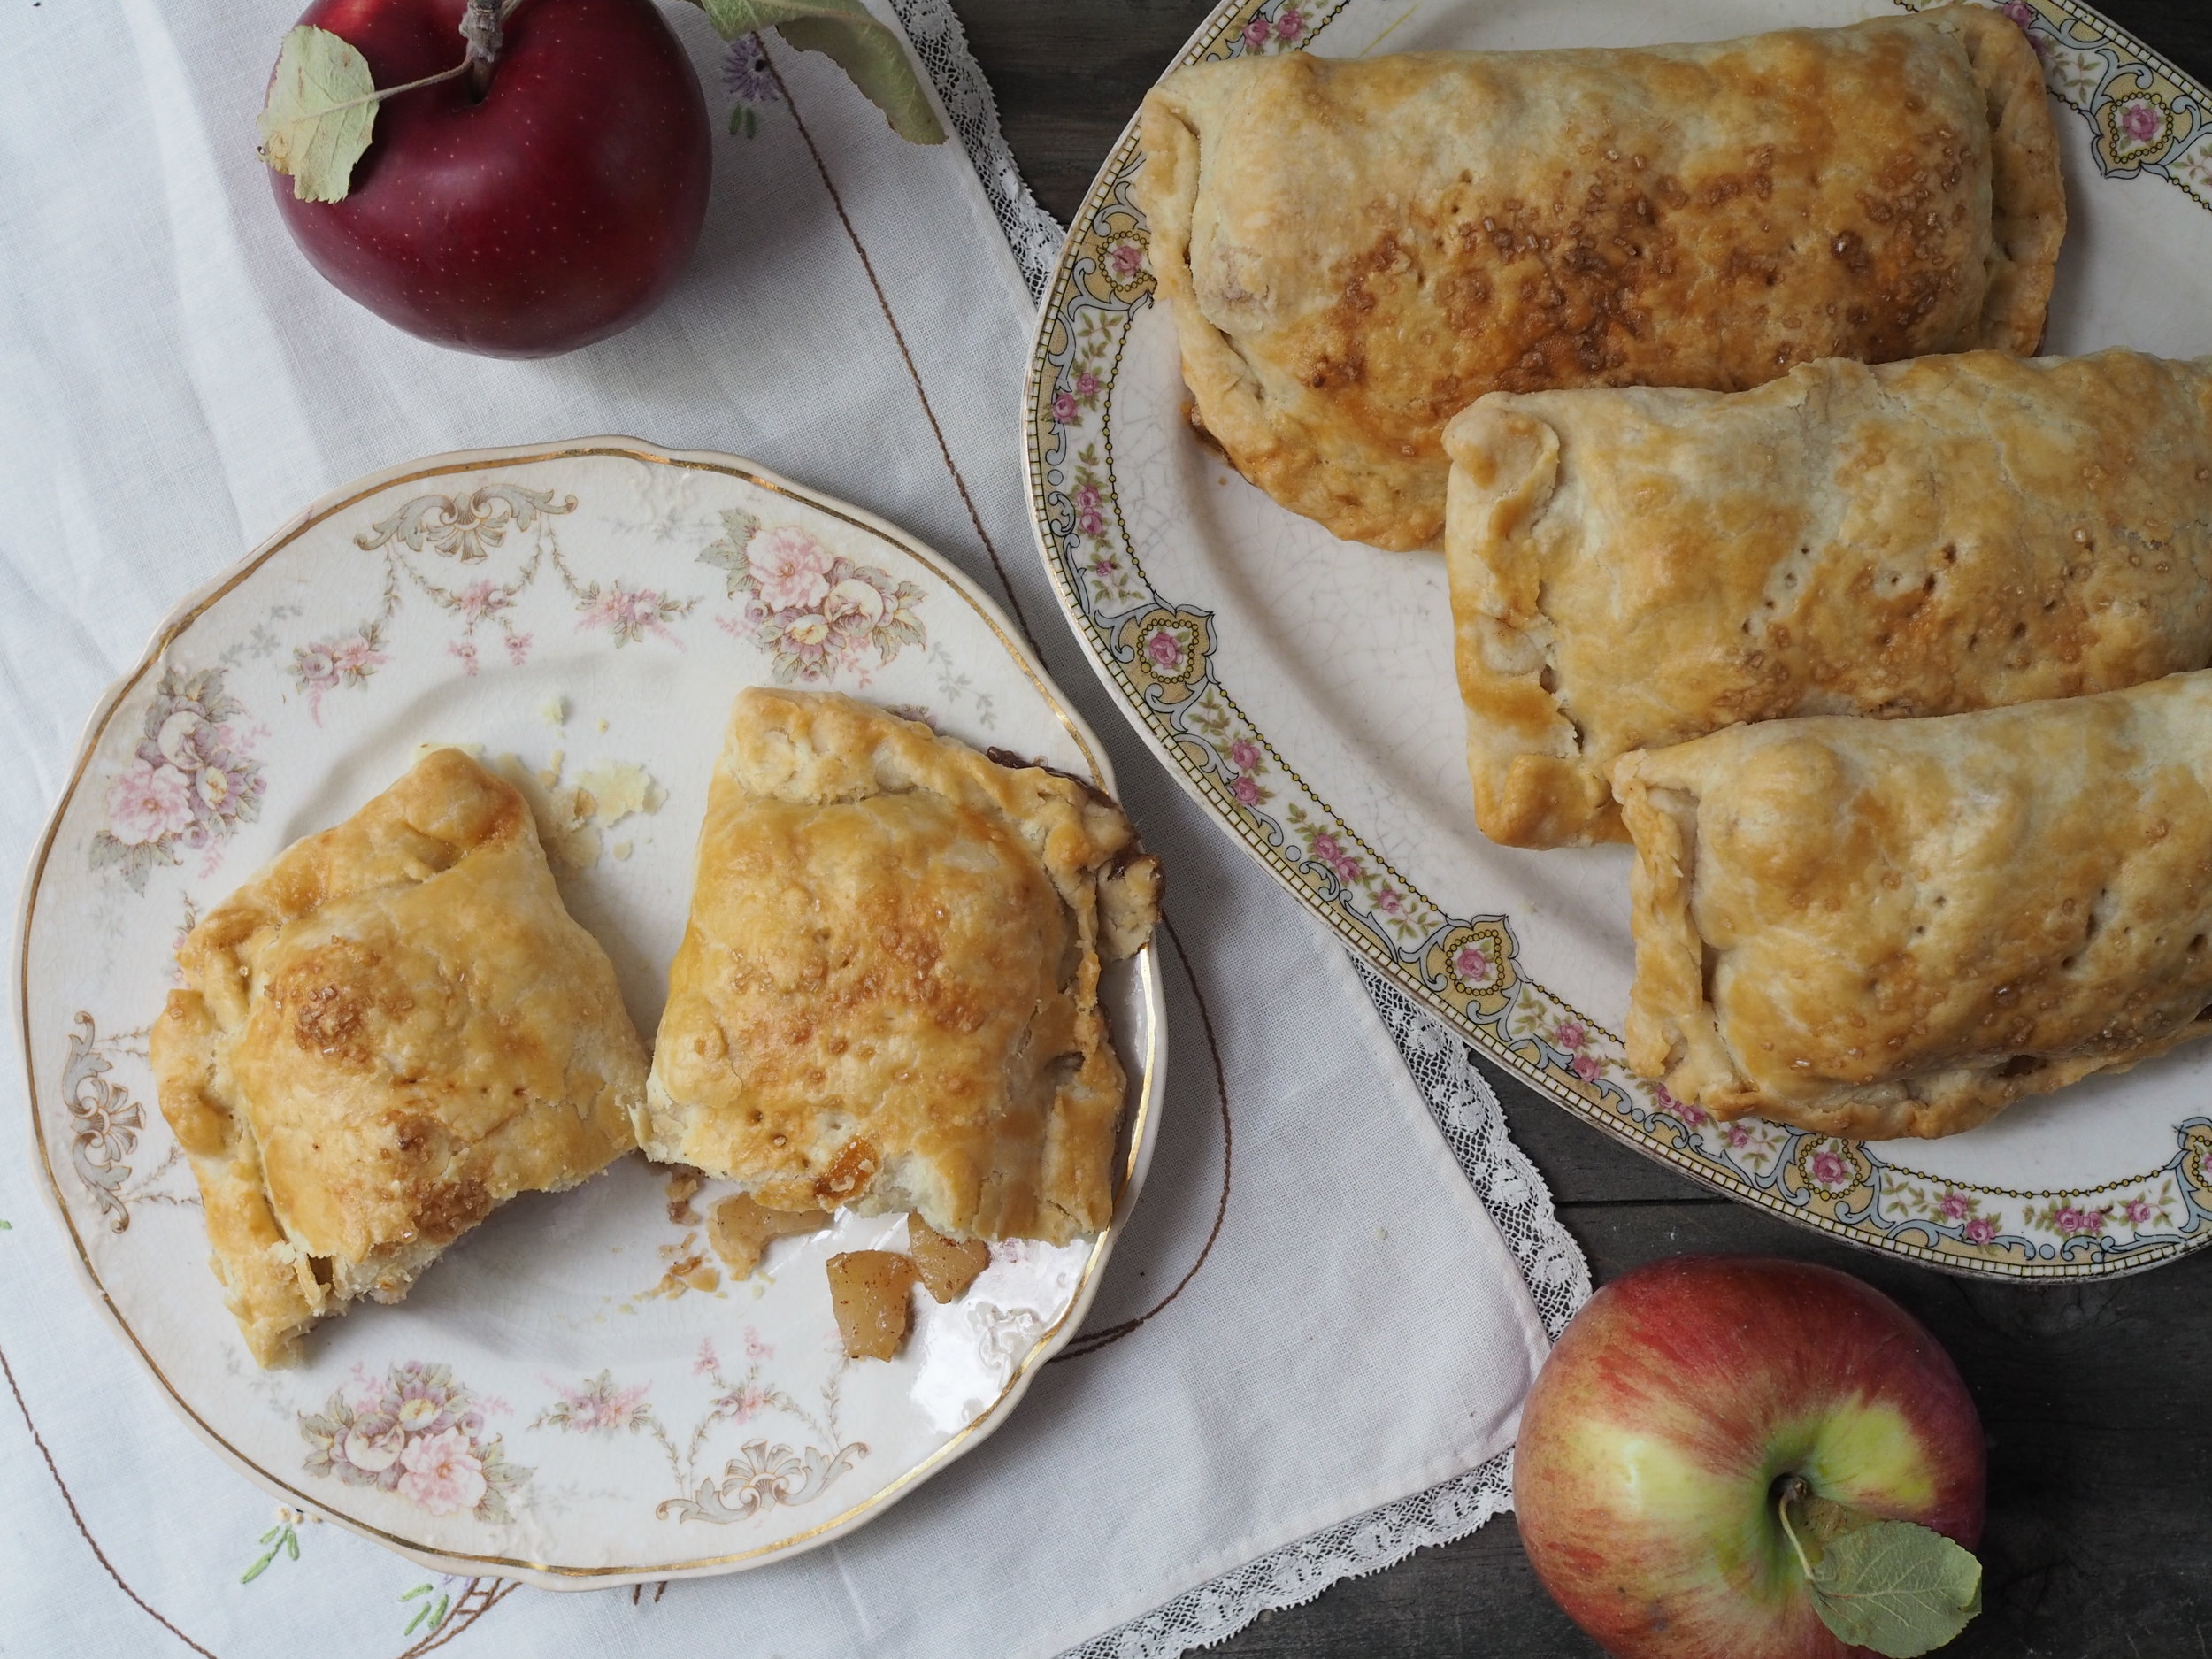
Fall-Spiced Apple Hand Pies

Fall-Spiced Apple Hand Pies

Serves 8

Crust

  • 3 cups all purpose flour
  • 1 1/2 teaspoons salt
  • 1 cup shortening or unsalted butter
  • 2/3 to 3/4 cup cold water

Filling

  • 8 medium apples, I recommend a variety of firm apples. The photos above use Jonagolds and Macs.
  • 2 Tablespoons lemon juice
  • 1 teaspoon cinnamon
  • 1/4 teaspoon nutmeg
  • 1/2 cup granulated sugar
  • 1/3 cup flour or cornstarch
  • Caramel sauce (optional) (I like the one from the Joy of Cooking)

Topping

  • 1 egg whisked with a Tablespoon of water
  • Demerara/raw sugar

Preheat oven to 350 Degrees F. 

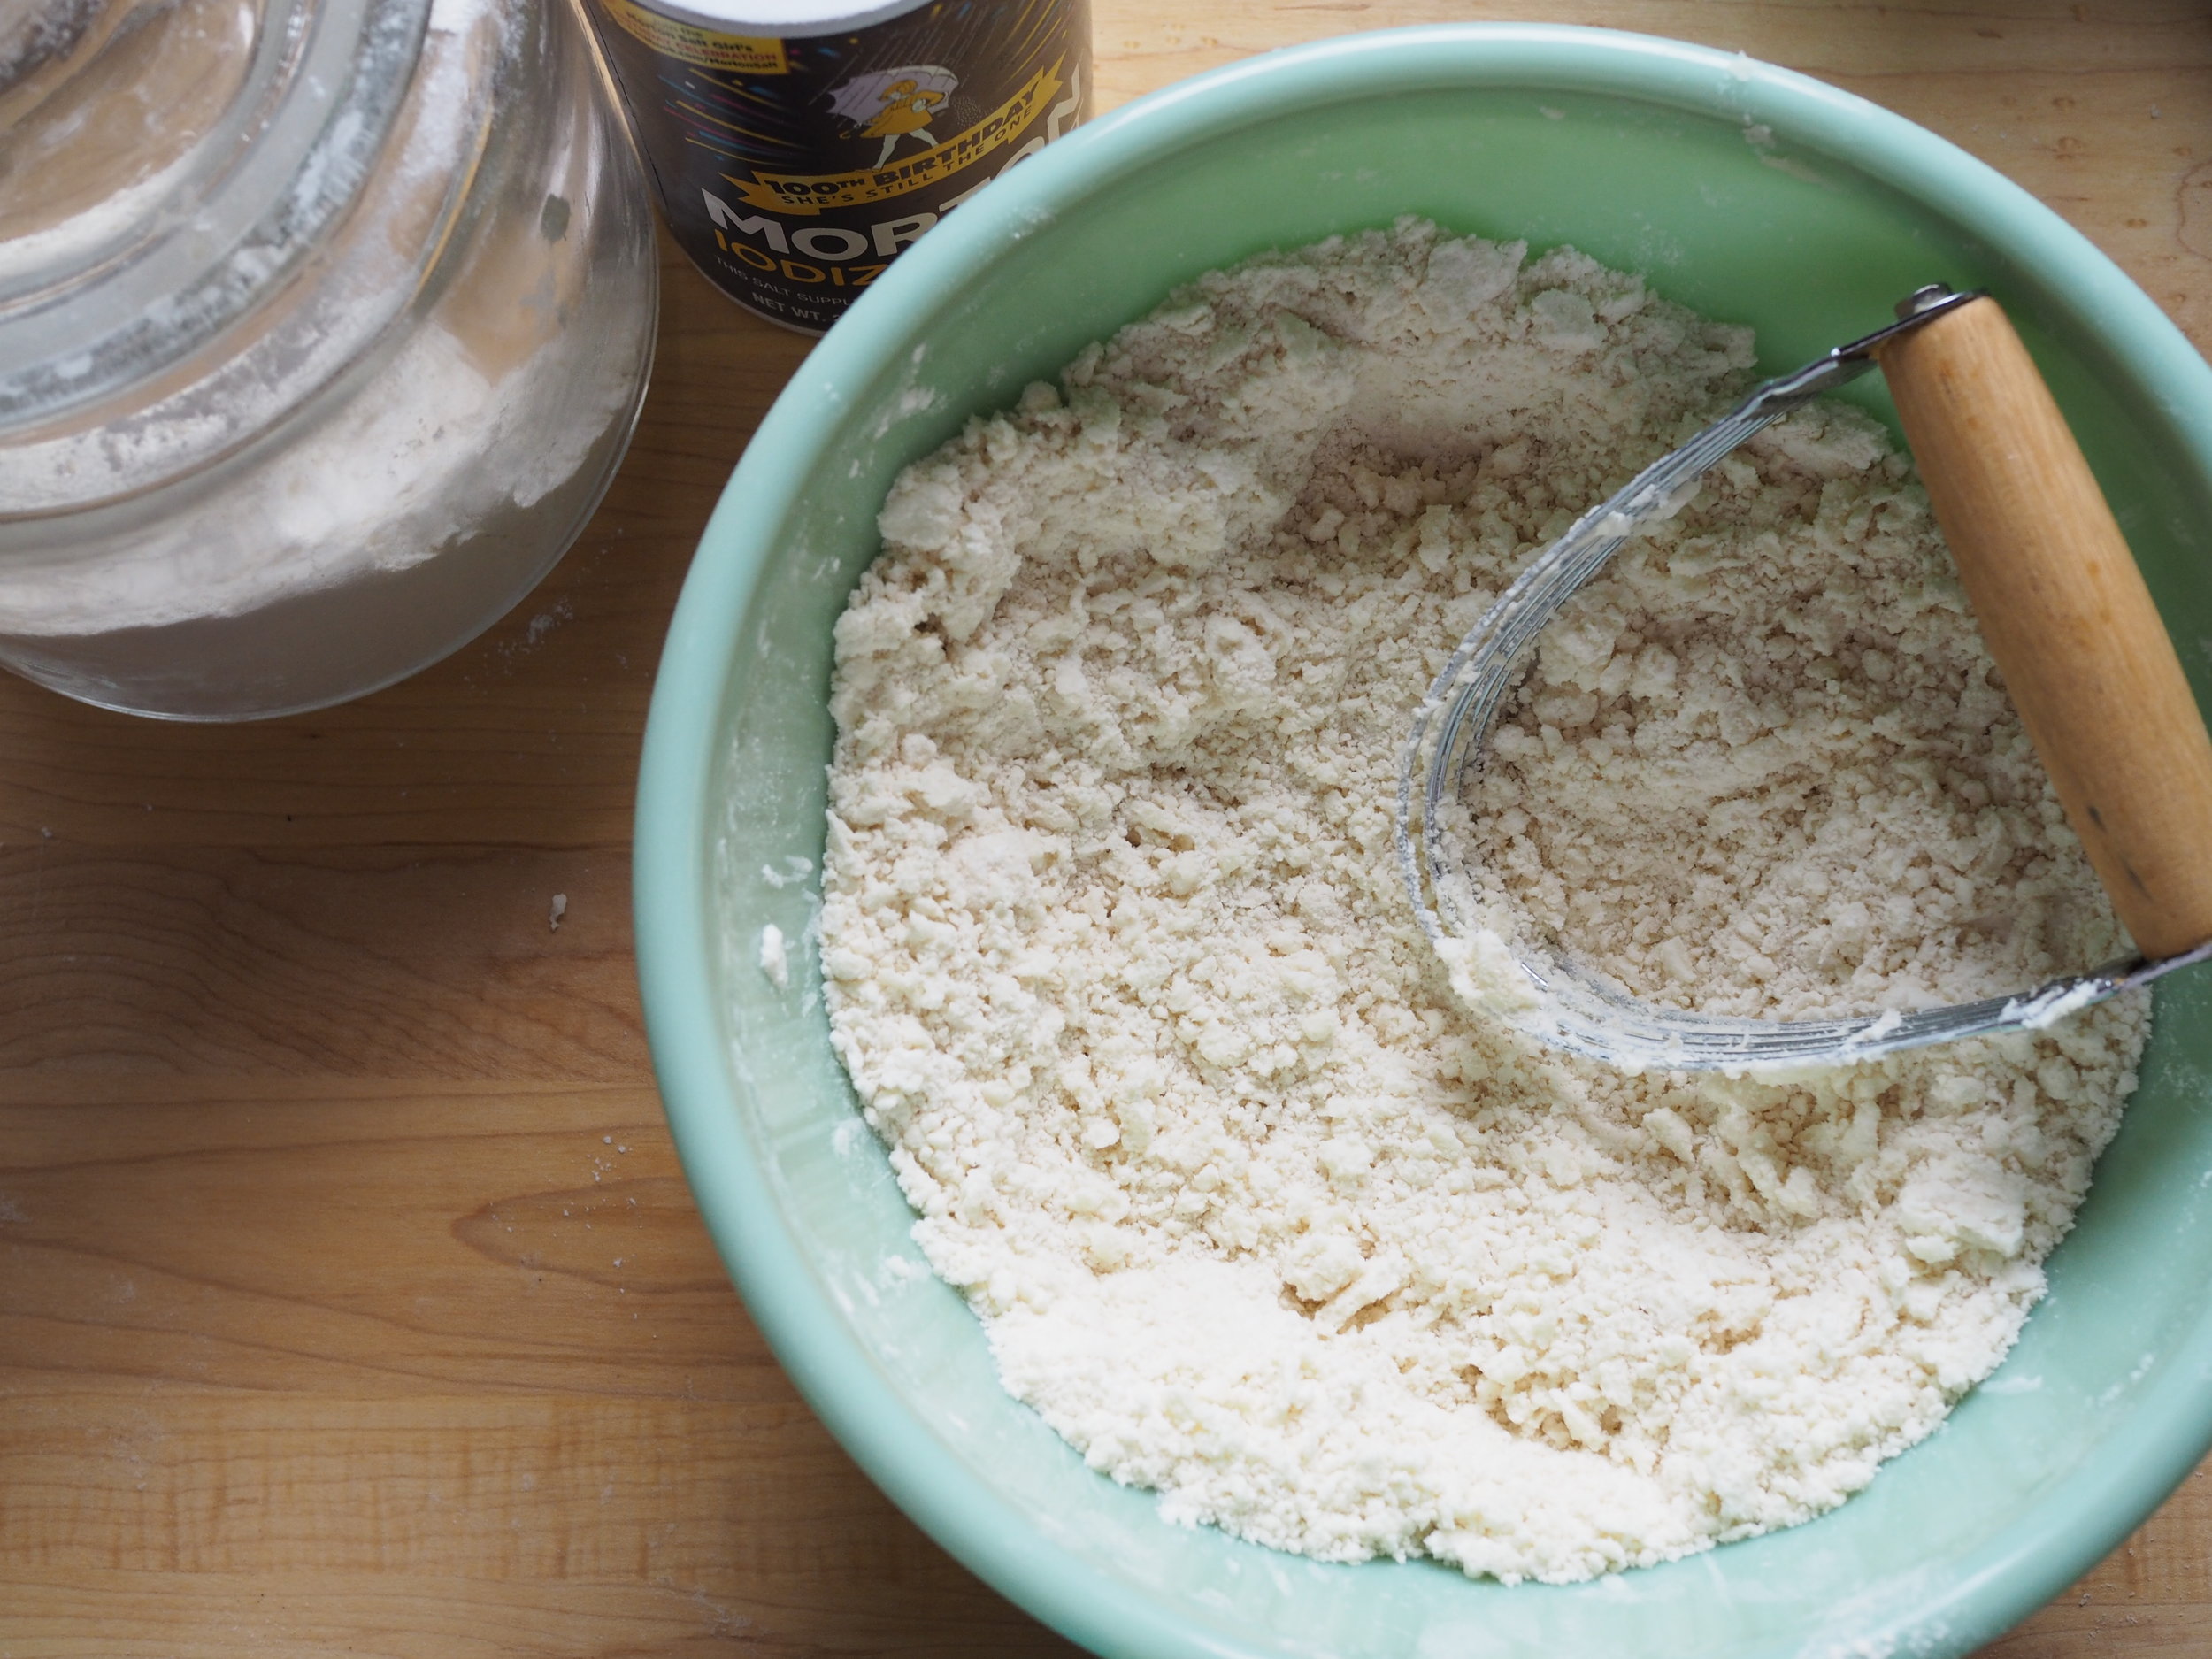
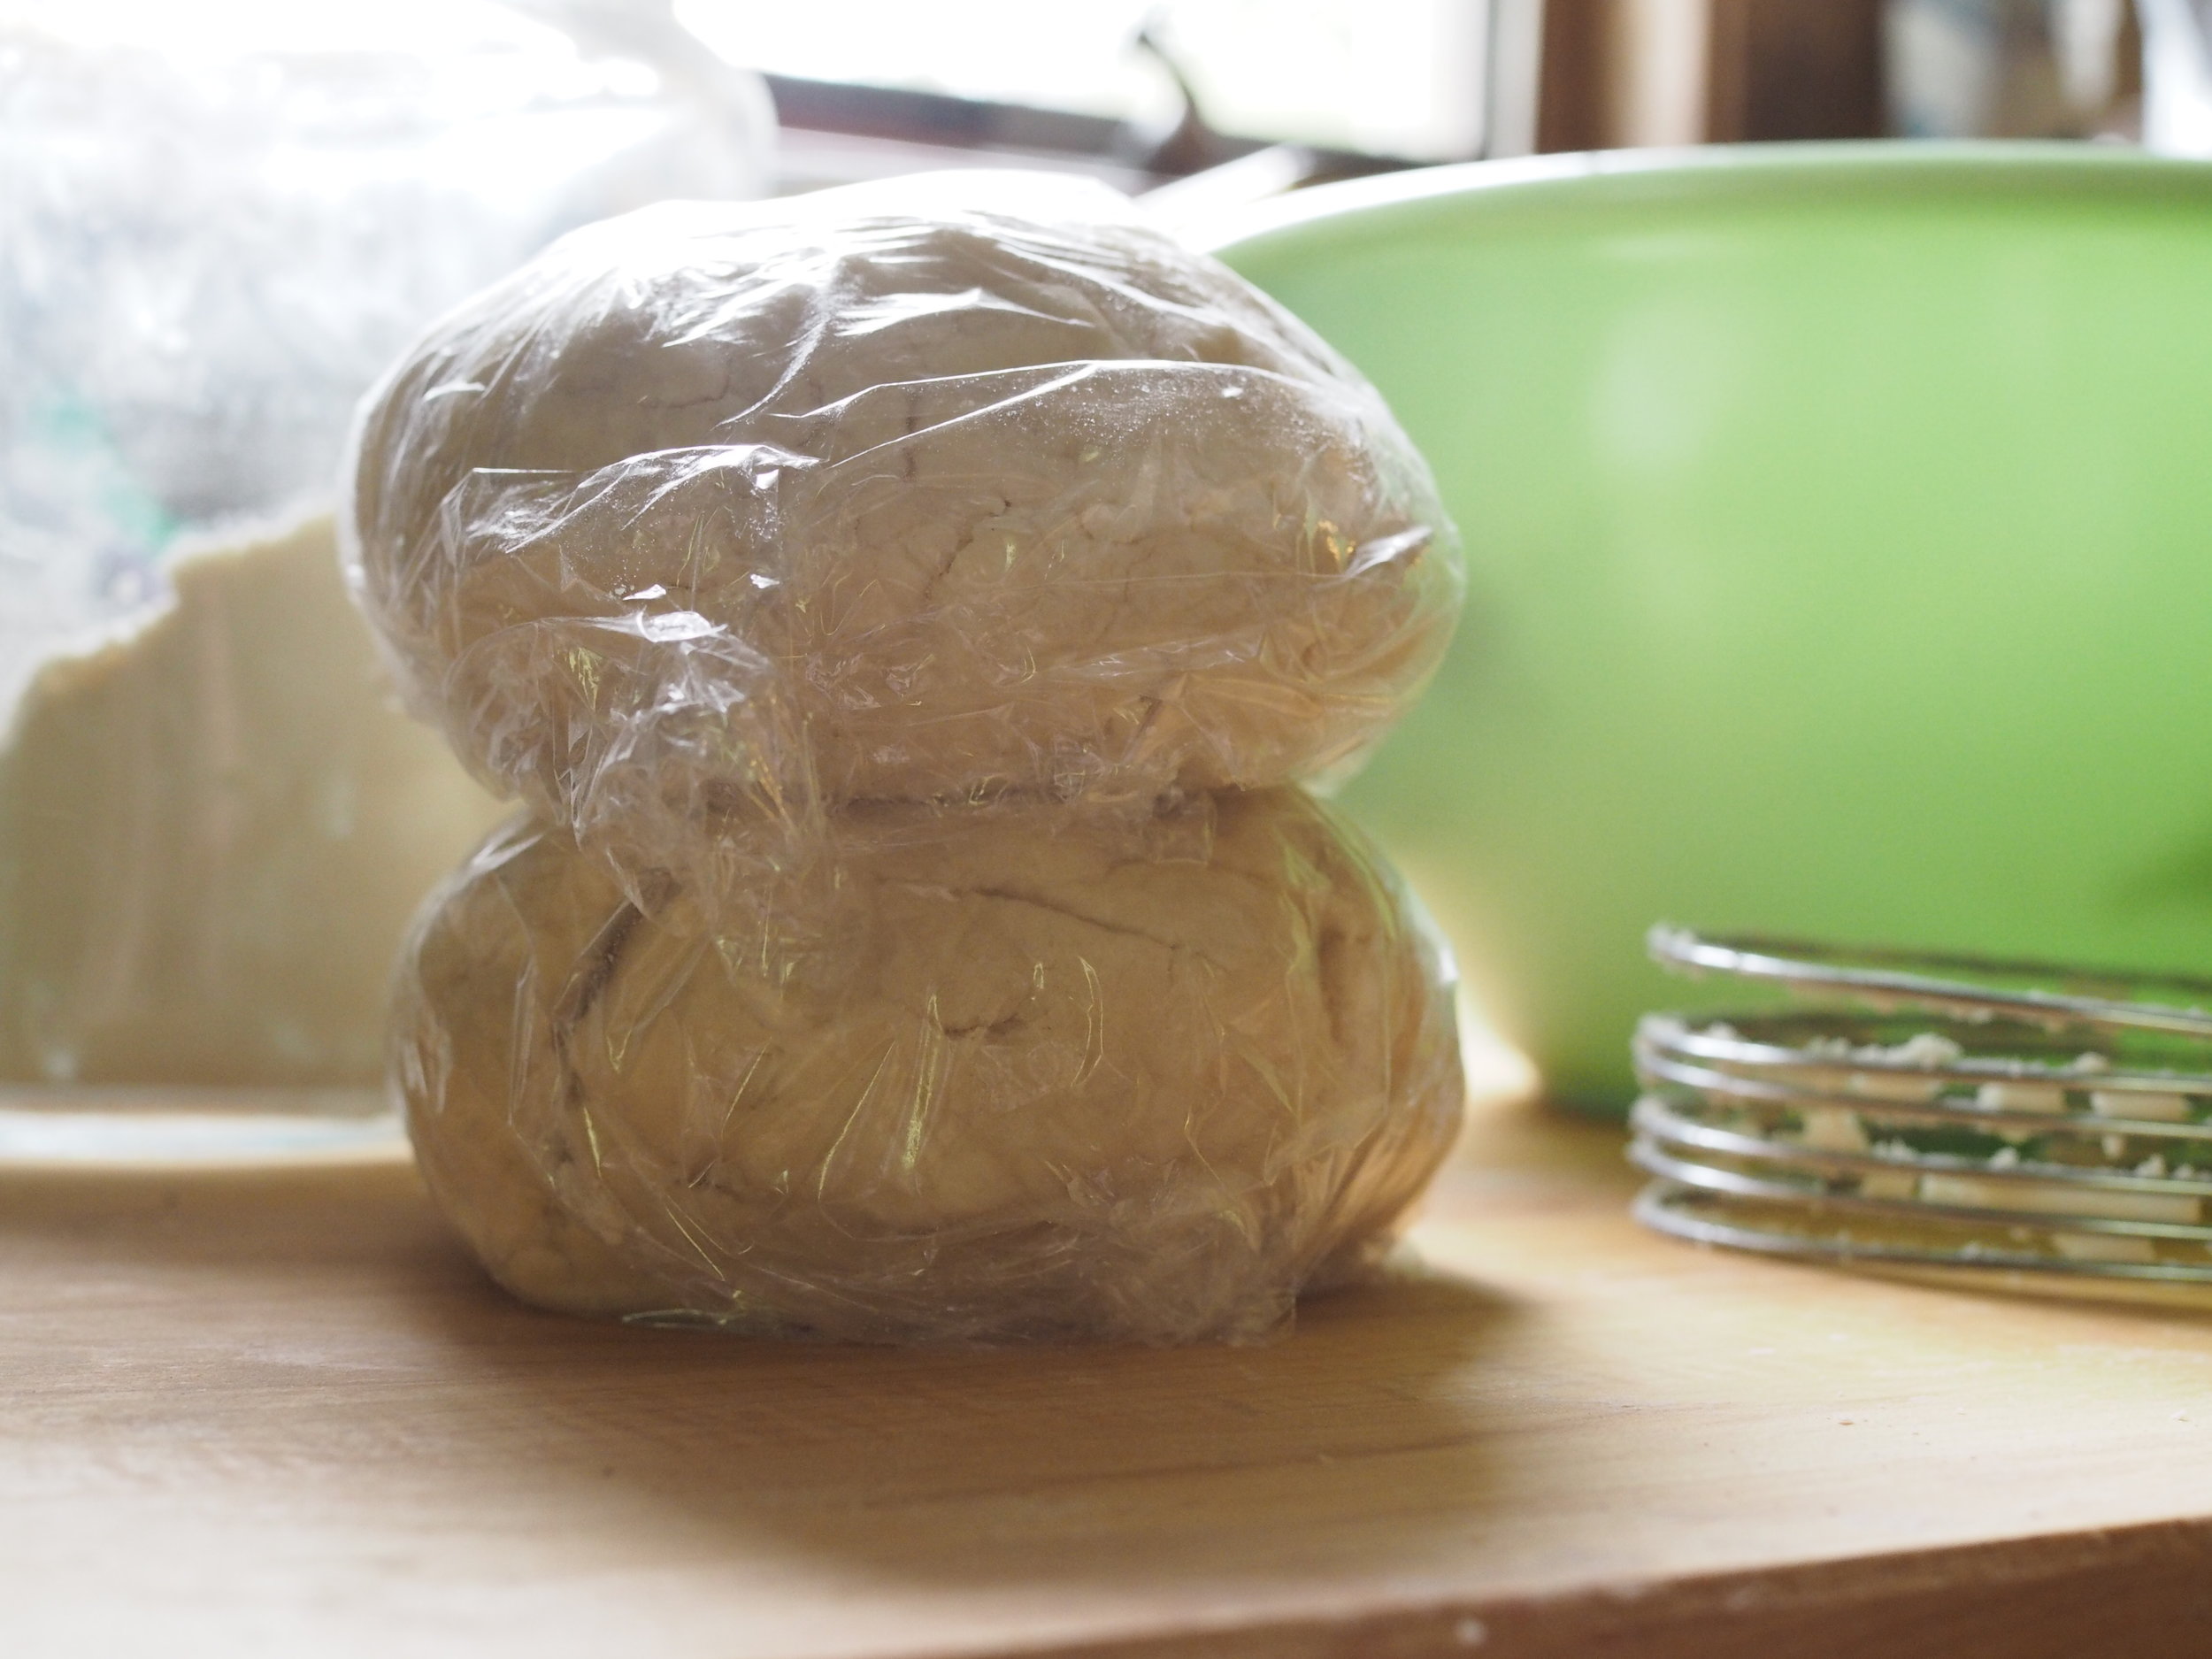
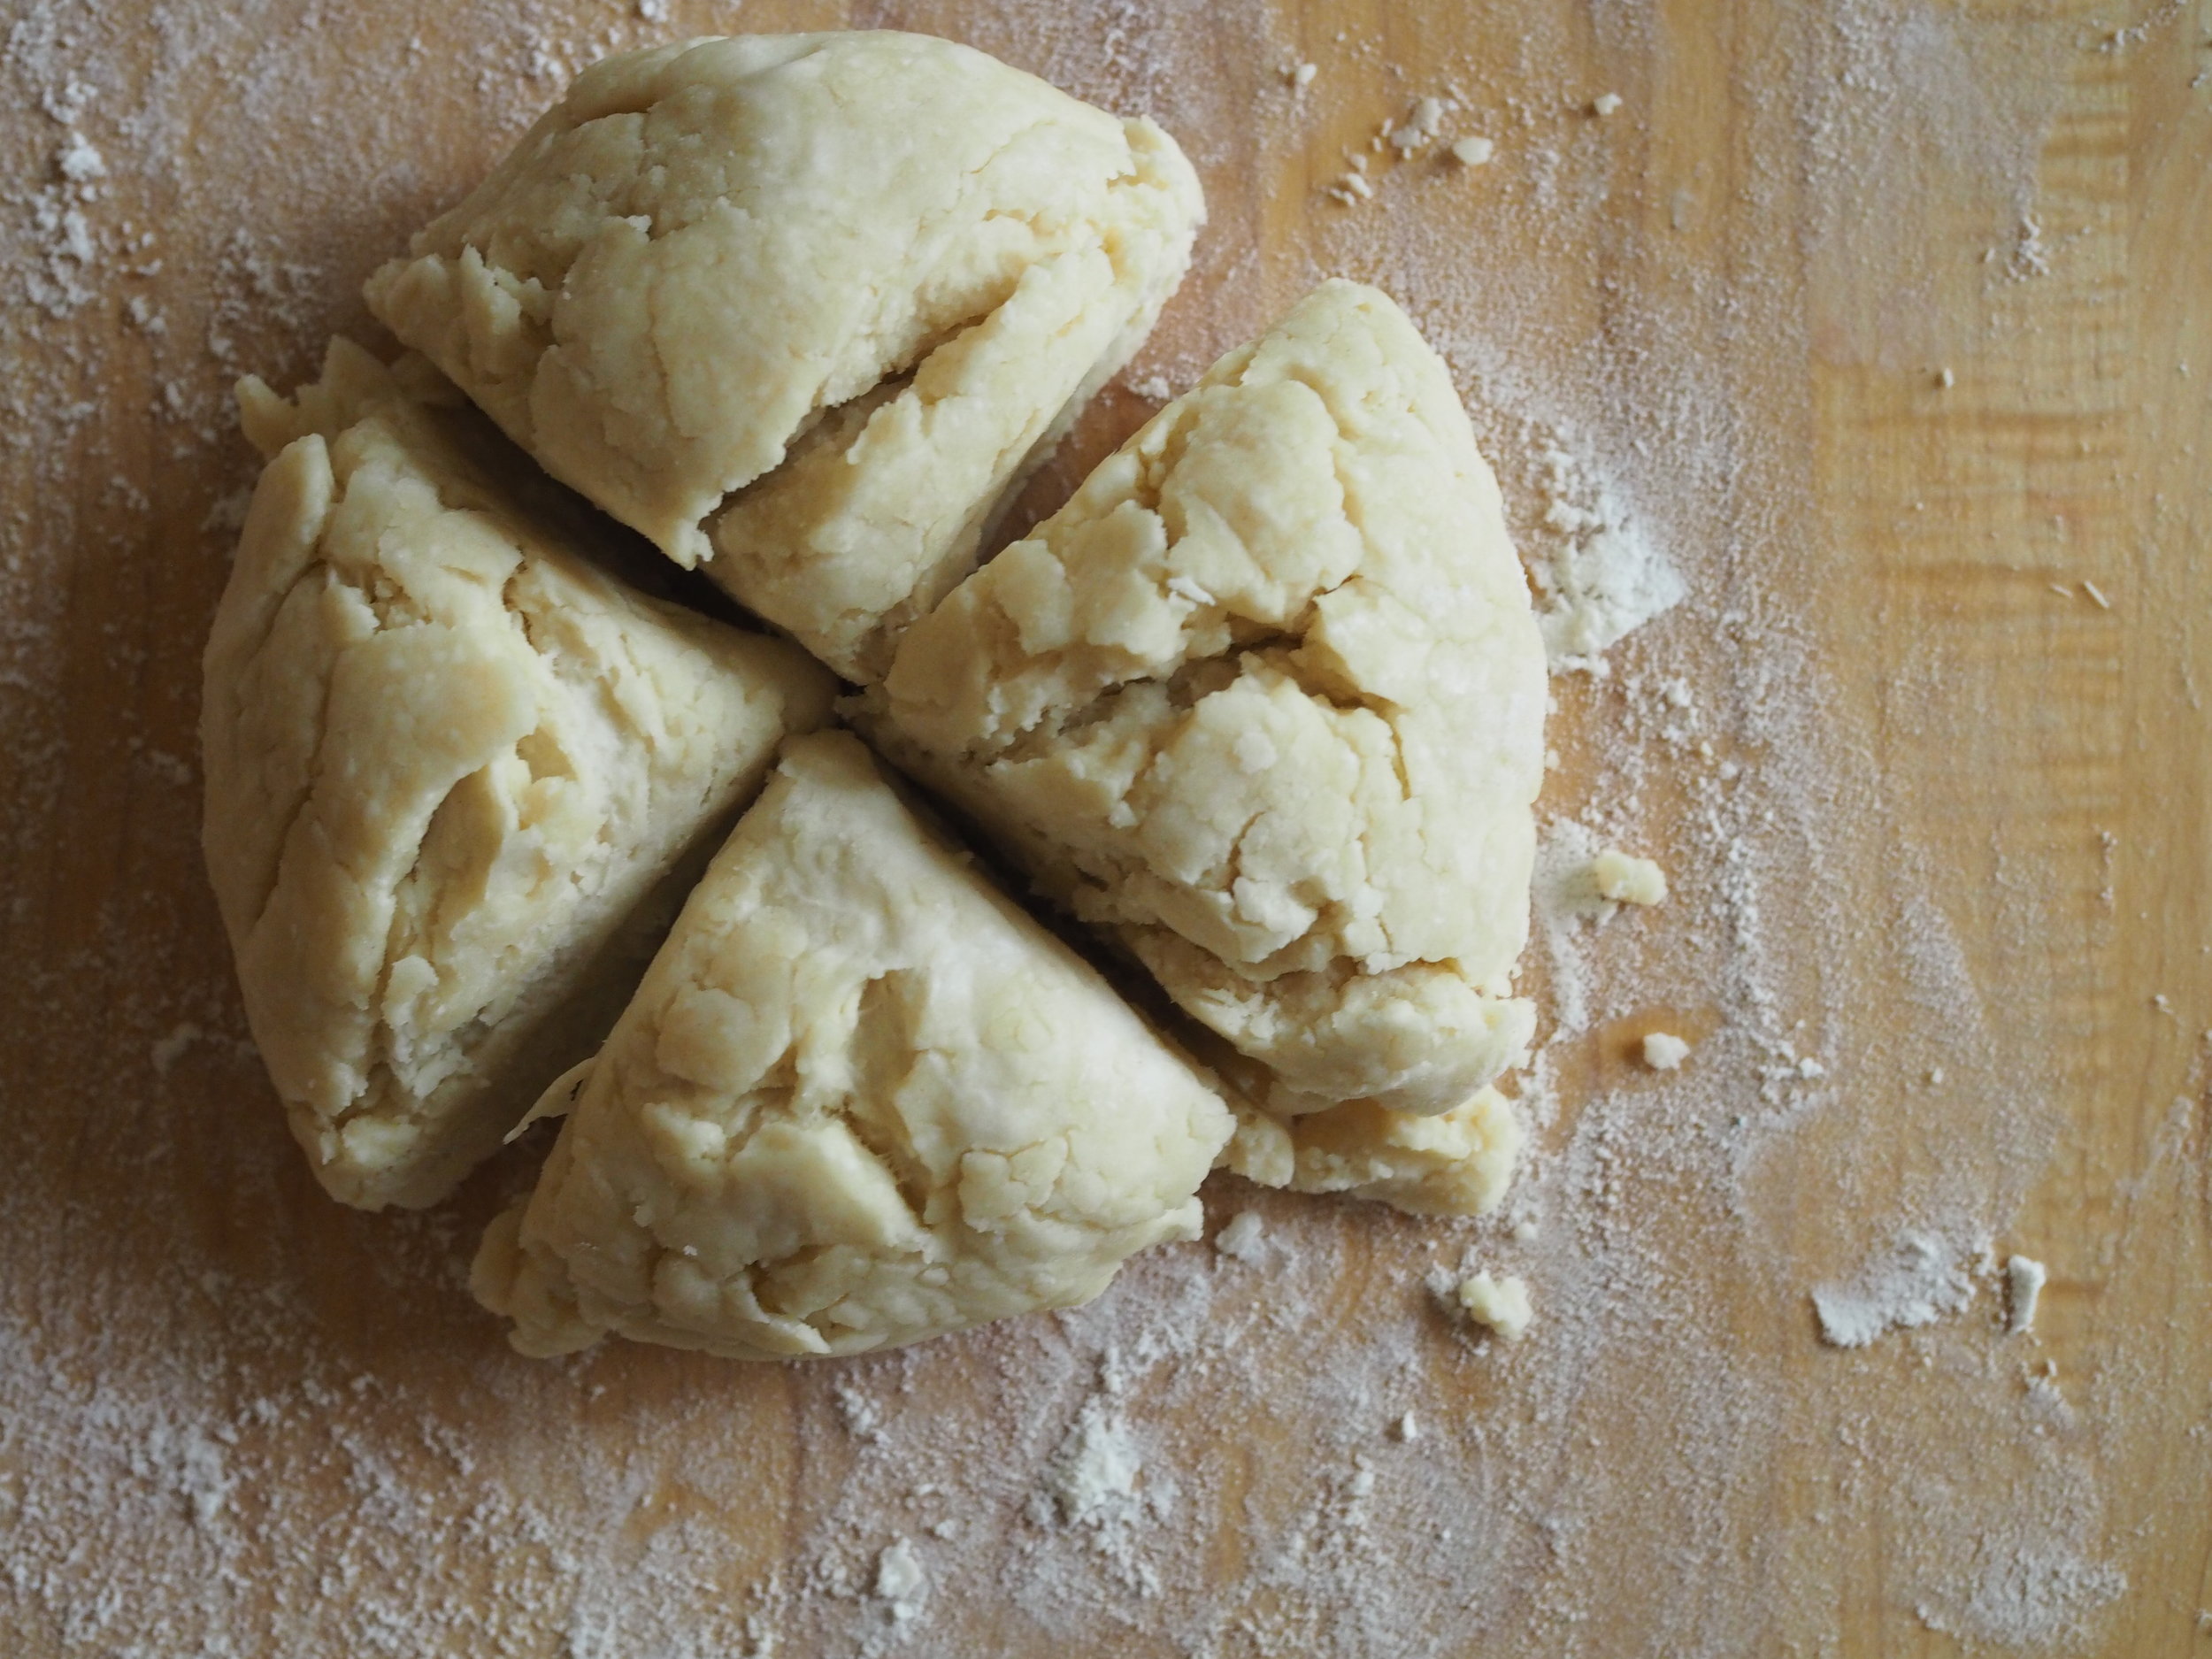
Make crust. In a large mixing bowl, combine flour and salt. Using a pastry cutter or food processor, cut in shortening until mixture resembles damp sand. Add water, a little bit at a time, until dough sticks together. You will want it slightly more elastic than crust for a pan pie. Break dough into two evenly sized pieces, wrap in plastic wrap, and place in refrigerator up to a day in advance.

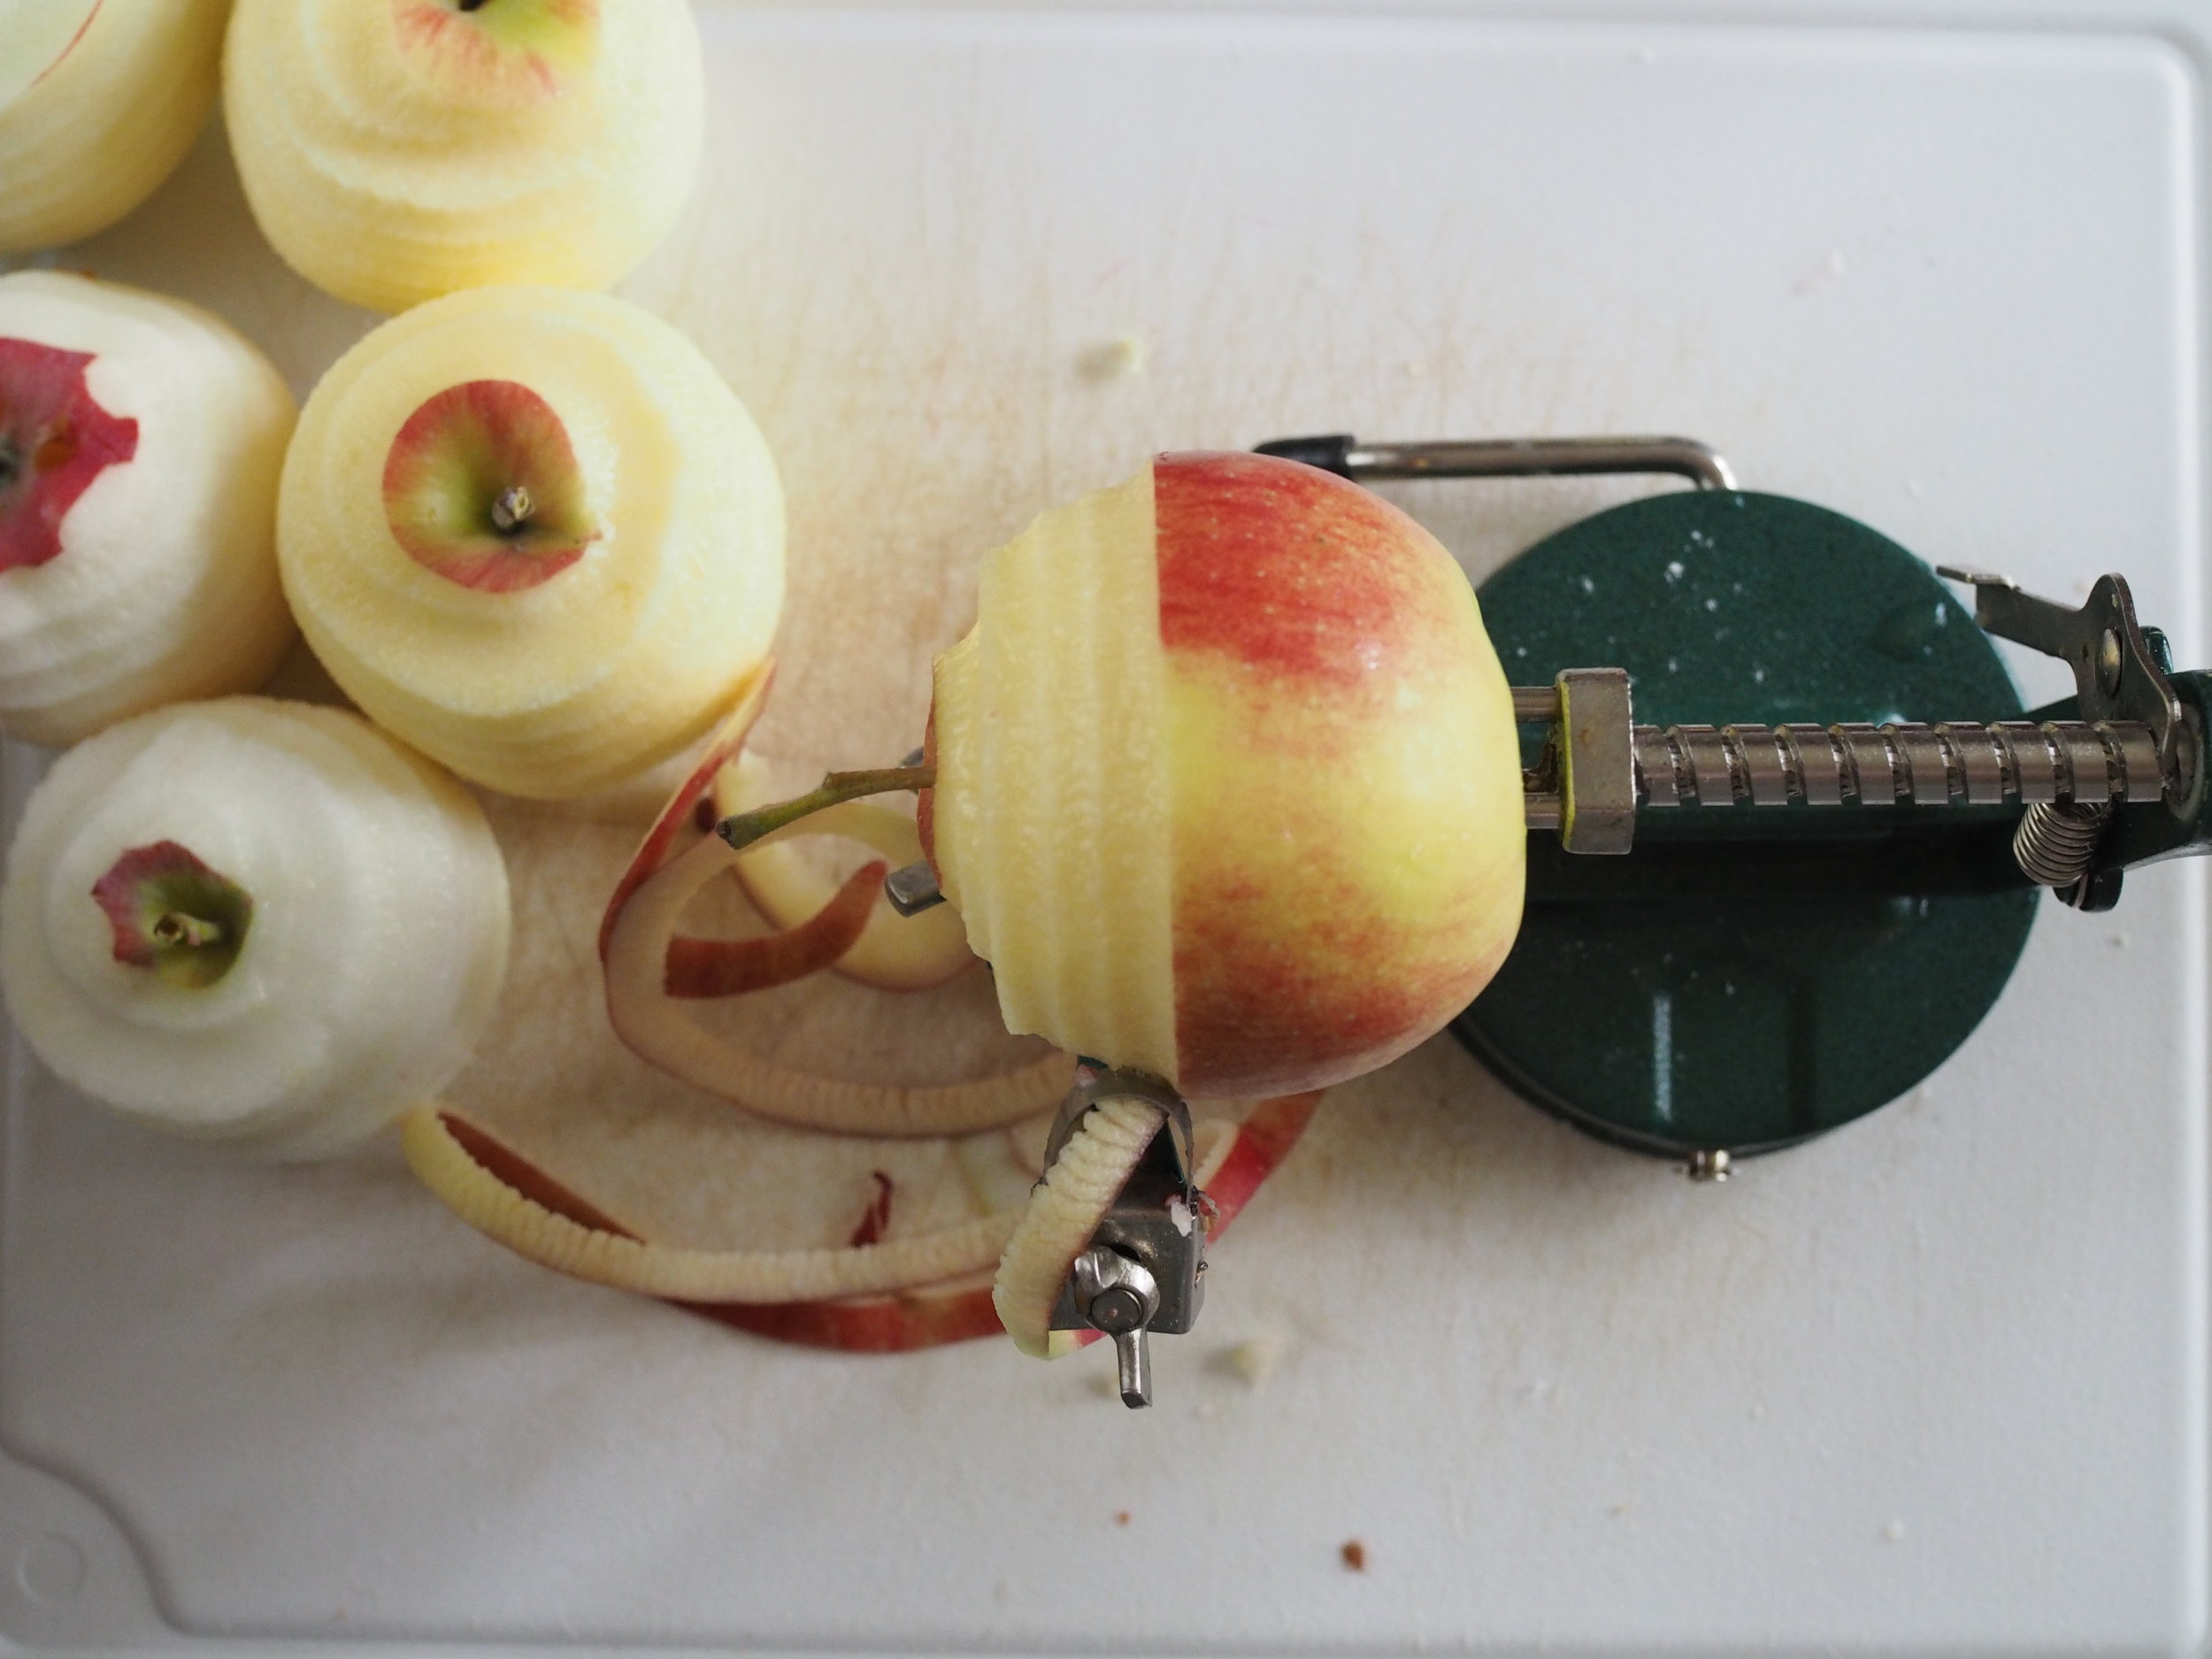
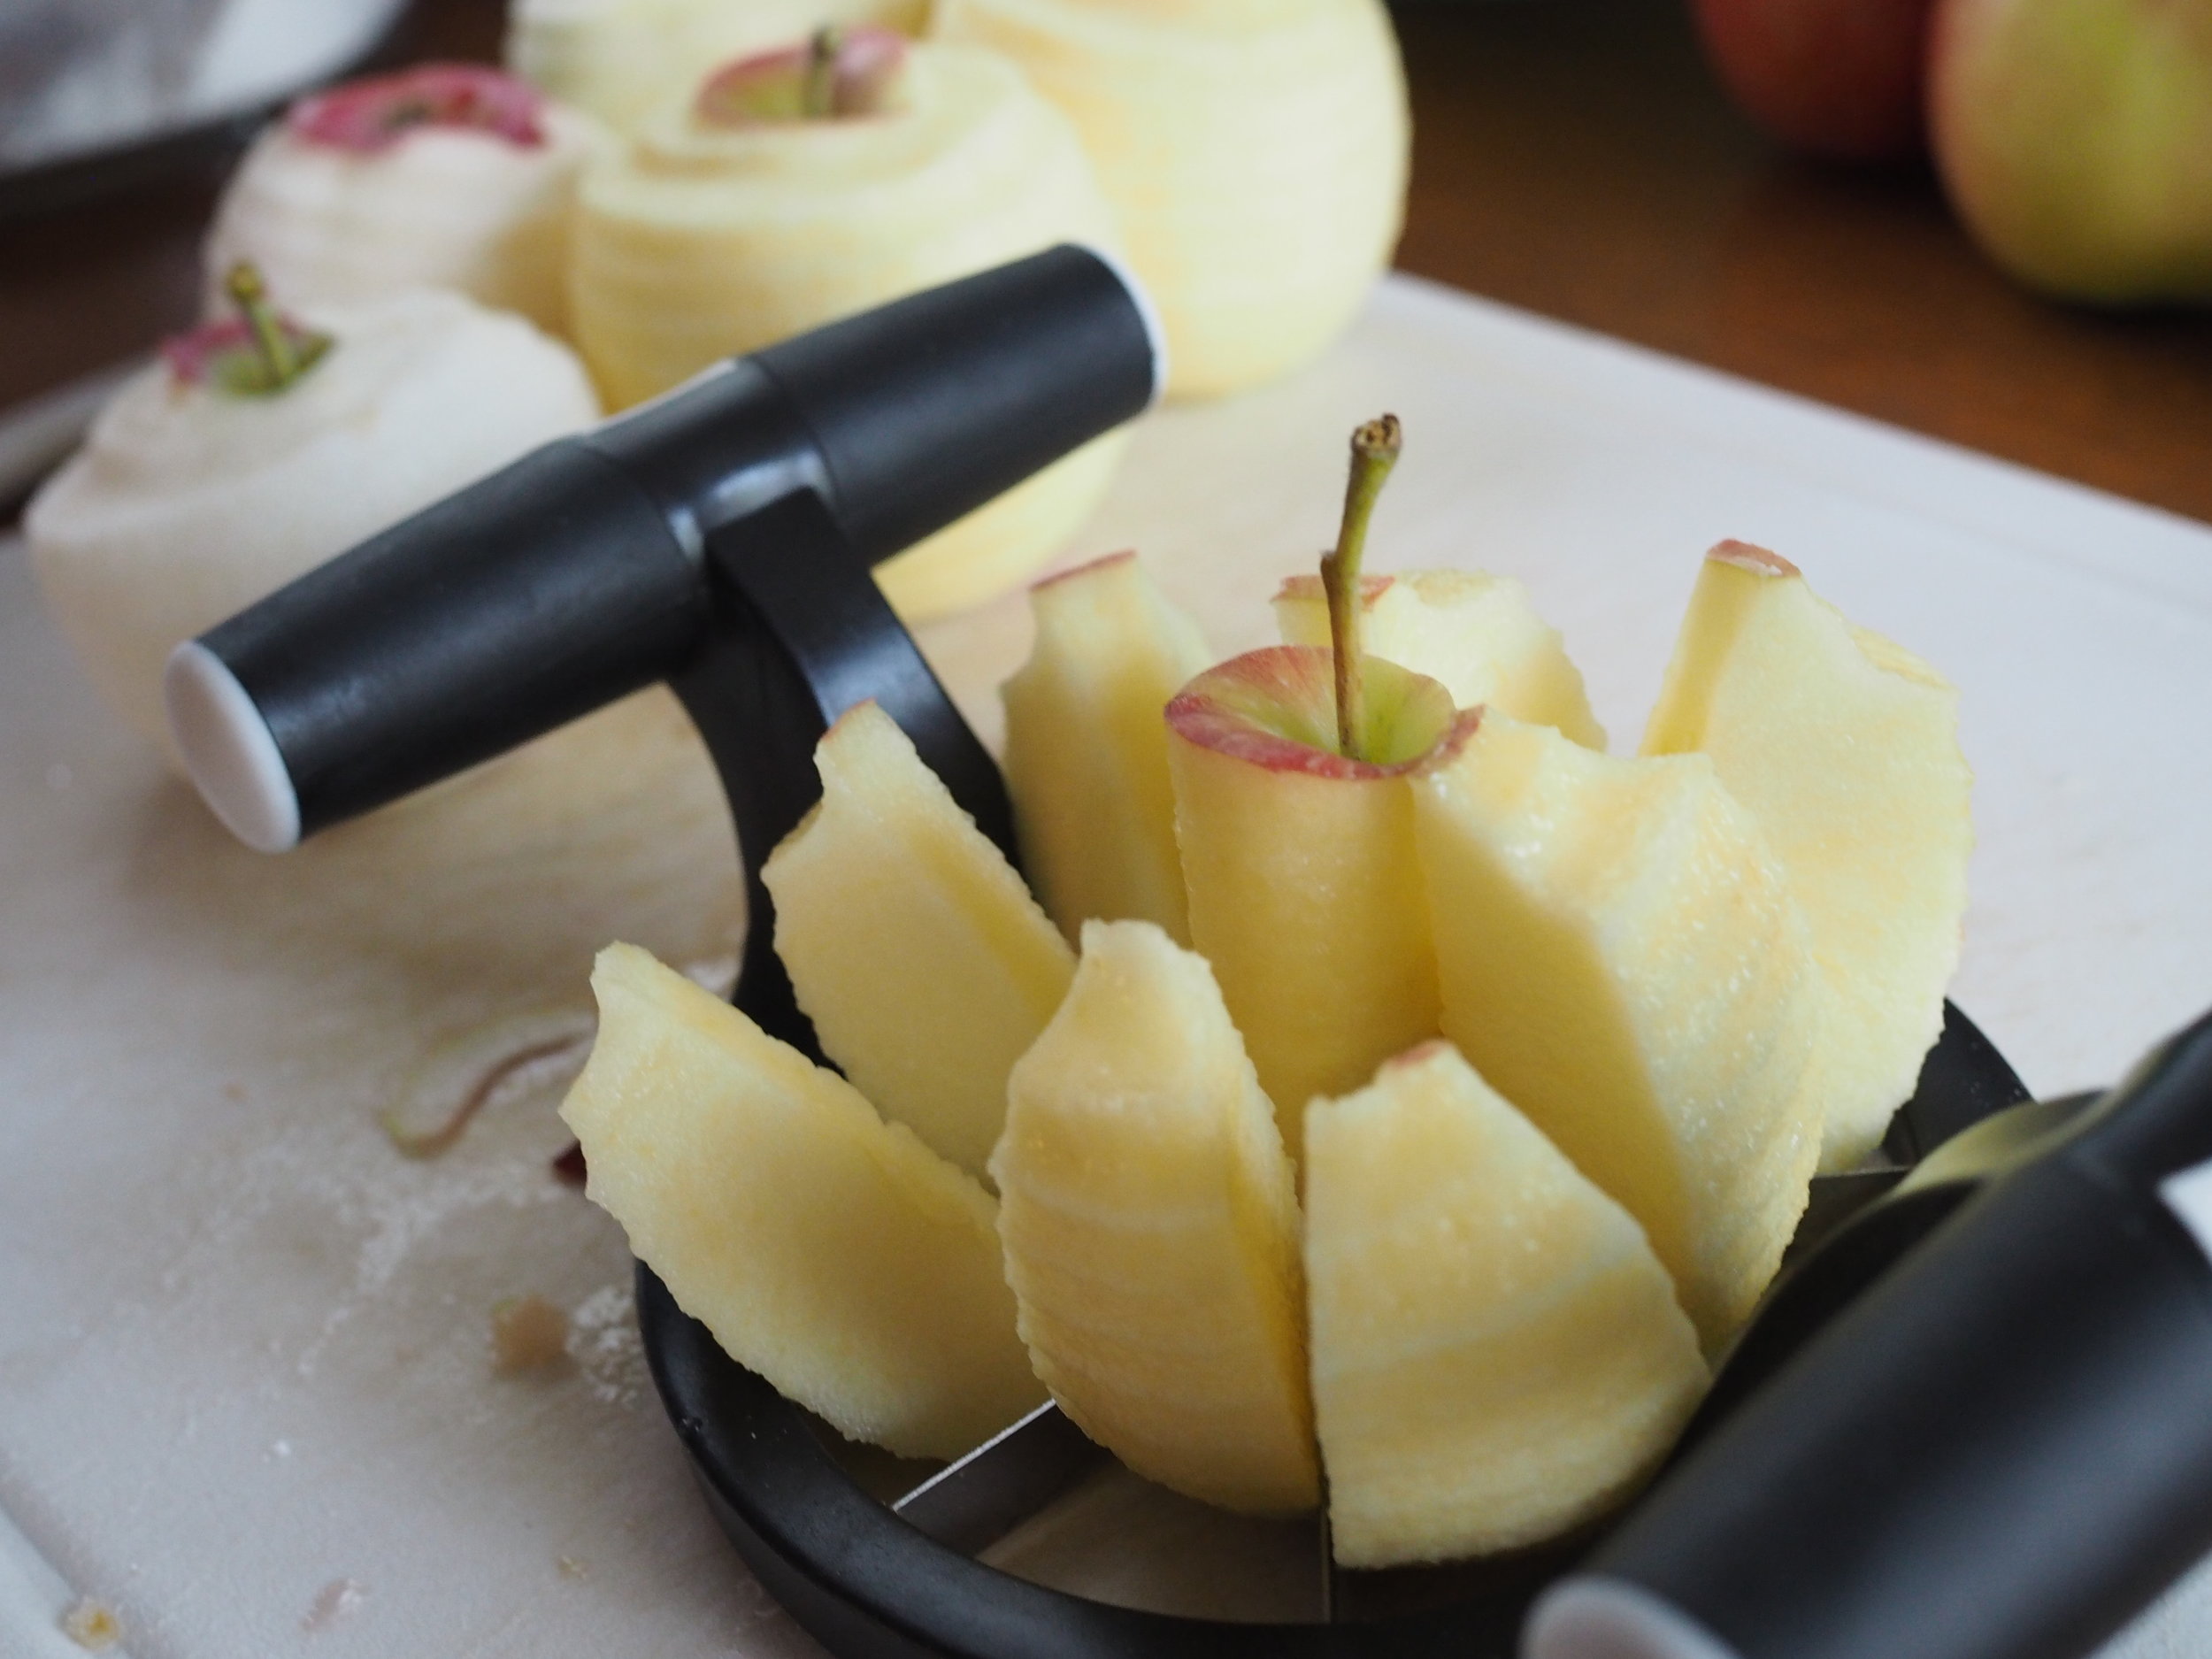
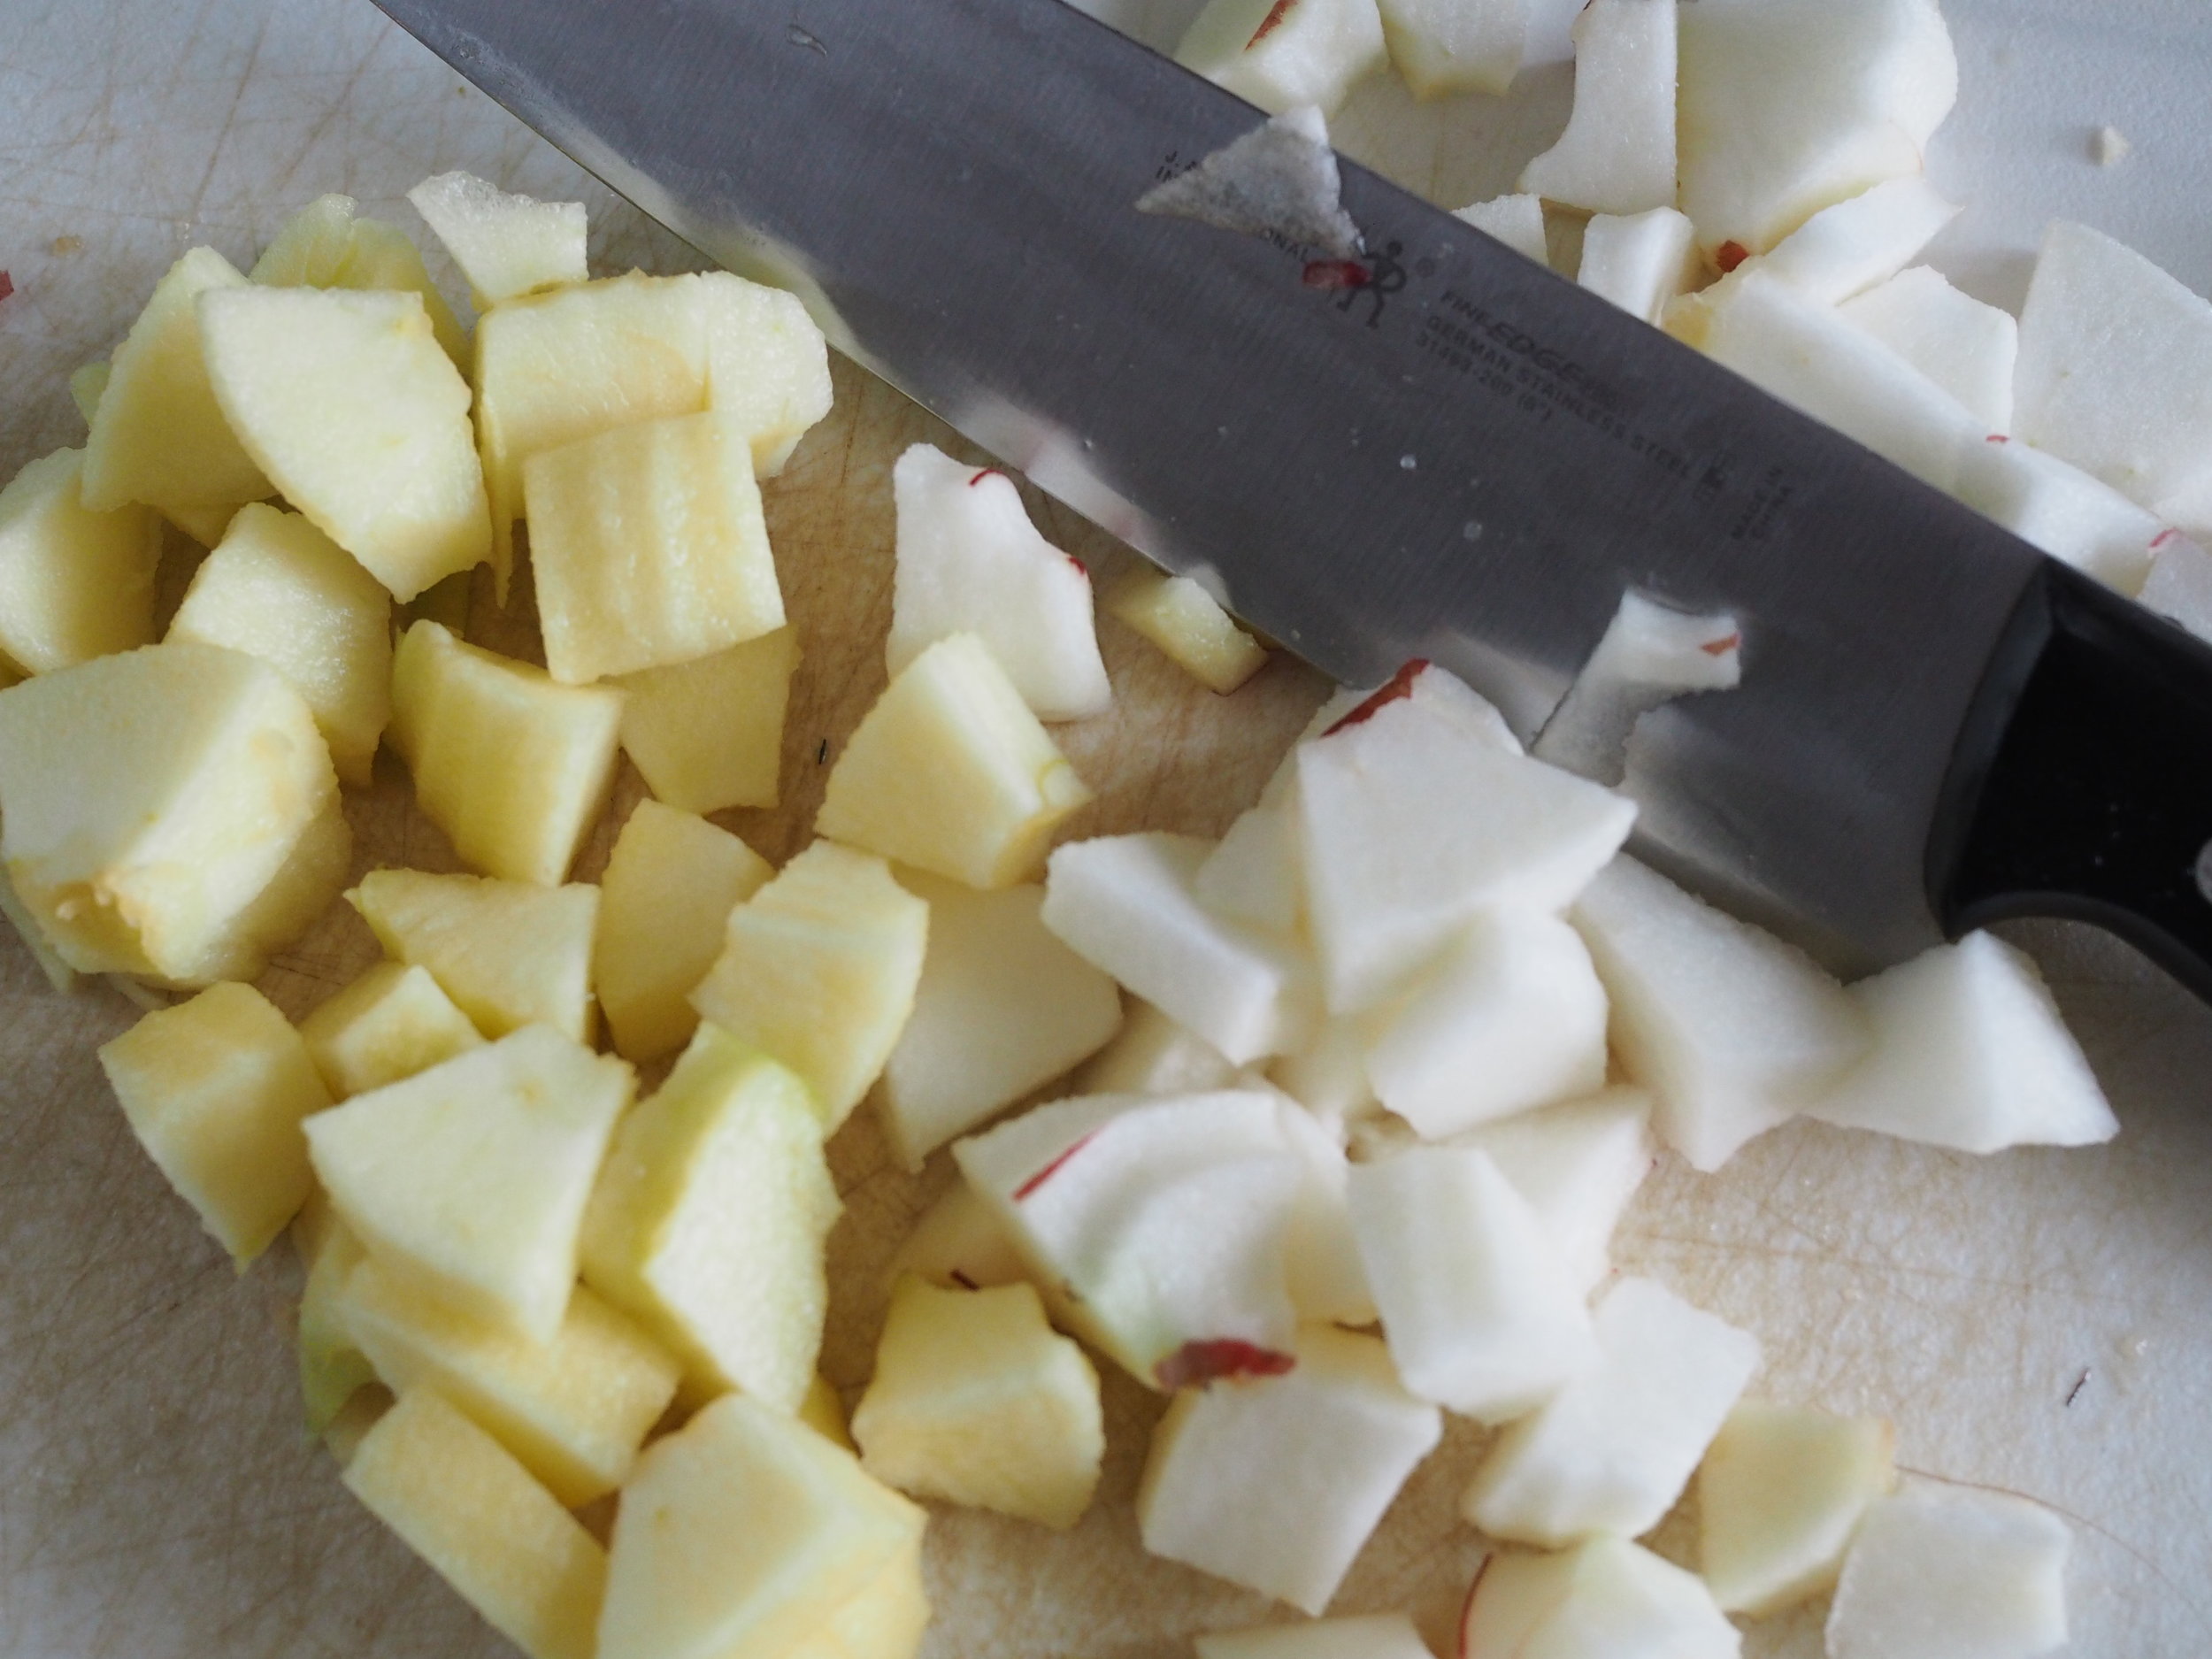
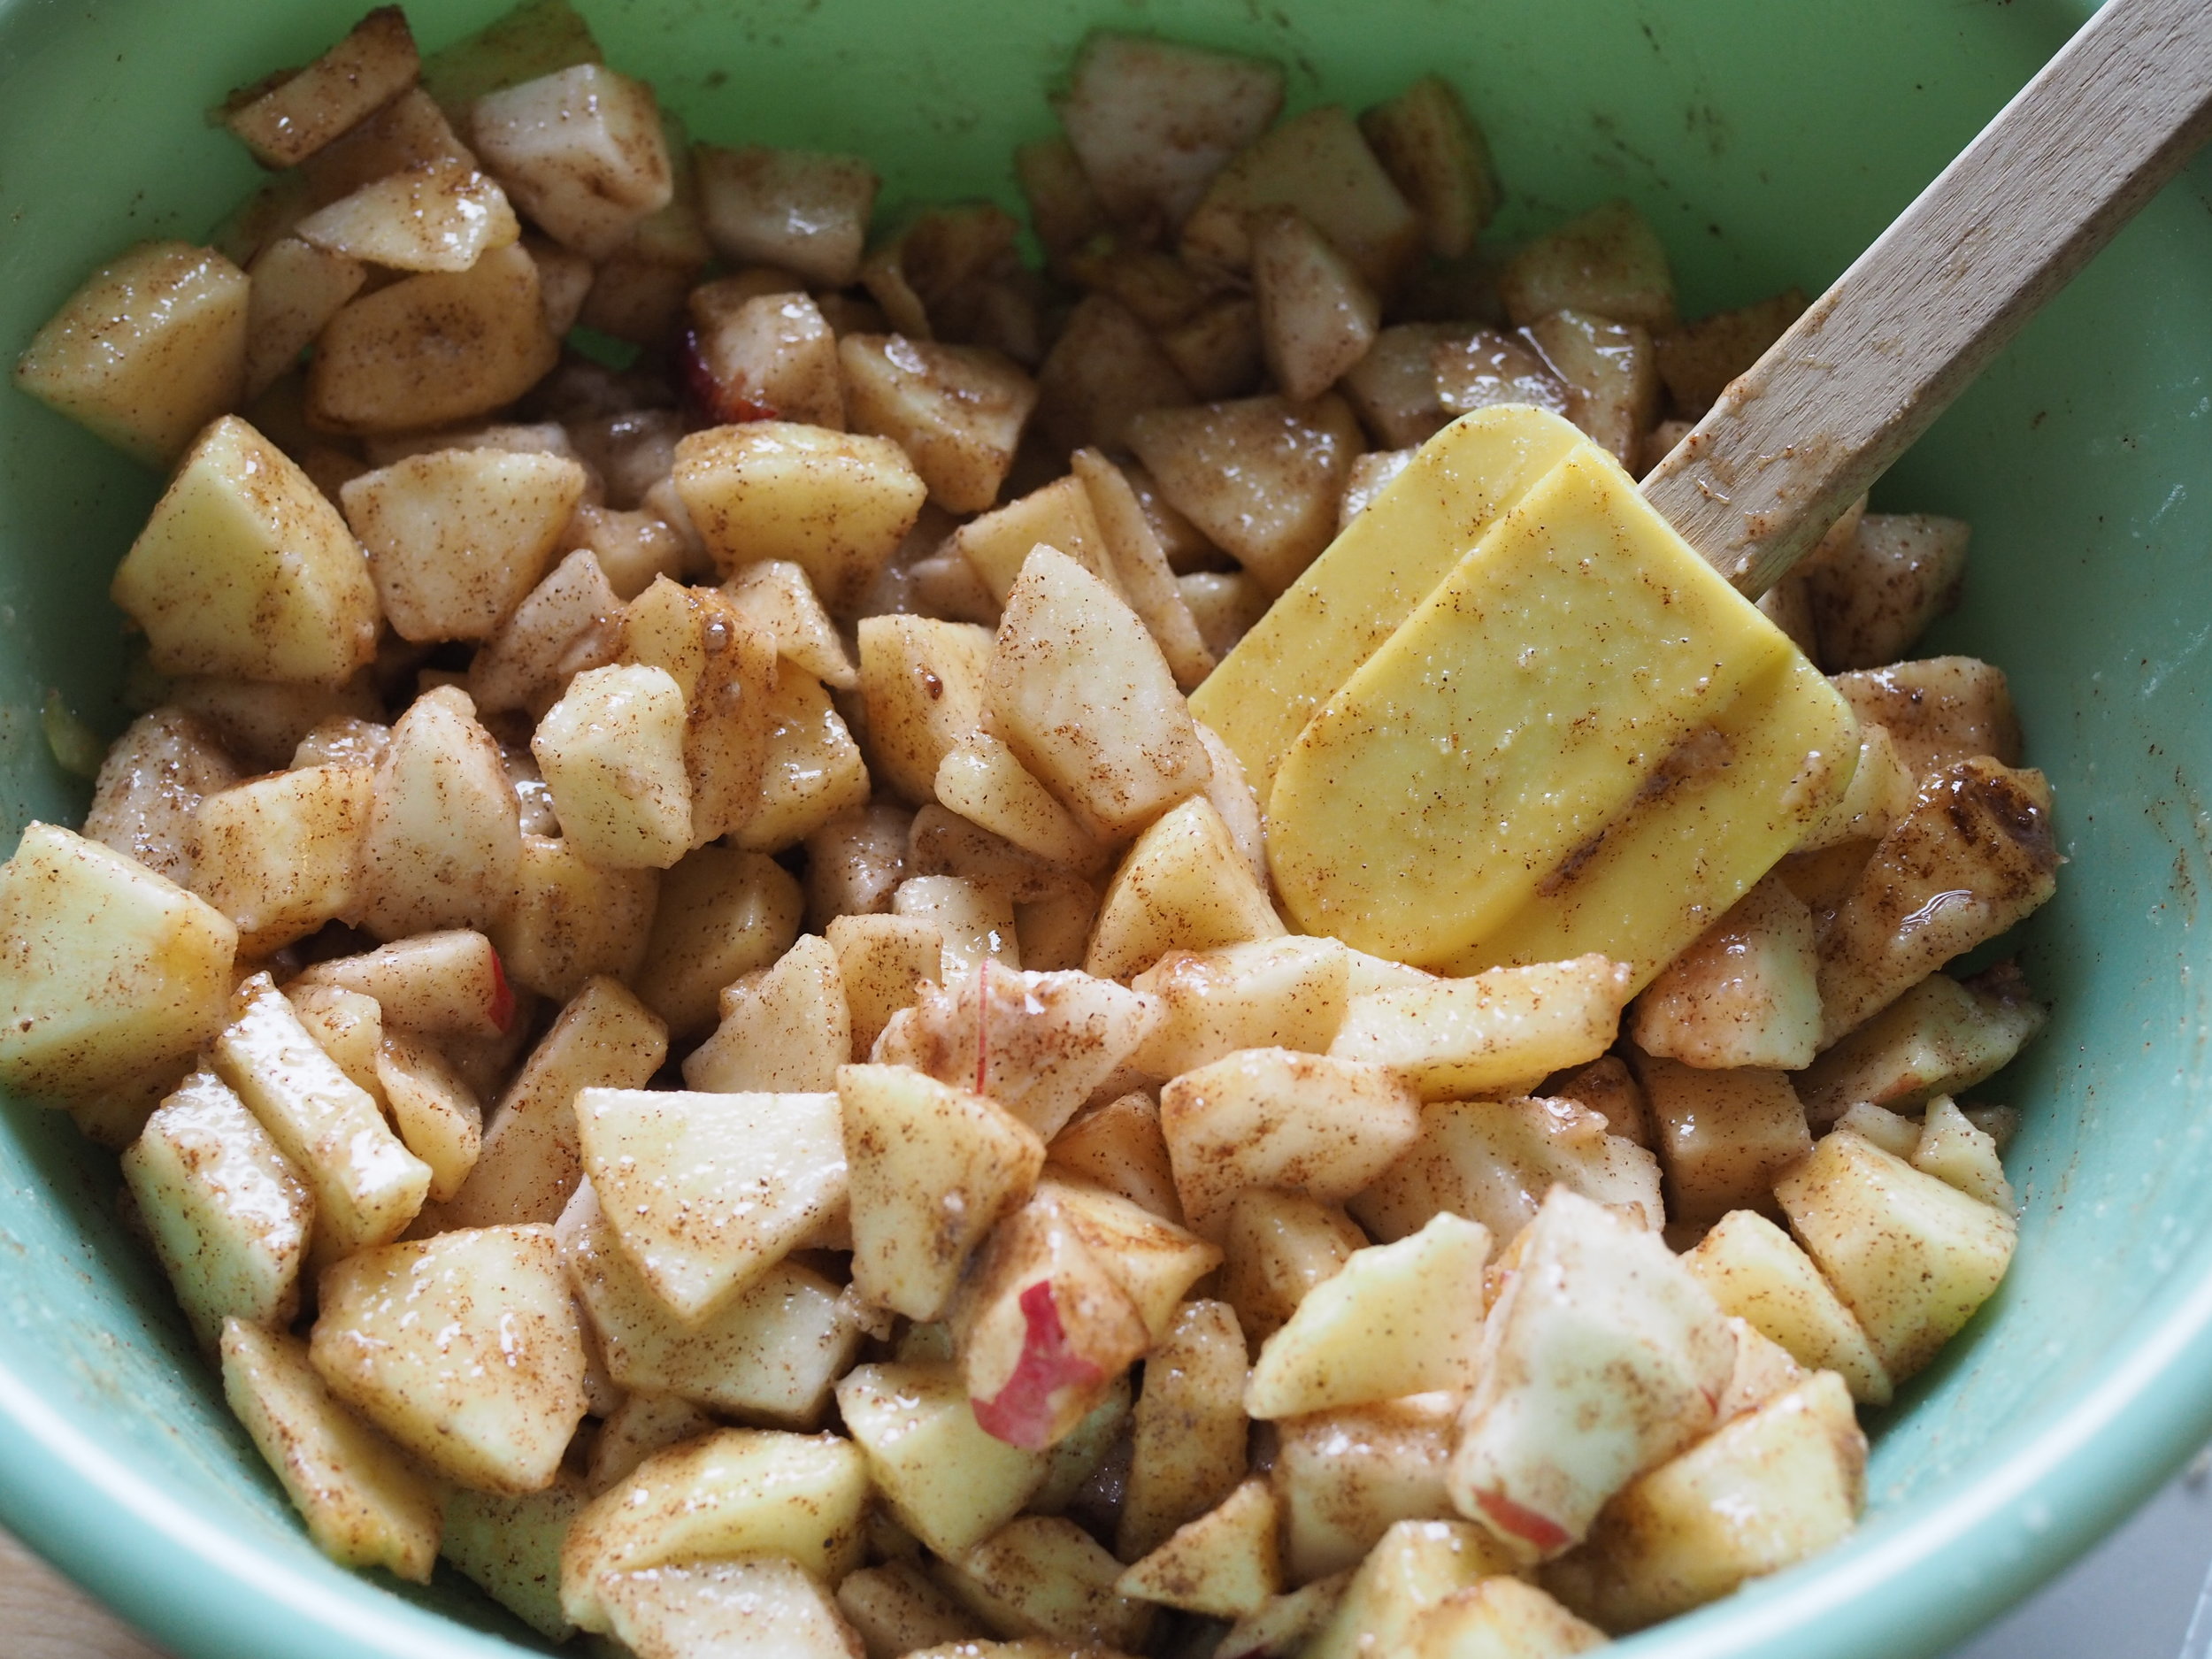
Prepare filling. Peel, core, and dice apples into small chunks. In a large mixing bowl, combine diced apples with lemon juice, cinnamon, nutmeg, sugar, and flour. Mix well, until all apple pieces are coated. 

Line two rimmed cookie sheets with parchment paper.

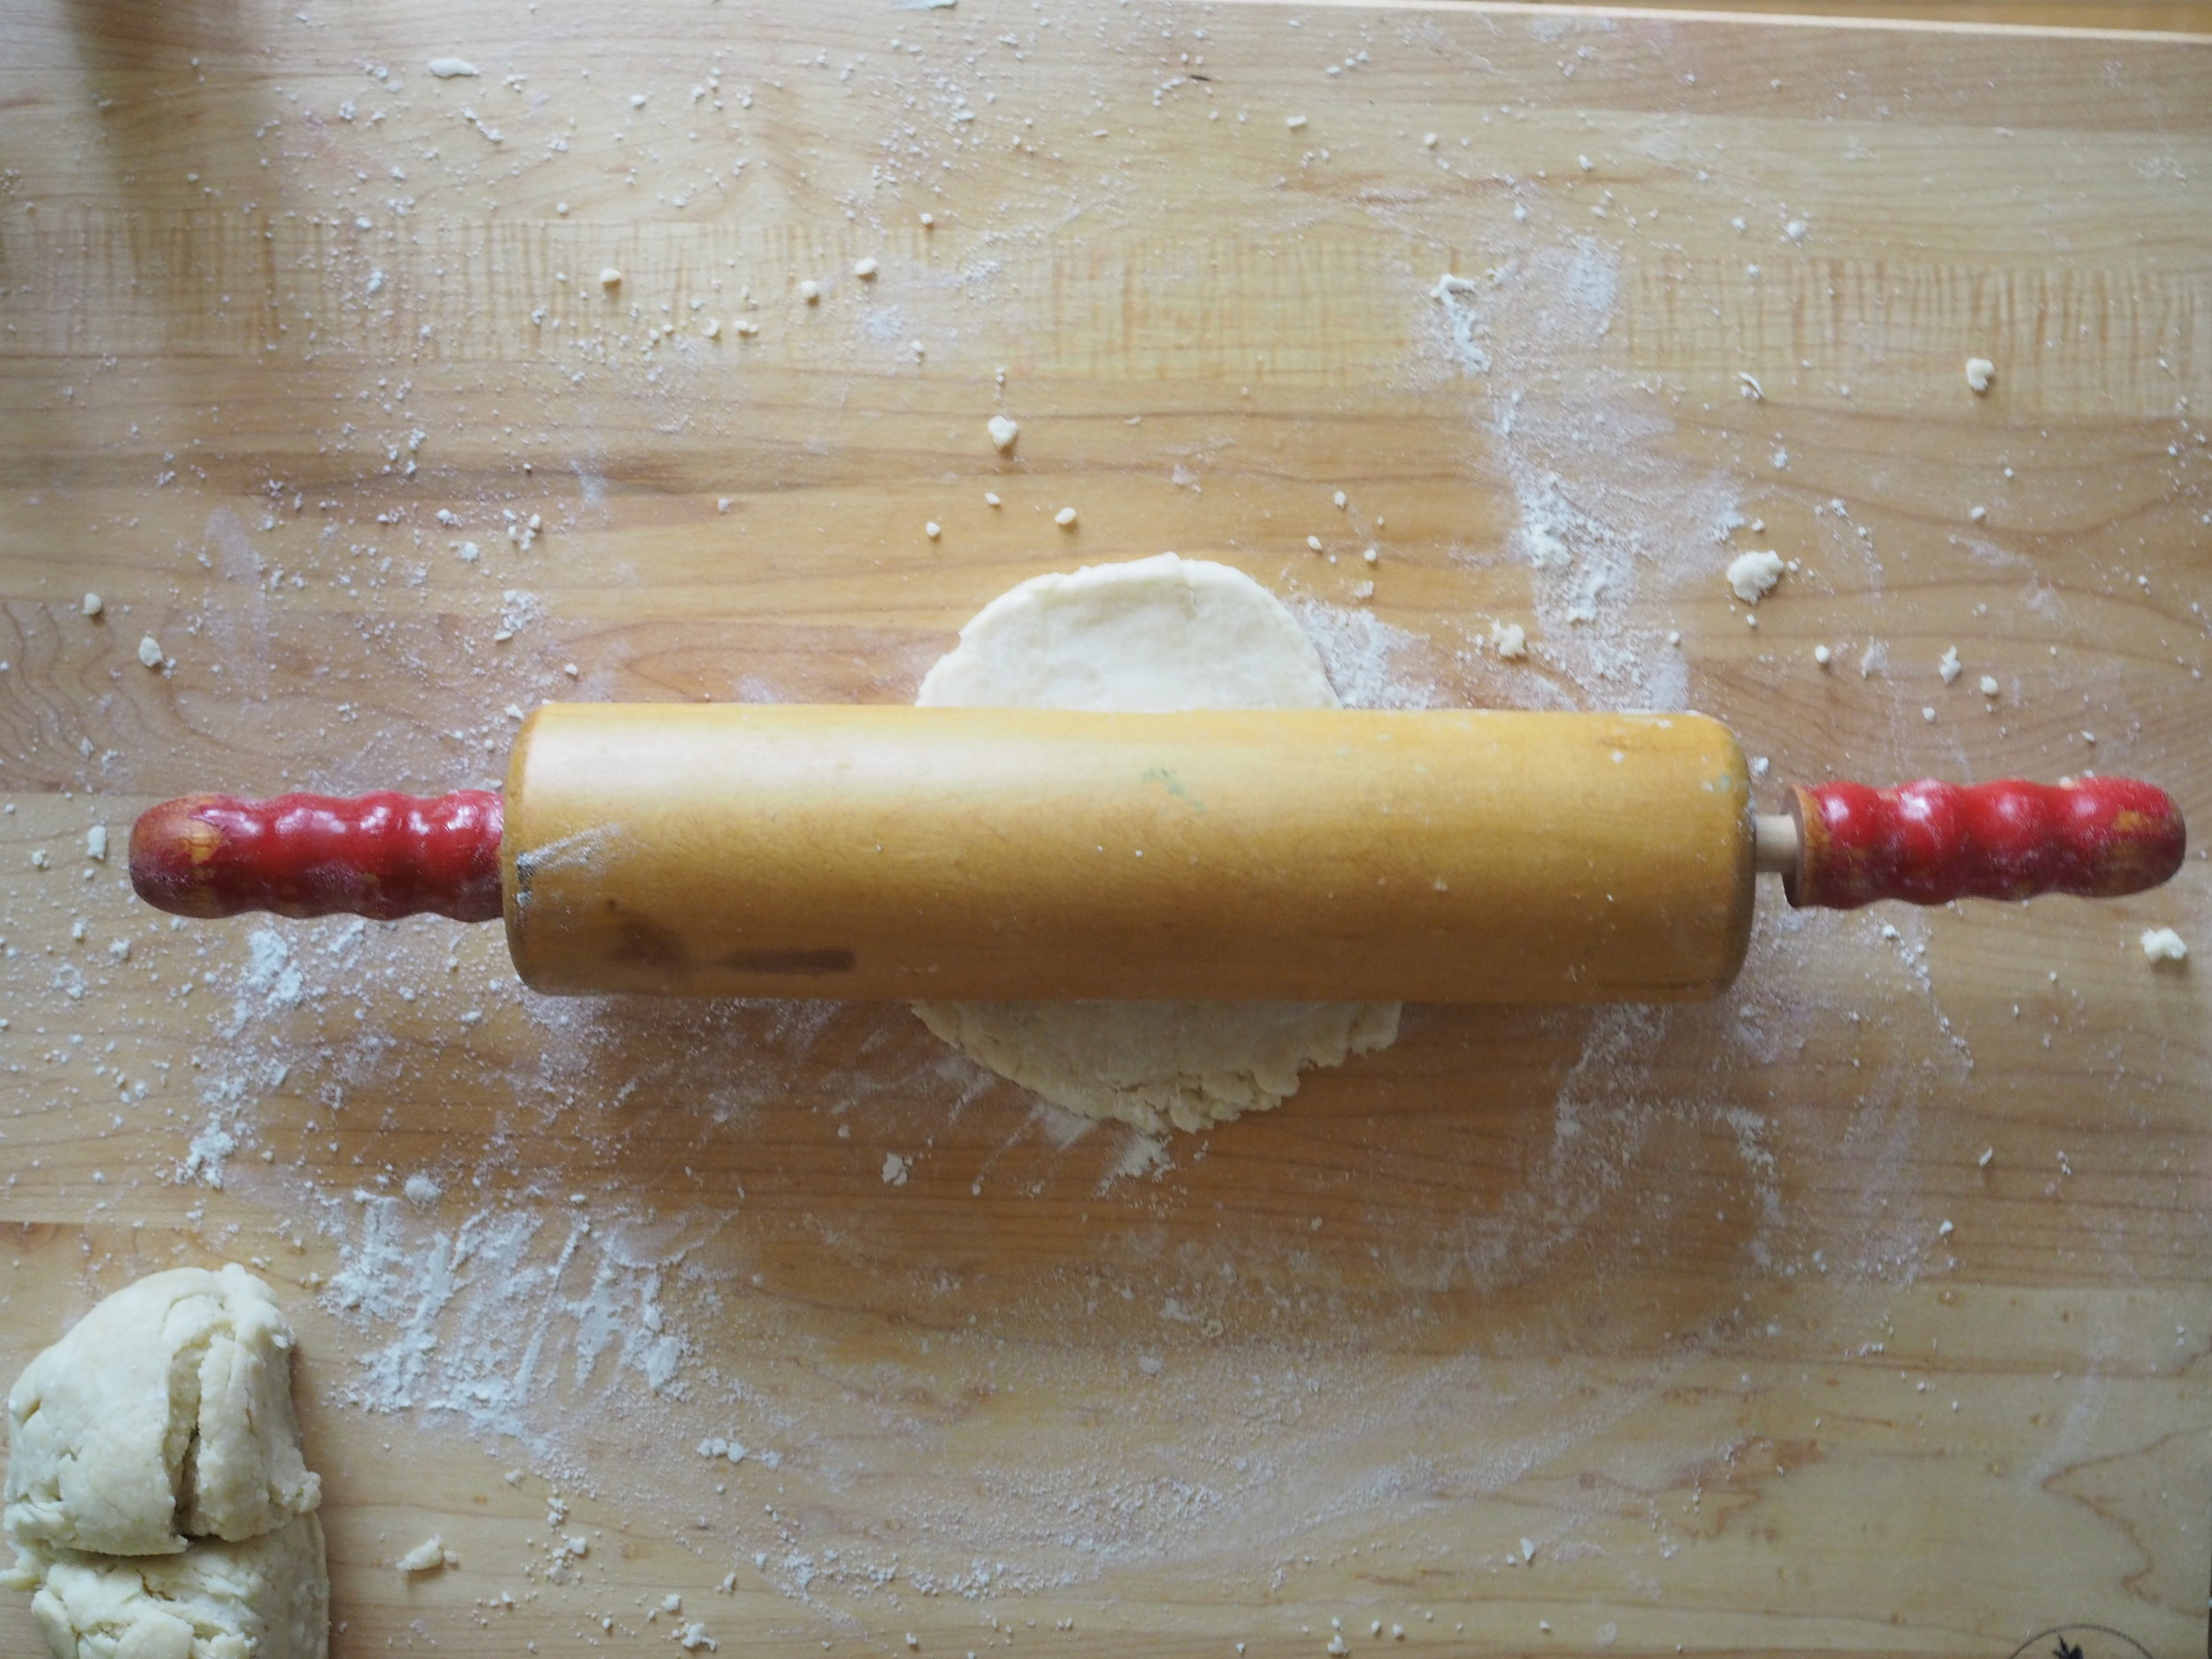
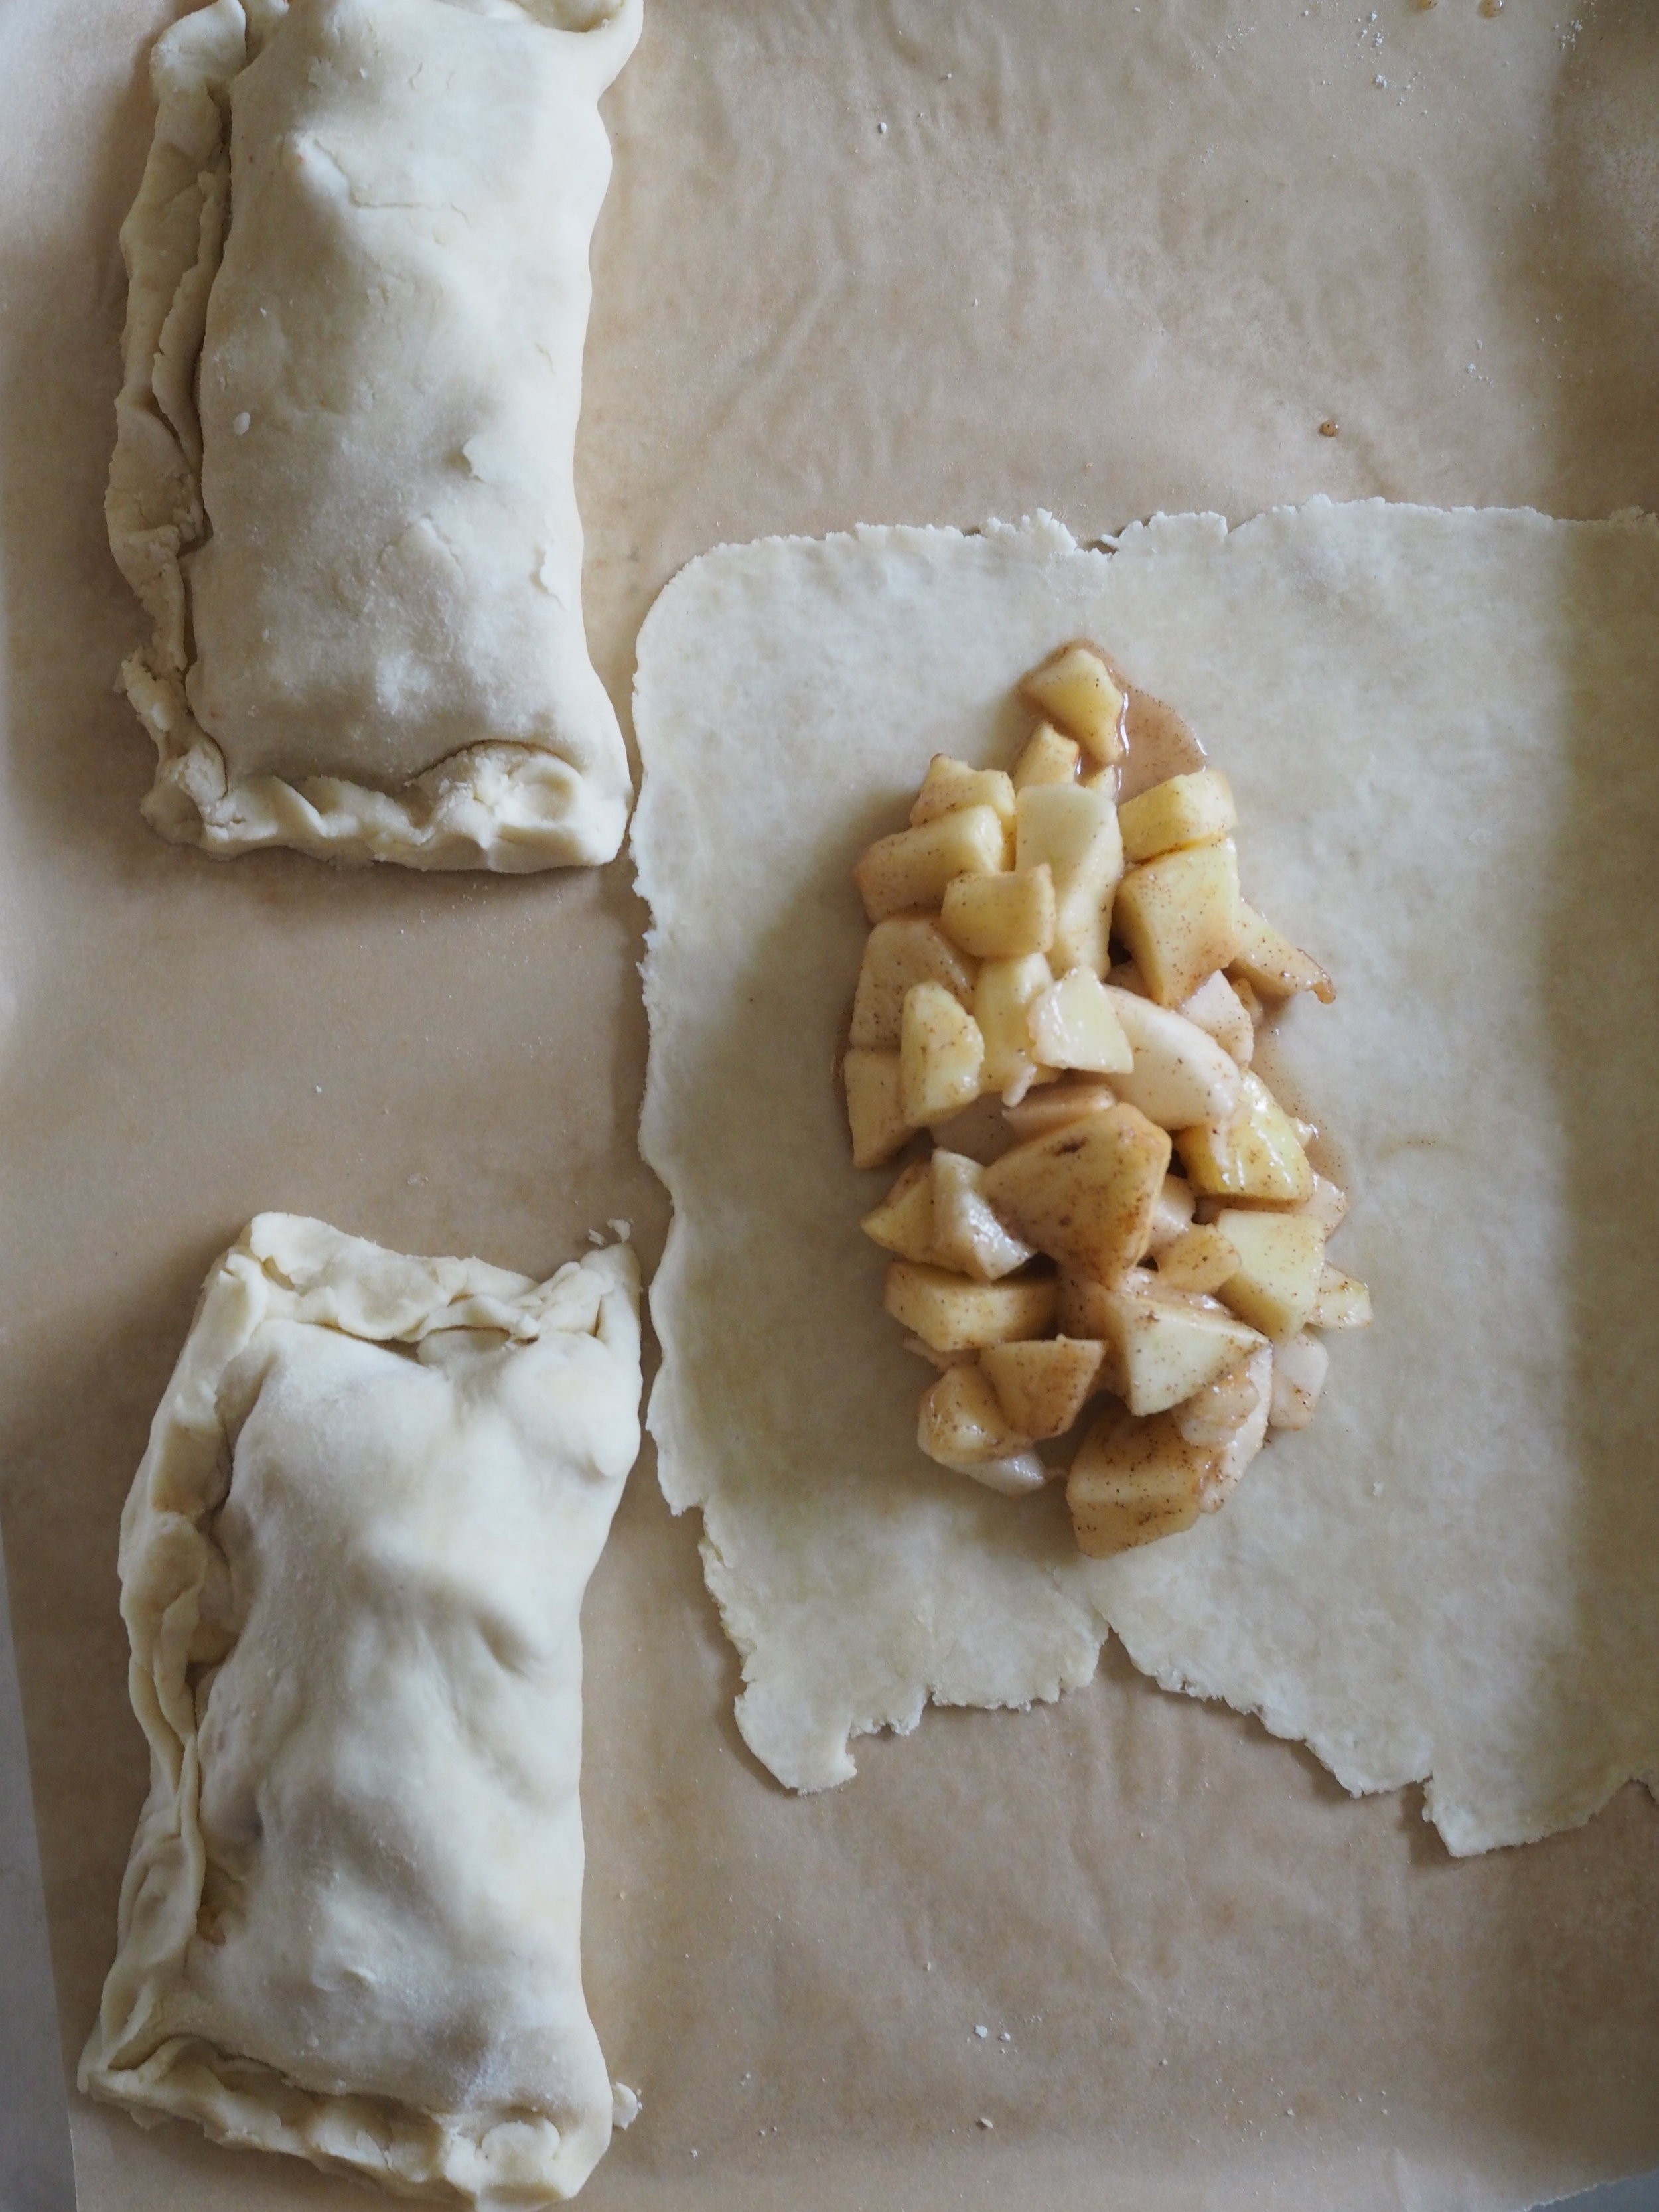
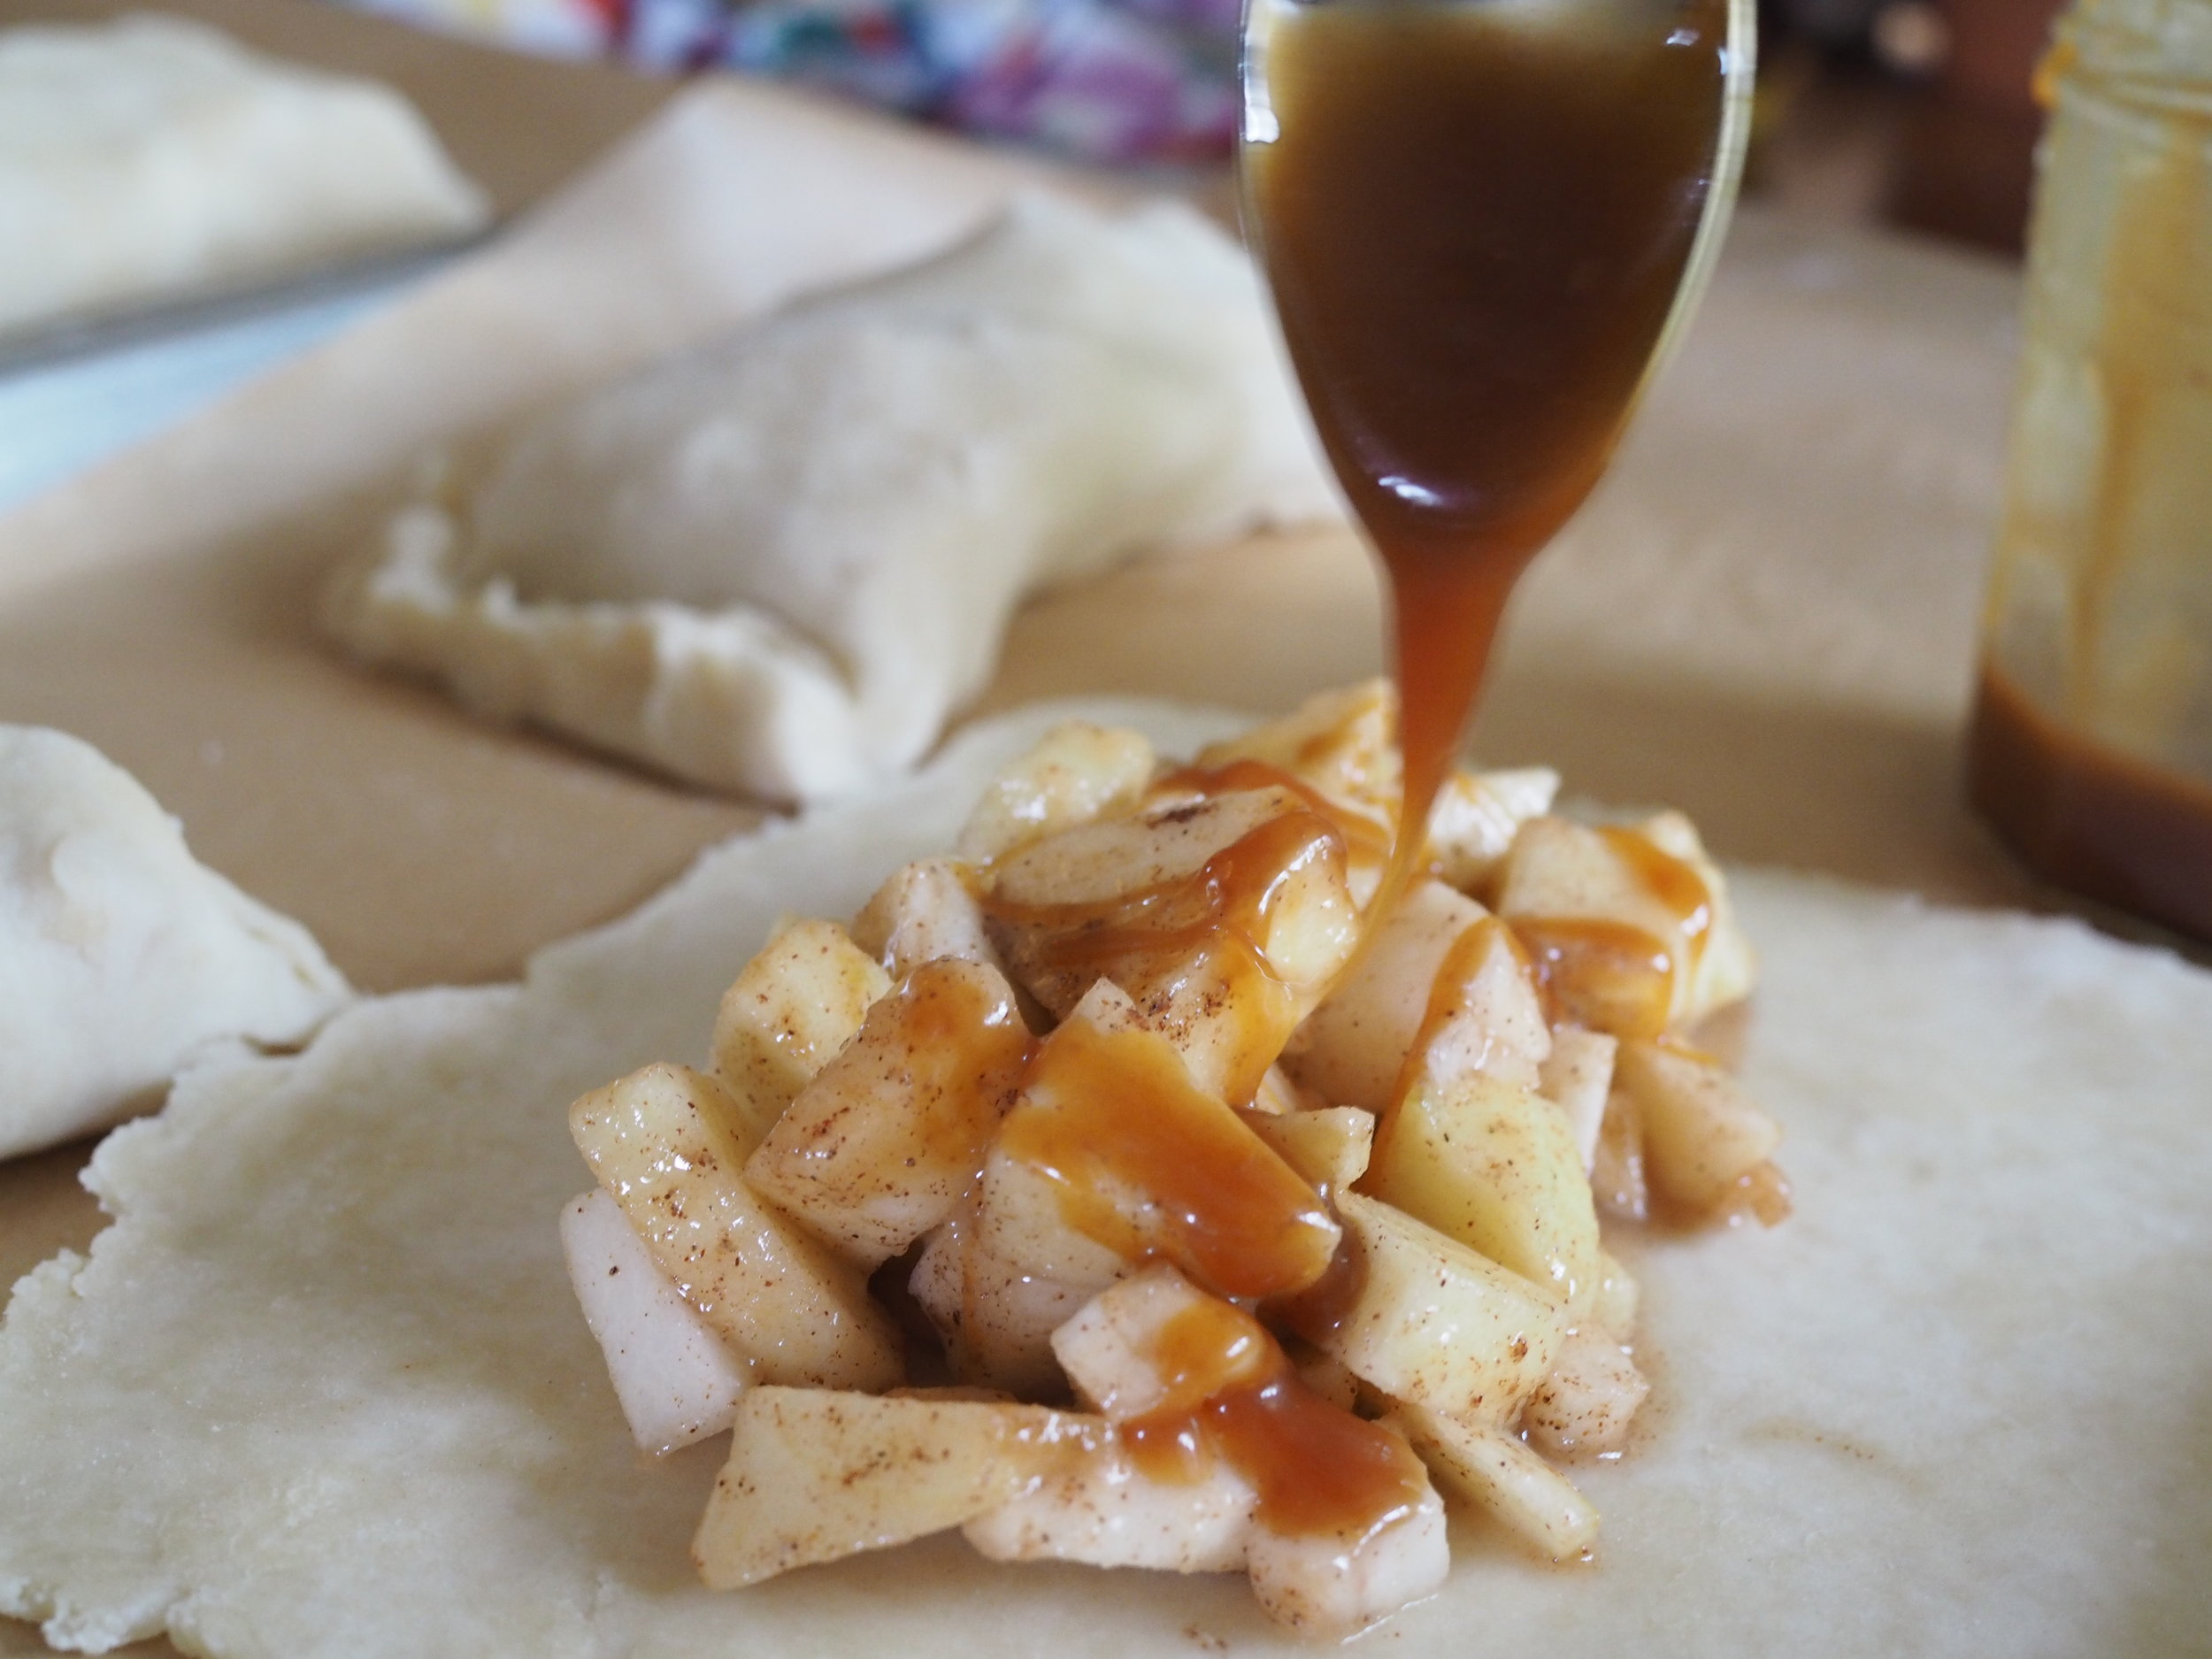
Remove crust from refrigerator. Cut each ball of dough into four equal pieces. On a well-floured surface, roll each piece of dough into a 7 to 8 inch square. Place dough on cookie sheet. Using a slotted spoon, scoop filling into the center of the square. If desired, drizzle caramel sauce generously over filling.

Fold dough over filling, so top portion of crust is about 1/4 inch shy of the edge of the bottom. Fold up bottom crust to meet top crust and pinch/crimp to seal. Repeat for remaining pies.

Whisk together 1 egg with 1 Tablespoon water. Brush egg wash generously over pies. Sprinkle the top of each pie with a small amount of demerara sugar. 

Place cookie sheets in oven and bake for 45-50 minutes, until filling bubbles and crust is golden brown, rotating pans halfway through cooking time.

Cool pies on wire rack prior to storage. To store, wrap in tin foil and place in refrigerator for up to one week. Serve cool, or reheat for 10-15 minutes in a 350 degree F oven. 


Print Friendly and PDF Follow
follow us in feedly

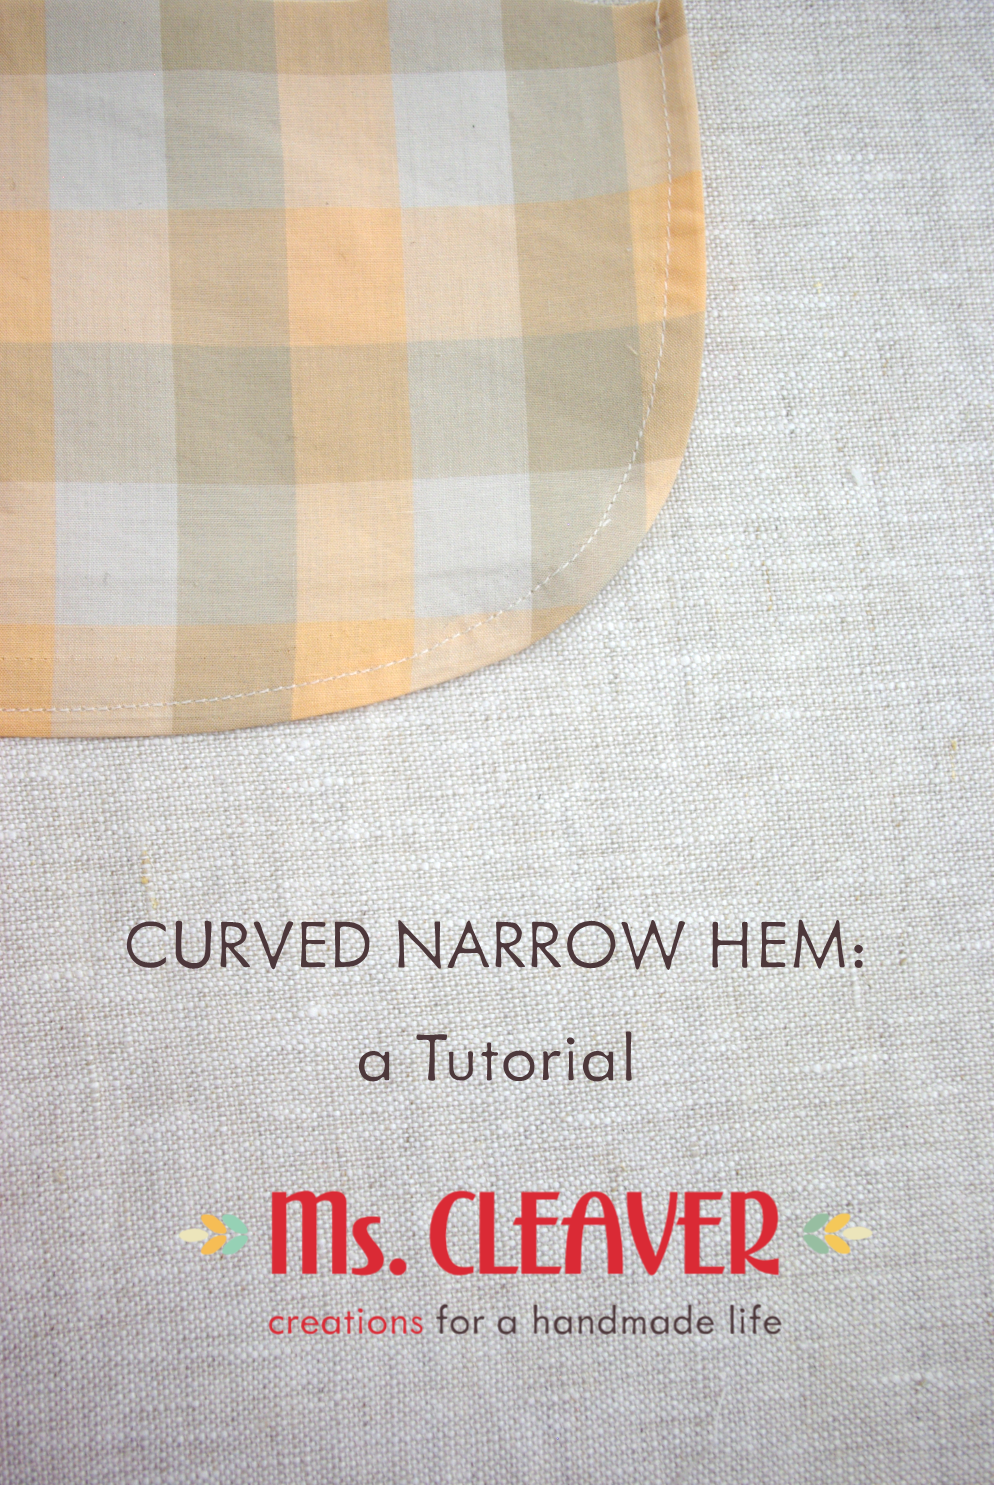
Curved Narrow Hem Tutorial

Curved Narrow Hem Tutorial by Ms. Cleaver

I love a good button-up, and if it's got that classic shirt-tail hem? All the better! But as much as I love the look of the sweeping shirt-tail hem, it can be a bit fiddly to actually hem all those curves, so here's a little trick I use to make sewing them just a little bit easier. 

Curved Narrow Hem Tutorial by Ms. Cleaver

Print Friendly and PDF Follow
follow us in feedly