When Hobbies Collide! - DPN Holder Tutorial

DPN Holder

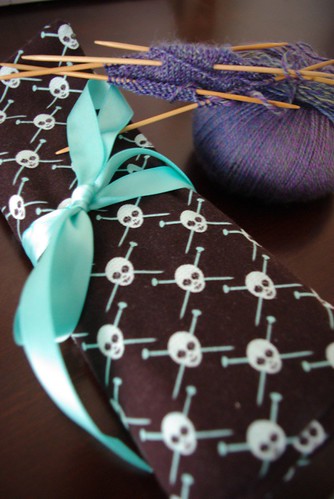
The day before I started my new job, I sat down at the machine and sewed. In preparation for my soon-to-be-condensed crafty scheduled. I designed, cut and sewing this little project in about an hour (research time not included). This is a new land-speed sewing project record for me.
DPN Holder

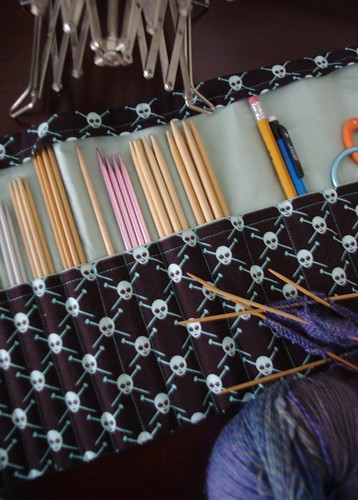
I had picked up a 1/2 yard of this amazing Michael Miller fabric several month ago thinking to make something knitted-related in the future. I wasn't sure what, but with my growing frustration with my growing doubled-pointed needle collection, I knew I had to make a DPN roll. 
DPN Holder

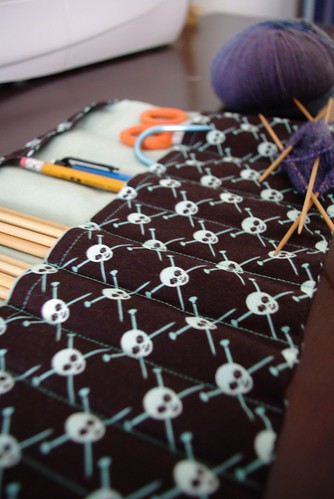
I trolled blogs, etsy, and flickr looking for inspiration and then dumped out all my needles on the bed, pulled out a ruler, made a few guesses and came up with this:
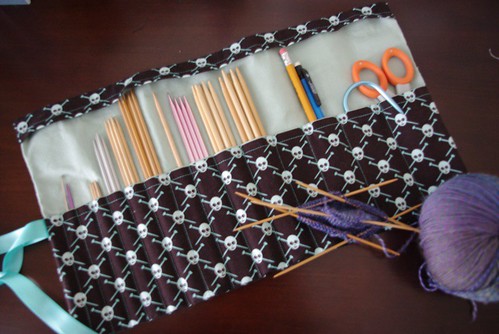
DPN holder

I didn't take pictures while I was making it because it was too dark ad I was speedy along, but here's a somewhat tutorial for the roll.

Materials:

  • 1/3 yd main fabric  (in this case, the skulls)
  • 1/3 yd contrasting fabric  
  • 1/3 yd fusible interfacing
  • 1/3 yd ribbon
  • note: I had a 1/2 yd of each and could make two from that amount.

Cut List (all measurements in inches):

Main Fabric

  • 1 - 9.5"x16.5" - body
  • 1 - 5.5" x 16.5" - pocket
  • 1 - 2.5"x 16.5" - upper flap

Contrasting Fabric 

  • 1 - 9.5"x16.5" - body
  • 1 - 5.5" x 16.5" - pocket
  • 1 - 2.5"x 16.5" - upper flap

Interfacing

  • 1 - 9.5"x16.5" - main body

Directions:

All seam allowances are 1/2". Press after each seam.

  1.  Iron fusible interfacing to the back of the contrasting body piece.
  2. With right sides facing, sew together top of pocket. Turn piece right side out and top-stitch the edge. Do the same with the upper flap pieces.
  3. With the right side of contrasting body and the main fabric of the pocket of facing you, baste sides and bottom of pocket unto the contrasting body. 
  4.  Stitch divisions into the pocket. Make sure to begin measuring 1/2" away from the fabric edge. The pocket widths from left to right are as follows (there will be 15 pockets total):
    • 5/8"
    • 5/8"
    • 5/8"
    • 5/8"
    • 3/4"
    • 3/4"
    • 7/8"
    • 7/8"
    • 1"
    • 1 1/8"
    • 1 1/4"
    • 1 1/4"
    • 1 1/2"
    • 1 3/4"
  5. With the right side of contrasting body and the main fabric of the pocket of facing you, baste sides and top of upper flap unto the contrasting body. 
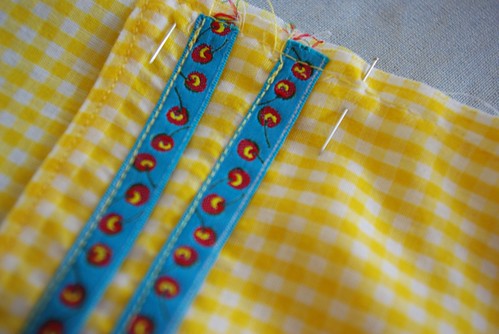
  6. Fold ribbon in half and pin center of ribbon to the left side of the pocket, alining with the top of the pocket (see photos above). Pin the ribbon unto the pocket so you don't accidentally stitch it down.
  7. With right sides facings, sew the main body piece and the contrasting body piece together, leaving a gap out to turn right side out. 
  8. Turn piece right side out, making the corners nice and sharp and hand stitch the gap closed. Un-pin ribbon and trim length if necessary.
  9. Fill with needles and enjoy!

(PS - if you have any issues with this tutorial feel free to email me with questions : ms.cleaver(at)gmail.com)

Print Friendly and PDF Follow
follow us in feedly

Clad in Shades of Orange and Gold

Jennifer blouse

I just started my new job on Monday (yay!), but because it's full-time, it may wreck some havoc on my sewing schedule. So this may be the last major garment for a little while, or it may not. I have some skirts I want to do, but some more complex projects may be put on hold. 

Jennifer Blouse

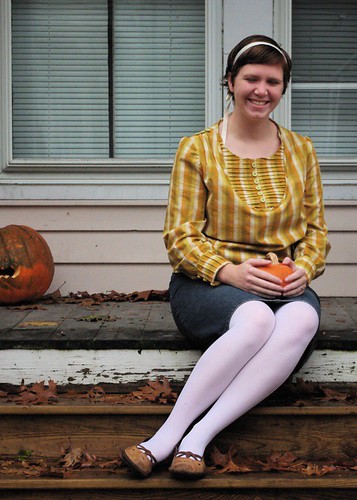
This was one of those pattern-fabric combinations that I wasn't sure if it would turn out a hideous mess or something awesome. I'm pleased to say that I think it falls into the latter category. This is another Burdastyle pattern (what can I say, they're free!), the Jennifer blouse. There are 17 hand-sewn buttons and about 80 pintucks- seriously. There was a lot of detail work on this one, but that's what makes the shirt so lovely in my opinion. And I did a really good job of lining up the plaid, which is an accomplishment in itself.

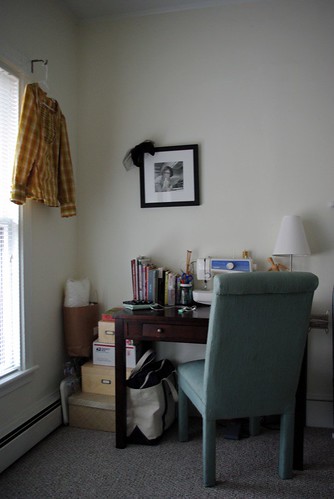
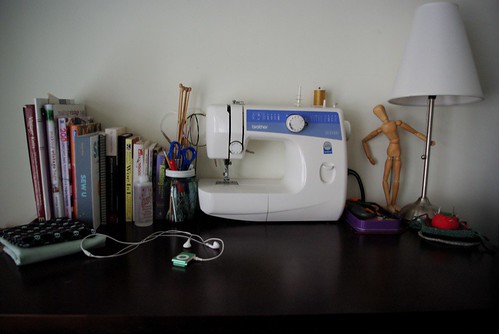
My sewing corner

On a related note, I had to take some photos of my sewing area for a project, so I thought I'd share this little snippet of my home with you all.

Sewing Desk

Oh and that stack of fabric on the corner? I'll show you what that turned into a little later this week. 

Print Friendly and PDF Follow
follow us in feedly

One-Year Blogaversary!

Blogaversary - that's a word right? If not, I'm using it anyway.

Yes, today is my one year blogaversary - a year ago I decided to start blogging and 88 posts later, here we are.  I'm amazed at how this has grown: it's grown an audience (30 subscribers, according to google reader!), it's grown in scope, and it's grown into an important part of my life.

So thank you to all the family, friends, and new friends who read this thing. Some of you I know and some of you I don't , but in thanks to you all and in honor of the blogaversary, I'd like to do my first giveaway:

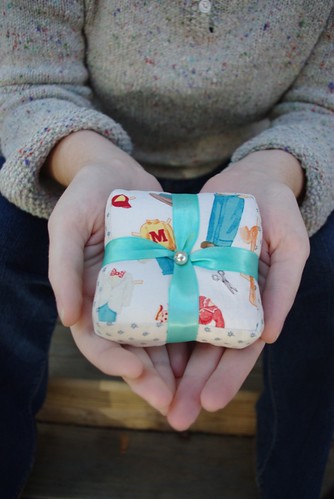
Blogaversary Pincushion

I whipped up this little pincushion yesterday out of some of my favorite fabrics, filled it with eco-friendly stuffing, tied it with ribbon left-over from my wedding, and topped it off with a faux pearl from a vintage necklace.  It looks like a little gift, doesn't it?  And really, who doesn't need more pincushions?

To be eligible to win please leave a comment below with the following info:

  • Why you read "Ms. Cleaver Chronicles" and if there's anything you'd like to see more of here.
  • A question you'd like to know about me, which I will answer in an upcoming post.

I'll pick winner the old fashion way, out of a hat, and I'll contact the winner by email.

Entries will be accepted until October 31st and I'll post the winner November 1st.

Thanks for reading and good luck!

(ps - I know not everyone who read this blog sews and I'm planning on a non-sewing-related give-away in the near future)

Print Friendly and PDF Follow
follow us in feedly

It's a Mod Mod World

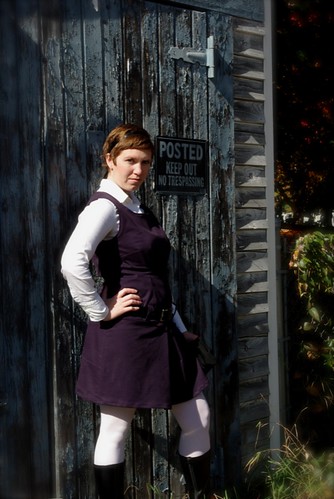
Oh, I'm Tresspassing

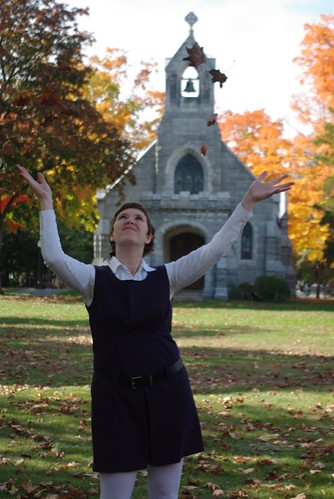
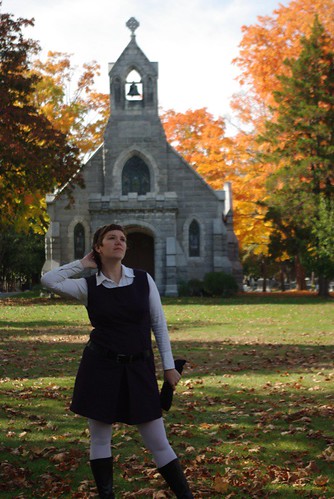
I really think I'm at my best when I'm sewing dresses. This dress, which is the Zoe pattern from Burdastyle, is the first piece I've done that I feel looks 100% professional, inside and out.

Leaves!

The pattern itself is pretty simple, with a total of seven pieces. I did have to make a few alterations to make this dress work for me though, something I'm slowly getting better at. 

Zoe Dress

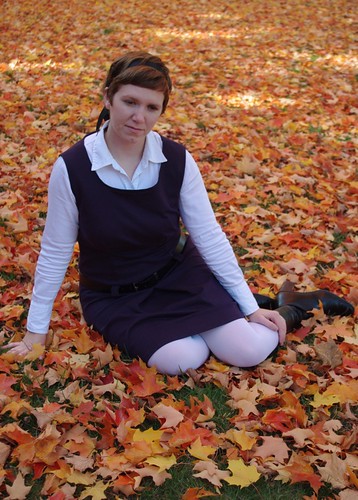
I added about three inches to the length of the skirt, because I wanted it to be work-appropriate. And really, can you imagine if this was three inches shorter - yeesh! It would be positive indecent on someone of my height. I also, like many people, had to add a pair of darts down the front, because I can't pull off the "sack" look. The material is a fantastic wool or wool blend that I snagged from the remnants section of Vogue Fabrics back in my "stock-up-because-I-don't-know-what-my-fabric-store-selection-will-be-like-in-Portland" phase. It's fairly stretchy and oh so soft. I used the material "wrong" side out because I loved the slightly fuzzy nap of it - it seemed so fall/winter-appropriate that way. I think I may need to knit a black beret just to go with this dress.

Zoe Dress

And boy is it fall. The colors are peaking right now and its absolutely gorgeous - it's like the trees are on fire (in a good way).

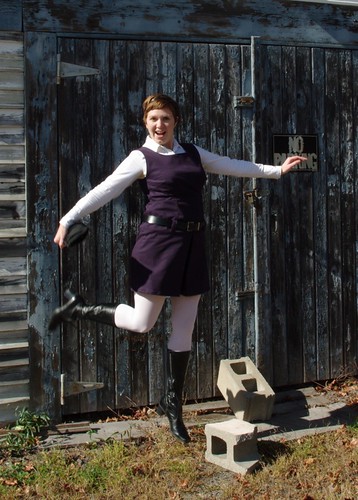
Once again, I have to give a big shot-out to Mr. Cleaver, who helped with the photos (and it starting to get pickier with his shots :p). And here's a bonus outtake, just for fun:

Jumping Shots are always fun!

In other news, I have job interview #4 tomorrow, I now own a couch, and you should keep your eyes out this weekend for that surprise.

Print Friendly and PDF Follow
follow us in feedly

Fall Sewing Begins

Kasia Skirt

So even though I still don't have a job, I thought it might be time to start sewing some work-appropriate clothes. This little number is the Kasia skirt from Burdastyle. I loved the way this piece came together, even if I still, still managed to iron the interfacing on the incorrect side of the fabric on my first try! 

Kasia Skirt

The jacket, which I swear seems a lot more like the same color as the skirt in real life, is part of the vintage jacket-dress combo I picked up a few weeks back.

Kasia Skirt

The skirt is made of a mid-weight linen and the pockets are lined with royal blue cotton, for a bit of fun.  Unfortunately these photos don't really show all the details: there's some rouching at the pockets and a sailor-pants-style button flap at the front. I need to rework the waist a bit for a better fit, but this is really a project I'm very proud of, inside and out. 

Kasia Skirt

As for the photos, I have to give extra credit to Mr.Cleaver for acting as my stand in as I set up the shots and hitting the shutter for me - We had a lot of fun taking these shots, which are outside the chapel at Evergreen Cemetery. And believe it or not, it was raining when we took these!

Print Friendly and PDF Follow
follow us in feedly

Walking

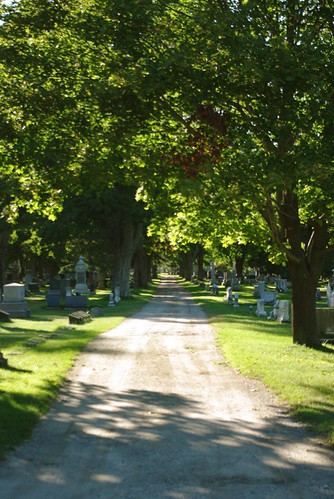
When I moved to Maine, I decided that I wanted to walk more and Mr. Cleaver agreed. We both love to stroll together, in Chicago, we'd jaunt up to Andersonville. Here in Portland, we've ended up in a neighborhood tailor-made for the leisurely stroll. Then houses are lovely to walk along and the other evening we saw some little brown bats in action at the far end of street, there's also Baxter Woods which is a 6/10 mile loop through deciduous and evergreen trees, and then there's Evergreen Cemetery.

IMGP1327.JPG

Now before you start thinking that I've gone all morbid and spend all my time hanging out in cemeteries, I say fear not. It's just that cemeteries are some the best keep green-spaces ina lot of urban environments, if you don't mind weaving between headstones. I always loved the idea that in the early 1900s people used to have picnics in graveyards. I don't know why the shift occured, but there are plenty of people wandering the trails at Evergreen, so I'm not alone.

Mourning

I also love the history of graveyards. Who were these people, why did this one deserve a monument, while this person hardly a stone at all?  What happened to the wife on the headstone listed below her husband with a birth, but no death date; and how horrible to lose someone at sea.

Duck Pond

As an added bonus, Evergreen has a trio of duck ponds, filled with Mallards that will eagarly take your stale bread. We also saw what might have been a cormorant. I'd really loved to get a book on the local flora and fauna so I could identify it all.


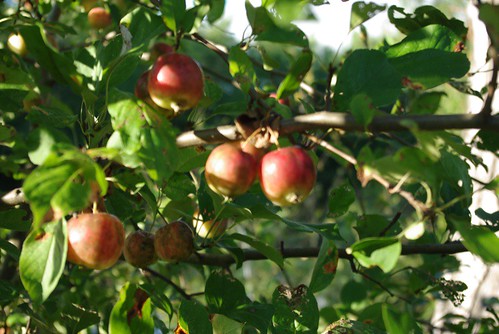
Crabapples

And my favorite season is knocking at the door!

In a quick round-up of other news. I had my second interview on Monday, but alas, no job there, though the interview went (I felt) very well.

We found a great dresser for $10 at a garage sale this weekend, so I am no longer living out of a suitcase, which is fnatastic for one's pysche. I've also made what seems like an endless series of trips to Target and Walmart to get all the little things, like a toaster or a vacuum.

The book club is reading Watership Down, and I raced through it. I forgot how wonderfully thrilling that book is. Next up on my reading list is Richard Russo's Empire Falls, then I plan to do a survey of New England Poets - feel free to send along any suggestions.

I'm about a third of the way done with the first sleeve on my Forecast sweater and I picked up some lovely leather buttons for it on sale at JoAnn's yesterday. I'm also about halfway through sewing a Kasia skirt out of thick navy blue linen. I'm feeling very confident about my sewing on this piece, though if anyone has a trick for making sure you iron the interfacing on the right side of the fabric I'd love to hear it! I also managed to pick up a great vintage navy blue linen dress/jacket combo at Material Objects, it's an almost exact match in color to the skirt, so I can mix it up with the jacket. I'll post pictures when I get a chance.

I'm assisting my friend Peter on a reading of the play The History Boys for Mad Horse Theatre, I'm not sure the exact date of the reading yet, but I'm excited to be involved!

Our internet is supposed to get hooked up on the 23rd, which I can't wait for, and will hopefully increase the regularity of my posting. Until then - I'm off to enjoy the fall weather!

Print Friendly and PDF Follow
follow us in feedly

Unemployed, but no longer homeless

So last week, when I said I'd post this week, I forgot to take into account that I'd be living out of a suitcase at the mother-in-law's with dodgy internet and looking for a job and an apartment. But after week here, I've managed to secure a place to live starting September second and have sent out a dozen job applications. I'm keeping my fingers crossed for some interviews next week. 

In other words, it's been both slow and crazy/stressful all at the same time. Yay for moving!

Beach in Winter Socks

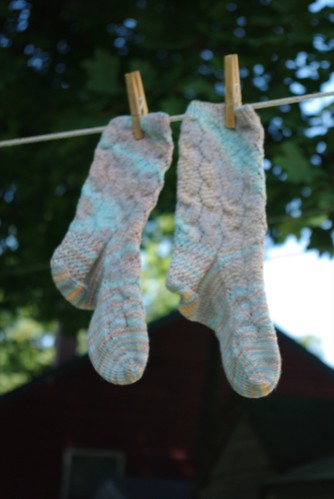
But I have had plenty of down time, which means I finally finished my Shock Wave socks that I've been working on for over a month, which considering the relative ease of the pattern, is longer than usual. They turned out very nice though, and since it's about 15 degrees colder here, have come in handy already.

I've also done about 34 rows of my Forecast cardigan since Monday evening, which is fast for me, so it evens out. In between job and home hunting, I did manage to check out a new (to me) yarn shop and bought some more sock yarn, so I'll be set for projects for a little while.

As all my belongings are shoved into two cars, I haven't had an opportunity to do any more sewing, which I miss more than I thought. I'm itching to get out my machine and start stitching, but it'll have to wait until the new place.

That said, I've yet to share the last project I finished just before the move.

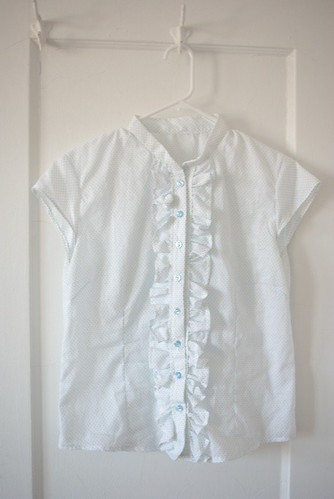
Ruffly Shirt

It's basically the same shirt as the one from my new favorite outfit, but with a ruffle. But the best things about this shirt are threefold: 

  1. I got the material for $2 at a garage sale
  2. I actually got the collar stand right
  3. I did my first bias tape on the sleeves and a french seam on the insides.

So all in all, it was a great learning shirt. And also fabulously snazzy. Of course, now all my projects will be more fall/winter in nature.

Well, I'm all internet/computer burned out after spending several hours on applications, but I'll be back soon!

Print Friendly and PDF Follow
follow us in feedly

Because I can't do anything the easy way

When I got the the summer dress code at my current job last I could have sworn it was written in 1962.  Along with khakis and polo shirts, acceptable "business casual" wear includes: jumpers and culottes. Jumpers and culottes!

When was the last time anybody wore culottes, or even knew what they were? Now granted my portion of the office is generally casual-casual, because I have no air conditioning and Chicago gets rather hot and humid this time or year, so really I can wear pretty much anything within reason. 

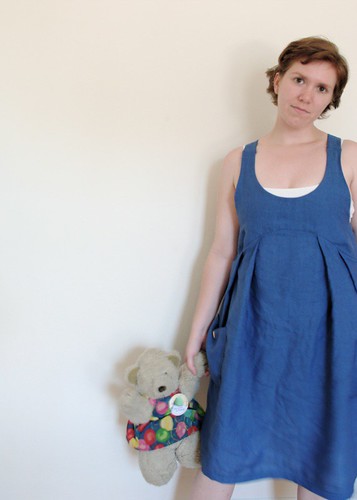
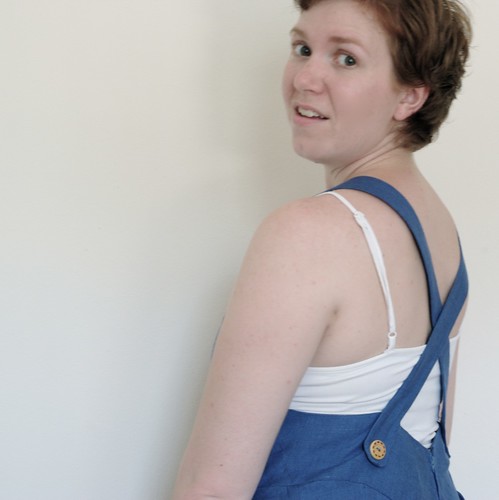
But for those days when I feel like following the code, I could always pull out this jumper I made a few weeks back.

IMGP0852.JPG

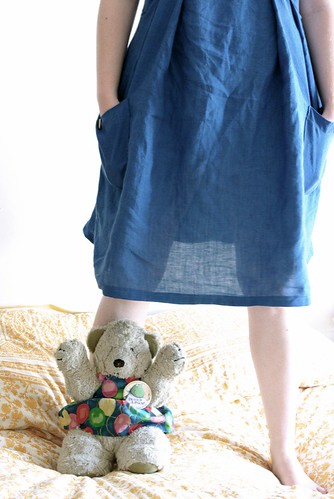
Jumpers always make me feel a little like I'm five. Hence the theme of this particular bunch of photos.  Also, I'm running out of things to do in front of a blank white wall, so I'm up for any suggestions.

90-95-100 Ready or Not Here I Come!

This particular project had been sitting on a back burner for about 3 months, largely because I planned to make it out of this beautiful blue linen and I was afraid to cut into it. More to the point though, I wanted to change up the top a bit, and had little-to-no experience with pattern alteration.

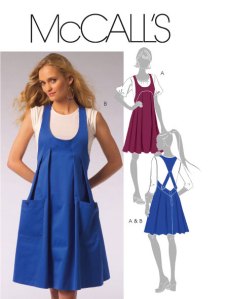
The original pattern (McCalls 5577) looked like this:

Yes, I copied the color exactly. Not so creative I know. I loved the skirt of the thing, but the top seemed a little low, even if I was going to wear a shirt under it, and I didn't quite get the v-shaped piece on the upper back. So I pulled out my ruler from my college scenic design class and wrapping paper and started drawing. I added about 2 inches (plus seam allowance) to the top lines of the top piece blending it in with the existing straps and leaving the bottom bit the same so it'd line up as per the original. Then I transferred it to muslin and sewed the top up.

I quickly discovered that I'd need some darts, which I also had no clue how to do and didn't look up how to do until my next project. So I guessed and basted and ripped and guessed and basted until I came up with something that seemed to work. Of course, without the skirt bit attached I wasn't sure how it would all hang, and sure enough when I made the actual jumper I totally had to move the darts and I'm still not sure they're in the right place, but ah well it works.

IMGP0861.JPG

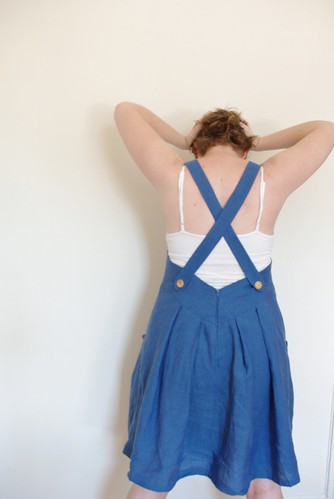
For the back straps, I took the existing lower straps and lengthened them to about 23". Because of where they fell on the back of the jumper, I eschewed buttonholes and tacked the straps straight unto the dress, as well as securing them to the top of the back of the jumper. 

IMGP0880.JPG

All in all, it came out fairly well, though definitely not perfect. But to those seeking perfection, I say this:

IMGP0872.JPG

Print Friendly and PDF Follow
follow us in feedly

Crazy Week

Usually I try to post on Tuesday, but I'm a tad late this week and I'm not even going to cover a project I finished last week yet. It's been a crazy week:

----

Monday: We turned in our non-renewal of lease to our landlords, so there's no turning back on the move now (not that I'd want to).

Tuesday: I started cutting out a dress that I needed to finish by today (Sunday) to enter in a competition.

Anda collar

Wednesday: My 25th birthday was filled with beautiful flowers, food, cards, facebook messages and phone calls. Not to mention the cake Mr. Cleaver lovingly made from scratch.

Thursday: Stretched by birthday into a two-day affair with cake for breakfast, donuts with my co-workers and lunch with a friend. Picked up a copy of Alice in Wonderland at the Newberry Library book sale, and Vol II. of a beautifully bound book called Wide Wide World. Did a happy dance at the results of So You Think You Can Dance.

Anda Back

Friday: Spent the afternoon at the American Cheese Society's award ceremony, but sadly, had no cheese. Did some sewing. Watched Road to Perdition (it's really good - and it has Paul Newman, not to mention wonderful cinematography). Ate cake.

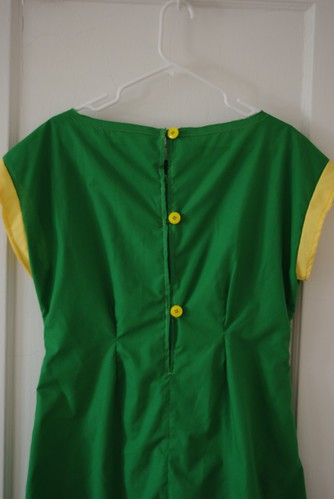
Anda Embroidery

Saturday: Had some cake. Sewed a lot. Knitted a tad. Went to two different moving-away parties. Loathed the CTA with the fire of a thousand suns.

Sunday: Sewed some more. Embroidered the dress. Took some pictures. Uploaded them to Burdastyle and hoped I get some votes. Wore my new dress for a walk around Andersonville. Ate the last of the cake.

Anda Adaptation

Did I mention I like cake?

Print Friendly and PDF Follow
follow us in feedly

Three Panel Apron: A tutorial

As you may recall I made a promise to a friend/coworker that I'd make me an apron, and that my first attempt didn't work out as well as I'd wished.

Three-Panel Apron

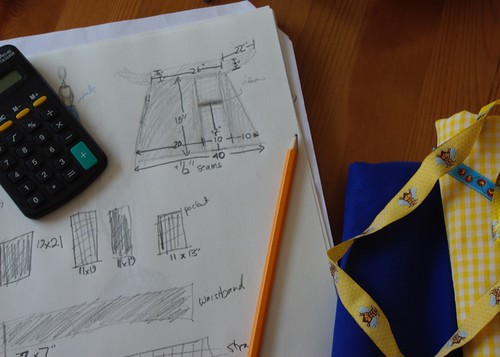
Well, week or two ago, I drafted out some more well-thought out plans and came up with this:

And I'm quite pleased with the final results, so I packaged it up and gave it to my coworker - who quite liked it!

I've recently gotten into posting stuff on BurdaStyle (sorta like Ravelry, but for sewers), and someone wanted to know how I made this apron. It's easy enough, so I thought I'd oblige with a simple tutorial. (Note: I only took pictures of the first half of the process so this is largely text-based)

Planning the Apron

You'll need the following:

Two fabrics, with thread to match each, as well as 10" to 20" of trim (or more depending on how you want to fancy it up).

All seams are ½ inch.

Cut list:

Main Color (in my case, the blue)

  • one 21"x19" large front panel
  • one 11"x19" small front panel
  • one 27"x7"  waistband

Contrasting Color (in my case, the yellow)

  • one 11"x13" pocket
  • one 11"x19" small front panel
  • two 23"x4"  ties

Press all pieces

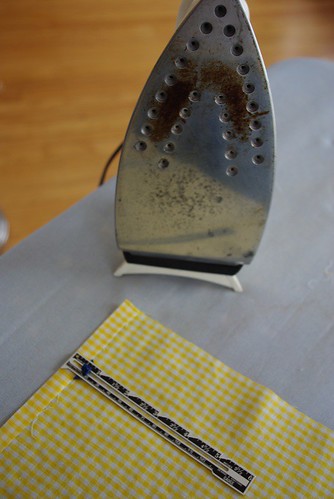
My Iron Needs Cleaning

1. With matching thread, make a ½" hem the top of the pocket.

2. Add any trim to front of pocket.

Adding some Trim

3. Pin pocket to matching apron panel with back of pocket on front of panel and baste pocket on. Press.

4. Prep ties. Hem three sides of each tie, folding over one end to a 45° angle, if preferred - if you do this make sure you make a left and a right facing strap)

5. Baste two lines of stitches inside the seam allowance along the un-hemmed side of each tie. Gather slightly.

Back of Apron

 6. Change to main color thread.

 7. With right sides facing, stitch pocket panel to the right hand side of the large front panel. Press and finish seam.

 8.  With right sides facing, stitch the smaller main color panel to the other side of the pocket panel. Press and finish seam.

Pocket close-up

9. Hem the bottom and sides of apron body. 

10. Baste two lines of stitches along the top of the apron within the seam allowance, this will be used to gather the top of the apron.

11. Take the waistband piece and fold in half. Press.

12.  On the back half and sides of the waistband, press in seam allowance.

13. With right sides facing, place the apron body on the front half of the waist band (if you want a little extra length, you can place it shy of the fold). Adjust gathers so apron fits to waistband.

14. Sew together apron body and waistband front together. Fold waistband over the apron body and press. 

15. Slip stitch the back half of the waistband down. Do not sew the sides closed.

16. Insert tie into the opening in the waistband, with the front of the strap facing the same direction as the front of the apron. Adjust gathering to fit. Stitch opening closed, thus attaching the tie. Repeat for other side.

17. Give your apron a final press and you're done! Give to a friend or enjoy for yourself!

Please note that all patterns and tutorials are for personal use only and should not be distributed or produced for sale without the written consent of the author.

Print Friendly and PDF Follow
follow us in feedly