Because I Need More Hobbies

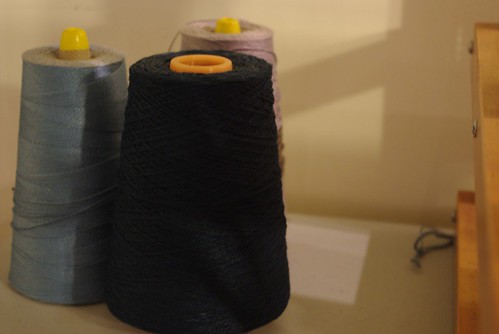
Cones

When I staged-managed Sueno, I took my stipend and bought a sewing machine. When I signed on to stage manage The History Boys, I made a promise to myself that I'd use the stipend to take a class. What kind of class?

A Beautiful Mess

A weaving class!! A relative of mine is a fantastic weaver and I've always loved the look of handwoven items, so when I saw that the Portland Fiber Gallery offeedr weaving classes, I knew exactly what that stage management money was going to months before the check made it to my hand.

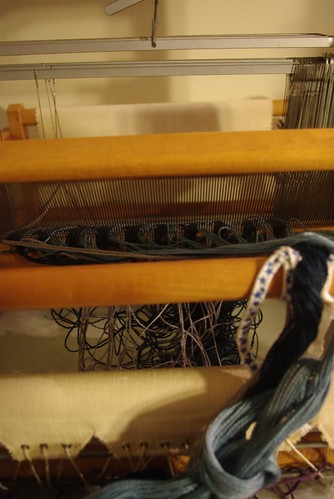
Threading

Tuesday night was my first lesson (taught by one of my knitting buddies no less) and I'm about a third? half? I've never done this before so I don't know how far I have left? -way through setting up the loom.  I can't believe I have to wait a whole week to work on it some more! I'll be posting progress as we go along.

Here's to learning!

Print Friendly and PDF Follow
follow us in feedly

Sewing Machine Meme

Sew Mama Sew is hosting a Sewing Machine Meme (it rhymes!) so I thought I'd join in the fun.
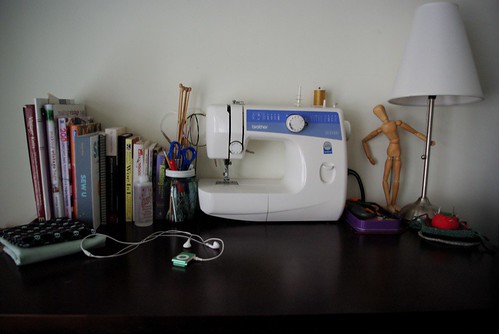
Sewing Desk

What brand and model do you have?

Brother LS2125I

How long have you had it?

Just about two years

How much does that machine cost (approximately)?

$65-80

What types of things do you sew (i.e. quilting, clothing, handbags, home dec projects, etc.)?

Mostly clothing and the occasional bag or pillow cover, but by and large clothing.

How much do you sew? How much wear and tear does the machine get?

During the summer I probably sew 6 hours a week.  In the winter about 6 hours a month.

Do you like/love/hate your machine? Are you ambivalent? Passionate? Does she have a name?

I like that it's straight forward and simple, it's a very unintimidating machine and had a low cost of entry. It desn't do anything fancy, but it gives me all the basic stuff I need to make my projects. 

I wouldn't say I'm passionate about it, I think I'd like something a little sturdier, more metal/less plastic, but I think I'll probably hold onto this one for another two years at least.

What features does your machine have that work well for you?

The 4-step buttonholer is clear and easy to use. The feet are super easy to change and the darning plate is easy to install.

Is there anything that drives you nuts about your machine?

The instruction manual was a bit more detailed, because there are some slightly more complex stitches (like an invisible hem st, I think) that aren't well explained. Overall, I'm pretty happy, wish it had an overlock st of some kind though.  

Do you have a great story to share about your machine (i.e., Found it under the Christmas tree? Dropped it on the kitchen floor? Sewed your fingernail to your zipper?, Got it from your Great Grandma?, etc.!)? We want to hear it!

My machine was a gift to myself, paid for with the stipend I earned from stage managing. I bought the first pattern I sewed on it about 3 weeks before I could actually get the machine because I was so excited to get started!

Would you recommend the machine to others? Why?

It's a great starter machine. It probably won't last forever, but I think I'll probably choose to upgrade before it wears out. I would recommend it to beginning sewers any day.

What factors do you think are important to consider when looking for a new machine?

What are you primary planning on making. Do you want to embroider or monogram anything? Do you have a dedicated sewing table or are you constantly going to have to move it around? Think not only about your current skill set, but what you dream of doing later.

Do you have a dream machine?

Something metal-framed with a few more stitch options (so demanding I know...)

Print Friendly and PDF Follow
follow us in feedly

Because Sometimes A Sock Sack Isn't Enough

Large Project Bag

Having recently found myself with no fewer than three (3!) knitting projects on the needles these days, I was running out  places to put them all. As regular readers and members of my knitting circle know, I am not a usually a multi-project knitter, although I think I am starting to turning into one. The case these days is that I'm requiring different projects for different places - largely driven my the fact that my main project is black yarn on rather small needles. It started when needed something simple for an airplane trip, then something light-colored for theatre knitting and dark restaurants for knitting group, and then I had a design idea I really wanted to work on... you get the idea.

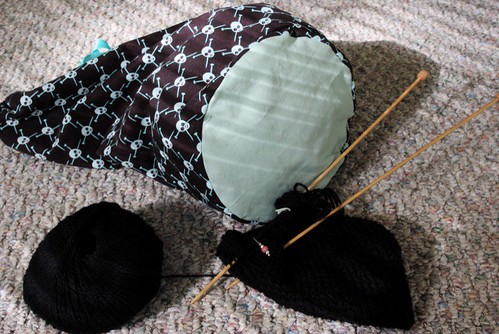
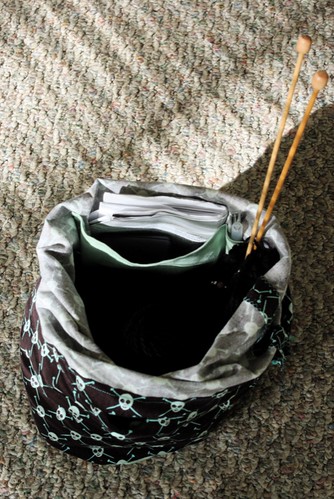
My solution to this plethora of projects? A new sweater-sized project bag!

Large Project Bag

As I'm also enjoying one-day sewing projects, this worked out great.  As a bonus it matches my needle roll!

Fancy Round Bottom

A drawstring bag is no work of sewing genius, there are a few details I added that I'd like to share.  First is my fancy round bottom, which was much easier to attach than I thought it would be.

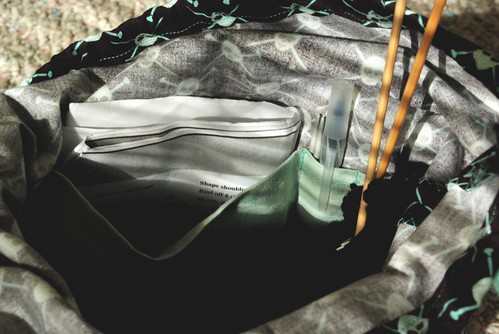
Pockets!

Second is my interior pocket for holding spare needles, pattern instructions, needle holders, etc. This spare storage takes it just a step above the usual project bag. 

Overhead View

As for the project inside? I've been working on it since January, but I have every hope that I'll be able to show it off here, finished, by the end of the month. Because you know when you need a hand-knitted sweater in the Northern Hemisphere? The end of June. Yeah....

Print Friendly and PDF Follow
follow us in feedly

Lord Love Vacationland

So today being Memorial Day, the more or less official start to the summer season, gives me reason to taunt? flaunt? that this is going to be my first summer in Maine. Maine, as you may or may not know, is called Vacationland, at least on the liscense plates. It is also referred to as The Pine Tree State on the quarters, and the Way Life Should Be on the sign as you cross the state border. 

All of this is to say, 40-hour work week aside, this is going to be an awesome summer. And Mr. Cleaver and I kicked off our Memorial Day weekend with style.

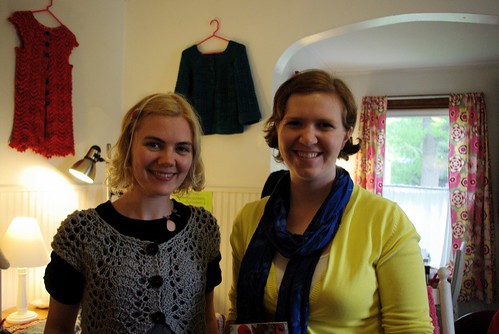
After our usual yoga class (me) and tennis match (Mr. Cleaver), Mr. Cleaver kindly drove up to Brunswick so I could meet one of my favorite knitwear designers, Ysolda Teague, at Purl Diva.

Ysolda at Purl Diva

I got to chat with her briefly and got a signed copy of her adorable book of patterns, Whimsical Little Knits. And just today I found out that she's going to be at my regular Tuesday night knitting group, so double yay!

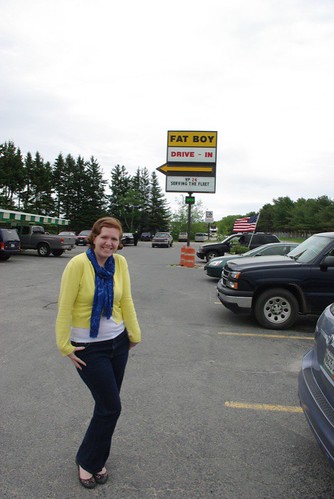
Afterward, Mr. Cleaver and I strolled around the Bowdoin College area, poking our heads into any shop that looked interesting and then made our way to Fat Boy Drive-In for an early dinner.

Fat Boy's Drive-In

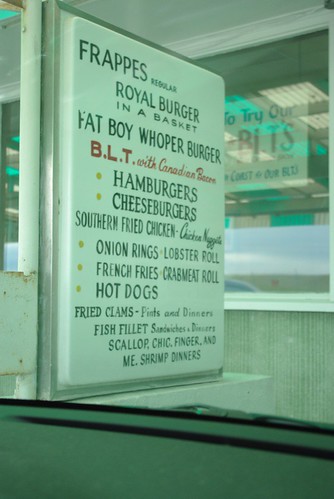
Unsurprisingly, I love drive-ins and Fat Boys is pretty quality. My chocolate shake was perfect (I guess they're called frappes [pronounced "fraps"] here), and though not on roller skates, our waitress was very friendly.

Menu

And food is always more exciting when eaten from a tray hanging from your driver's side window.

Burger

Sunday we took low-key, running some errands and reading the paper; potting some plants and eating a cherry pie I had made and frozen months ago.

Slugger

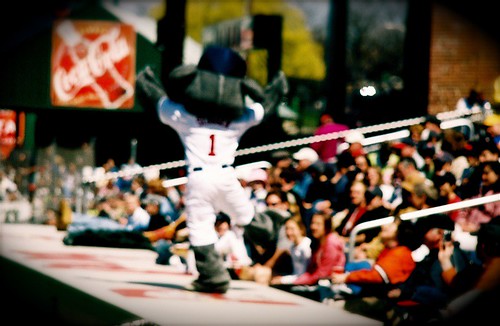
Today we went to a Seadogs game (a minor-league affiliate of the Boston Red Sox) and then went to a cook-out at my Mother-In-Laws. All-American and all awesome. This is going to be a great summer.

Print Friendly and PDF Follow
follow us in feedly

Fish and Finery

As promised I'm here with my latest sewing project and my mysterious 9-months in waiting project, which I just now realized could be construed as a pregnancy. It's not. It's goldfish.

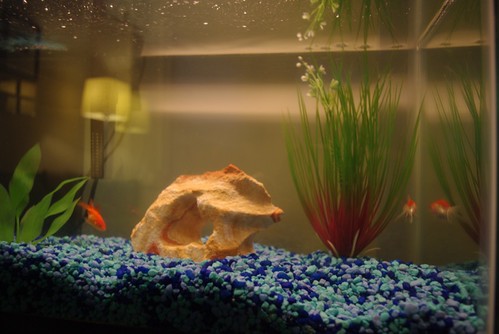
Fish TankIf you've known me in the past 7 years or so, you may know that I love goldfish more than most people love goldfish. I've taken multi-state roadtrips with goldfish. I really like goldfish.  Our last Goldfish, Franklin died when we were in Chicago, and Mr. Cleaver , who had gotten quite attached, wasn't ready to commit to a new pet right away. When we decided to move back to Maine, I made Mr. Cleaver promise me that after we moved I could get a fish tank and some goldfish.
True to word, we got a 10 gallon tank/hood/filter set up on sale in mid-November. But as we were planning on going away for Thanksgiving, we figured we'd wait until we returned and the hustle and bustle of the holidays were over. Come the new year, we still had no fish, but more glaringly in our somewhat furniture-light apartment, no place to put the tank. We looked and looked, but found no suitable tank stand until a few weeks ago, while I was still working on the History Boys.

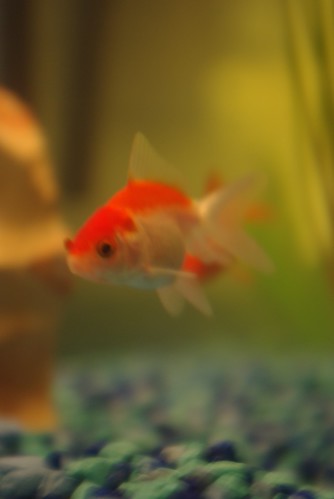
The show over and now May, we finally went and picked up a pair of lovelies. So without further ado, meet Gil:


Gil

And Jac.

Jac

They've adjusted nicely to their new home and are Mr. Cleaver and I are thrilled to have 'em.

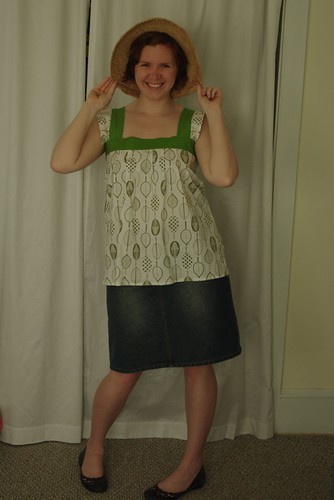
You know what else makes me happy? Having time to sew and finishing a project in a day! The project?  Rae's Ruffle Top Tutorial from Sew Mama Sew!    

Summer Top

As soon as I saw it on the blog I knew I had to make it and picked up the great leaf cotton/bamboo fabric at Z Fabric and the contrasting green from JoAnn's.

I made a few modifications, namely the width of the bottom was limited to 1/2 the width of my fabric (I thik it ended up being 27" at the bottom), but I don't see that it made much difference. I also omitted the arm cutouts and side shaping, choosing to do a french seam on the sides and keep everything as simple as possible. I love the end result . It's pretty and airy and the perfect summer top. I think I shall be making at least one more this summer, which as someone who rarely makes patterns twice, is saying something.

Summer Top

Next up: An awesome start to summer!

Print Friendly and PDF Follow
follow us in feedly

Sunday Baking

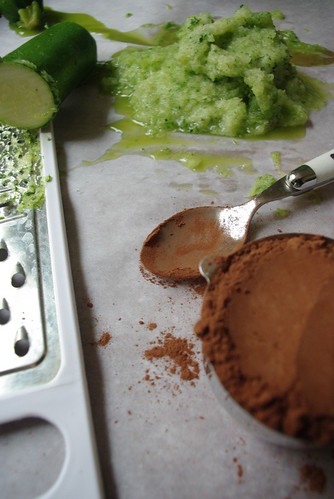
Chocolate & Zuchinni

One of my ongoing goals this year is to cut as many processed foods out of my diet as I can. I'm looking into ways to consistently make my own bread (I've done some work with a bread machine and a friend lent me a copy of Artisan Bread in Five Minutes a Day, which I hope to try as soon as I have some room in the fridge to try it.) and I've been figuring out ways to make my favorite microwave and takeout foods from scratch (check back in about a week for my chicken pot pie recipe!). Come farmer's market season I'd like to look into some preserving.

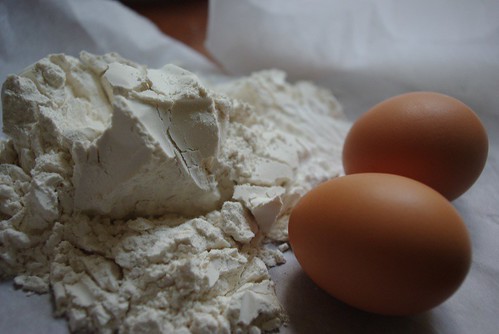
Flour and eggs

Along these same lines, I've had a recurring thought about only eating sweets that I've made myself. Now I have the second-biggest sweet tooth I know and what with my schedule, I though that to only eat home-made sweets meant pretty much giving them up. I'm sure doctors and dentists would think that's plenty fine, but I like a good cookie, or piece of cake, brownie or slice of pie... you get the idea.

In any case, I'm thinking it's much more feasible than I originally thought. 

Rows of Cookies

I'm currently working full-time and rehearsing a play about 4 nights and one weekend day a week. I'm pretty busy. But for the past month I've found the time to bake every Sunday. 

I don't own a mixer (I find mixing by hand both bicep-building and relaxing) and my kitchen is ill-designed for any kind of food-making, but I'm getting the job done. And I love putting on an apron from my collection and baking.

Sugar- Crusted Orange Cake

A few weeks back it started with "le gateau piege" from Chocolate and Zucchini, a Cleaver house-hold favorite.

Chocolate & Zuchinni Cake

Then it was the titular Chocolate & Zucchini cake from the C&Z cookbook, which was dense and moist.

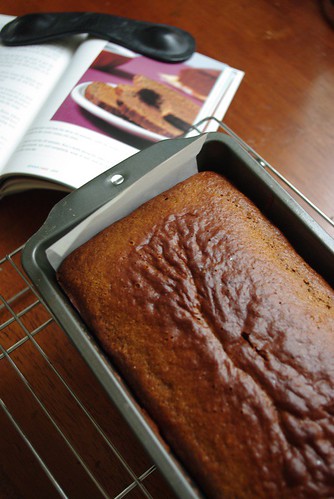
Honey Spice Bread

Having good luck with Clotilde, I made the Honey-Spice Loaf from the same cookbook. We like it warm with butter.

Around Wednesday this week I asked Mr. Cleaver what he wanted. He didn't have any suggestion, so I decided to troll the recipe index on my other favorite food site, Smitten Kitchen, where I came across these:

Homemade Oreos

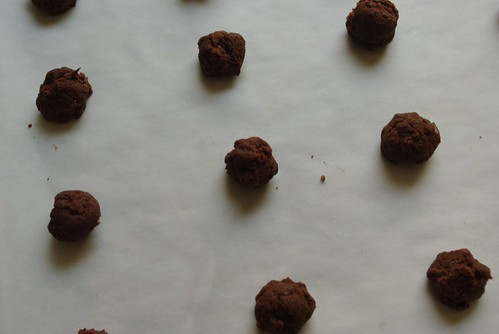
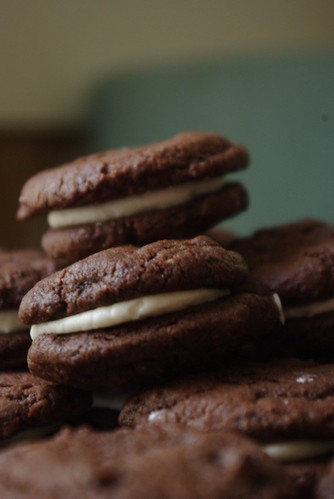
Homemade oreos!

These are just like the ones in the store, but way better, especially slightly warm. As noted in the recipe, I used the lesser amount of sugar in the cookies, and if Mr. Cleaver had his way, I wouldn't have frosted any. As it was I only needed half the frosting called for, but I highly recommend them. And some soothing Sunday afternoon baking.

Do you have a favorite baking recipe? Send along recipes and links and I'll be happy to give them a go!

Print Friendly and PDF Follow
follow us in feedly

Month by Month

Before I start, can I say that it feels like forever since I've done a proper blog entry? I've really had a tough go getting going this month. Let's call it the early-mid-winter slump and try to move on, shall we? Last year, I decided that the New Year's Resolution, while good in theory, doesn't really pan out well in real life  - even for those of us who have in the past planned out parts of their lives 3 years in advance to a fairly high degree of success.  Instead, I found last year that thinking of things on a monthly scale worked out better. 

So for January, my goals have been two-fold:

  1. cook more
  2. make our apartment more "homey"

And I've done decently on both accounts.

So far this month I've learned to make a quiche, chicken pot pies and given another go at making wheat bread in the bread machine (though I'm still in search of a great bread machine/wheat bread recipe, so if you have one, send it my way!). 

Last week Mr. Cleaver and I took a trek to Massachusetts in search of cheap Swedish furniture and while we came home with a few nice pieces, neither of them were what we were looking for  (if you know of an affordable TV stand approximately 52"w x 30"h x 18" d or something to put a ten gallon fish tank on we'd be ever so grateful!) Even without said furniture, I did do some work on the living room - mainly hanging up pictures and sewing a pillow cover. In any case, I'm finally going to show some photos of the apartment.

A before and after, both in all their non-cleaned glory.

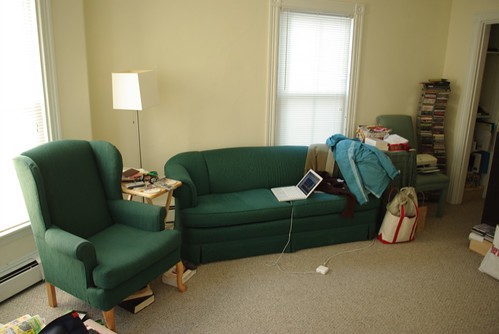
Before:

 IMGP3002.JPG

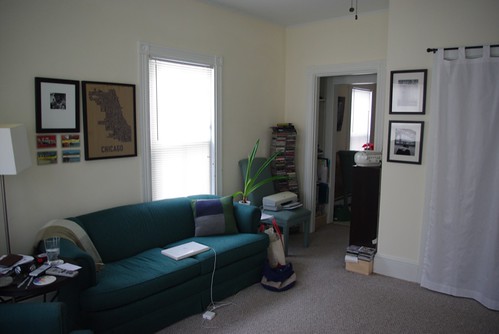
We bought the chair and couch separately (at a consignment shop and Goodwill respectively) but they match amazingly well. The borrowed tray table and fabric covered plastic boxes add a touch of class to the original arrangement as does the printer, just hanging out on a spare dining table chair from Craig's List.

After:

IMGP3012.JPG

The Chicago neighborhood print was a Christmas gift I gave to Mr. Cleaver and is flanked by some vintage Maine postcards (one of which feature the Westbrook highway-seriously) and my first real art purchase, a Clifton Henri photo. The two photos by the closet are by my father and myself. The end tables are real tables now - but the printer is still hanging out, keeping it real. Not a real big change, but it does feel much better.

IMGP3014.JPG

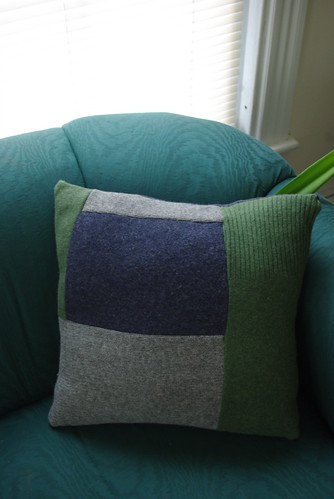
I whipped the pillow cover out of some leftovers of felted sweaters. And if a certain reader from Oregon is wondering, hey aren't those my sweaters? And shouldn't I have some coasters/bowls coming my way? Yes they are and yes you do, they're just going through one more wash cycle before I mail them out next week - promise!

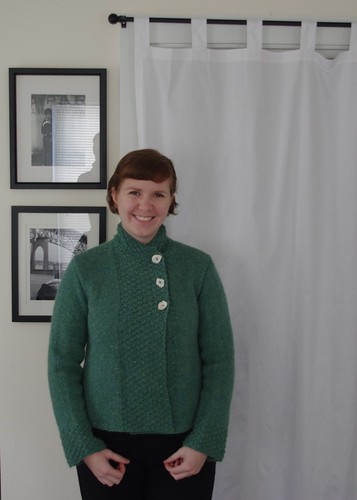
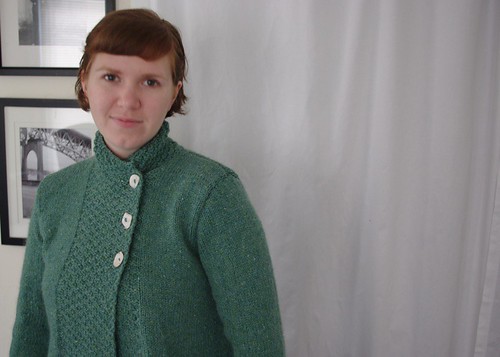
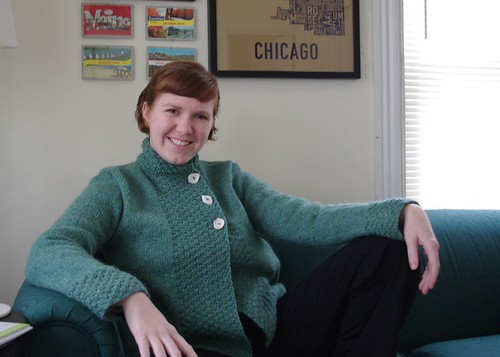
Speaking of sweaters and things completed on monthly scale, I'd also like to present to my "Mermaid Coat," so named for its sea moss colorway and oyster shell buttons. 

My Mermaid Sweater

The pattern is the quite popular Drops A-Line Jacket, the  yarn is Peace Fleece Worsted in Kamchatka Seamoss, and the shell buttons are from Savaged Relics. And like an actor in in their first high school play, I have no idea what I'm doing with my hands here.

My Mermaid Sweater

It is super cozy and super warm. It's a simple pattern and I finished the whole thing in month - give or take a day.

My Mermaid Sweater

So I guess you could day I'm sitting pretty on this whole "month-a-lution" thing. Now maybe for February I should decide to be a better blogger.

Print Friendly and PDF Follow
follow us in feedly

Catching Up

So it was about 18°F outside yesterday and today. In general its been cold and yucky outside and I have limited daylight time to take photos due to my 9-5.  This is my excuse as to why I haven't posted about 5 finished knitting projects  - no chance to take decent pictures. That and two of them were Christmas presents and I didn't want to spoil the surprise on the off-chance their recipents checked the blog. Well, the photos aren't super great and I'm still missing the sweater I finished in early November, but here's a quick roundup of some knitting I've done this winter.

IMGP2961.JPG

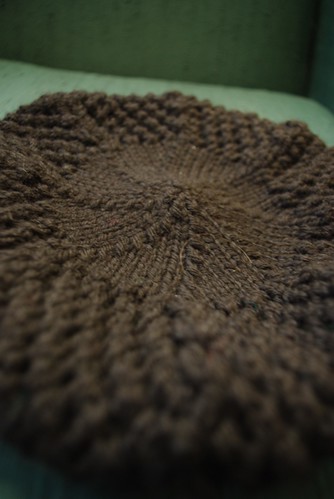
I call this my "Fisherman's Wife Beret." It's a fairly simple lace beret and I wear it all the time. I'm working on writing the pattern on it, which I'l let ya'll know about when I finish it.

IMGP2949.JPG

IMGP2956.JPG

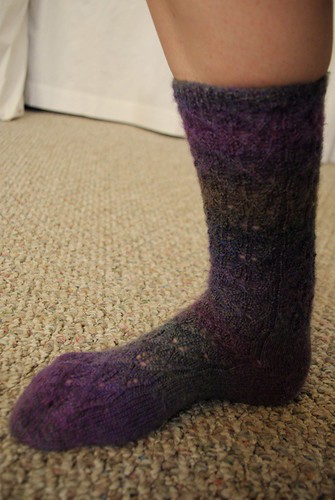
These were my first go at toe-up. The pattern is Elfine's Socks and I found it to be very well written and I particularly liked the way the heel was done. I used the magic cast on from knitty for the toe - but I need to find a good cast off as I had to use a mechanical pencil to get the top loose enough! The yarn is Jojoland Melody Superwash - the color is great, but the yarn itself I wouldn't use again.

 Big-Headed Bunny

This one was for my mom for Christmas. It's a bunny variation of my own pattern.

Winterberry Gloves

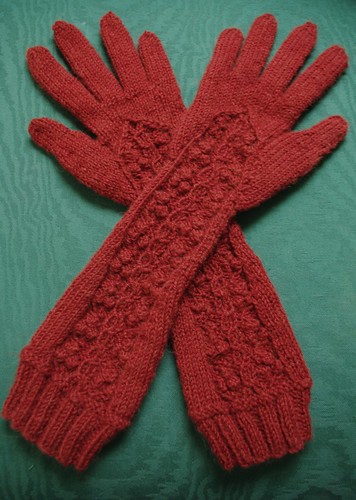
And this is the piece de resistance of my Christmas knitting, the "Winterberry Gloves," for my friend Kasey. I designed them from scratch having never knitted a glove before and they turned out really well. I'm making myself a pair with a few tweaks and am writing up the pattern for this one as well, which I hope to get out in February.

Winter in Maine is good for knitting, what can I say?

Print Friendly and PDF Follow
follow us in feedly

When Hobbies Collide! - DPN Holder Tutorial

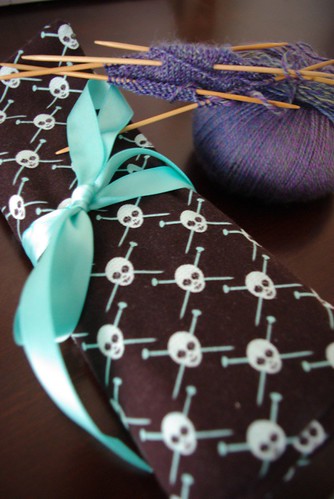
DPN Holder

The day before I started my new job, I sat down at the machine and sewed. In preparation for my soon-to-be-condensed crafty scheduled. I designed, cut and sewing this little project in about an hour (research time not included). This is a new land-speed sewing project record for me.

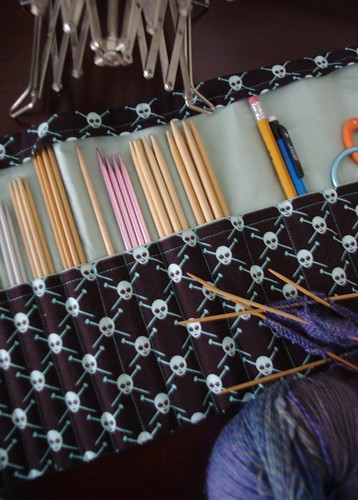
DPN Holder

I had picked up a 1/2 yard of this amazing Michael Miller fabric several month ago thinking to make something knitted-related in the future. I wasn't sure what, but with my growing frustration with my growing doubled-pointed needle collection, I knew I had to make a DPN roll. 

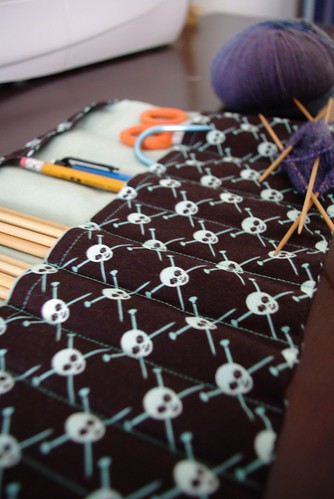
DPN Holder

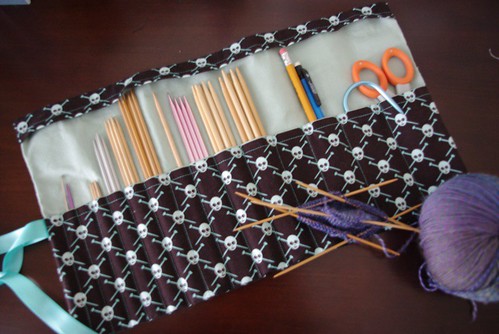
I trolled blogs, etsy, and flickr looking for inspiration and then dumped out all my needles on the bed, pulled out a ruler, made a few guesses and came up with this:

DPN holder

I didn't take pictures while I was making it because it was too dark ad I was speedy along, but here's a somewhat tutorial for the roll.

Materials:

  • 1/3 yd main fabric  (in this case, the skulls)
  • 1/3 yd contrasting fabric  
  • 1/3 yd fusible interfacing
  • 1/3 yd ribbon
  • note: I had a 1/2 yd of each and could make two from that amount.

Cut List (all measurements in inches):

Main Fabric

  • 1 - 9.5"x16.5" - body
  • 1 - 5.5" x 16.5" - pocket
  • 1 - 2.5"x 16.5" - upper flap

Contrasting Fabric 

  • 1 - 9.5"x16.5" - body
  • 1 - 5.5" x 16.5" - pocket
  • 1 - 2.5"x 16.5" - upper flap

Interfacing

  • 1 - 9.5"x16.5" - main body

Directions:

All seam allowances are 1/2". Press after each seam.

  1.  Iron fusible interfacing to the back of the contrasting body piece.
  2. With right sides facing, sew together top of pocket. Turn piece right side out and top-stitch the edge. Do the same with the upper flap pieces.
  3. With the right side of contrasting body and the main fabric of the pocket of facing you, baste sides and bottom of pocket unto the contrasting body. 
  4.  Stitch divisions into the pocket. Make sure to begin measuring 1/2" away from the fabric edge. The pocket widths from left to right are as follows (there will be 15 pockets total):
    • 5/8"
    • 5/8"
    • 5/8"
    • 5/8"
    • 3/4"
    • 3/4"
    • 7/8"
    • 7/8"
    • 1"
    • 1 1/8"
    • 1 1/4"
    • 1 1/4"
    • 1 1/2"
    • 1 3/4"
  5. With the right side of contrasting body and the main fabric of the pocket of facing you, baste sides and top of upper flap unto the contrasting body. 
  6. Fold ribbon in half and pin center of ribbon to the left side of the pocket, alining with the top of the pocket (see photos above). Pin the ribbon unto the pocket so you don't accidentally stitch it down.
  7. With right sides facings, sew the main body piece and the contrasting body piece together, leaving a gap out to turn right side out. 
  8. Turn piece right side out, making the corners nice and sharp and hand stitch the gap closed. Un-pin ribbon and trim length if necessary.
  9. Fill with needles and enjoy!

(PS - if you have any issues with this tutorial feel free to email me with questions : ms.cleaver(at)gmail.com)

Print Friendly and PDF Follow
follow us in feedly

There is a Pound of Chocolate in These Cookies

Chocolate Toffee Cookies

Remember when I used to regularly post recipes on this site? Well it's been a while. Not that I haven't been cooking or baking, I've just been doing a lot of old standards or not photographing. I also like to put original or family recipes, but this one was too good to pass up.

After seeing these cookies on smitten kitchen last week I just had to make them and man are they good - if the pound of chocolate alone doesn't convince you perhaps I can. These are deep and rich and complex  - so much so that I, a cookie fiend, can only handle about a cookie and a half at a time. They go brilliantly with a glass of ice cold milk. It is a little hard to find the toffee bars, but it is so worth it. 

Chocolate Toffee Cookies from smitten kitchenAdapted from Bon Appetit

Makes around 30-36 cookies

1/2 cup all purpose flour 1 teaspoon baking powder 1/2 teaspoon salt 1 pound bittersweet (not unsweetened) or semisweet chocolate, chopped (if you use good-quality chocolate chips, it saves a little work - as usual my favorite is Ghiradelli) 1/4 cup (1/2 stick) unsalted butter 1 3/4 cups (packed) brown sugar 4 large eggs 1 tablespoon vanilla extract 5 1.4-ounce chocolate-covered English toffee bars (such as Heath or Skor), coarsely chopped 1 cup walnuts, toasted, chopped* Flaky sea salt for sprinkling (optional)*

Combine flour, baking powder and salt in small bowl; whisk to blend. Stir chocolate and butter in a metal bowl set over simmering water or doubled-boiler until melted and smooth. Remove from over water. Cool mixture to lukewarm.

Beat sugar and eggs in bowl until thick, about 5 minutes. Beat in chocolate mixture and vanilla.

Stir in flour mixture, then toffee and nuts. Chill batter until firm, about 45 minutes. Roll the dough into a log 1.5 inches in diameter and chill it.  When ready to bake the cookies, cut it into 1/2-inch slices. You can store the dough log in the freezer, wrapped in waxed paper and then two layers of plastic wrap for up to a month, just baking the cookies off as you need. Cookies baked straight from the freezer may need an additional minute or two in the oven, depending on their thickness.

Preheat oven to 350°F. Line 2 large baking sheets with parchment or waxed paper. This is a must - otherwise they will stick like crazy!!

Place sliced cookies on the lined sheet spacing tehm two inches apart. Sprinkle with the salt, if you’re using it. Bake just until tops are dry and cracked but cookies are still soft to touch, about 12 to 15 minutes. Cool on sheets. (Can be made 2 days ahead. Store airtight at room temperature.)

* I didn't bother with toasting the walnuts or the salt, but it may make the cookies even better, so give it a good if you'd like.

Print Friendly and PDF Follow
follow us in feedly