Ella Raglan Dress

Poppies Raglan Dress Poppies Raglan Dress

Poppies Raglan Dress

Poppies Raglan Dress

Poppies Raglan Dress

Poppies Raglan Dress

Poppies Raglan Dress

Poppies Raglan Dress

I purchased ithinksew's Ella Raglan Blouse a while back, with plans to sew up a ton of cute tops, but I only finally got around to actually making one now. It's a good thing I did too, because the size on this print of the pattern only goes from 6-24 months (a bit small of a range, if you ask me. Also the long-sleeved version is a totally different pattern, which I also find silly).

I lengthened the pattern by two inches to make it into a dress/tunic and cut out the 24 month size, in hopes of expanding it's wearable time period. As it is now, it's definitely a little big, especially around the neck, so I added a ribbon from my stash (actually left over from my wedding nearly 7 years ago) as a sash to help keep everything in place.

The fabric is a quilting cotton that I picked up at Marden's back in 2010. (I've now officially used 1/2 of the prints I bought that day!) I love the print, it's very Liberty-esque, but it is definitely on the stiffer side. It works well as a dress here, but for a blouse I'd use something lighter-weight. In fact, I think it would be especially dreamy in a Liberty lawn or a voile.

As you'd expect from a raglan top, this one is super simple to sew up and I'd say it's a great beginner project. The only complicated bit is attaching the bias tape as the neckline casing, which if you use store bought bias tape (which I did here), it's fairly simple. I definitely sew this one up again, particularly if I can get my hands on some good fabric for it.

Also, one outtake, because it makes me giggle, as I can't look at it without thinking of that infamous Bigfoot photo.

Bigfoot Baby

Print Friendly and PDF Follow
follow us in feedly
2 Comments
Share

Tried and True Review: Basic Black Ginger

IMGP5341

Basic Black Ginger

Made: May 2012, about 2 years old

Update: For something meant to fill a basics gap in my wardrobe, I wear it very rarely.

Fit: Looking back on the original post, I mentioned that even then, the waistband was too large. In general, it's just too big. I cut the waistband too large and I think I even graded out in the skirt, when I didn't need to. The shaped feature of the waistband means it needs to hit the waist on the right spot and sadly, this one is about an inch too low.

Style: I really wished this one worked better, as it does looks so cute with my saddle shoes.

Materials: More than the fit, the fabric is what kills this one for me. I love twills, but this one attracts lint like crazy and looks dingy from the second you put it on. Though I'm not sure what black bottom-weight fabric wouldn't be so linty - any suggestions?

Construction: I thought I did a great job on this one, with homemade bias binding on all the edges, but I didn't sew it on very well as it's pulled off in several places. I'd add pockets again though because everything's better with pockets.

Lesson(s) Learned: Even for basics, even more so for basics, fit and fabric really matter.

Final Verdict: I'll probably still wear it occasionally, until I finally get around to making a replacement (I still want a black Ginger in my wardrobe, just a better one). When I do get rid of it, I'd only reuse the fabric as stuffing for cushions or something, it's just awful.

Print Friendly and PDF Follow
follow us in feedly
Share

In The Garden

Tomatoes ripening on the vine Plum Tomatoes

Rainbow of Tomatoes

Not a Bell Pepper

Highbush Blueberries

We're far enough into the growing season now for me to discover some surprises in the garden beds due to free-wheeling labeling practices on my farmer's market purchased plants.

For instance, in my last attempt at a veggie garden, one my my "bell peppers" turned out to be a banana pepper. This year, I once again have a fully grown "bell pepper" that is distinctly not bell shaped. Is it a hot pepper? A sweet pepper? Is it even ripe? I have no idea. Based on a preliminary search of the Johnny's catalog, my guess is it's a "Mellow Star" Japanese-style sweet pepper and usually eaten green, but probably not the "Yankee Bell" I thought I bought.

That beautiful rainbow of cherry tomatoes? Supposed to be a sauce/plum type called "Juliet". My plan was to make salsa and sauce out of my tomatoes, since I'm not a big fan of eating tomatoes straight, but we'll see. In any case, I'm going to have a lot of them!

I'm not to worried about my mystery plants though, it's a good way to try something new, but it does make it harder to replicate if I find out I really like it!

With the exception of the broccoli, which is struggling against dual attacks from woodchucks and some insect I can't find (probably cabbage moths), everything is growing well at this point.  I've been enjoying some delicious salads and pesto and best of all the blueberries are starting to ripen! We put bird netting over the bush this year, in hopes to getting to harvest more fruit than usual, fingers crossed for some blueberry muffins soon!

Print Friendly and PDF Follow
follow us in feedly
3 Comments
Share

Raspberry Picking and Pie

Picking Raspberries
Down the Path
Picking Raspberries
Picking Raspberries
Picking Raspberries
Snell Family Farm
Picking Raspberries
Checking for More
Tasting the Bounty
Picking Raspberries
Raspberry Pie
Raspberry Pie
Untitled
Raspberry Pie and Ice Cream
Eating Pie

What can I say? I love pick your own (PYO) farm adventures!

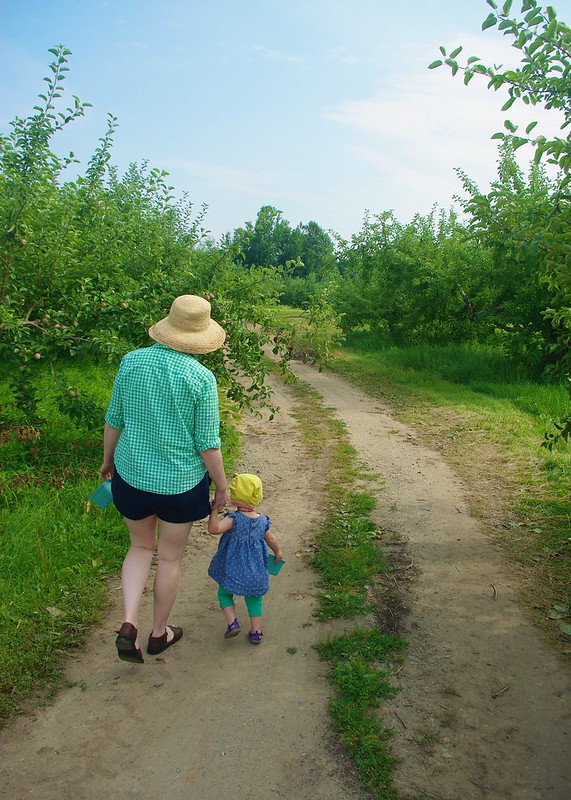
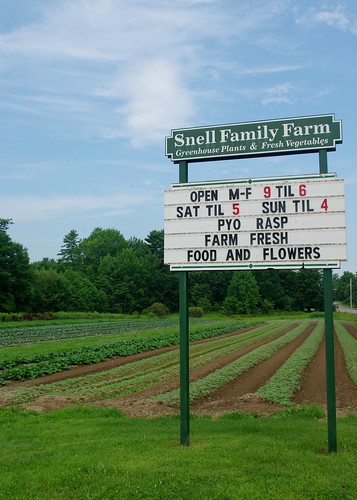
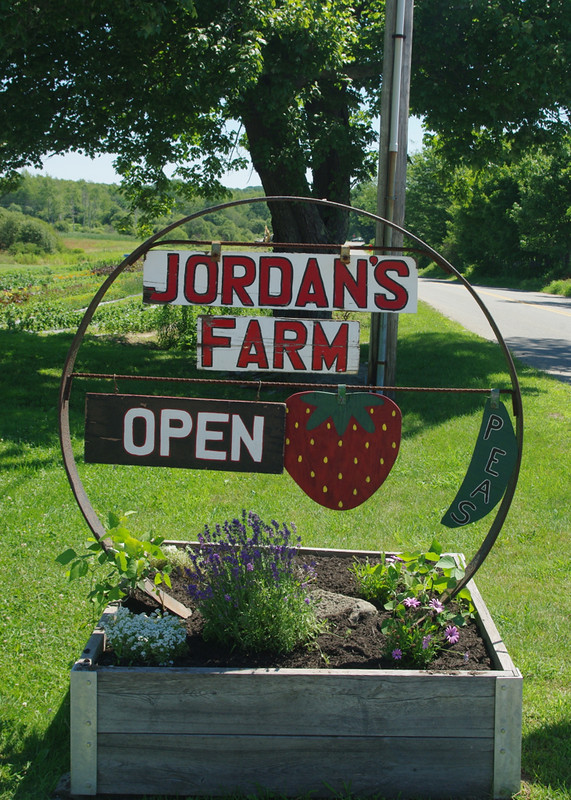
Last week at the farmer's market we discovered that Snell Family Farm did PYO raspberries (they do apples too). So on a sunny Saturday morning Mr. Cleaver, LMC and I loaded up the wagon (no pets allowed, unfortunately) and took the short drive out to Buxton/Bar Mills.

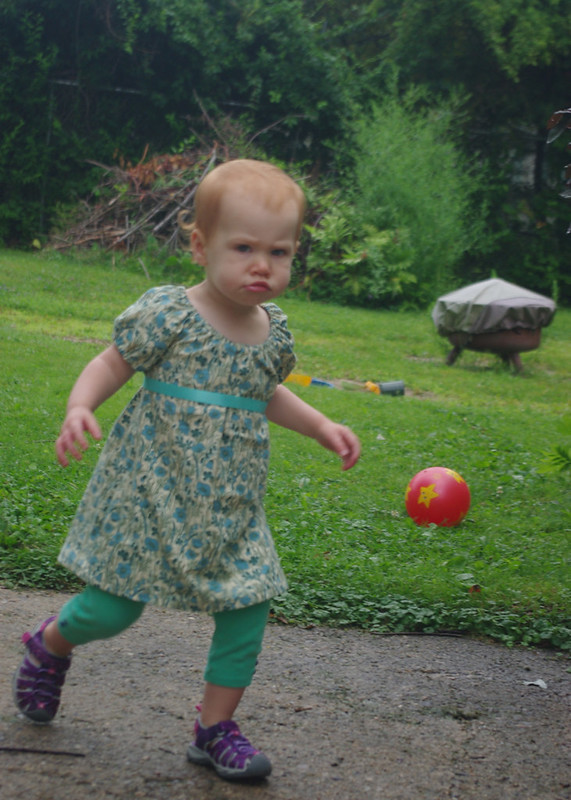
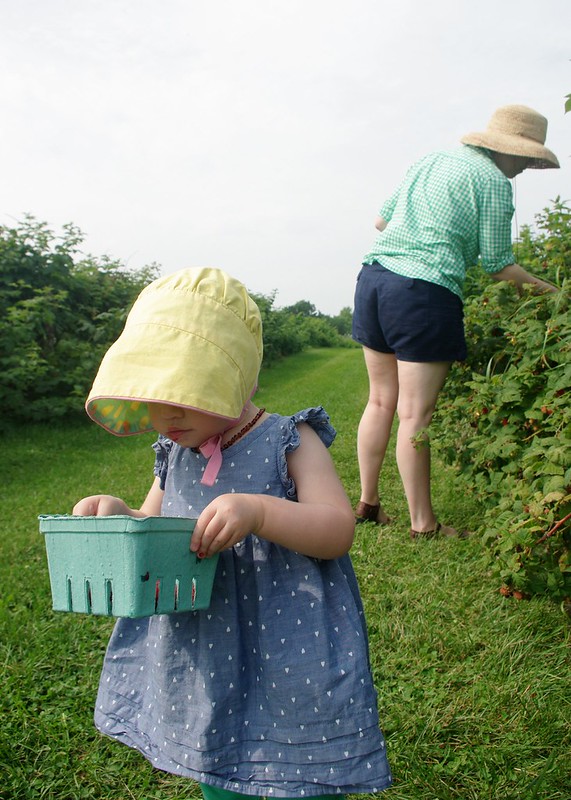
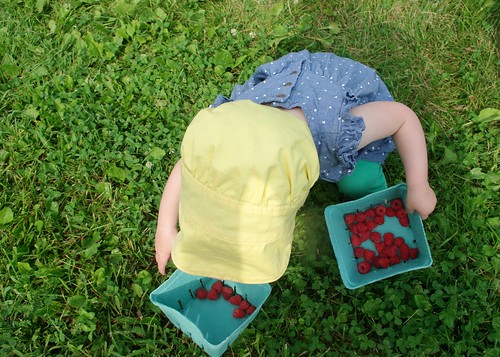
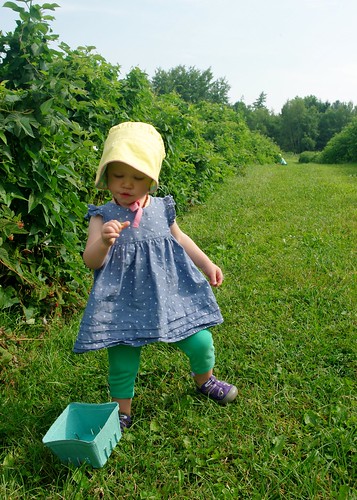
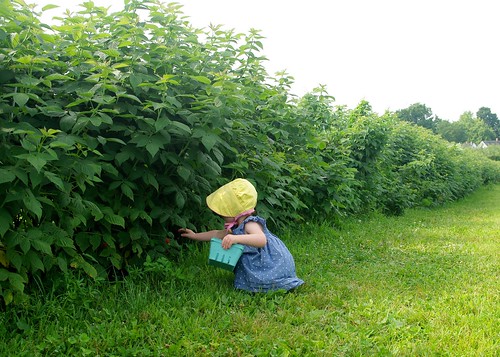
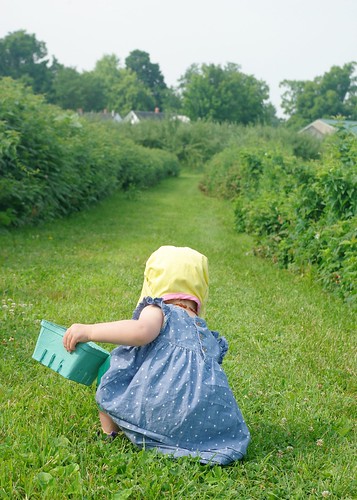
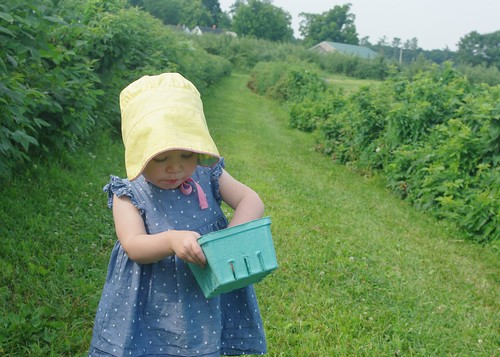
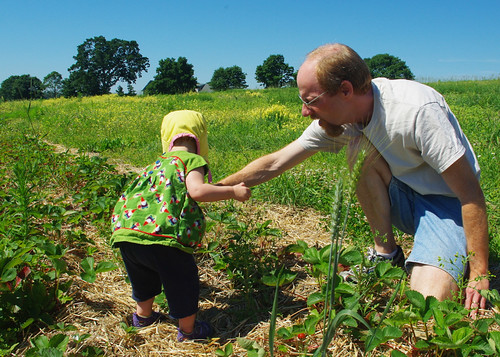
We had a fabulous picking experience. The raspberry fields are orderly and the picking rows are wide, so you don't have to worry about backing into thorns/stepping on fruit. There were plenty of ripe berries on the bushes, mostly down low, which meant that LMC could pick berries on her own (though she doesn't quite get the concept of ripe/not ripe yet).

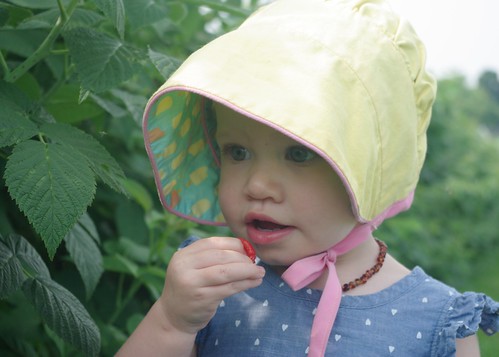
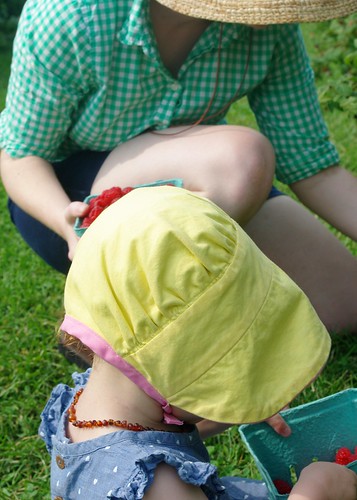
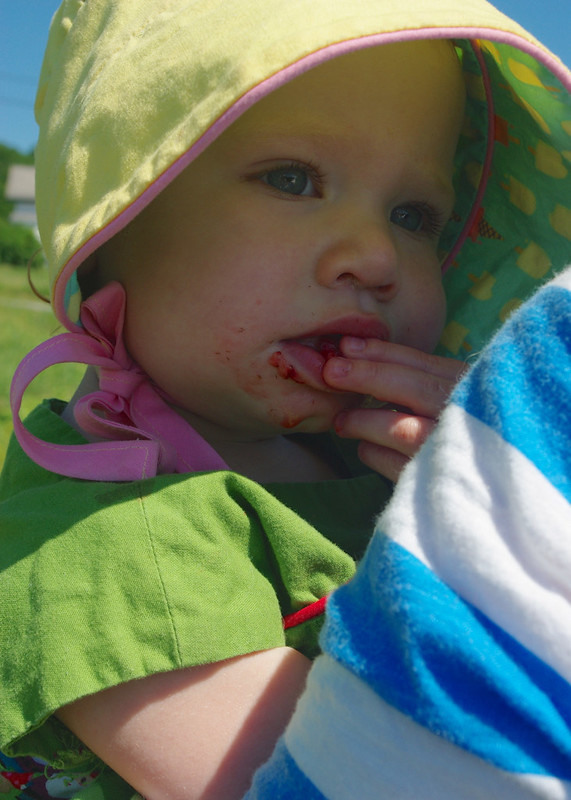
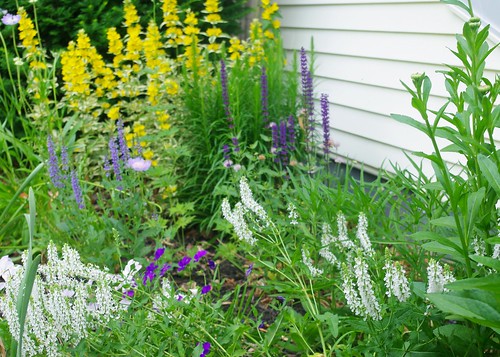
I highly recommend bringing a picking assistant- twice the picking, half the fruit! I'm pretty sure LMC ate at least 1/2 pint of raspberries while we were picking, but as the kind cashier said, "I didn't weight her when she came in, I'm not weighing her on the way out." (We gave them some extra cash anyhow).  We were also able to pick up some carrots and green beans from the farm stand and they have huge greenhouses full of flowers. So if you're in the mood for picking fruit, I'd highly recommend our Snell experience.

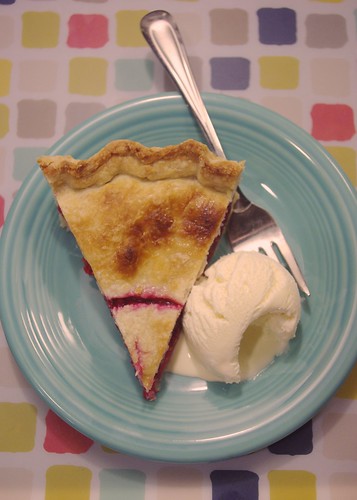
Also, can I say that Mr. Cleaver did an awesome job as field-trip photographer? With the exception of the pie close-ups, he took all of these. And he says he doesn't know how to use my camera- ha!

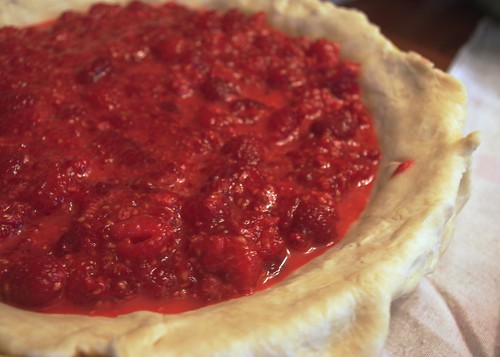
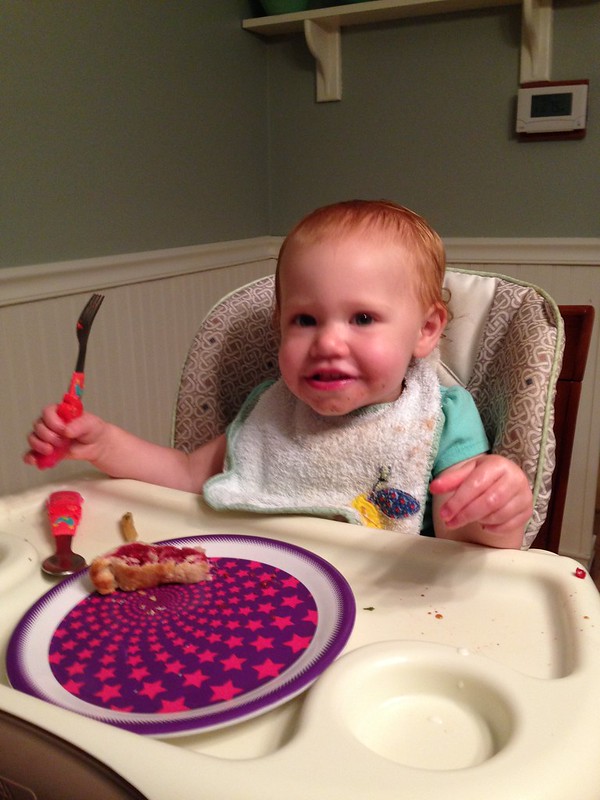
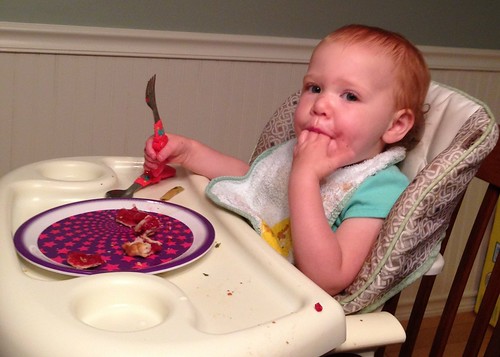
We ended up with two full quarts of berries, half of which we're in the process of eating fresh and the other half made their way into a raspberry pie. While LMC has assisted in the baking portion before, this was her first slice of pie, of which she left no crumb uneaten, so I think I'm safe to say she liked it.

LMC-Approved Raspberry Pie

Preheat oven to 375 °F

Crust

  • 2 cups flour, plus more for rolling surface/rolling pin
  • 1 tsp salt
  • 2/3 cup shortening
  • 1/4 cup very cold water
  • Small amount of milk
  • Small amount of sugar

Mix together flour and salt then “cut in” shortening with a pastry cutter or knives.

Add up to 1/4 cup of very cold water a few Tablespoons at a time, until dough holds together.  Form into two equal-sized balls of dough and wrap in plastic wrap. Chill in the refrigerator (at least while you make the filling, preferably at least an hour). Flour working surface and roll out crusts, using half the dough for each. Makes one top and one bottom crust for a 9″ pie tin.

Filling

  • 4 cups fresh (or thawed frozen) raspberries
  • 3 Tbl cornstarch
  • 2/3 - 3/4 cup of sugar (to taste, based on the sweetness of your fruit)

Mix filling ingredients together, trying not to smush the berries too much.

Place lower crust into a 9-inch pie pan and pour in filling. Use a small amount of milk or water around the edge of the lower crust to help seal.  Cut vents in top crust and place over filling, cut off overhanging crust (save them for cinnaminninies!) and crimp the edges to the lower crust to seal.  Brush top crust with milk and sprinkle with a light dusting of cane sugar.

Place in center of oven and bake for approximately 55 minutes, or until filling bubbles and crust is golden brown. If needed, cover the edges of the crust with tinfoil during the final stages of baking to prevent scorching.

Cool on the windowsill of your choice (nothing burns like hot fruit!) and enjoy with ice cream.

Print Friendly and PDF Follow
follow us in feedly
Share

Birthday for Me, Sale for You!

UntitledI turn 31 today, so to celebrate I'm offering 30% off all my self-published patterns* through the end of the month.

Just enter the code BDAY30 at checkout and happy knitting!

*Quince & Co. patterns not eligible for discount

Print Friendly and PDF Follow
follow us in feedly
In
Comment
Share

Tried and True Review: The Sew U Ruffle Blouse

The ruffly shirt in 2014

As a craft-blogger, who reads a lot of craft bloggers,  it seems as if we'll often make something, take some photos, put together a blog post, and it's on to the next project with the previous one never to be seen or mentioned again in blogland. We share how the project turned out fresh off the needles or sewing machine, but we rarely take a look back at how it fits into ours lives. (Me-made months being the major exception).

Part of the reason I started blogging is because I wanted to share my creations with a like-minded community of makers. The excitement of showing off what I just made.  Heck - finished object  is my 2nd most frequently used tag and accounts for 25% of my posts here.

But this year I've been thinking a lot about sustainability of fashion in general and of my own closet in particular. Emma's post on wardrobe metabolism and the life cycle of clothes was one that really hit the nail on the head for me. One item in particular that should out from that piece was bullet #3 - "Keep tabs out what works & what doesn’t."

This isn't about reviewing the pattern, but the project. If you see someone (or multiple someones) making a the same pattern multiple times, you can get the hint that it's a keeper. But individual projects can vary so much, even out of the same pattern. I'm certainly guilty of getting caught up in shininess of a newly-completed project only to find out weeks, or months down the road that it just doesn't work - the fit was off, the fabric was a poor match, it just doesn't fit my lifestyle anymore (or never did).  Or perhaps I didn't care for it at first when I was being over-judgmental on my construction technique at the time, but I now wear it at least once a week.

So in an attempt to show how my projects have stood the test of time and/or to learn from the mistakes of my yesterdays, I'm going to better document the role of handmade items in my life in two-ways:

  1. I'll tag the post anytime something I made appears in a post, even if it isn't new. For my clothes, it's me-made; for LMC's stuff, mama-made; and for items I made for Mr. Cleaver, miz-made.
  2. The Tried and True Review, where I'll look back at old project and discuss how it's held up since I made it, both successes and closet rejects.

First up?

Ruffly Shirt

The Sew U  Ruffly Shirt

Made: August 2008, the last thing I made in Chicago, before I moved to Maine. Almost six years ago!

Update: I still wear this -  actually, I'm wearing it today. I wear it 2-3 times in a month in the summer then retire it for the cooler weather.

Fit: It was a relaxed fit to begin with, so this one had held up when weight changes pushed other shirts aside.

Style: It's cute, without being overly cutesy.  It's a little bit retro with the polka dots and it looks nice enough for work.  I need some more similar things in my closet.

Materials: For $2 fabric from a garage sale, this has held up surprisingly well. It's super-duper lightweight cotton, so I have to wear a camisole underneath, but it's great for summer. I do have to iron it after washing though.

Construction: In truth, this is not the greatest sewing job, but it hasn't effected it's wearability. The collar stand and bias binding on the sleeves were both new techniques to me at the time and are rather sloppy in places. I could still use work on collar stands. There are also multiple lines of stitching along the ruffle on one side where I had some trouble in attaching it. But it's all white on white, so unless you're unreasonably close, you wouldn't notice.

Lesson(s) Learned: Mistakes are most obvious to the maker and don't mean that it isn't still usable

Final Verdict: It's a keeper, and I'd make the whole thing over again, but better this time.

Print Friendly and PDF Follow
follow us in feedly
2 Comments
Share

The Mainah Tee

The Mainah Tee The Mainah Tee

The Mainah Tee

The Mainah Tee

The Mainah Tee

The Mainah Tee

The Mainah Tee

I was recently introduced to the term Wahlheimat, a German word, like so many German words, that crams a lot of meaning into a few letters. In this case,  Wahlheimat means home of choice, which is a perfect way to describe my relationship with Maine.

All told, I've now lived in the state for about seven years total, but even when I've lived here for another 50 years, I'll still be considered "From Away," the title of Mainer forever out of my reach.

Fortunately, my From Away status doesn't taint Little Miss Cleaver's true-blue Mainah credentials (though if you talk to people Down East, living in the Greater Portland Area may).

So it only seemed fitting to make her a blue Maine tee, featuring our state mammal (the moose) and our most quintessential, but unofficial state phrase - ayuh, which dialect blog names America's oddest yes

It's made out of more of the sun-protective jersey from Rockywoods and of the tees I've made to date, this one is by far the best sewn.

I pulled out the (rather slim) manual for the Pfaff Select 3.0 and got more into the weeds on its stretch-stitch capabilities. By using a combination of the straight stretch stitch, the "closed overlock," and a double needle, I got what is a professional-looking and sturdy final product.

I don't know how prevalent these stitches are on non-Pfaff machines, but if there's any interest, I'd be happy to pull together a tutorial.  Let me know!

Print Friendly and PDF Follow
follow us in feedly
2 Comments
Share

Fields of Dreams

IMGP9695

IMGP9735

IMGP9693

IMGP9721

IMGP9739

IMGP9718

IMGP9728

IMGP9707

IMGP9736

IMGP9696

In my book, a girl's first baseball game is a big deal. Going to a SeaDogs games was another of those moments I dreamed about sharing with LMC as soon as I knew she was coming. Even so, it caught me a bit by surprise that I got a little teary-eyed when we walked out of the concourse into the sun-lit fields of Hadlock Stadium.

Any attempts to actually watch the game are mostly moot at this point, and if you asked LMC what her favorite part of the experience was, and she could speak in sentences, I'm pretty sure she'd say the french fries. But it's harder to find something more summery and American and wonderful than a minor league ballpark on a July day, particularly when your team is up by four runs.

The only thing that could perhaps be more perfectly summery is a field of sun-ripe strawberries. I've already noted LMC's love of berries here before, but it's something else to be in a whole field of them. We made it to the last picking day of the summer at Jordan's Farm in Cape Elizabeth, and while the berries on the ground were no longer numerous, they were still delicious, and fortunately the farm stand was still well stocked, since the berries we picked seemed to mysteriously disappear...

Print Friendly and PDF Follow
follow us in feedly
1 Comment
Share

In the Garden

Perennial Bed

Kiddie Pool

The Garden

Baby Tomatoes

Kiddie Pool

Kiddie Pool

Untitled

Attack of the Woodchuck

Violets

Kiddie Pool

Kiddie Pool

Perennial Bed

Fresh Salad

After 3 years, my perennial beds have become well-enough established that I'm going to have to do some dividing and moving come fall, which means that for now, I'm blessed with a crowded bounty of flowers.

These photos are about a week behind, as we've all been laid low with some kind of summer virus, but the days have begun warming up and plants and the people are responding in kind. The tomatoes and peppers are dropping their blooms and starting to make their fruit. We've harvested our first lettuce and made the first batch of basil pesto.

LMC helped me harvest the basil leaves for the pesto, with a few tomato leaves thrown in for good measure. Picking tomato leaves is a new favorite pastime, which means that the fence is sometimes as much for the kid as the critters.

Despite my first fencing efforts, my broccoli was once again ravaged by a woodchuck, which I now know definitively as the culprit because I caught it in the act. From my brief internet research, it looks like my next step is to bury a portion of the fence.

It's also warmed up enough to bring the kiddie pool in action, which LMC loves to play in, provided I join her and she doesn't have to sit in the water. I think there are fewer things that bring greater joy to a toddler than moving water from one thing to another thing. As a bonus feature, when the pool isn't full of water it makes a great dance floor!

Print Friendly and PDF Follow
follow us in feedly
4 Comments
Share

Introducing the Lamassu Shawl

Lamassu-3359
Lamassu
Lamassu-3389
Iran 2007 081 Persepolis Gate of all Nations
Lamassu-3424
Untitled

What is a Lamassu?

  1. A winged, human headed bull frequently seen in ancient Mesopotamian (modern Iraq & Syria) myth and art - most frequently as looming sentinels at the gates of major cities.
  2. My latest shawl design for Quince & Co. yarns

How does one morph into the other? Where that's where the fun of designing comes in!

Back when I was in college, I was a Theatre major and the midst of my Senior year, I decided to swap my English minor for one in Classical Studies, following my increasing interest in the topic. I had an excellent Latin professor (Ortwin Knorr), who got me interested in the subject beyond the language and introduced me to Roman Cookery and the Archaeological Institute of America (of which there are sadly, no Maine chapters).

I had taken a lot of Latin courses, but to complete my minor I took two additional classes: Introduction to the Old Testament/Hebrew Bible and Introduction to Ancient and Medieval Art History.

My textbook for the Art History class is the only one I regret selling back, but it was the Old Testament course that has had one of the longest lasting impacts of any of my school courses. Taught by professor and archaeologist David W. McCreery, this 100-level course was the hardest course I took in my college career. But, as they say, nothing worthwhile is easy.

One day while discussing Noah's flood in Genesis, Professor McCreery mentioned that there was an much earlier, but very similar, version of a Great Flood story that appeared in the Epic of Gilgamesh (c. 2100–2000 BCE). Following class that day, I stayed late to express my interest in the Gilgamesh tale, but as the professor was busy with another student at the time, I merely stated my interest and left conversation for another time.  It was to my surprise then, when at the next class session, he handed me one of his personal copies of the tale (Herbert Mason's verse narrative), with the following inscription:

October 2004 Dear Leah There is a lot to learn from this "oldest story ever told." Enjoy! Dave McCreery

I fell in love with the Gilgamesh story, particularly his adventures with the wild-man Enkidu, so much so that I wrote and produced a play about it. It's a story that's stuck with me ever since. So when I was talking to Quince about doing a new shawl design, it was Gilgamesh, and his Mesopotamian brethren that sprung to mind.

As is the way nowadays, I started collecting some images on Pinterest and I kept coming back to two things, the lamassu and king's beards. There was a distinct texture and style of the beards that the more I looked at it, the more knitterly they seemed. A stitch dictionary provided the trinity stitch that mirrored the curly portion of the beard by the mouth, and some time with swatches and graph paper yielded the banded columns and feathery bits I call Gilgamesh's Beard and Lamassu Feathers.

Since Mesopotamia was part of the fertile crescent, a gentle crescent shape  for the shawl seemed only natural and of course, when given the option to pick my yarn, I had to go with that ancient near-eastern fiber: linen.

----

And that is a long story behind a fairly simple shawl.

If you'd like to knit one for yourself, the pattern is available now in the shop or you can queue it up on Ravelry.

And to make the long stretches of trinity stitch go faster, I suggest you listen to the following while you knit (I did!).

http://www.youtube.com/watch?v=SVcvGxEZZwc

Photo Credits:

  1. Quince & Co.
  2. Lamassu  by Jasmine Ramig
  3. Quince & Co.
  4. Iran 2007 Persepolis Gate of all Nations by David Holt
  5. Quince & Co.
  6. Untitled by E.N.K
Print Friendly and PDF Follow
follow us in feedly
1 Comment
Share