Opa! The Greek Food Festival

Gyros

Faux Dome - Christ Pantocrator

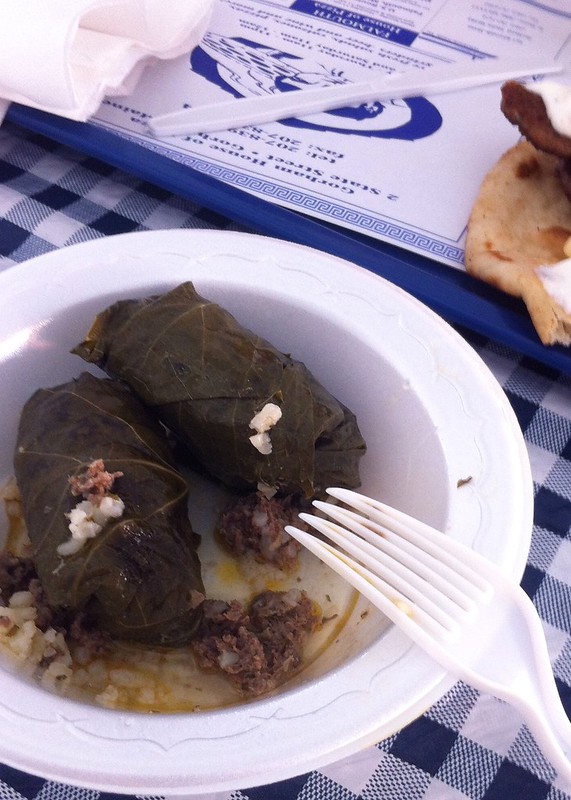
Dolmades

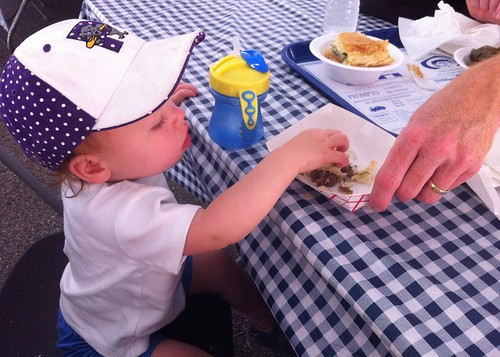
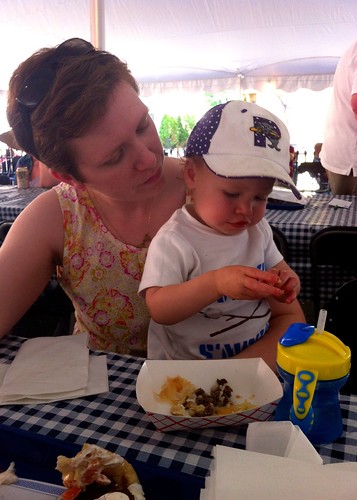
Trying Spanakopita

Trying Spanakopita

Saints Icons

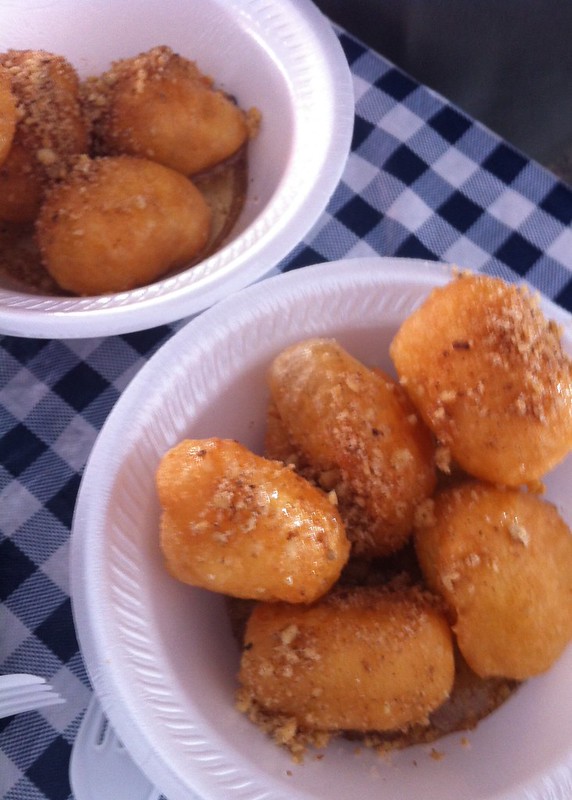
Baptism of Christ Icon Loukoumades

Dancing & Loukoumades

Dancing & Loukoumades

Entry into Jersusalem Icon

One of the tastiest days on the Cleaver family calendar is the day we visit the Greek Food Festival. Hosted annually by the Holy Trinity Church in Portland on the last full week of June, we start anticipating our visit as soon as the weather gets warm.

It's not that you can't get good Greek food in the area other times of the year, it's  just that there's something about the food that you get at the Festival that makes it extra delicious. We eat light in the morning so we have plenty of room to stuff ourselves with dolmades (lamb and rice-stuffed grape leaves), spanakopita, gyros, and loukoumades. And oh the loukoumades - the Greek equivalent of a light crispy doughnut hole, made fresh and served in a honey-nut syrup.

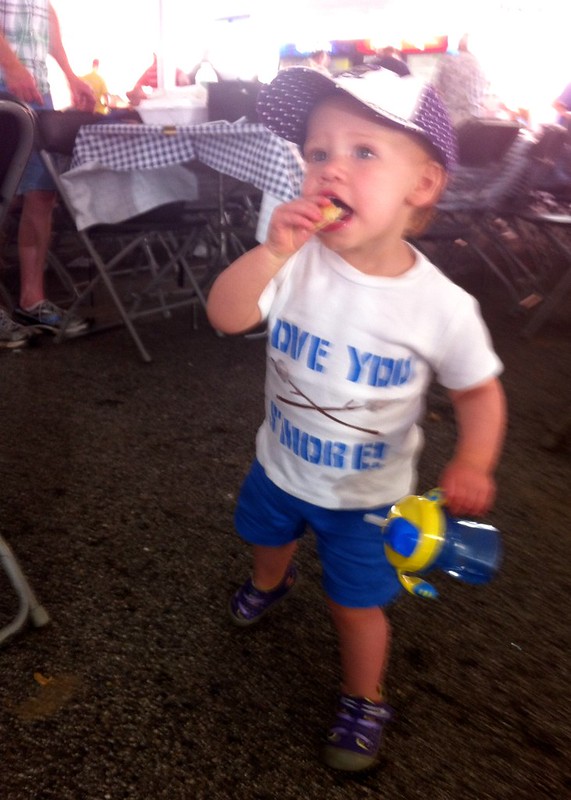
Despite being rather full, I gave Mr. Cleaver some serious stink-eye when he suggested only getting one serving of loukoumades this year.  It only comes once a year! Even LMC, who for the most part was too busy taking it all in to pay much attention to the food, loved the loukoumades. She ate her little snack and danced her little toddler dance to the Greek music playing on the loudspeakers. Happily swaying back and forth with the taste of honey on her lips. We usually go in the mid-afternoon on a weekday to avoid the crowds and lines, but it would be fun to go see the live music and dancing one of these years.

We did however take the opportunity to get a  private tour of the church from Father Sarantides himself. If you ever get a chance to see the inside, I'd highly recommend it. Holy Trinity features a number of stunning small and large scale icons throughout the sanctuary.  All we had to do was ask one of the volunteers and they set it up. They're truly beautiful.

Print Friendly and PDF Follow
follow us in feedly
Comment
Share

Sunny Days and Strawberries

Strawberries & Daisy Chains

Strawberries & Daisy Chains

Strawberries & Daisy Chains

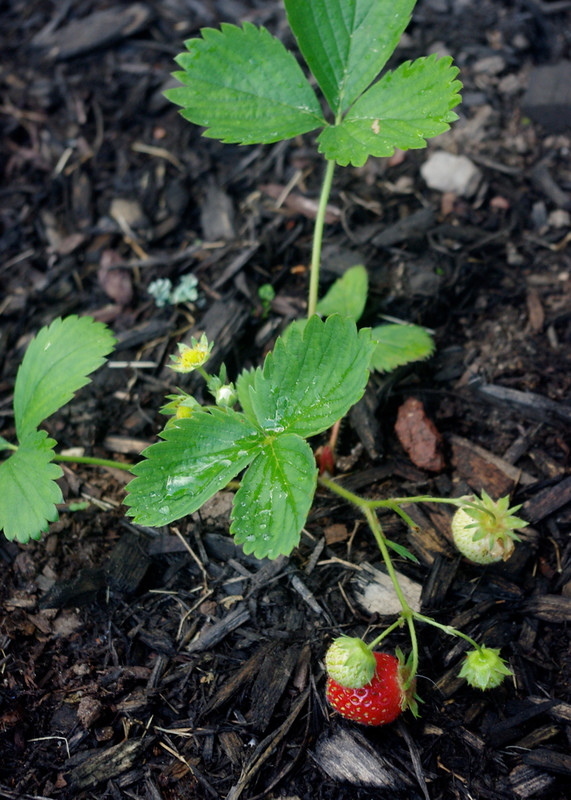
Ripe Strawberry on the Vine

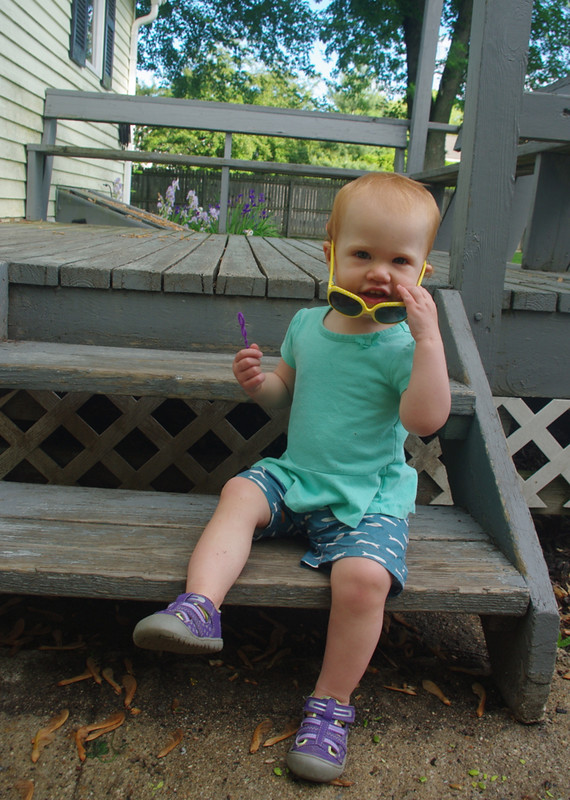
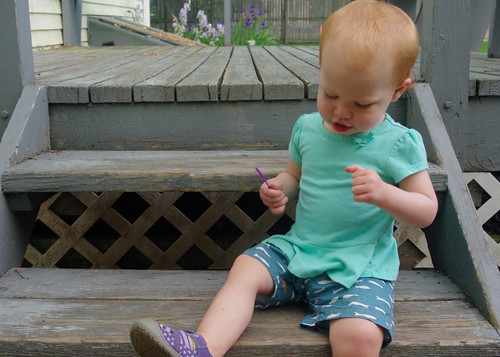
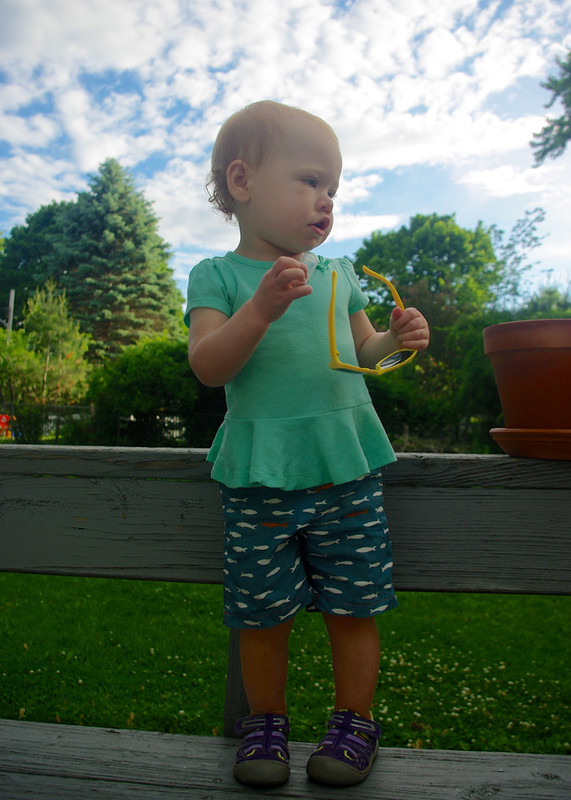
Sunny Day Shorts

Sunny Day Shorts

Irises

Sunny Day Shorts

Oh sweet summer, you are officially here and I waffle between trying to cram three days of activity into one weekend day and being completely lazy and just soaking it all in. Being lazy should win an awful lot more than it actually does.

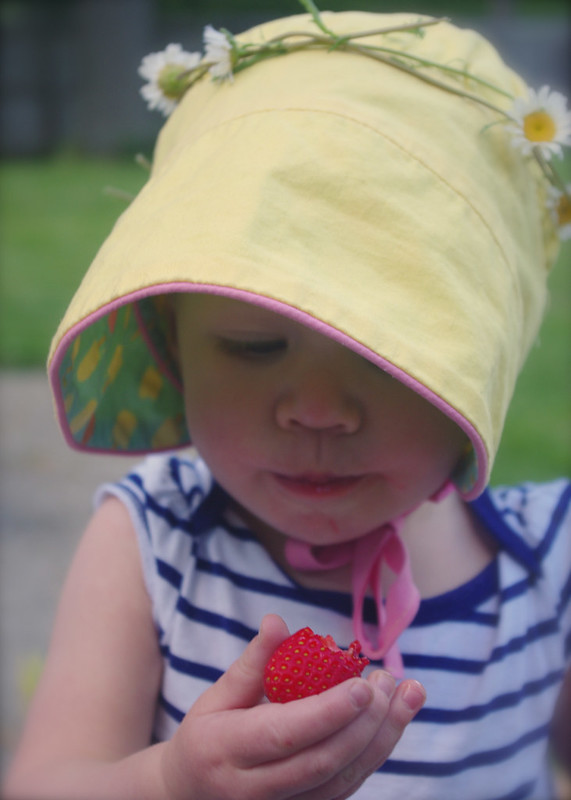
I am amazed at how rapidly a garden can grow once you get your plants in. Some of my leaf lettuce is almost ready to start picking, I’ll likely be making some fresh basil pesto soon, and we’ve sampled the first sweet, sweet strawberries warm off the vine. This little girl of mine loves fruit. Any kind, all the time. So it was such a joy to see her eat that first strawberry and point at the plants looking for more and the heartbreak of having to wait another day for some more to be ripe. As these plants are young and small, I’ll be surprised if we get even two dozen berries off of them this year, but each one is worth it, so long as we can beat the critters to them.

Early last week, we had a visitor to the garden beds. My guess is either a woodchuck, which we’ve spotted in the neighborhood, or a skunk that our neighbors saw. Either way it gnawed the leaves off of three of my six broccoli plants. So it was off to the home improvement store and some quick installation of fencing. I’m using that green plastic hex mesh (chicken wire) and thus far we’ve had no additional midnight-snackers.  One of the broccolis seems to be recovering nicely, but I’ll likely have to swap out the other two. Live and learn.

In my efforts to supply LMC with some appropriate play clothes I sewed two pairs of the new Oliver + S freebie pattern, the Sunny Day Shorts. One in some Birch Fabrics Jay-Cyn fishy print I had in my stash and a second pair in some blue twill leftover from my Beignet skirt. I didn’t do anything fancy other than add top-stitching to both pairs. It’s a freebie pattern, so there’s not a lot to it and the drafting is a teensy bit off (one side of the legs seem to have a sharp point where you turn the hem, the other side is more of a curve, so it doesn’t exactly line up). Also, the rise isn’t quite long enough to cover the whole diapered bum, but for nice looking shorts that whip up quickly? They get the job done. Next up, I’ve got another t-shirt cut out and ready to go, after which I’ll probably take another selfish sewing break to try a go at making my first swimsuit. Because we just got LMC a kiddie pool and I’m gonna need something fabulous for splashing around in that! ;)

Print Friendly and PDF Follow
follow us in feedly
3 Comments
Share

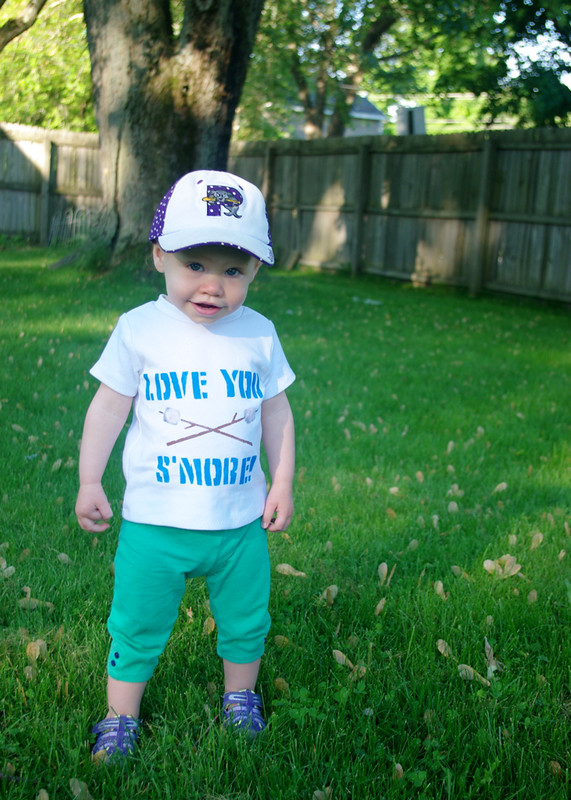
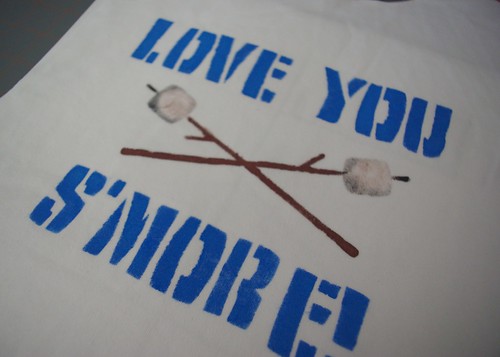
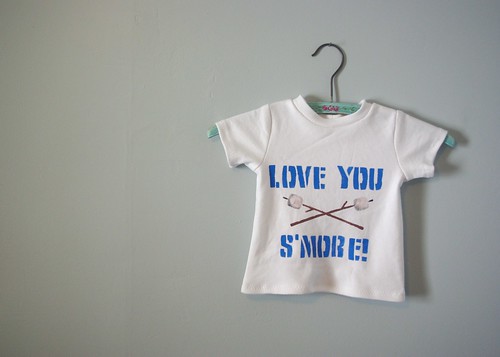
Love You S'more

Love You S'More TeeLove You S'More Tee

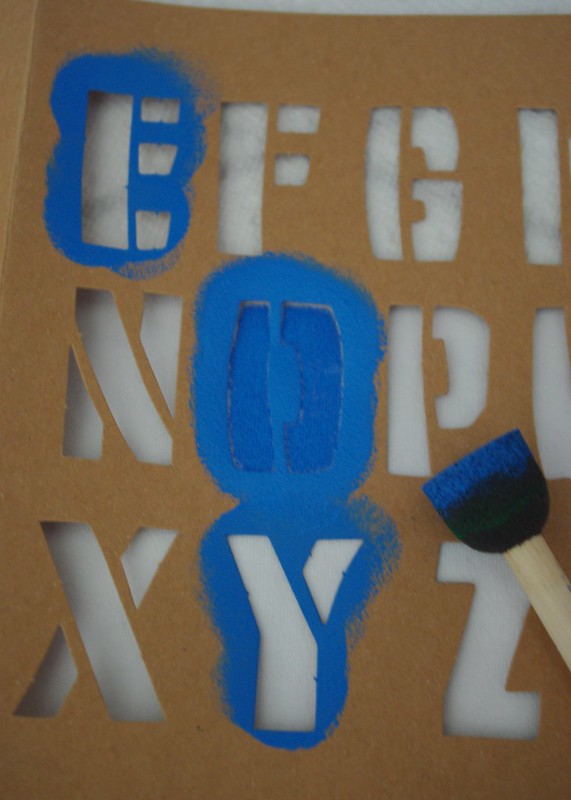
Stenciling

Love You S'More Tee

Love You S'More Tee

As much as I love sewing tiny dresses, my very active little girl needed some more items in the way of summer basics suitable for playing in the dirt and sitting on sidewalk chalk and generally being a toddler.  So I made my first of what shall certainly be many Flashback Skinny Tees. It's a great basic - I've already got a second one cut out and at least two more variations planned in my brain.

For this first go-around, I sewed it exactly to the pattern specifications (except for the short sleeves) in the 18-24 month size for my tall almost-15 month old.  For the next go around I'll to drop the front neck a bit to make it a bit easier to pull it over LMC's head, but other than that, I've no complaints. The shirt is made in a 100% cotton sun-protective fabric from Rockywoods, which feels like a very substantive interlock. It was a breeze to work with, but it's definitively a thick knit. This is a sturdy and not a breezy tee. I  imagine, that the fit will look a bit different in a regular jersey. That said, I'm hoping I have enough of this white leftover to make myself a tee from it, because fair-skinned mamas need sun-protection too.

While I'd make a plain white tee for myself, I thought LMC's needed to be a little more fun, so after surveying my collection of camp-themed Dear Charlotte stencils leftover from Ms. Maggie's baby shower, I came up with the s'more idea. I could have been a little straighter with the lettering, but all in all it turned out nicely. It's only been washed once thus far, so we'll see how it holds up over the long run, but I imagine it'll be fine for the length of time kid clothes last before they're outgrown.

Print Friendly and PDF Follow
follow us in feedly
Comment
Share

Weekending

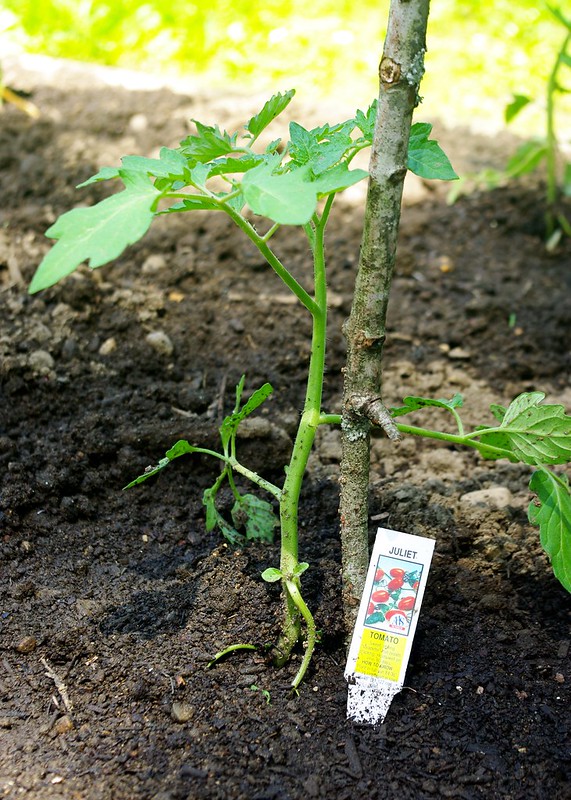
Bubble BlasterBubble Blaster Rhododendron Snuggle Time Irises Untitled Steiny Juliet Untitled Sand Play Old Port Festival Parade

Old Port Festival Parade Old Port Festival Parade

With the arrival of good weather and the Annual Old Port Festival in Portland, it's really starting to feel like summer here. And with summer comes copious amounts of sunscreen, bug-spray and activity for the Cleaver clan.

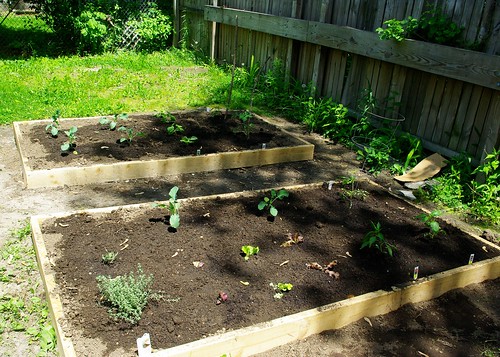
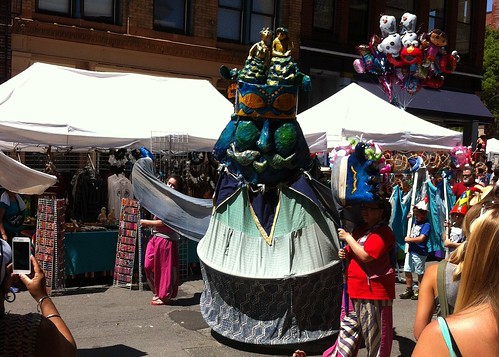
LMC got to take in her first parade, which featured beautiful large-scale puppets from Shoestring Theatre and sampled a bit of fair food. We also visited her first farmer's market and picked out plants to go into the new raised beds, which despite her efforts to pluck them back out have been firmly planted into their new homes.

The boxes are approximately 4 ft x 8 ft x 6 inches. We got a yard and half of loam delivered from O'Donals in Gorham, which we combined with some of our Garbage to Garden compost from last year.  We probably could have gotten away with a yard of dirt, but the leftovers will go into additional boxes we hope to have in place for planting next year.  Because, obviously two boxes aren't gonna cut it. :)

As for this year's plantings, I kept the plant list fairly similar to my first garden attempt, with the addition of lettuce:

  • Plum tomatoes for salsa and sauce (3)
  • Sweet bell peppers (2)
  • Broccoli (6)
  • Lettuce (6)
  • Basil (4)
  • Thyme (1)
  • Rosemary(1)

I think I'll probably pick up a few more herbs (I'm thinking cilantro and maybe parsley and mint) and I also planted 4 strawberry plants around the deck in addition to our existing blueberry bush.

Growing up I lived in a house on a corner lot with a huge backyard that my parents filled with all sorts of edible plants. We had cherries, granny smith apples, boysenberries, strawberries and cherry tomatoes most of time. As a kid, my friends and I would spend our summer afternoons out there, reenacting dance routines from Newsies over the sprinkler and eating our fill of the backyard bounty. It was bliss.

Now as a grownup, I live in a house on a corner lot with a huge backyard, that I'm slowly filling with edibles, so my daughter too can eat sun-warmed fruits and veggies to her heart's content.

Print Friendly and PDF Follow
follow us in feedly
2 Comments
Share

Minoru Jacket and Cargo Pocket Tutorial

Minoru Jacket
Minoru Sleeve Mod
Minoru Jacket
Minoru Cargo Pocket Mod
Minoru Jacket
Minoru Jacket

I finally made something for myself and it's a doozy! I loved the Minoru Jacket pattern from the moment it came out (back in late 2011), so much so that I bought the pattern, the fabric, the lining, and special ordered the zippers shortly after it came out.

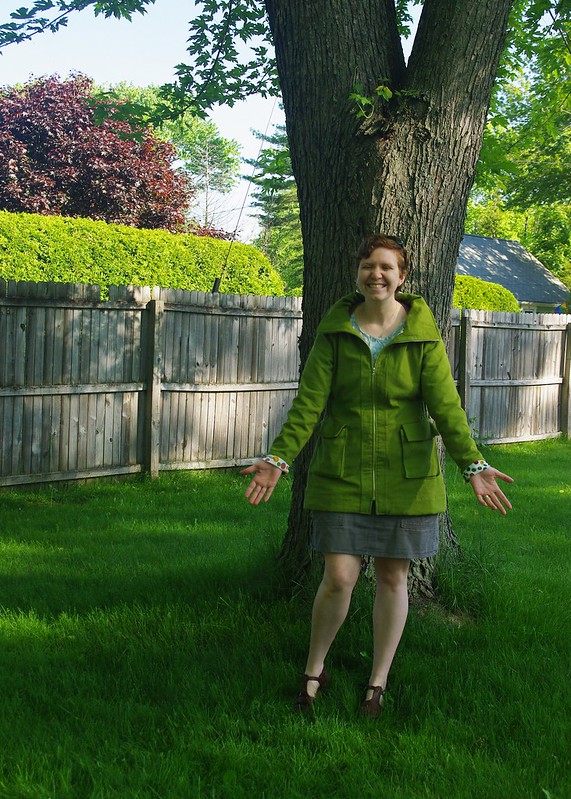
Three years of sitting in my stash and five weekends of sewing later, I have a bright and beautiful new jacket that does some much-needed filling of a long-outstanding hole in my wardrobe. Of course I finished it just in time for summer, but being as I live in Maine with it's often cool nights and mornings, I'm sure it'll still get plenty of wear before getting a real workout in the Fall and Spring.

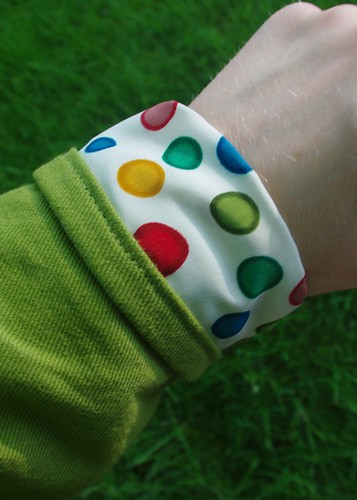
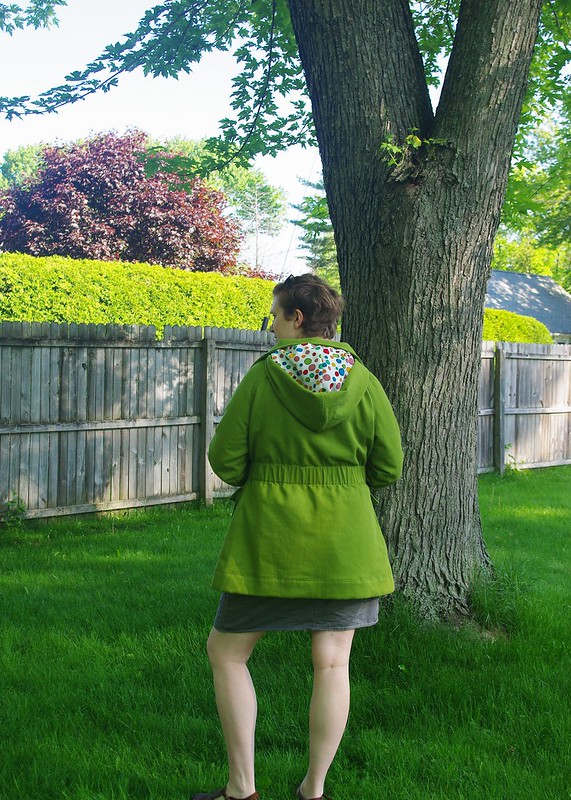
The jacket is a spring green twill of forgotten origins, lined with some silky polka dots purchased at JoAnn's, and riri metal zippers. I made the pattern in a straight size 14, which is a little bit roomy, but it means I can wear it over sweaters come Fall. It's comfy and the right amount of warm for the in-between seasons.  I found the instructions clear and concise (though missing a few metric to imperial measurement conversions in the text and there's something funky about the placket length/hem length). I pretty much made it exactly as described, with the exception of the following modifications:

  • Flat felled all the seams noted as top-stitched in the pattern - seam finishing and top-stitching in one!
  • Lined the hood
  • Moved the waist elastic up 1"/2.5 cm from pattern marking
  • Removed the cuffs
  • Made the hood zipper opening shorter
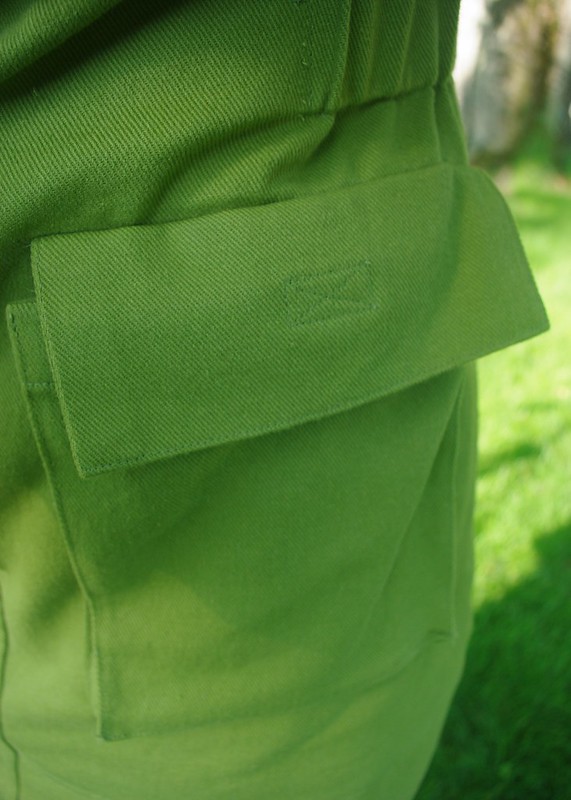
  • Added cargo pockets
  • Accidentally placed the interior pockets about 5/8 inch too low

One of the great things about sewing a pattern three years after it came out is that by then, a ton of other people have made it and you can steal their ideas and learn from their problems. About half these mods were inspired by other blogger. Case in point, I can no longer remember the blogger who mentioned it, but the hood zipper opening was indeed too long for my zipper, which I was able to check, before cutting it out. I do wish  I had headed the warnings to reduce the hood, as it is overly large. Some more direct copy-cats include borrowing Lladybird's idea to lose the cuffs (which were way long, even on me) and after I flat-felled my side seams before I inserted the side seam pockets I had planned on, I stole cutcutsew's cargo pockets idea.

The cargo pockets were a happy accident, as I love the way they turned out and they really make the jacket. I constructed my pockets largely based on this tutorial by 21 Wale. Should anyone want to copy me in my copy-catting, I've made up a PDF Cargo Pocket Pattern and Instruction Sheet  (tiled for US Letter-sized printing).

As with any coat/jacket, this was a time-consuming project. All said, it probably took me somewhere in the realm of 16 or so  hours to complete, but I love the outcome and consider it time well-spent as I can see myself wearing this coat all the time.

Speaking of wearing me-made things, I've completely missed Me-Made May, but I realized after I took the photos that everything in my outfit in these shots (not including underthings) was handmade either by me (cardigan, skirt, tank) or someone else (necklace, shoes). The fact that I didn't realize it until I took the photos is a nice nod to how the right handmade items can really become an intrinsic part of our wardrobes.

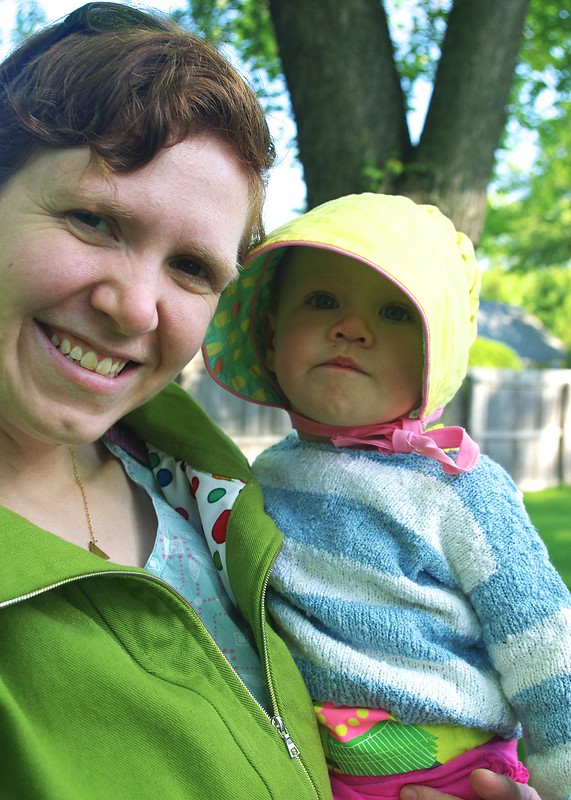
Continuing on the theme of handmade wardrobes, there's a neat little story behind the striped sweater LMC's wearing. When we first moved back to Maine, my mother-in-law gave me a bag with some random knitting stuff in it: a few sets of straight needles, some old yarn, and all the pieces to a blue and white striped baby sweater.  When I was pregnant, one of the first things I did was seam the otherwise complete sweater together, so now LMC has a Memere-made sweater, even though her Memere hasn't knit in years. The original yarn and ball bands (Reynolds Giselle) came with the sweater, but I've been unable to definitively date them and my MIL has no recollection of making the thing, so my best guess is that it was originally made for either one of her three sons, or my nephew - meaning it could be anywhere from 20 to 50 years old (quite the range, I know).  The best my google-fu can find is that the yarn was at a minimum available from 1981-1984. Doesn't look too shabby for some never-worn 30 year old yarn, does it?

Yard Work

We took advantage of decent weather and a long weekend to get some yard work done. Mr. Cleaver mowed the lawn, Little Miss did lawn mower maintenance (it's electric and I'd highly recommend it), and Steinbeck keep guard. Meanwhile, I put on my best Bobby C. shirt, pulled out the tools, and put together two very long overdue frame for raised beds.

Read more
Print Friendly and PDF Follow
follow us in feedly
Comment
Share

A Spring Stroll

Ready for a Stroll

Sand Cherry in Bloom

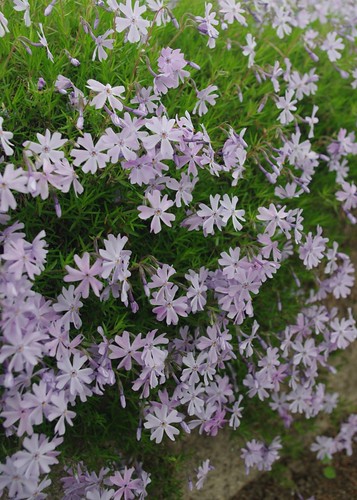
Creeping Phlox

Ready for a Stroll

Birch and Bleeding Heart

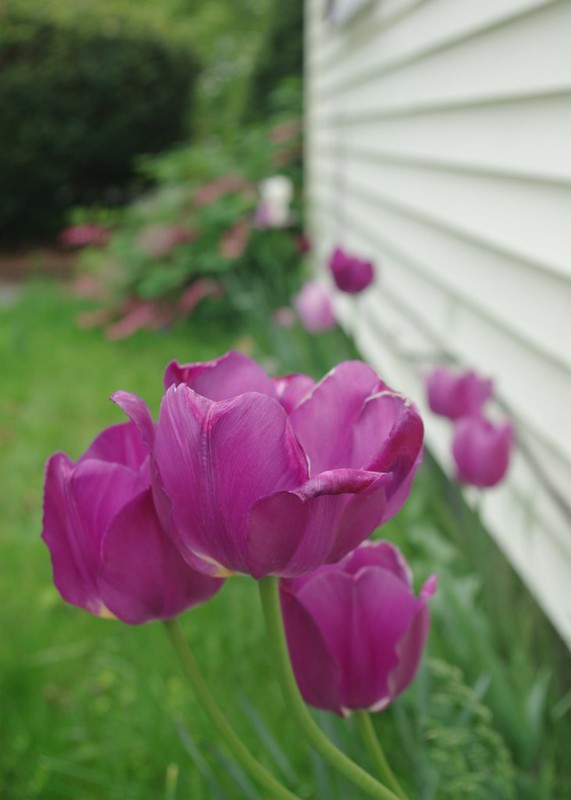
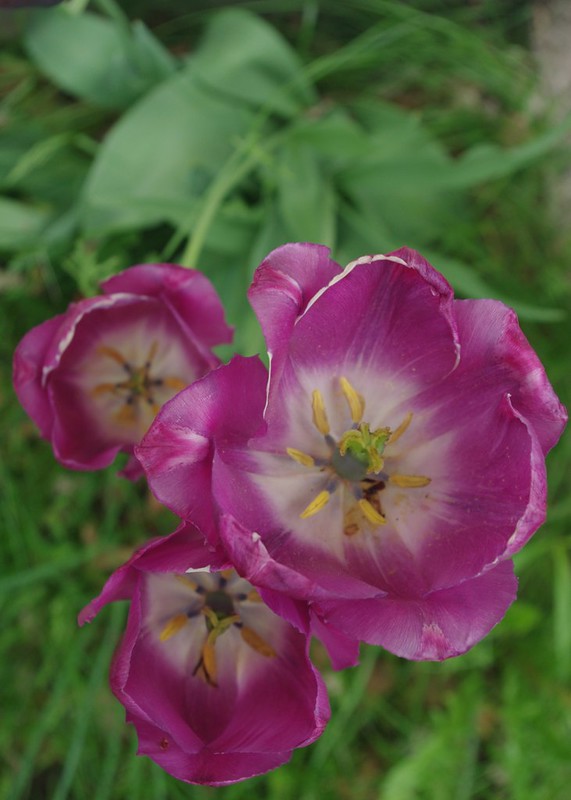
Tulips

Tulips

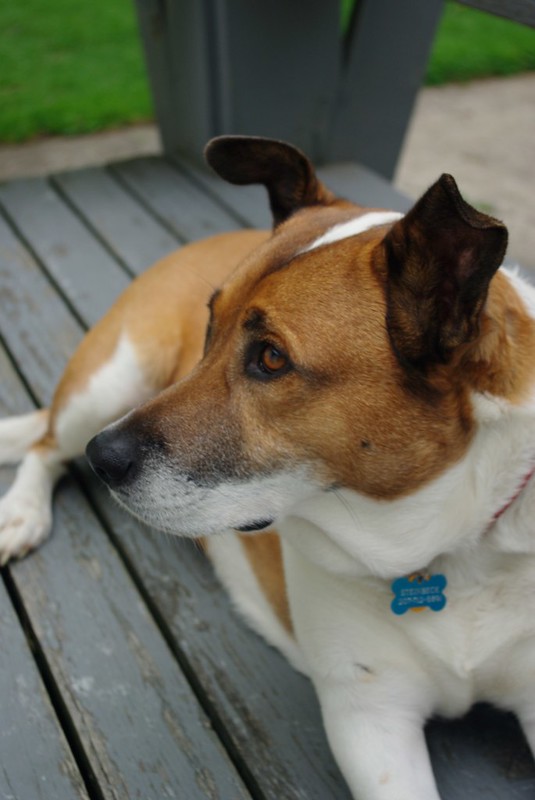
Steinbeck

Bleeding Heart

Violets

Having grown up in California, and gone to college in the Oregon, I have a slew of friends who still reside in those more temperate climes. So while we still had snow on the ground, my Facebook feed was filled with West Coast photos of freshly bloomed daffodils. Now, June is in sight, the snow is but a memory and the daffodils have come and gone, but it feels as if Spring has just arrived in Maine. Suddenly the grass is green, the trees have leaves, and everything is in bloom.

In my own little garden, the sand cherry is in bloom, the violets are out, the bleeding heart has grown to massive proportions and the tulips are starting to fade.  My perennial bed, now in its third year,  is starting to fill in and I may have to start doing some dividing come fall.

Now that the weather is nicer, LMC and I have started taking a little stroll together before I head to work in the mornings, giving me a chance to scope out the neighbors yards for ideas. The phlox that's everywhere? Totally want some of my own. That perennial bed around that birch tree? Divine!

When we first moved into our little house, I  started my flower beds with no real plan or knowledge. I got the gift of some plants from friend's gardens, picked up a few of my own and started digging out red brick mulch, tearing out layers of landscape fabric, and plopping plants down and crossing my fingers. Three years later, between some experience and episodes of This Old House, I'm starting to learn more about this gardening thing. Or at least paying more attention. I know enough to know that moving plants is pretty easy, dark mulch makes everything look better and if something doesn't work out you can always plant something new in its place.

It's good to be out in the garden again.

Print Friendly and PDF Follow
follow us in feedly
Comment
Share

Mother's Day on the Farm

Wee!

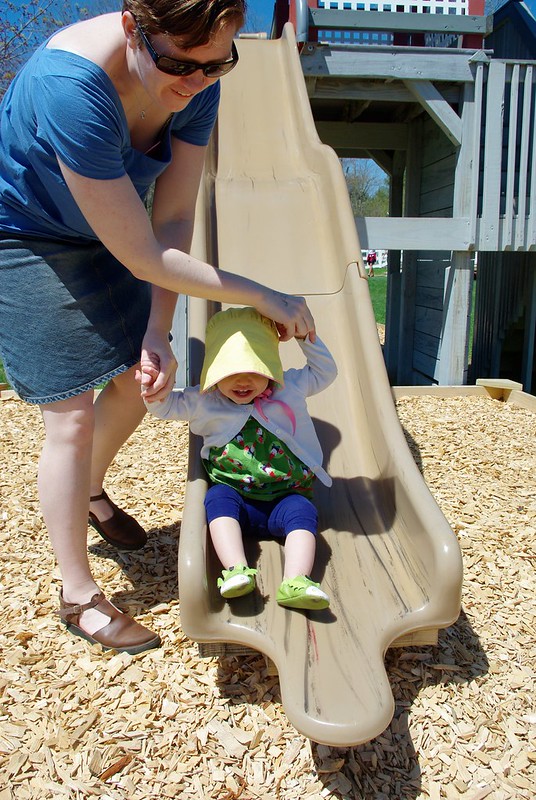
On the Slide

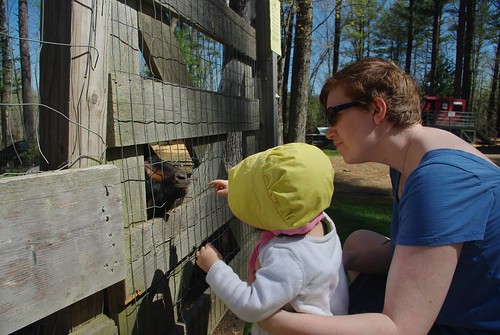
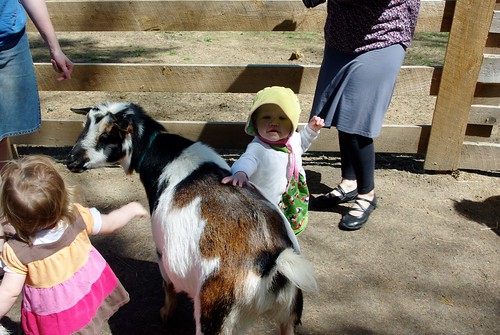
Saying hello to the goats

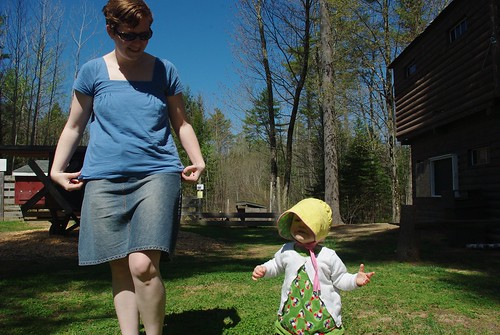
On the run

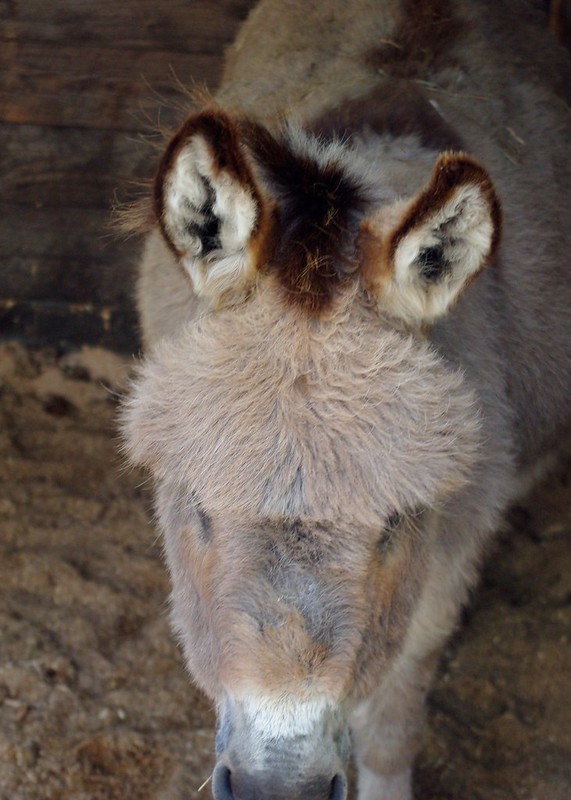
Mini Donkey

Who knew mulch was so fun?

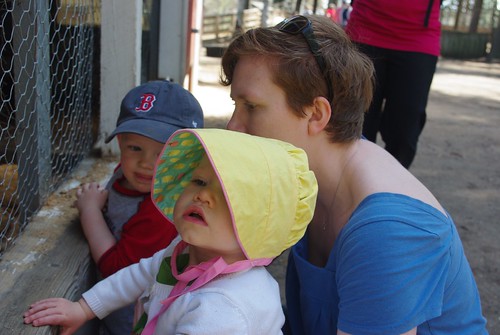
Checking out the Chicks

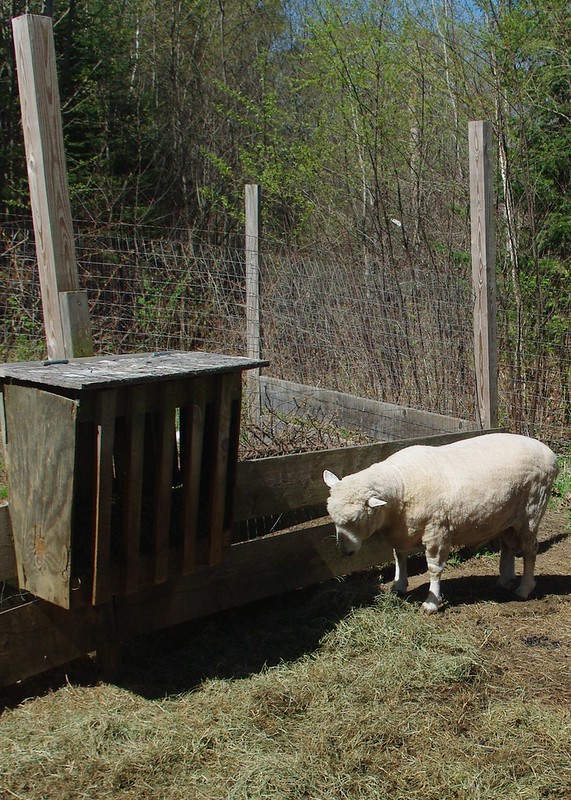
Sheep noms

Pat the Goat

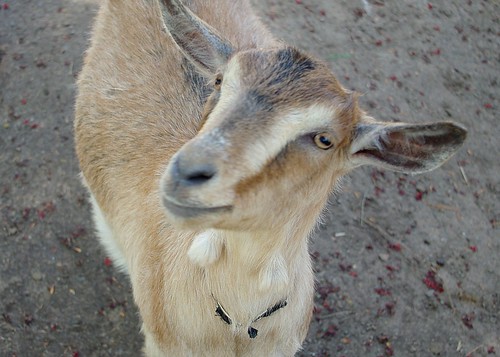
Got any nibbles?

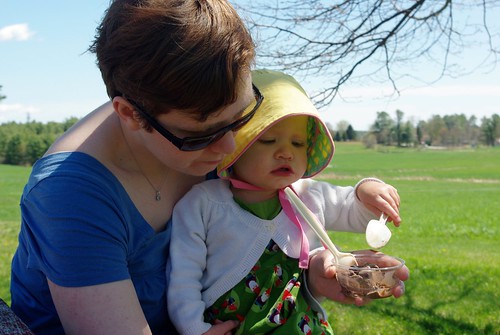
Ice Cream!

For my second Mother's Day we celebrated with a delicious homemade brunch (french toast! strawberries! bacon! mimosas!) and followed it up with a late morning trip to the The Barnyard at Smiling Hill Farm and an afternoon of sewing for me while LMC napped.

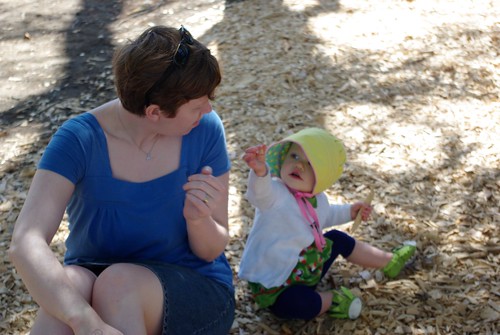
We knew the Barnyard was going to be a hit as soon as she squealed with delight at the first animal she saw (a ferret). Little Miss is very much into animals these days - she knows dogs say woof woof and lions roar and snakes sssssssssss and she wanted to touch everything in sight. Of course the mulch was equally as interesting as all the furry creatures. Everything is new and interesting and it's such a joy to see LMC discover.

And she's moving and grooving now too, walking everywhere, and she's thankfully decided all of a sudden to accept shoes like it's no big deal, as if she wasn't turning into jelly legs and a pile of tears a few weeks ago. How quickly things change.

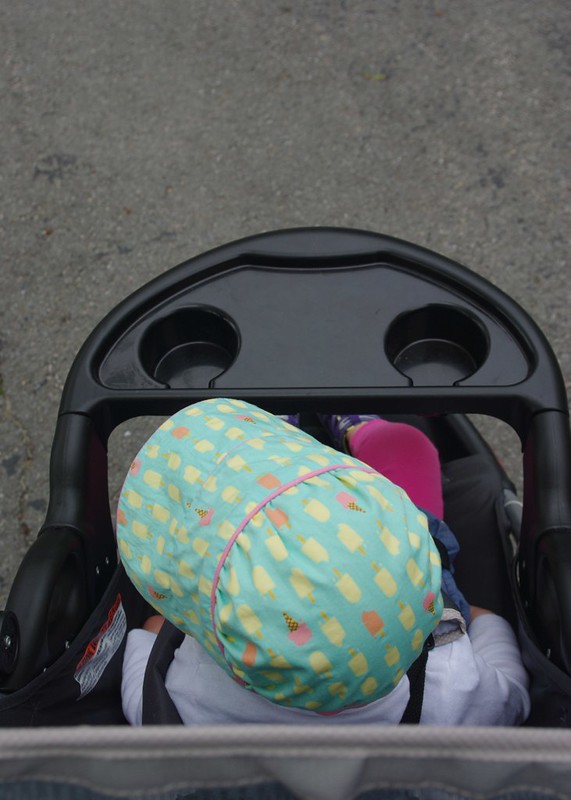
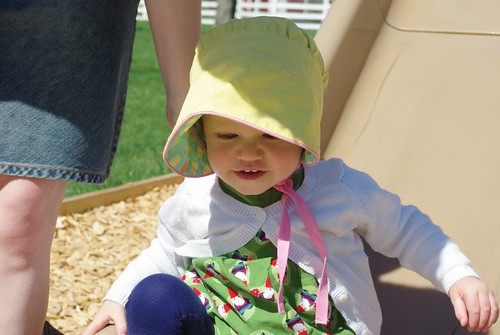
Of course, now that spring has finally arrived in Maine it means I'm working on perfecting my stealth sunscreen applying skills and that more accessories are required for my little red-headed girl. Which means time for another Peakaboo Bonnet. This one featured some solid yellow Kona Cotton and a Lisette ice cream print trimmed with pink piping, all from JoAnn's. I imagine it'll be showing up in photos from now through September. But is there ever really enough of babies in bonnets? In my book, never. And I've got enough left over fabric to make a matching dress, just as soon as I finish a little sewing project for me!

Print Friendly and PDF Follow
follow us in feedly
1 Comment
Share

Hoppy Easter!

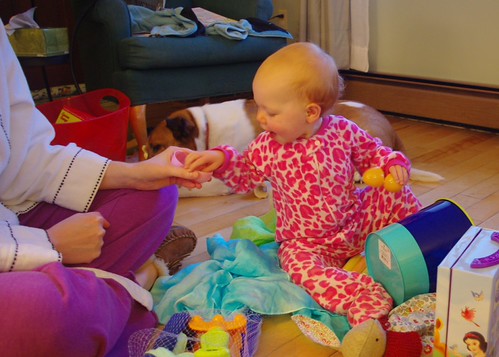
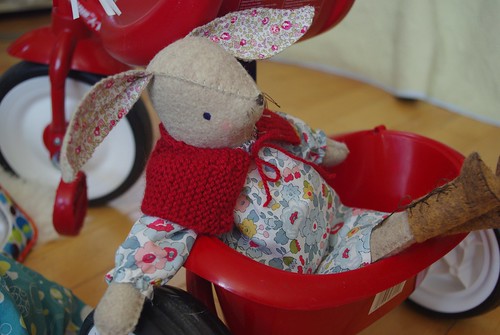
Little Miss Cleaver and Miss Maggie RabbitUntitled Untitled Untitled Untitled Untitled Untitled Untitled Miss Maggie Rabbit Untitled When the day starts so early, it’s hard to get non-blurry photos of an increasingly active (and expressive!) little one. She’s just on the cusp of toddler-hood these days – walking more than she crawls and understanding things and almost almost talking. But Easter started around 5:30 AM with opening the basket/bucket and a low-key egg hunt with 6 or so eggs placed in highly visible places filled with cereal puffs.

Having put my clothing-making energies into her birthday dress not that long ago, I turned my maker skills to toys this go around. The rabbit is Alicia Paulson’s Miss Maggie Rabbit kit, which was a joy to put together. I misplaced the yarn that came with the kit, so I made the capelet out of some Berroco Vintage DK I had left over from earlier projects. I also dyed a pair of playsilks with Kool-Aid (Mixed Berry blue and 2 packs of Lemon-Lime green), which was quick and fun. Of course, I got totally upstaged by her Memere who showed up with a tricycle! Not that her feet touch the pedals yet, but I imagine they will before too long.

Little Miss Cleaver has become obsessed with belly buttons of late, whether it’s spotting mine and poking and laughing or displaying her own upon request. Onesies are definitely out. So obviously she had to check her new bunny for a belly button.

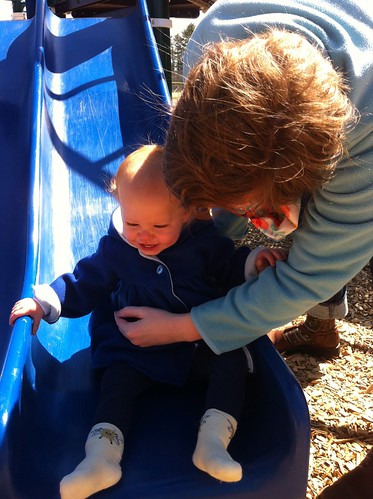
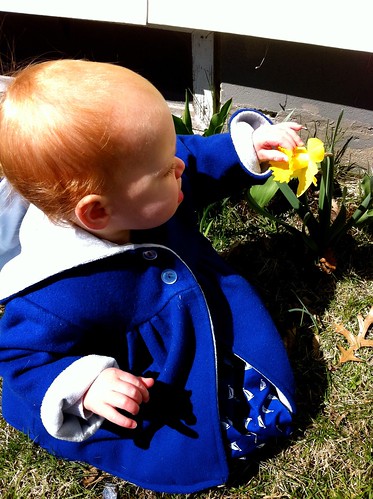
After some unwelcome snow on Tuesday, the weather seems to be settling into spring. My daffodils are blooming, with tulips coming not too far behind. It means we can go to the park, try out slides for the first time and play in the yard. Now if only we could convince LMC to wear shoes. Right now it's like putting booties on a dog, with much awkwardness and whining.

We’ve already had one happy afternoon with a batch of neighbor kids in the driveway. We’ve got sidewalk chalk and digging tools at the ready.  I’m hoping to get together with our neighbor in the next few weeks to have a raised bed building day. It’s been so long since I’ve had a veggie garden  and I want to get out there and grow some things!

Print Friendly and PDF Follow
follow us in feedly
Comment
Share

Five Things Having a Baby Taught Me about Sewing

Birthday DressAs Little Miss Cleaver is several weeks into her one-year-old-ness and several friends and family have had welcomed new babies in the past few weeks, I’ve been thinking a lot about those first few heady days of parenting of how quickly your life shifts to a new norm, and then I thought about how it’s changed what I make and why.

Thanks to Mr. Cleaver’s keen understanding of how making stuff is important to me, I’ve been able to do a fair amount of sewing since LMC’s birth. However, two vital things have changed about my sewing time. One, it’s in shorter spurts now and perhaps less frequent, but all the more welcome and two, the things I make are usually, though not always, for someone with wee clothing needs a bit different from own. Because of these two changes, I’ve experienced a few new things about sewing that I thought I’d share. Milk coma 1. Trying out new things is easier when the project is small
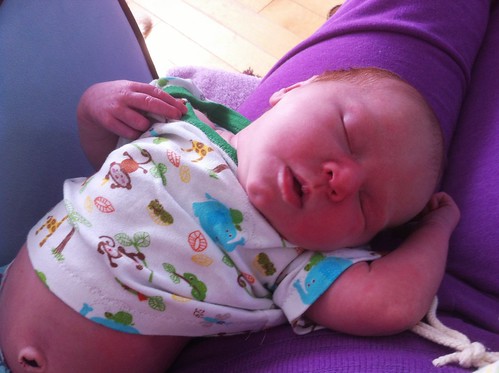
Before I started sewing baby stuff, I had never completed a project in knit fabric. I’d made a few attempts in the past, but never really finished anything. Then I decided to make some envelope tees. The fabric was fairly stable (interlock) and the seams were all of six inches long. It was a small enough project that even if I screwed it up, I was out of a quarter of a yard of fabric, maybe. I’ve probably made about ten or so since, some in interlock, some in jersey, some hacked together with the Geranium pattern into dresses.

Having worked in this small scale, I’m much more comfortable with knits and am eyeballing some larger-scale knit projects for myself. Oliver + S Birthday Party Dress 2. There’s frosting, there’s cake, and then there’s bread. And there is nothing wrong with sewing any of them.
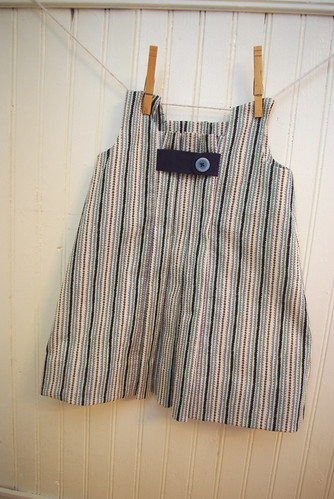
Tasia coined the whole frosting vs. cake terminology, but sometimes, even cake is too fancy of a word for some items.

There are a lot of things that I used to think that I’d never bother making, because they were just too dull and/or readily available inexpensively. Like solid-colored t-shirts, non-fancy underwear, leggings, plain socks. But then you figure out that those ready available things are kinda cruddy. The number of onesies we bought that got holes in the fabric is astonishing, especially considering the early ones that were worn for maybe 3 months by something that didn’t move much.

Now I haven’t made any onesies, mostly because I’ve yet to have any luck with inserting snaps, despite several efforts (any suggestions welcomed!), but if I could get over that snap-inserting hump I totally would the next time I needed onesies. Because there’s a certain satisfaction to pulling something out of the drawer and wearing it on a daily basis and having the fabric be nice, and the seams finished well, even if it’s super dull. My style and sewing has become more utilitarian these days, and as much fun as it is to spend days making a fabulous dress, my current dream sewing project list is full of things those things that I never thought I’d ever bother to sew.

That’s not to say I don’t make the occasional fabulous piece of cake or frosting, like the Oliver + S Birthday Party Dress seen above or the wear-it-once Ewok costume , both of which were totally worth the extra effort in my opinion. My creation 3. Multiples are your friends.
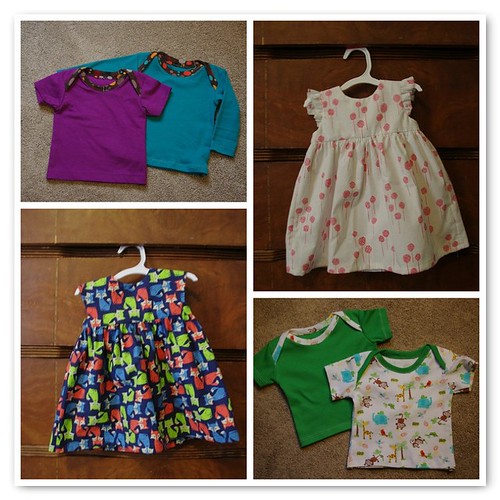
Not every project has to be a special snowflake. When you make multiples of something you only have to cut/trace the pattern in each size once and depending on your fabric, you can cut out multiple projects at the same, getting to the actual sewing quicker. A huge plus when your sewing time is more limited.

When you do the same thing multiple times, you learn from your mistakes and get better. And generally faster at it too. This can be particularly helpful if you’re making those everyday bread pieces and need a bunch of them.
Untitled

4. When in doubt, make the longer version.

It has been my experience that babies grow taller much faster than they grow wider, which means those leggings turn to capris, those pants to shorts, and those dresses to tunics.

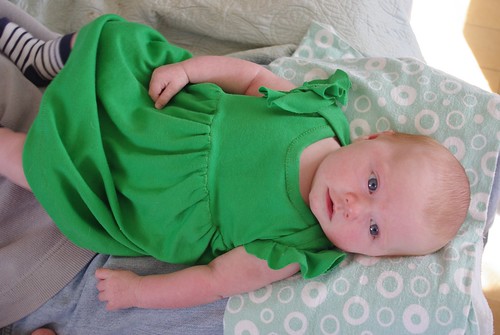
Little Miss Cleaver was about 6 weeks old when she first started wearing that green dress. As a one-year old she still has a lovely tunic that she wears. In that case, the knit fabric also helps, but I’ve been able to stretch the life of many a handmade baby item, simply by making the longer version.


IMGP8546

5. You’ve probably already got a fabric stash, so stock-up on notions
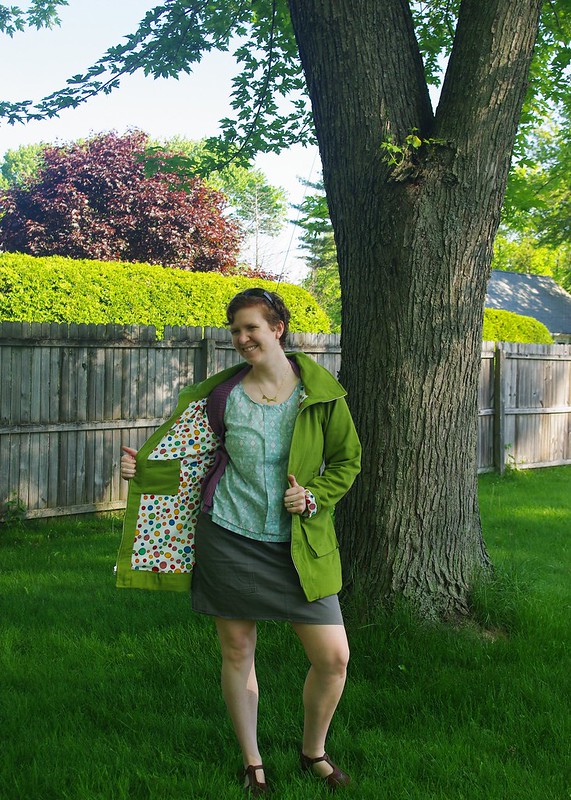
I’ve got enough adorable novelty prints to last me three years (at least), so if I want to do a project, I’ve probably already got some fabricI can use, but having a good supply of buttons and piping and zippers and thread in a variety of colors means I don’t have to use my sewing time on a trip to the store that inevitably takes longer than I want it to.

Since I am sadly, not someone who ever inherited mason jars full of fabulous vintage buttons, I early on bought a bunch of packs of multicolored buttons in various sizes that have been indispensable. I learned my lesson and also have a good stash of elastic in various widths and plenty of machine needles. Figure out what you use a lot of and get a ton.

Also, when it comes to matching colors, there is such a thing as good enough. When my mother first taught me to sew, we would go to the store, pick out a pattern, pick out the fabric and carefully select a thread color to match exactly. Now I have one thread storage box that holds about 40 spools, and generally there’s something there that is close enough (unless it’s orange, apparently I have no orange thread), or maybe that project will look great with contrasting thread!

I’d also like to work on having a good stash of quality solid fabrics to use for contrasting yokes and linings.

And one bonus comment, that relates to baby clothing in general: If it’s a practical button (i.e. one that you have to actually use to get an item on and off your child), anything smaller than ½” is just so not worth the trouble. Maybe 3/8.” Maybe.


Anything your kids have taught you about sewing? Feel free to share in the comments below.